
This Half-Life walkthrough is divided into 18 total pages.
You can jump to nearby pages of the game using the links above.
Surface Tension
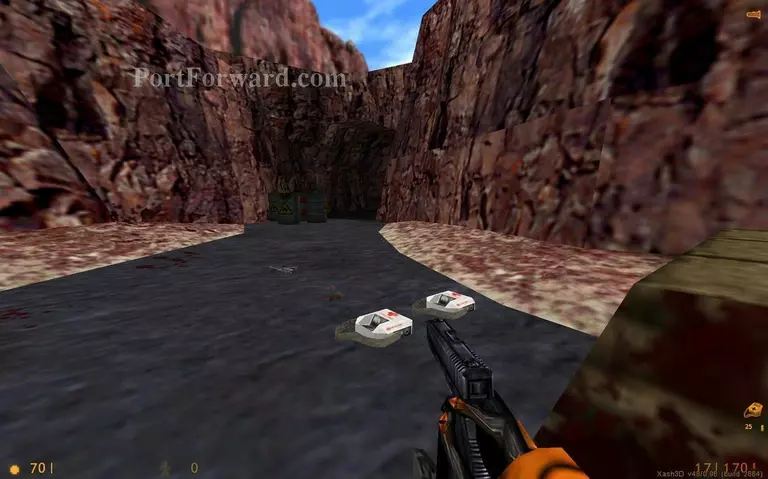
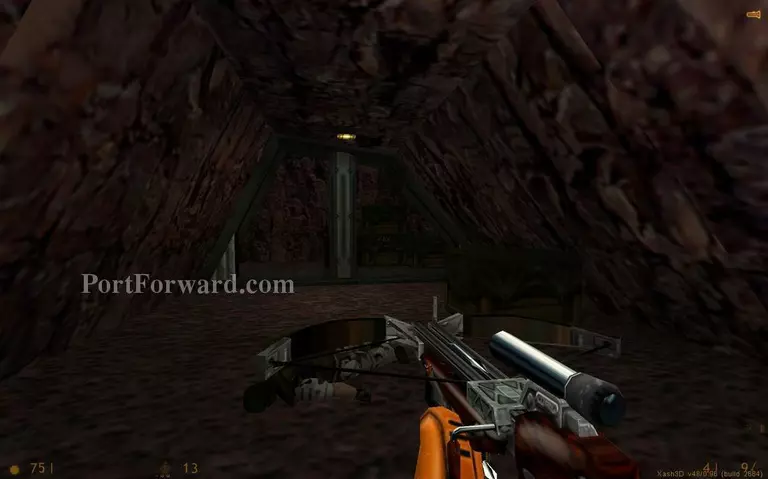
After a short fight with some soldiers you can find some medkits and ammo up ahead.
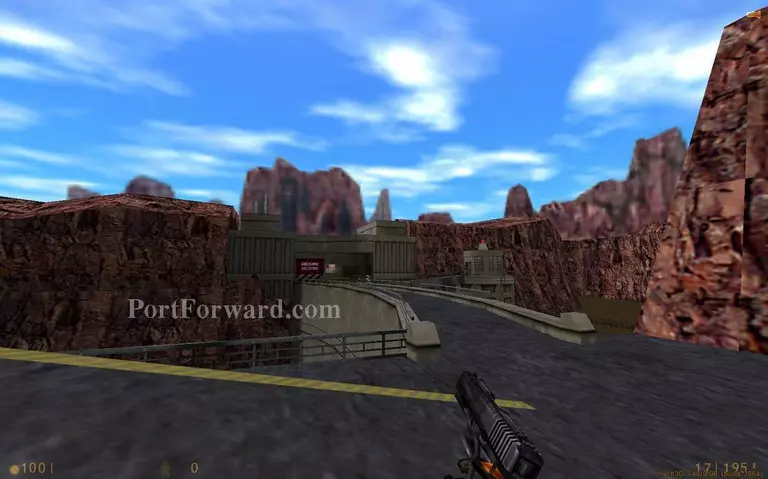
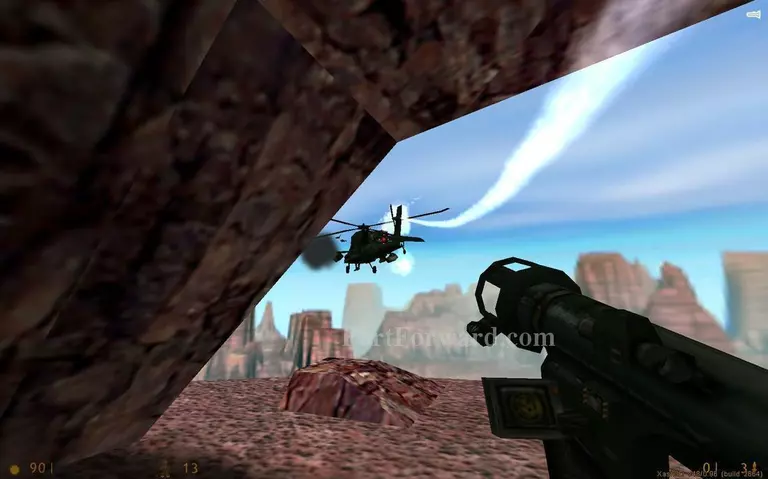
You will end up on top of dam. A helicopter will be patrolling this area and the end of the road will be guarded by a cannon. No other choice but to jump down the water on the right.
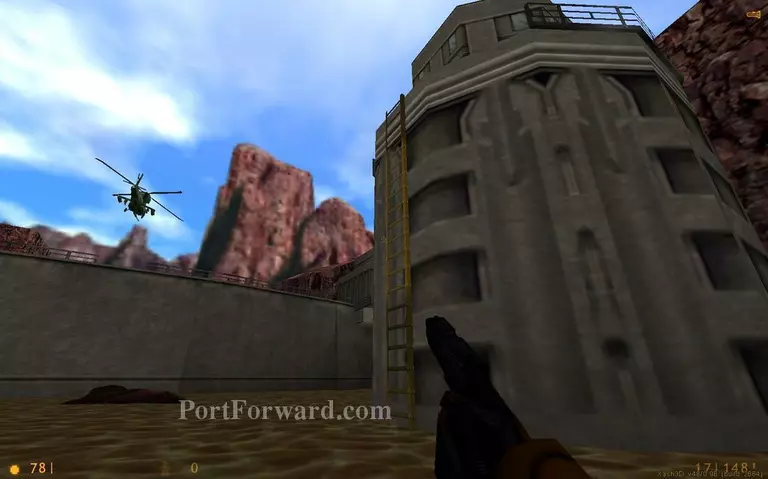
Wait for the chopper to turn around and then climb up the ladder.
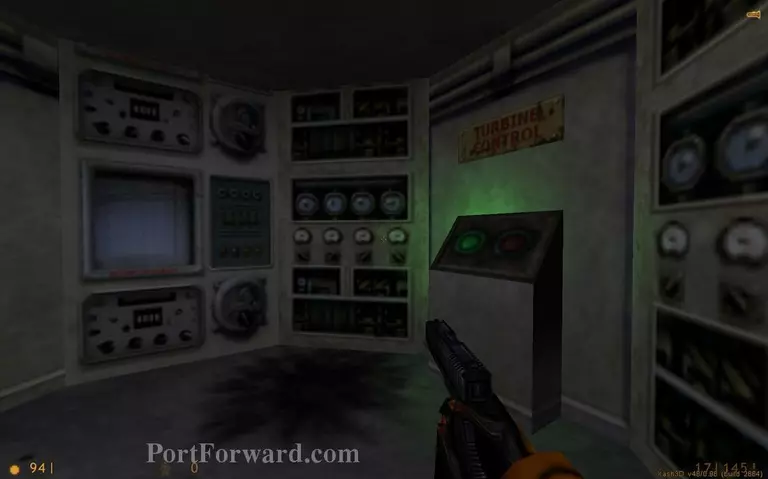
Press the button to stop the turbine below.
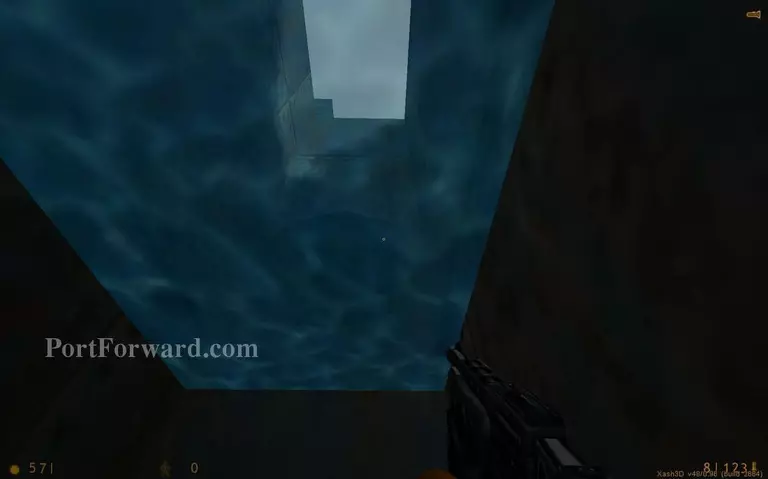
Drop back in the water and you will find a valve at the bottom. Use it to open the turbine grate and pass through there. You might have to kill the alien swimming around in here first.
When you exit the turbine path you will be on the other side of the dam.
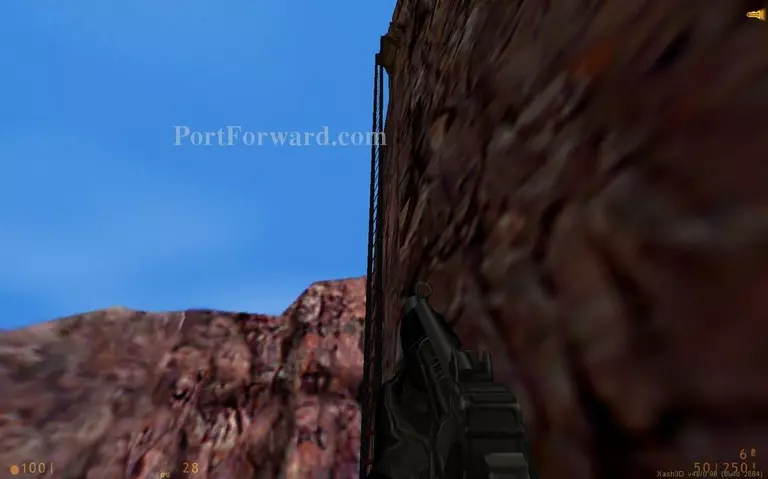
Climb up the ladder and enter the vent.

Climb up another ladder then go left.
Go up one more ladder.
When you reach the sandy area go between some rocks.
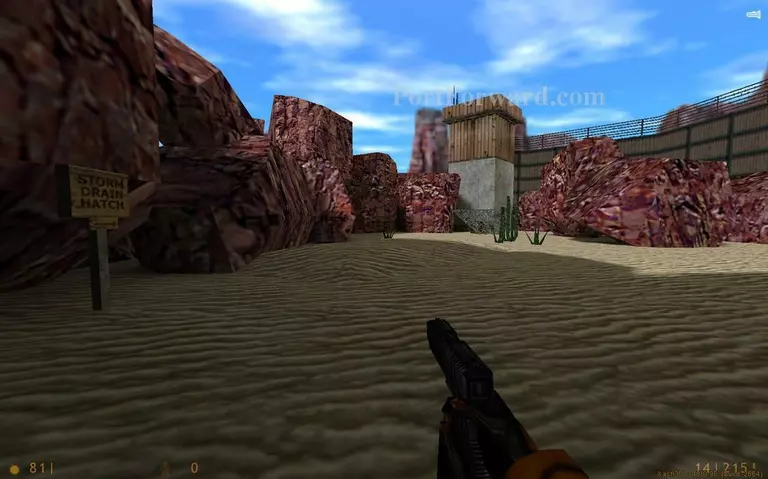
Go towards the tower. Be prepared to face some soldiers. Try to avoid open spaces because the chopper will still be patrolling around here.
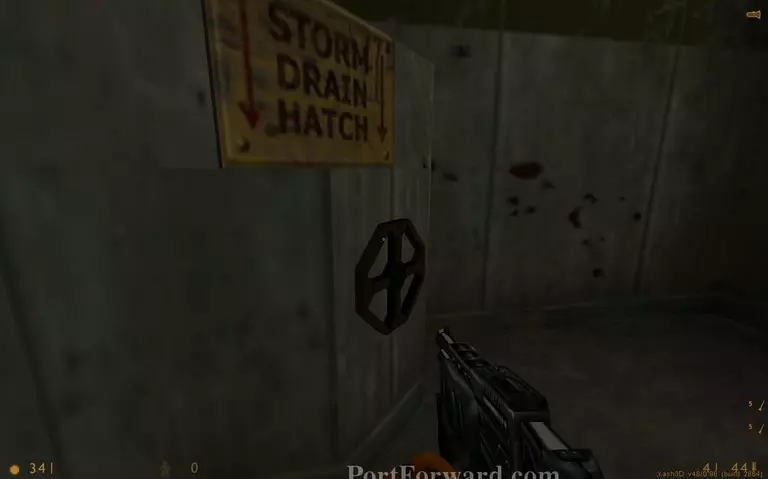
Inside the tower is the storm drain hatch valve.
Some medkits are nearby if you need them but watch out for the trip mine.
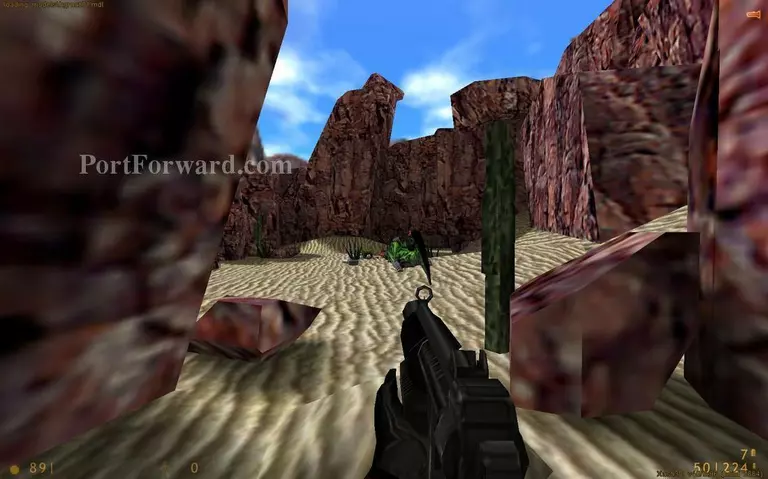
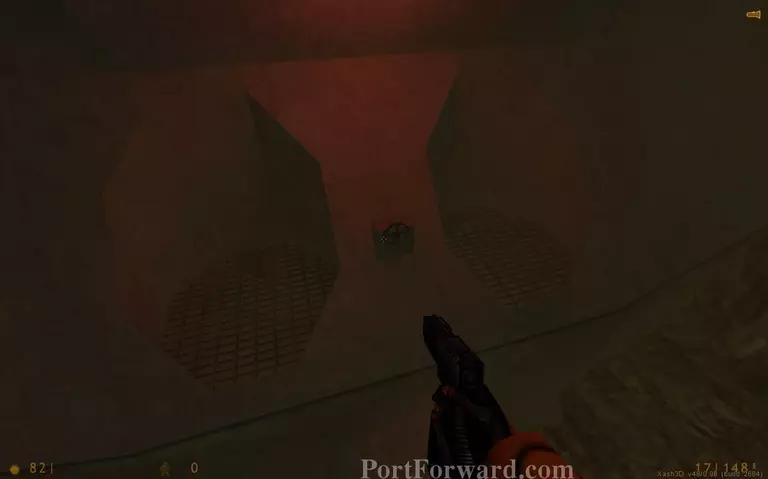
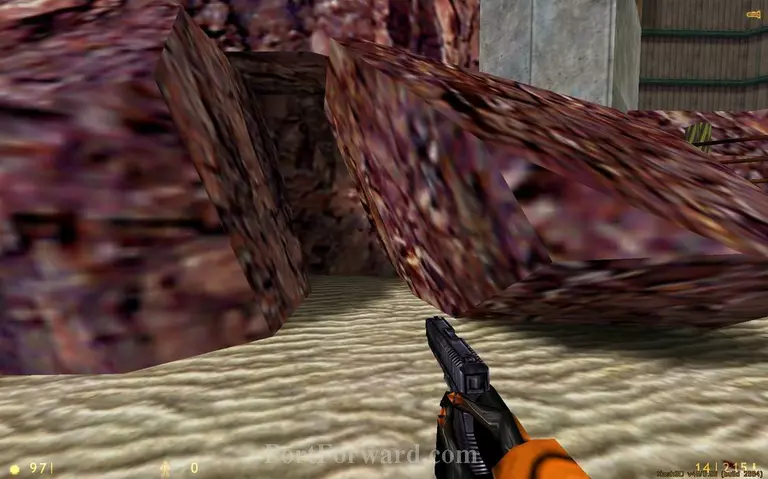
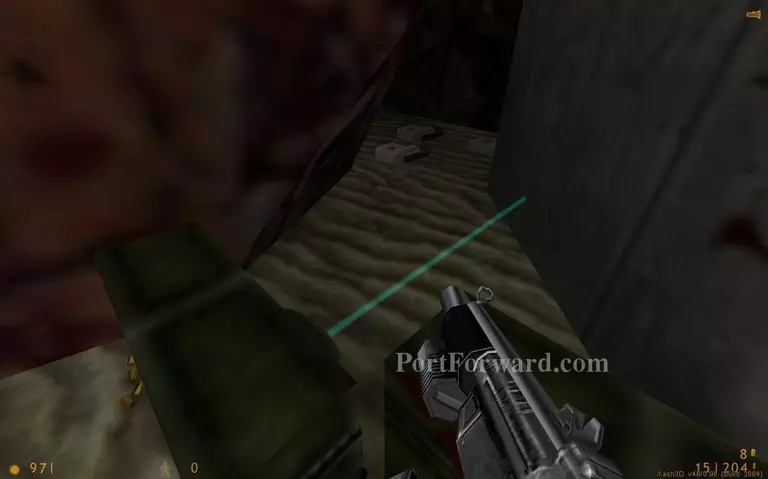
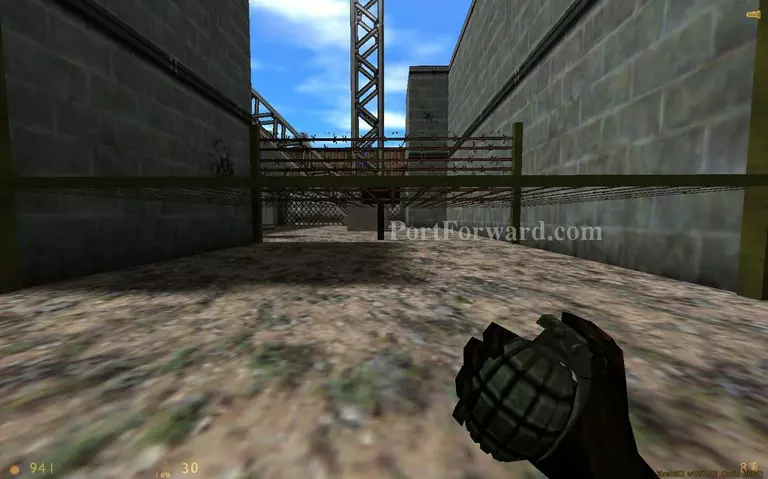
Go between some rocks near the medkits to reach an area with a tentacle alien. The alien is guarding some stuff. You can take them if you grenade him.
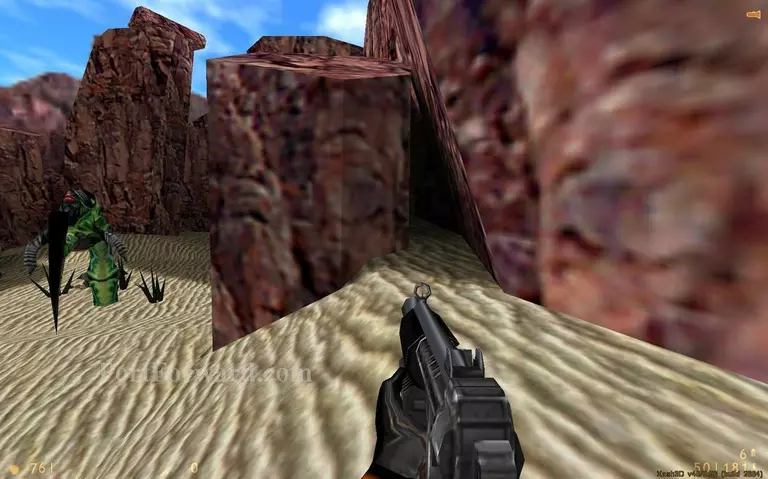
Go under the rocks right from the alien to continue.
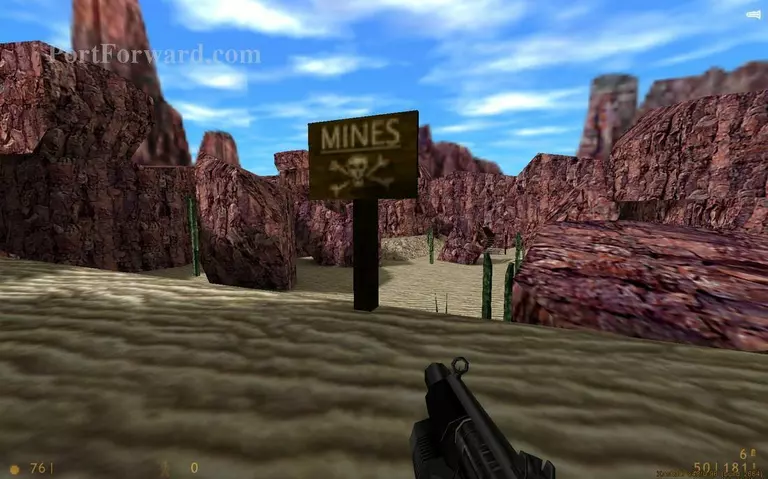
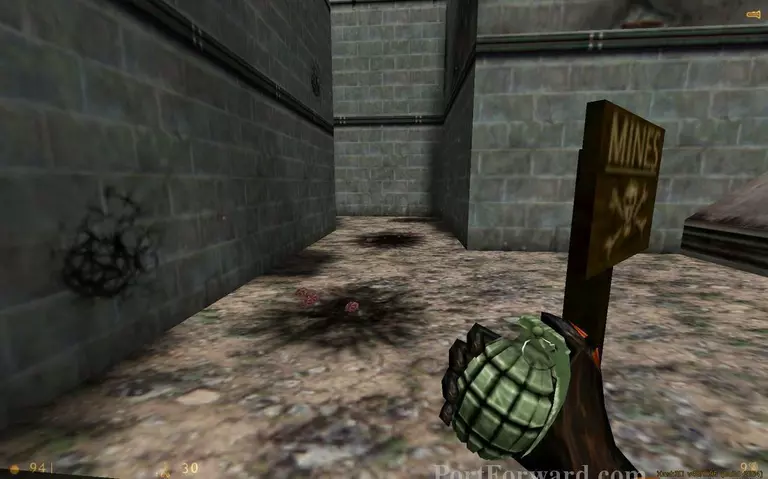
Next area is mined. Avoid walking on sand. You can blow up the mines with grenades if you wish to do so.
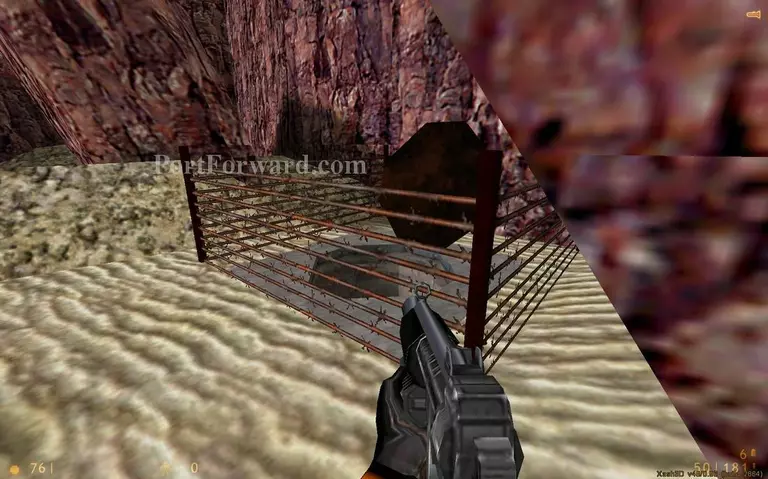
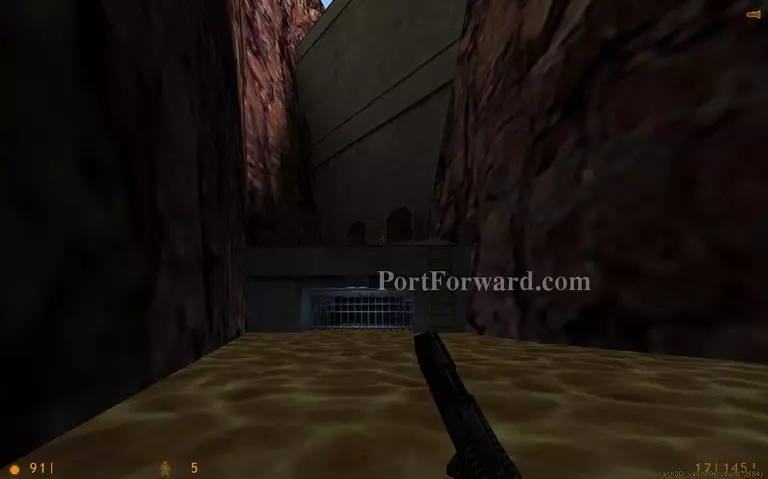
You need to jump from a small rock over the fence to reach the storm drain hatch.

Continue through the drain.
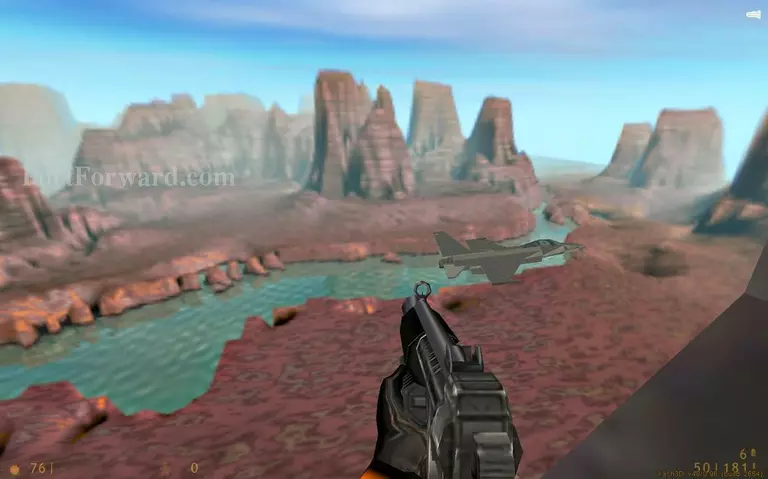
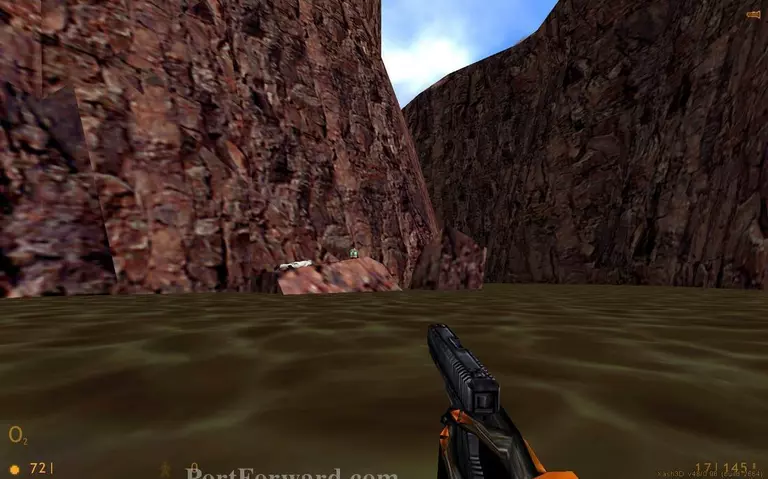
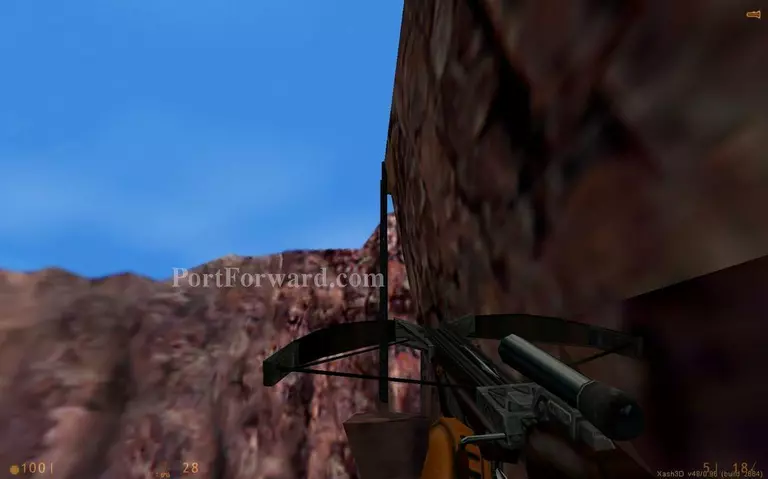
When you exit the drain you will see a fighter jet.
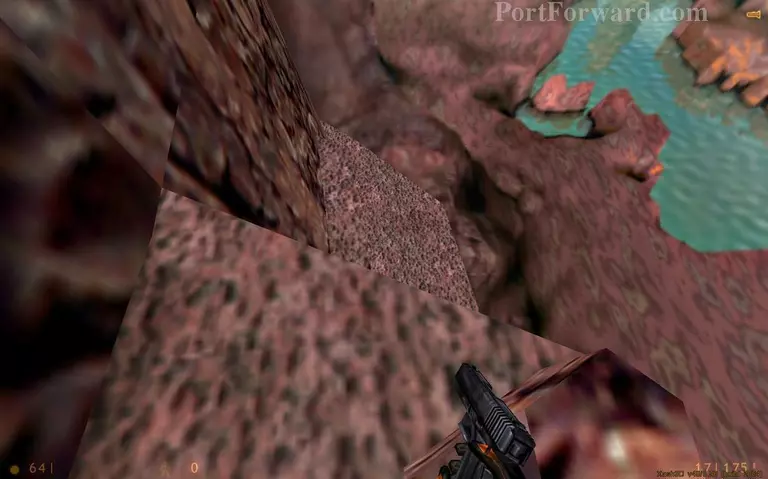
Jump down the rocks.
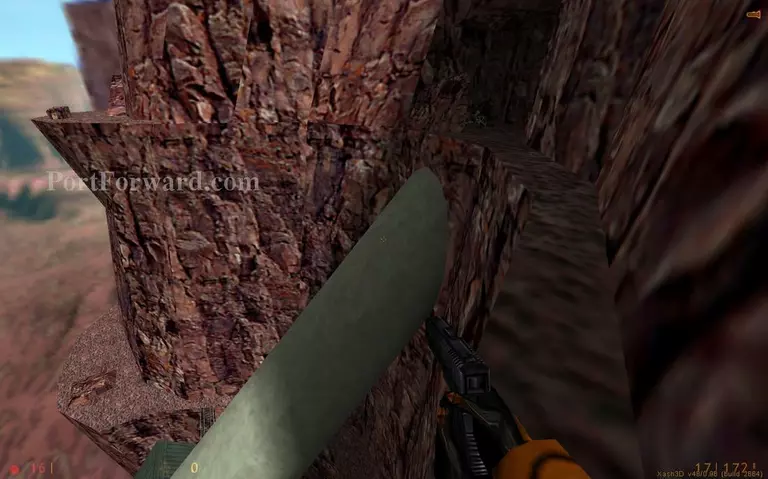
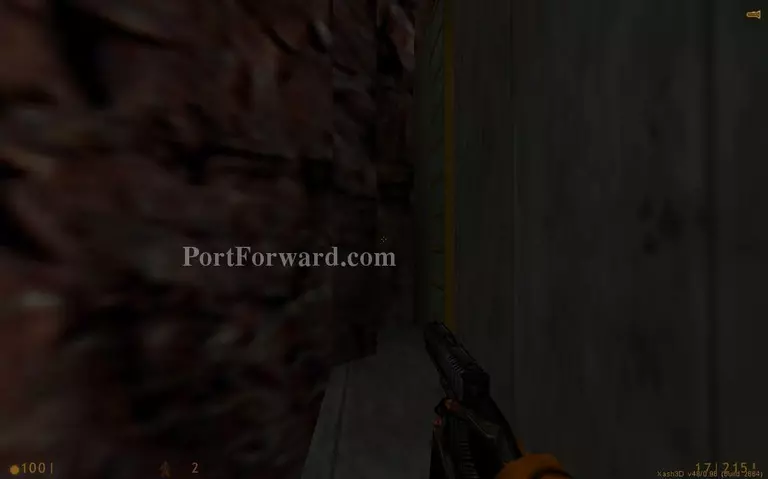
Continue along the ledge then go down the concrete structure.
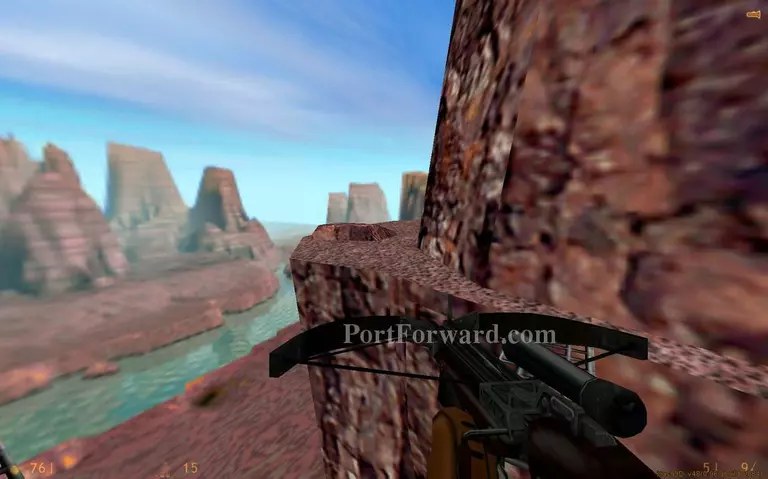
Go to your right.
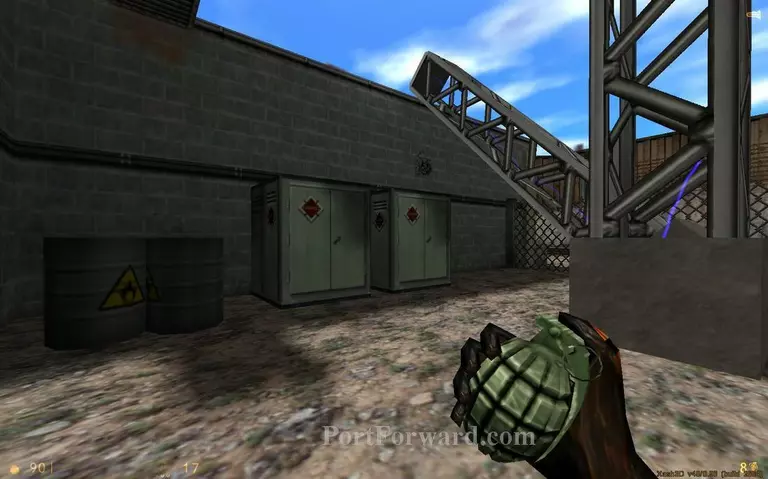
Get inside the storage room under the cliffs.
You will find a rocket launcher inside.
When you exit the storage the chopper will come for one final showdown. Use your guided rockets for easy hits.
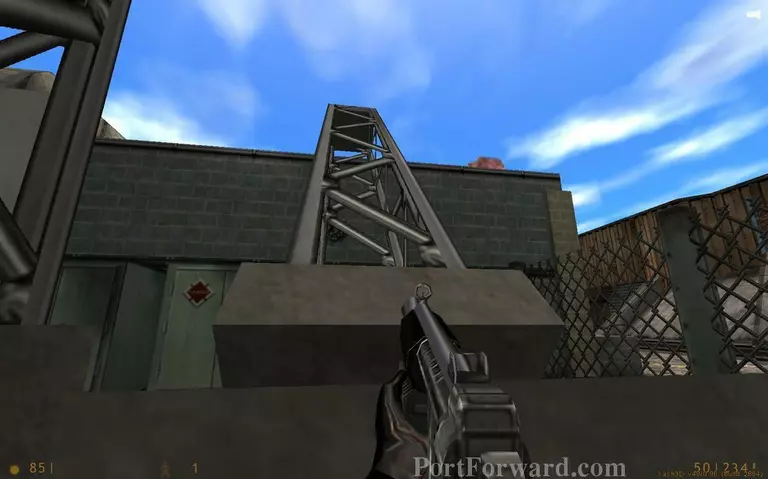
Go up a ladder.

Climb up some rocks.
And climb one smaller ladder.
Enter the drain canal.
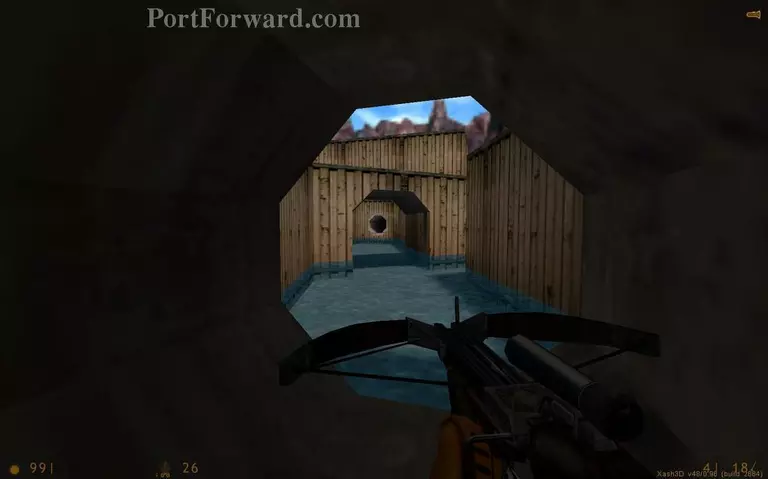
Stay low in the canals for now. You will hear the soldiers up above.

If you climb up at the wrong place you will face not only a full squad of soldiers but even a tank. It will be very hard to survive.
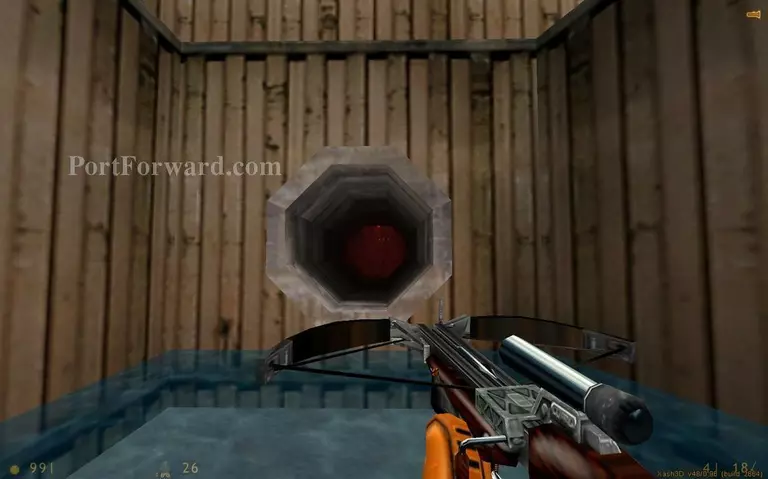
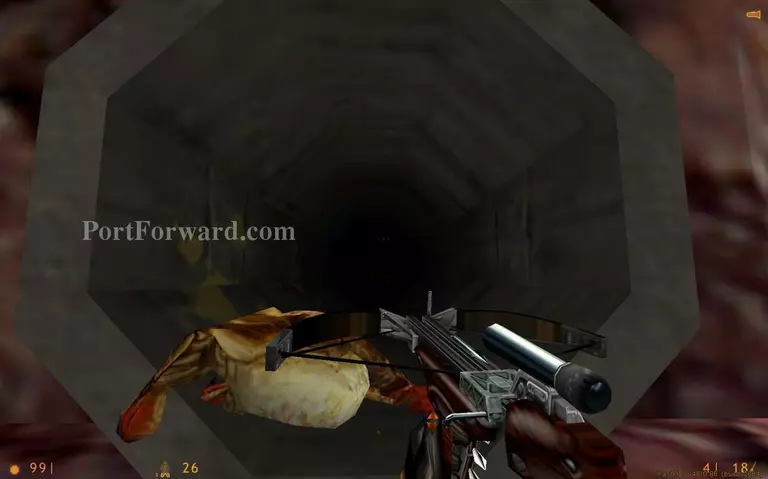
Instead go inside a drain pipe to go around the soldiers.

Climb up a small ladder.
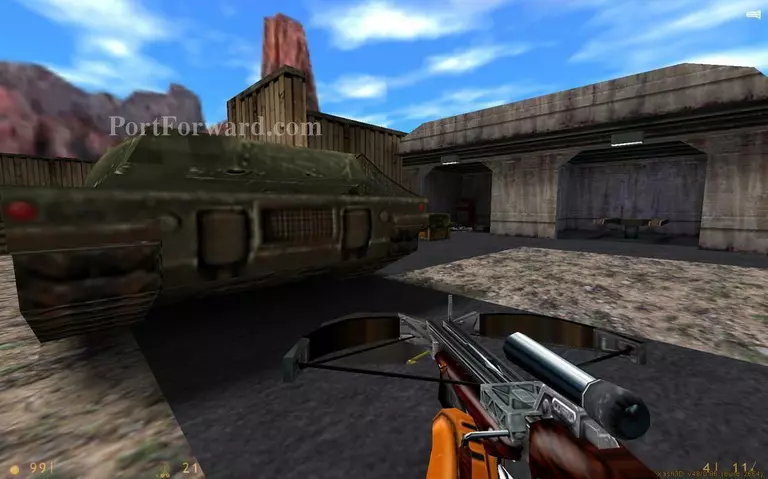
You will end up behind the tank and the soldiers. Time to fight back.
Take some rockets from the supplies near the tank. Then use your rocket launcher to destroy the tank so you can move freely. For some reason the tank can't turn his turret so you will be safe if you stay on his side.
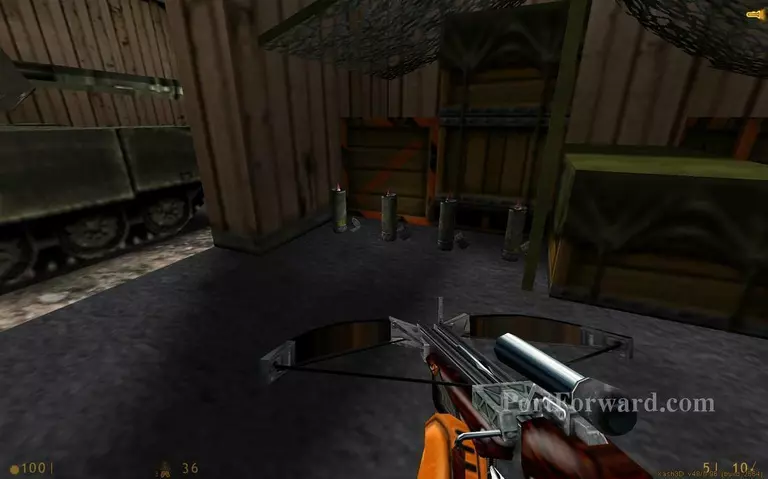
Press the button in the booth to open the nearby gate.
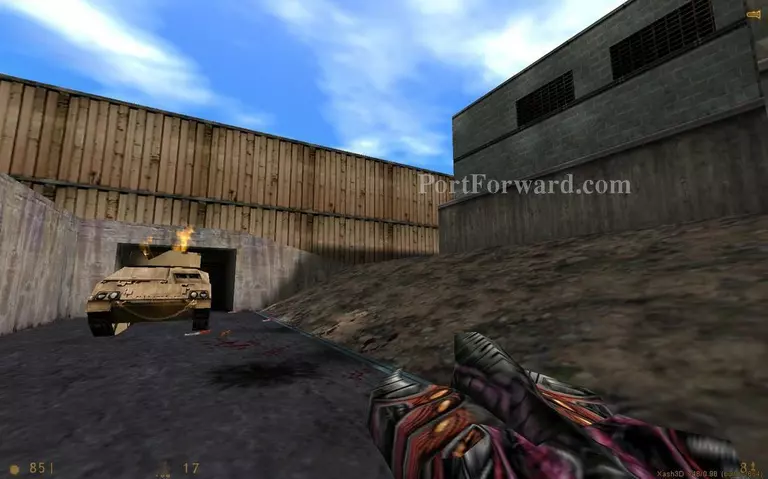
The next path is guarded by an APC with rockets. Use your rocket launcher once again to clear the way.
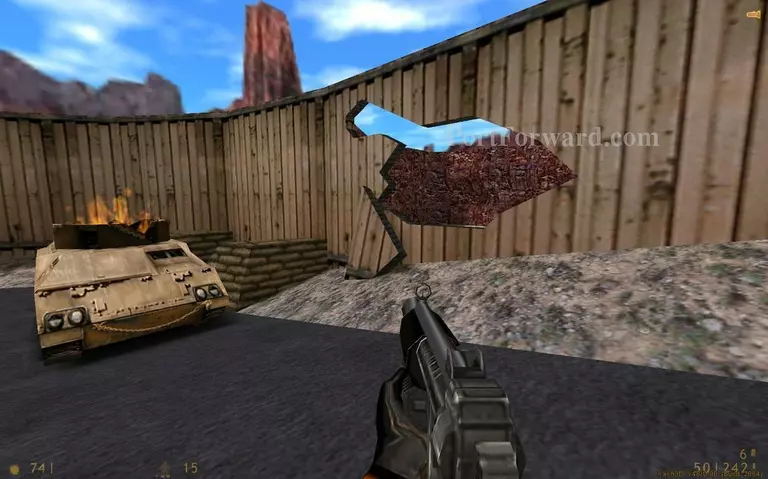
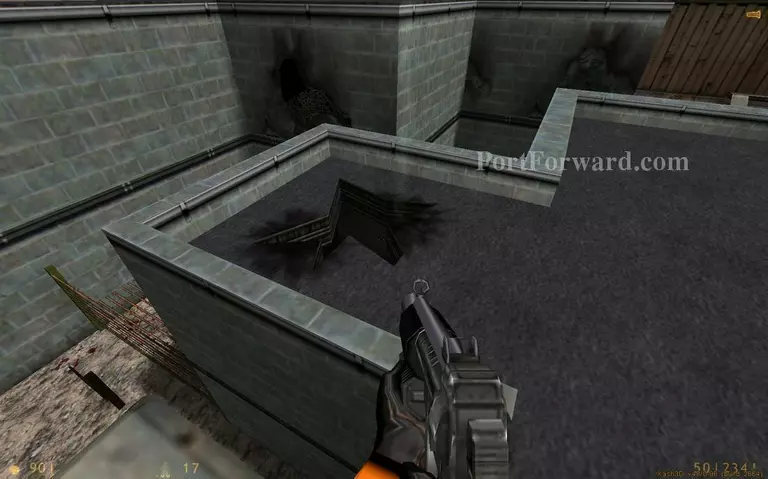
If you are in need of more ammo and health jump over the hole on the right and face some soldiers. Otherwise continue down the path the APC was blocking.
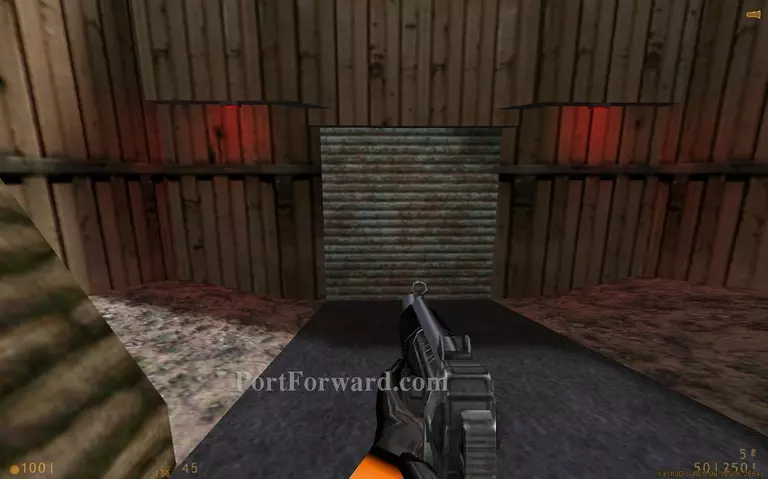
Enter the big gate.
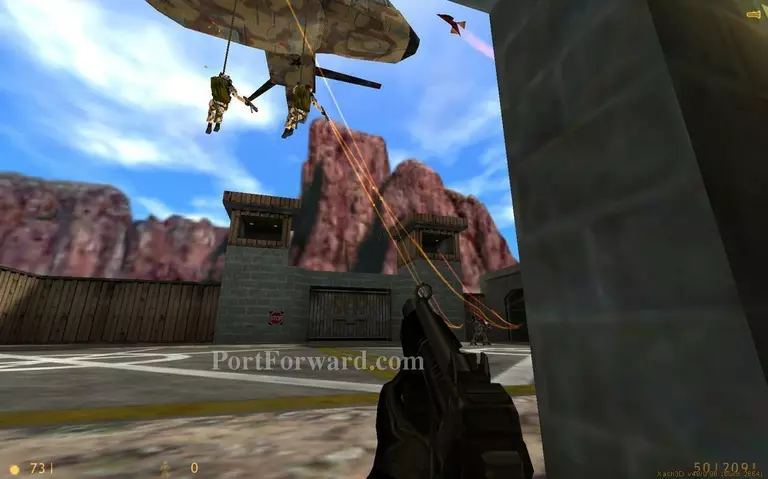
The floating alien will drop down some enemies.
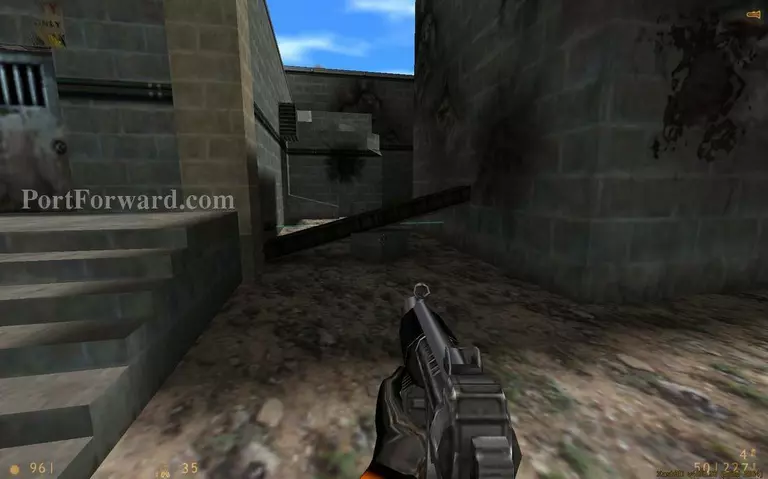
Go around the building on the right.
Dodge some tripmines.
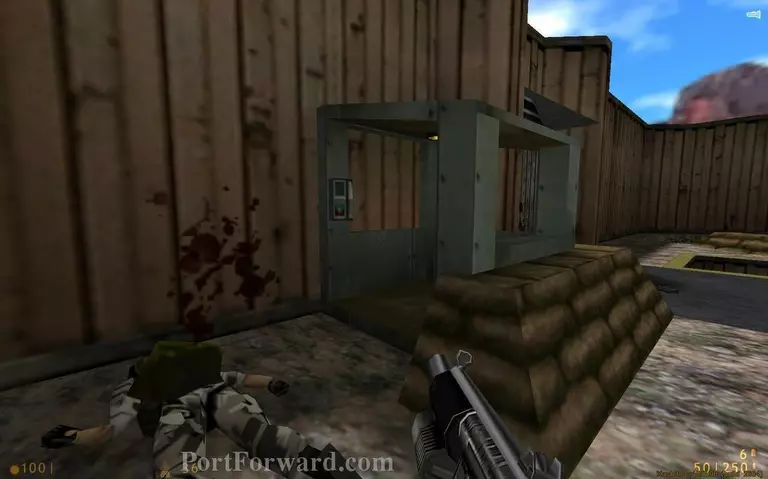
This open area is covered by a sniper.
Look up to your right and you will see the sniper nest.
The end of the area is mined. You will have to clear your way with explosives.
Crouch under the fence. Beware another sniper nest that is above behind you.
You need to blow up the transformers to cut the power.
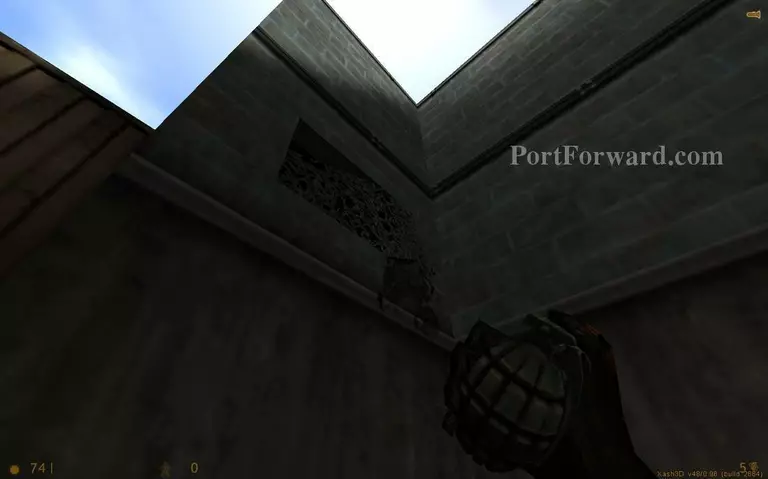
Climb up the fallen tower.
Drop down the hole.
The facility is trip mined to the brim. Do not attempt to blow up any of the mines inside here. It will trigger a chain reaction that will kill you instantly.
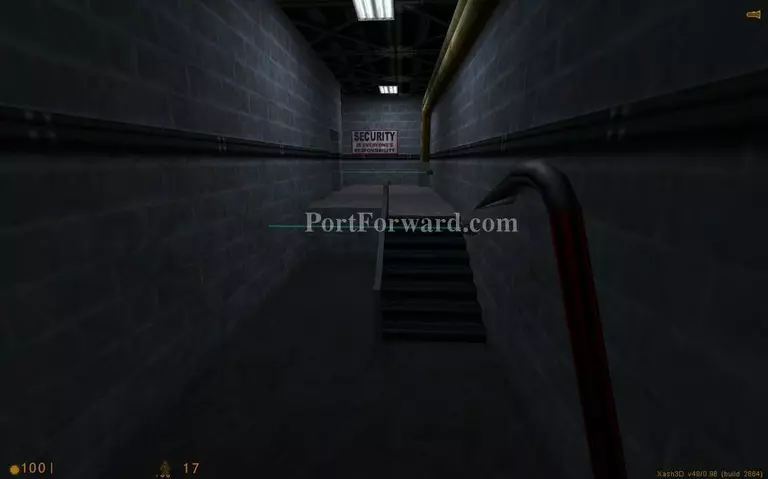
Jump up the rail to go over this laser.
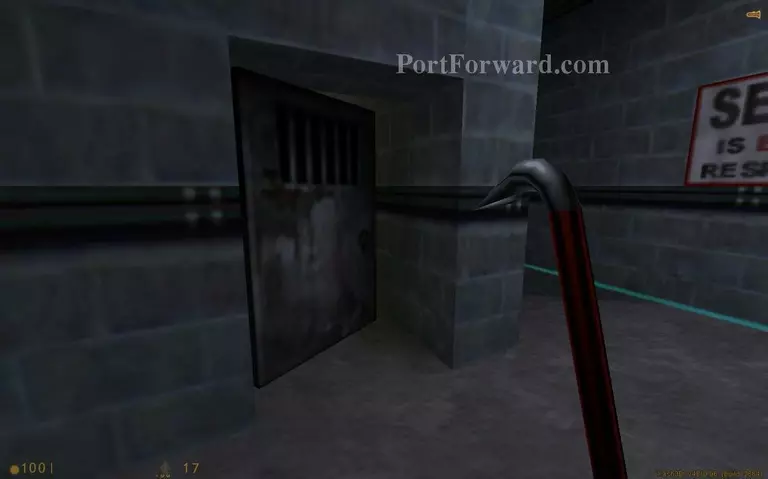
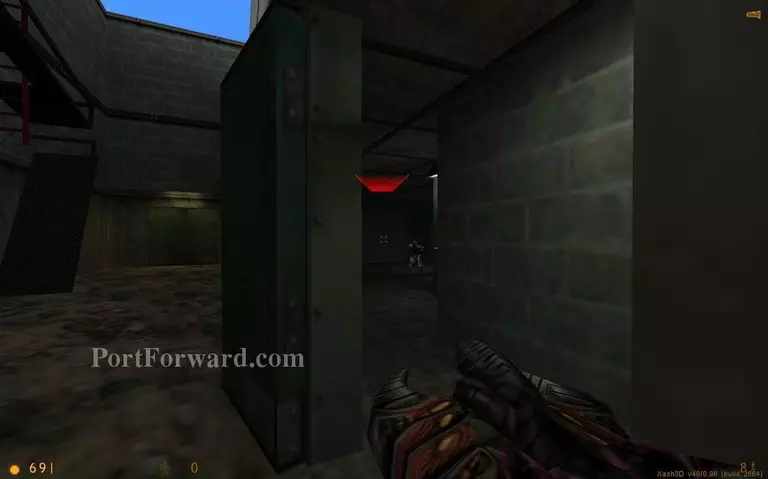
Get through the door.
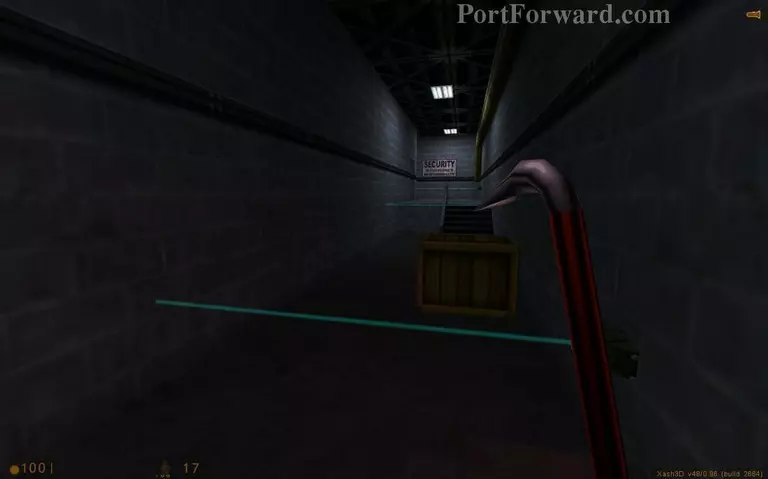
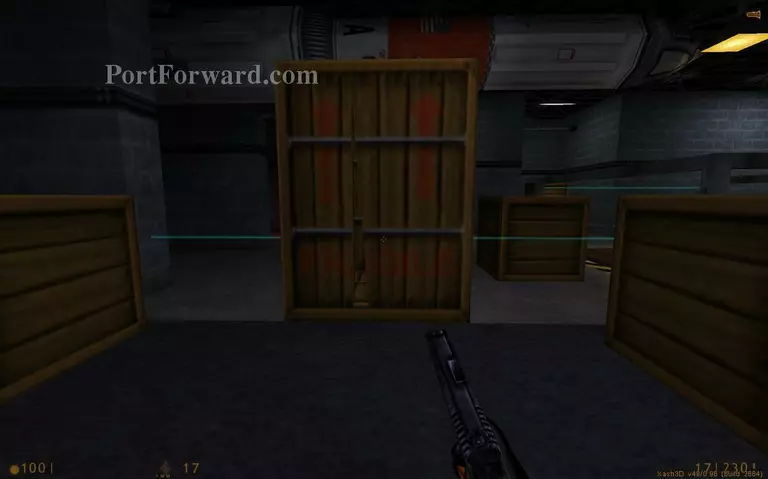
Jump over the crates.

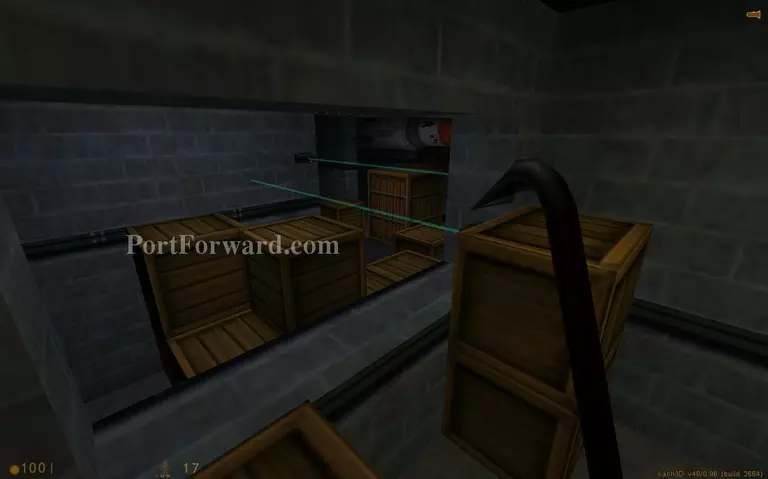
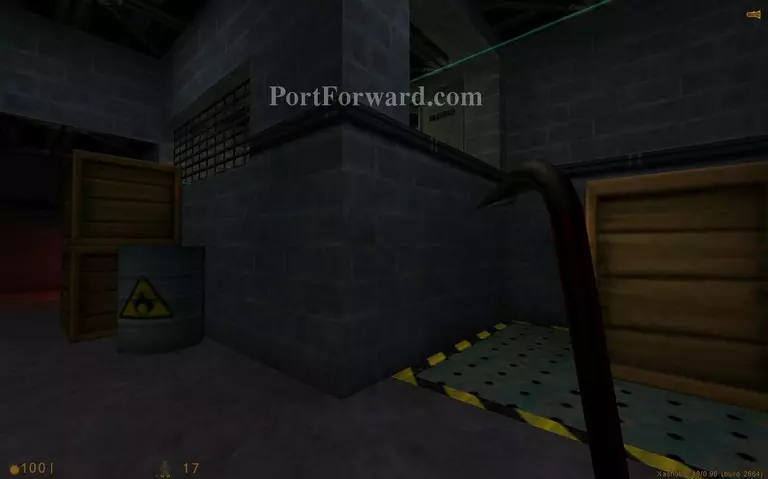
When you drop down move between two crates.
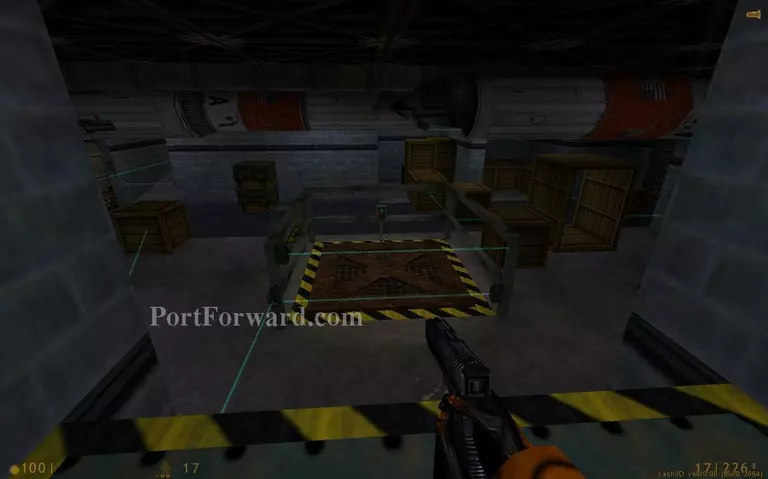
Break through the center of this crate. Be careful not to destroy the sides. Only break the cracked part.
Break the crate on this lift then go left.

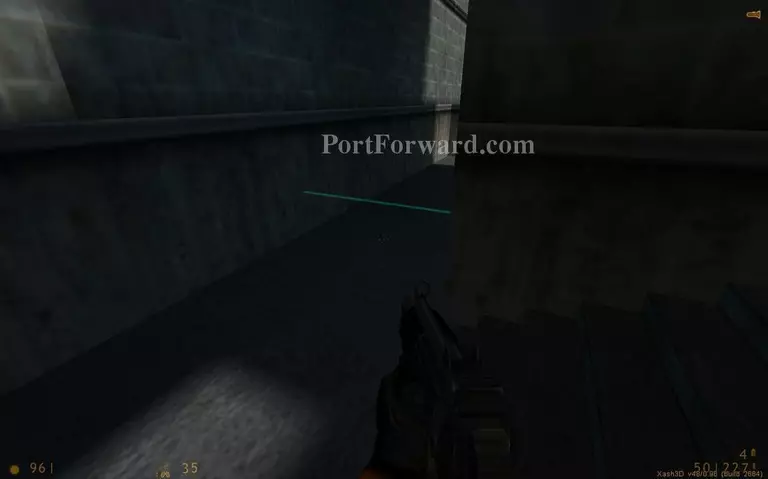
Go under the laser.
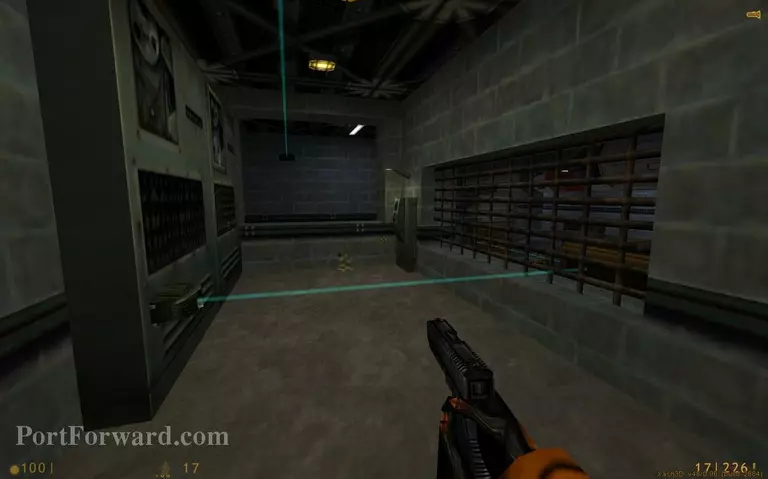
Jump over this laser and use the button to raise the lift.
Stand on the lift and jump over the lasers to land on the lower lift.
Use the lift to go down.
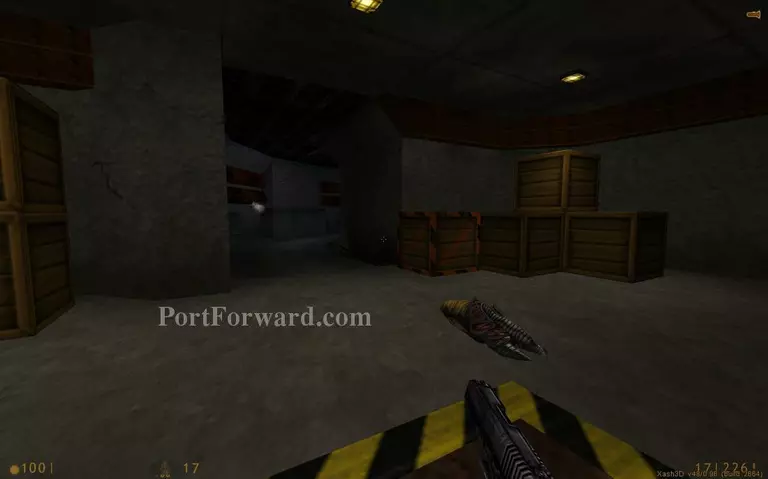
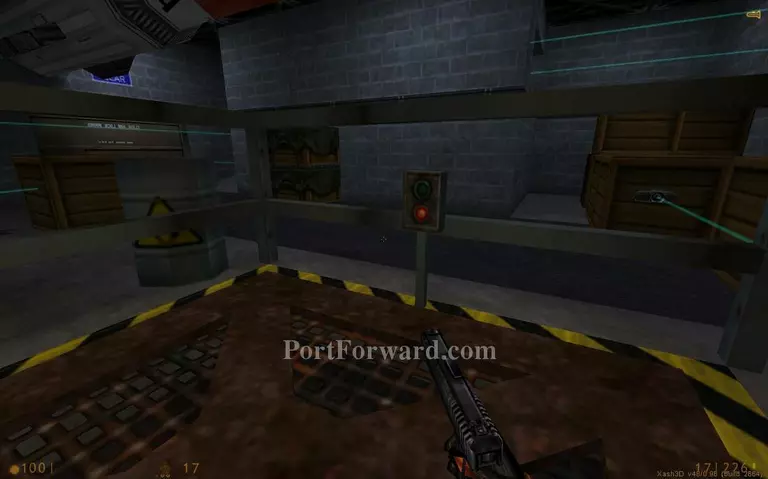
Get the alien gun from the ground. It has unlimited ammo but replenishes at a slow rate.
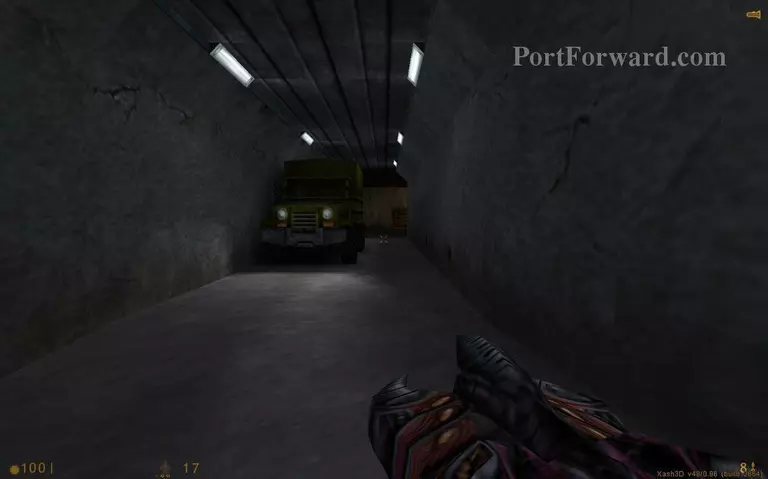
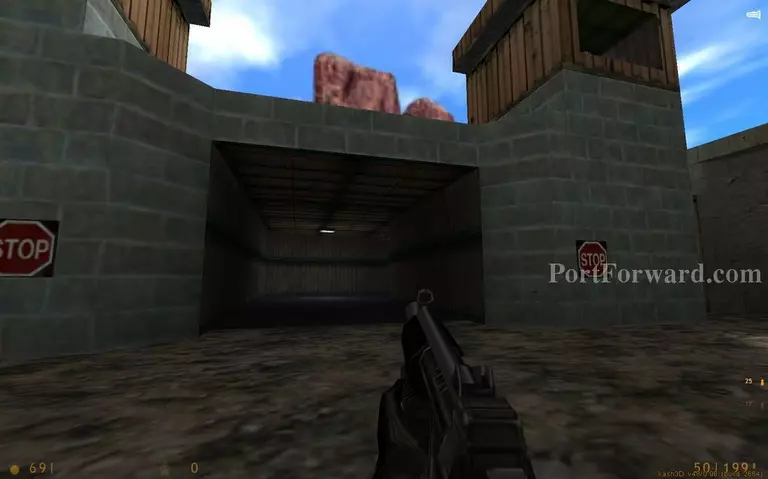
Go down the corridor, beware a turret on the back of the truck.
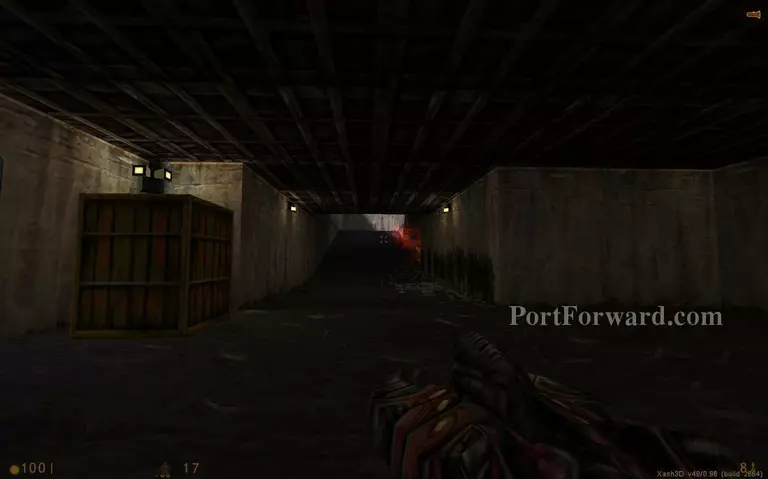
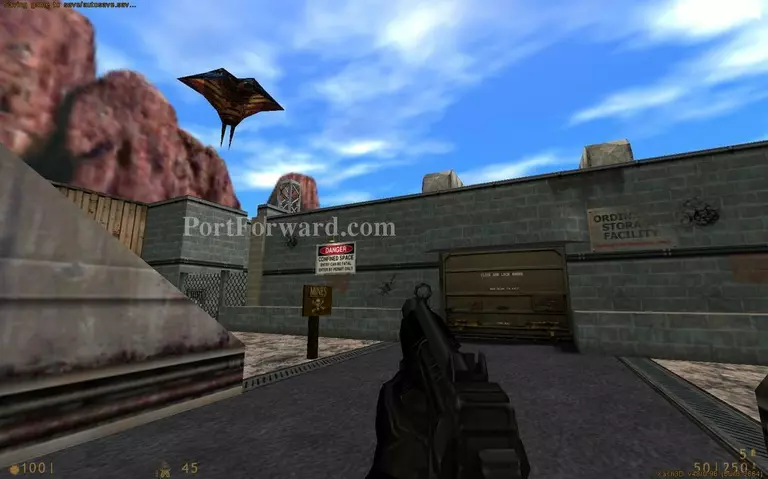
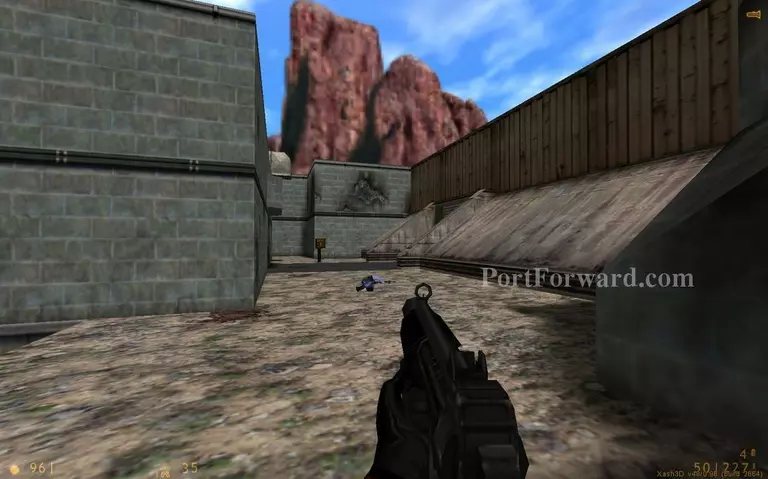
Go outside.
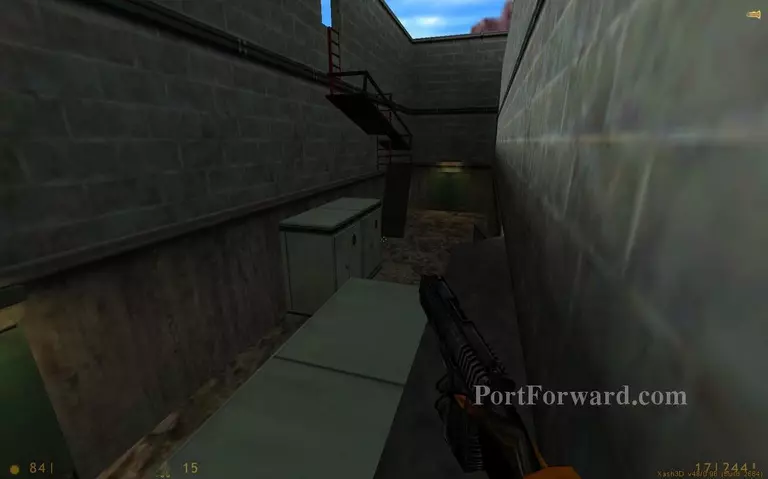
When you destroy an APC go around the building from the left side.
Watch out for a sniper nest.
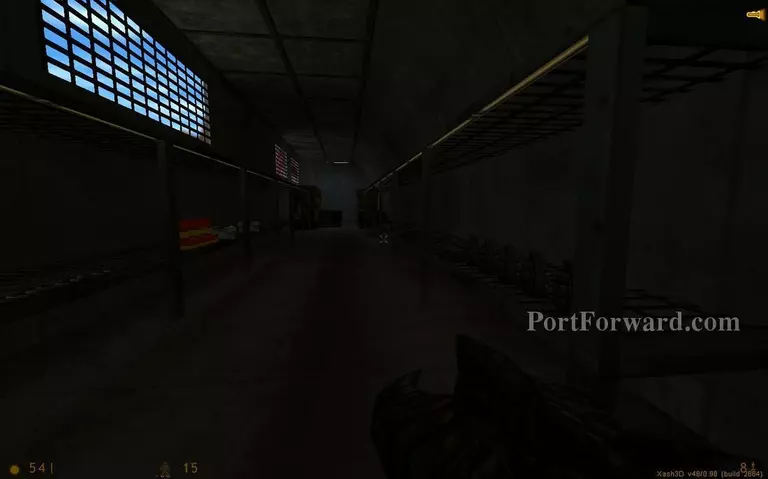
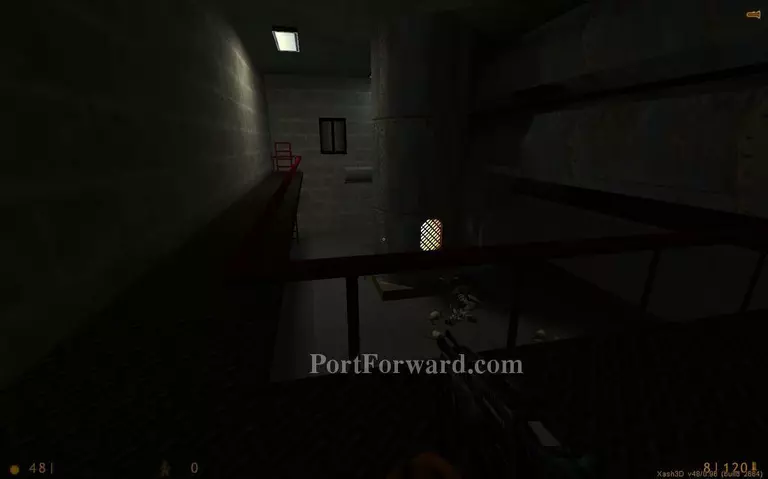
Go inside this building. It seems like the soldiers have taken it as a base.
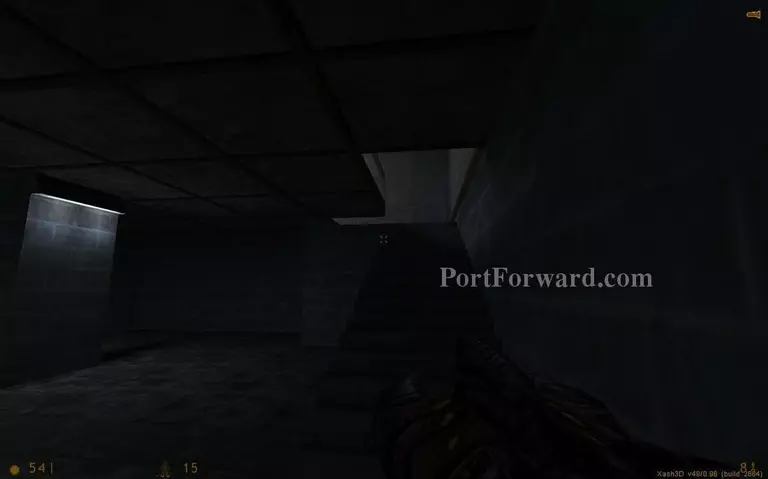
Go up the stairs.
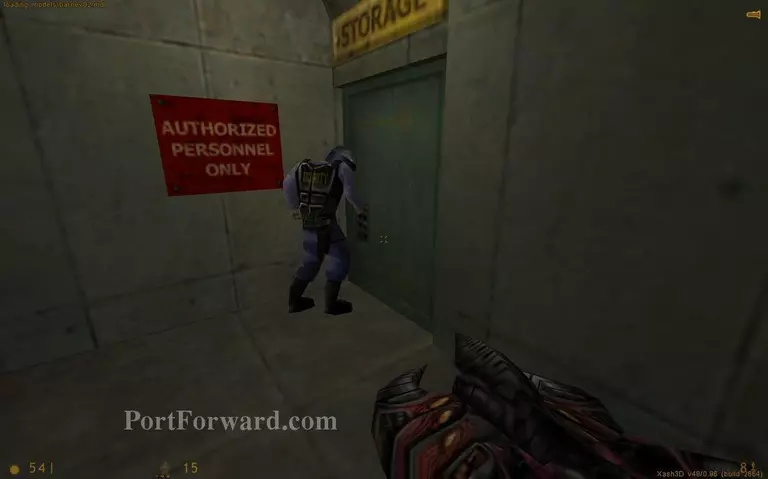
You will find a storage room. Only the guard can open it for you.
Grab all you can carry from here.
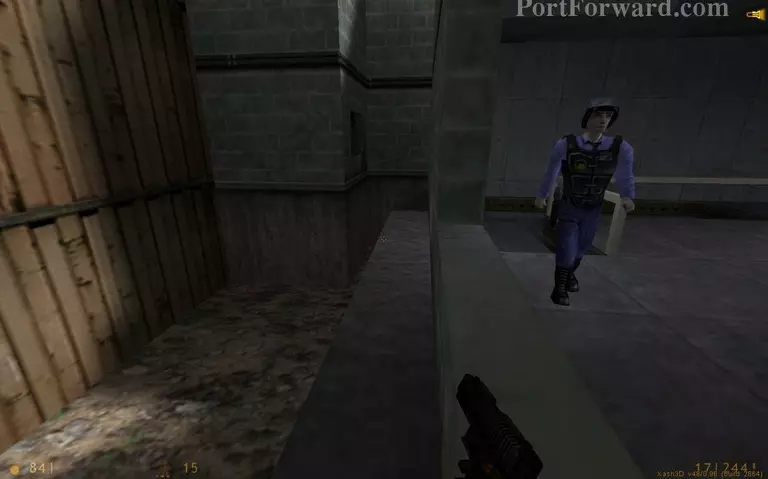
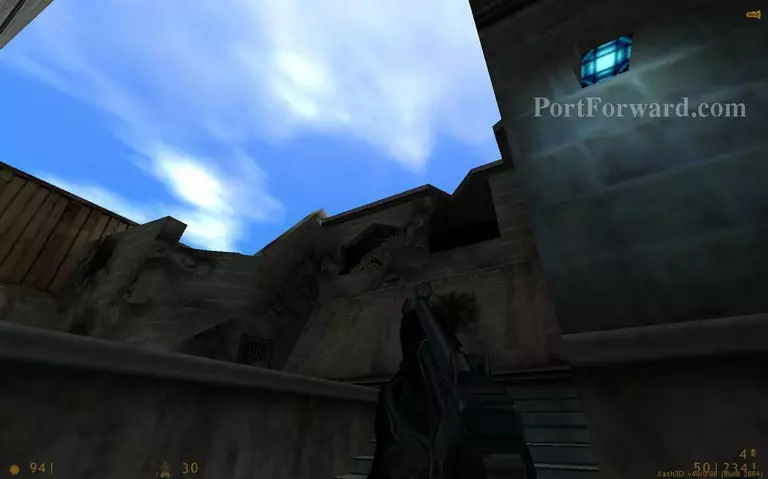
Go outside this window and walk on the ledge.
Jump to the other transformer and then jump on the ladder. It can be tricky.

Climb up the ladder to the top.
Jump on the crumbled piece in the center. Then jump to the doorway.
This area will become a warzone very soon.
The soldiers will drop down constantly here.
Go through the gate on the right when you have the chance.
Fight off the grunts and move forward.
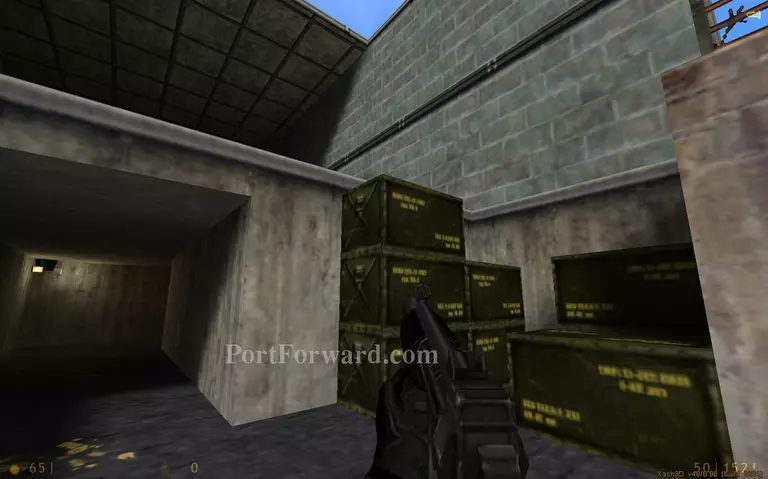
Jump up the green crates.
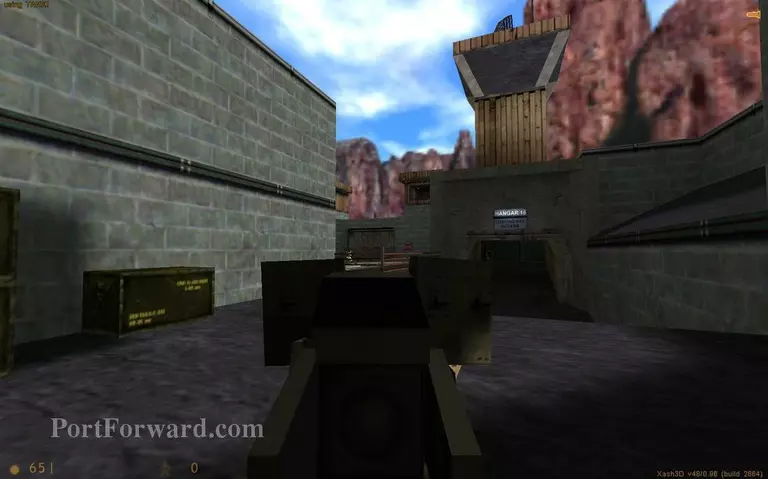
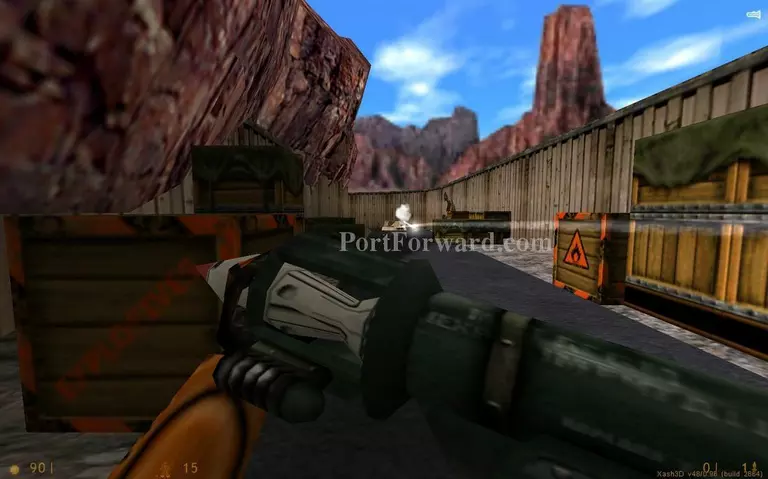
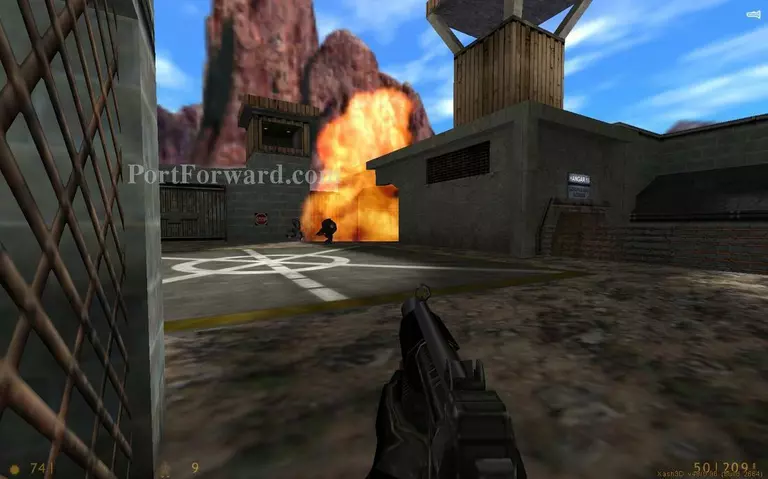
Use the cannon up here. Point it towards the big gate to the left and fire to break it open.
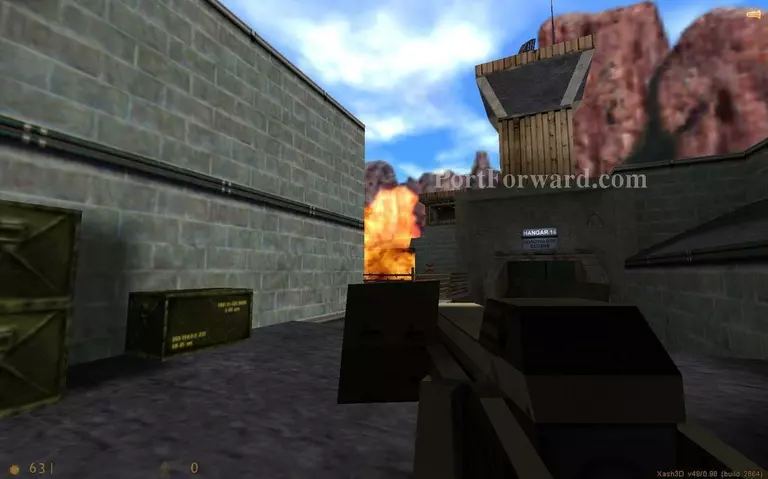
The big explosion is your confirmation for a successful hit.
Get inside the next area.
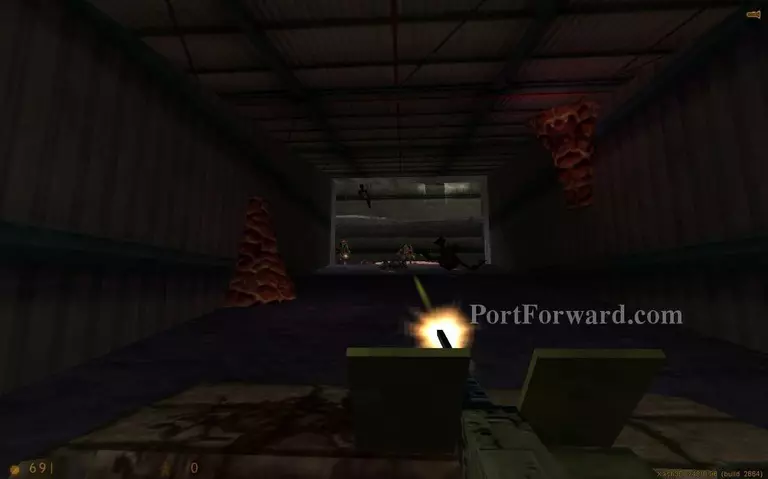
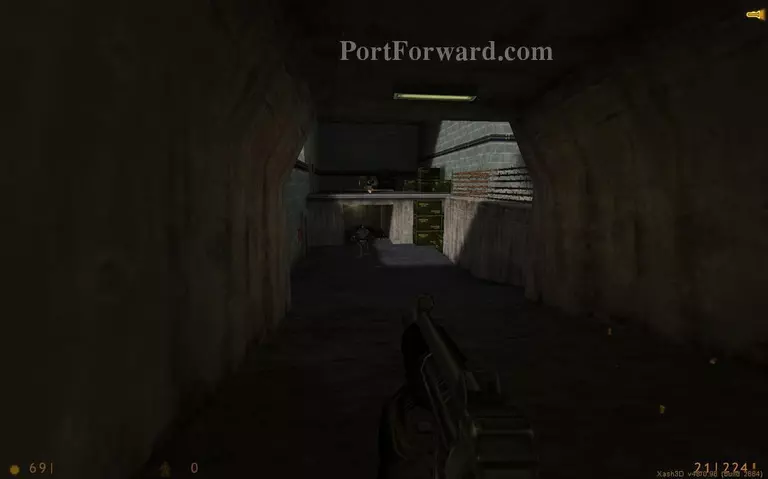
Next corridor will have a machine gun for you. Get on it and kill the spawning enemies.
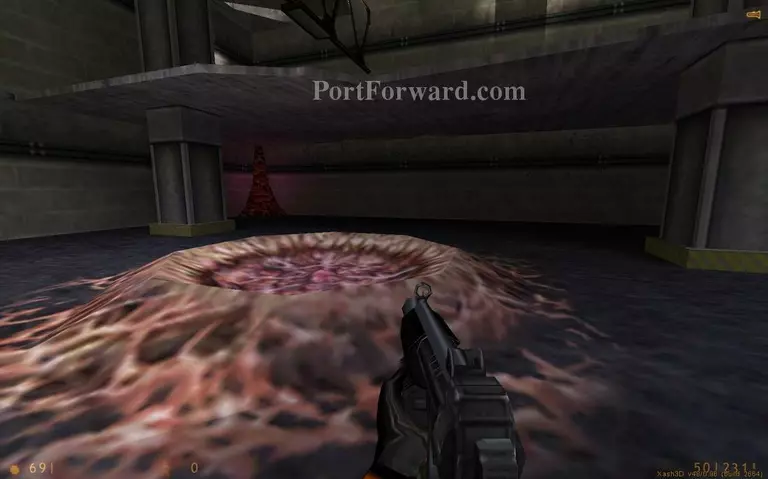
You will see an alien bloat that acts as a jump pad. Just walk over it to jump up to the upper floor.
Jump down here and enter the vent on the right.
The small area in the vent ahead will spawn some of the jumping flea aliens called snarks. Grab ammo for them from there.
When you try to move forward in the vent the soldiers will hear you and shoot the vent down.
Try to go outside.
Back up as the soldiers try to blow up the entrance.
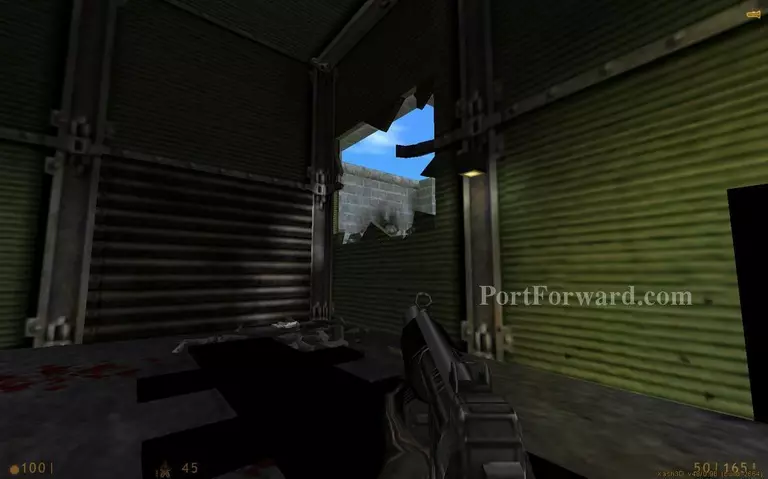
The soldiers will destroy part of the wall. Use the car lift to get outside through the hole.
Use the cannon to make your own way forward.
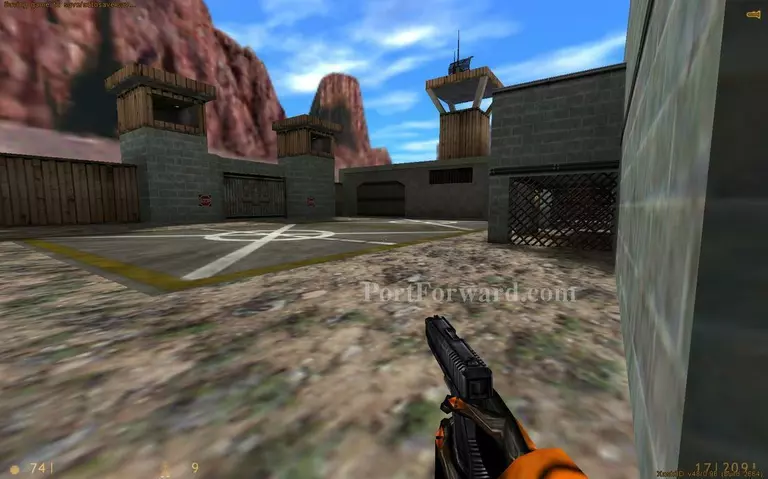
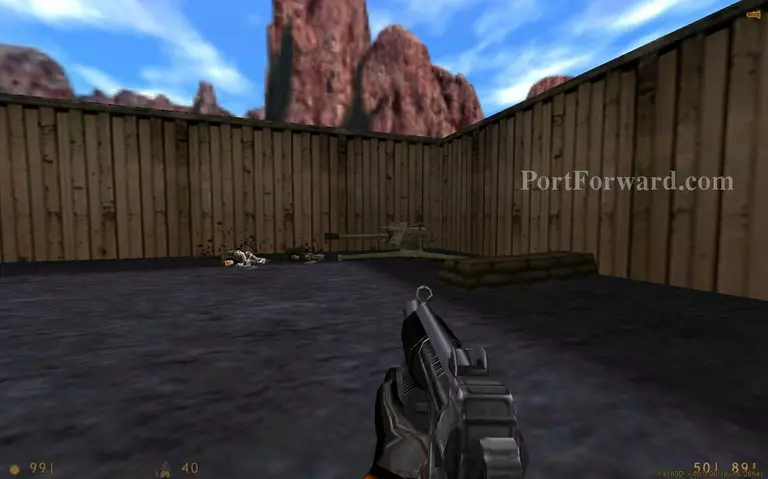
Enter the gate you blew up.
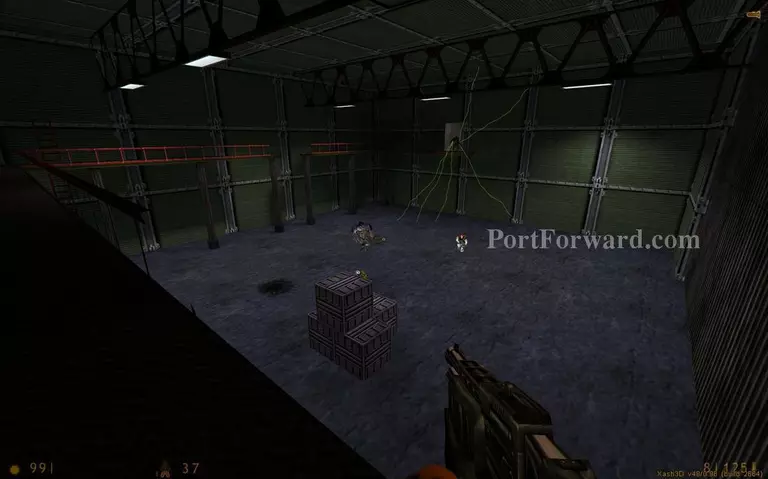
Some aliens are battling it out with the soldiers.
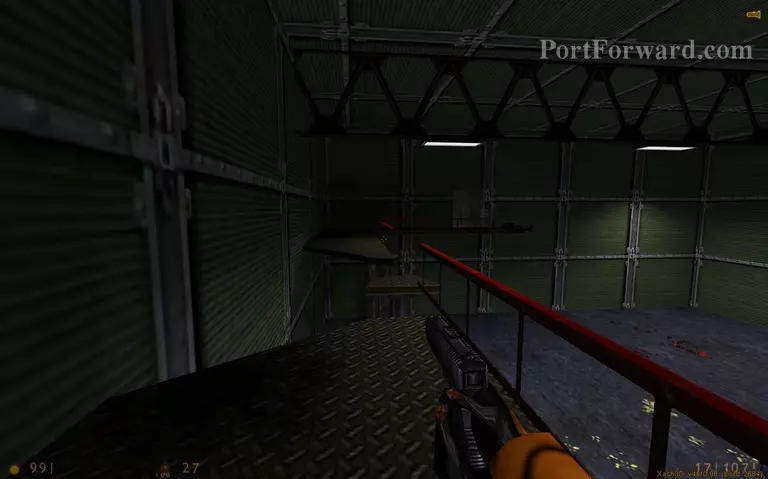
Continue along the upper path and jump when needed.
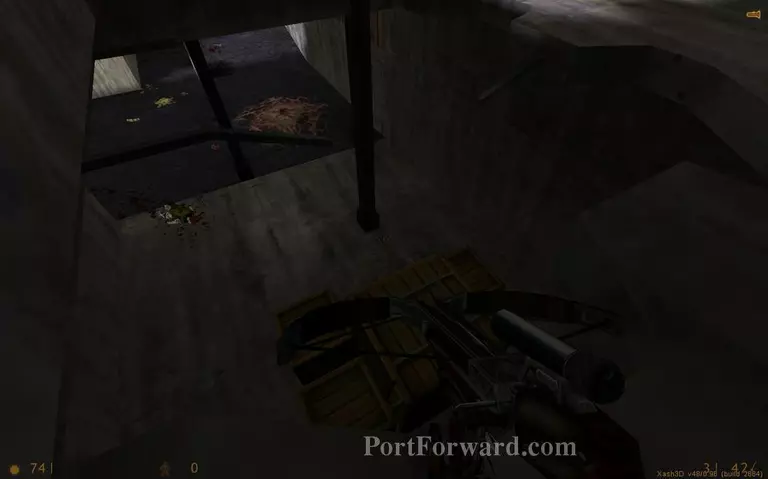
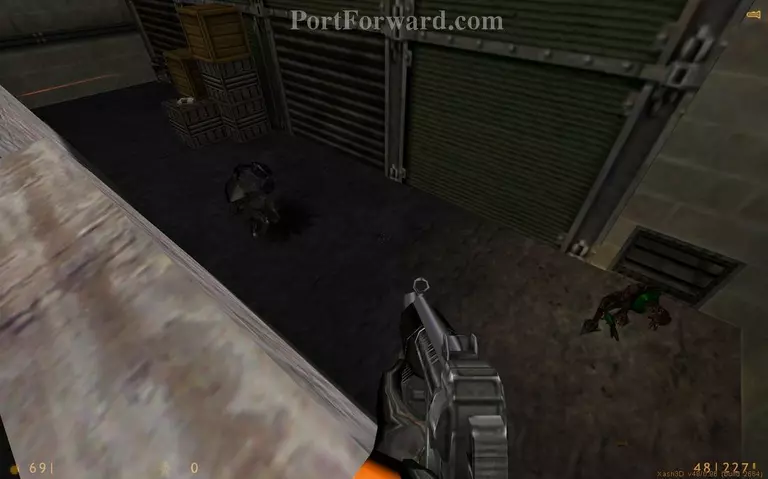
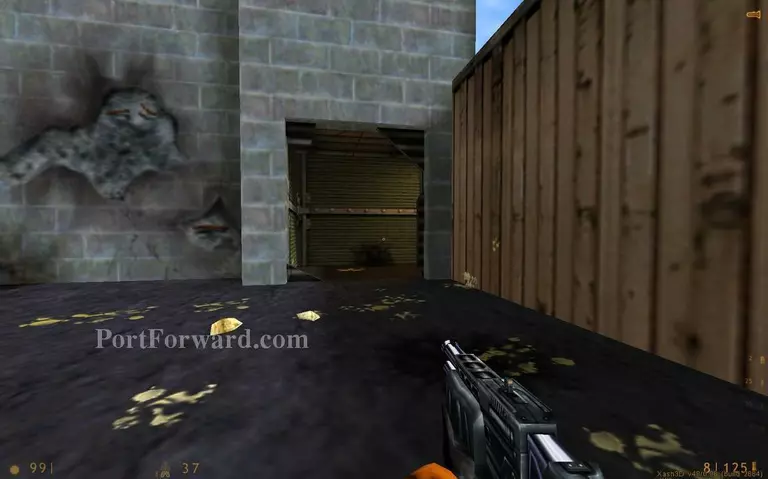
Jump down here to go outside.
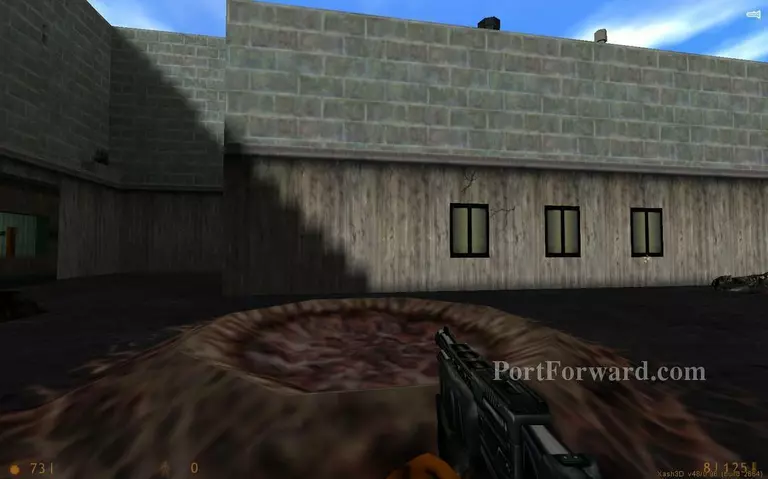
Use the jump pad to reach the roof of the nearby building.
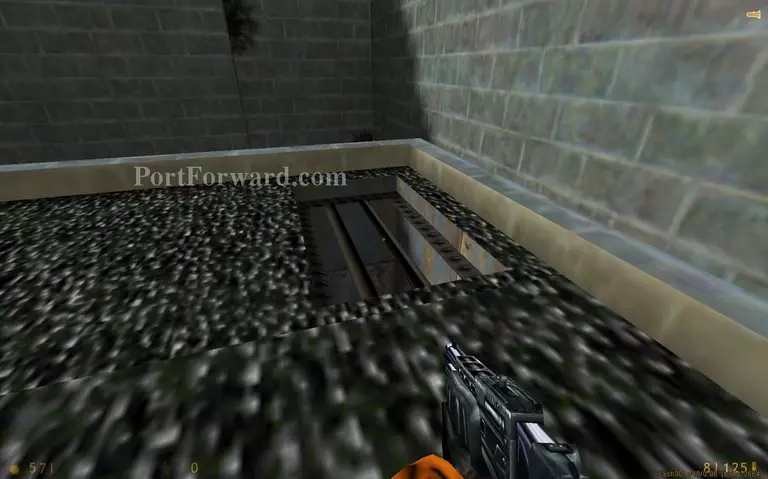
Go down the vent.

Enter a pipe.

The soldiers are expecting you. One of them will throw a satchel charge inside. The explosion will slowly move towards you. You have to back out of the pipe fast.
Hide under the water to avoid damage from the fire. When the fire stops you can enter the pipe again.
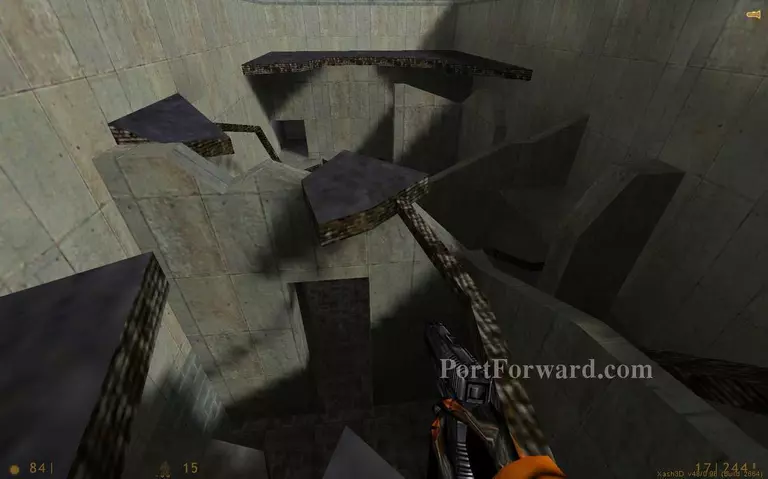
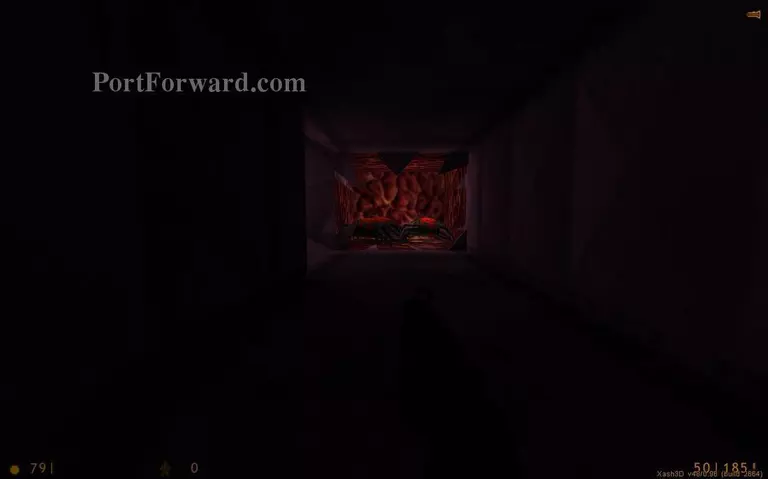
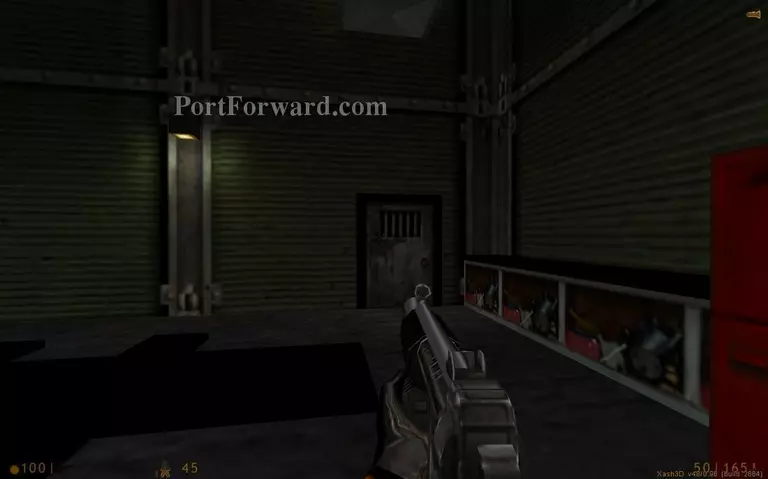
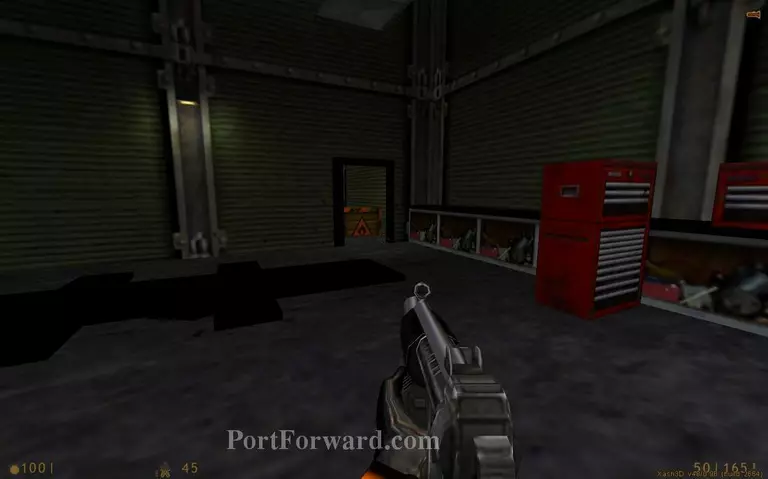
A soldier is swarmed by some headcrabs here. Go left without going down. img(237088); Open the pipe by turning the valve. img(237089); A door is locked here. img(237090); Go up the stairs. img(237091); You will find a guard in hiding. Get him to follow you. img(237092); Go down the stairs and he will open the door for you. img(237093); Go outside and enter the booth that is near the jump pad. The guard will let you in the next area. img(237094); The parking is occupied by a gargantua. Now is a good time to run in the opposite direction of this tunnel. img(237095); When you exit the tunnel use the jump pad to go over the wall. img(237096); Climb up the container with water and reach the big silo up the pipe. img(237097); You can call in mortar strikes with this device. Use the leftmost lever to move the target up and down. Use the rightmost lever to move the target left and right. Press the button in the middle to fire. img(237098); You can get rid of the garg easily this way. img(237099); Fire on the gates to open your way forward. img(237100); Fire down on the tower in front of you to bring it down. img(237101); Destroy the wall next to the tower. img(237102); Now you can pass over this makeshift bridge to the other side. img(237103); Enter the large passage. img(237104); Go up the ramp here. The military has started a full artillery barrage now.
More Half-Life Walkthroughs
This Half-Life walkthrough is divided into 18 total pages.


