
This Hitman 2: Silent Assassin walkthrough is divided into 24 total pages.
You can jump to nearby pages of the game using the links above.
13 - The Jacuzzi Job
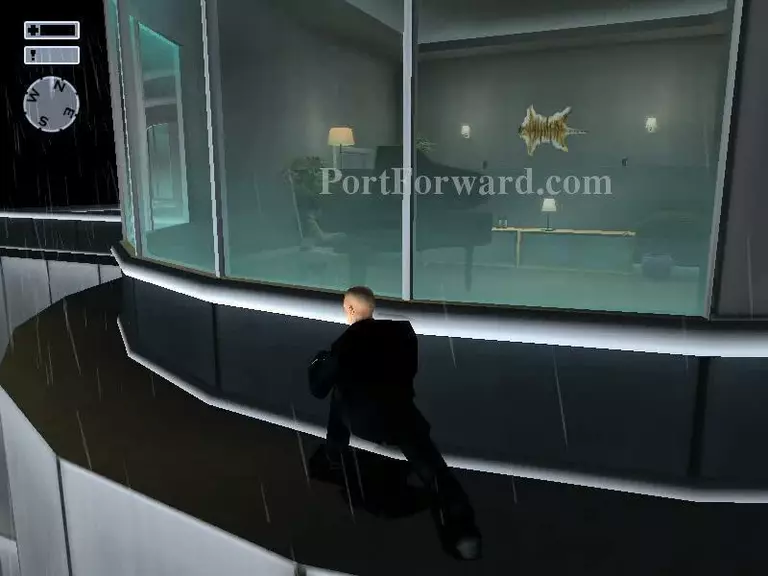
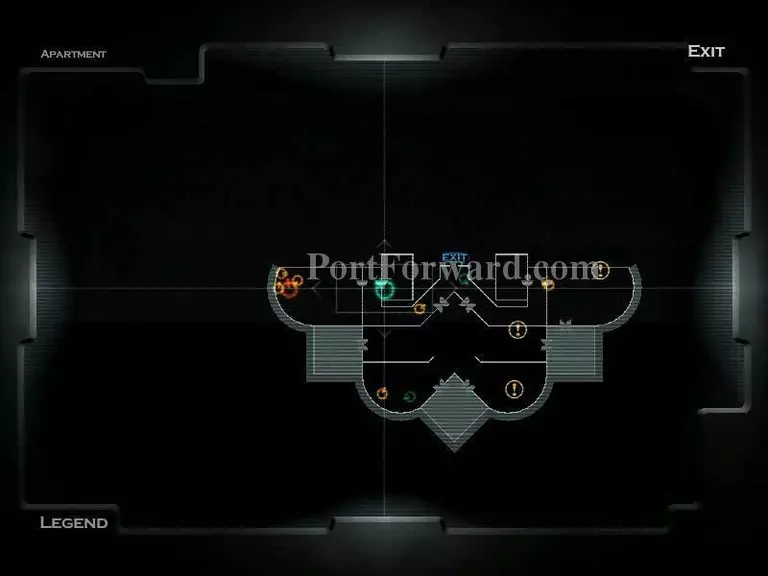
Make your way through the here until...
Here.
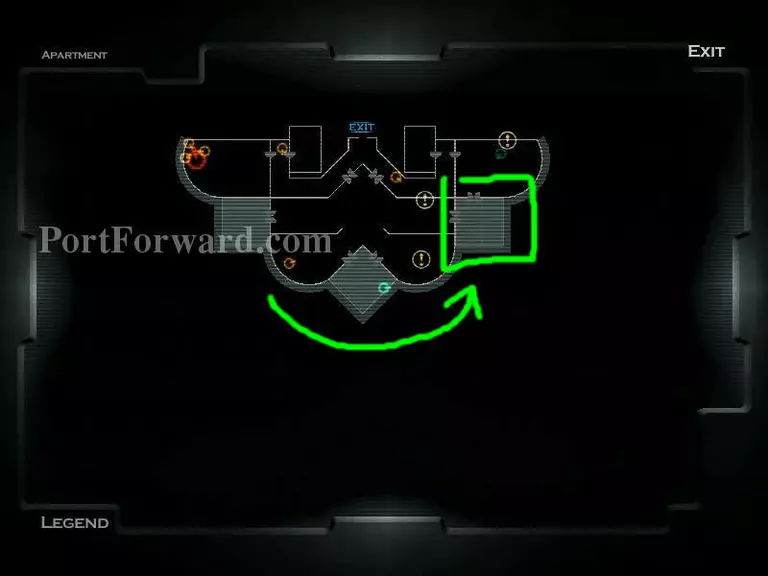
Do not enter the room. Wait for the woman to go somewhere. Observe her movement in the map.
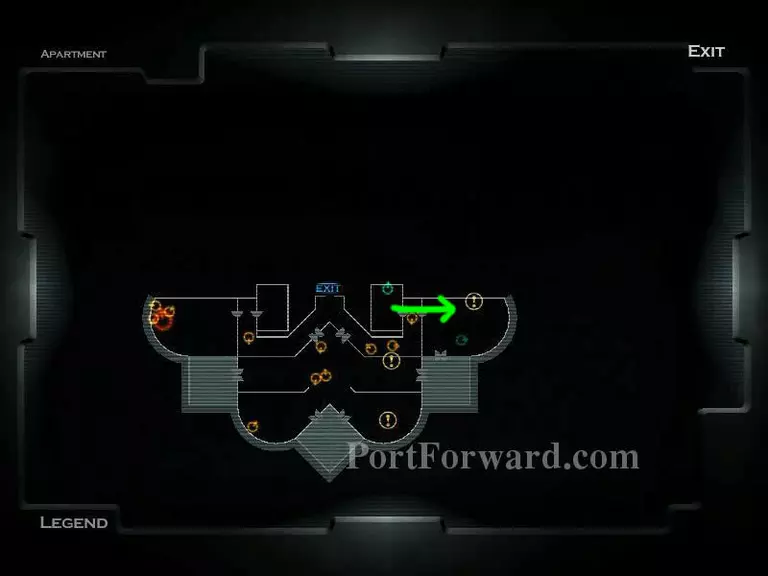
When she's gone, go to the marked room.
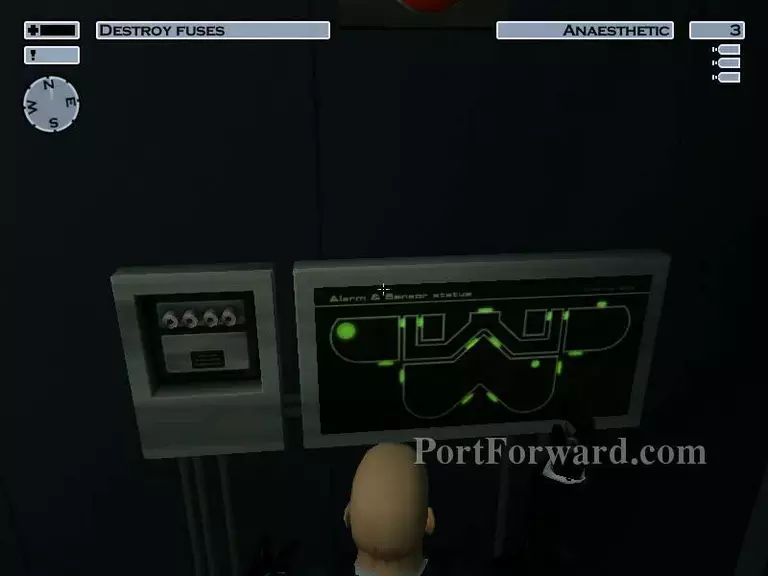
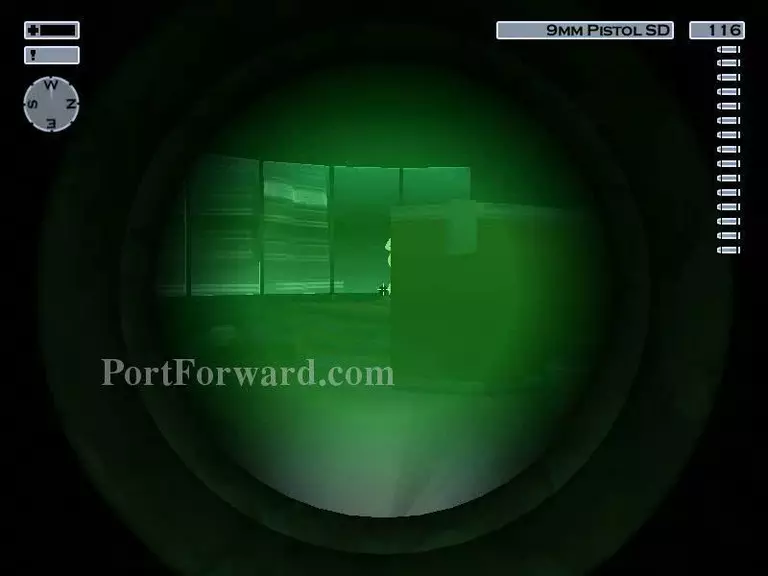
Destroy the fuses and get ready to move in the dark.
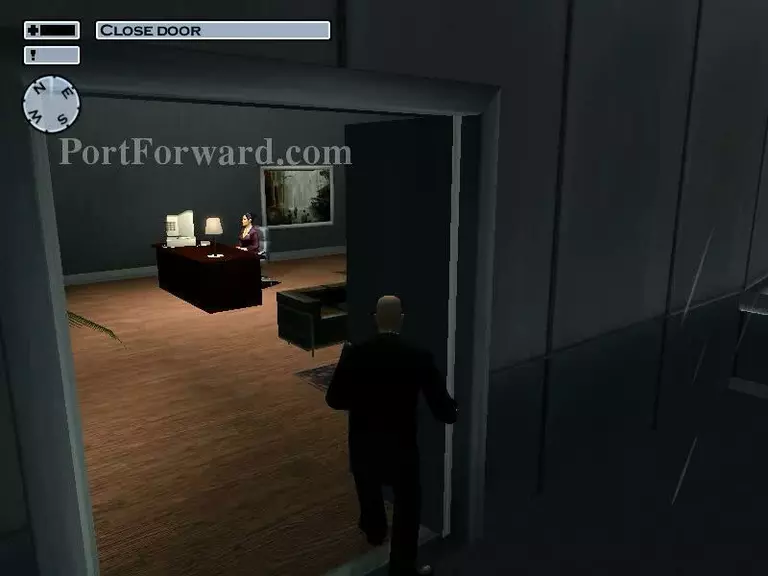
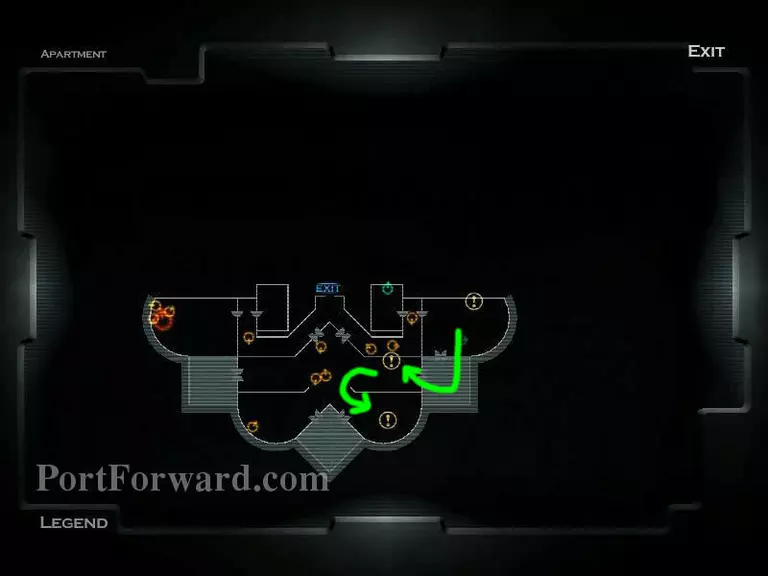
Then, go back to the room before to take the cash.
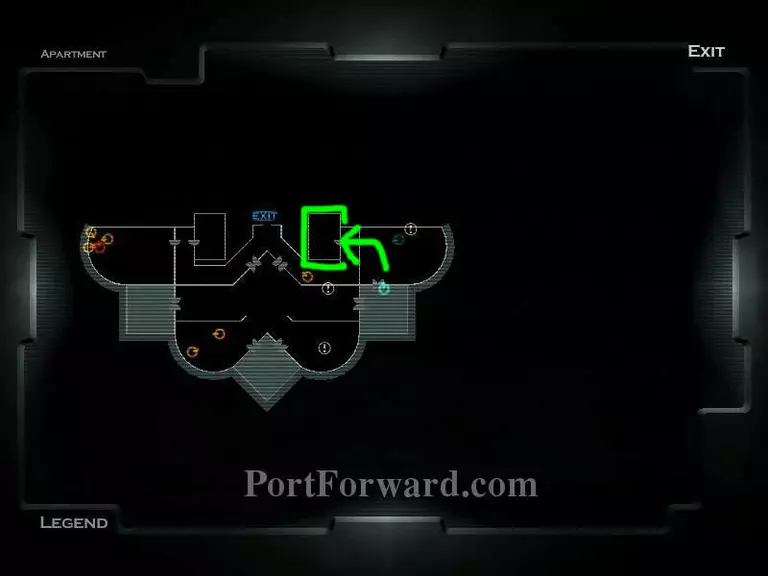
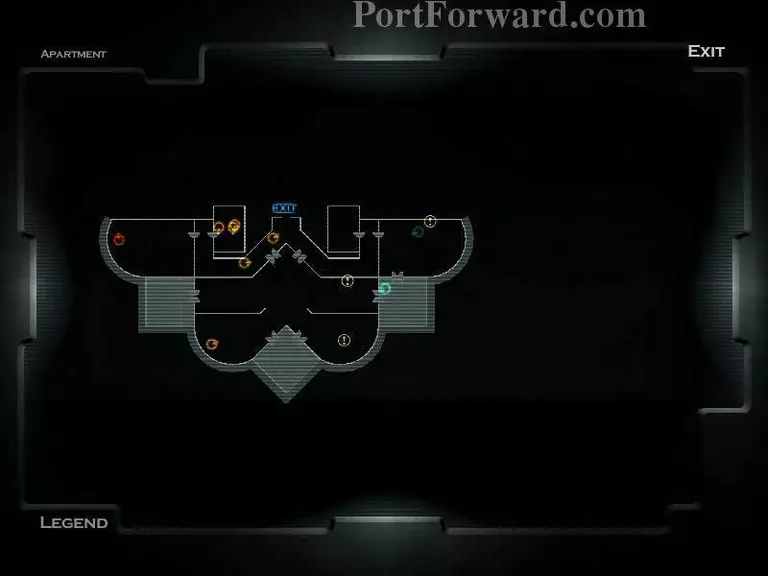
After that, go to the first pointed location (in the picture) to take the statue and the second one to take night vision.
Now hide. When the power goes back on. Wait for a chance to destroy the fuse again.
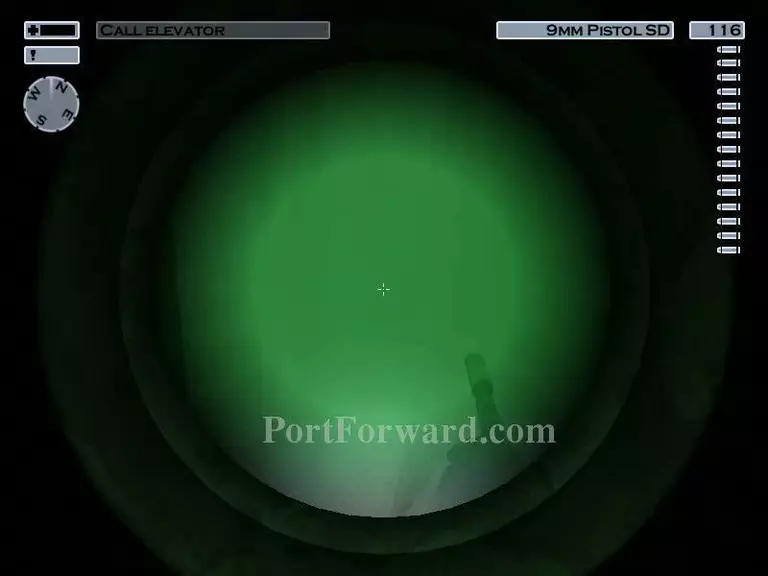
Now you can kill your target. It'll be much easier using nightvision. But before move into the target's room. call the elevator for escape.
Enter the target's room. Just as you can see his head, trigger your silenced gun.
Watch out for guards to avoid detection.

Simply, go back to the elevator to escape. -end-
More Hitman 2: Silent Assassin Walkthroughs
This Hitman 2: Silent Assassin walkthrough is divided into 24 total pages.


