
This Hitman 2: Silent Assassin walkthrough is divided into 24 total pages.
You can jump to nearby pages of the game using the links above.
16 - Tunnel Rat
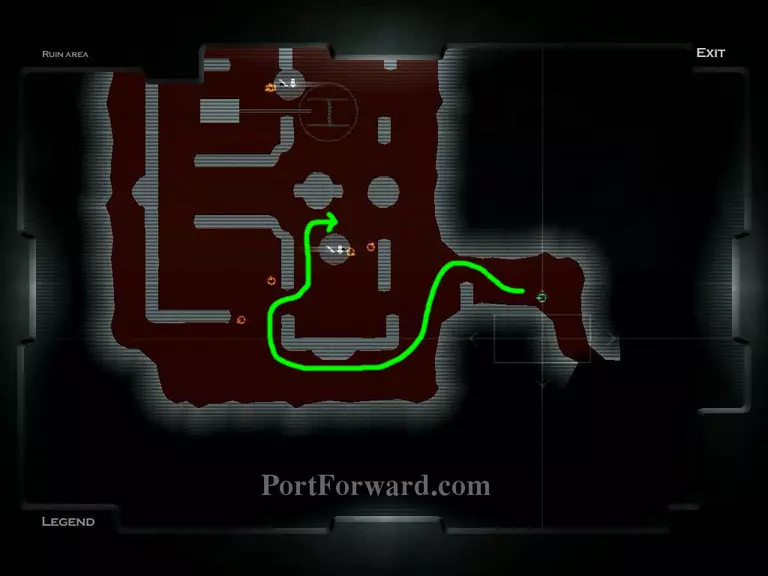
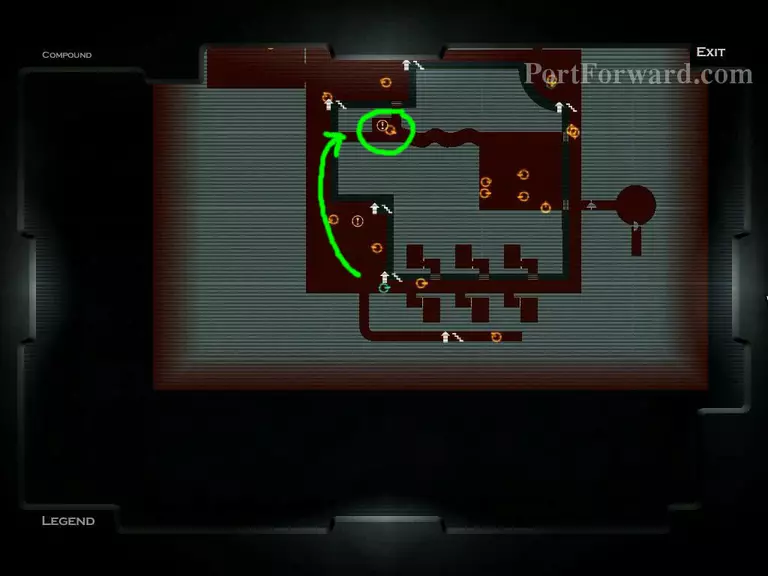
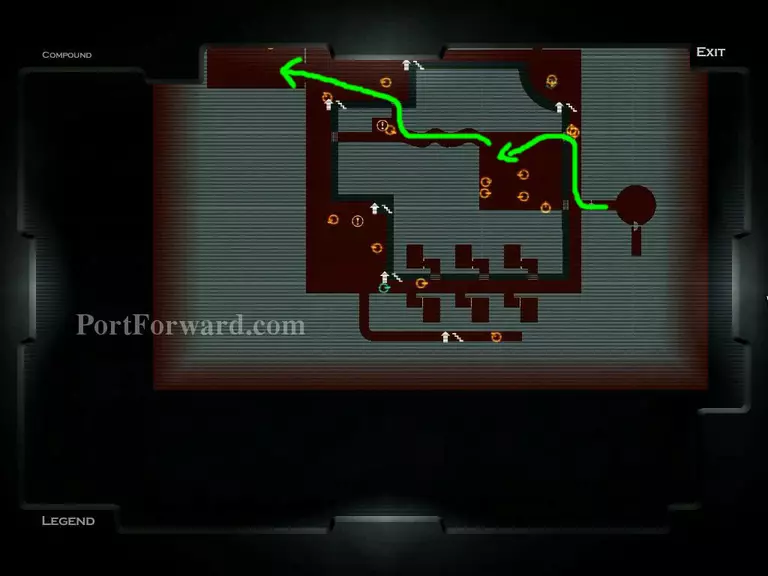
First of all, run to the pointed location through the arrow path. :)
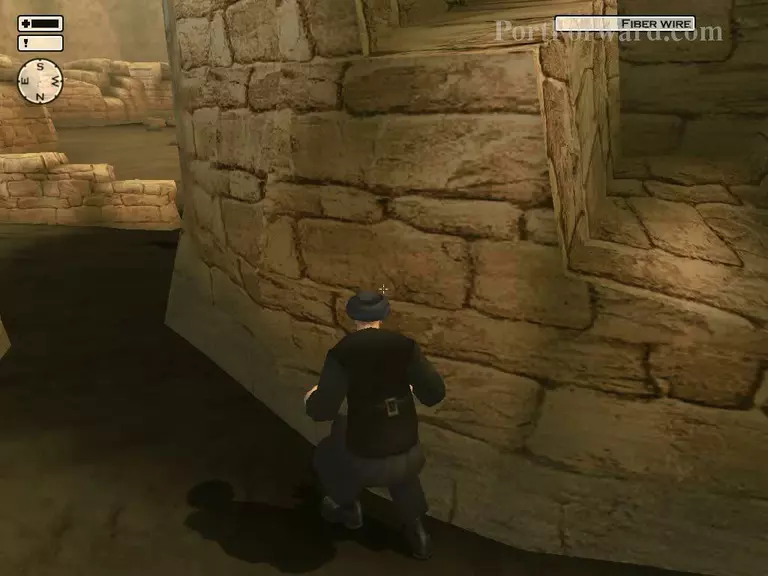
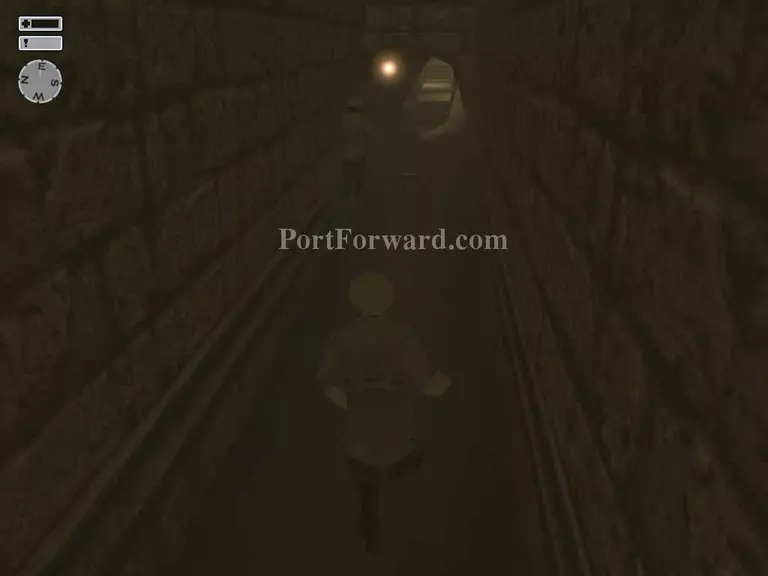
A disguise is required. Start sneaking and...
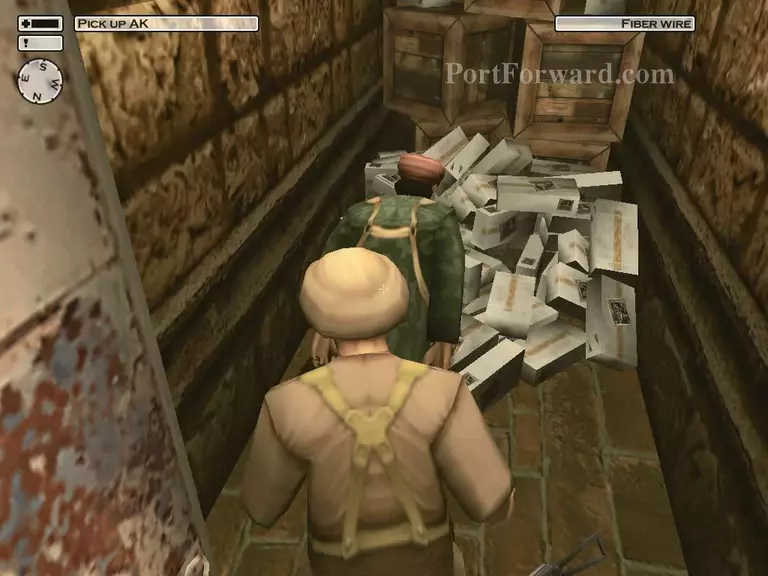
Kill/Knock out this guard to take his clothes.
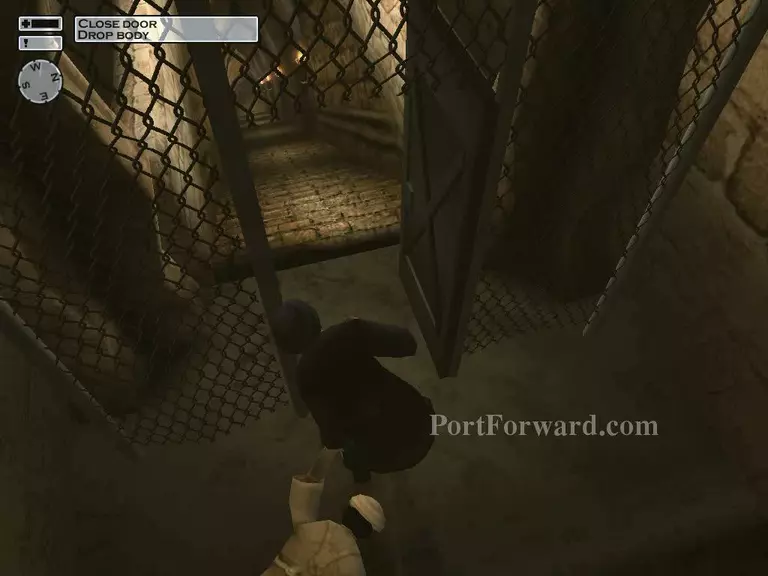
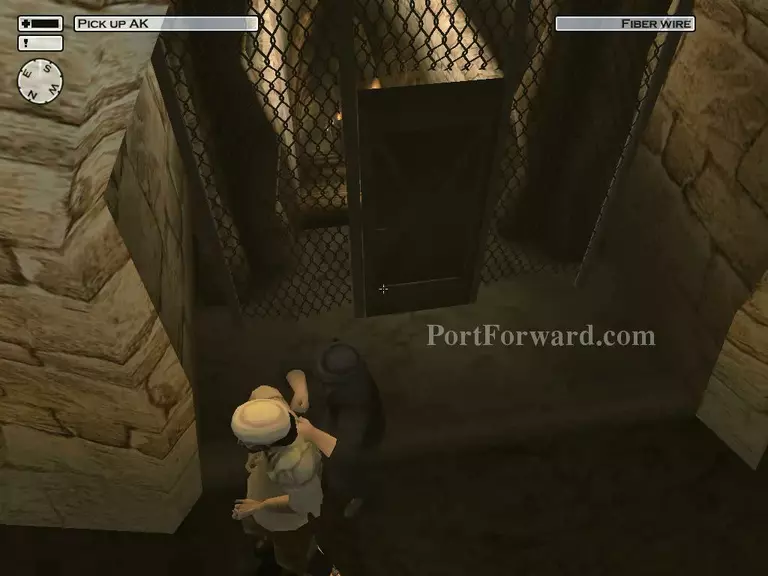
Hide his body inside.
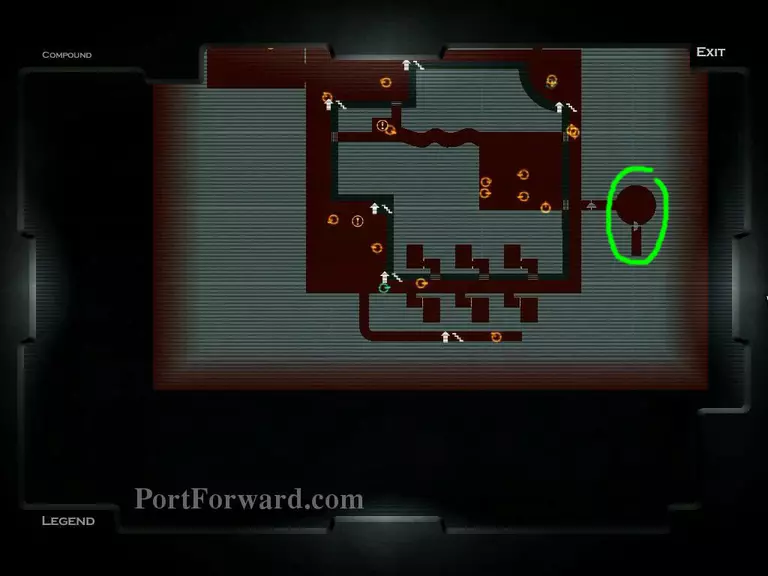
Go to the power generator located as shown in the picture.
Sneak behind the guard to turn off the power.

When the power is off ...
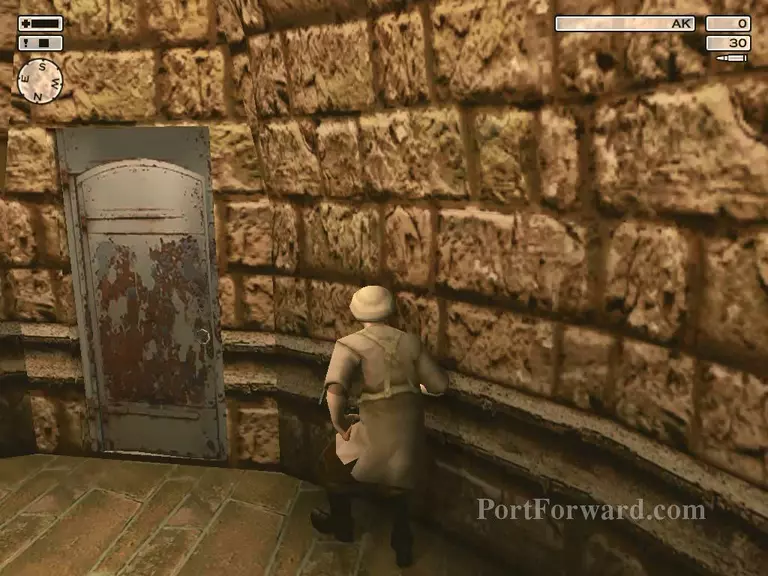
Go here.. Magically, the guard will not stop you from entering the target's room even though the light already turned on. *Sometimes/maybe not work at certain conditions. Need to load and try again.
In the target's room, sneak before open the second door.
So that you can kill him without noise.
Then, go to weapon rack located in the middle (sort of) of map. Take the M60 (recomended for last mission - you'll like it). After that, head to the elevator.
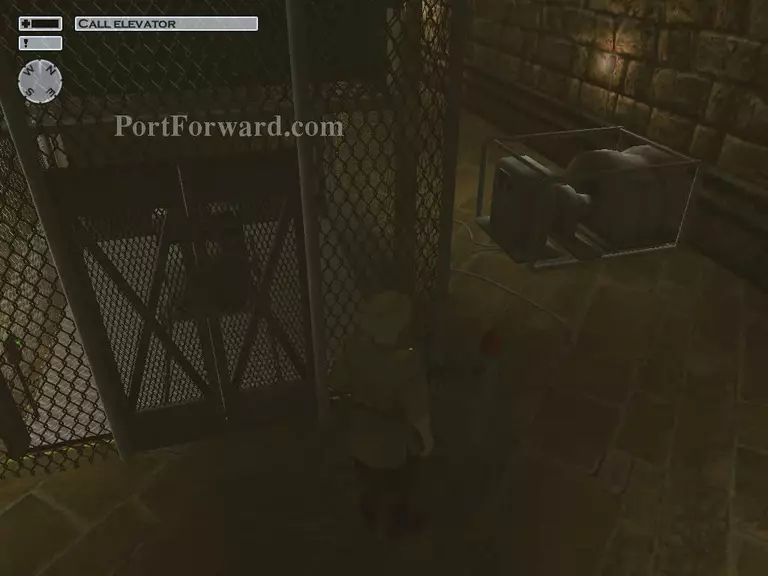
Call the elevator and go to the surface.
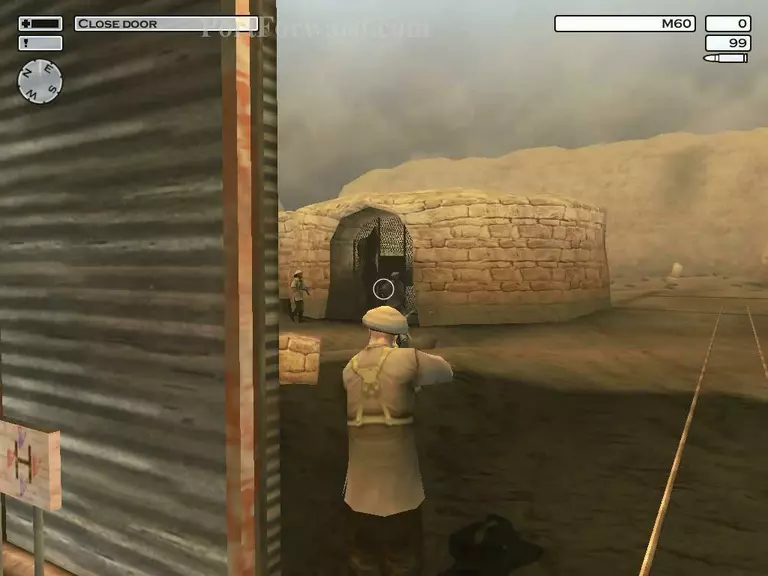
To end this mission, you've to kill/knock out two guards outside this building. Remember: How you kill will affect the rank. -end.
More Hitman 2: Silent Assassin Walkthroughs
This Hitman 2: Silent Assassin walkthrough is divided into 24 total pages.


