
This Ib walkthrough is divided into 10 total pages.
You can jump to nearby pages of the game using the links above.
Team Puzzle
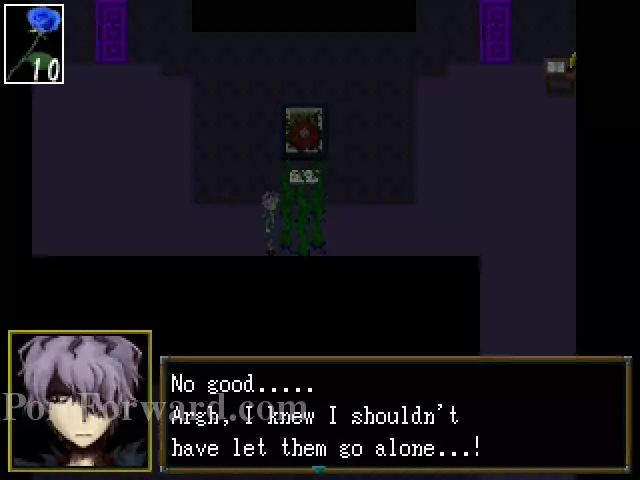
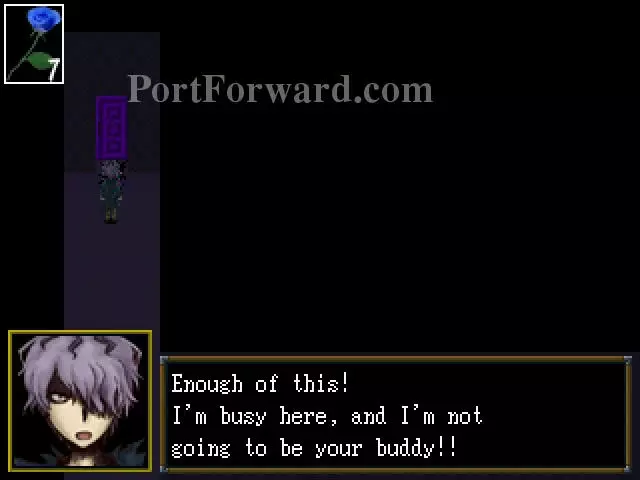
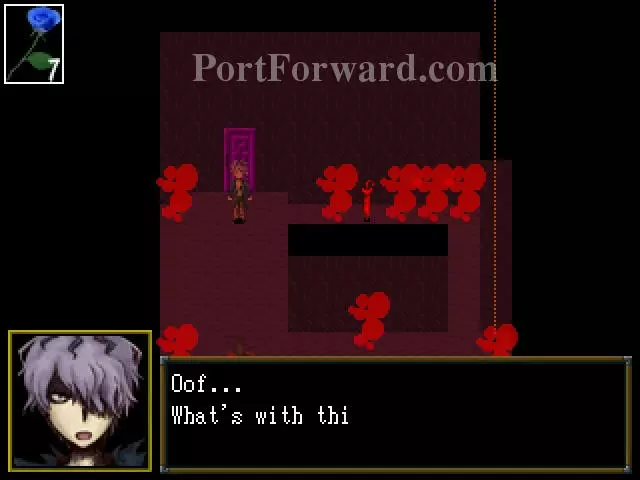
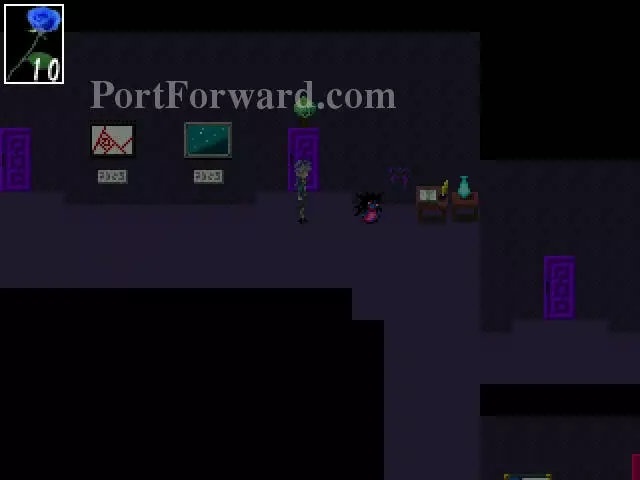
Once you gain control of Gary he's going to do a bit of talking. After he's finished head back into the room with bunnies.
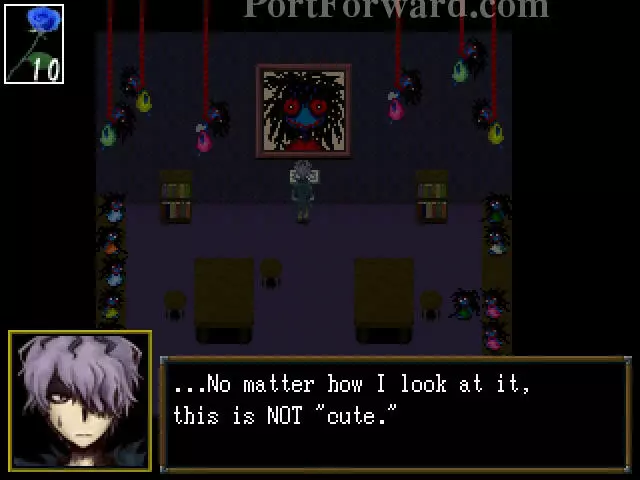
Now that you're inside the room you'll know why Gary was freaking out about the whole bunny room.
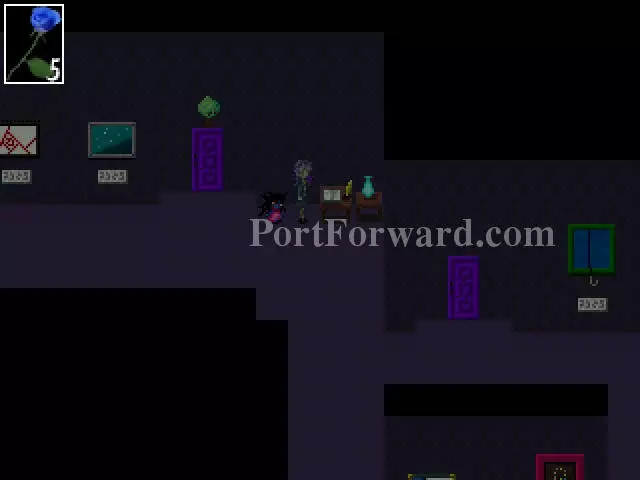
Examine the bookshelf on the right side and it will move on its own. A hole behind it will be revealed and you'll be able to get out through here.
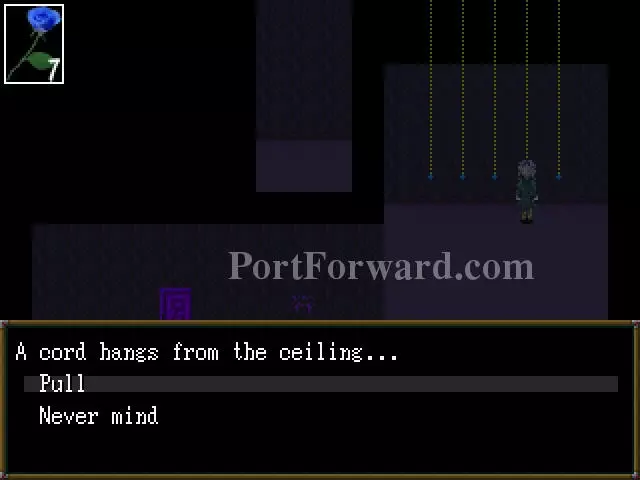
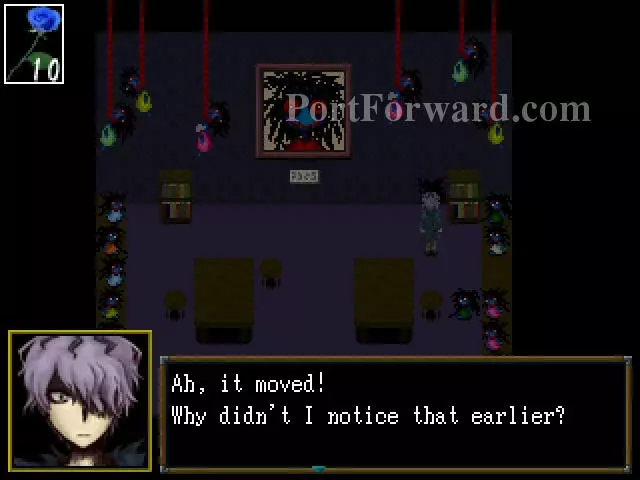
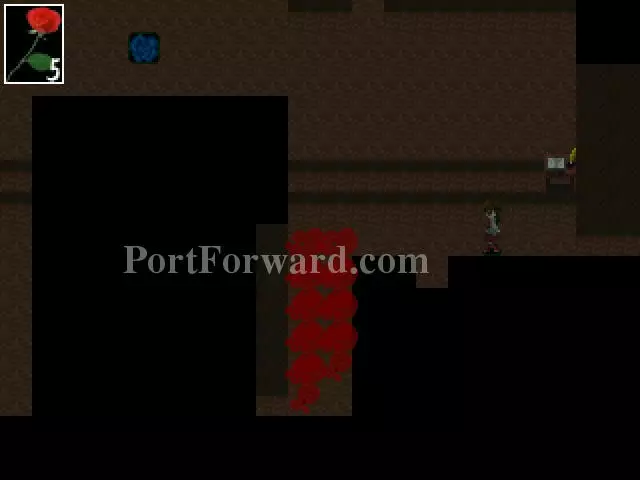
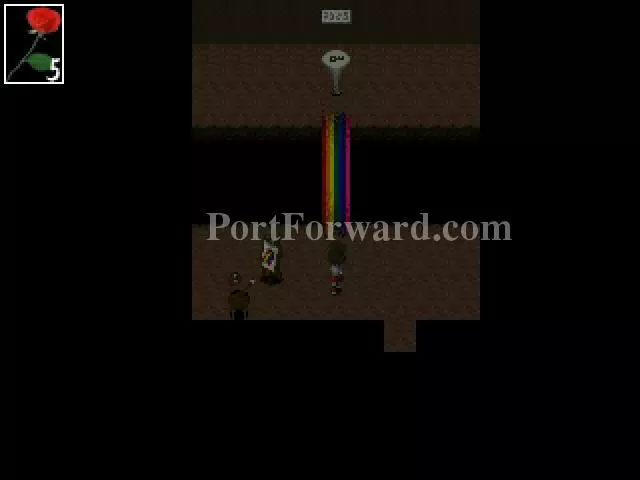
In the next room you'll see a series of cords hanging down from the ceiling. Examine the 2nd one from the right and pull it down. A small cutscene will show you that a painting in the room Ib and Mary is in has moved.
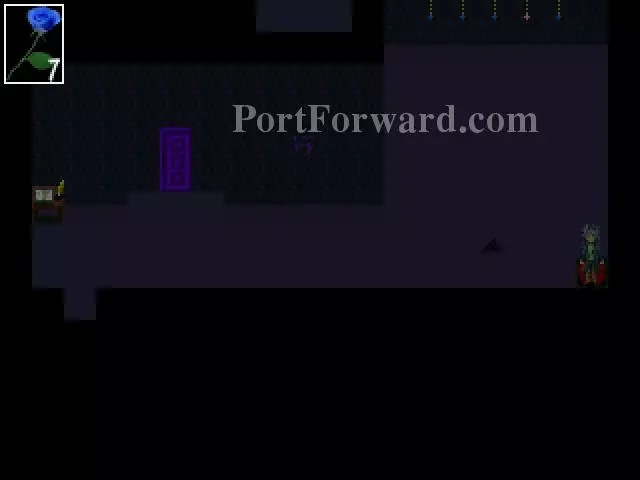
Head for the red portal on the lower right corner of the room and examine it to regain control of Ib.
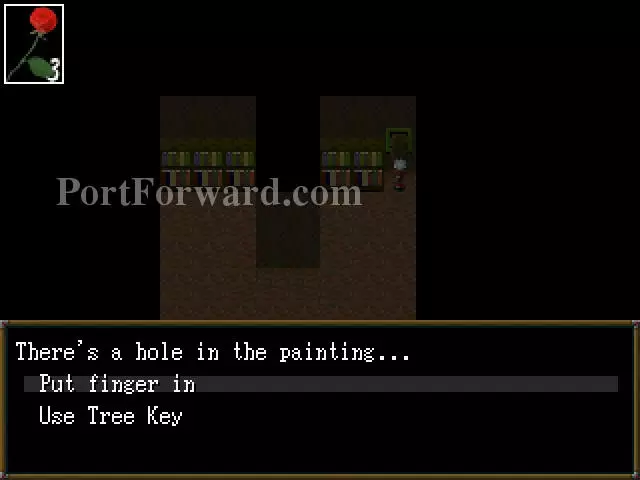
As Ib examine the portrait that moved down and choose to cross it. Ib and Mary will then cross to the next side.
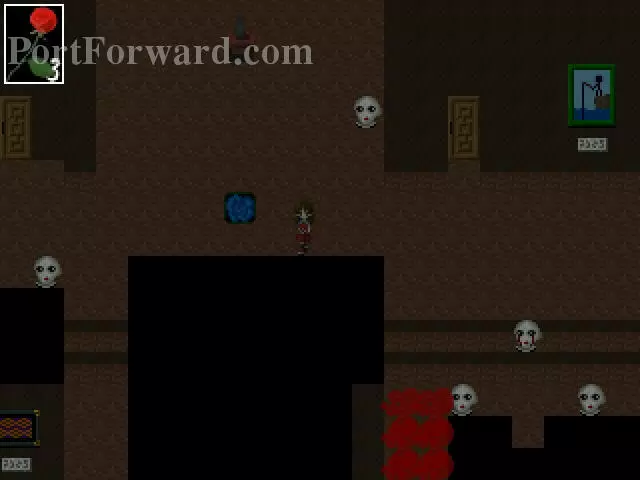
Before you leave the room start pushing a triangle box towards the gap on the floor until it falls over. Once it falls you can leave the area through the door on the left side.
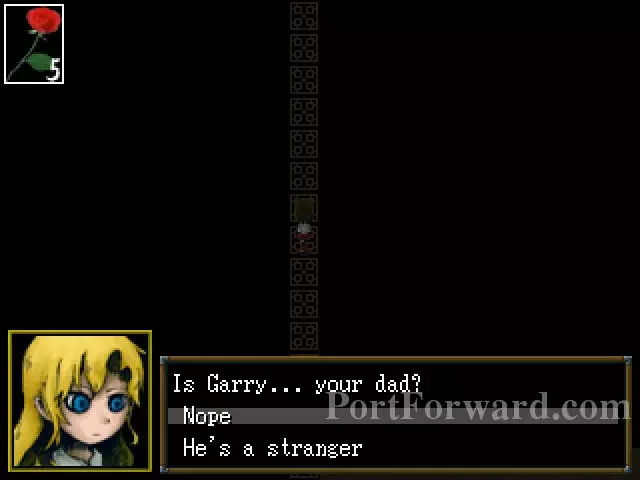
Follow the path and Mary will trigger a dialogue with Ib. You can answer as you wish but it will possibly affect the ending you'll get. Once that's finished head on over the the door at the end of the path.
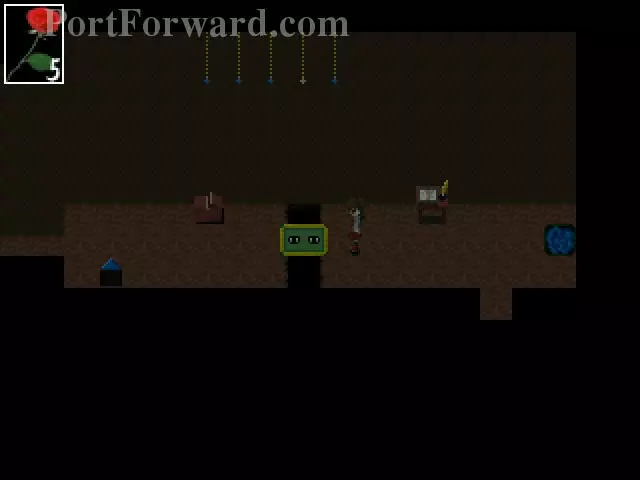
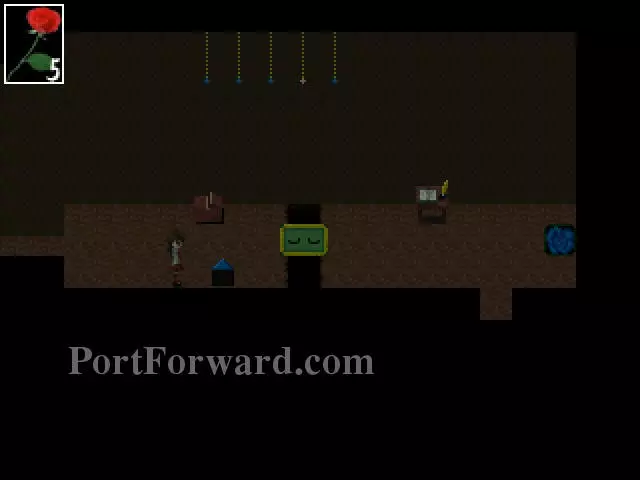
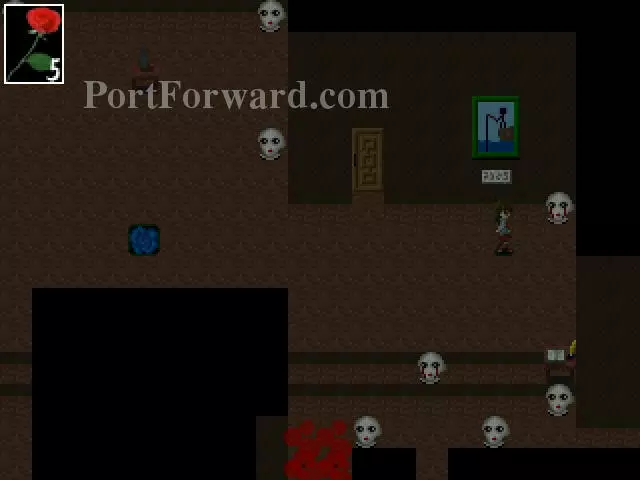
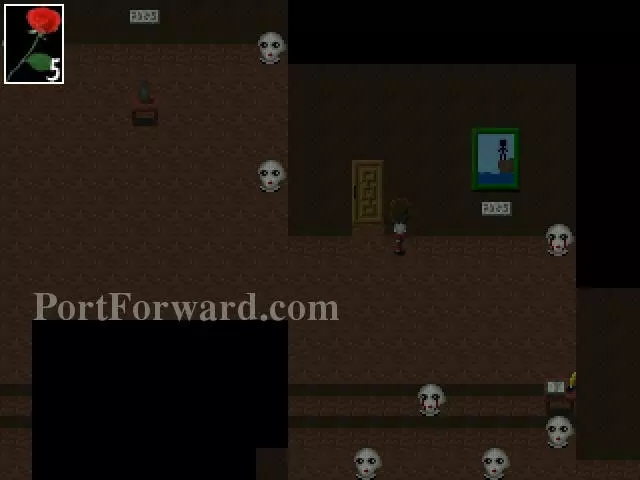
In the next area head for the door that's immediately to the south.
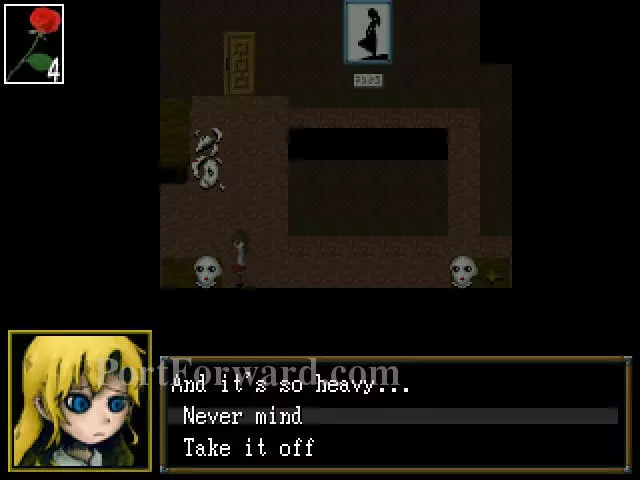
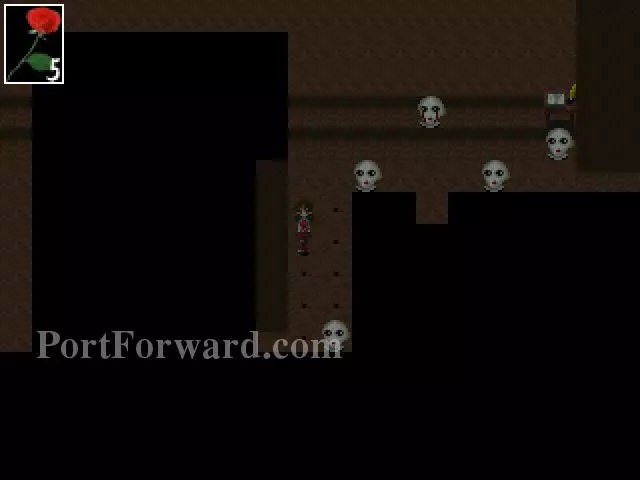
Ignore the other mannequin heads as they will only damage you. Just take off the mannequin head on the south side of the room. It will fall and crack the floor. Then take the tree key from the table on the lower left side of the room and head outside.
Once outside proceed left and then down. There's another room here.
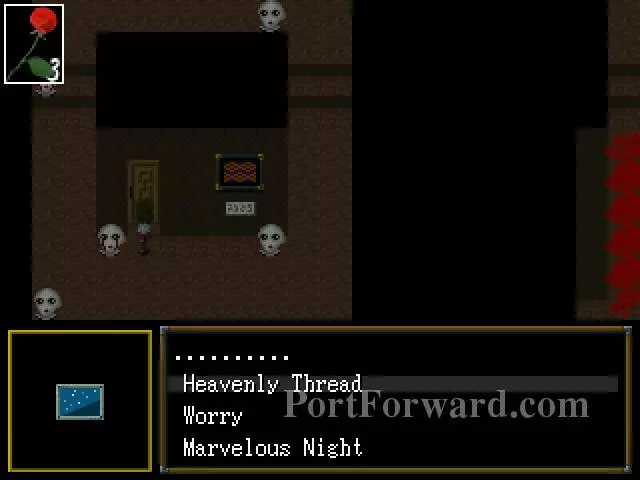
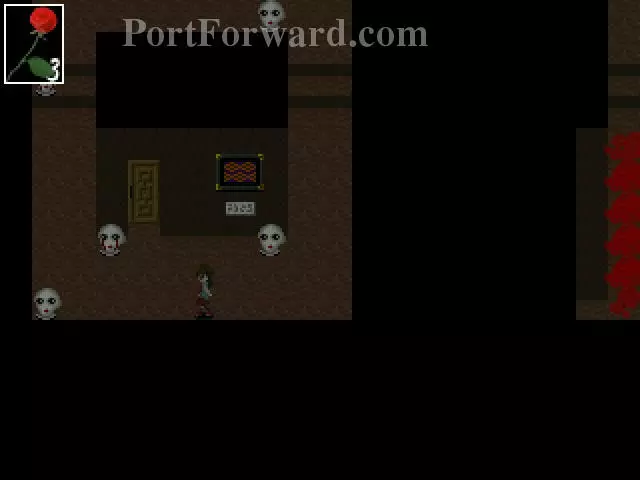
Examine the room and it will ask you a question. The answer can actually be found if you move to Gary but let's not waste time doing that. The answer is "Marvelous Night."
Inside the room there's a lone painting on the right side of the room. Examine it and use the tree key on it. It will unlock a door that will help Gary.
After you use the tree key head back outside, save your game and examine the portal to regain control of Gary.
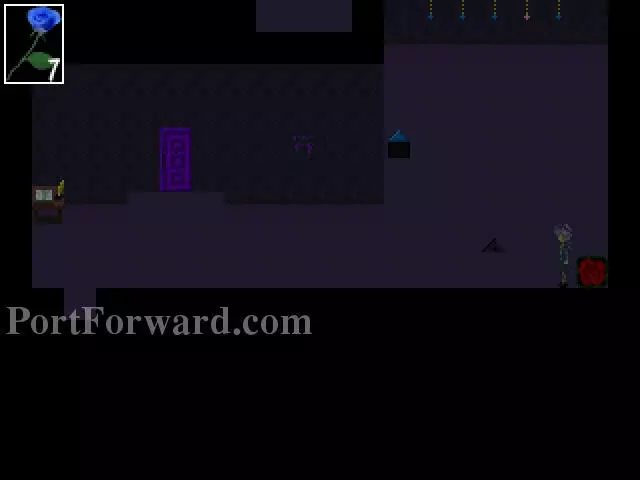
As Gary you'll see that the block Ib pushed down the gap is now in Gary's area.
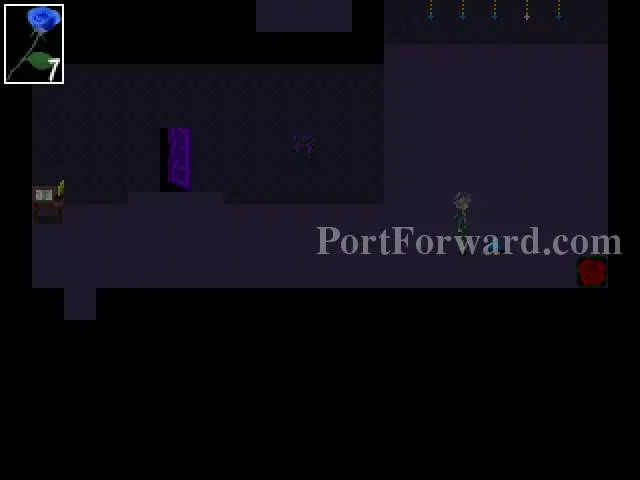
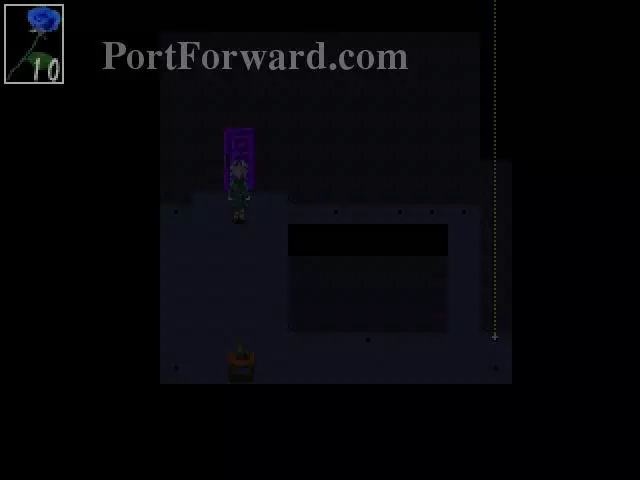
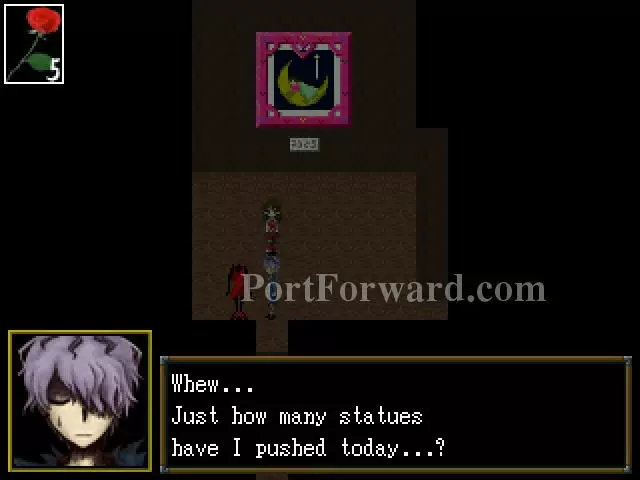
Start pushing the pyramid block down and then to the right until it falls on the similar shaped hole on the ground. The door will now be open so save your game and head inside.

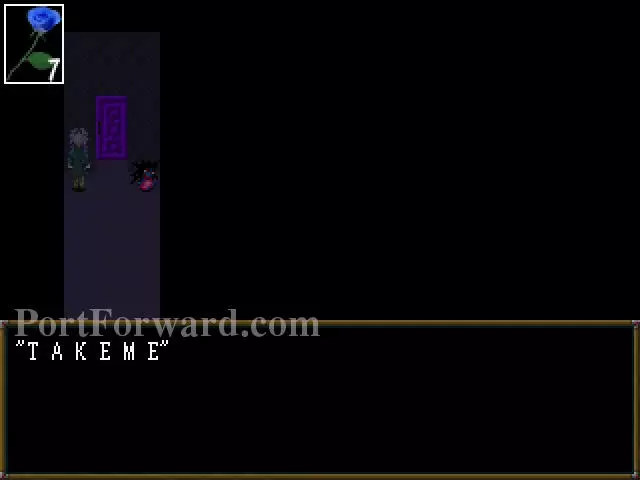
Inside the room you'll find this really creepy and overly attached stuffed doll of evil that will keep on following you. You can read the messages beside it for creepiness factor. Make your way through the hallway until you get to the door on the other end.
You'll find that the doll is blocking the door to the next area and once again Gary will lose it. You'll be given a choice to either kick it or move it. The choice you make will once again influence the ending.
Regardless of what you do the door will be locked and a message will appear on the left side of the door. Examine it and the door will unlock. Now you'll be able to proceed to the next area.
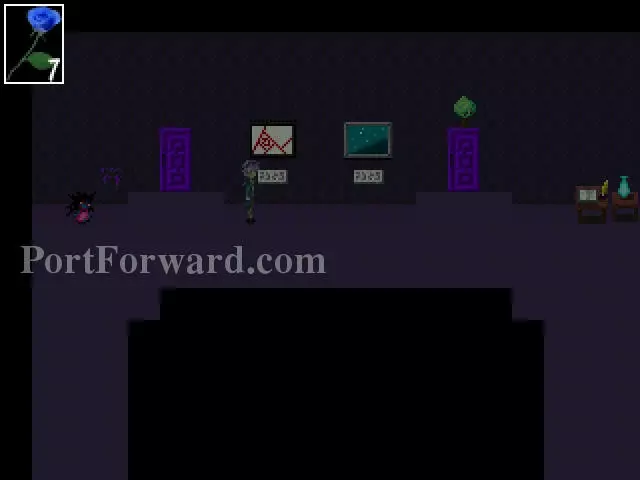
First off head into the room on the upper left side of the area. You need to visit this place first.
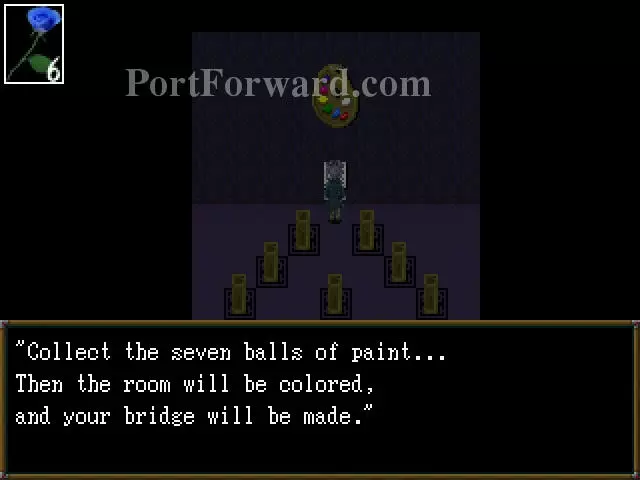
Examine the text beneath the ornament on the wall and you'll be told that you need to collect 7 balls of paint. After that head outside.
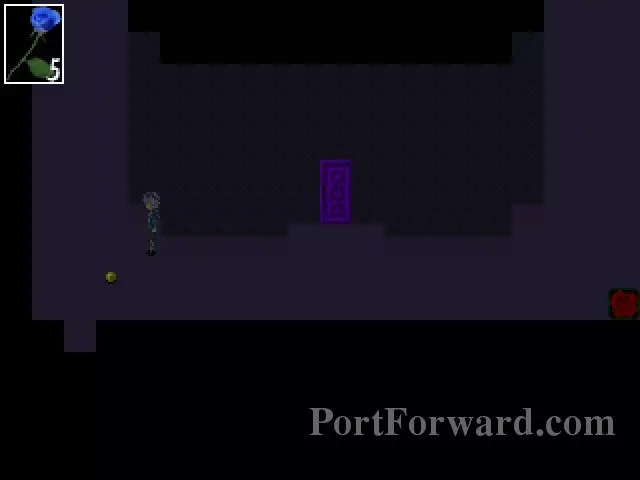
Head outside and go back down the same path you took to get into the paint room. You'll find a yellow ball of paint. Examine it and it will automatically return to the paint room.
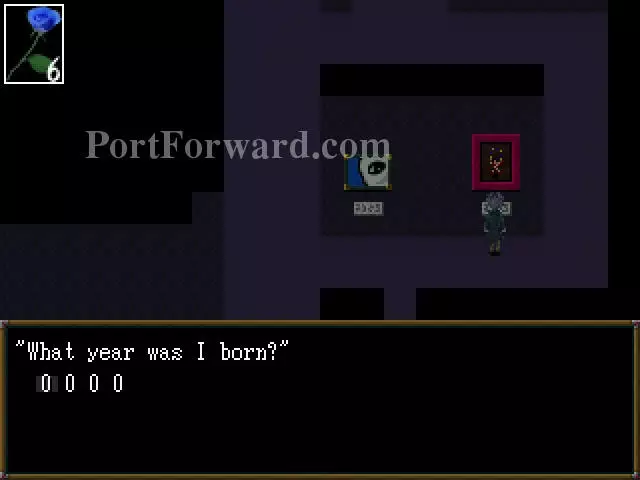
Head for the right side of the area and examine the painting of a juggler. It will ask you for the year of its birth. The answer can be found in a book that Ib can read in the room where you used the tree key. The answer is 6223.
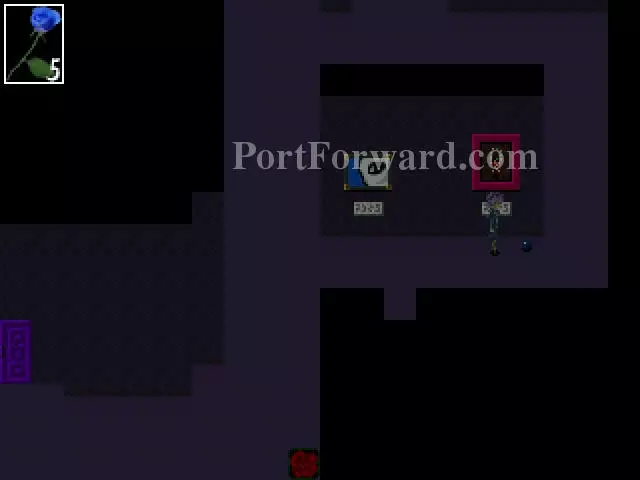
After answering correctly it will drop a blue paint ball. Examine the ball to acquire it. After acquiring the ball head inside the room in front of the "worry" painting.
The room is filled with gas so make sure that you have full health before you go in here. Once you're inside Gary will receive 1 damage per movement. Go right and head towards the umbrella and grab it then quickly make it back to the door. Make sure that you don't make any extra movements as you'll receive damage for it. If you did it correctly you should only take around 6 points of damage.
Heal your rose and save your game. Then head on over to the painting with a hook on the right side of the map. Examine it and you'll be allowed to put the umbrella there. Place the umbrella and it will get raised up. Head on over to the red portal to switch with Ib.
As Ib you need to examine the painting of the fisherman and you'll receive the umbrella. Then head for the door to the south. It's the same room with the mannequin heads earlier. Give the umbrella to the painting of the women in that room and it will start raining. Leave the room and go back to the blue portal to regain control of Gary.

As Gary head back to the room with gas. Ignore the paint ball for now and make your way towards the vase on the opposite side of the door. Heal your rose on the vase and proceed towards the right. Pull on the cord and the gas should clear up.
Once the gas clears up you can grab the paint ball and leave the room. Heal yourself and head for the room with a tree insignia on top of it.
You'll hear some sounds coming from inside the room. You can enter the room once the sound dies down.
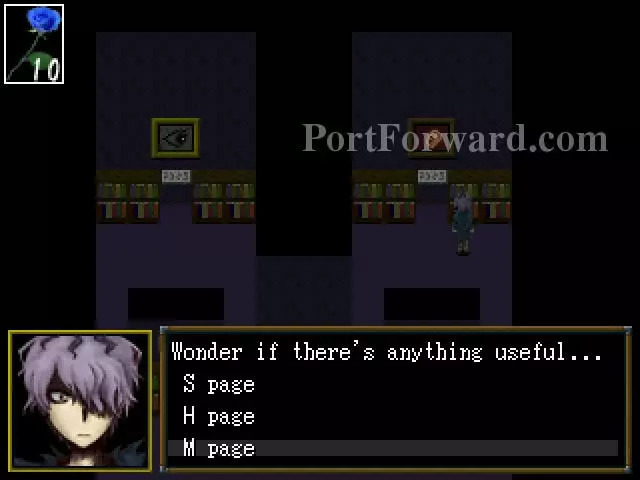
Examine the bookshelf beside the ear painting and choose the M page. Afterwards examine the ear painting and then head out.
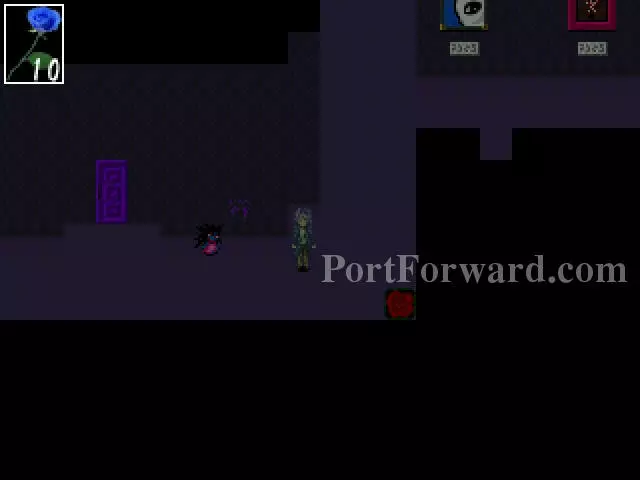
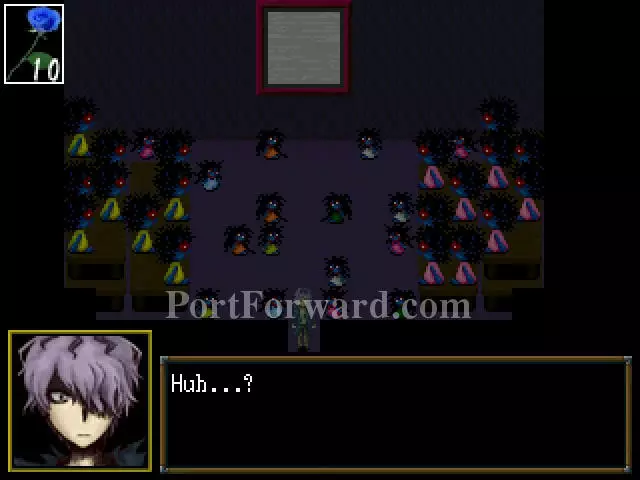
Head down the hallway and near the red portal. You'll see that Mr. Creepy has moved. Examine the text beside him and he'll inform you that he found something.
Examine him and Gary will point out that its belly is bigger than usual. Check the Mr. Creepy and a ball will come out. Grab the ball and the doll will head inside the room next to it.
Save your game first and then follow it into the room.
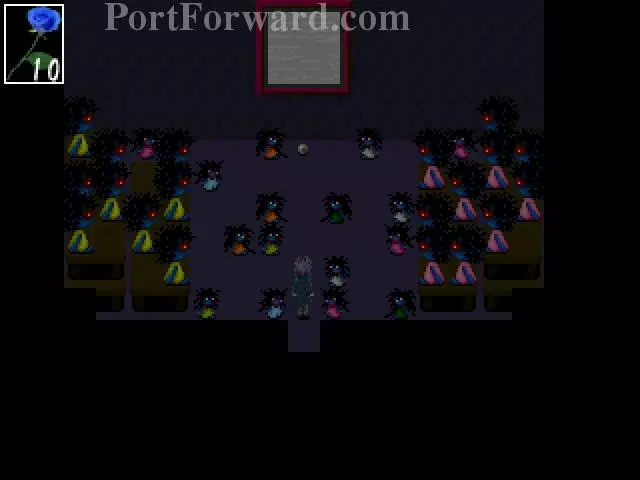
Inside the room you'll find an eerie room similar to the one with the bunnies but this time the middle portrait is blank. Grab the white ball to find the last of the paint balls that you need then examine the door that you used to get in here.
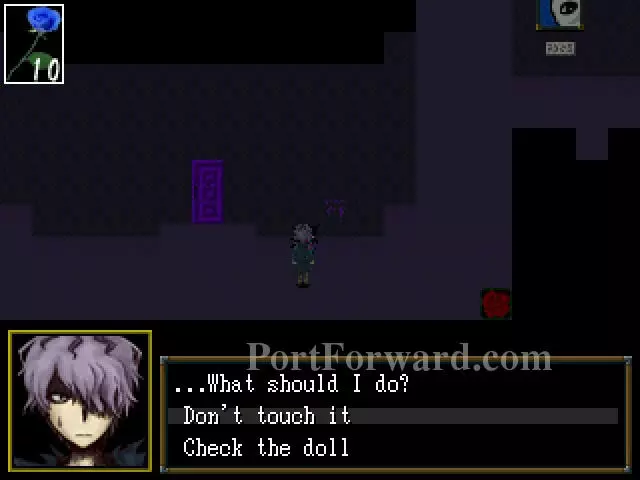
You'll find out that you're locked inside the room and some text will appear on the door. You'll need to find the key before that thing comes out of the portrait. Time to search the dolls faster than Flash runs and get out of this creepy room cause I do not wanna know what happens to Gary if we don't.
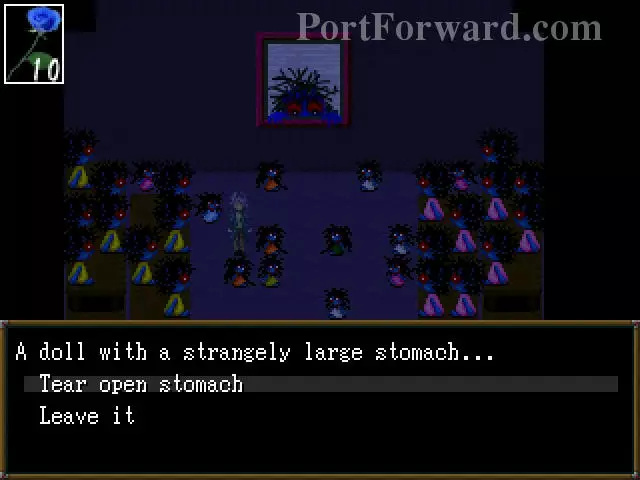
The orange doll near the middle of the room should have the key. Unless it's randomly generated then you'll have to find it yourself. Tear the stomach of the doll and you'll find the key. After that hurry back out the door and watch Gary freak out.
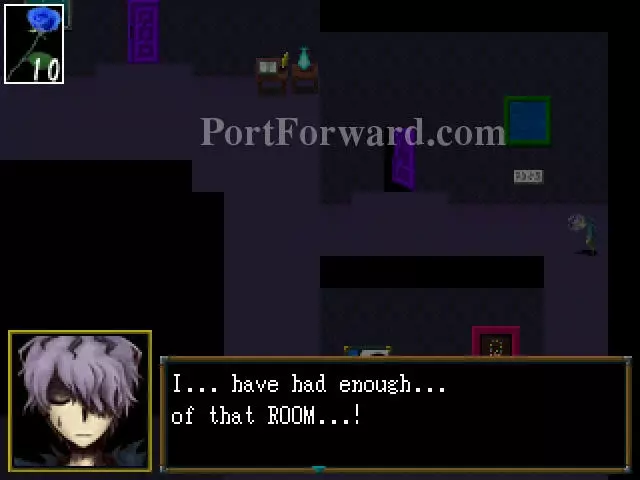
You'll notice that this door near Gary is open now. Save your game and head inside after the cutscene and head up the stairs and Gary will ask you whether to proceed or not. Afterwards you'll regain control of Ib.

After regaining control of Ib, Mary will leave the party and you're required tot alk to her. She'll go crazy and leave. After she leaves head inside the room on the left side of the area.
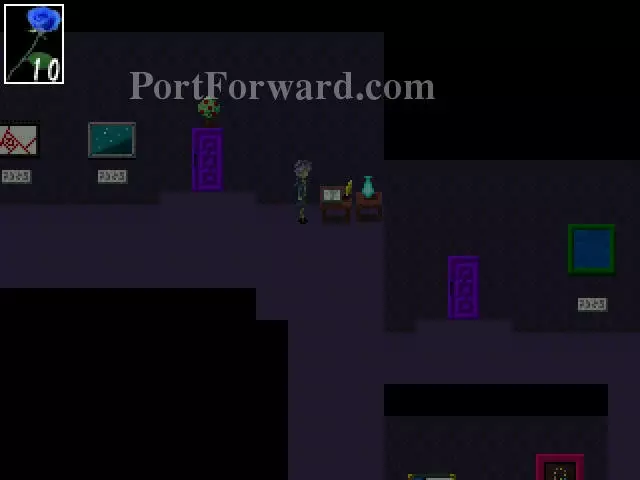
You'll see that the black and white room now has color and a rainbow bridge now connects the two sides of the room. Grab the brown key from the table and head out.
Use the brown key on the door beside the fisherman and a cutscene will play. After the cutscene you'll have Gary with you again.
Leave the room and enter back into the room that Ib and Mary was in while you were solving puzzles with Gary. Walk down the path that was previously blocked by gas.
Examine the statue and Gary will be able to push it aside. You now have access to the next area.
More Ib Walkthroughs
This Ib walkthrough is divided into 10 total pages.


