This James Bond Quantum of Solace walkthrough is divided into 16 total pages.
You can jump to nearby pages of the game using the links above.
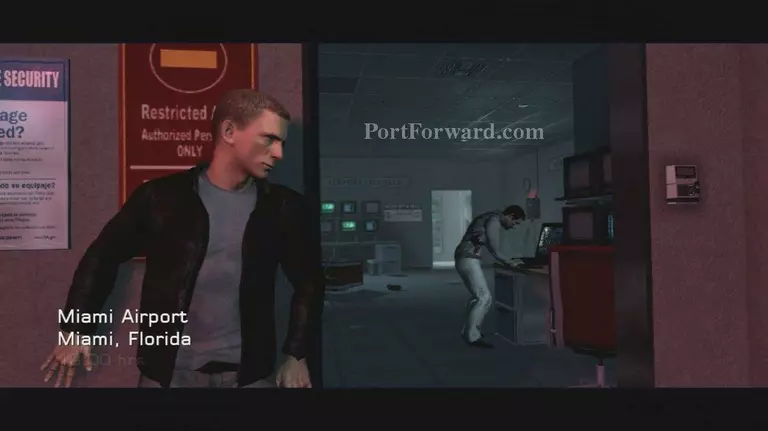
Miami Airport
 James Bond Quantum of Solace Walkthrough - James Bond-Quantum-of-Solace 401
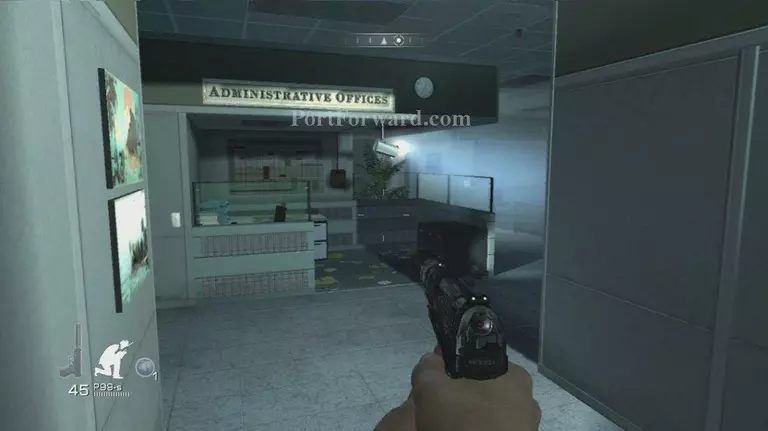
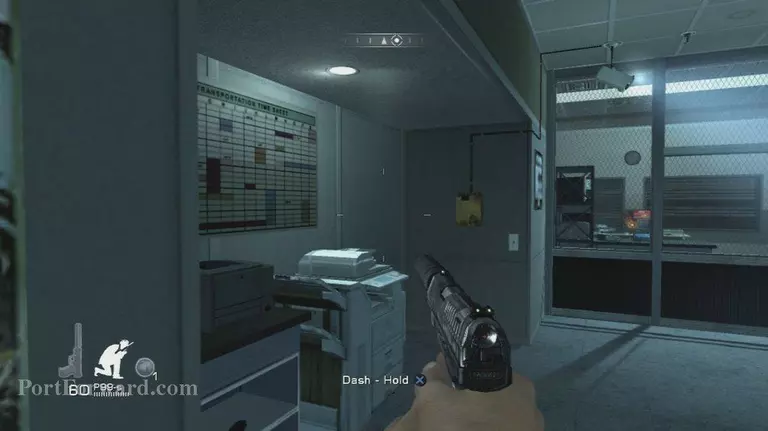
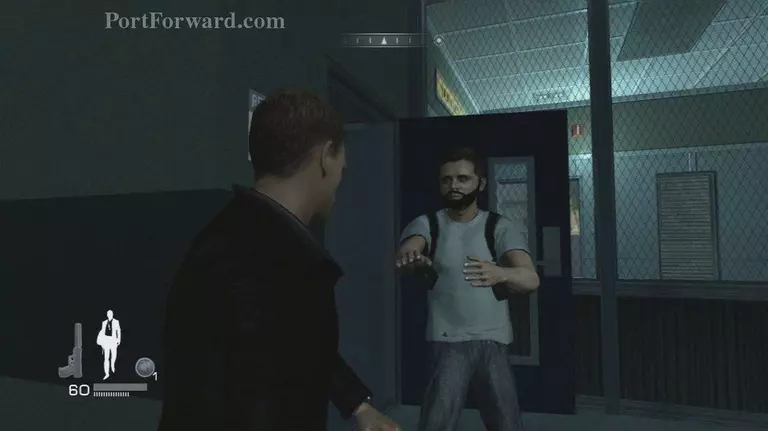
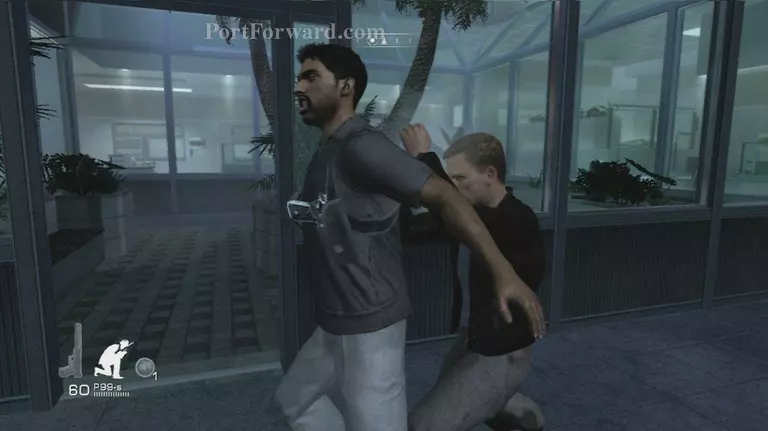
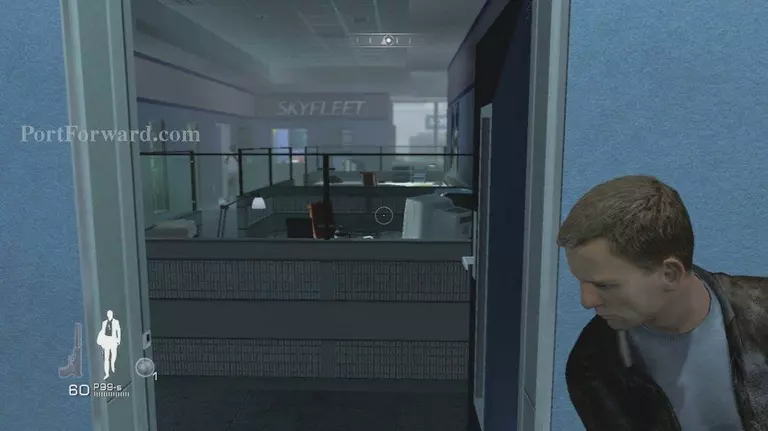
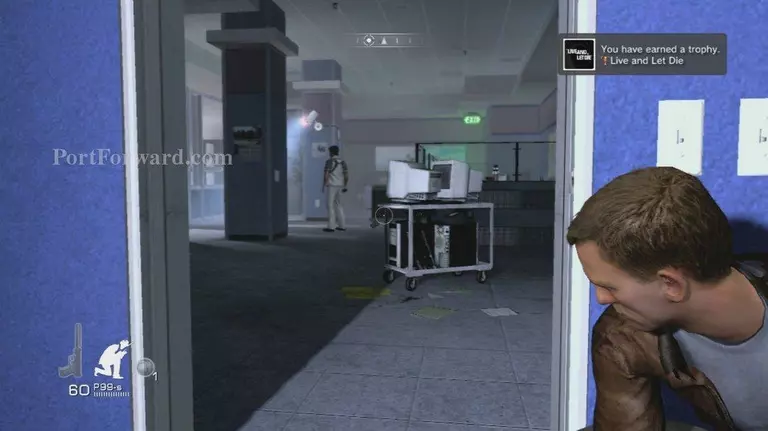
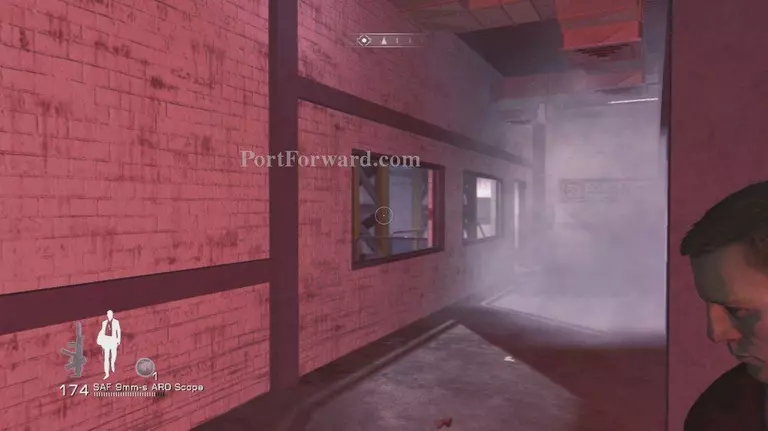
This is a Sneaking Mission!!!
 James Bond Quantum of Solace Walkthrough - James Bond-Quantum-of-Solace 402
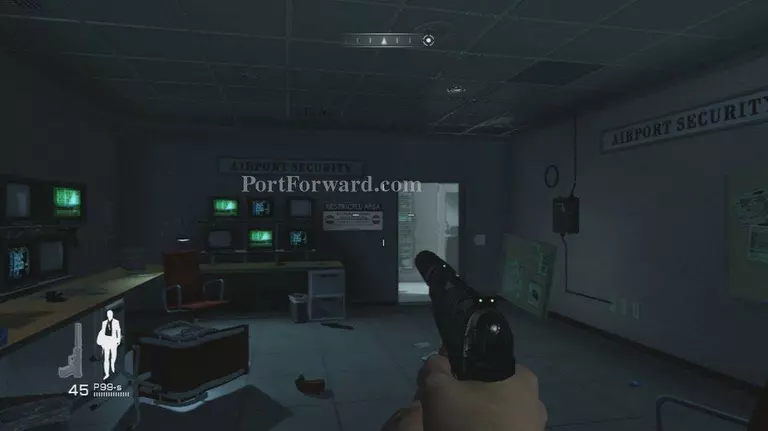
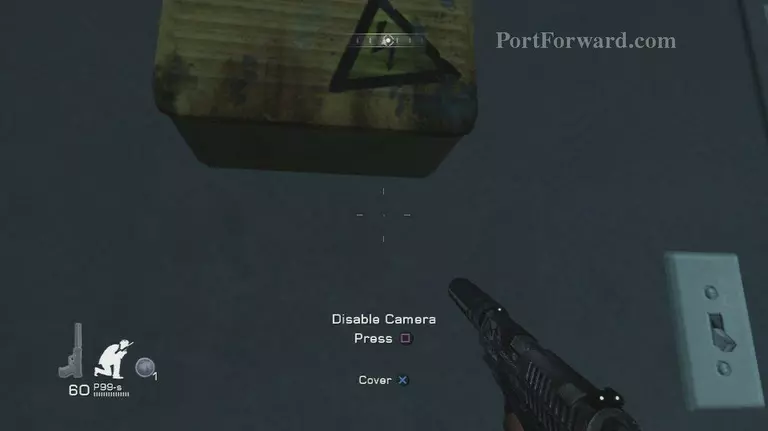
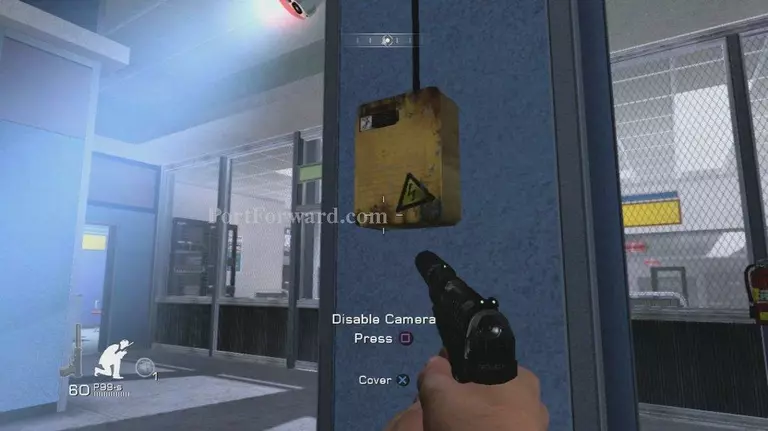
Hack the camera box to the right
 James Bond Quantum of Solace Walkthrough - James Bond-Quantum-of-Solace 403
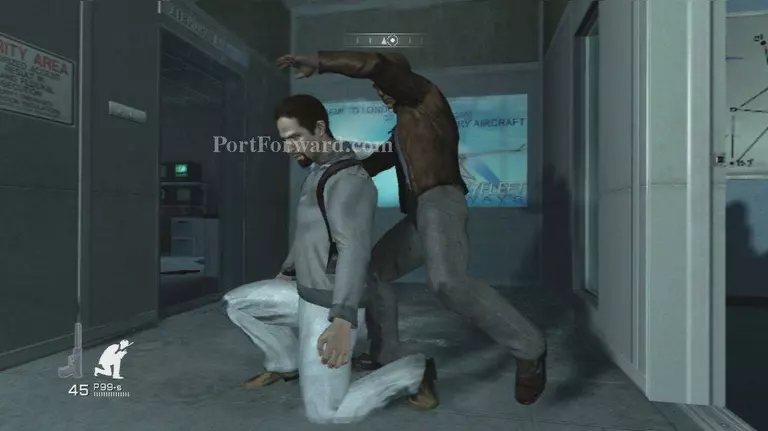
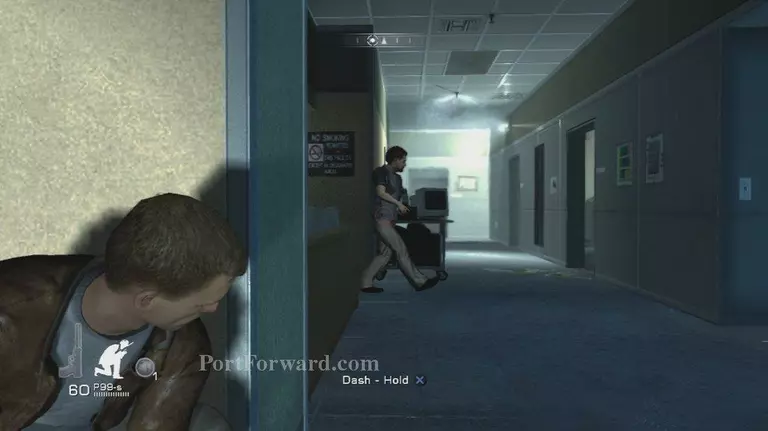
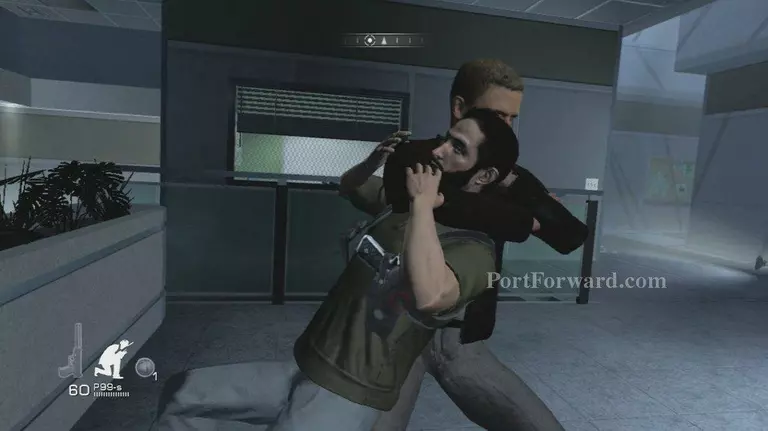
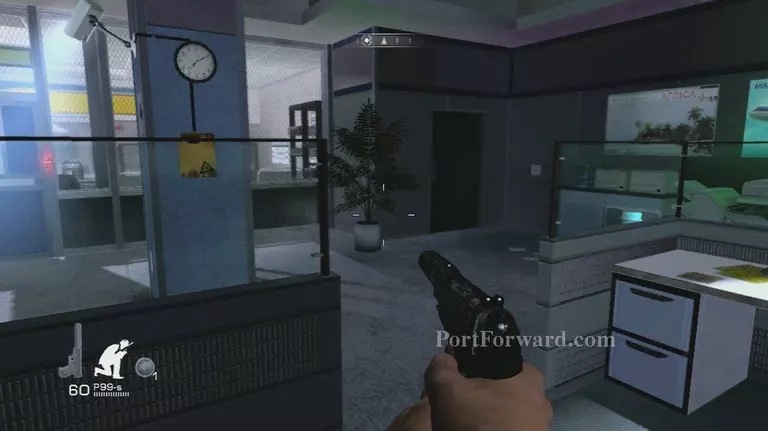
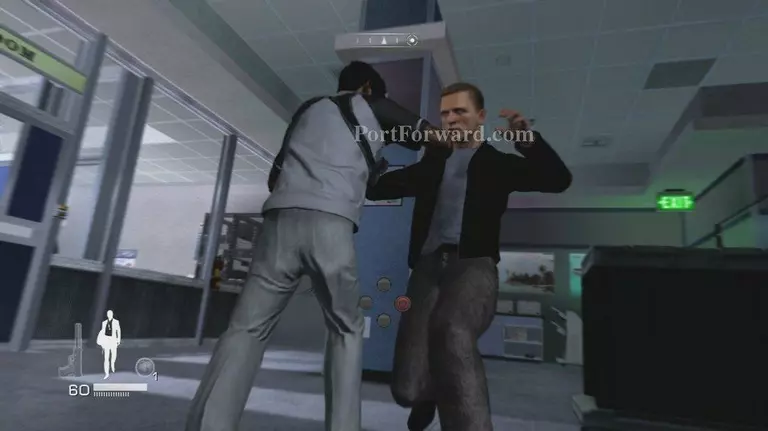
Head through the door and take the guard here down
 James Bond Quantum of Solace Walkthrough - James Bond-Quantum-of-Solace 404
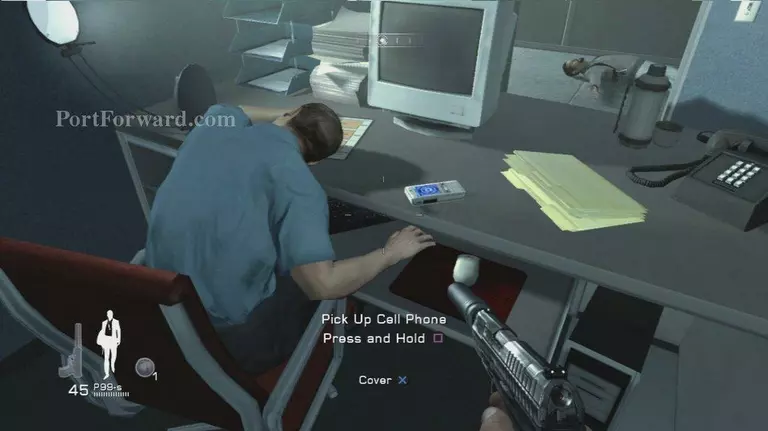
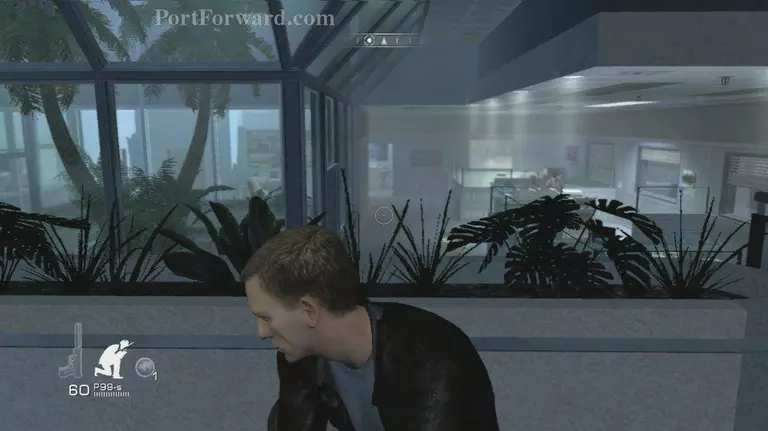
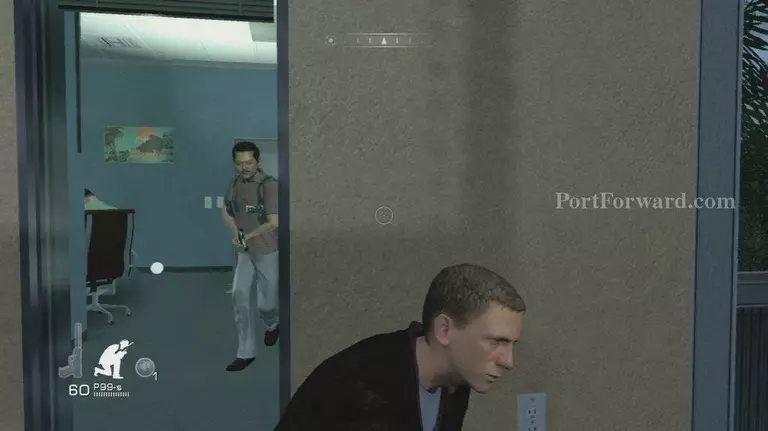
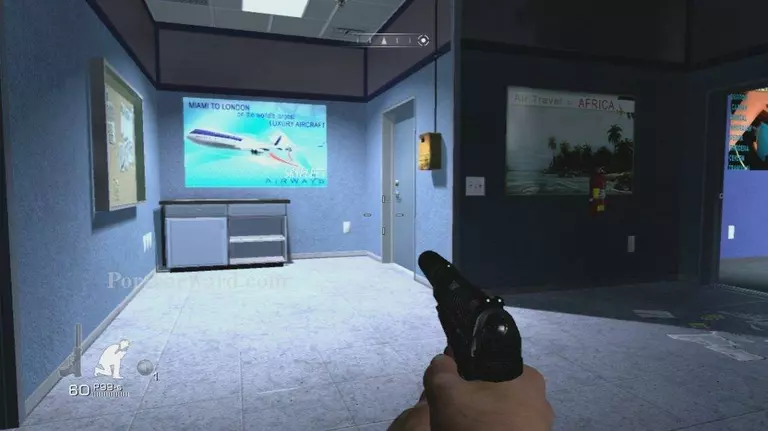
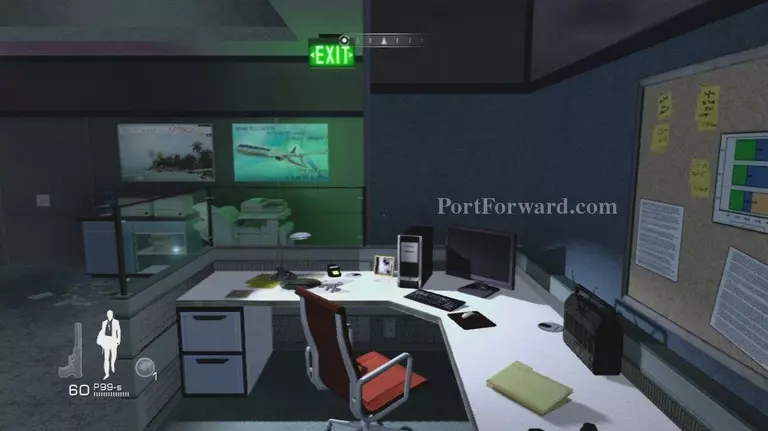
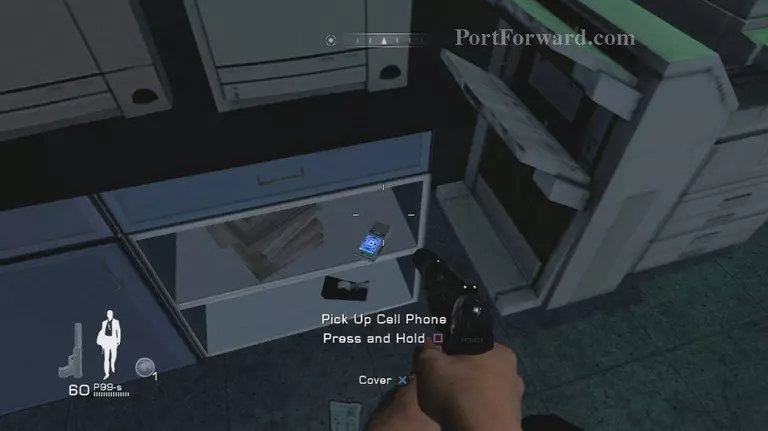
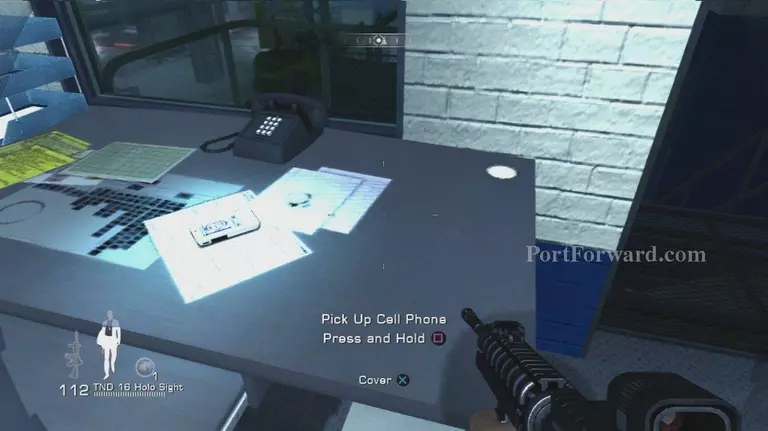
Head inside the room to his left and grab the phone
 James Bond Quantum of Solace Walkthrough - James Bond-Quantum-of-Solace 405
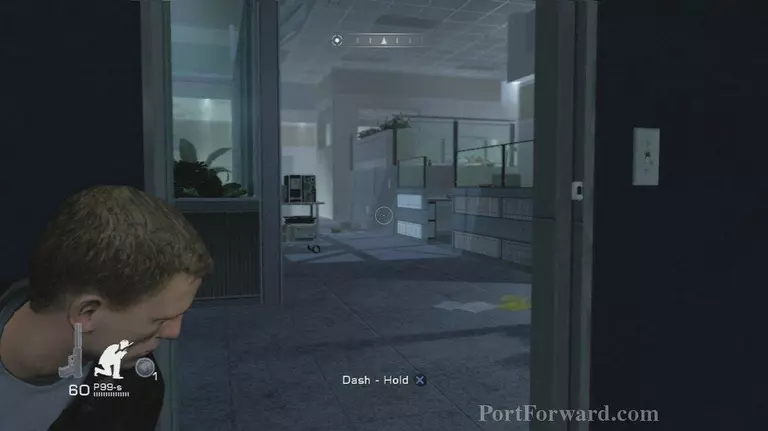
Then wait for the camera to look away and head to the box here to disable it
 James Bond Quantum of Solace Walkthrough - James Bond-Quantum-of-Solace 406
Move up to the corner here and wait for the guard patrolling to return
 James Bond Quantum of Solace Walkthrough - James Bond-Quantum-of-Solace 407
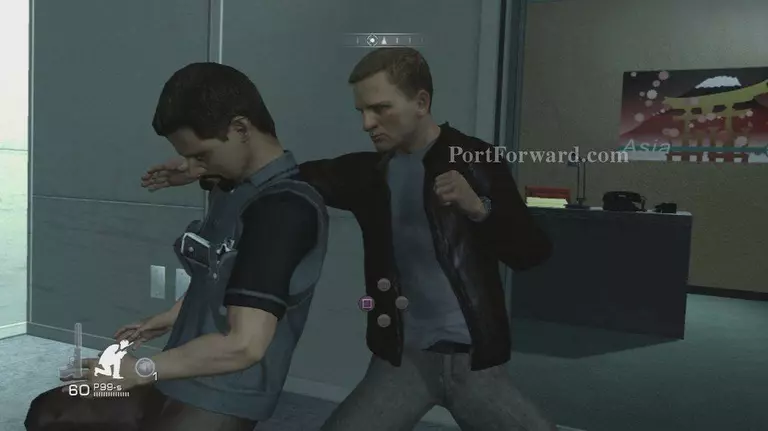
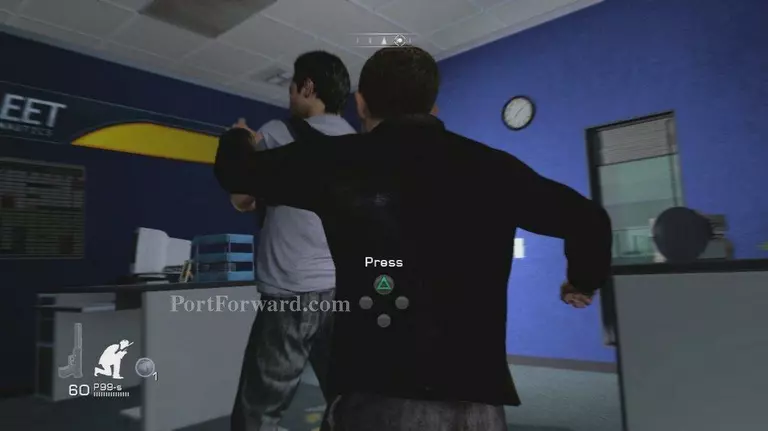
Then creep up and take him down
 James Bond Quantum of Solace Walkthrough - James Bond-Quantum-of-Solace 408
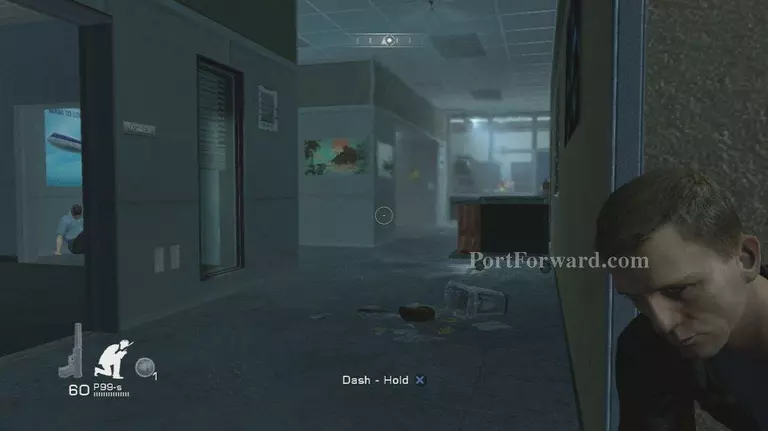
Then back track and make it to this corner
 James Bond Quantum of Solace Walkthrough - James Bond-Quantum-of-Solace 409
Wait for the camera to look away and run up to the box on the left
 James Bond Quantum of Solace Walkthrough - James Bond-Quantum-of-Solace 410
Disable it and move down to this door
 James Bond Quantum of Solace Walkthrough - James Bond-Quantum-of-Solace 411
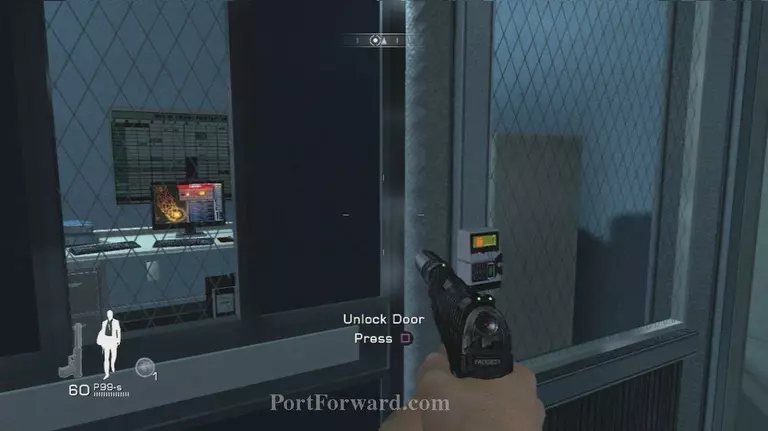
Then hack it and head inside
 James Bond Quantum of Solace Walkthrough - James Bond-Quantum-of-Solace 412
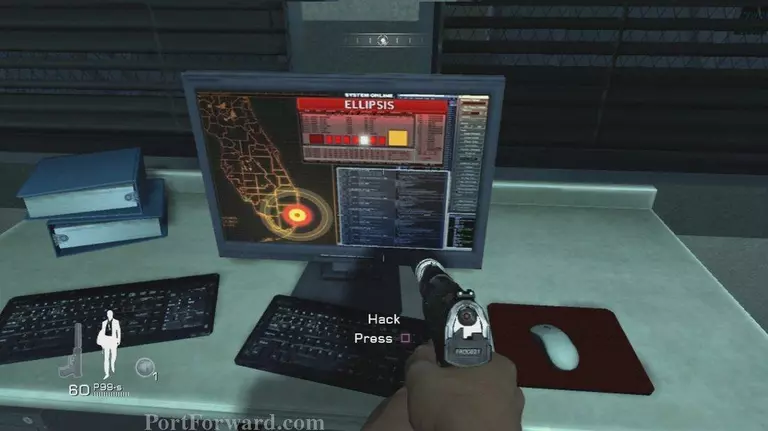
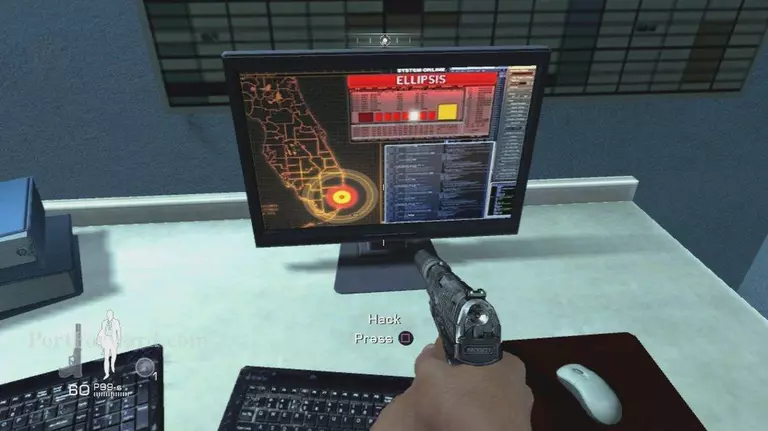
Hack this computer for a scene
 James Bond Quantum of Solace Walkthrough - James Bond-Quantum-of-Solace 413
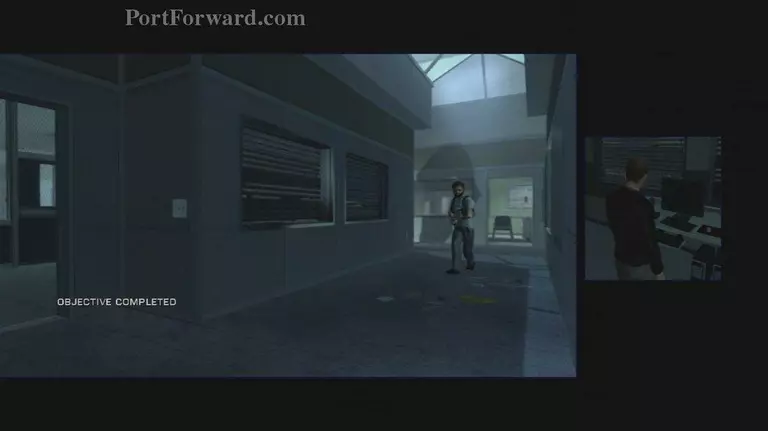
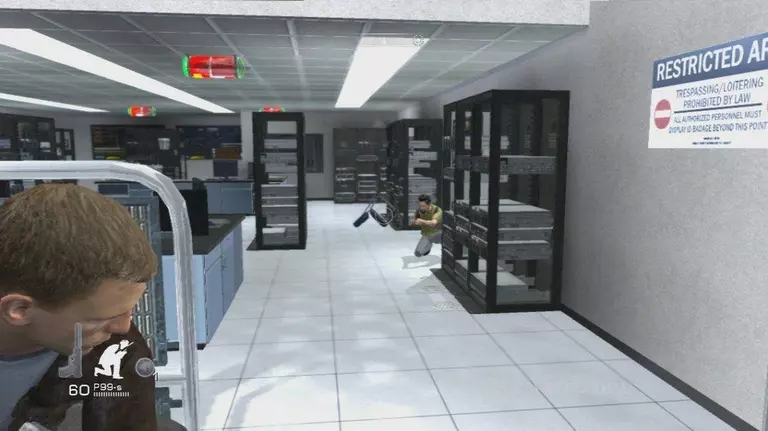
After it a guard will come into the server room
 James Bond Quantum of Solace Walkthrough - James Bond-Quantum-of-Solace 414
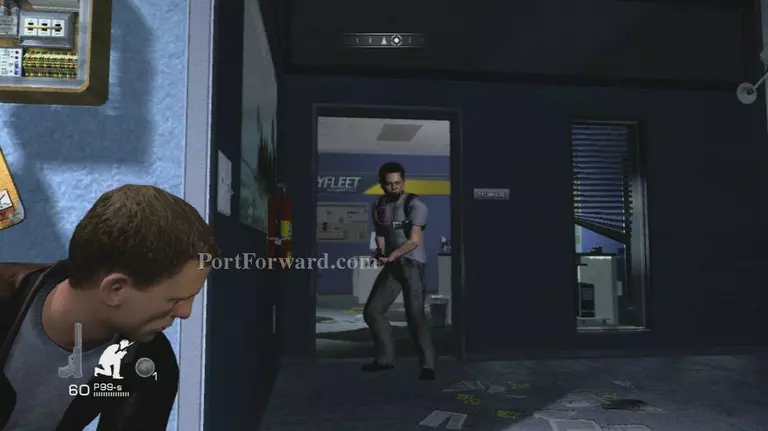
Run towards him to take him down
 James Bond Quantum of Solace Walkthrough - James Bond-Quantum-of-Solace 415
Move forward and take this guard down
 James Bond Quantum of Solace Walkthrough - James Bond-Quantum-of-Solace 416
Then quickly take cover here and watch the patrol pattern
 James Bond Quantum of Solace Walkthrough - James Bond-Quantum-of-Solace 417
Once you have it jump over the cover and head left into the room straight ahead and take
cover in the doorway
 James Bond Quantum of Solace Walkthrough - James Bond-Quantum-of-Solace 418
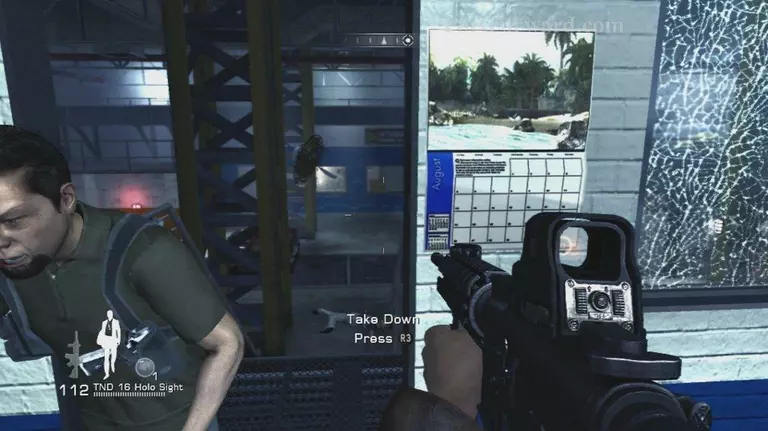
Wait for the guard to come and dispose of him
 James Bond Quantum of Solace Walkthrough - James Bond-Quantum-of-Solace 419
Sneak up to this window and wait for the guard to go away and go inside and take him down
 James Bond Quantum of Solace Walkthrough - James Bond-Quantum-of-Solace 420
Head over to this door and hack it
 James Bond Quantum of Solace Walkthrough - James Bond-Quantum-of-Solace 421
Then the server inside
 James Bond Quantum of Solace Walkthrough - James Bond-Quantum-of-Solace 422
Take cover in the door here
 James Bond Quantum of Solace Walkthrough - James Bond-Quantum-of-Solace 423
Wait for the coast to be clear and disable this camera box
 James Bond Quantum of Solace Walkthrough - James Bond-Quantum-of-Solace 424
Then take cover below it and wait for the guard to go away
 James Bond Quantum of Solace Walkthrough - James Bond-Quantum-of-Solace 425
Creep up and take him down
 James Bond Quantum of Solace Walkthrough - James Bond-Quantum-of-Solace 426
Then take cover here on the wall youâll see a guard and a camera
 James Bond Quantum of Solace Walkthrough - James Bond-Quantum-of-Solace 427
Sneak behind the guard while the camera isnât looking and into the cubicle behind him
 James Bond Quantum of Solace Walkthrough - James Bond-Quantum-of-Solace 428
Then climb over the wall back here
 James Bond Quantum of Solace Walkthrough - James Bond-Quantum-of-Solace 429
Inch you way toward the camera box until you can disable it
 James Bond Quantum of Solace Walkthrough - James Bond-Quantum-of-Solace 430
Then run towards the guard and take him down
 James Bond Quantum of Solace Walkthrough - James Bond-Quantum-of-Solace 431
Then he towards the exit sign
 James Bond Quantum of Solace Walkthrough - James Bond-Quantum-of-Solace 432
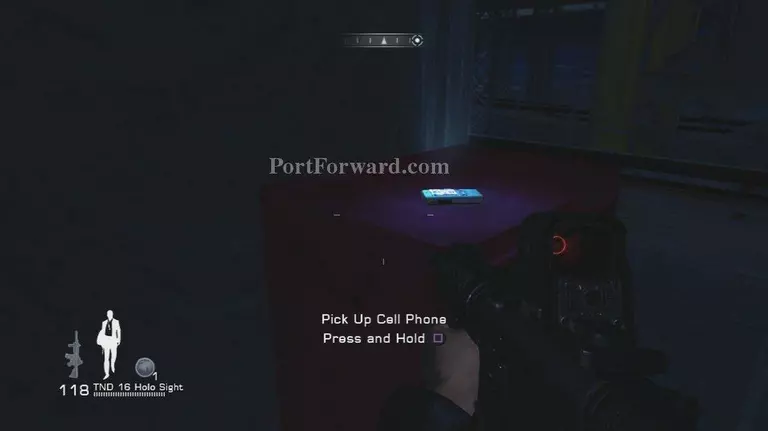
Grab the phone here
 James Bond Quantum of Solace Walkthrough - James Bond-Quantum-of-Solace 433
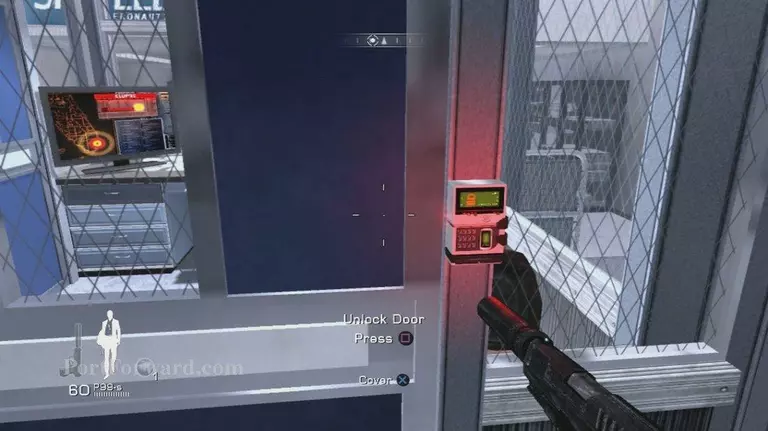
Then head to this door and hack it
 James Bond Quantum of Solace Walkthrough - James Bond-Quantum-of-Solace 434
Then hack the server inside for a checkpoint
 James Bond Quantum of Solace Walkthrough - James Bond-Quantum-of-Solace 435
Guards will rush in take cover here and pick them off
 James Bond Quantum of Solace Walkthrough - James Bond-Quantum-of-Solace 436
Some may flank be prepared to do some running takedowns
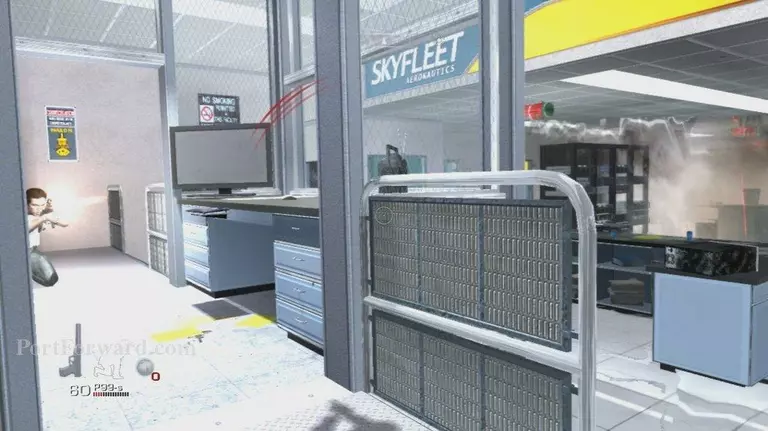 James Bond Quantum of Solace Walkthrough - James Bond-Quantum-of-Solace 437
After they are down head to this door and go through towards the van
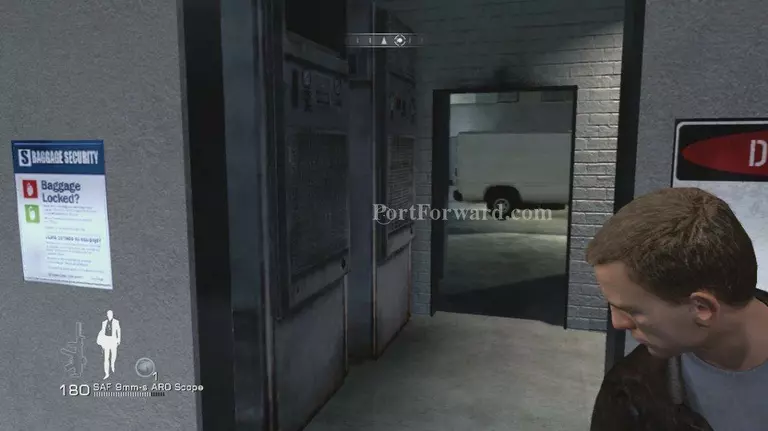 James Bond Quantum of Solace Walkthrough - James Bond-Quantum-of-Solace 438
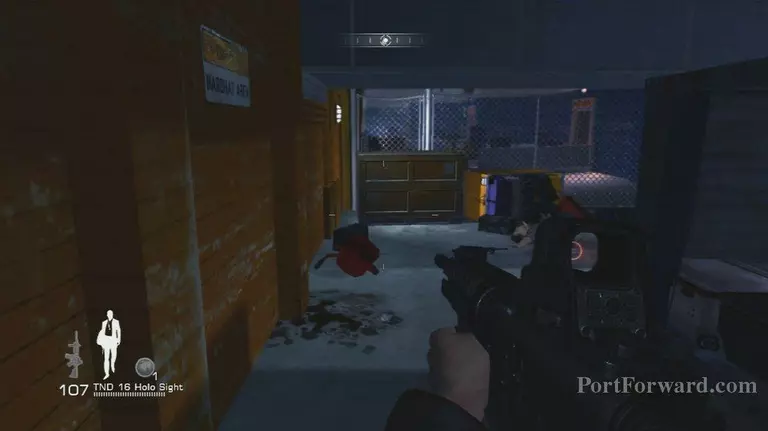
Swing a right and grab the phone
 James Bond Quantum of Solace Walkthrough - James Bond-Quantum-of-Solace 439
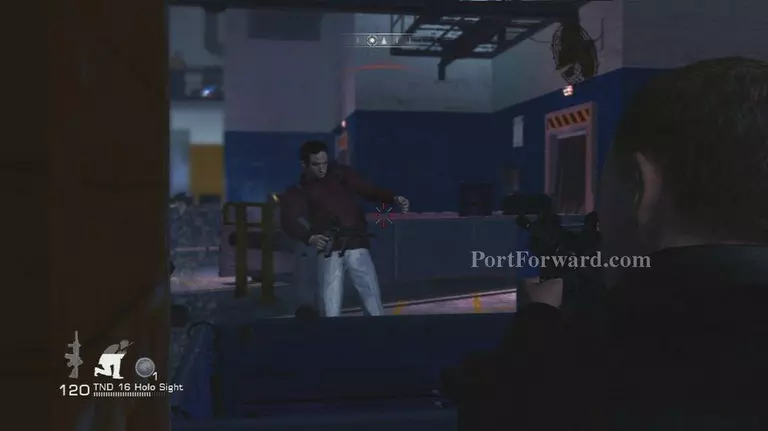
Soon guys will flood take them out
 James Bond Quantum of Solace Walkthrough - James Bond-Quantum-of-Solace 440
 James Bond Quantum of Solace Walkthrough - James Bond-Quantum-of-Solace 441
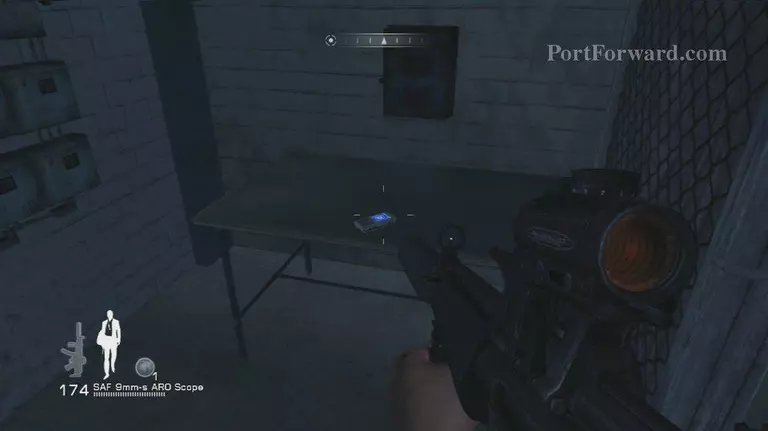
Once they are down find the phone under the conveyor belt
 James Bond Quantum of Solace Walkthrough - James Bond-Quantum-of-Solace 442
Then head down this ramp
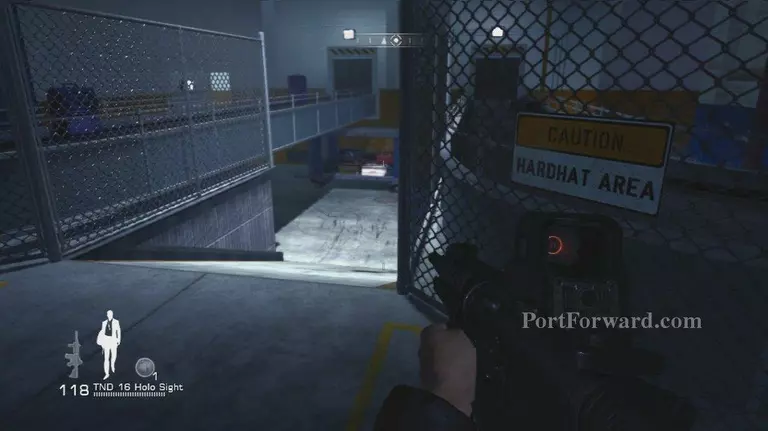 James Bond Quantum of Solace Walkthrough - James Bond-Quantum-of-Solace 443
A guard will pop out deal with him
 James Bond Quantum of Solace Walkthrough - James Bond-Quantum-of-Solace 444
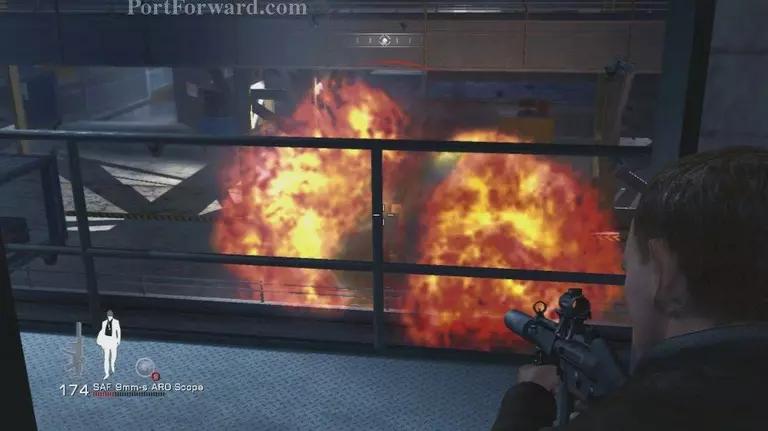
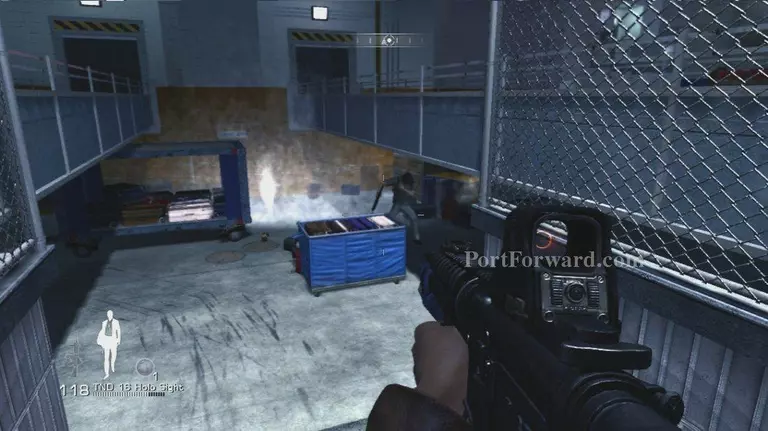
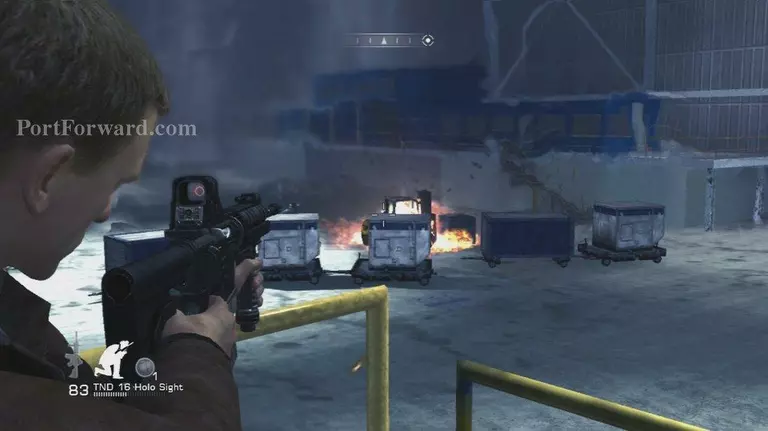
Then head over and jump this fence to trigger a nice sized wave
 James Bond Quantum of Solace Walkthrough - James Bond-Quantum-of-Solace 445
Kill them all
 James Bond Quantum of Solace Walkthrough - James Bond-Quantum-of-Solace 446
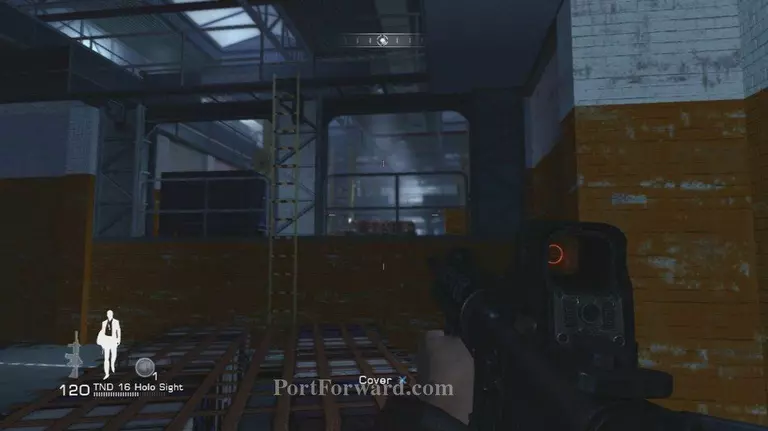
And head for this ladder in the back
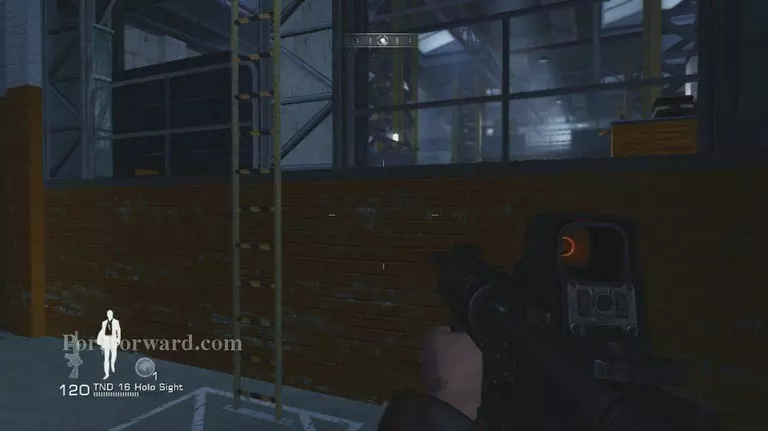 James Bond Quantum of Solace Walkthrough - James Bond-Quantum-of-Solace 447
Then climb up on this box
 James Bond Quantum of Solace Walkthrough - James Bond-Quantum-of-Solace 448
Shoot the guards you just triggered
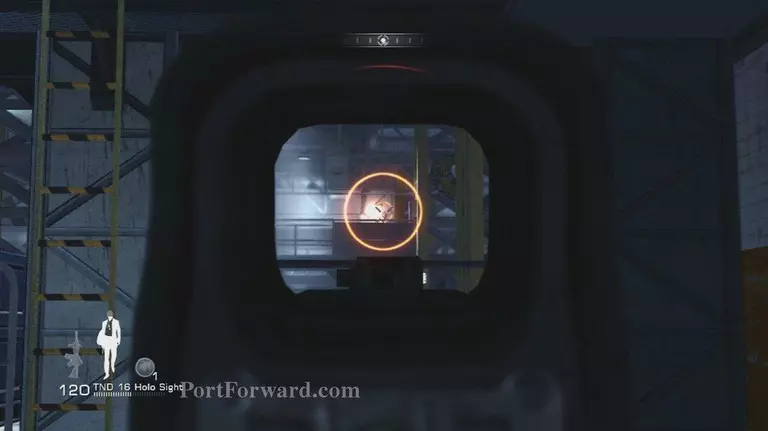 James Bond Quantum of Solace Walkthrough - James Bond-Quantum-of-Solace 449
After they are down climb the ladder
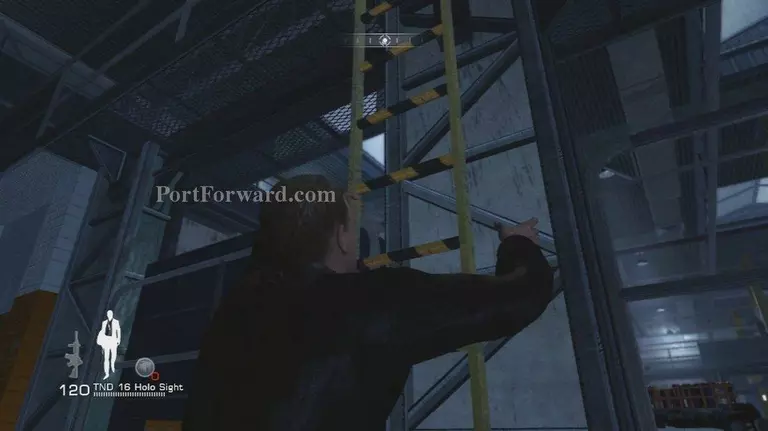 James Bond Quantum of Solace Walkthrough - James Bond-Quantum-of-Solace 450
Then head over to this ledge and jump down
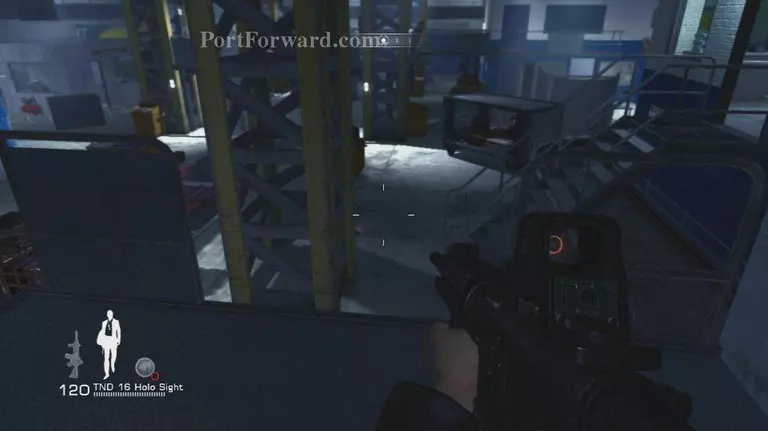 James Bond Quantum of Solace Walkthrough - James Bond-Quantum-of-Solace 451
This will trigger a wave take them out
 James Bond Quantum of Solace Walkthrough - James Bond-Quantum-of-Solace 452
 James Bond Quantum of Solace Walkthrough - James Bond-Quantum-of-Solace 453
After the coast is clear head to this garage control switch and use it
 James Bond Quantum of Solace Walkthrough - James Bond-Quantum-of-Solace 454
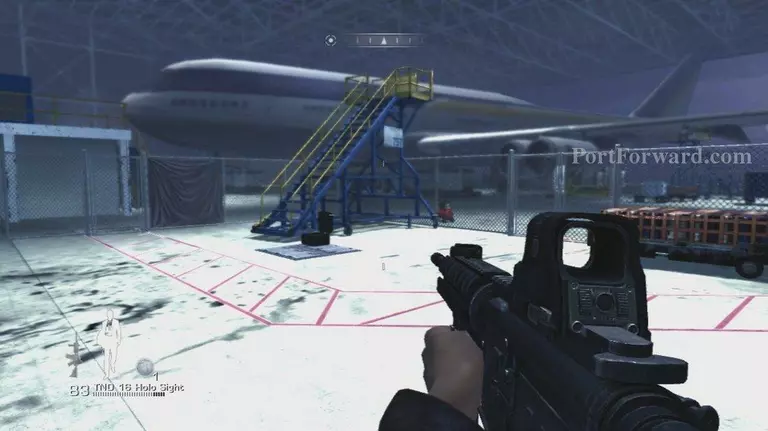
Run in and head towards this airline stairs
 James Bond Quantum of Solace Walkthrough - James Bond-Quantum-of-Solace 455
Take cover at the top and take out the bomber
 James Bond Quantum of Solace Walkthrough - James Bond-Quantum-of-Solace 456
This will kick off a scene and end Mission 9
 James Bond Quantum of Solace Walkthrough - James Bond-Quantum-of-Solace 457
More James Bond Quantum of Solace Walkthroughs
This James Bond Quantum of Solace walkthrough is divided into 16 total pages.


