You can jump to nearby pages of the game using the links above.
Montenegro Train
James Bond Quantum of Solace Walkthrough - James Bond-Quantum-of-Solace 458
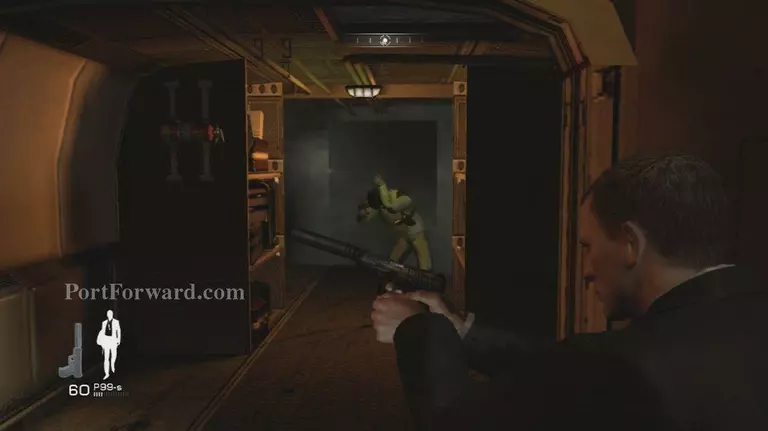
Here they want you to only use the P99s which isnât hard since itâs the best weapon out there
James Bond Quantum of Solace Walkthrough - James Bond-Quantum-of-Solace 459
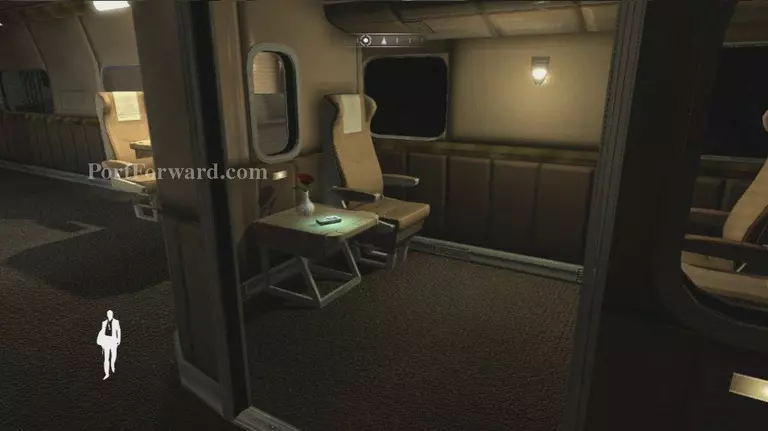
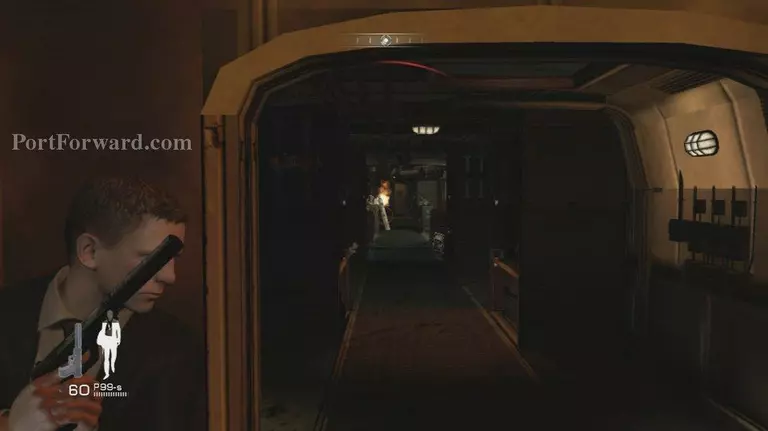
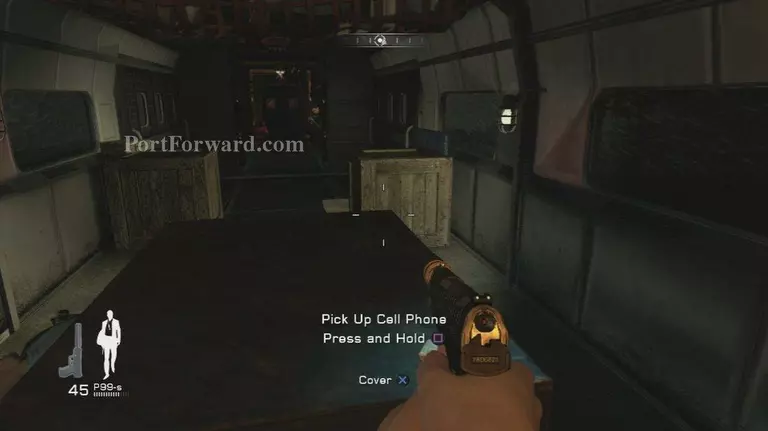
After the opening scene head out of the cabin and to the right into the first room and grab the
phone
James Bond Quantum of Solace Walkthrough - James Bond-Quantum-of-Solace 460
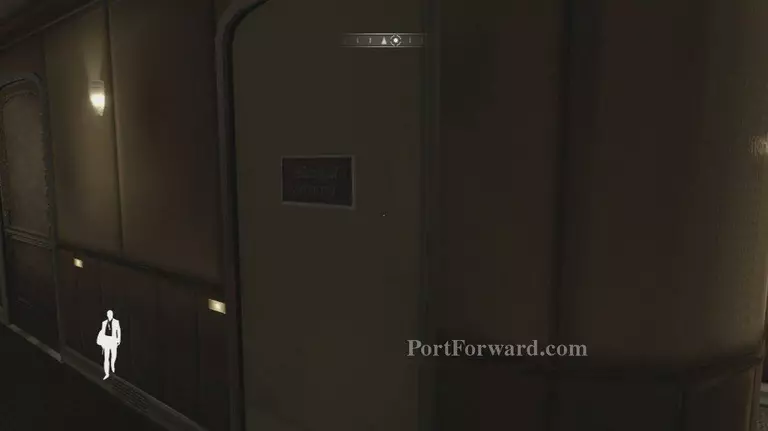
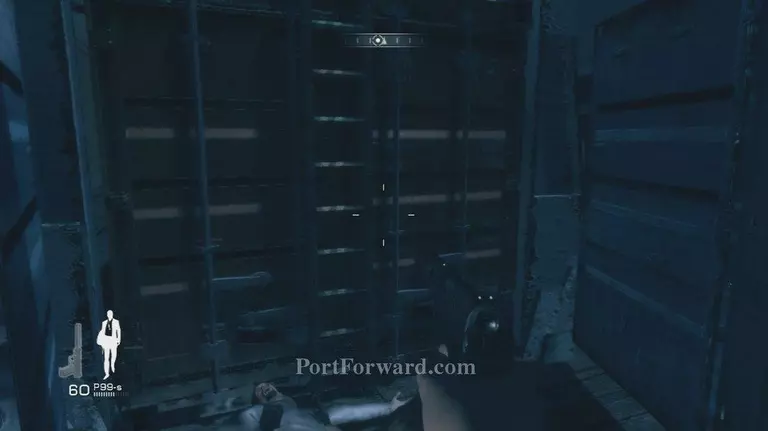
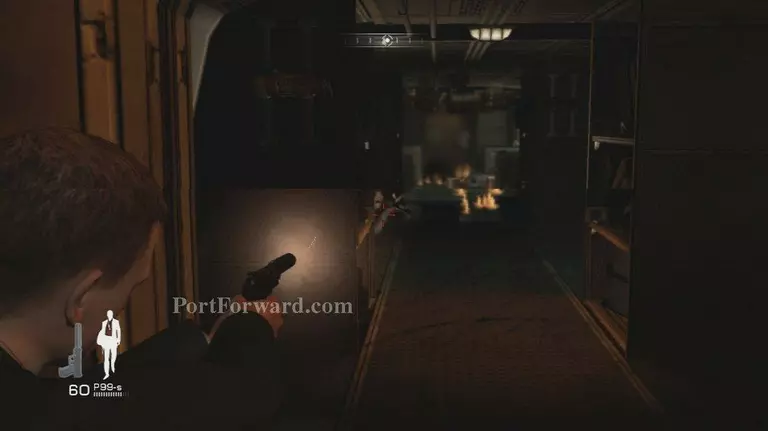
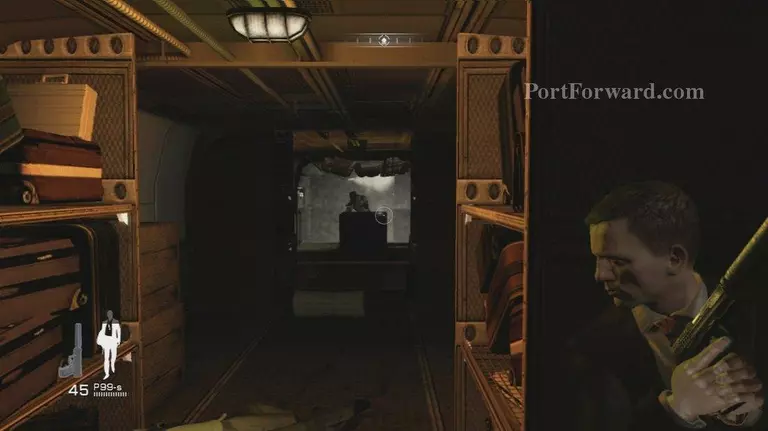
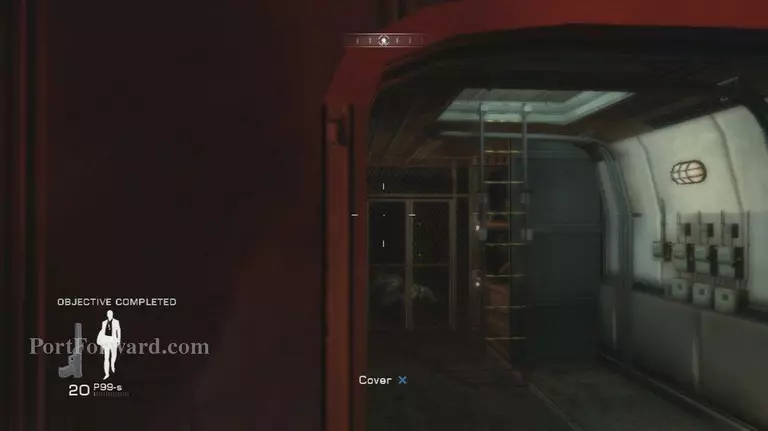
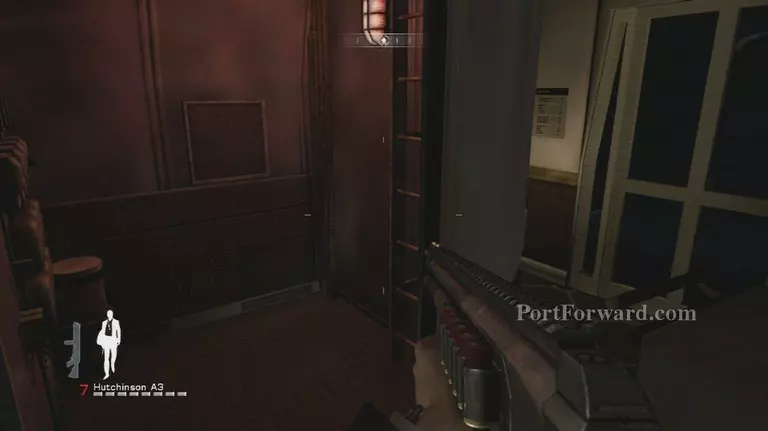
Then head towards the goal the Electrical servicing room and climb the ladder inside
James Bond Quantum of Solace Walkthrough - James Bond-Quantum-of-Solace 461
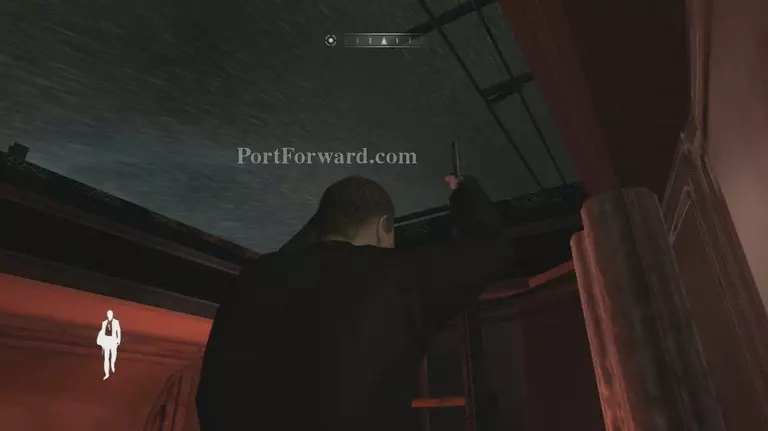
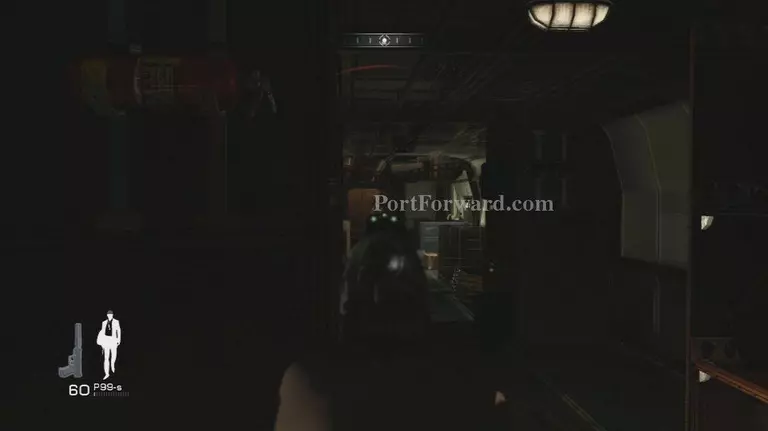
Head up it to the outside
James Bond Quantum of Solace Walkthrough - James Bond-Quantum-of-Solace 462
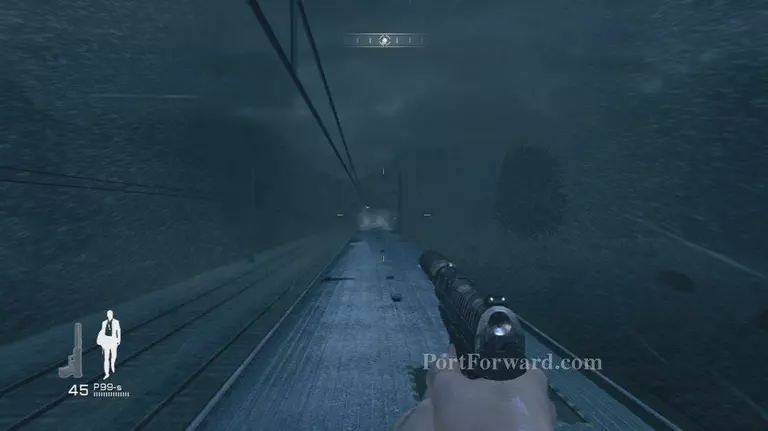
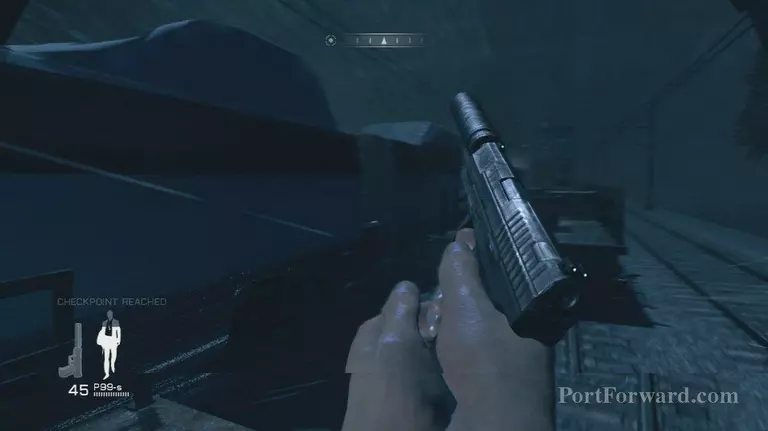
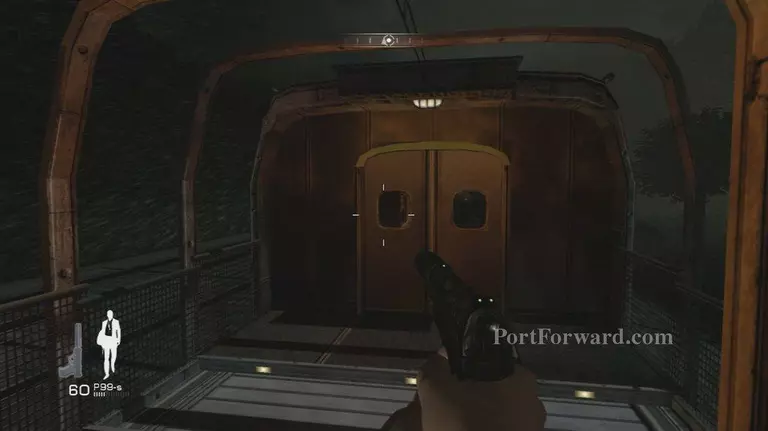
Creep up the train for a checkpoint you now have your P99s
James Bond Quantum of Solace Walkthrough - James Bond-Quantum-of-Solace 463
Youâll come to a car with windows in the roof stay off the glass here
James Bond Quantum of Solace Walkthrough - James Bond-Quantum-of-Solace 464
Soon you get word of another train on the other tracks
James Bond Quantum of Solace Walkthrough - James Bond-Quantum-of-Solace 465
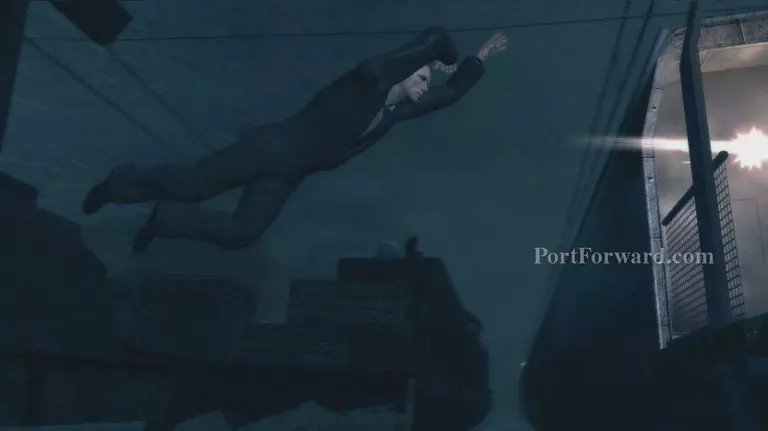
Yep you guessed it Jump over there
James Bond Quantum of Solace Walkthrough - James Bond-Quantum-of-Solace 466
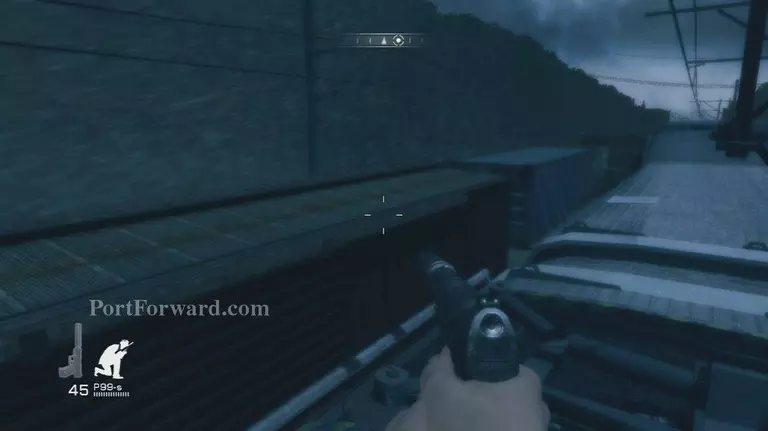
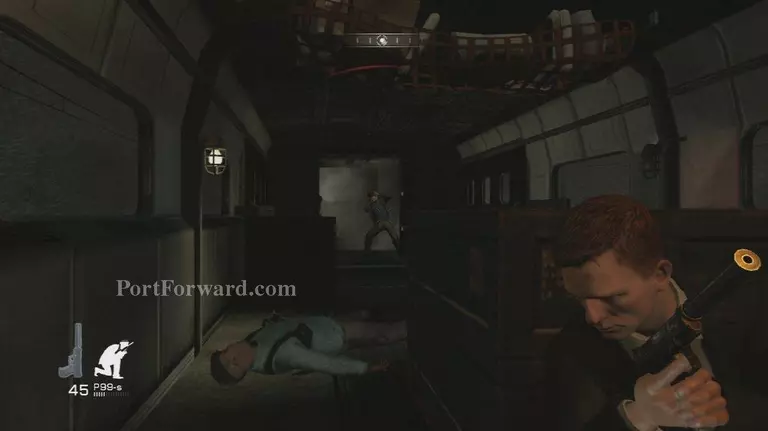
Youâll get a checkpoint crouch and jump down and take cover here
James Bond Quantum of Solace Walkthrough - James Bond-Quantum-of-Solace 467
Then take out the guards
James Bond Quantum of Solace Walkthrough - James Bond-Quantum-of-Solace 468
Make sure you get this one hidden down the way
James Bond Quantum of Solace Walkthrough - James Bond-Quantum-of-Solace 469
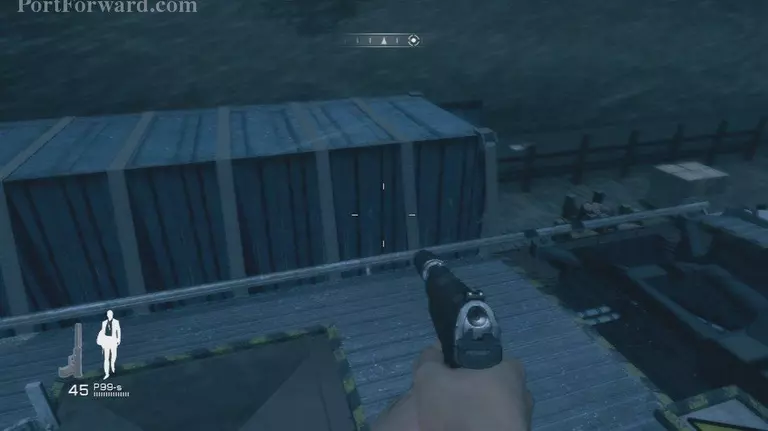
Then take cover on this wall and look for another wave
James Bond Quantum of Solace Walkthrough - James Bond-Quantum-of-Solace 470
Then take cover on this highway barrier and take out the guards
James Bond Quantum of Solace Walkthrough - James Bond-Quantum-of-Solace 471
After they are down one more will pop up here
James Bond Quantum of Solace Walkthrough - James Bond-Quantum-of-Solace 472
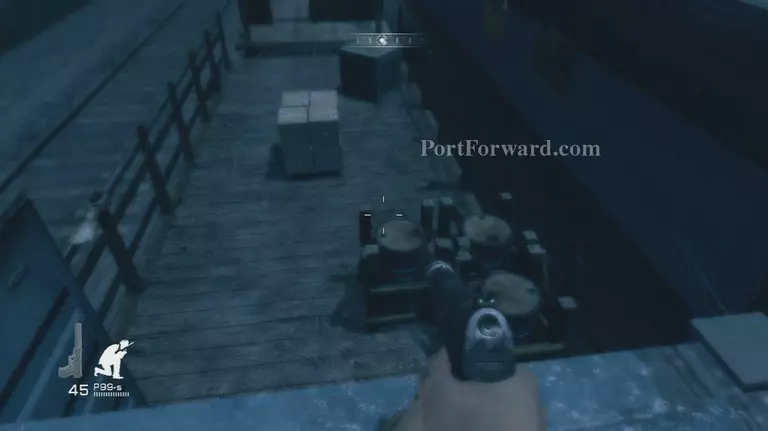
Then youâll get a checkpoint, head to this wall and take cover
James Bond Quantum of Solace Walkthrough - James Bond-Quantum-of-Solace 473
Shoot the tank to dispose of these guards quickly
James Bond Quantum of Solace Walkthrough - James Bond-Quantum-of-Solace 474
Then head in the cargo box and grab the phone
James Bond Quantum of Solace Walkthrough - James Bond-Quantum-of-Solace 475
Then it is up this ladder
James Bond Quantum of Solace Walkthrough - James Bond-Quantum-of-Solace 476
At the top take cover and kill the guards
James Bond Quantum of Solace Walkthrough - James Bond-Quantum-of-Solace 477
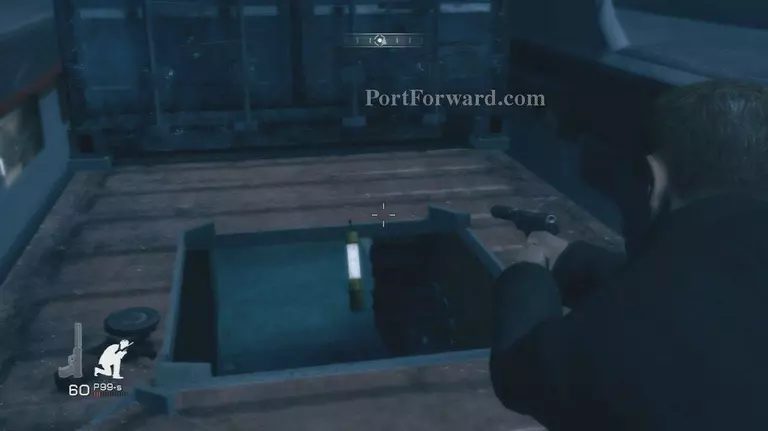
Then head down into this hole in the roof here for a checkpoint
James Bond Quantum of Solace Walkthrough - James Bond-Quantum-of-Solace 478
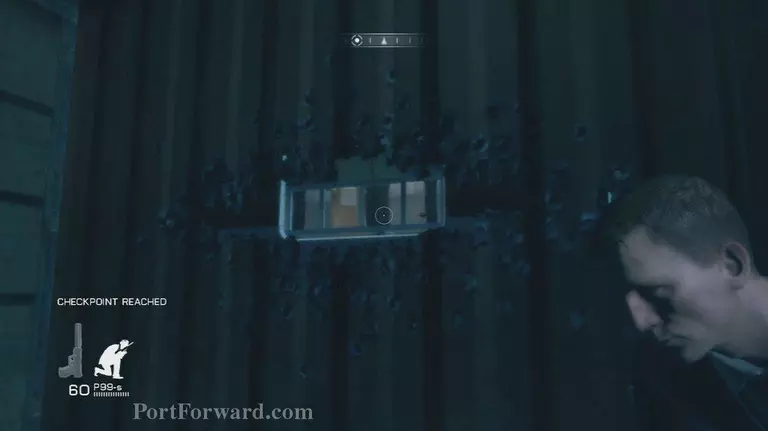
Take cover quickly by this ammo box, after a few another checkpoint
James Bond Quantum of Solace Walkthrough - James Bond-Quantum-of-Solace 479
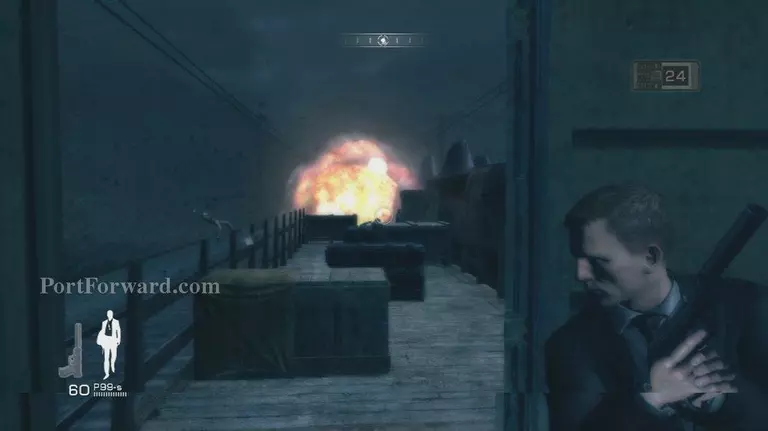
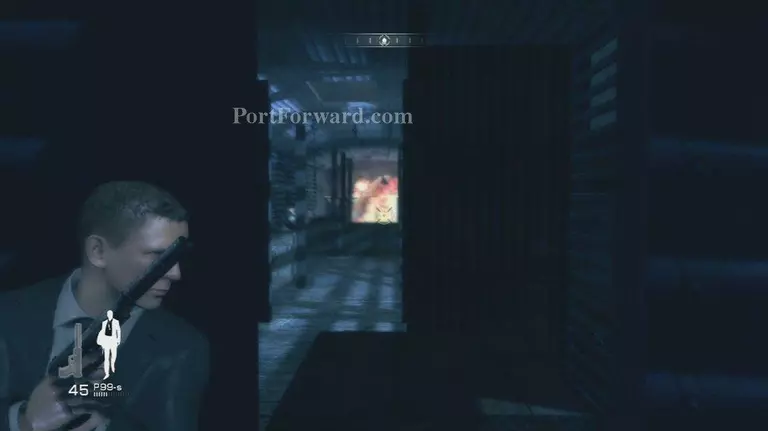
Then head to this door for a scene which will kick off a timed sequence
James Bond Quantum of Solace Walkthrough - James Bond-Quantum-of-Solace 480
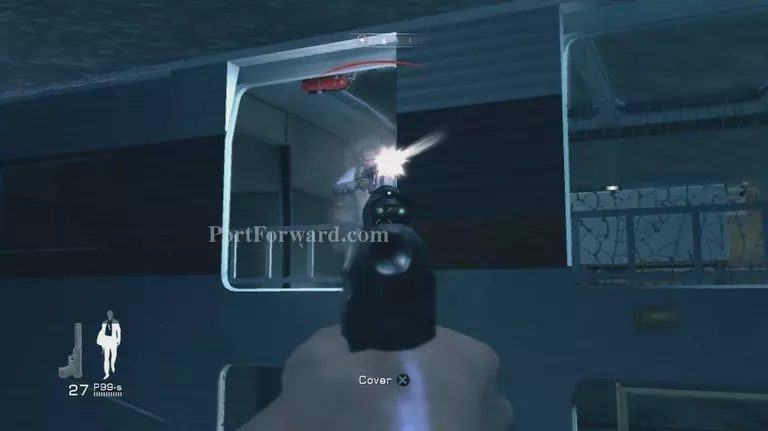
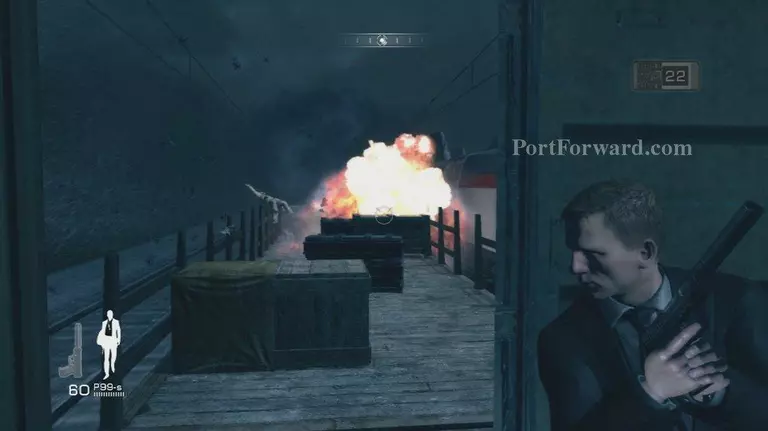
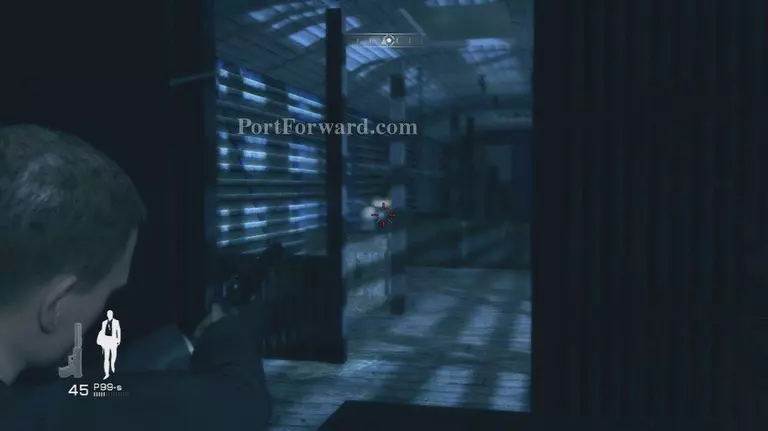
Shoot the tanks here to kill the guards quickly
James Bond Quantum of Solace Walkthrough - James Bond-Quantum-of-Solace 481James Bond Quantum of Solace Walkthrough - James Bond-Quantum-of-Solace 482
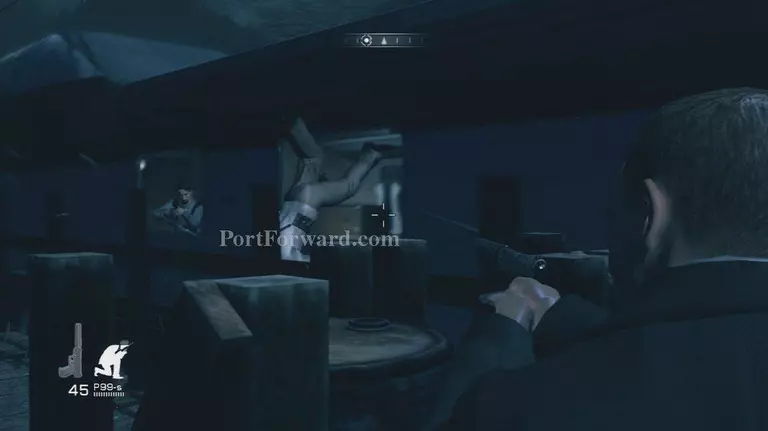
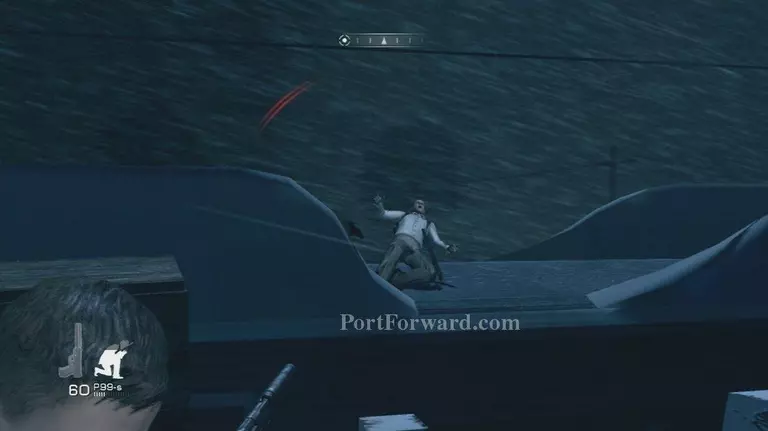
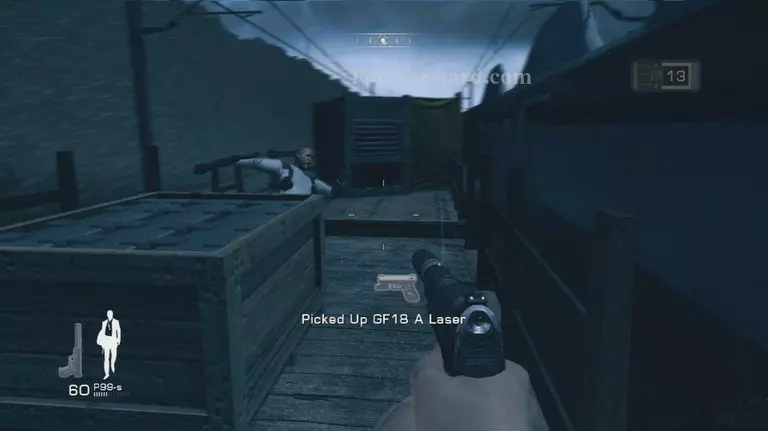
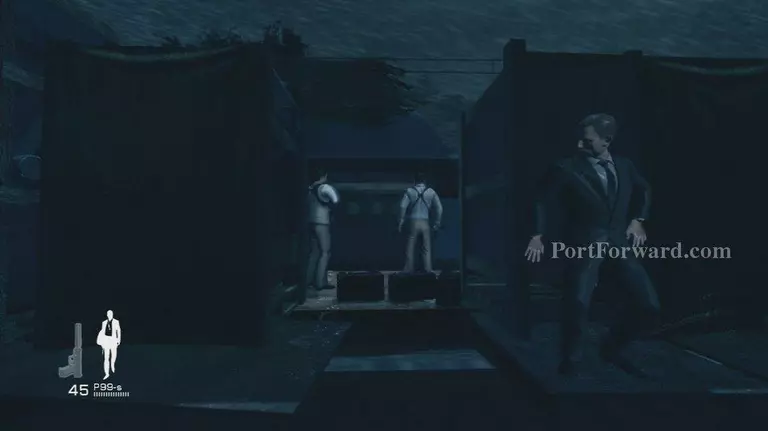
One guard near the guy cutting the train apart will have to be taken care of
James Bond Quantum of Solace Walkthrough - James Bond-Quantum-of-Solace 483
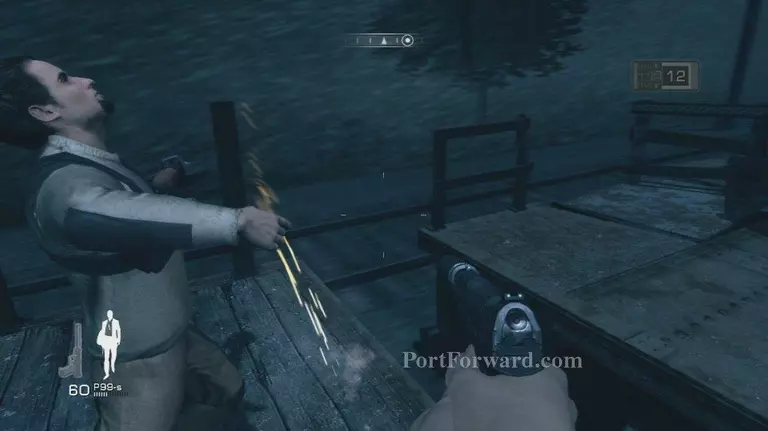
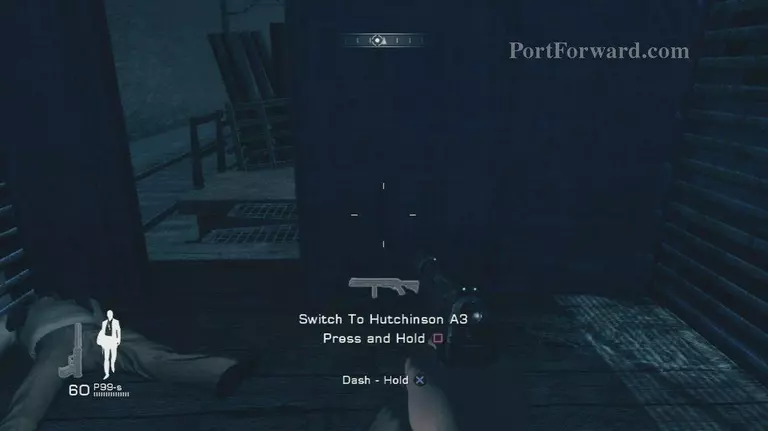
Then kill the guy using the grinder and quickly jump to the other side of the train
James Bond Quantum of Solace Walkthrough - James Bond-Quantum-of-Solace 484
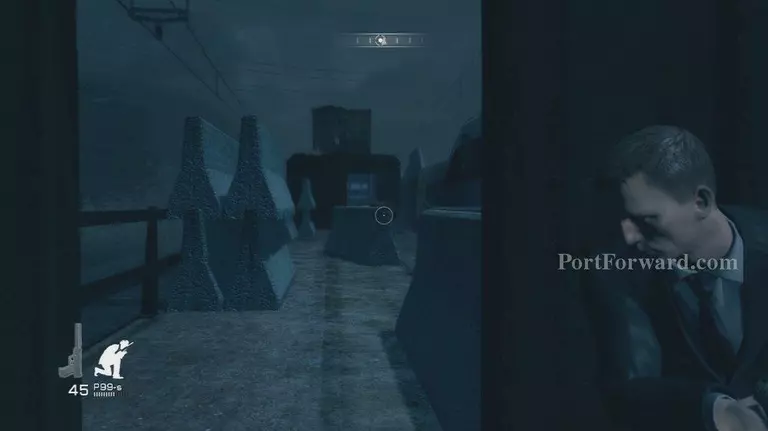
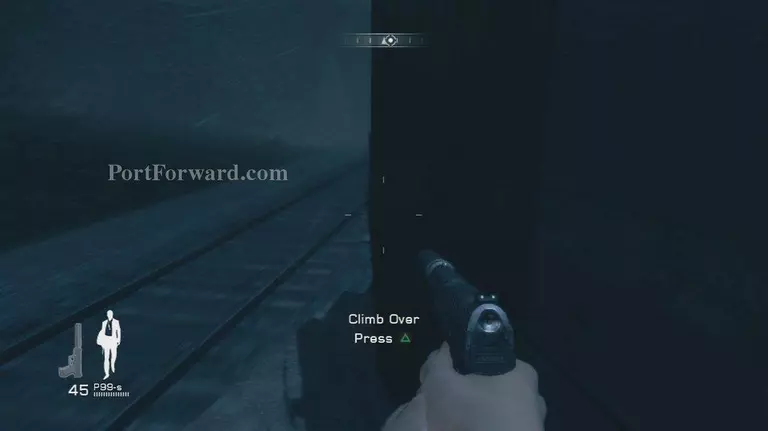
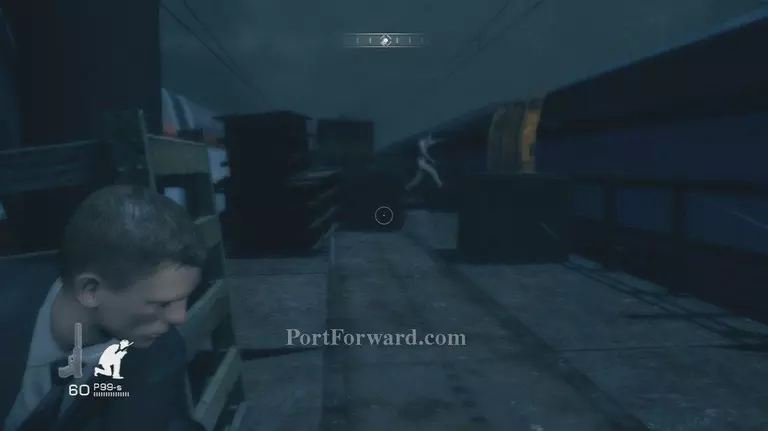
Once there youâll get a checkpoint head for the barrier behind you
James Bond Quantum of Solace Walkthrough - James Bond-Quantum-of-Solace 485
Climb over it for a âShimmyâ sequence
James Bond Quantum of Solace Walkthrough - James Bond-Quantum-of-Solace 486
There will be 2 jumpâs pretty straight forward stuff
James Bond Quantum of Solace Walkthrough - James Bond-Quantum-of-Solace 487
Take out the 2 guards you saw on the shimmy sequence and then uncouple this train car
James Bond Quantum of Solace Walkthrough - James Bond-Quantum-of-Solace 488
Make sure you go to the other side quickly and take cover here
James Bond Quantum of Solace Walkthrough - James Bond-Quantum-of-Solace 489
Shoot the tank to make a boom
James Bond Quantum of Solace Walkthrough - James Bond-Quantum-of-Solace 490
Then dispose of the remaining guard
James Bond Quantum of Solace Walkthrough - James Bond-Quantum-of-Solace 491
Head to the back of the car and take cover on the wall
James Bond Quantum of Solace Walkthrough - James Bond-Quantum-of-Solace 492
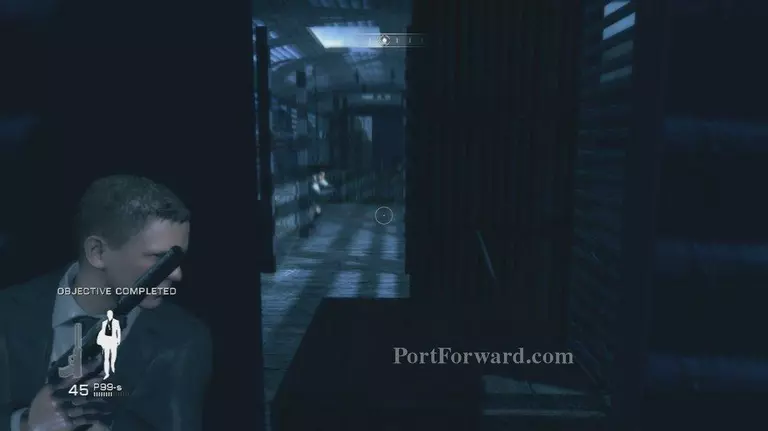
Advance to this piece of cover to trigger a guard who will show you the way to go
James Bond Quantum of Solace Walkthrough - James Bond-Quantum-of-Solace 493
Follow him over there by jumping across
James Bond Quantum of Solace Walkthrough - James Bond-Quantum-of-Solace 494
Then take him down gracefully
James Bond Quantum of Solace Walkthrough - James Bond-Quantum-of-Solace 495
Then take cover here
James Bond Quantum of Solace Walkthrough - James Bond-Quantum-of-Solace 496
A guard will come to check stuff out shoot or take him down (you are also weapons free you
can use any weapon now)
James Bond Quantum of Solace Walkthrough - James Bond-Quantum-of-Solace 497
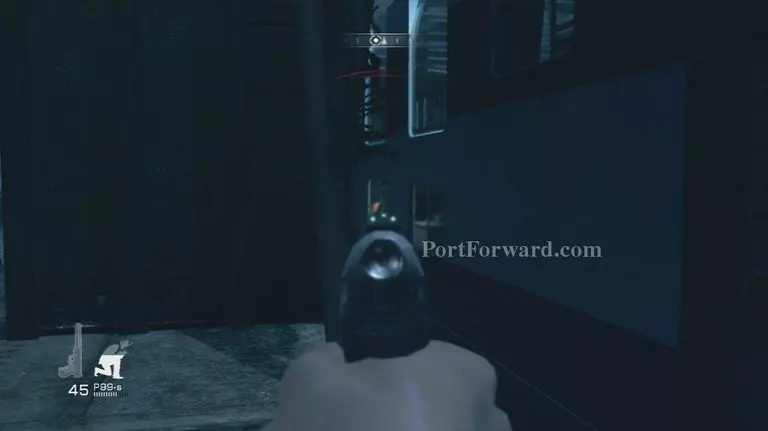
Then shoot the tank and generator to kill a few guards quickly
James Bond Quantum of Solace Walkthrough - James Bond-Quantum-of-Solace 498James Bond Quantum of Solace Walkthrough - James Bond-Quantum-of-Solace 499
Then clean up the rest
James Bond Quantum of Solace Walkthrough - James Bond-Quantum-of-Solace 500
Head for the back of the car and through the door
James Bond Quantum of Solace Walkthrough - James Bond-Quantum-of-Solace 501
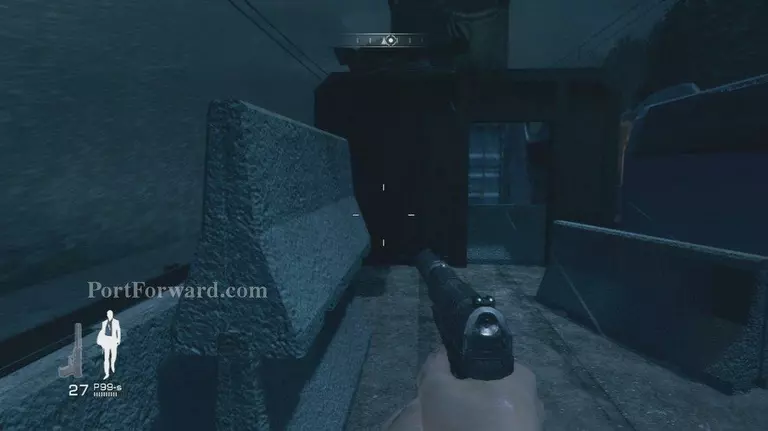
Take cover here before going inside deal with the guard here
James Bond Quantum of Solace Walkthrough - James Bond-Quantum-of-Solace 502
Then advance to this piece of cover to trigger some more
James Bond Quantum of Solace Walkthrough - James Bond-Quantum-of-Solace 503
After they are no more head in and grab the phone
James Bond Quantum of Solace Walkthrough - James Bond-Quantum-of-Solace 504
Then head for the back door of the car
James Bond Quantum of Solace Walkthrough - James Bond-Quantum-of-Solace 505
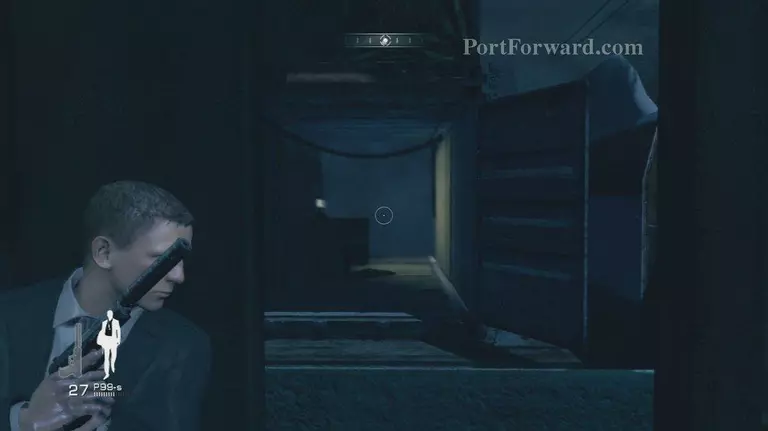
Take care of the guard here and climb the ladder topside
James Bond Quantum of Solace Walkthrough - James Bond-Quantum-of-Solace 506
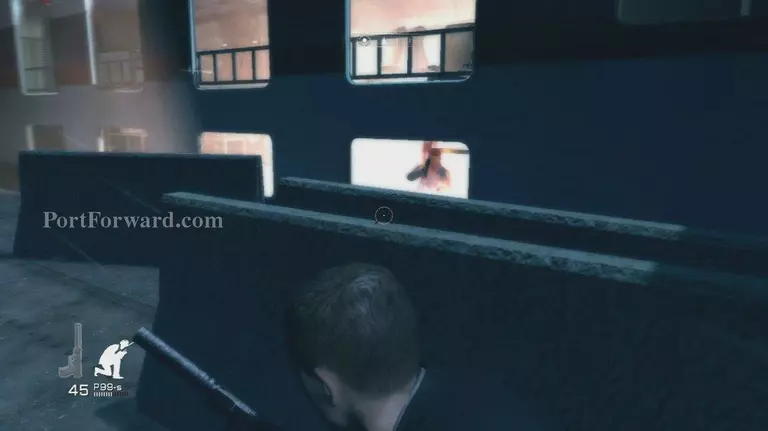
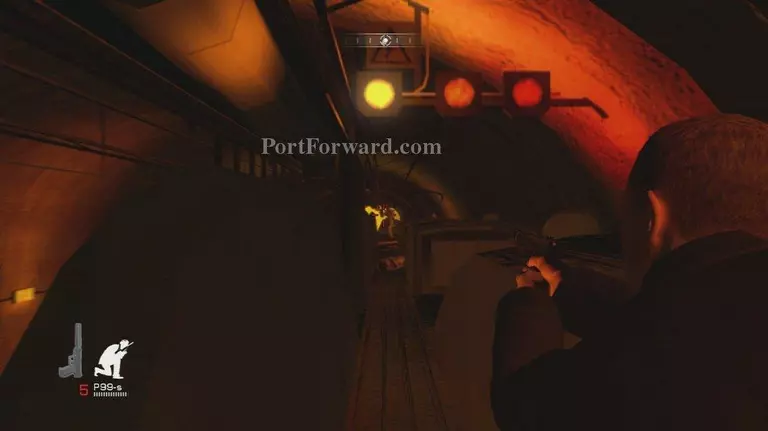
Take cover and kill the guards down the way
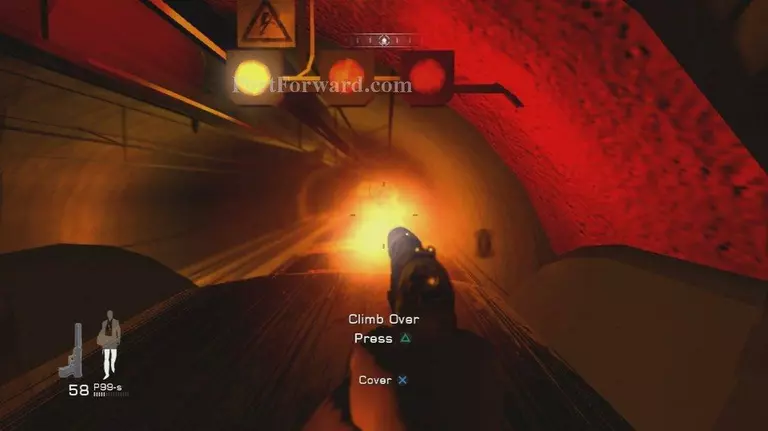
James Bond Quantum of Solace Walkthrough - James Bond-Quantum-of-Solace 507
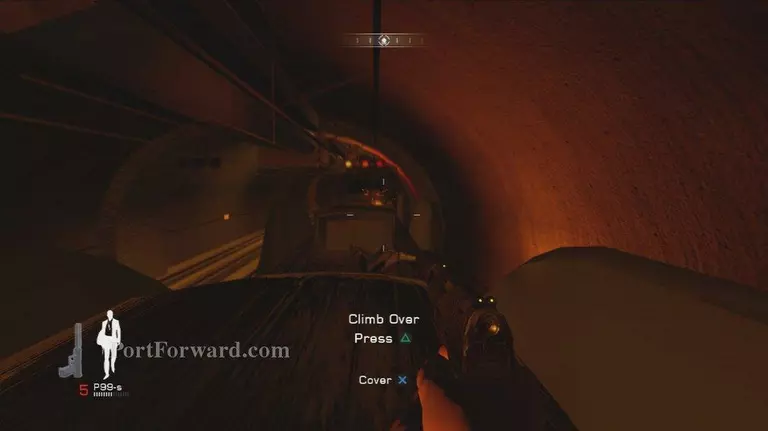
Then climb over make sure to time it right with the light above you
James Bond Quantum of Solace Walkthrough - James Bond-Quantum-of-Solace 508
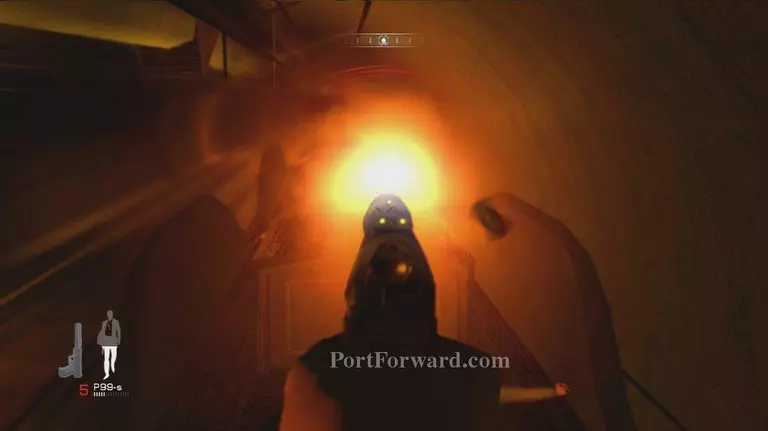
More guys will come as you get close to the ladder hole in the roof
James Bond Quantum of Solace Walkthrough - James Bond-Quantum-of-Solace 509
Keep climbing over cover till you reach the ladder
James Bond Quantum of Solace Walkthrough - James Bond-Quantum-of-Solace 510
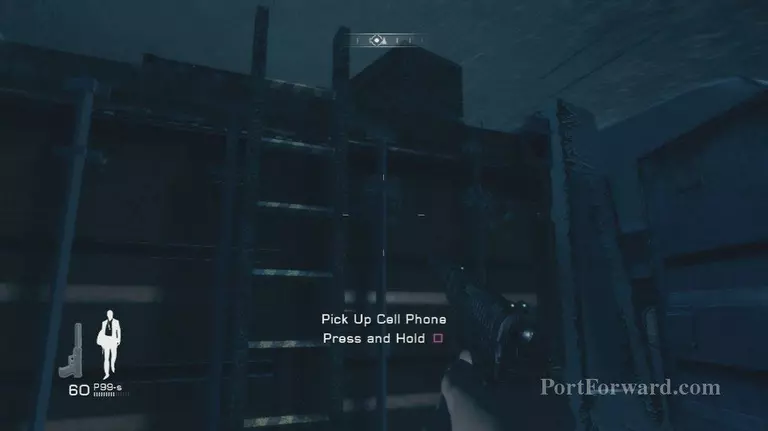
Once inside grab the phone
James Bond Quantum of Solace Walkthrough - James Bond-Quantum-of-Solace 511
Then head back up the ladder and jump to the other car in front of you for a checkpoint
James Bond Quantum of Solace Walkthrough - James Bond-Quantum-of-Solace 512
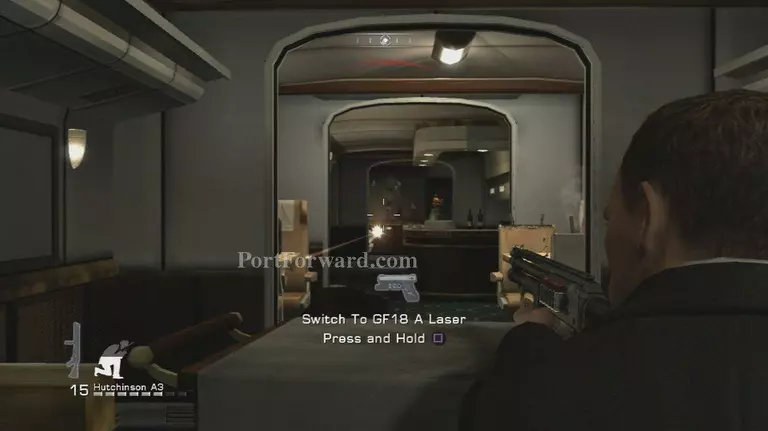
Head down the ladder and take cover a flash-bang will blind you. After a few you can see again
kill the guards
James Bond Quantum of Solace Walkthrough - James Bond-Quantum-of-Solace 513James Bond Quantum of Solace Walkthrough - James Bond-Quantum-of-Solace 514
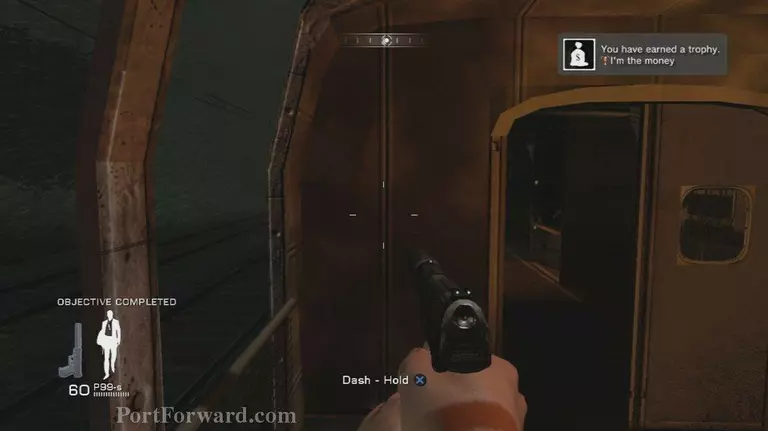
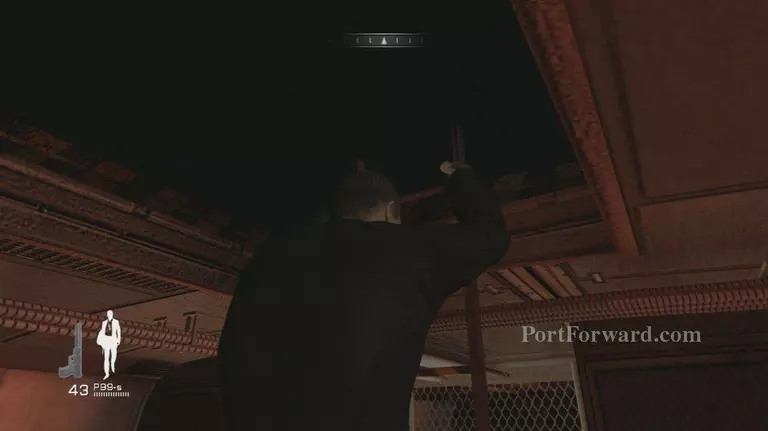
Then head for the ladder at the back of the car
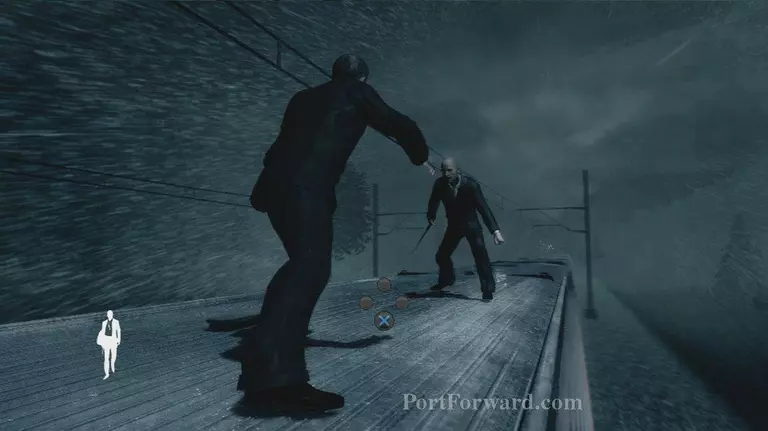
James Bond Quantum of Solace Walkthrough - James Bond-Quantum-of-Solace 515
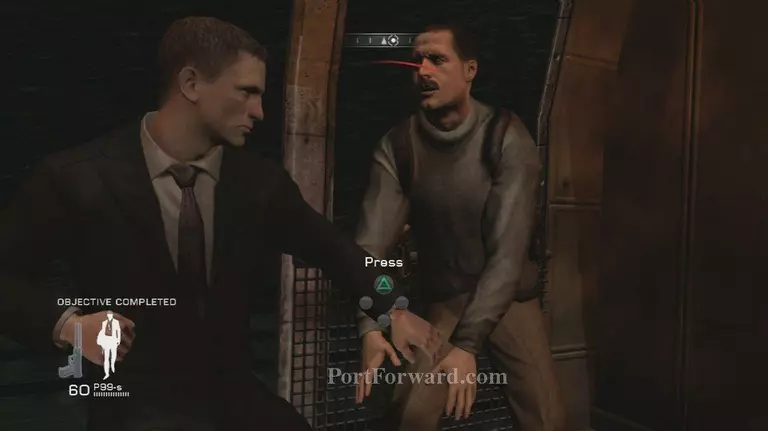
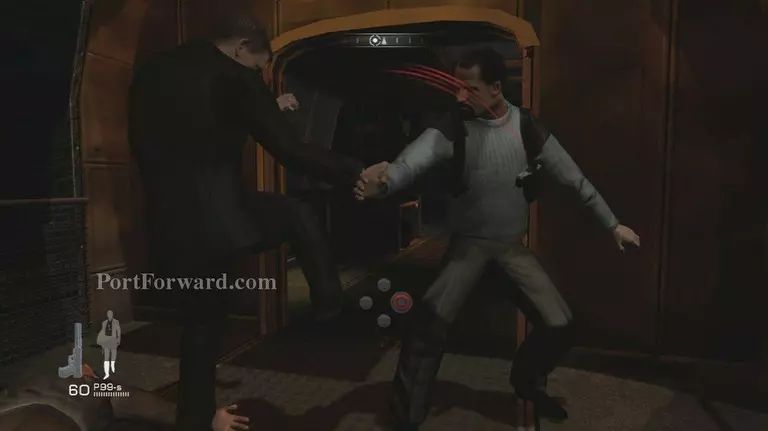
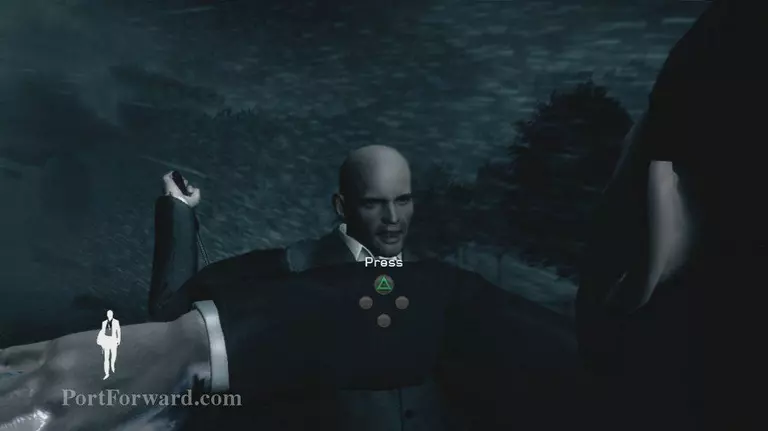
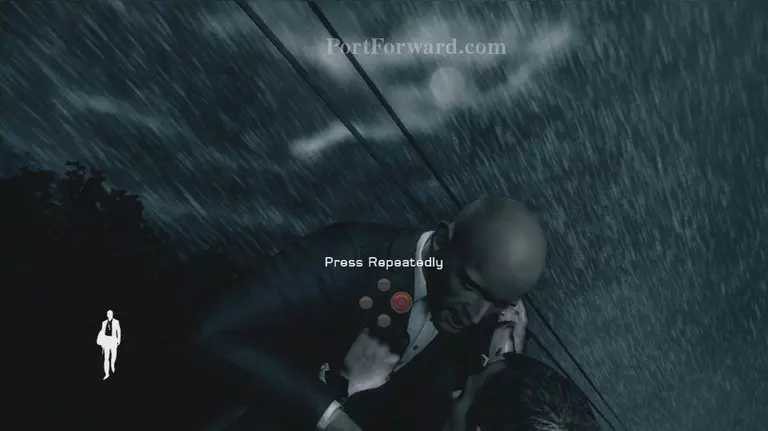
A fight sequence will ensue at the top press the proper face buttons when they pop up
James Bond Quantum of Solace Walkthrough - James Bond-Quantum-of-Solace 516James Bond Quantum of Solace Walkthrough - James Bond-Quantum-of-Solace 517James Bond Quantum of Solace Walkthrough - James Bond-Quantum-of-Solace 518
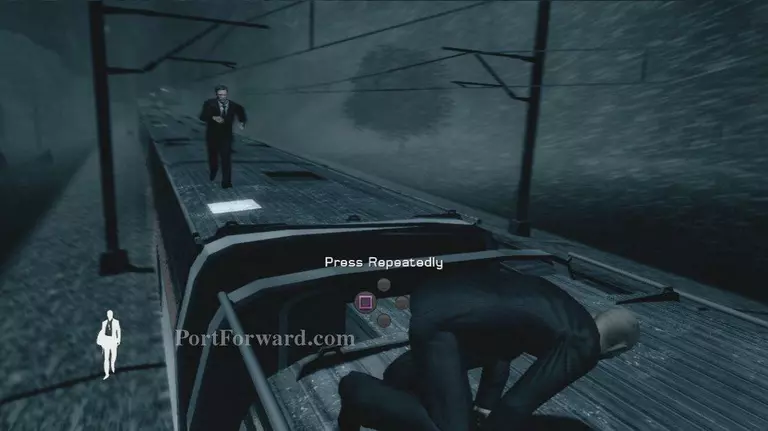
Soon youâll have to mash O button to push his head up
James Bond Quantum of Solace Walkthrough - James Bond-Quantum-of-Solace 519
This will end Mission 10.
More James Bond Quantum of Solace Walkthroughs
This James Bond Quantum of Solace walkthrough is divided into 16 total pages.