This James Bond Quantum of Solace walkthrough is divided into 16 total pages.
You can jump to nearby pages of the game using the links above.
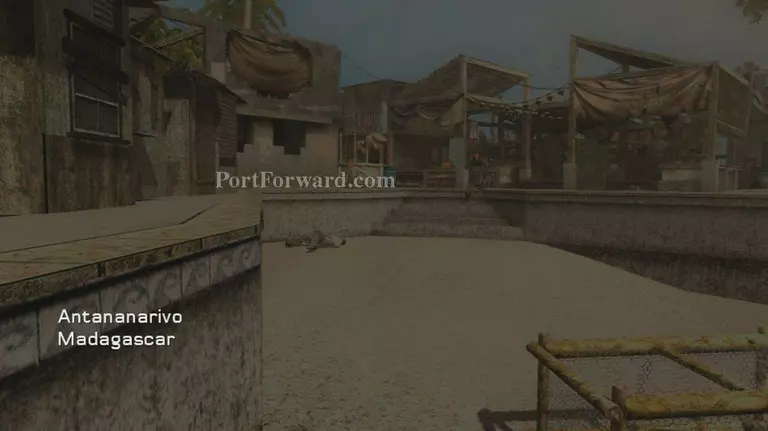
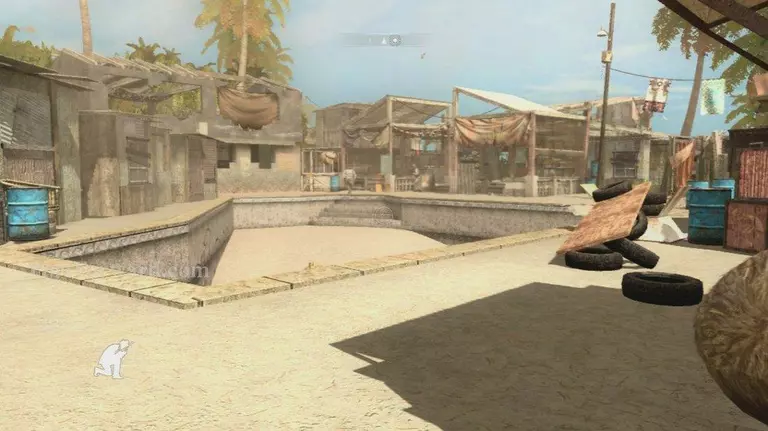
Shanty Town
 James Bond Quantum of Solace Walkthrough - James Bond-Quantum-of-Solace 208
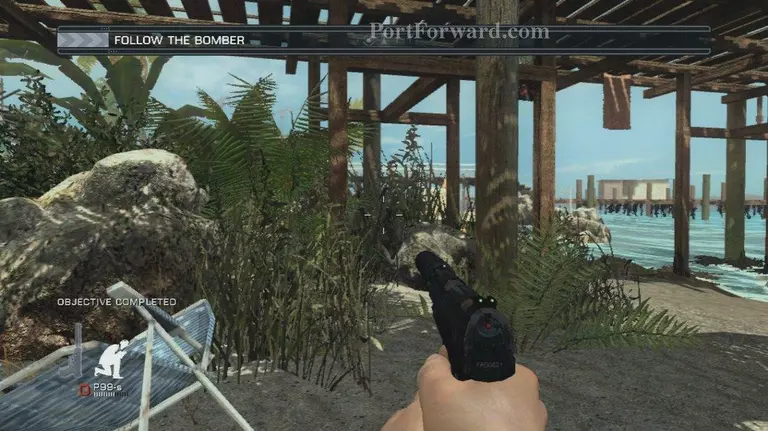
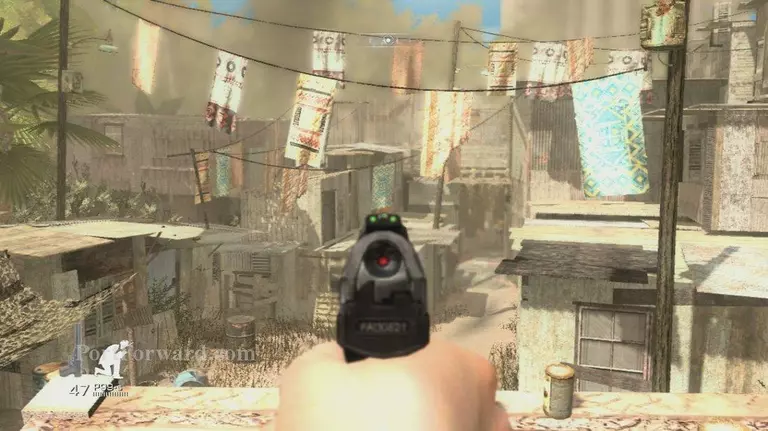
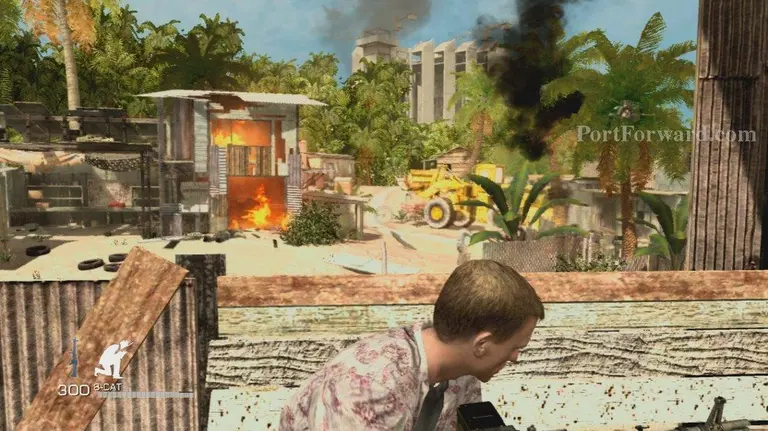
Youâll start out behind cover in this mission
 James Bond Quantum of Solace Walkthrough - James Bond-Quantum-of-Solace 209
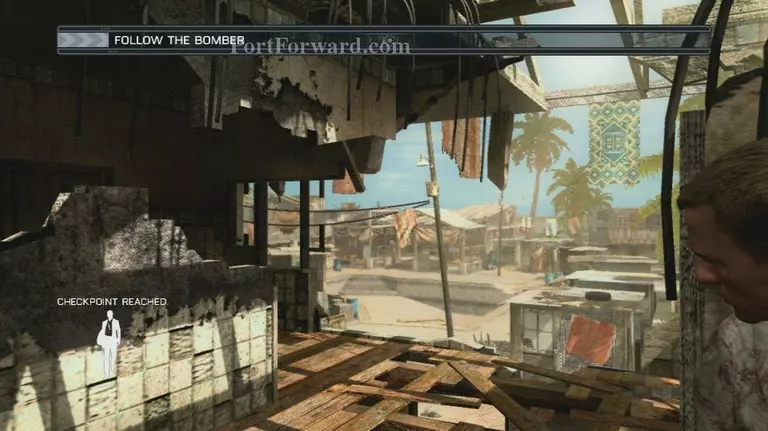
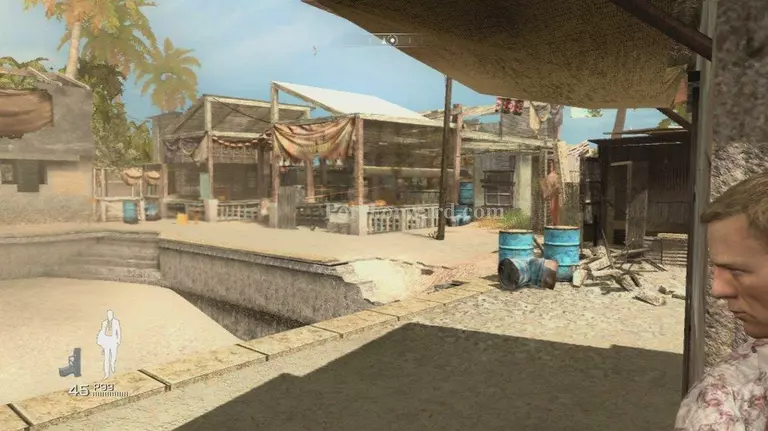
Jump down here
 James Bond Quantum of Solace Walkthrough - James Bond-Quantum-of-Solace 210
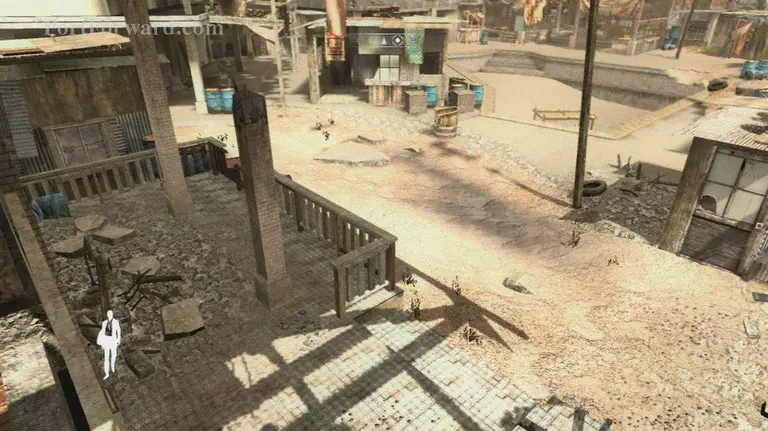
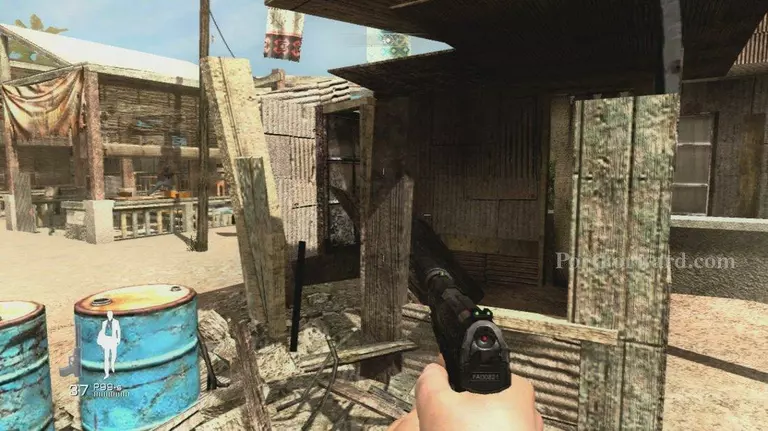
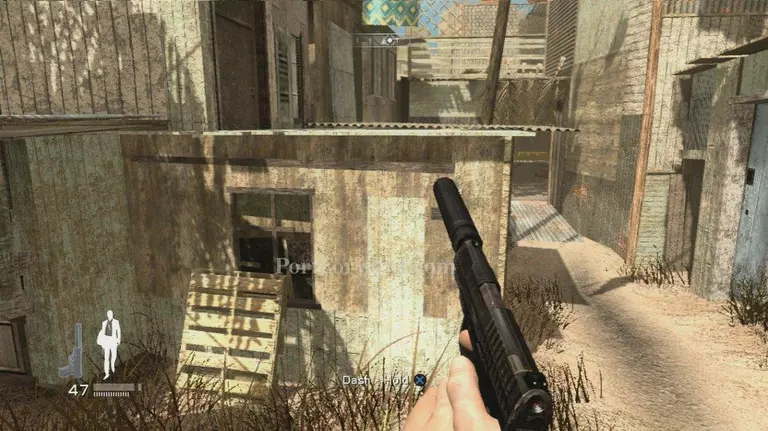
And head to this building
 James Bond Quantum of Solace Walkthrough - James Bond-Quantum-of-Solace 211
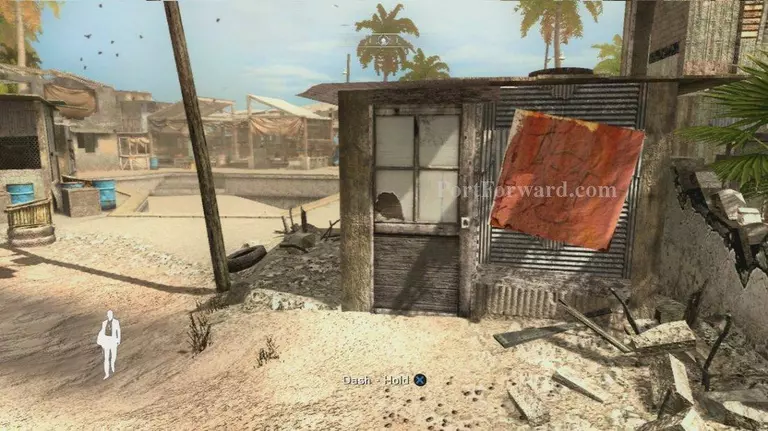
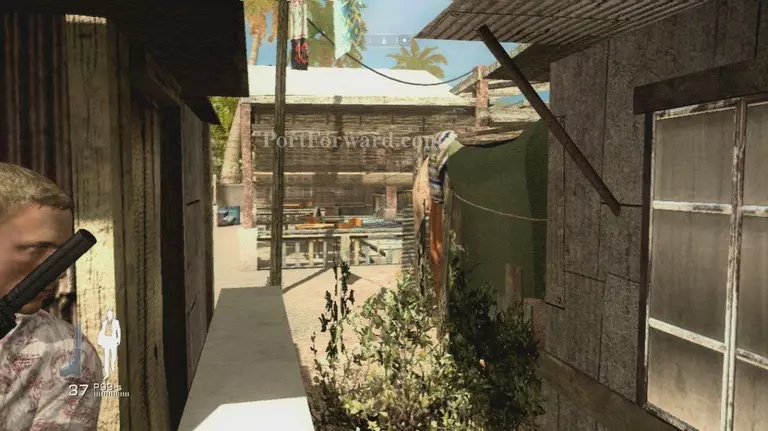
Take cover 2 guards will come out
 James Bond Quantum of Solace Walkthrough - James Bond-Quantum-of-Solace 212
Move forward theyâll spot you and take cover
 James Bond Quantum of Solace Walkthrough - James Bond-Quantum-of-Solace 213
Then run to his building here
 James Bond Quantum of Solace Walkthrough - James Bond-Quantum-of-Solace 214
And take cover on the right side of it like this
 James Bond Quantum of Solace Walkthrough - James Bond-Quantum-of-Solace 215
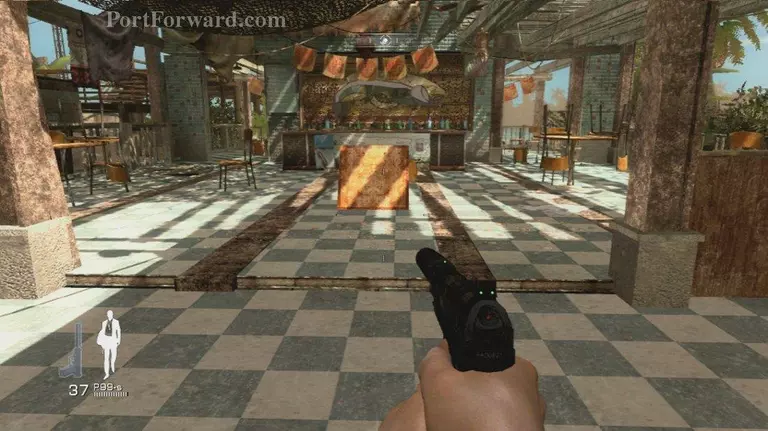
The guards will run away head over to the bar area
 James Bond Quantum of Solace Walkthrough - James Bond-Quantum-of-Solace 216
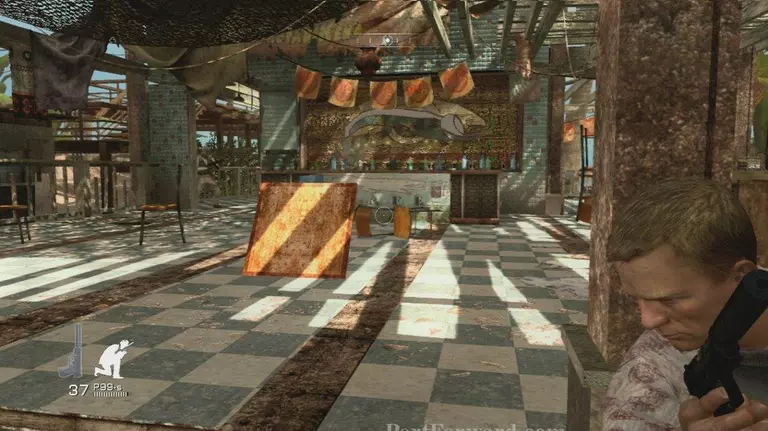
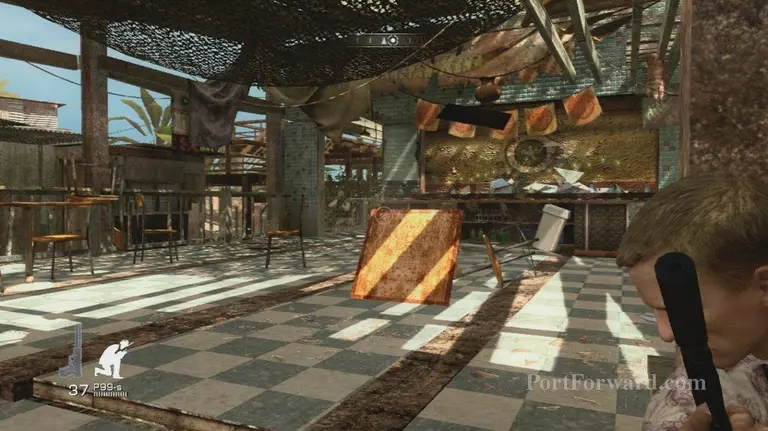
And take cover right here, some explosions will go off and a guard to kill
 James Bond Quantum of Solace Walkthrough - James Bond-Quantum-of-Solace 217
 James Bond Quantum of Solace Walkthrough - James Bond-Quantum-of-Solace 218
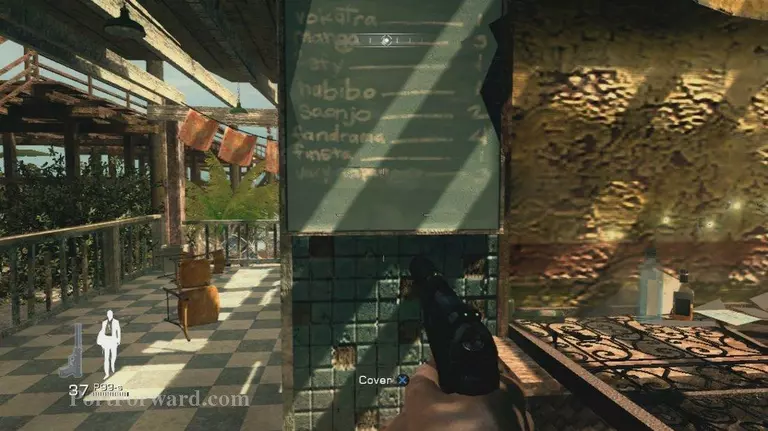
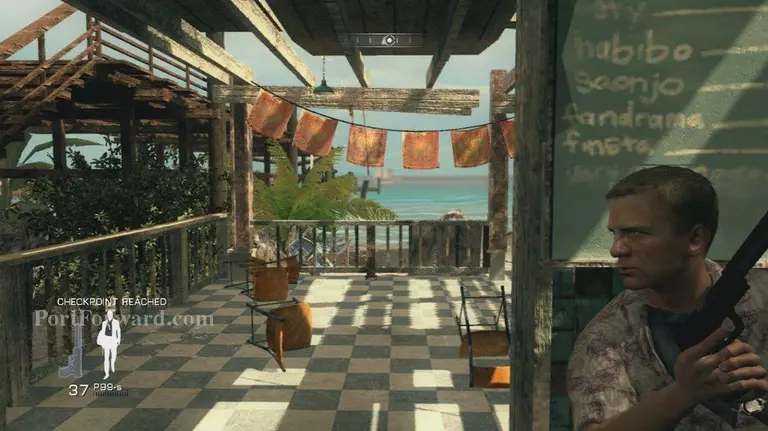
Then take cover on the left hand doorway by this menu
 James Bond Quantum of Solace Walkthrough - James Bond-Quantum-of-Solace 219
Take out the guards here on the beach
 James Bond Quantum of Solace Walkthrough - James Bond-Quantum-of-Solace 220
Soon a checkpoint and the remaining guards flee
 James Bond Quantum of Solace Walkthrough - James Bond-Quantum-of-Solace 221
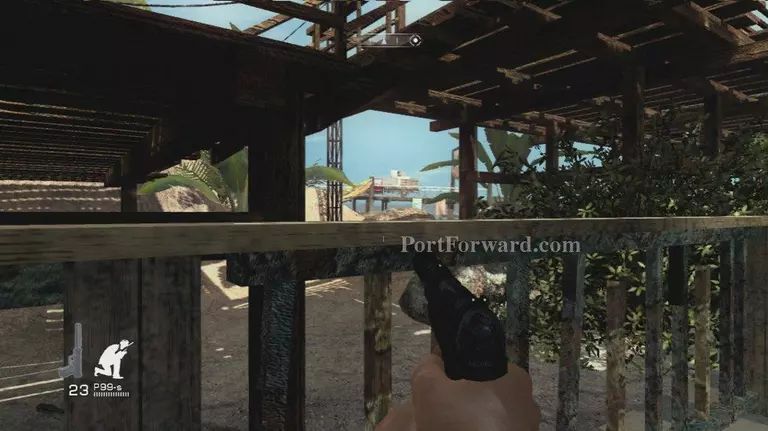
Inch out until you can see this truck with a gunner on the back
 James Bond Quantum of Solace Walkthrough - James Bond-Quantum-of-Solace 222
Take aim and shoot the gunner this will cause them to get mad and move out of range
 James Bond Quantum of Solace Walkthrough - James Bond-Quantum-of-Solace 223
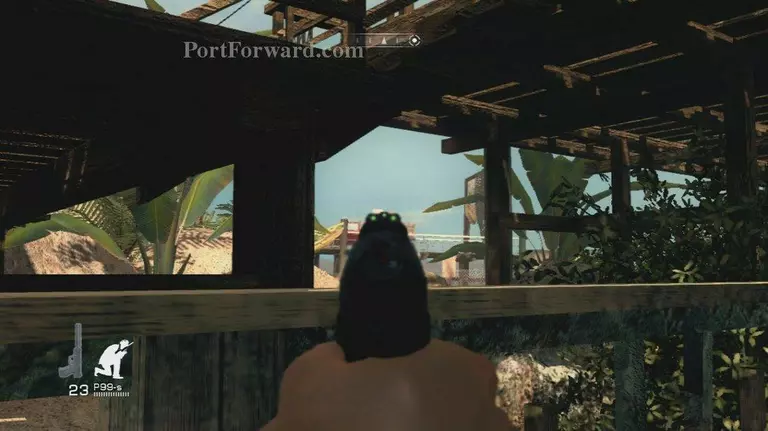
Inch up until you can see his muzzle flashes and take aim
 James Bond Quantum of Solace Walkthrough - James Bond-Quantum-of-Solace 224
Shoot him a few times for a check point then go plunder the beach for weapons behind you
 James Bond Quantum of Solace Walkthrough - James Bond-Quantum-of-Solace 225
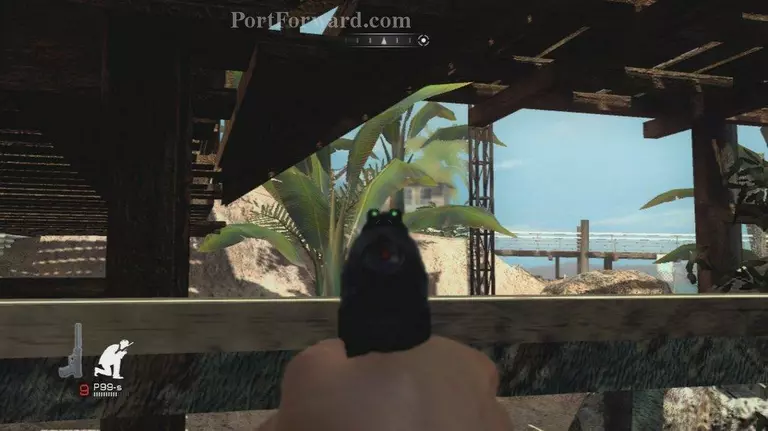
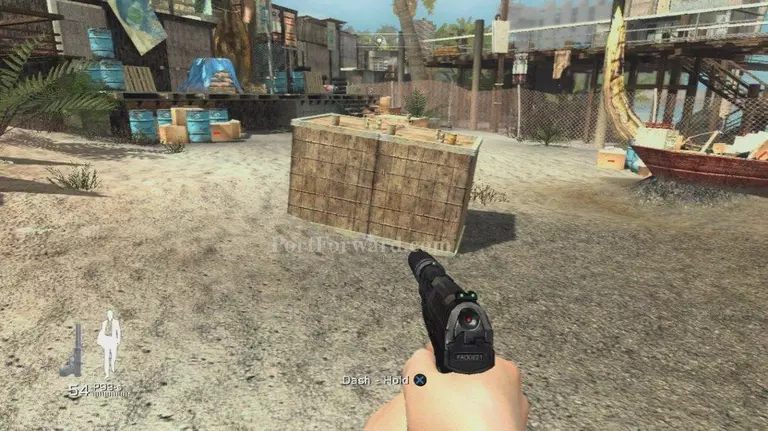
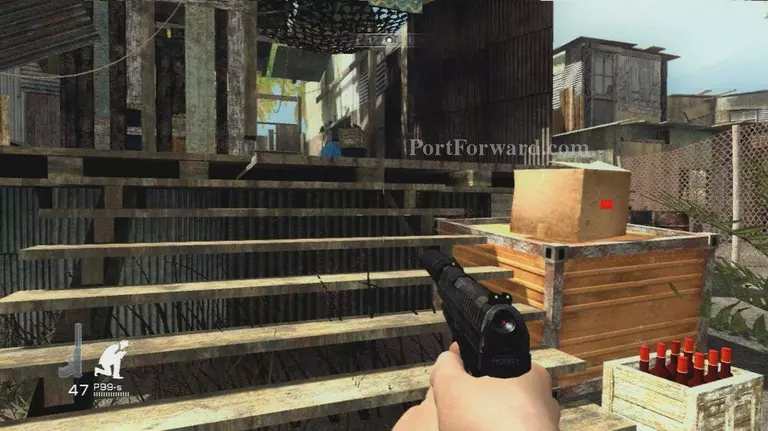
Then head to this crate to trigger some guards
 James Bond Quantum of Solace Walkthrough - James Bond-Quantum-of-Solace 226
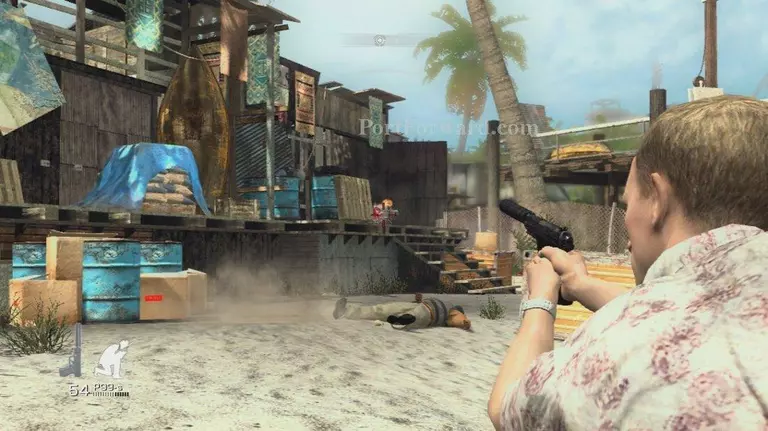
Then run back to cover here and shoot the propane tank
 James Bond Quantum of Solace Walkthrough - James Bond-Quantum-of-Solace 227
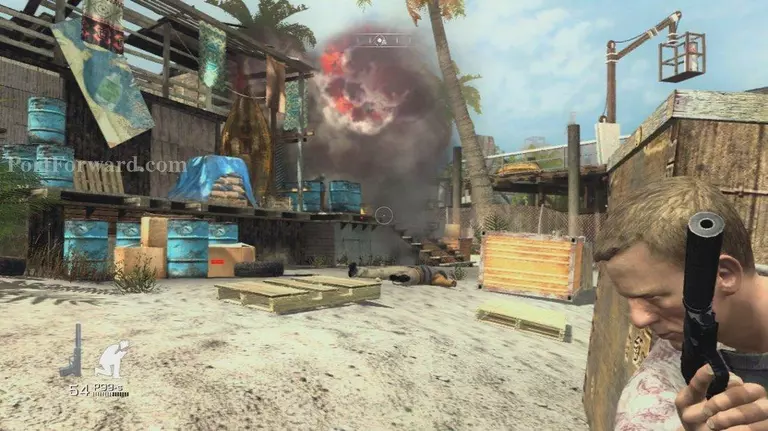
That will finish them off
 James Bond Quantum of Solace Walkthrough - James Bond-Quantum-of-Solace 228
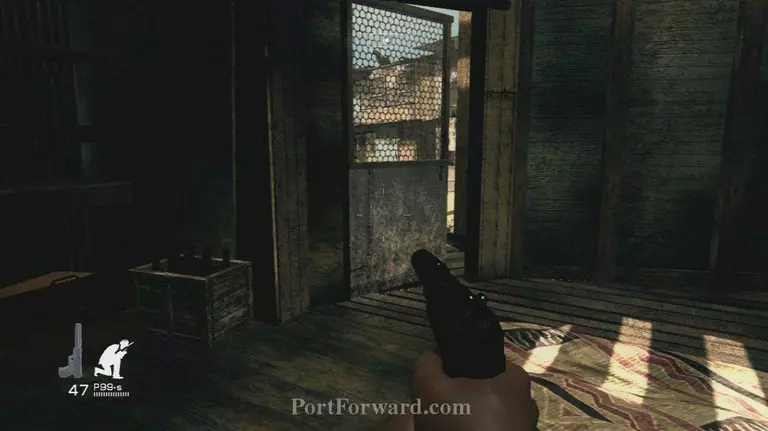
Once the area is clear head into the building they came out of
 James Bond Quantum of Solace Walkthrough - James Bond-Quantum-of-Solace 229
And out through the door here in the back for a checkpoint
 James Bond Quantum of Solace Walkthrough - James Bond-Quantum-of-Solace 230
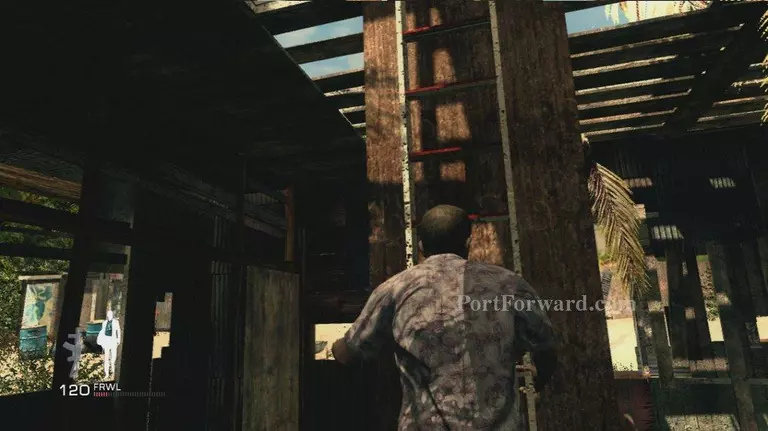
Go up this ladder here
 James Bond Quantum of Solace Walkthrough - James Bond-Quantum-of-Solace 231
And across these containerâs
 James Bond Quantum of Solace Walkthrough - James Bond-Quantum-of-Solace 232
The bomber will run when you get close to the end of the second container
 James Bond Quantum of Solace Walkthrough - James Bond-Quantum-of-Solace 233
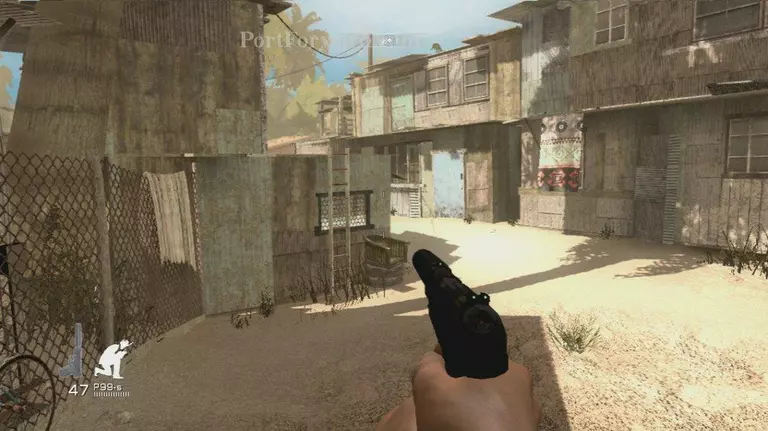
Hop down and run from cover to cover
 James Bond Quantum of Solace Walkthrough - James Bond-Quantum-of-Solace 234
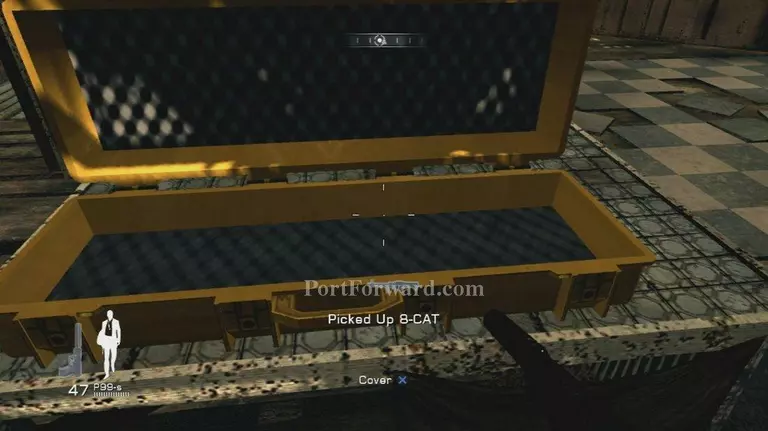
Until you reach this room with a gun crate in it and a checkpoint
 James Bond Quantum of Solace Walkthrough - James Bond-Quantum-of-Solace 235
Head over to the crate and pick up the 8-CAT
 James Bond Quantum of Solace Walkthrough - James Bond-Quantum-of-Solace 236
Then head up this ladder
 James Bond Quantum of Solace Walkthrough - James Bond-Quantum-of-Solace 237
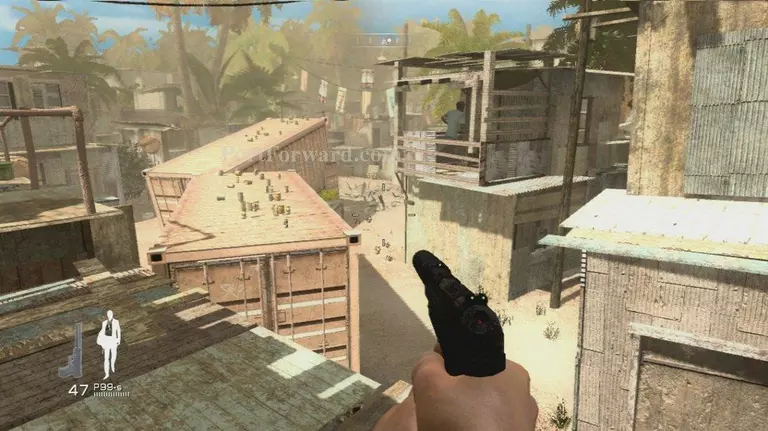
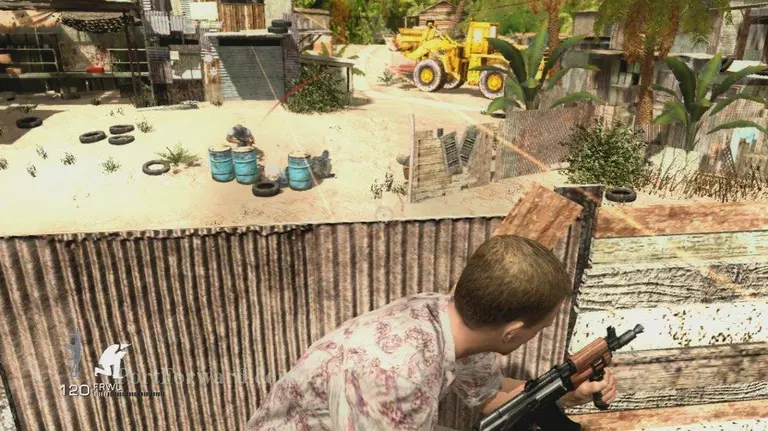
Take cover on the wall here
 James Bond Quantum of Solace Walkthrough - James Bond-Quantum-of-Solace 238
Lots of guards will rush in deal with them
 James Bond Quantum of Solace Walkthrough - James Bond-Quantum-of-Solace 239
 James Bond Quantum of Solace Walkthrough - James Bond-Quantum-of-Solace 240
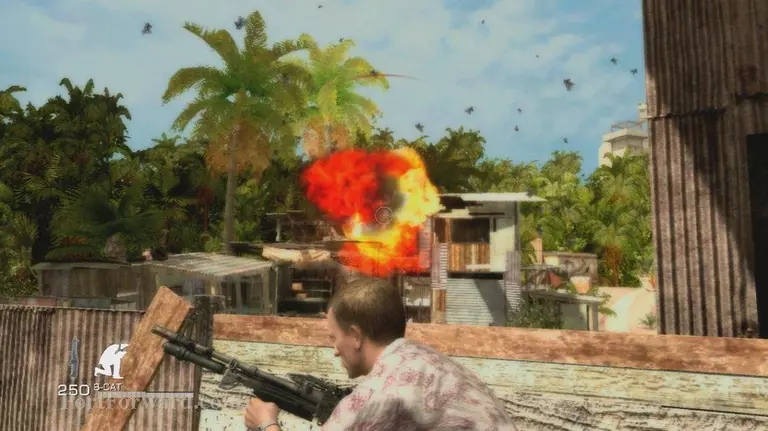
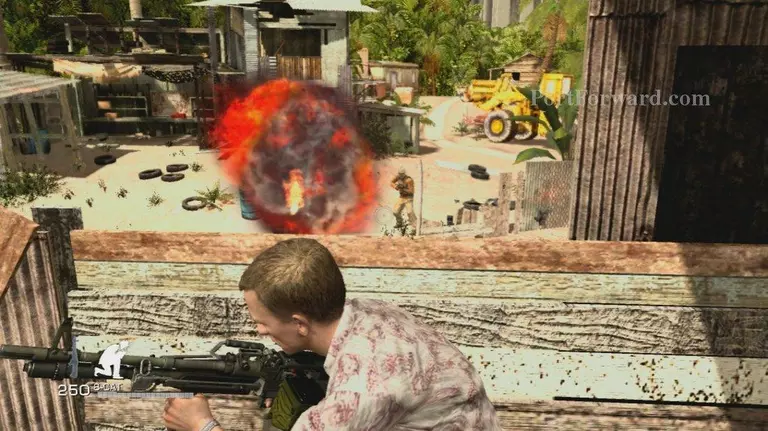
Then the truck shows up again, just shoot the propane tank in the building to the left with the 2
guards in it
 James Bond Quantum of Solace Walkthrough - James Bond-Quantum-of-Solace 241
 James Bond Quantum of Solace Walkthrough - James Bond-Quantum-of-Solace 242
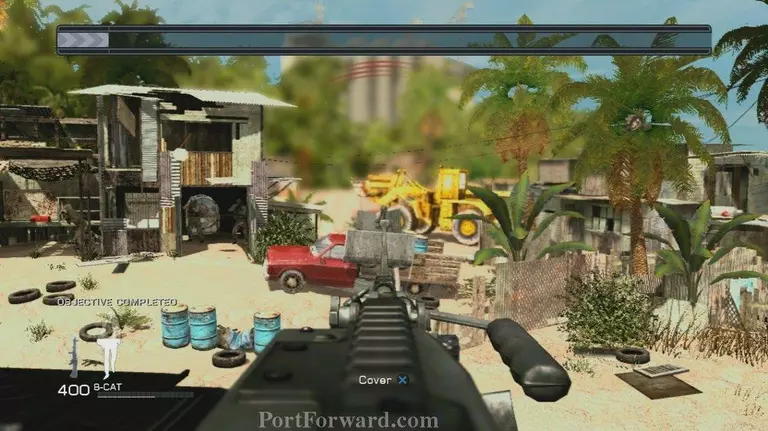
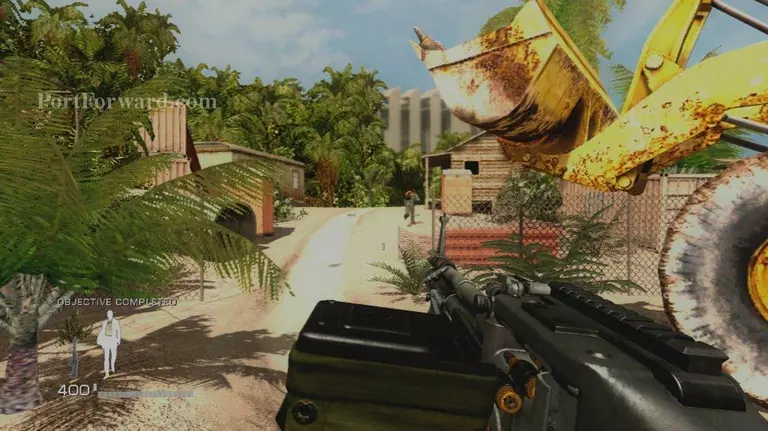
After they are all downed a checkpoint head out the building and towards Carter for a scene
 James Bond Quantum of Solace Walkthrough - James Bond-Quantum-of-Solace 243
This will End Mission 5.
More James Bond Quantum of Solace Walkthroughs
This James Bond Quantum of Solace walkthrough is divided into 16 total pages.


