You can jump to nearby pages of the game using the links above.
Bregnez Opera House
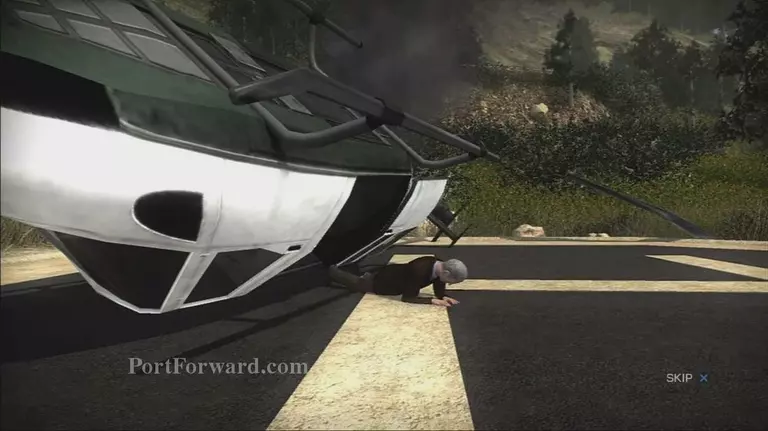
A scene will play, and begin Mission 3. Bregenz Opera house.
James Bond Quantum of Solace Walkthrough - James Bond-Quantum-of-Solace 97
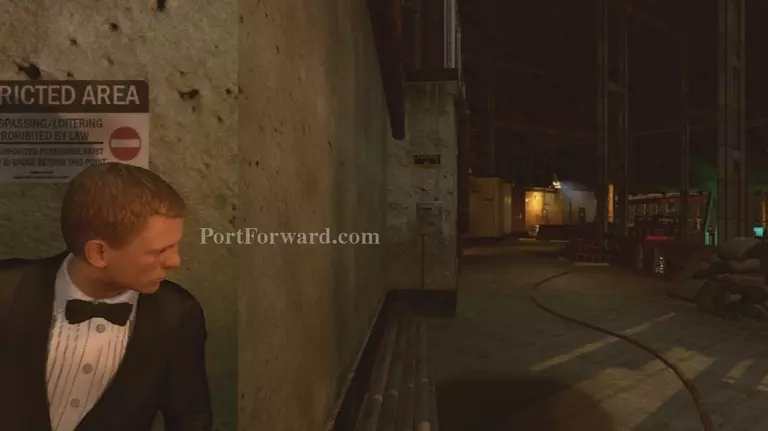
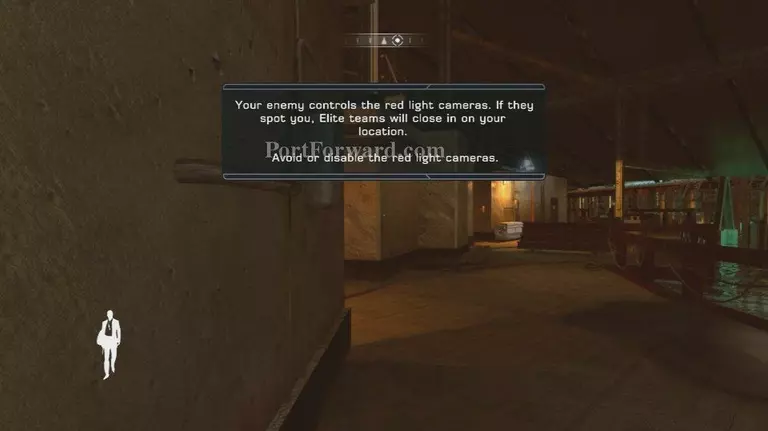
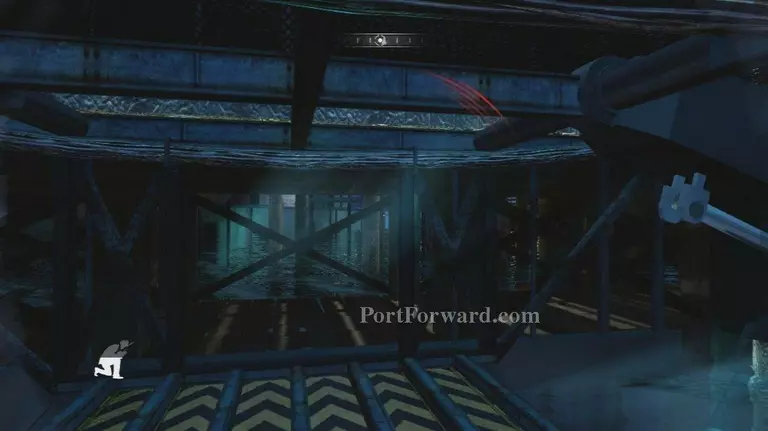
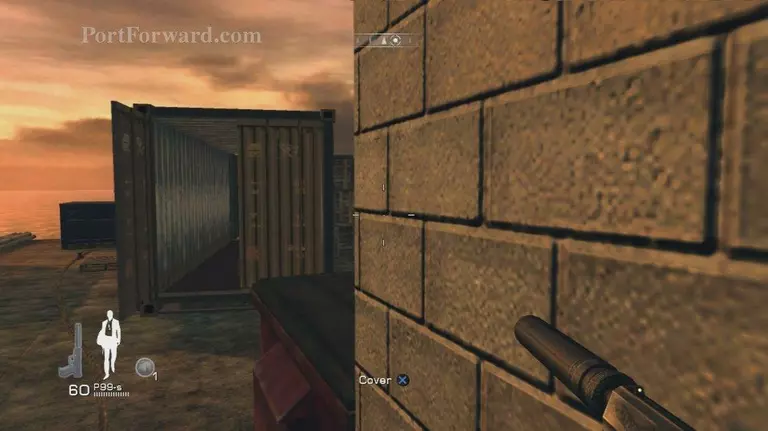
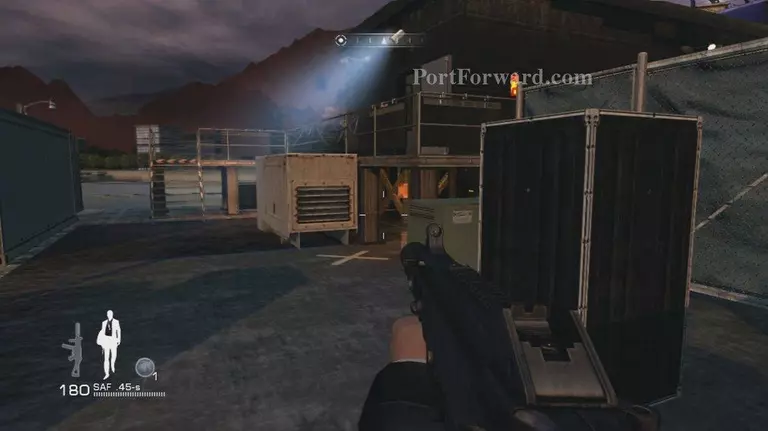
Youâll start behind cover, this is a sneaking mission!
James Bond Quantum of Solace Walkthrough - James Bond-Quantum-of-Solace 98
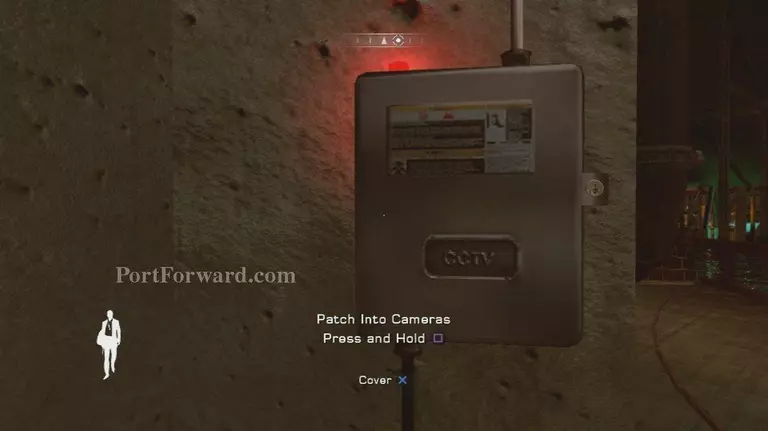
First head around the cover and to this box hack it
James Bond Quantum of Solace Walkthrough - James Bond-Quantum-of-Solace 99
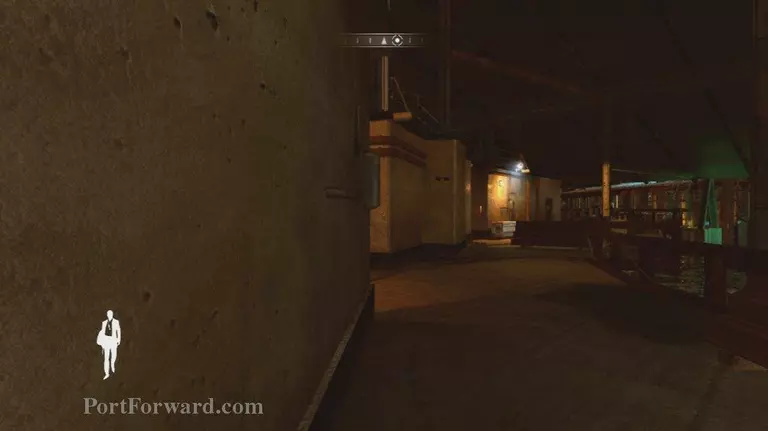
Continue crouched and head north
James Bond Quantum of Solace Walkthrough - James Bond-Quantum-of-Solace 100
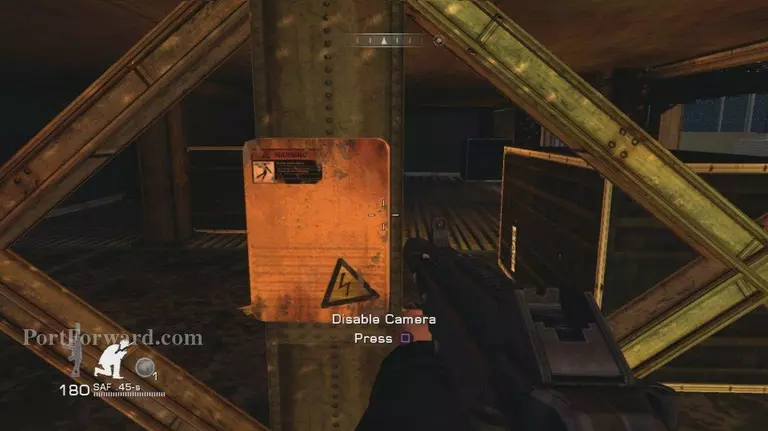
A pop up explaining disabling cameraâs
James Bond Quantum of Solace Walkthrough - James Bond-Quantum-of-Solace 101
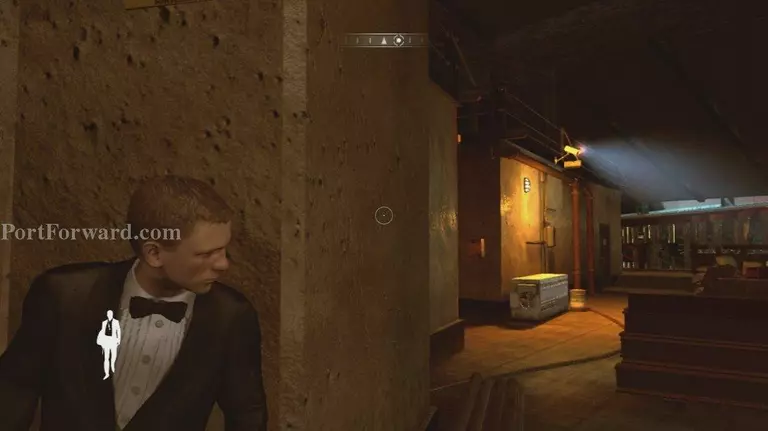
Head to this piece of cover and wait for the camera to look away
James Bond Quantum of Solace Walkthrough - James Bond-Quantum-of-Solace 102
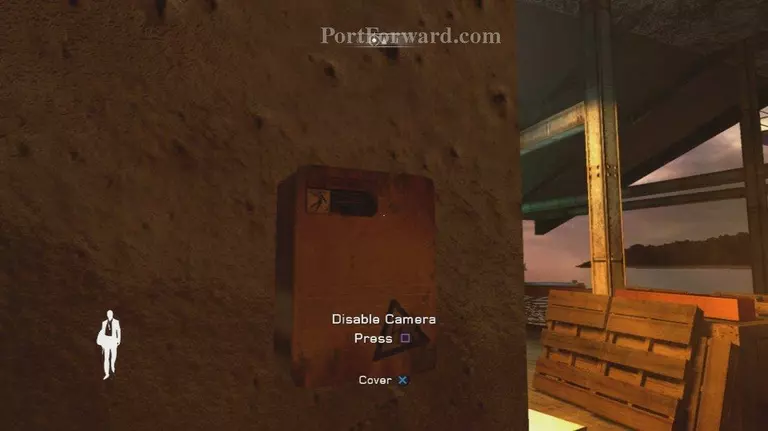
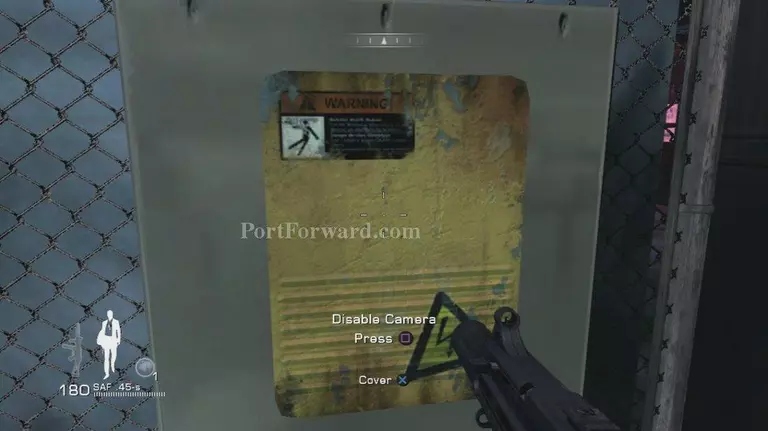
Then run to the box on the left here and disable the camera by pressing the Square button
James Bond Quantum of Solace Walkthrough - James Bond-Quantum-of-Solace 103
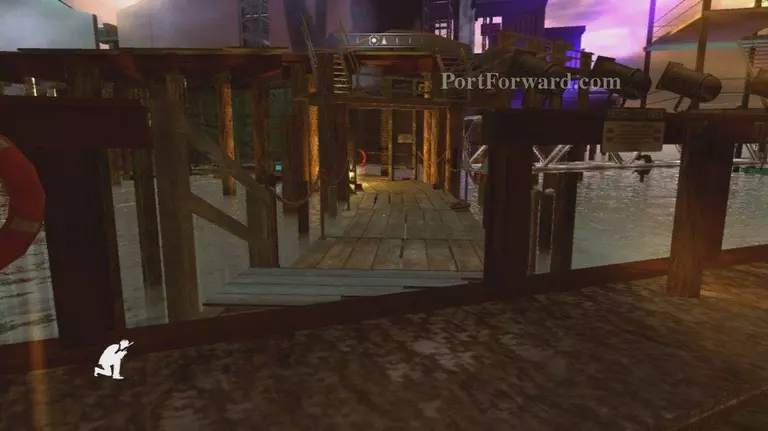
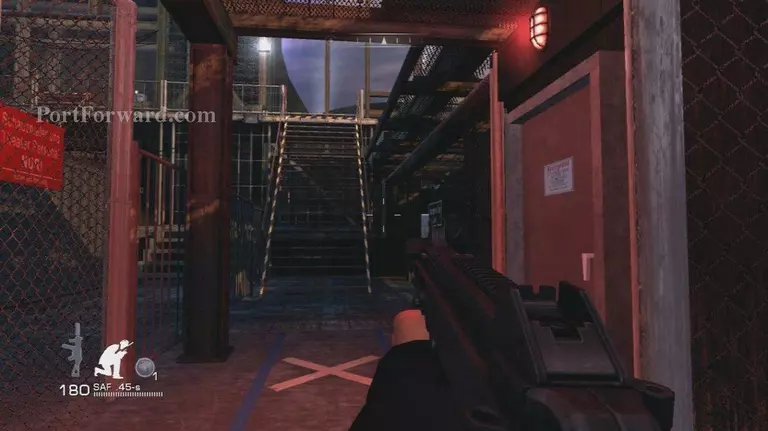
After it is disabled you can walk by it and head to this walkway
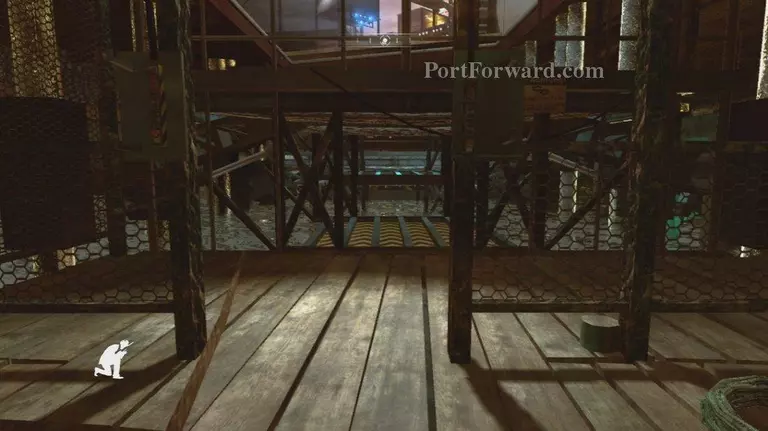
James Bond Quantum of Solace Walkthrough - James Bond-Quantum-of-Solace 104
Continue down this path youâll come to some switches
James Bond Quantum of Solace Walkthrough - James Bond-Quantum-of-Solace 105
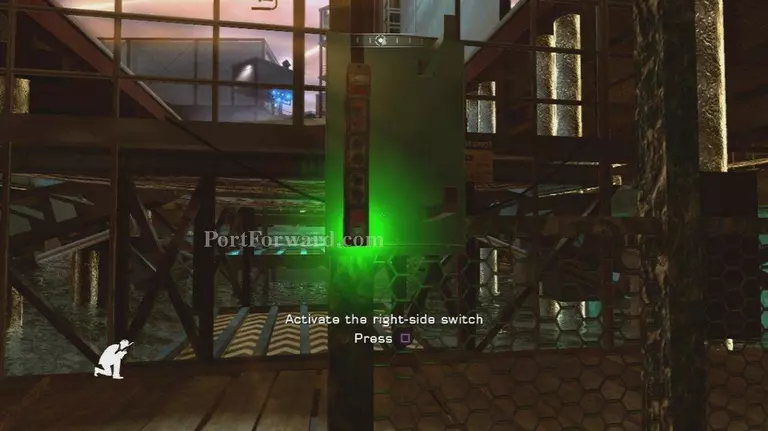
Hit the right switch once
James Bond Quantum of Solace Walkthrough - James Bond-Quantum-of-Solace 106
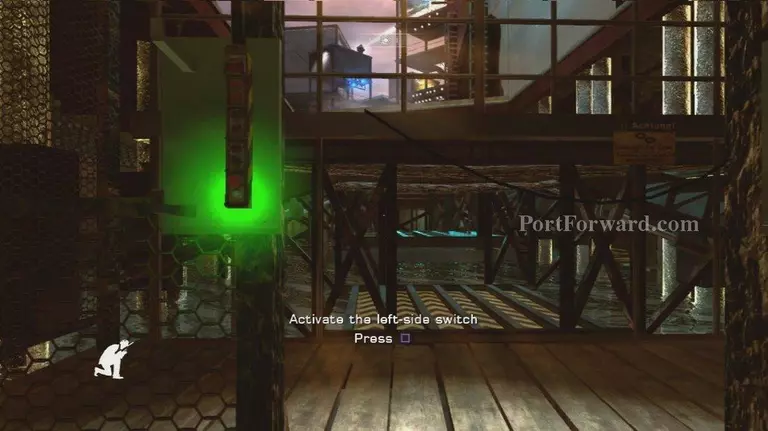
The left switch once
James Bond Quantum of Solace Walkthrough - James Bond-Quantum-of-Solace 107
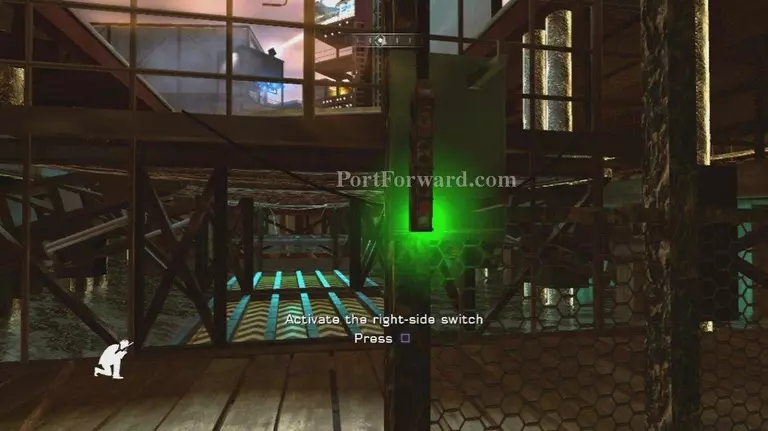
Then finally the right switch.
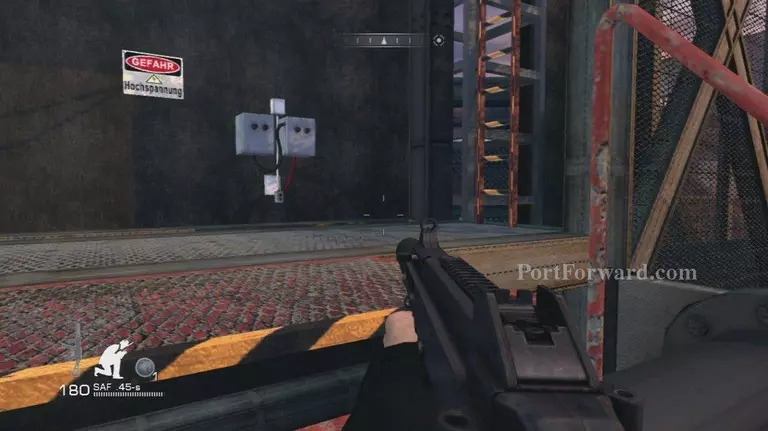
James Bond Quantum of Solace Walkthrough - James Bond-Quantum-of-Solace 108
This will lower a bridge but at the end will be arching some electricity
James Bond Quantum of Solace Walkthrough - James Bond-Quantum-of-Solace 109
Becareful not to get shocked like I did here
James Bond Quantum of Solace Walkthrough - James Bond-Quantum-of-Solace 110
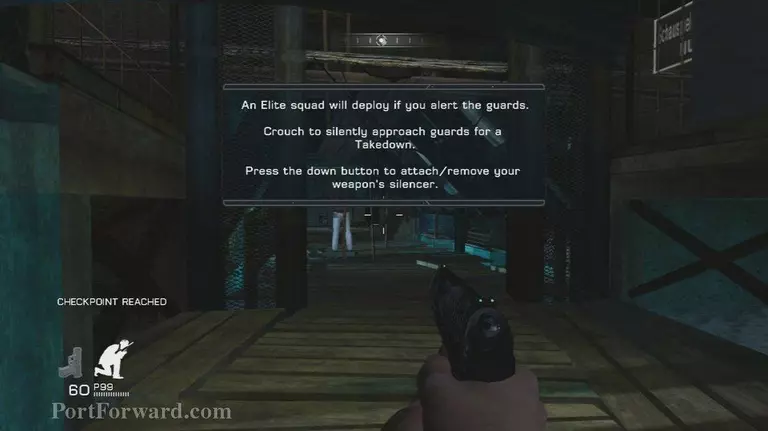
Continue to the right and a message explaining Silent takedowns
James Bond Quantum of Solace Walkthrough - James Bond-Quantum-of-Solace 111
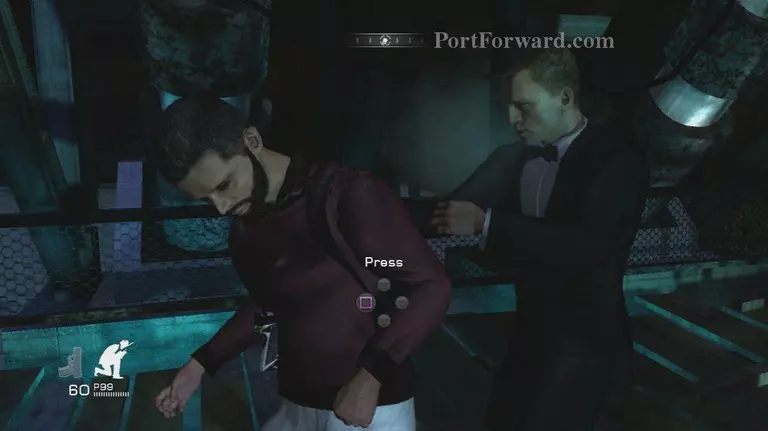
Take the guy in front of you down
James Bond Quantum of Solace Walkthrough - James Bond-Quantum-of-Solace 112
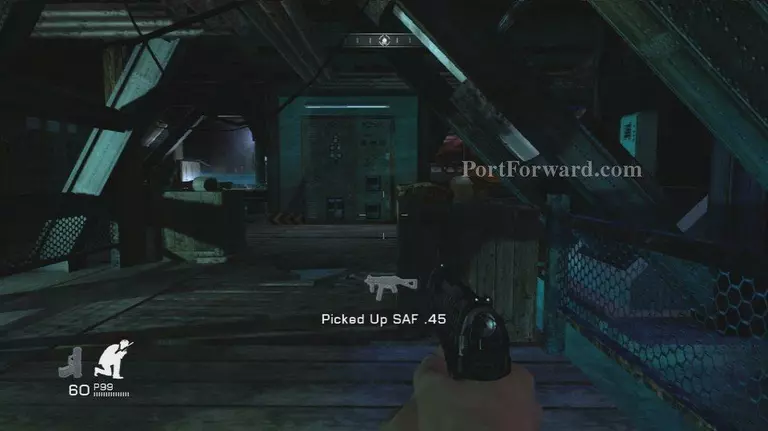
Pick up his weapon and take cover on this box
James Bond Quantum of Solace Walkthrough - James Bond-Quantum-of-Solace 113
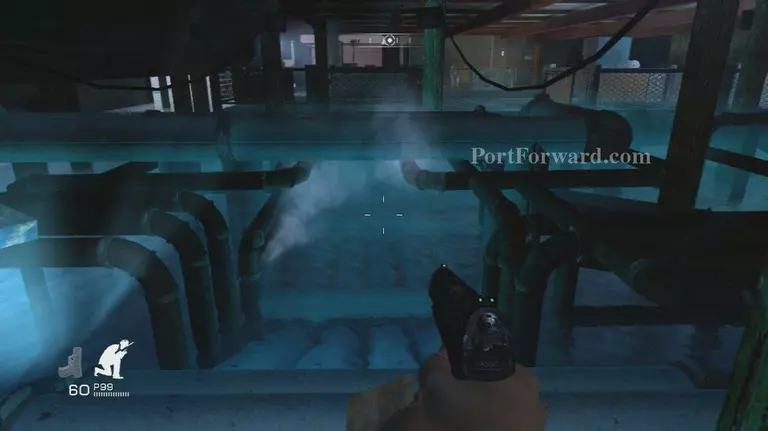
Move forward to this peg-board looking piece of cover
James Bond Quantum of Solace Walkthrough - James Bond-Quantum-of-Solace 114
Wait for the guard to look away and jump down onto these pipes
James Bond Quantum of Solace Walkthrough - James Bond-Quantum-of-Solace 115
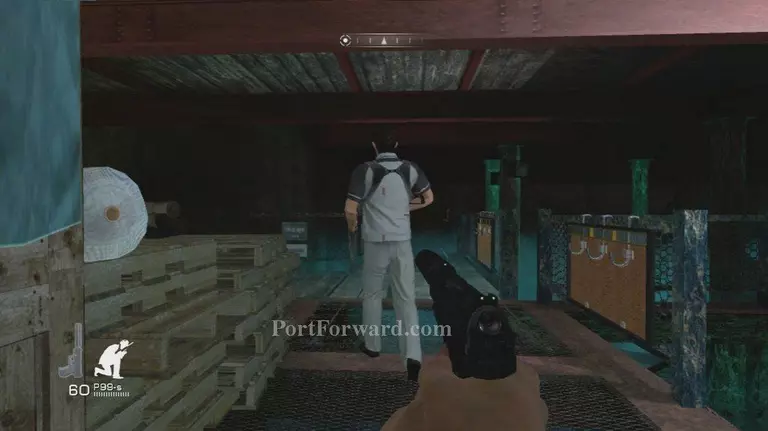
Crouch through and wait for the guard to turn around
James Bond Quantum of Solace Walkthrough - James Bond-Quantum-of-Solace 116
Then creep up on him
James Bond Quantum of Solace Walkthrough - James Bond-Quantum-of-Solace 117
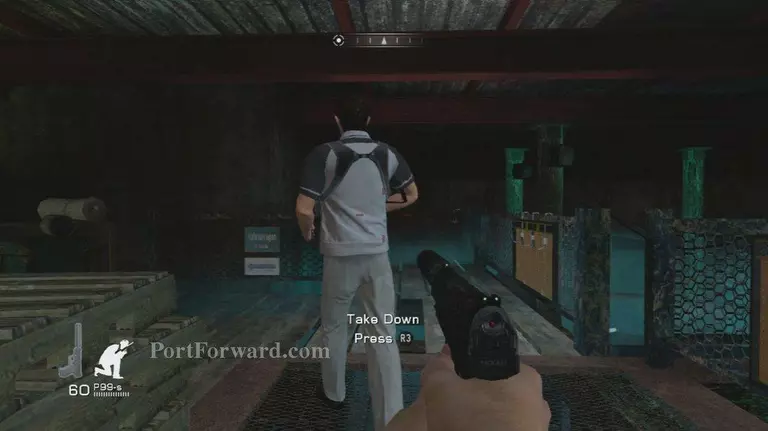
Preform a takedown on him
James Bond Quantum of Solace Walkthrough - James Bond-Quantum-of-Solace 118
Then continue to this corner
James Bond Quantum of Solace Walkthrough - James Bond-Quantum-of-Solace 119
Then move to the next corner and take cover
James Bond Quantum of Solace Walkthrough - James Bond-Quantum-of-Solace 120
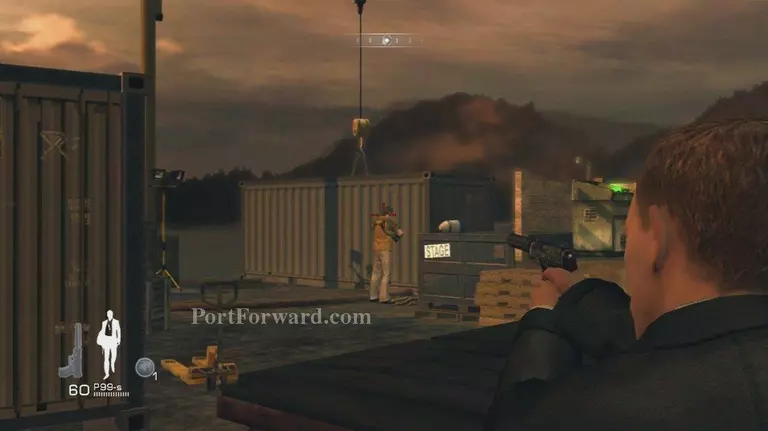
Then take out the guard here
James Bond Quantum of Solace Walkthrough - James Bond-Quantum-of-Solace 121
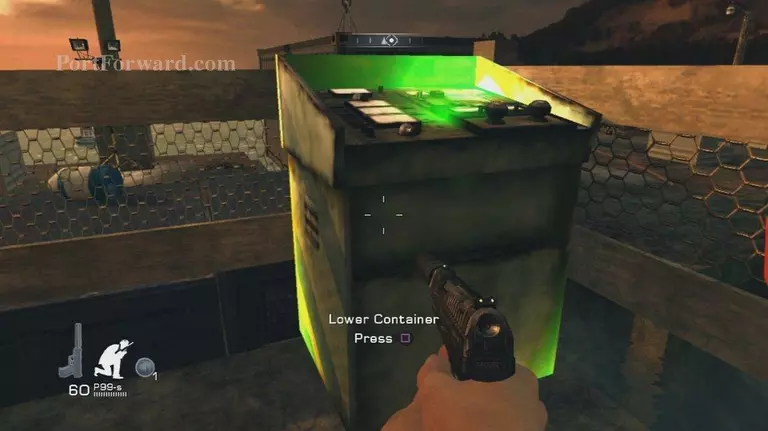
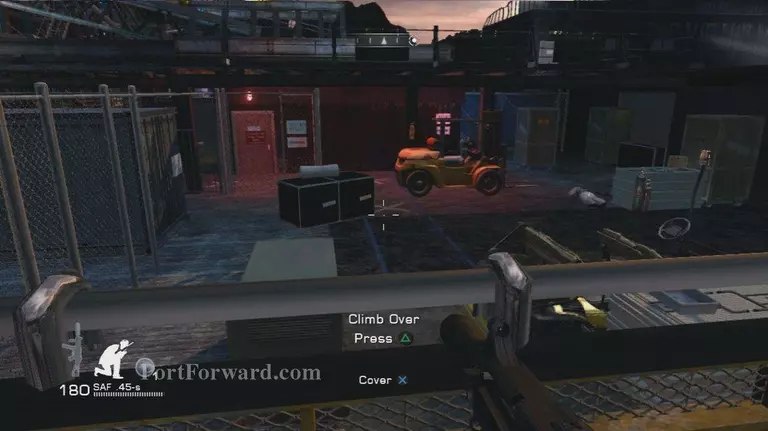
Then hit this switch to lower the container
James Bond Quantum of Solace Walkthrough - James Bond-Quantum-of-Solace 122
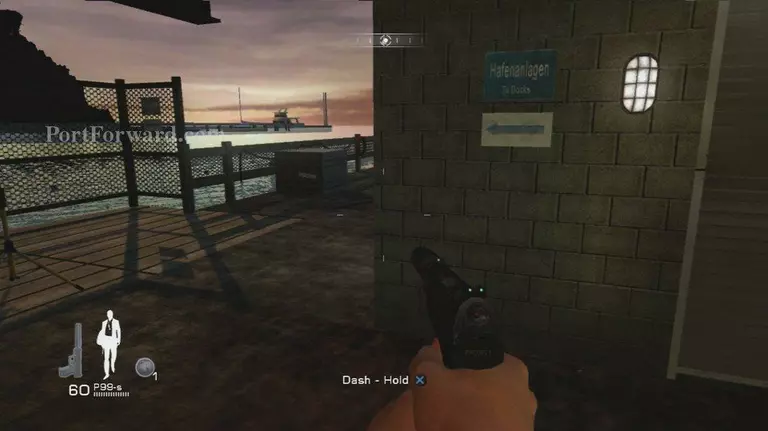
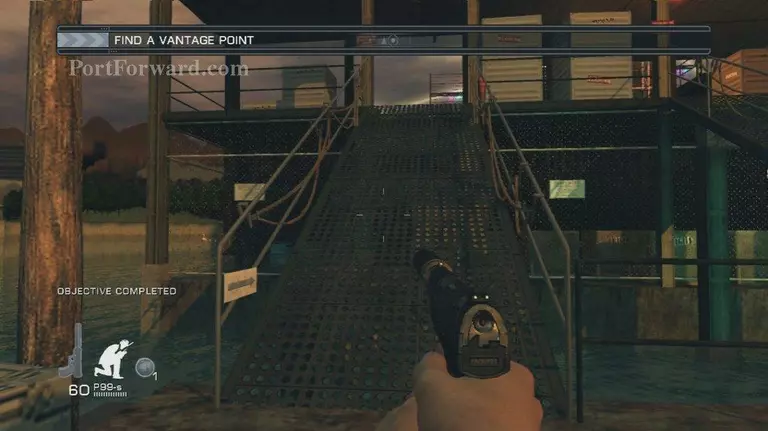
Head across and up a ramp
James Bond Quantum of Solace Walkthrough - James Bond-Quantum-of-Solace 123
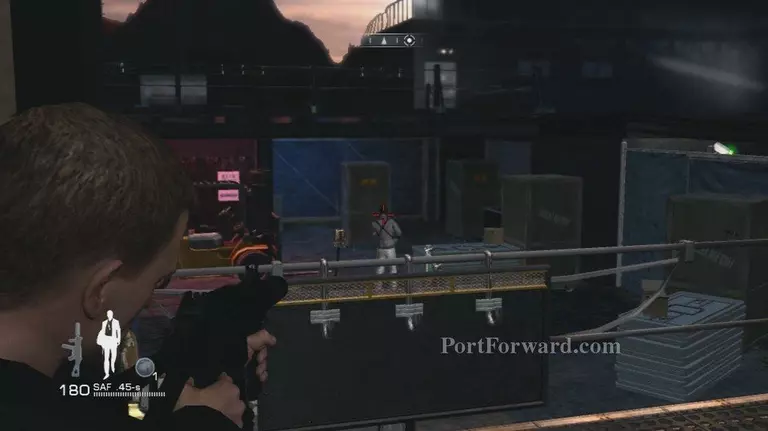
A few elites will come in the room here to the right
James Bond Quantum of Solace Walkthrough - James Bond-Quantum-of-Solace 124
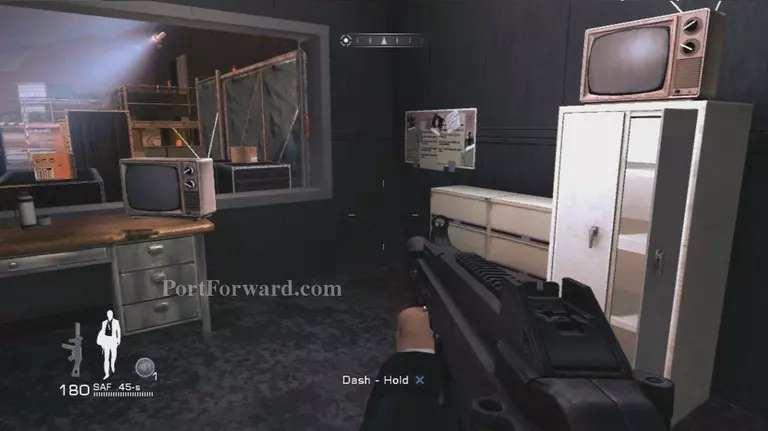
After you take them all down head for this desk in the back
James Bond Quantum of Solace Walkthrough - James Bond-Quantum-of-Solace 125
Make sure you donât go out the door or the camera will see you so hop out the window here
James Bond Quantum of Solace Walkthrough - James Bond-Quantum-of-Solace 126
Then disable the camera
James Bond Quantum of Solace Walkthrough - James Bond-Quantum-of-Solace 127
Move along and under this deck
James Bond Quantum of Solace Walkthrough - James Bond-Quantum-of-Solace 128
Then disable yet another camera
James Bond Quantum of Solace Walkthrough - James Bond-Quantum-of-Solace 129
Head up the stairs here and take out this guard
James Bond Quantum of Solace Walkthrough - James Bond-Quantum-of-Solace 130
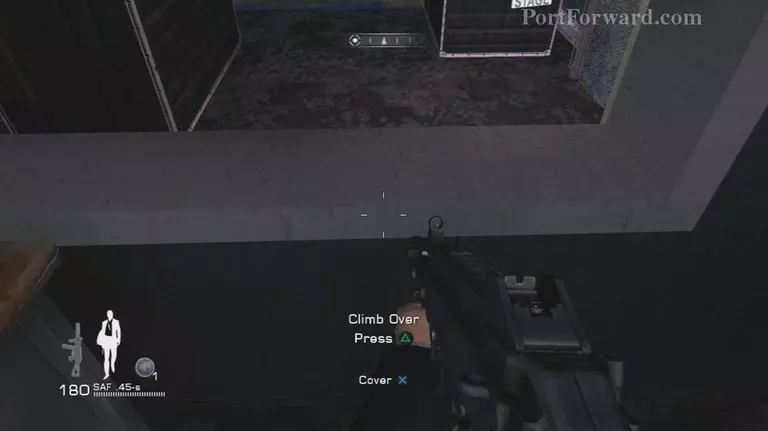
Then hop over the railing
James Bond Quantum of Solace Walkthrough - James Bond-Quantum-of-Solace 131
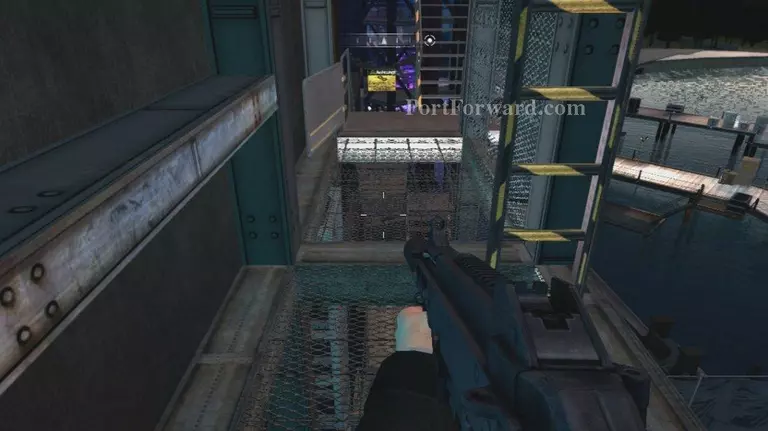
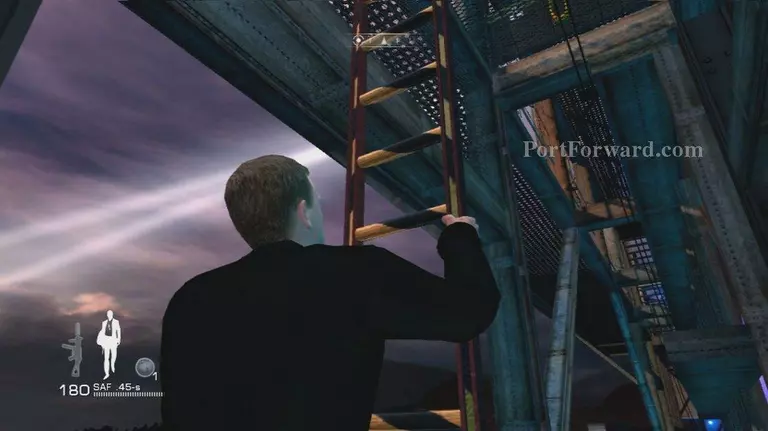
Then look for these stairs and go up them
James Bond Quantum of Solace Walkthrough - James Bond-Quantum-of-Solace 132
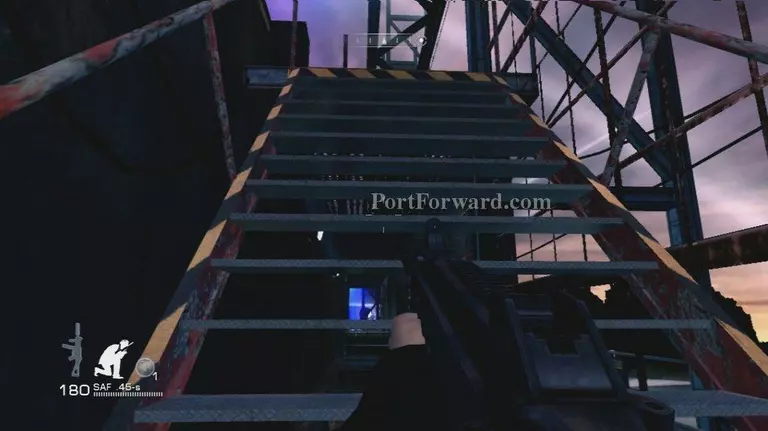
Then up this ladder
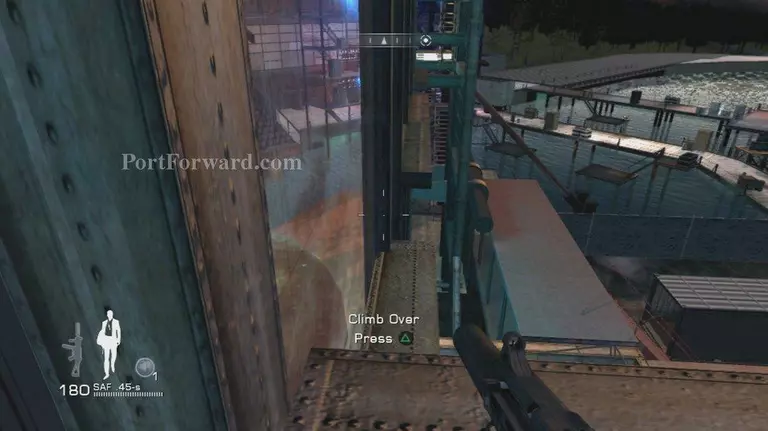
James Bond Quantum of Solace Walkthrough - James Bond-Quantum-of-Solace 133
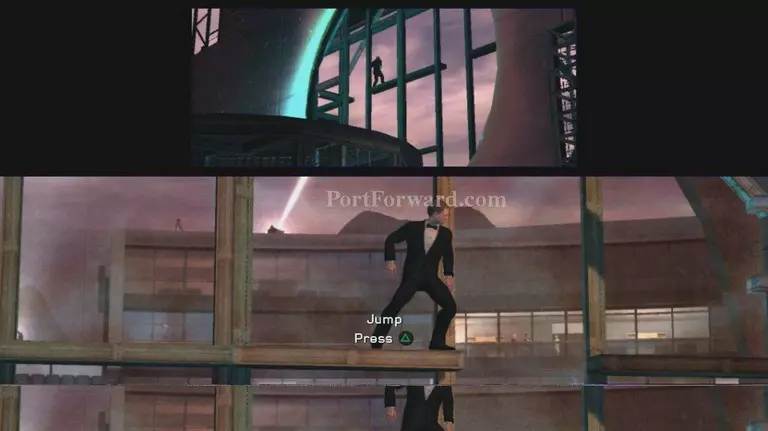
At the top youâll need to jump over the rail right here
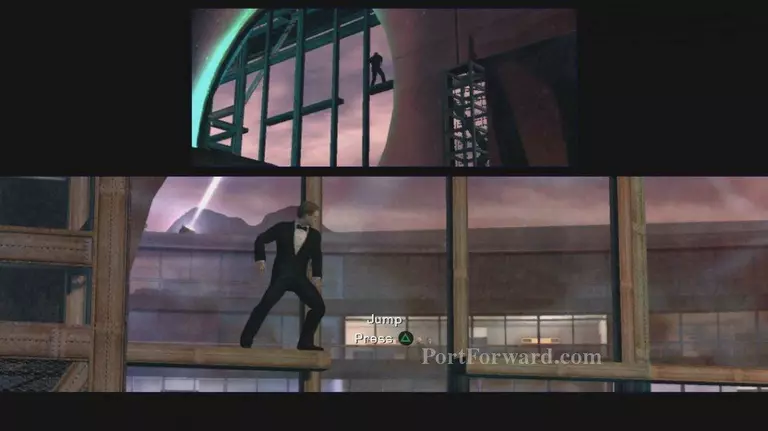
James Bond Quantum of Solace Walkthrough - James Bond-Quantum-of-Solace 134
And shimmy along the edge until prompted to jump
James Bond Quantum of Solace Walkthrough - James Bond-Quantum-of-Solace 135
Do this twice
James Bond Quantum of Solace Walkthrough - James Bond-Quantum-of-Solace 136
Then at then end youâll jump back over to solid catwalk
James Bond Quantum of Solace Walkthrough - James Bond-Quantum-of-Solace 137
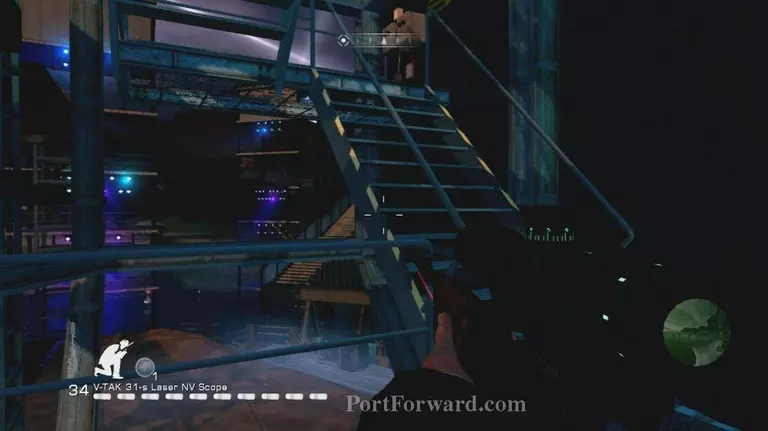
You can take the stairs or the ladder here Iâll take the ladder
James Bond Quantum of Solace Walkthrough - James Bond-Quantum-of-Solace 138
At the top will be a sniper guard creep up on him and take him down
James Bond Quantum of Solace Walkthrough - James Bond-Quantum-of-Solace 139
Then head up the stairs behind him
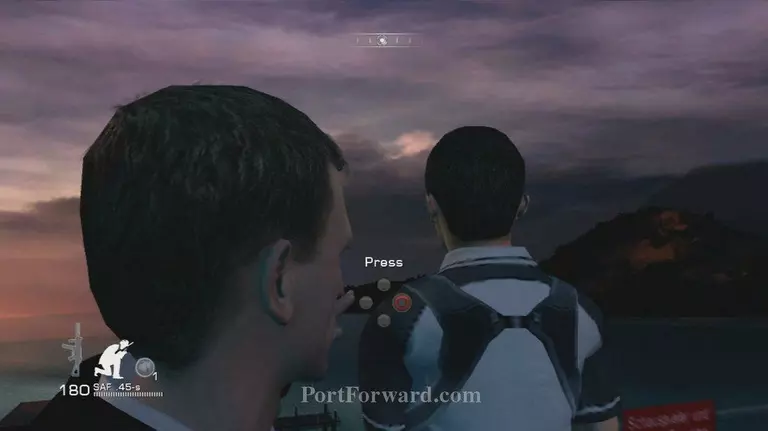
James Bond Quantum of Solace Walkthrough - James Bond-Quantum-of-Solace 140
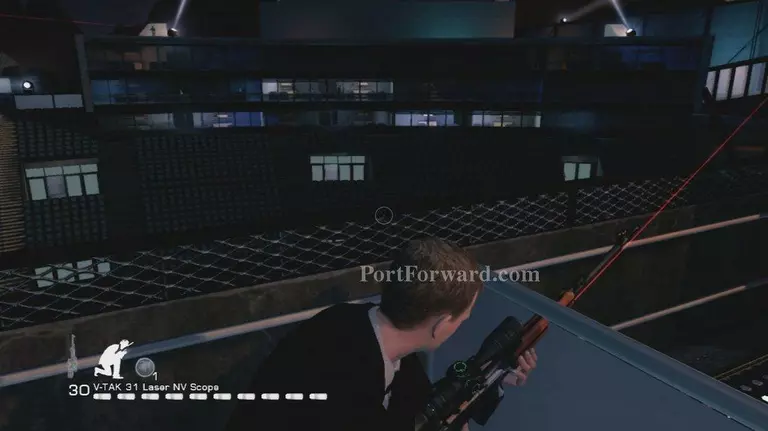
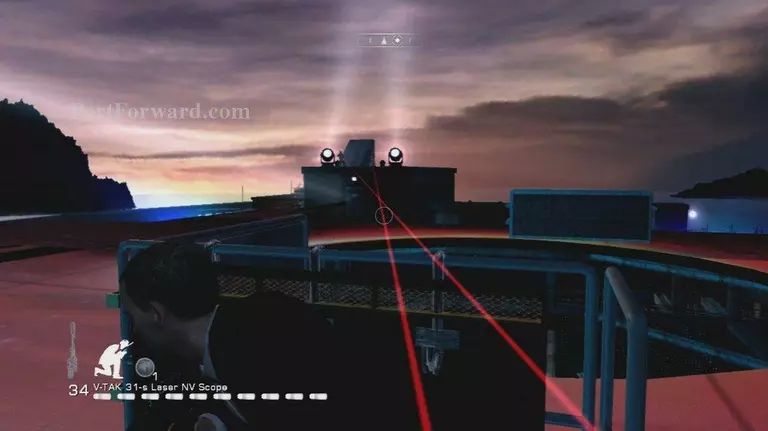
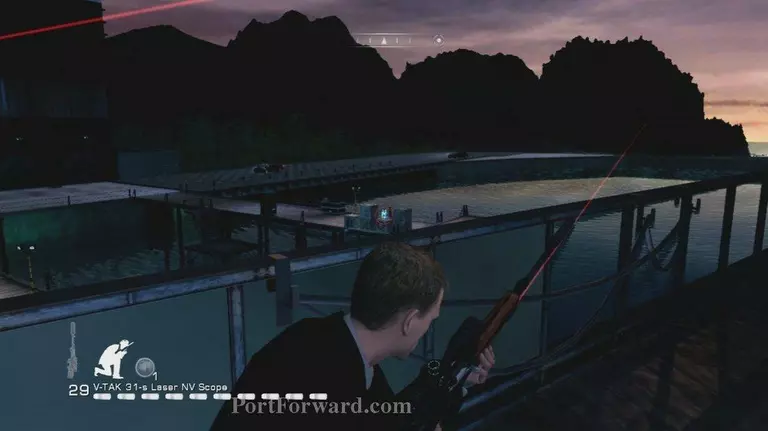
A scene will play here, then itâll be time to snipe some baddies make sure you take cover
James Bond Quantum of Solace Walkthrough - James Bond-Quantum-of-Solace 141
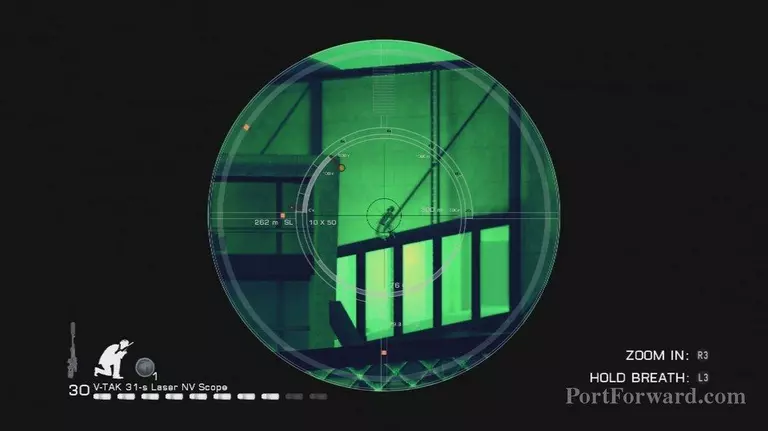
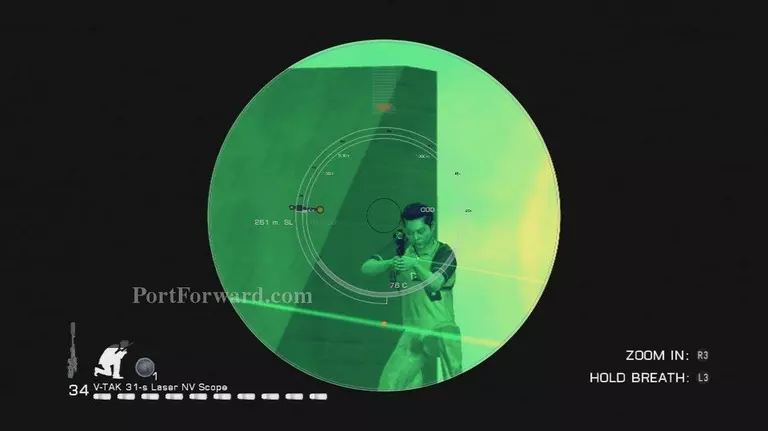
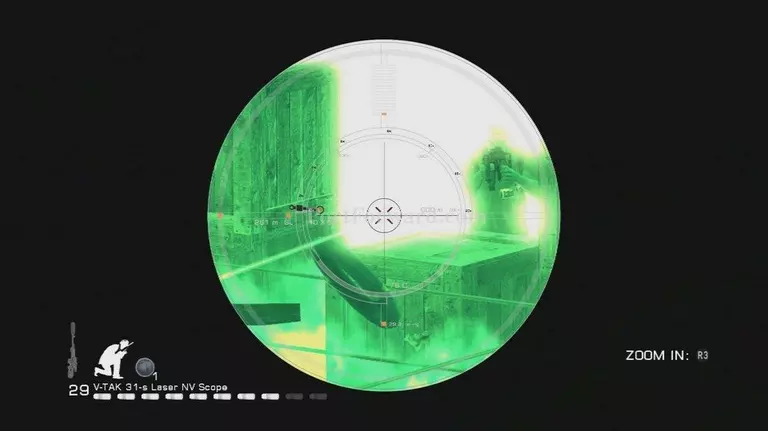
Keep sniping the snipers across the way getting ammo if you need it
James Bond Quantum of Solace Walkthrough - James Bond-Quantum-of-Solace 142
Eventually a scene will kick off, after it you must defend yourself
James Bond Quantum of Solace Walkthrough - James Bond-Quantum-of-Solace 143
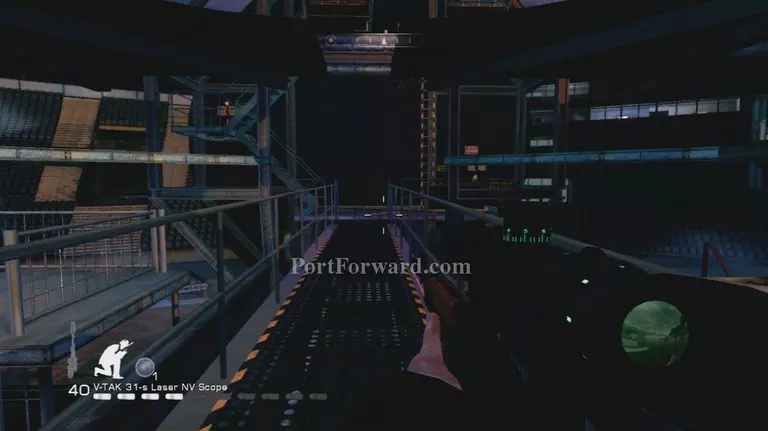
Head up these stairs
James Bond Quantum of Solace Walkthrough - James Bond-Quantum-of-Solace 144
At the top will be 2 snipers
James Bond Quantum of Solace Walkthrough - James Bond-Quantum-of-Solace 145
Take cover and them out and head over towards them
James Bond Quantum of Solace Walkthrough - James Bond-Quantum-of-Solace 146
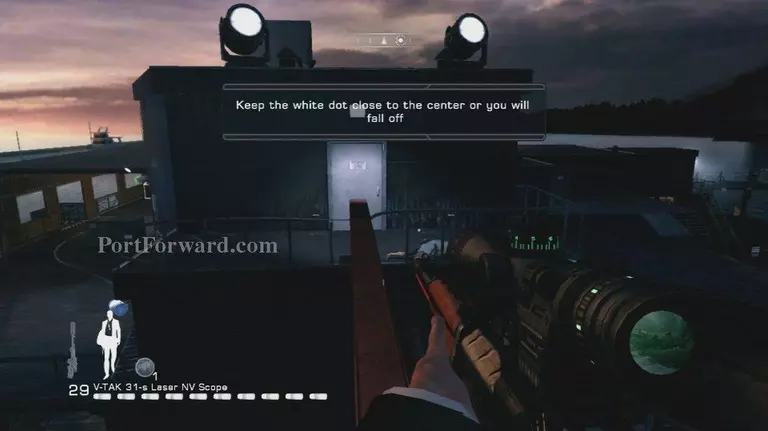
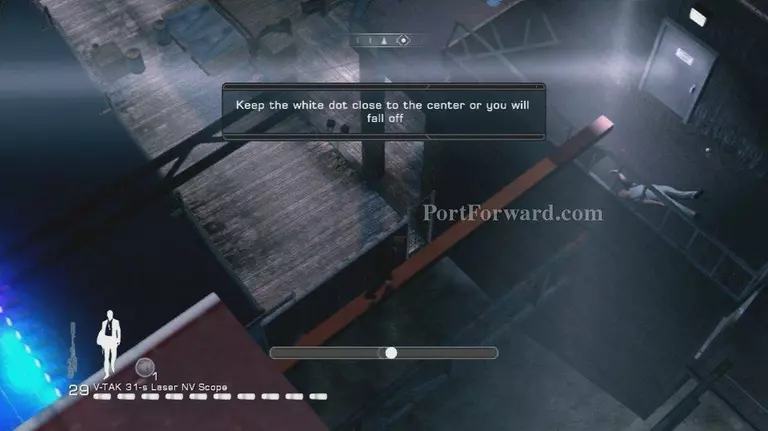
You see a small pole and a pop up
James Bond Quantum of Solace Walkthrough - James Bond-Quantum-of-Solace 147
Just keep the white dot in the center with the right stick while pushing forward on the left
James Bond Quantum of Solace Walkthrough - James Bond-Quantum-of-Solace 148
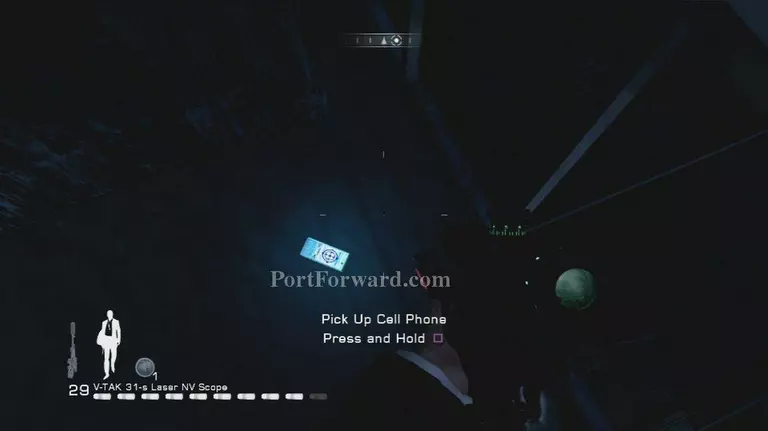
Across the pole pick up the phone
James Bond Quantum of Solace Walkthrough - James Bond-Quantum-of-Solace 149
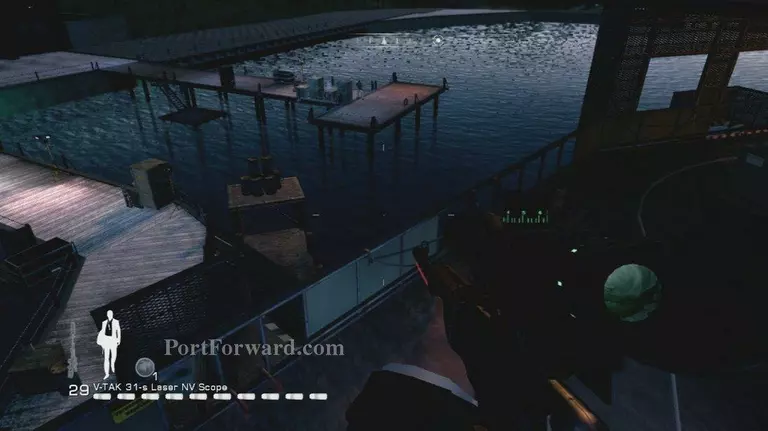
After you grab the phone jump down here
James Bond Quantum of Solace Walkthrough - James Bond-Quantum-of-Solace 150
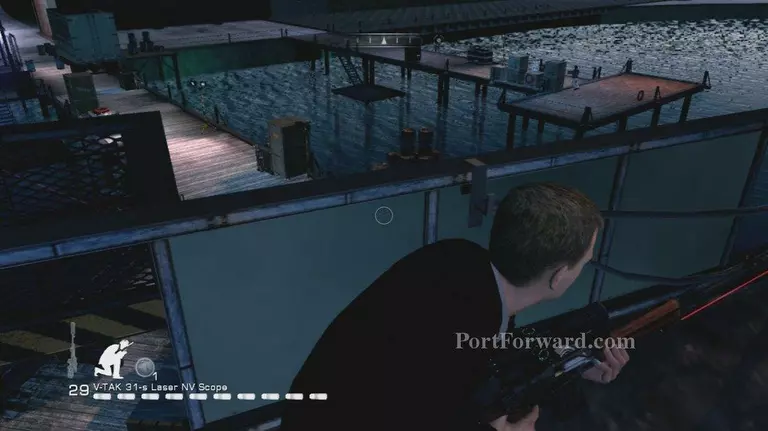
And take cover
James Bond Quantum of Solace Walkthrough - James Bond-Quantum-of-Solace 151
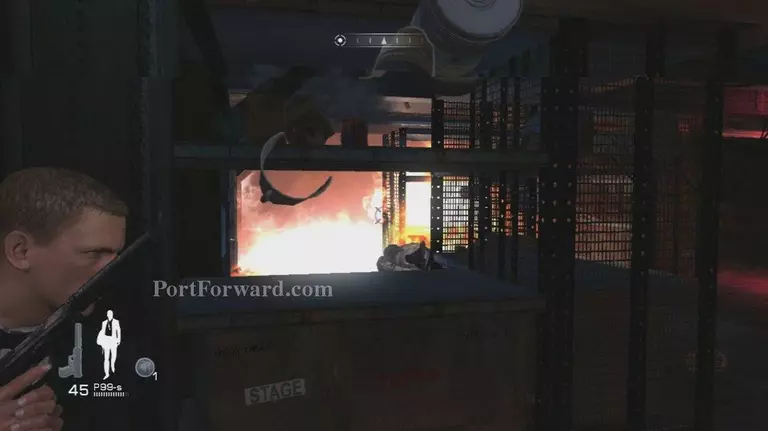
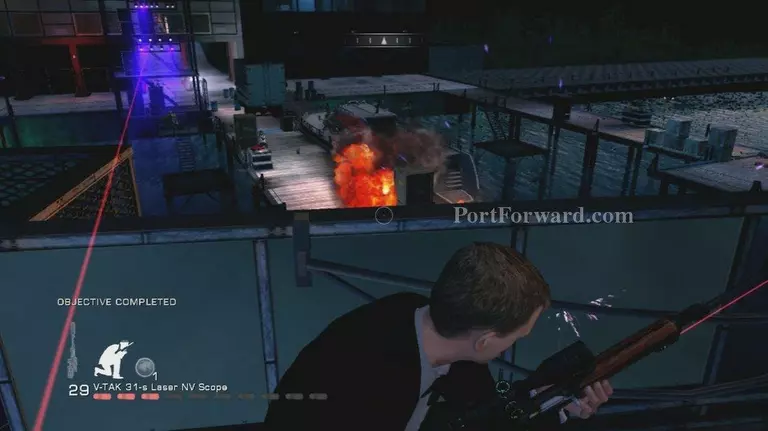
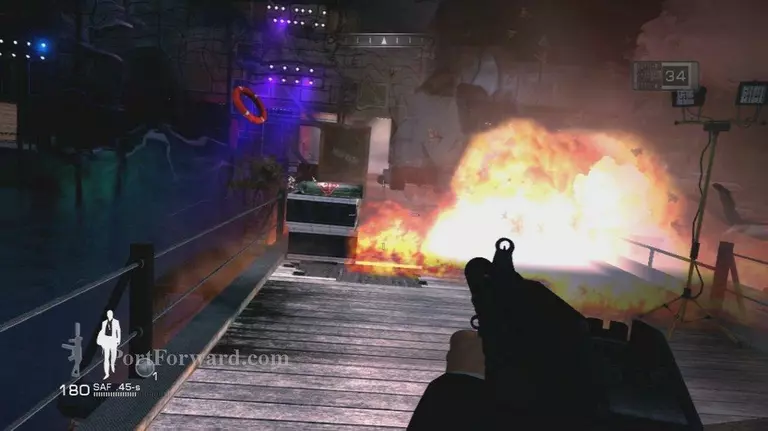
Start shooting the explosives
James Bond Quantum of Solace Walkthrough - James Bond-Quantum-of-Solace 152James Bond Quantum of Solace Walkthrough - James Bond-Quantum-of-Solace 153James Bond Quantum of Solace Walkthrough - James Bond-Quantum-of-Solace 154
After awhile a huge explosion goes off and a timed escape mission pops up
James Bond Quantum of Solace Walkthrough - James Bond-Quantum-of-Solace 155
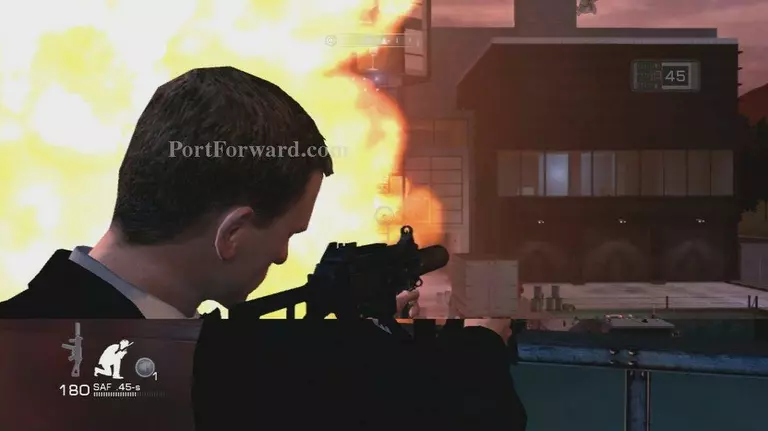
Jump down and just run as fast as you can through here
James Bond Quantum of Solace Walkthrough - James Bond-Quantum-of-Solace 156
Soon youâll have to jump
James Bond Quantum of Solace Walkthrough - James Bond-Quantum-of-Solace 157
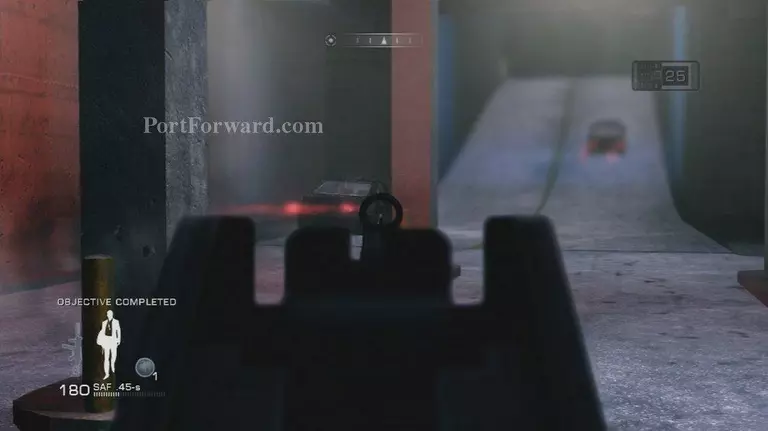
After that a scene which ends this Mission
James Bond Quantum of Solace Walkthrough - James Bond-Quantum-of-Solace 158
More James Bond Quantum of Solace Walkthroughs
This James Bond Quantum of Solace walkthrough is divided into 16 total pages.