You can jump to nearby pages of the game using the links above.
Sink Hole
James Bond Quantum of Solace Walkthrough - James Bond-Quantum-of-Solace 159
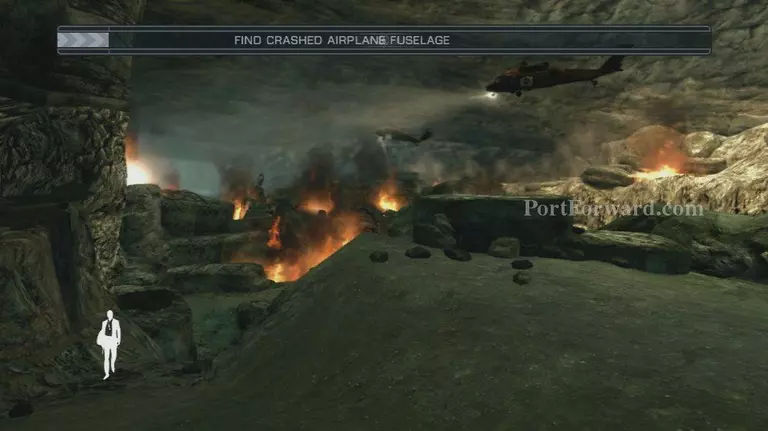
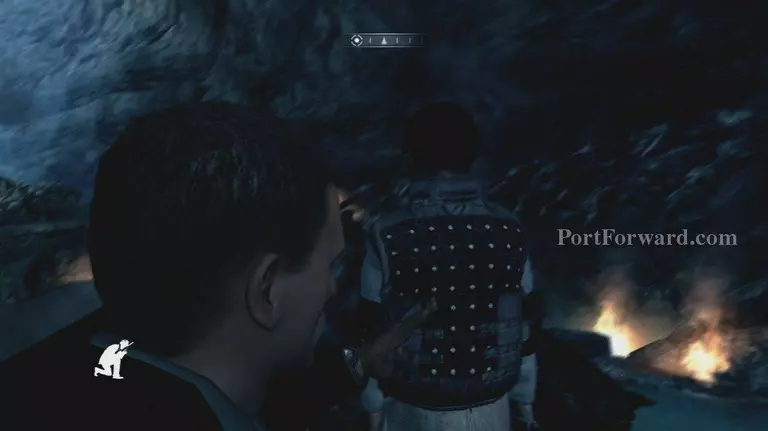
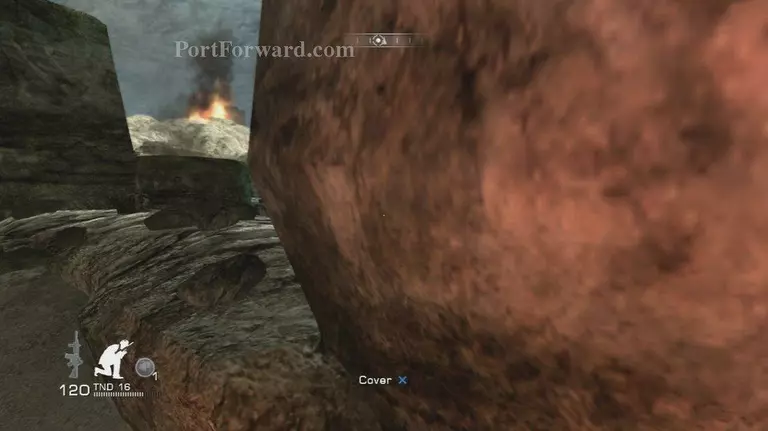
When you have control head towards this cover
James Bond Quantum of Solace Walkthrough - James Bond-Quantum-of-Solace 160
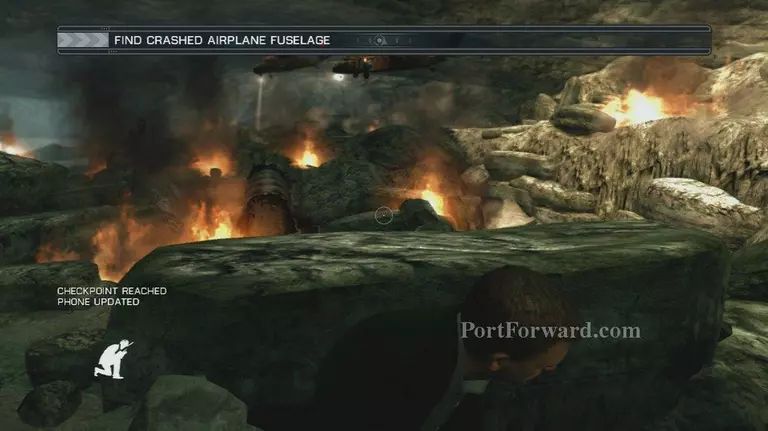
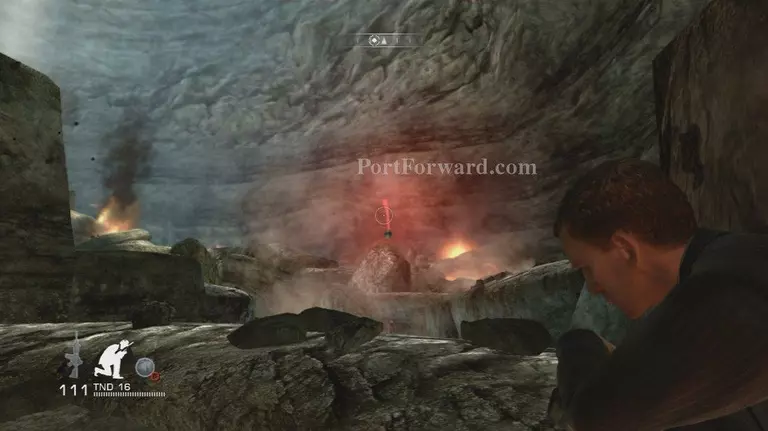
Then advance down to this cover
James Bond Quantum of Solace Walkthrough - James Bond-Quantum-of-Solace 161
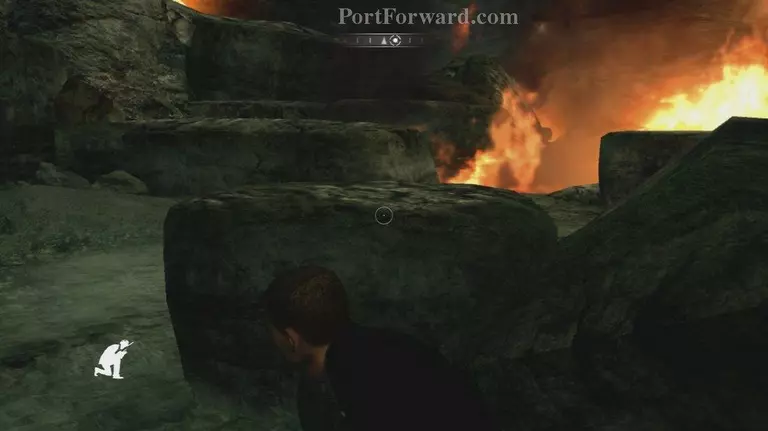
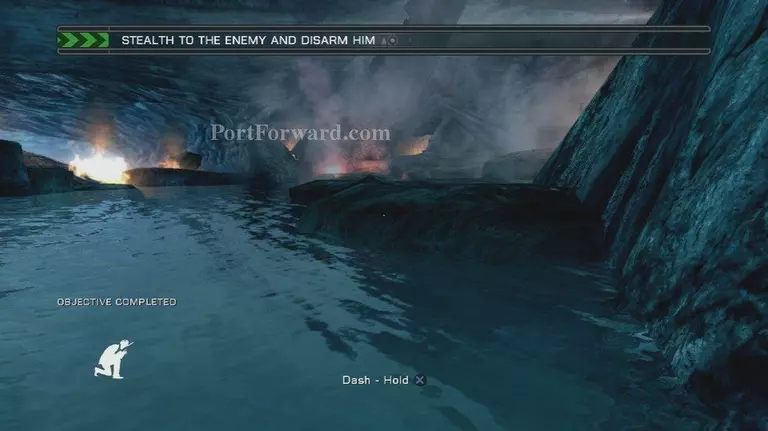
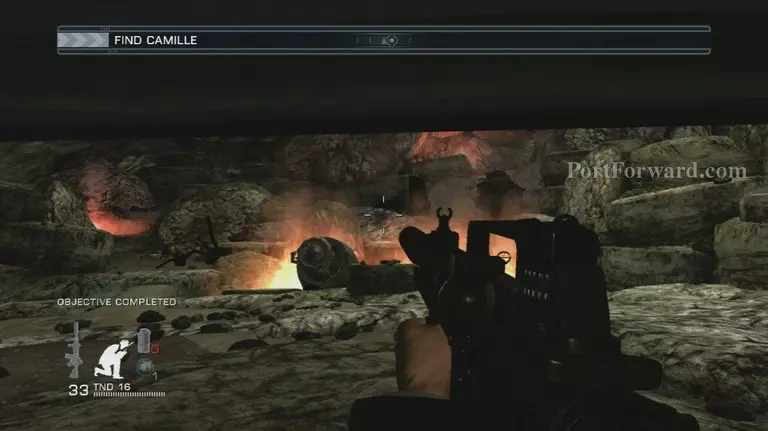
The objective is this piece of plane, once you get here Camille will draw there fire away from
you
James Bond Quantum of Solace Walkthrough - James Bond-Quantum-of-Solace 162
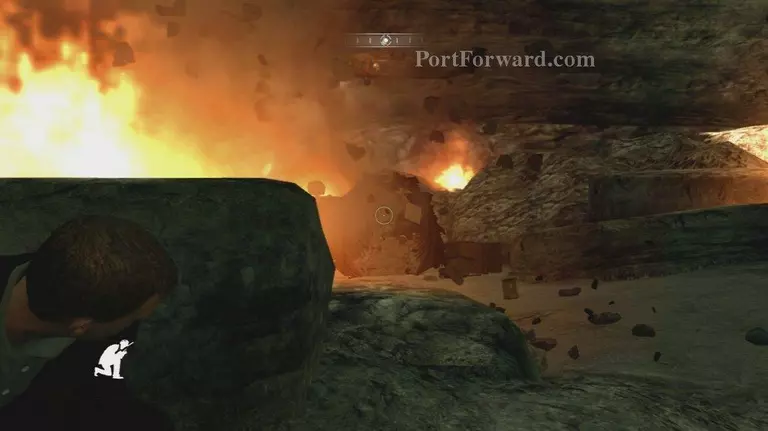
This is your chance to make a run for it jump out the side of the plane
James Bond Quantum of Solace Walkthrough - James Bond-Quantum-of-Solace 163
Then over this piece of cover
James Bond Quantum of Solace Walkthrough - James Bond-Quantum-of-Solace 164
Then over this one as well
James Bond Quantum of Solace Walkthrough - James Bond-Quantum-of-Solace 165
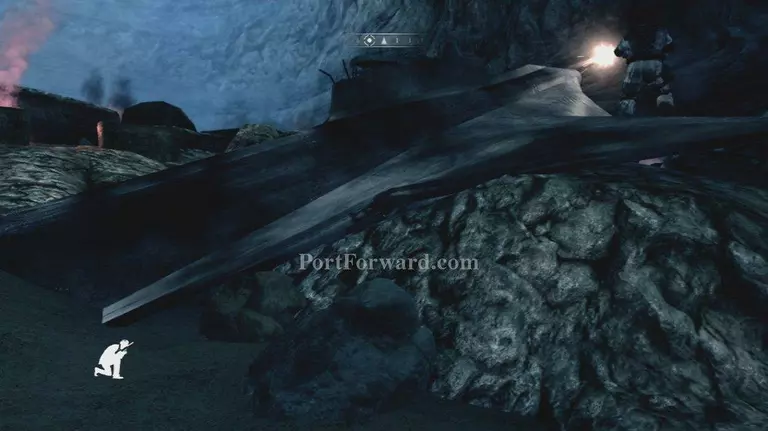
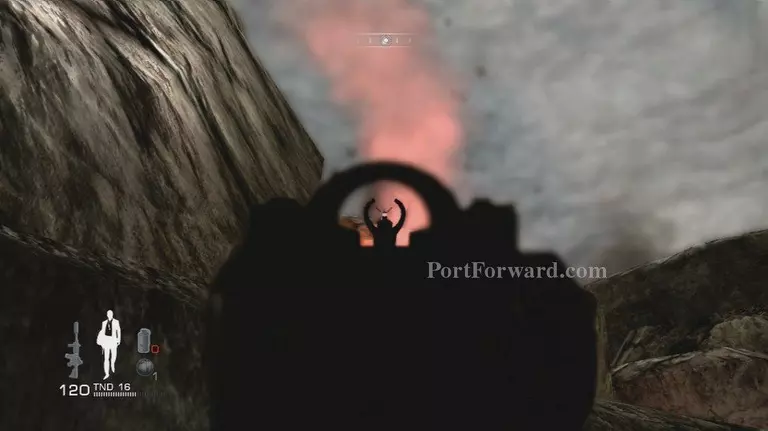
Then under this rock for a checkpoint
James Bond Quantum of Solace Walkthrough - James Bond-Quantum-of-Solace 166
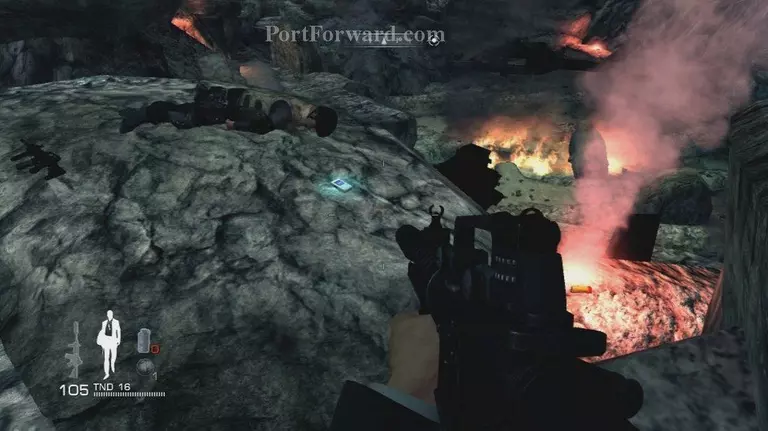
Then your going to have to jump or slide down this waterfall
James Bond Quantum of Solace Walkthrough - James Bond-Quantum-of-Solace 167
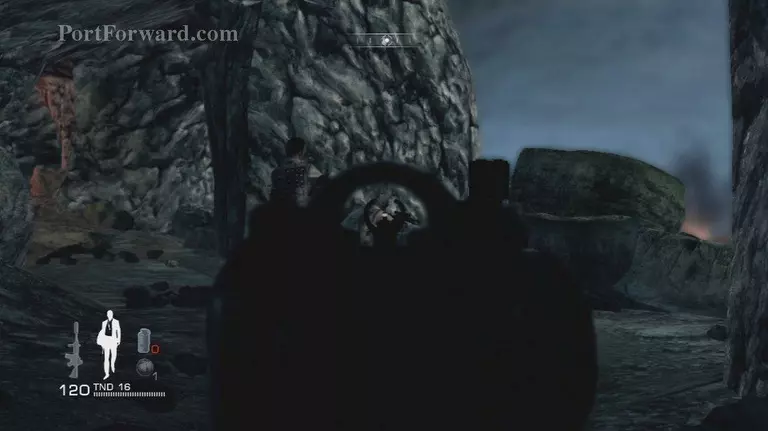
Then take cover on this rock barrier to your right
James Bond Quantum of Solace Walkthrough - James Bond-Quantum-of-Solace 168
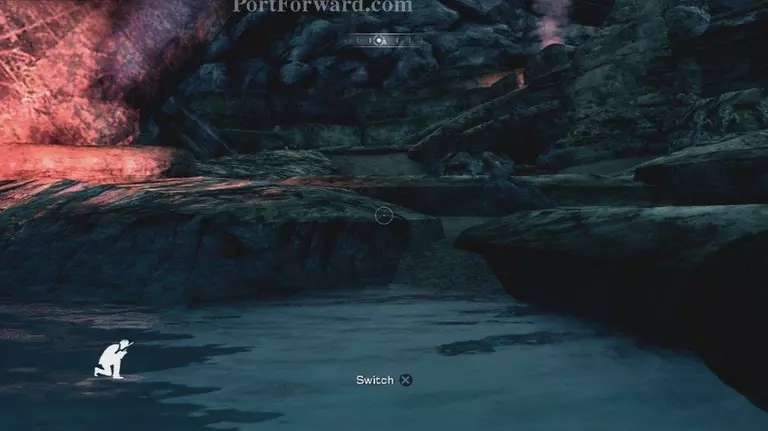
Follow this cover to a Switch point
James Bond Quantum of Solace Walkthrough - James Bond-Quantum-of-Solace 169
Continue following it around youâll notice a guard
James Bond Quantum of Solace Walkthrough - James Bond-Quantum-of-Solace 170
Creep up on him and perform a takedown
James Bond Quantum of Solace Walkthrough - James Bond-Quantum-of-Solace 171
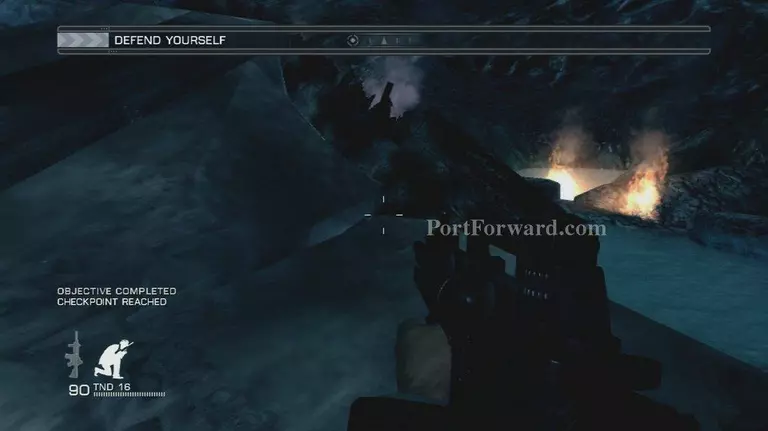
You now have his weapon and must defend yourself
James Bond Quantum of Solace Walkthrough - James Bond-Quantum-of-Solace 172
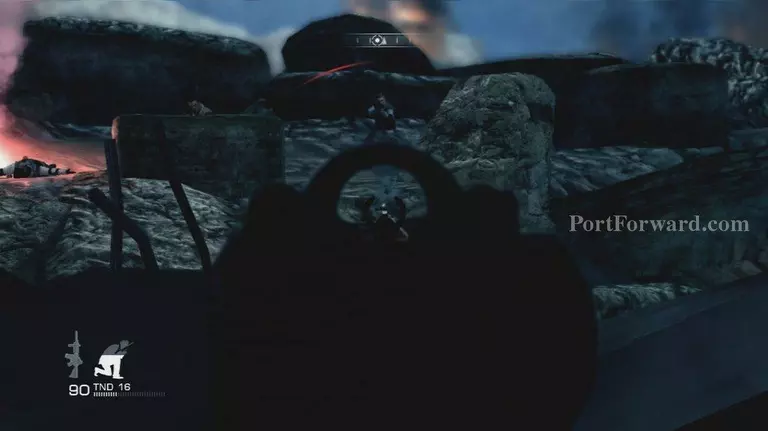
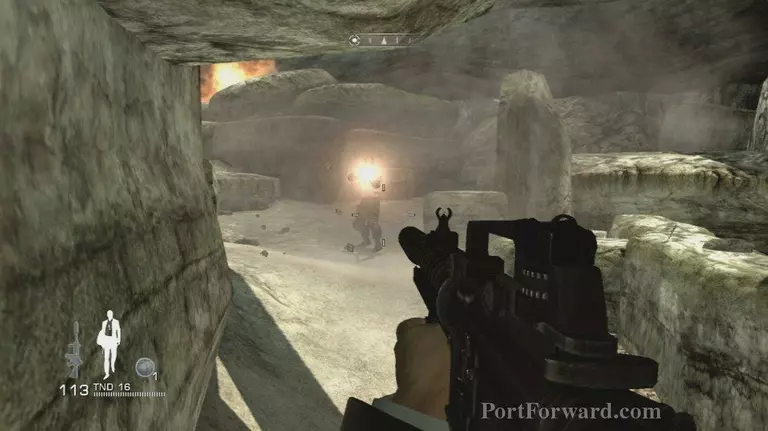
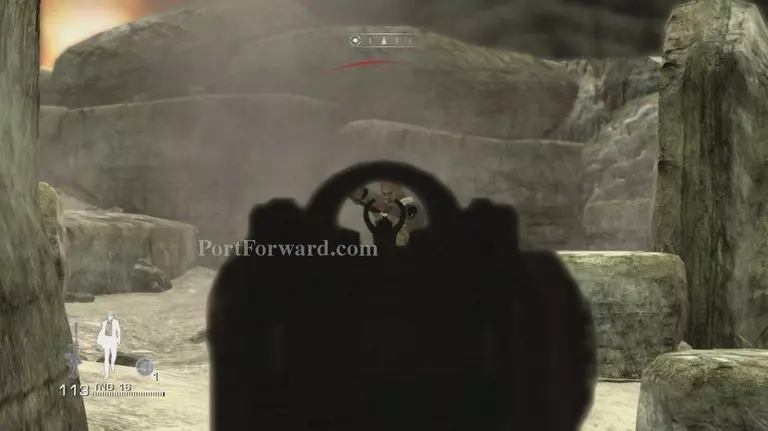
Some guards will rush from the left here take them out as you see fit
James Bond Quantum of Solace Walkthrough - James Bond-Quantum-of-Solace 173
After they are down head towards their dead bodies and into this watery area
James Bond Quantum of Solace Walkthrough - James Bond-Quantum-of-Solace 174
Follow the path until you reach this piece of cover
James Bond Quantum of Solace Walkthrough - James Bond-Quantum-of-Solace 175
More guards will rush in here deal with them
James Bond Quantum of Solace Walkthrough - James Bond-Quantum-of-Solace 176
Then move to this rock
James Bond Quantum of Solace Walkthrough - James Bond-Quantum-of-Solace 177
And take care of the rest of the guards
James Bond Quantum of Solace Walkthrough - James Bond-Quantum-of-Solace 178
Make you way to this alcove
James Bond Quantum of Solace Walkthrough - James Bond-Quantum-of-Solace 179
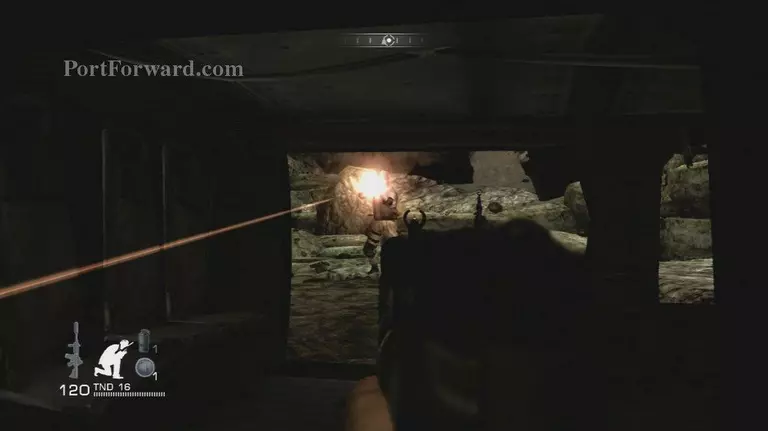
Then take out the guard that rushes and move around the rock to this one and take cover
James Bond Quantum of Solace Walkthrough - James Bond-Quantum-of-Solace 180
Some more guards to play with here
James Bond Quantum of Solace Walkthrough - James Bond-Quantum-of-Solace 181
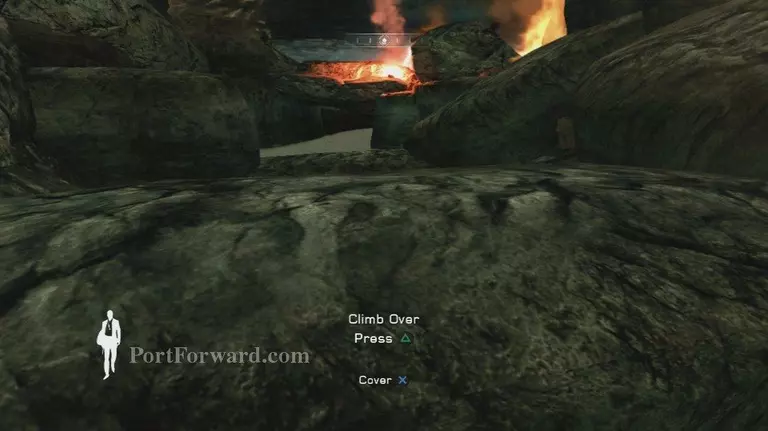
After they are down head up and to the left to this rock here
James Bond Quantum of Solace Walkthrough - James Bond-Quantum-of-Solace 182
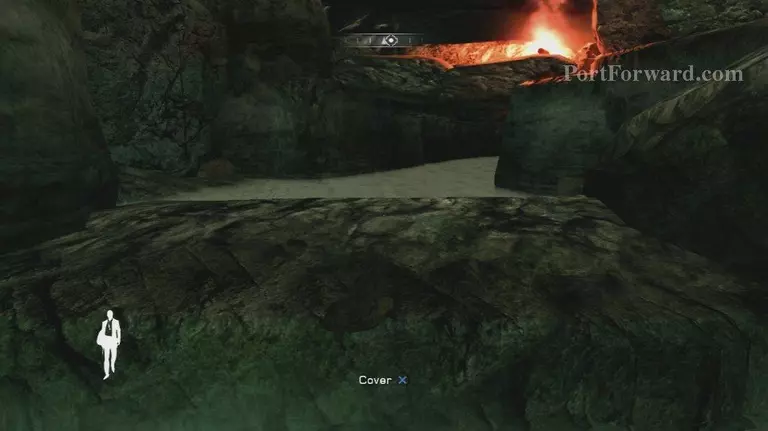
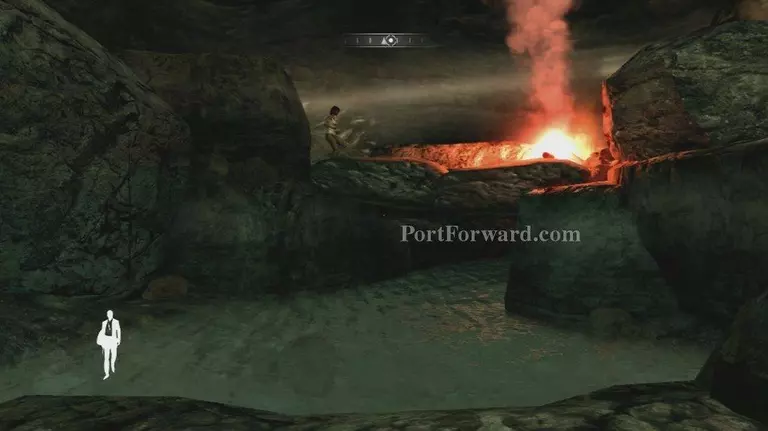
Climb over it and be prepared to take the guard out in the tunnel
James Bond Quantum of Solace Walkthrough - James Bond-Quantum-of-Solace 183
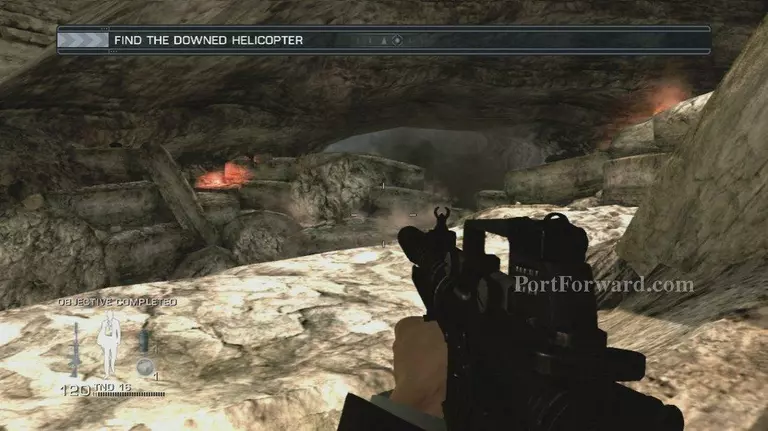
After he is down head through the tunnel and follow the path
James Bond Quantum of Solace Walkthrough - James Bond-Quantum-of-Solace 184
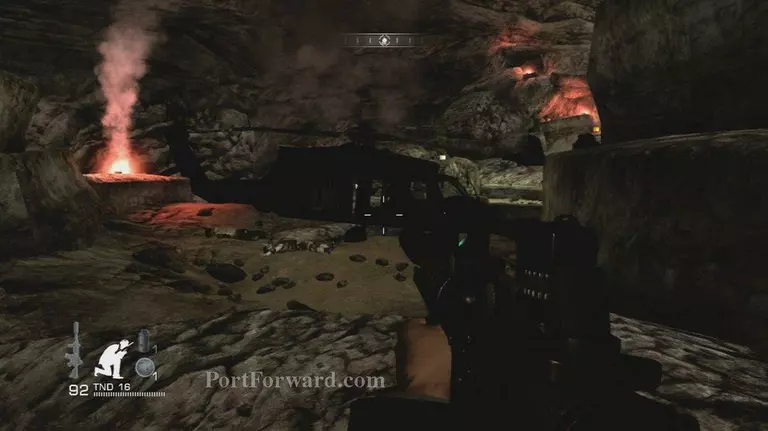
Itâll take you to this downed helicopter
James Bond Quantum of Solace Walkthrough - James Bond-Quantum-of-Solace 185
Approach the copter and take out the guard on the other side
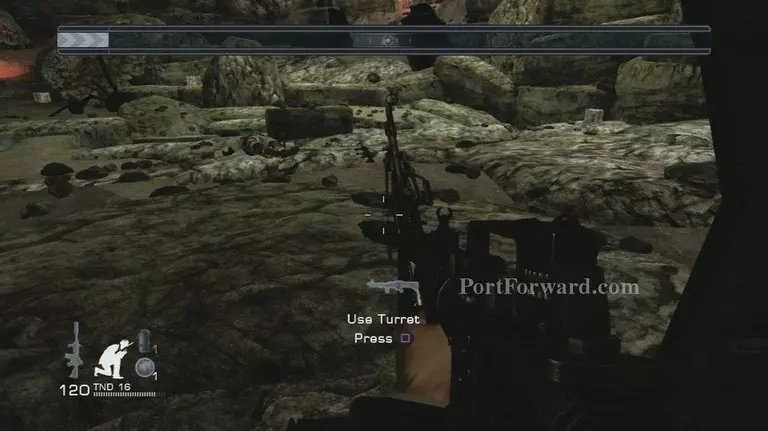
James Bond Quantum of Solace Walkthrough - James Bond-Quantum-of-Solace 186
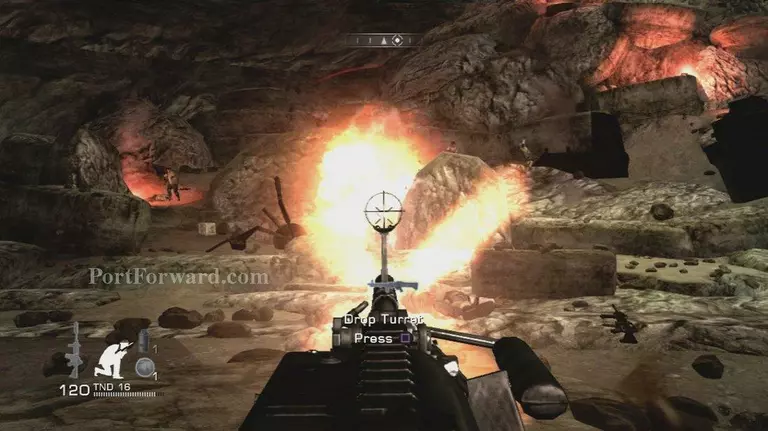
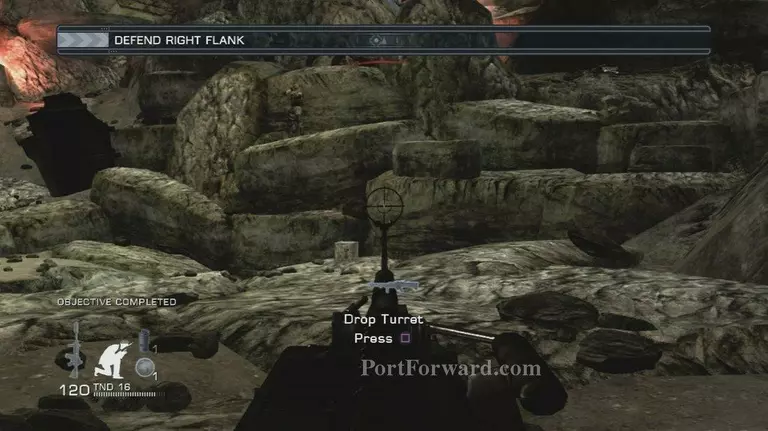
Then grab the turret gun and go to town on the guards that rush in
James Bond Quantum of Solace Walkthrough - James Bond-Quantum-of-Solace 187James Bond Quantum of Solace Walkthrough - James Bond-Quantum-of-Solace 188James Bond Quantum of Solace Walkthrough - James Bond-Quantum-of-Solace 189
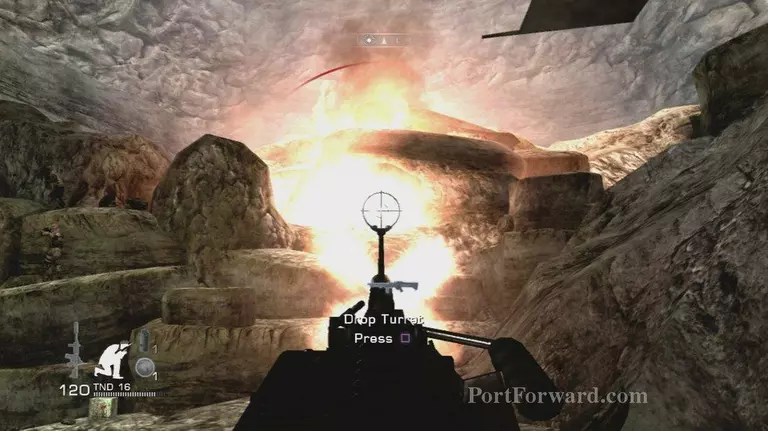
Soon youâll have to defend the right flank just like before wait till they are near a dynamite box
and boom
James Bond Quantum of Solace Walkthrough - James Bond-Quantum-of-Solace 190
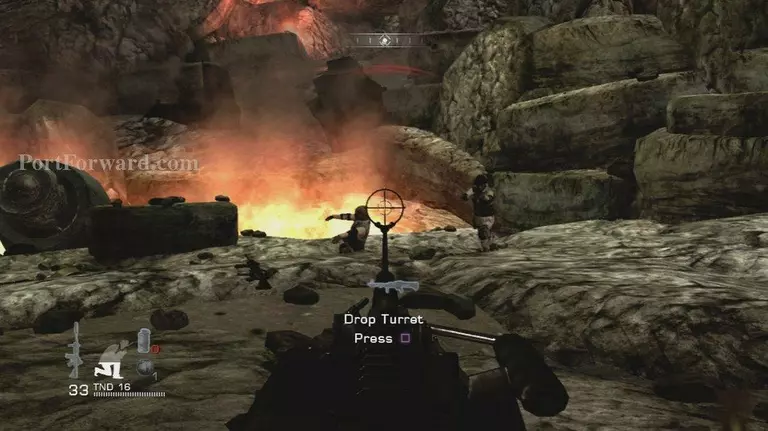
After you get the check point get off the turret
James Bond Quantum of Solace Walkthrough - James Bond-Quantum-of-Solace 191
Head to this rock and take cover and kill the guards
James Bond Quantum of Solace Walkthrough - James Bond-Quantum-of-Solace 192
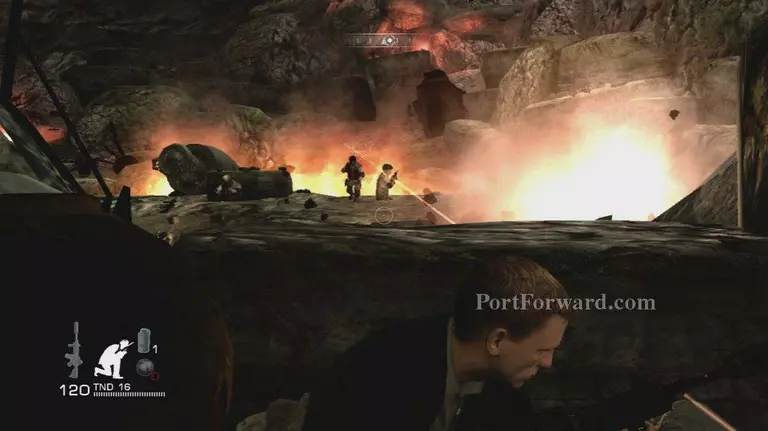
Seems like a flood head back to the turret and deal with them accordingly
James Bond Quantum of Solace Walkthrough - James Bond-Quantum-of-Solace 193James Bond Quantum of Solace Walkthrough - James Bond-Quantum-of-Solace 194
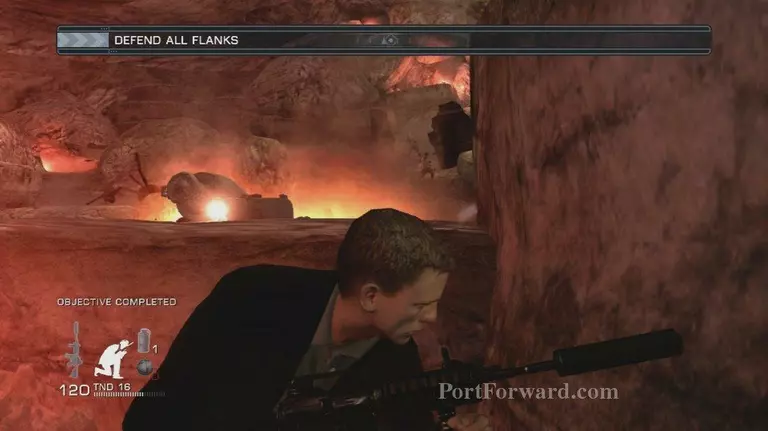
After they are all down a checkpoint
James Bond Quantum of Solace Walkthrough - James Bond-Quantum-of-Solace 195
Head up the hillside to this small tunnel and kill the guard
James Bond Quantum of Solace Walkthrough - James Bond-Quantum-of-Solace 196
Follow it around until you reach his body and grab his phone
James Bond Quantum of Solace Walkthrough - James Bond-Quantum-of-Solace 197
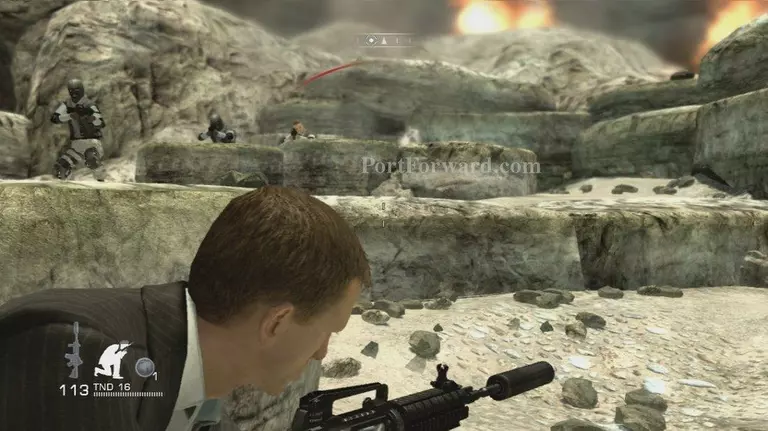
Follow the path around until you reach these 2 bone heads kill them
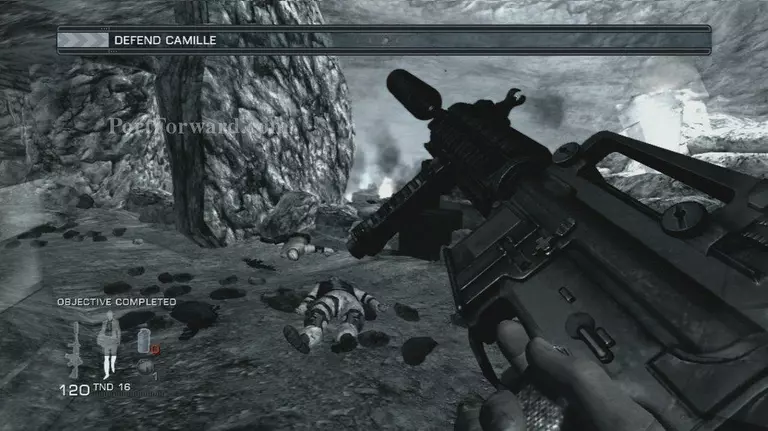
James Bond Quantum of Solace Walkthrough - James Bond-Quantum-of-Solace 198
Grab the M14 scoped rifle itâs time to Defend Camille
James Bond Quantum of Solace Walkthrough - James Bond-Quantum-of-Solace 199
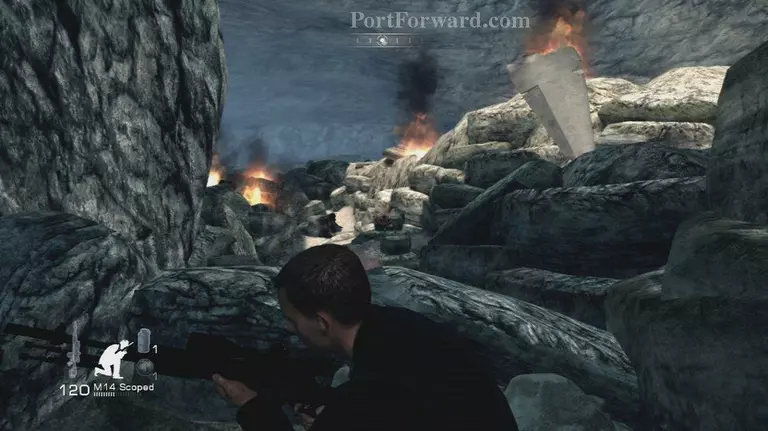
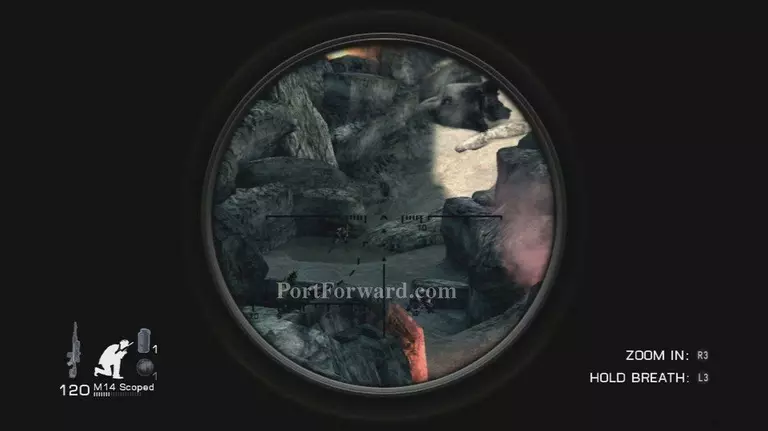
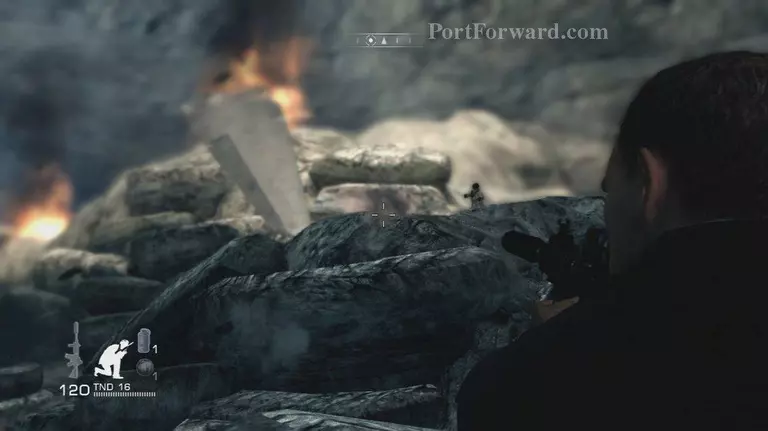
Take cover on the rock here
James Bond Quantum of Solace Walkthrough - James Bond-Quantum-of-Solace 200
And snipe all the guards down below
James Bond Quantum of Solace Walkthrough - James Bond-Quantum-of-Solace 201James Bond Quantum of Solace Walkthrough - James Bond-Quantum-of-Solace 202
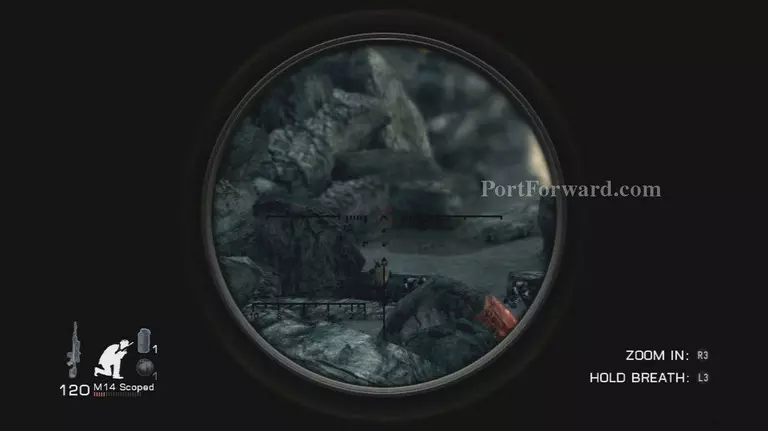
Soon 2 will rush in from the side kill them
James Bond Quantum of Solace Walkthrough - James Bond-Quantum-of-Solace 203
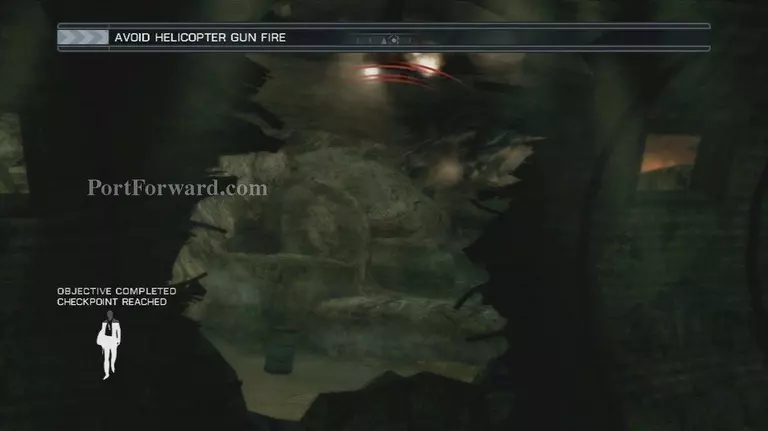
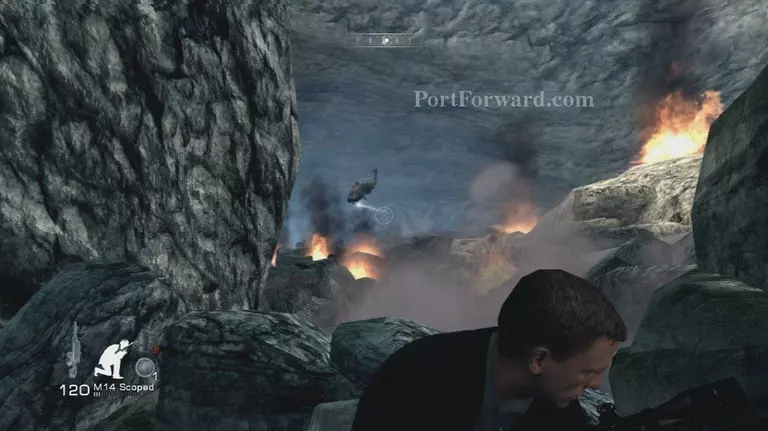
Then the copter will come
James Bond Quantum of Solace Walkthrough - James Bond-Quantum-of-Solace 204
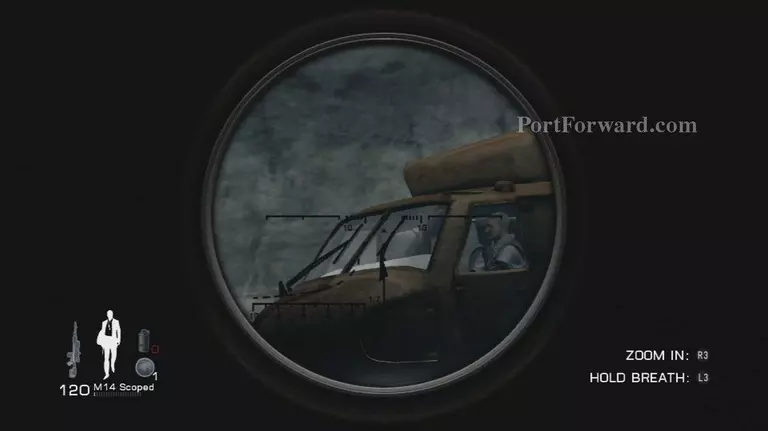
Take your time your goal is to kill the Pilot
James Bond Quantum of Solace Walkthrough - James Bond-Quantum-of-Solace 205
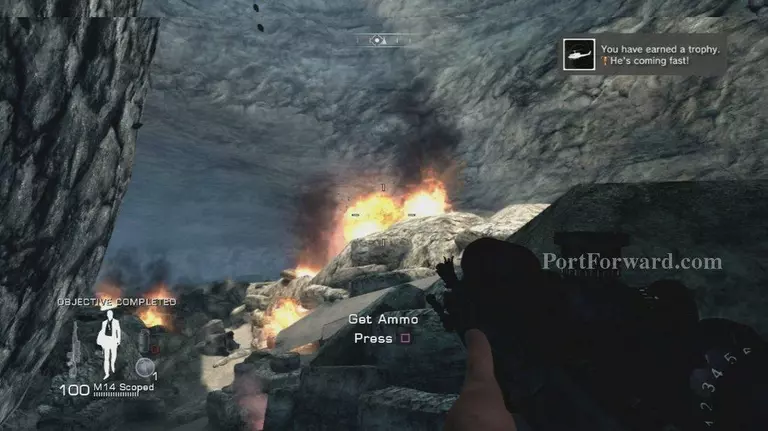
Once he is down you get a checkpoint
James Bond Quantum of Solace Walkthrough - James Bond-Quantum-of-Solace 206
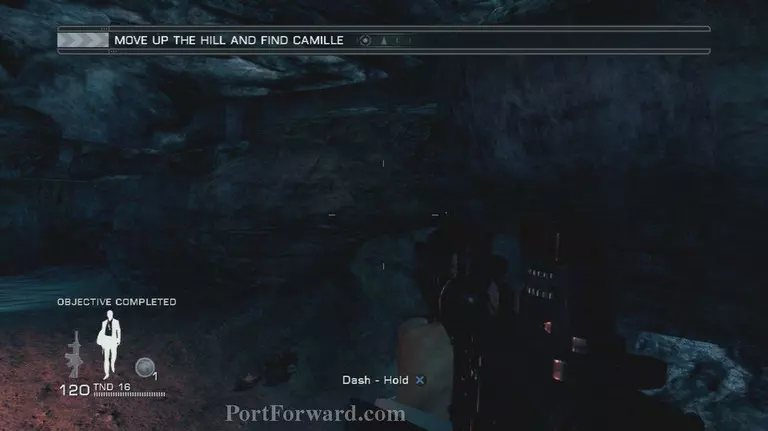
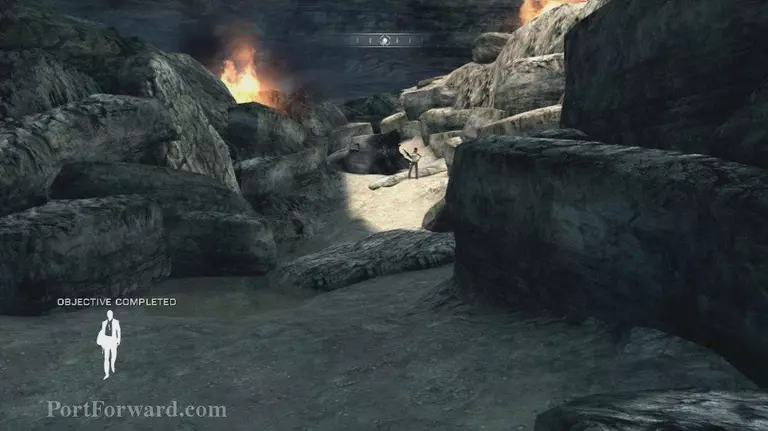
Head to Camille for a scene and the end of Mission 4.
James Bond Quantum of Solace Walkthrough - James Bond-Quantum-of-Solace 207
More James Bond Quantum of Solace Walkthroughs
This James Bond Quantum of Solace walkthrough is divided into 16 total pages.