
This MegaMan 10 walkthrough is divided into 14 total pages.
You can jump to nearby pages of the game using the links above.
Solar Man
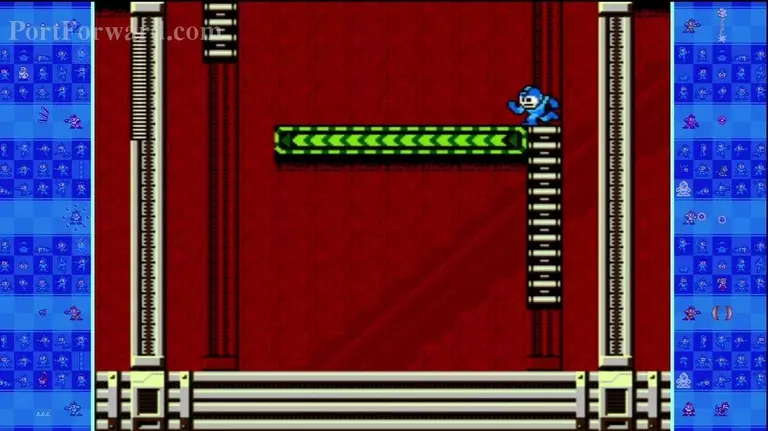
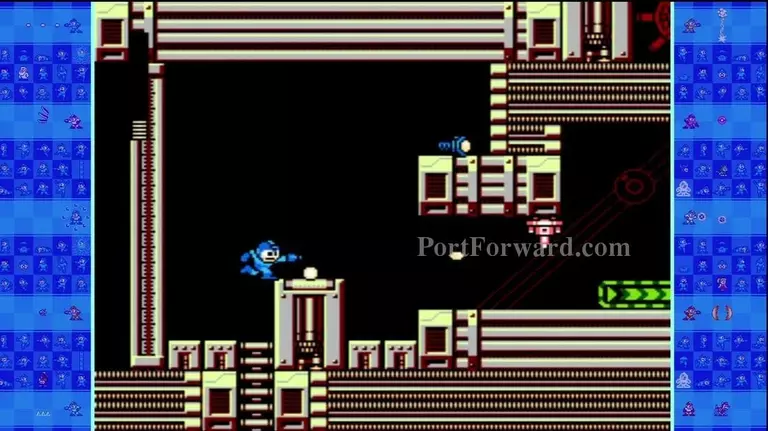
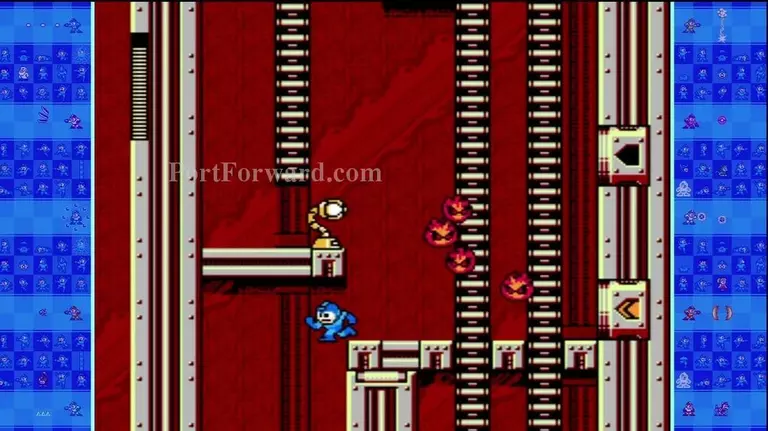
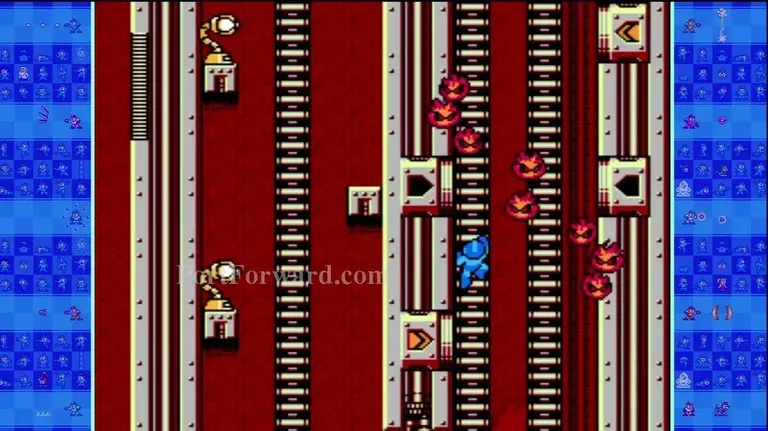
When you run in the same direction of the treadmill, you run double speed. Running against it moves you at half speed.
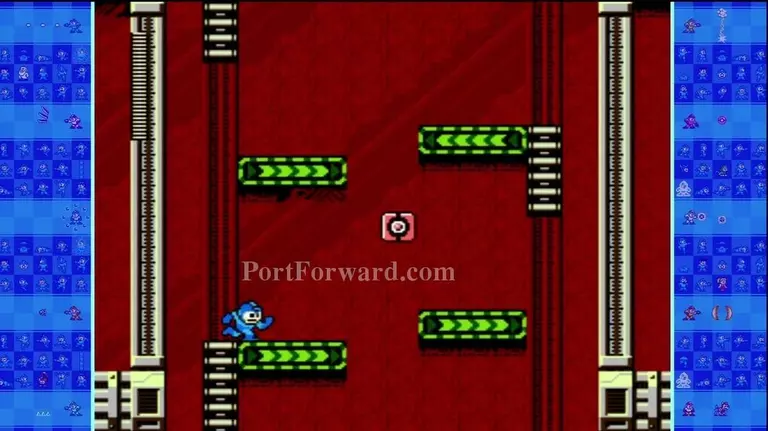
This is a Yonbain. It's a block enemy that multiplies. Only four can be on the screen at a time. Take them out early as possible.
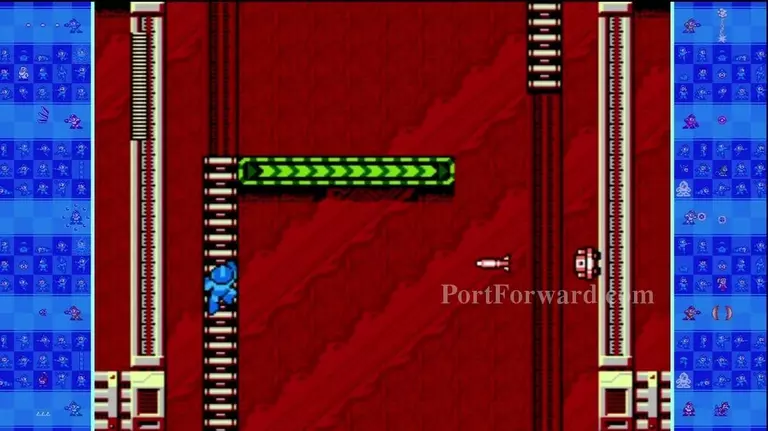
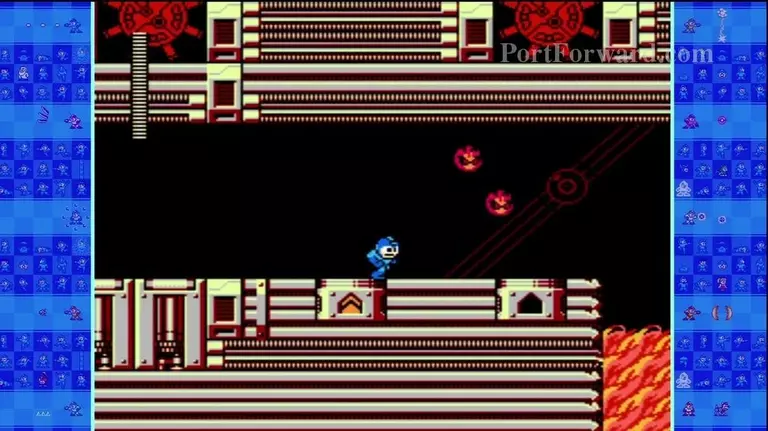
Waltriots fire missiles that home in on you.
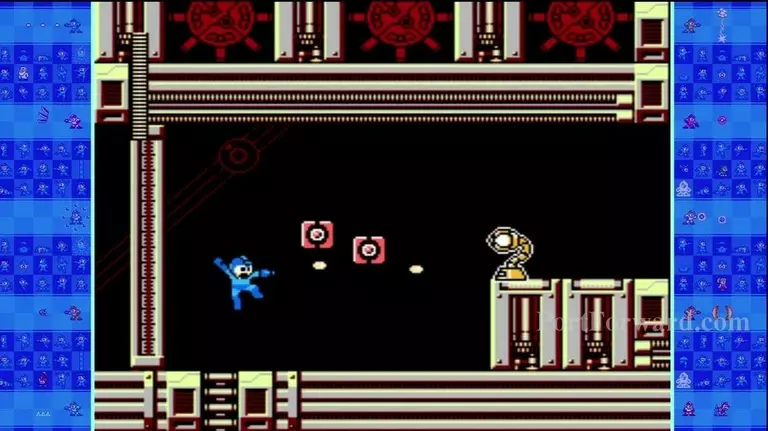
The Sola 0 can only be attacked after firing its laser at you.
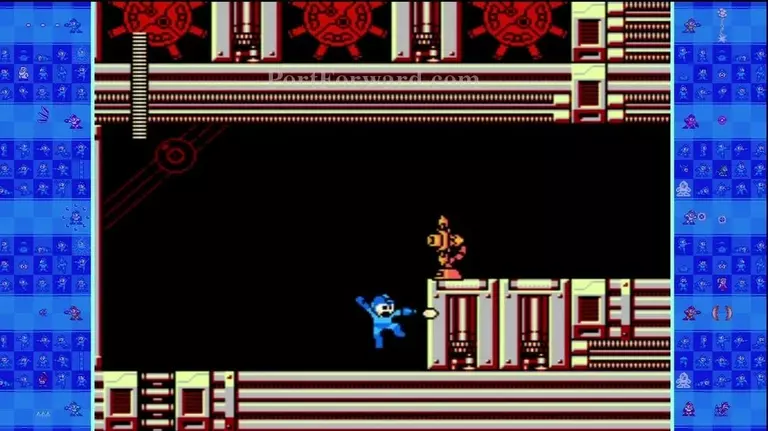
This is what it looks like when vulnerable.
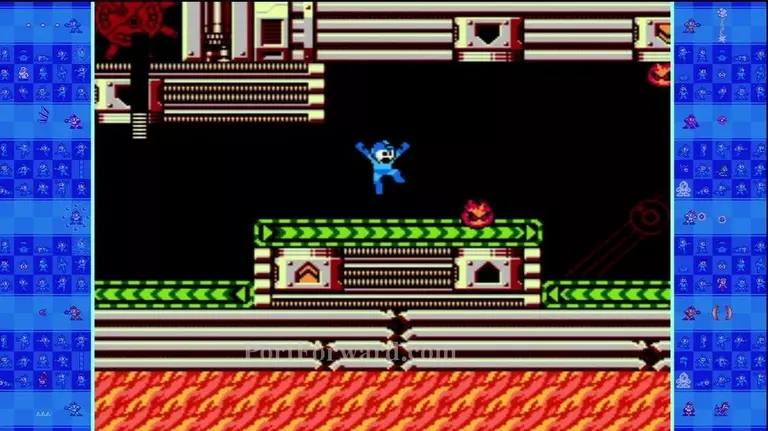
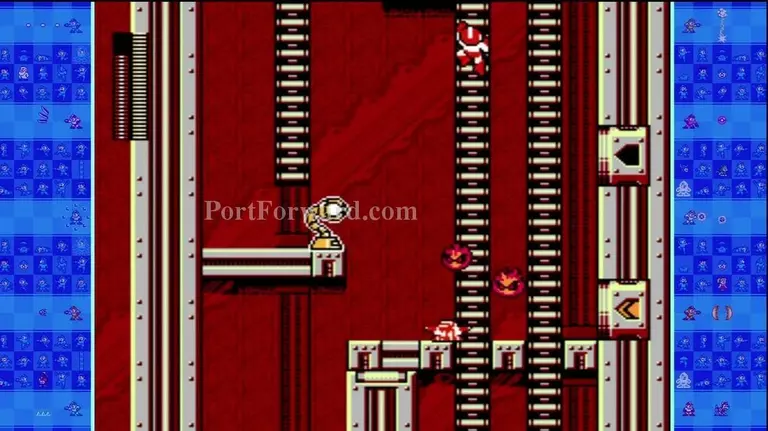
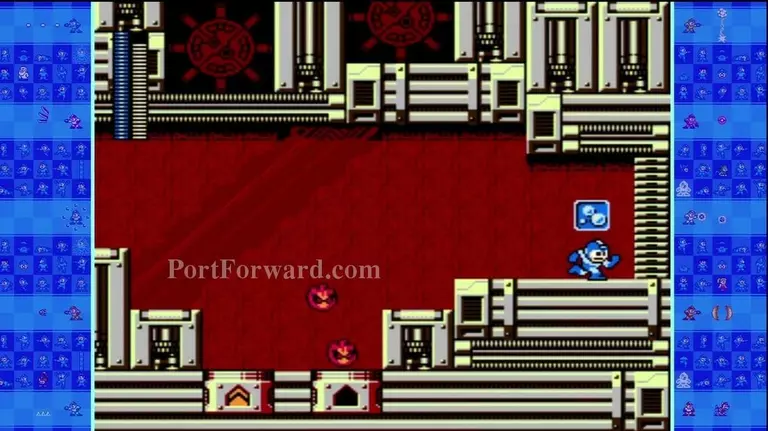
Changkeys of Mega Man 1 and 2 fame make their return as enemies that jump between chutes and back.
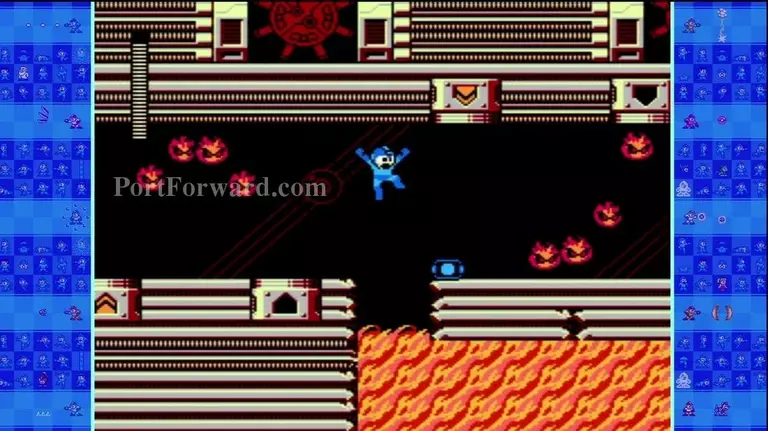
The lava below is instant death to you.

Get the 1-up before entering the gate.
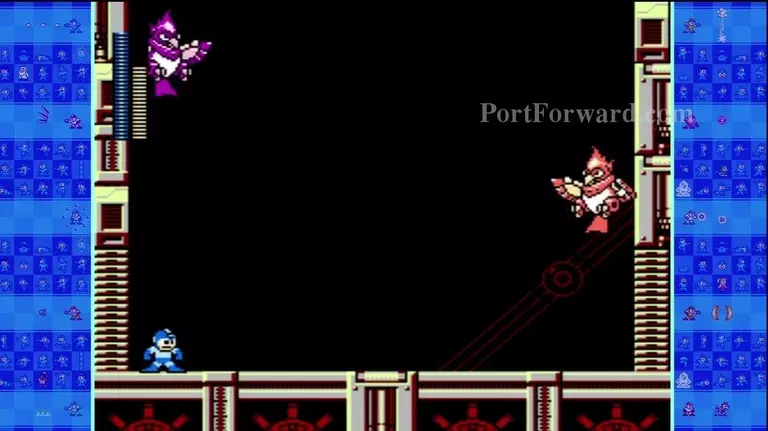
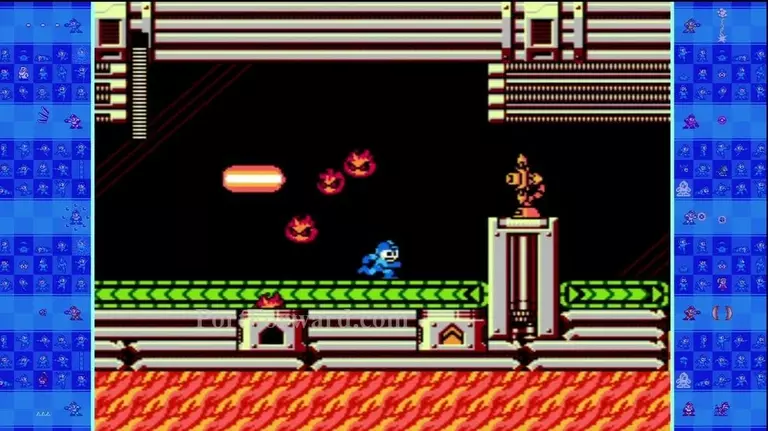
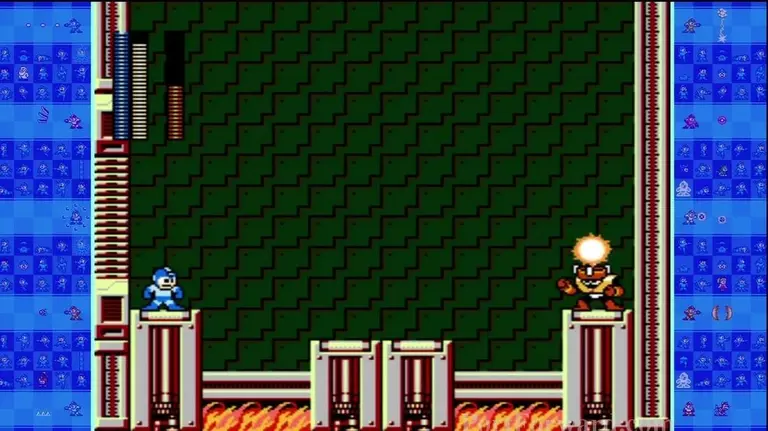
Fenix & Suzak are the minibosses of this level. The bird closer to the ceiling attacks you.
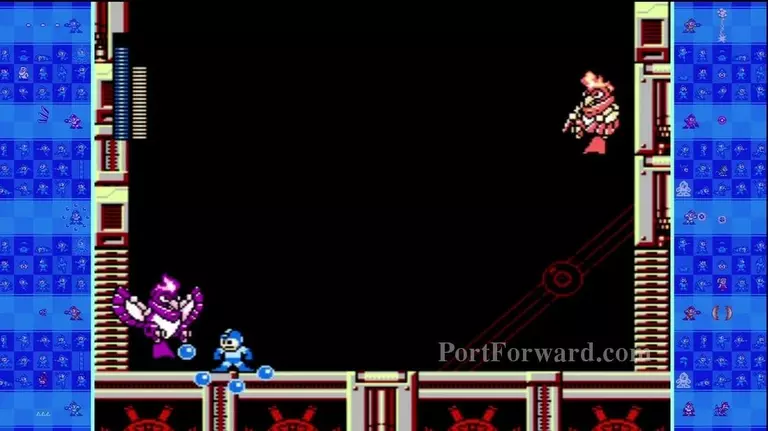
Use the Water Shield on the bird closest to you but avoid the fire the top bird spits at you.

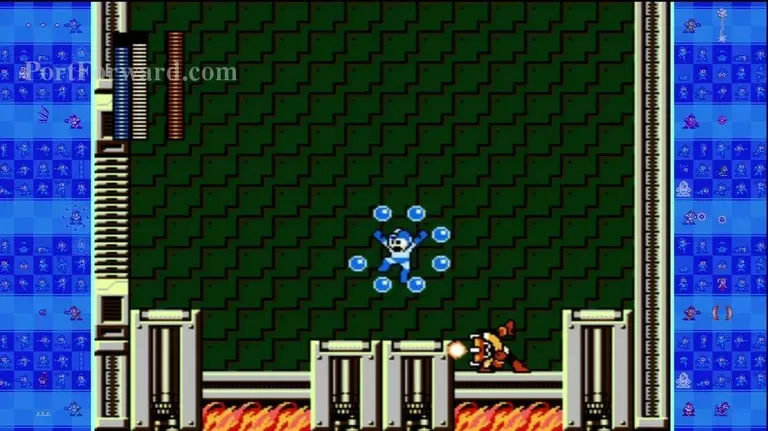
The birds will turn into flaming torches and charge to the other side just as Heat Man did in Mega Man 2.
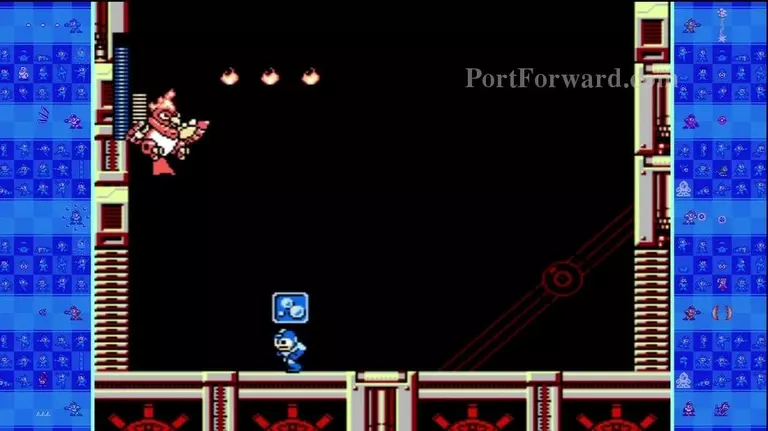
Concentrate on killing one bird then take on the other.
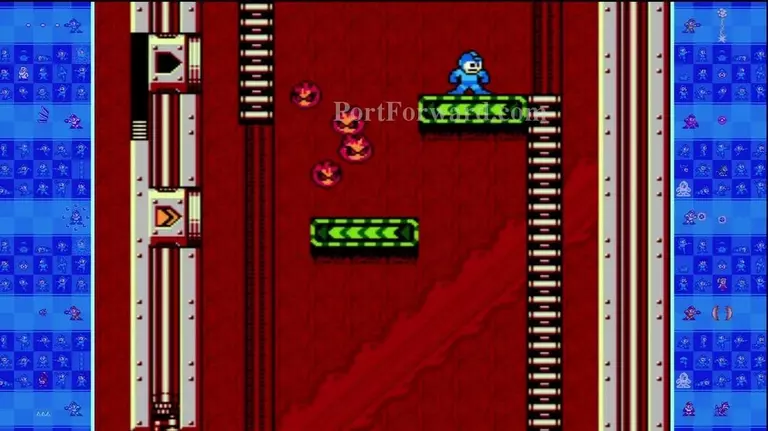
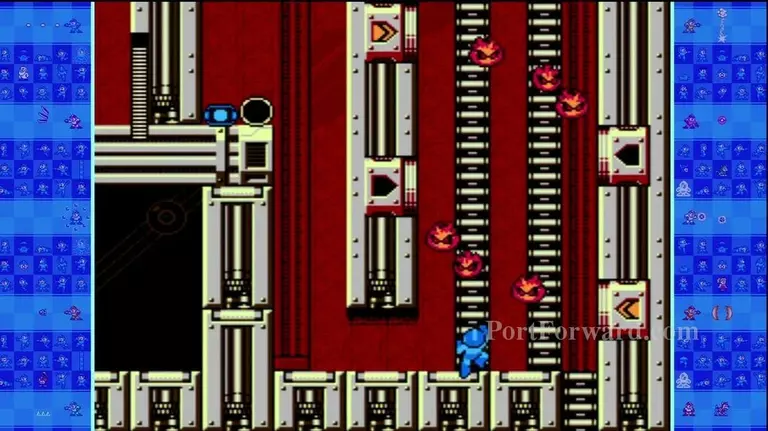
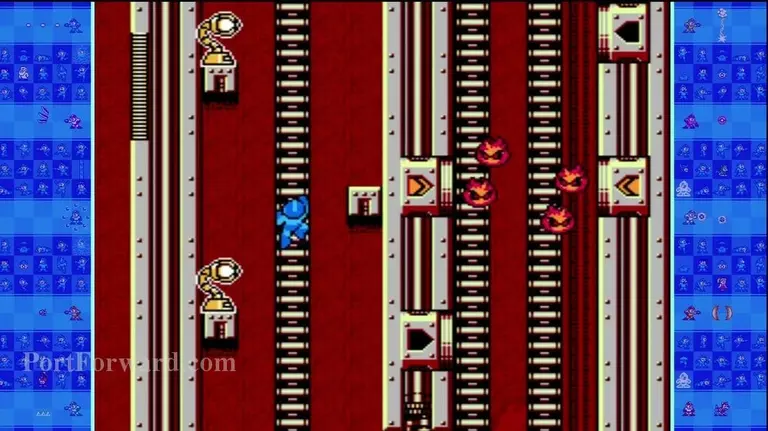
Carefully run on the treadmill as you figure out the Changkeys' pattern.
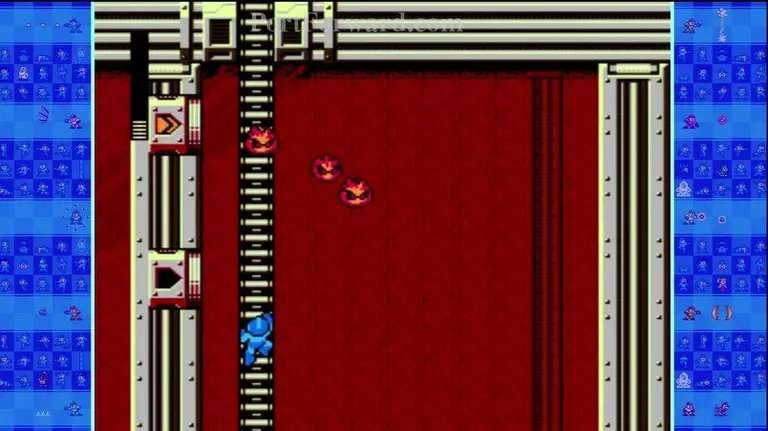
Get in between the chutes as much as possible when climbing the ladder.
Take out this Waltriot early before moving on.
The Changkeys' on the floor are not so bad.
That is as long as you manage to get rid of the Sola 0 first.
If you had the Wheel Cutter, you can get the items on the left easier. For now climb the left ladder carefully.
At the top, run off to the side and get the items.
Climb back up then climb up the left side.
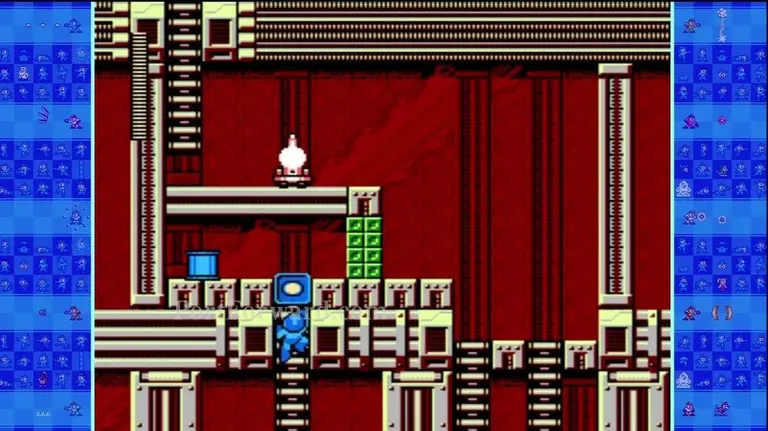
Get the tank and you have to climb back down due to the lack of the Commando Bomb.
Use the Rush Coil to vault over the Changkeys.
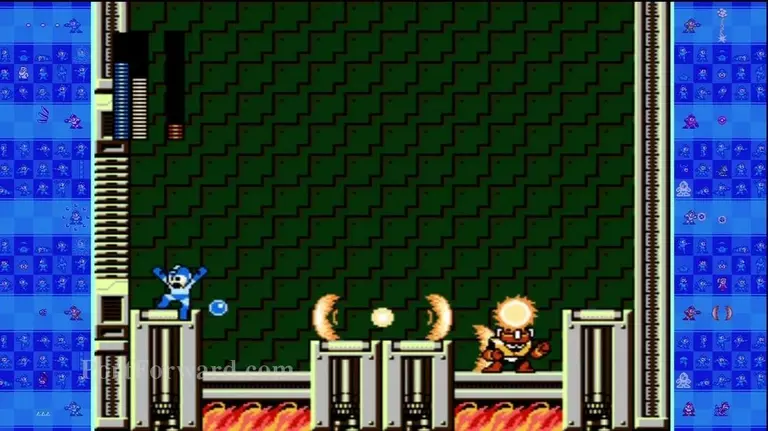
Water Shield does make these easier if you can afford to use it since it is Solar Man's weakness.
Time to use it right now.
Solar Man forms an artificial sun over his head.
Using the Water Shield diminishes it and it also does major damage to Solar Man.
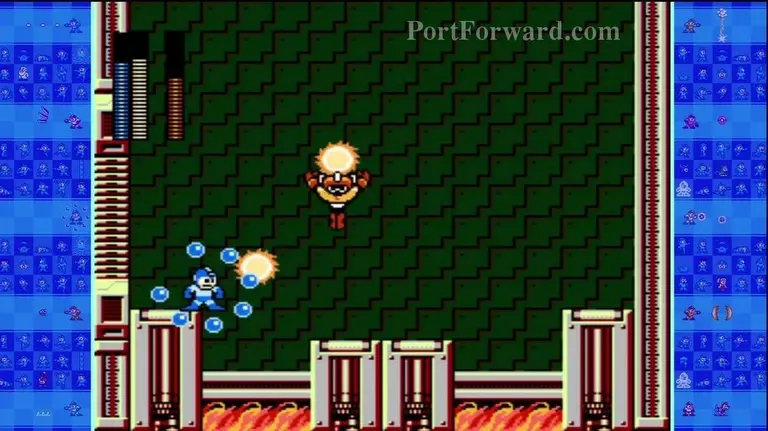
Avoid the Suns he throws at you.
Sometimes the suns will split in two and continue its assault but they can easily be avoided. Water Shield makes this fight short because one use is good for multiple hits.
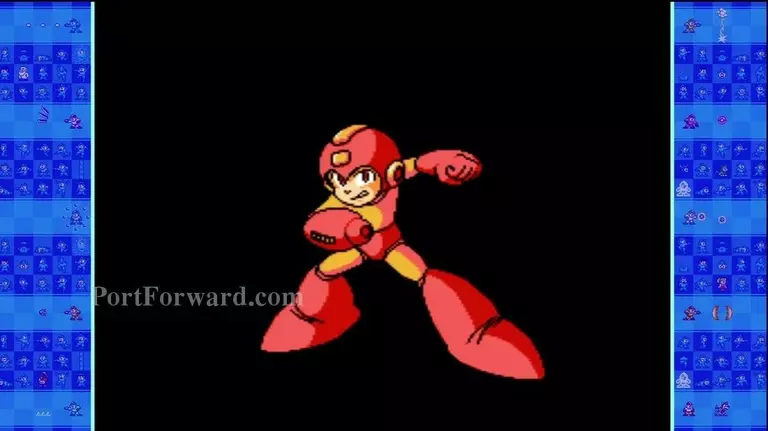
You got the Solar Blaze.
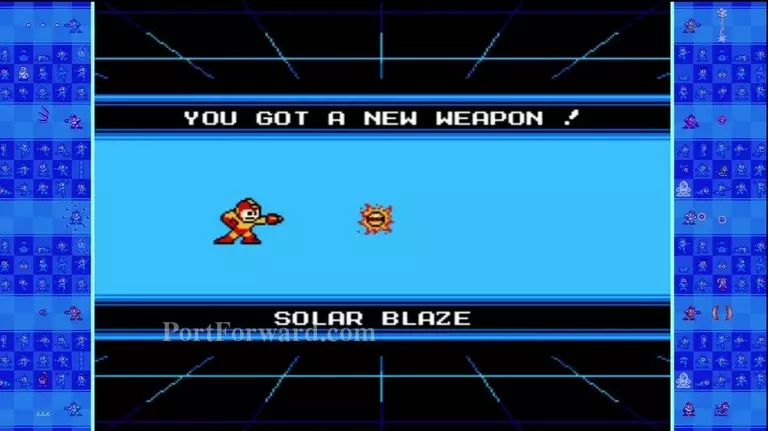
Solar Blaze demo.
Solar Blaze demo part 2.
More MegaMan 10 Walkthroughs
This MegaMan 10 walkthrough is divided into 14 total pages.


