
This MegaMan 10 walkthrough is divided into 14 total pages.
You can jump to nearby pages of the game using the links above.
Sheep Man
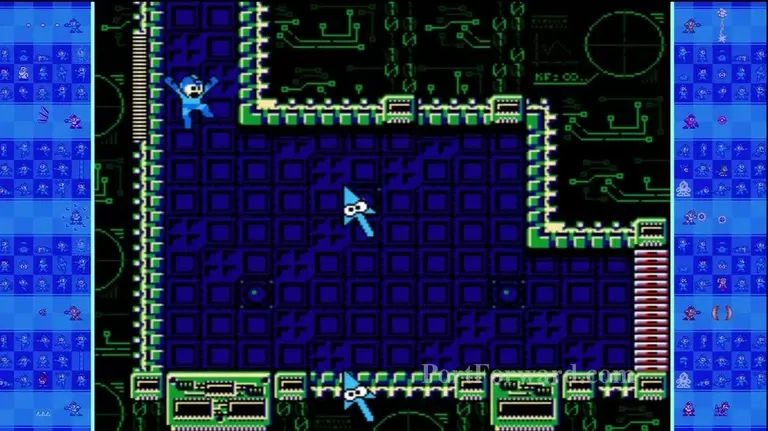
Meet Pointan. This enemy is shaped like a mouse pointer. It will create a four tile area and send the tiles at you.

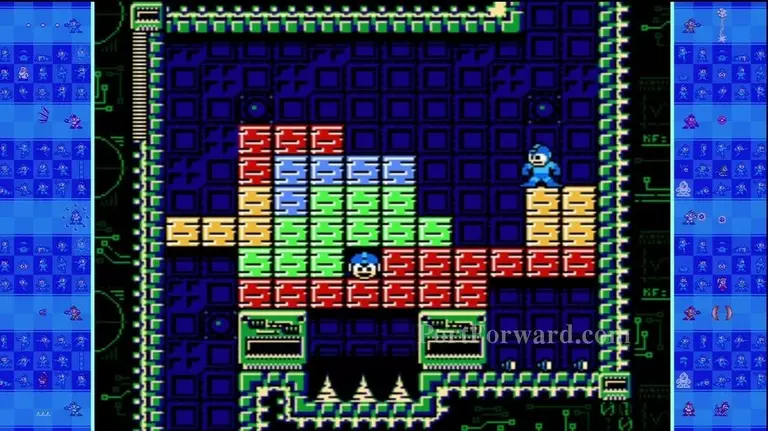
Whenever you stand on these blocks. Each connecting block with matching colors will flash and disappear.
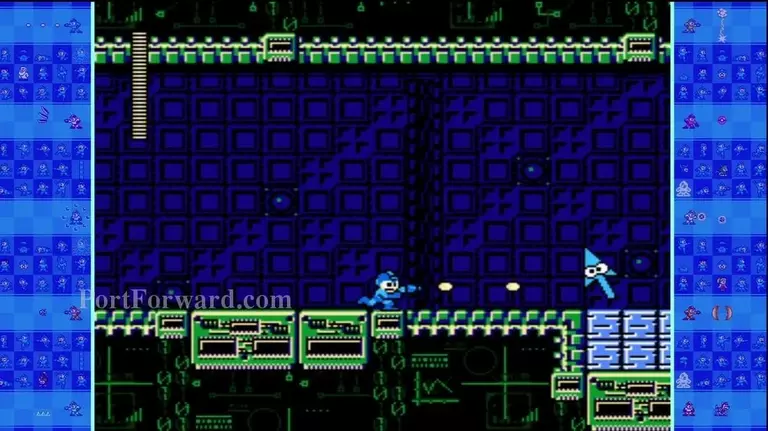
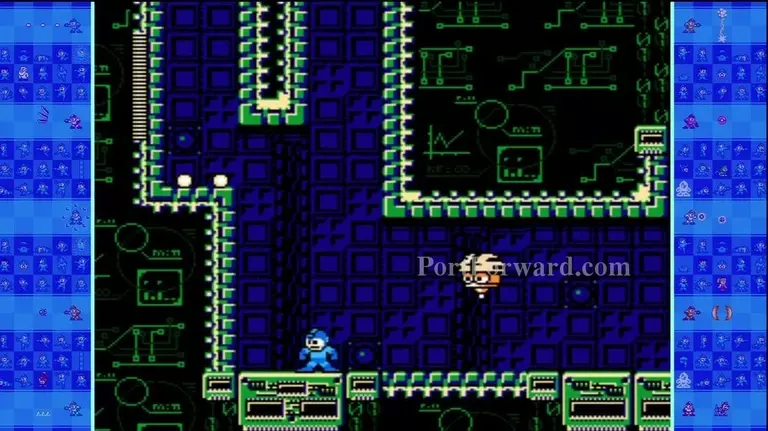
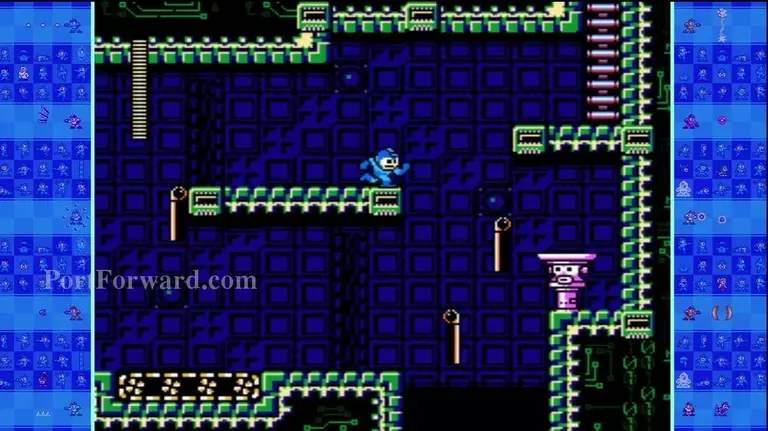
This enemy is called a Bari III. It will create segments below it head that can be shot down. It's main attacks sends out shockwaves. You can stand on it to use as a platform if needed.
To get the extra life safely, land on the yellow as shown here then jump to the green then blue. This frees the extra life. Get it then jump to the right to get the three small bolts. That should be enough to get through and go down.
Here is an example of Bari III at its full height and being used as a platform.
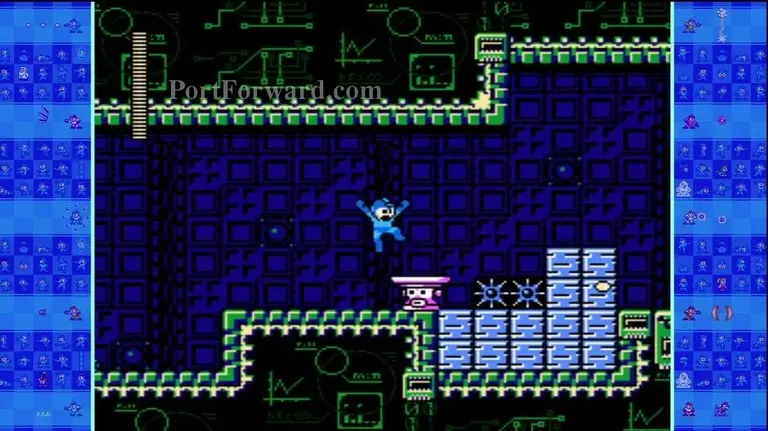
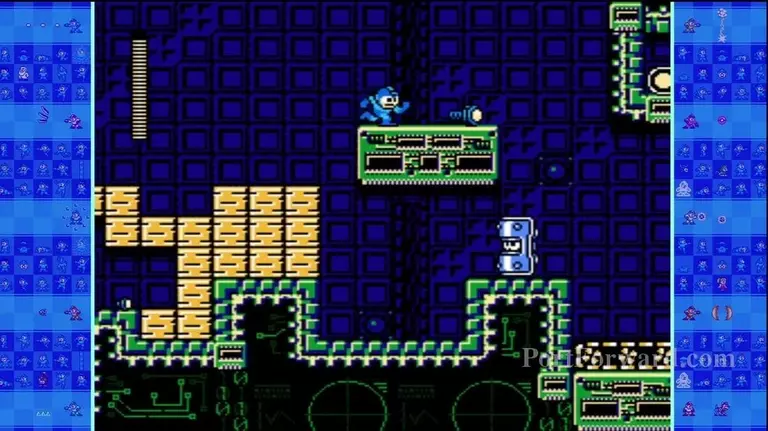
This is a Piledan. It will float down and then fall to the ground and mount onto a cannon.
Take the high road to get the bolt here. The enemy below is a Shield Attacke TRL. It functions like the previous incarnations. If you have the Water Shield, you can knock off its shield.

This is another version of the Piledan and it drops bombs. Run along this treadmill to make the platforms charge up and stay upright.
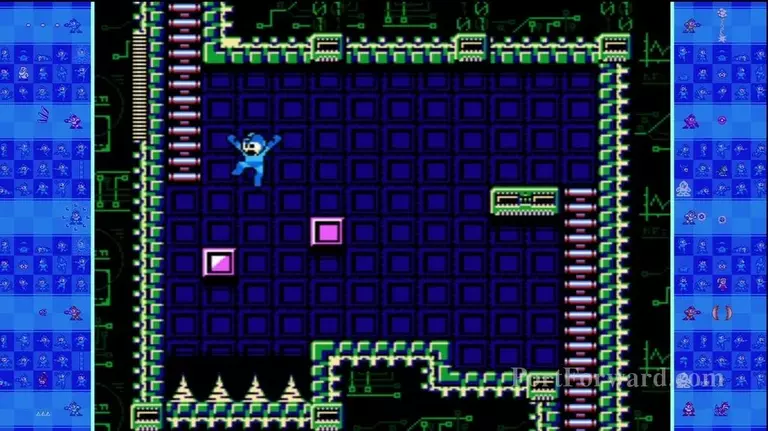
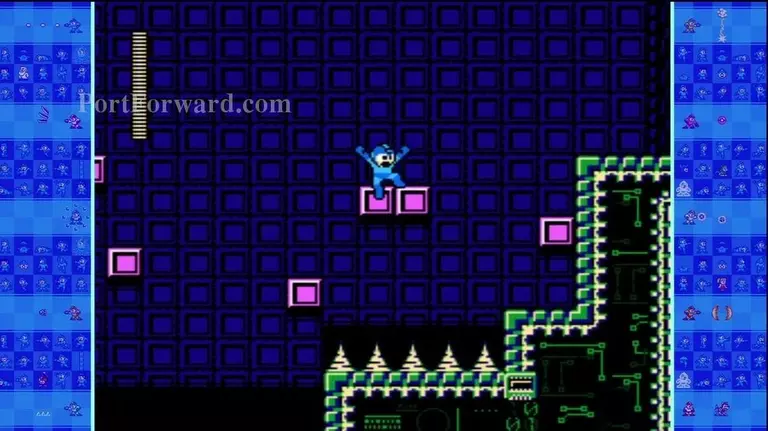
Curve your jump carefully because those colored spikes kill you instantly. They too disappear if you step on a like-colored connected block.
After you land on the yellow. You will step on the blue one anyway and touch the red next.
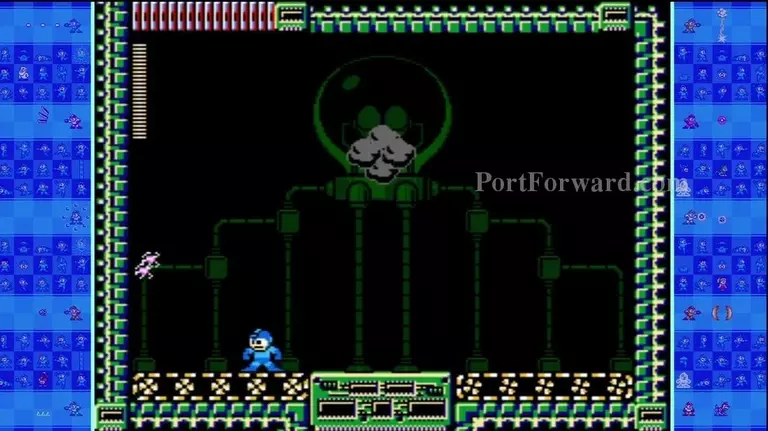
The miniboss is Octobulb. Run along the treadmill to light it up and make it vulnerable.
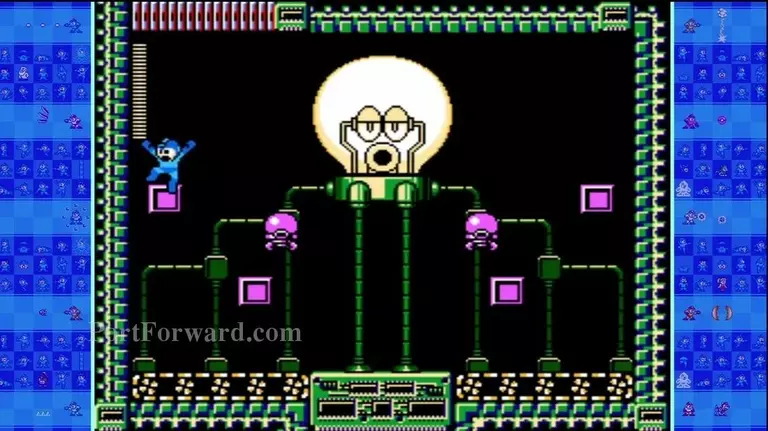
Jump onto the blocks and start shooting at Octobulb. Watch out for the Little Pachipachi that homw in on you. If you don't defeat in time, it will dim out and you have to light up again and finish it off.
Defeat these two Bari IIIs to move on here.
Use the treadmill to make these platforms active and move quickly to the next area.

Take the high road to get this bolt and kill the Bari III in the process.
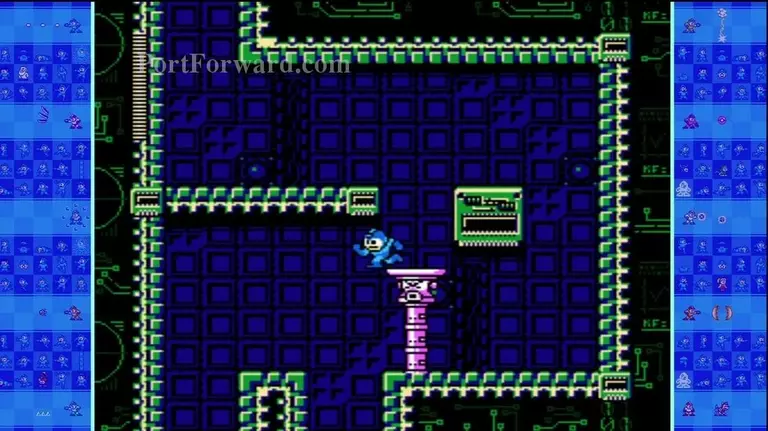
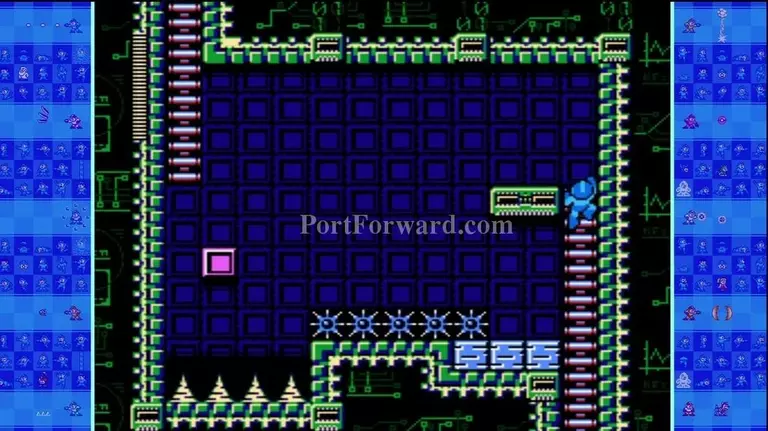
From here you can jump to the upper platform and climb the ladder.

Let the Piledan form then kill it.
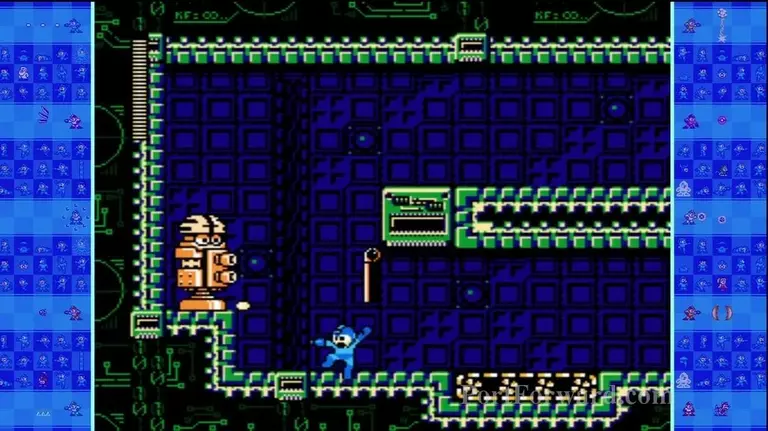
This is what Piledan looks like when formed as a cannon.
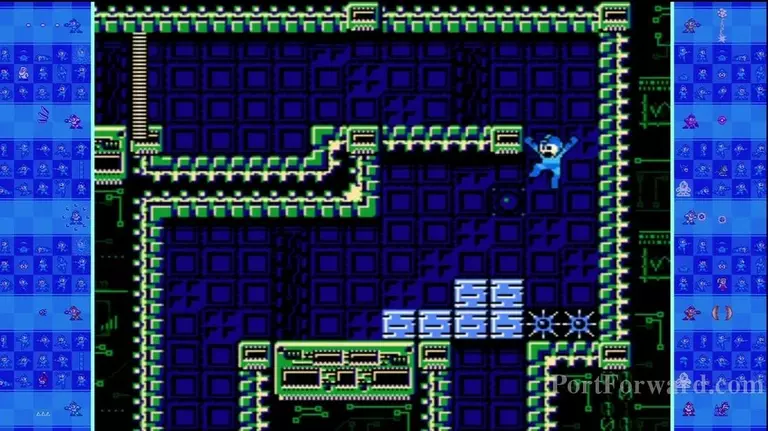
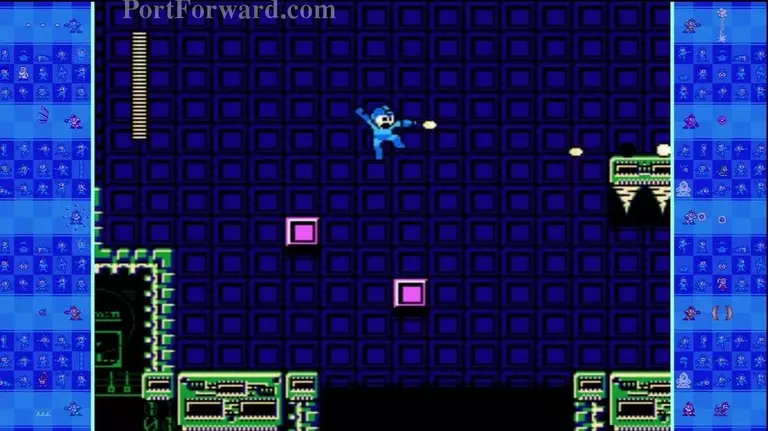
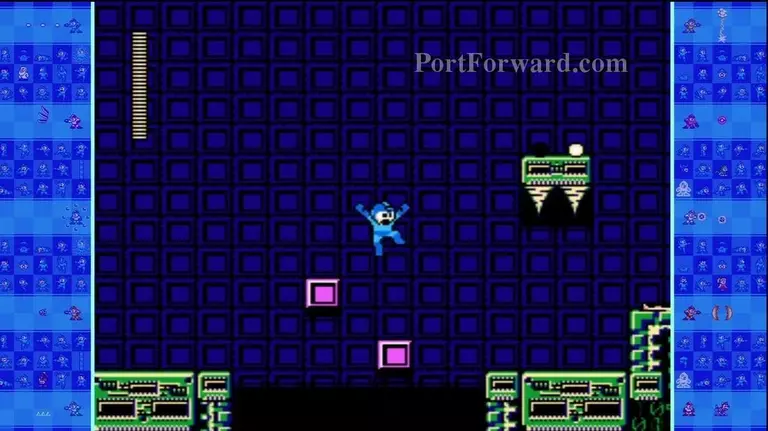
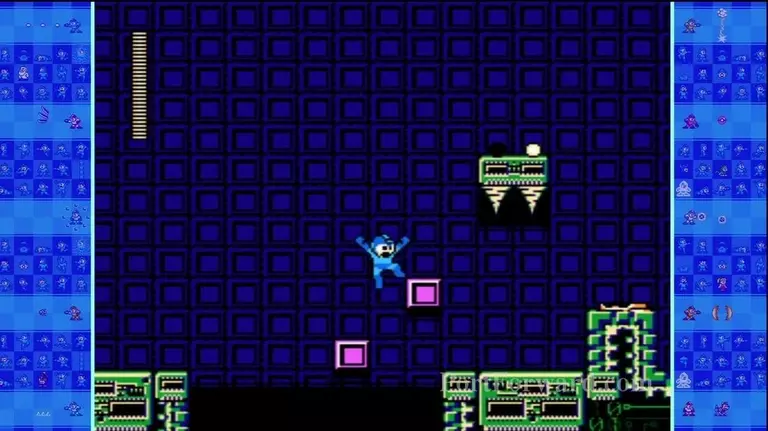
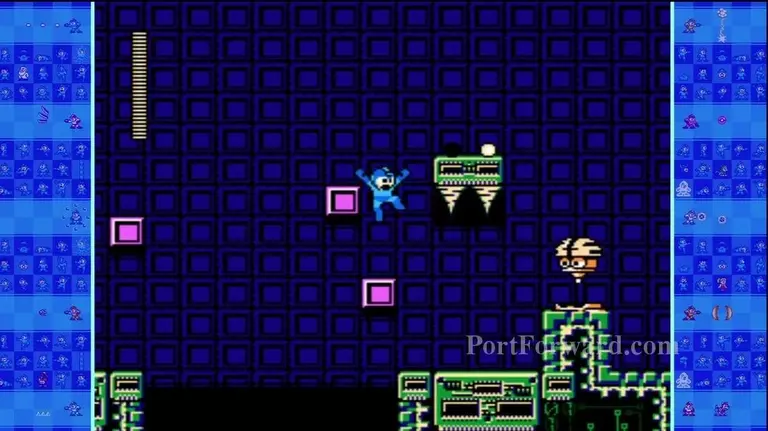
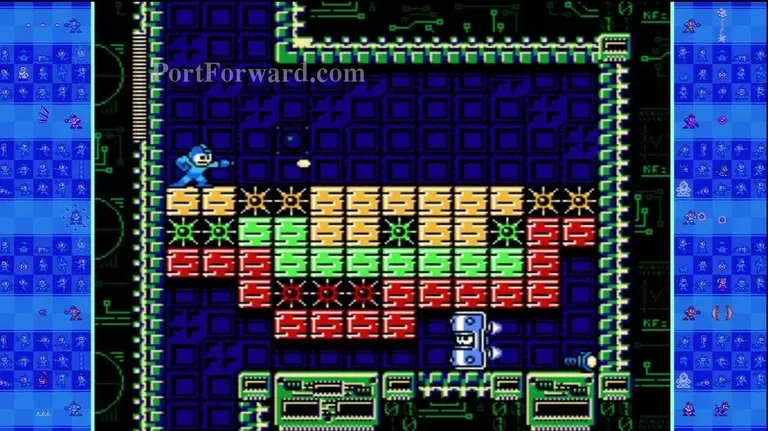
You might want to clear away the blue blocks so the blue spikes don't kill you if you mess up on the Yoku blocks early.

Jump on the right block then jump to this block.
Drop down to this block.
Then jump to this block and go up the ladder.

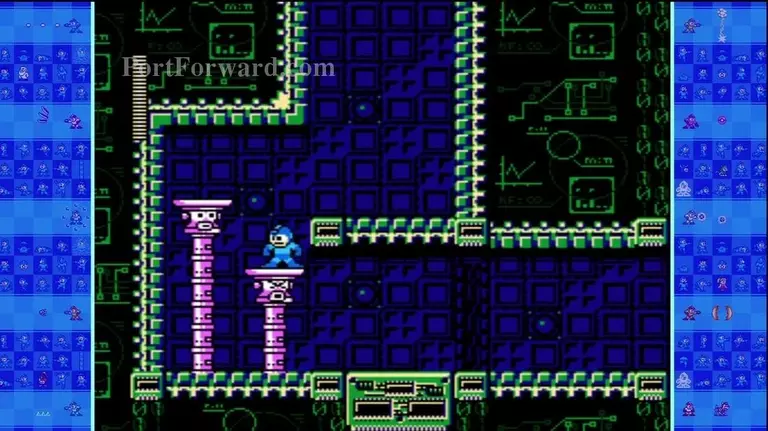
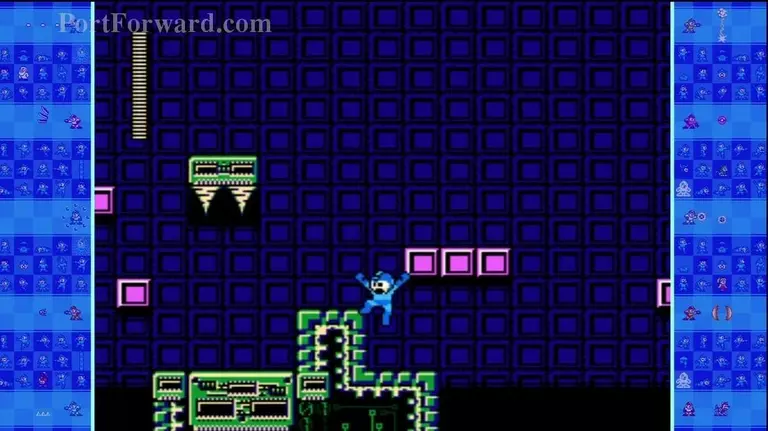
Another set of Yoku blocks. Start on the left then jump here.
Jump to the lower block.
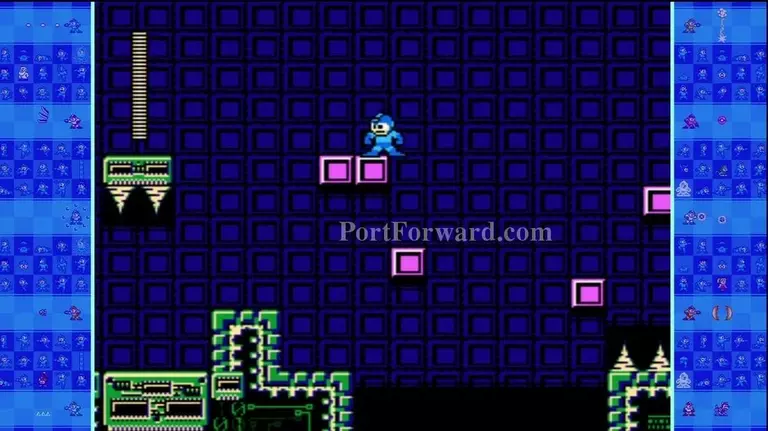
Then down here.
Get on this block and don't go right just yet.
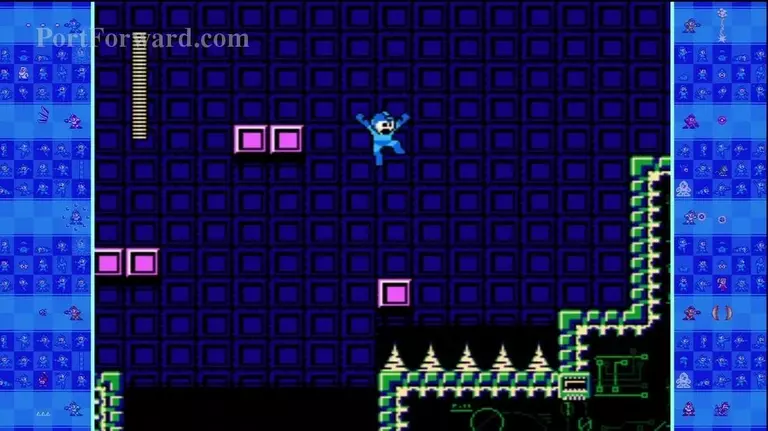
Jump to this new block to get to the upper platform.

Jump over the Piledan and kill it from behind.
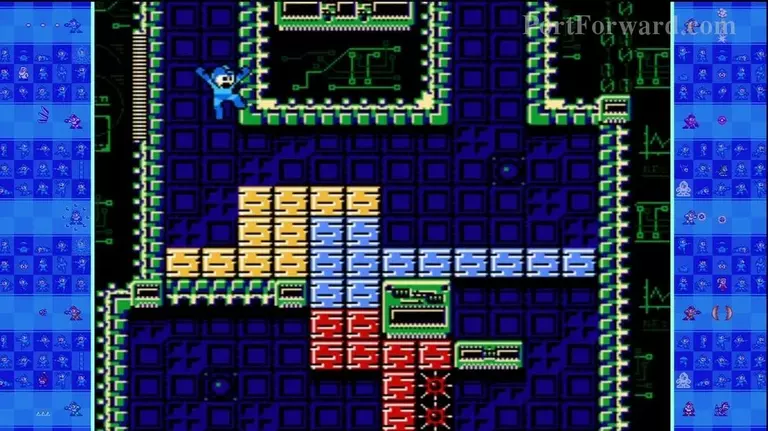
The two left Yoku blocks form first followed by the right one. Get on the right one then...
Jump to the left to land on these blocks.

Jump right to these blocks and be quick to not land in the pit.
Jump to this lower block but don't land on the spikes.

Walk to the left onto the next block.
Then jump to the right to the blocks.

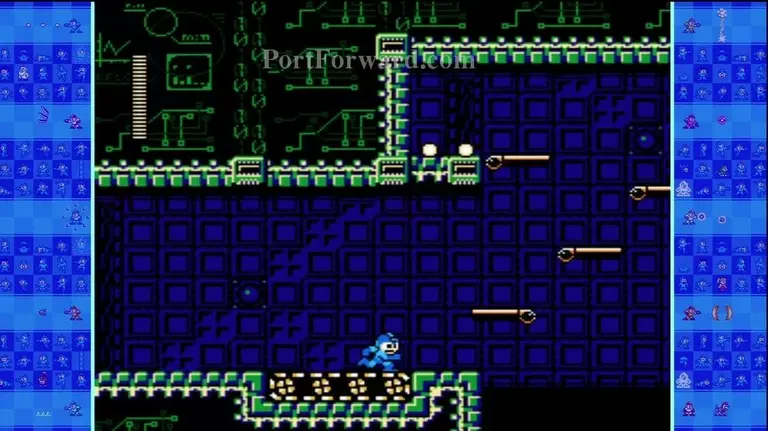
Finally jump onto this block and kill the Pointan.

Land on these Yoku Blocks to safely drop down and go to the left and fall.

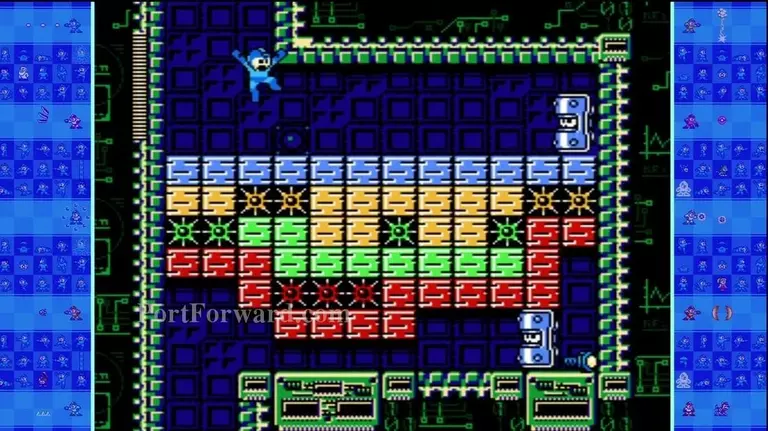
Here's the trick to get the W-Tank. Step on this green block first then onto the yellow. Land on the red but not on the spikes. You want to be on platform when red vanishes. Jump onto the blue blocks to the left and land on the green. This should get you the tank safely.
Get rid of this Shield Attacker TRL if you can or avoid her as you drop through the blocks and avoid the colored spikes.
It helps to jump onto the safe spots as soon as the previous blocks flash.
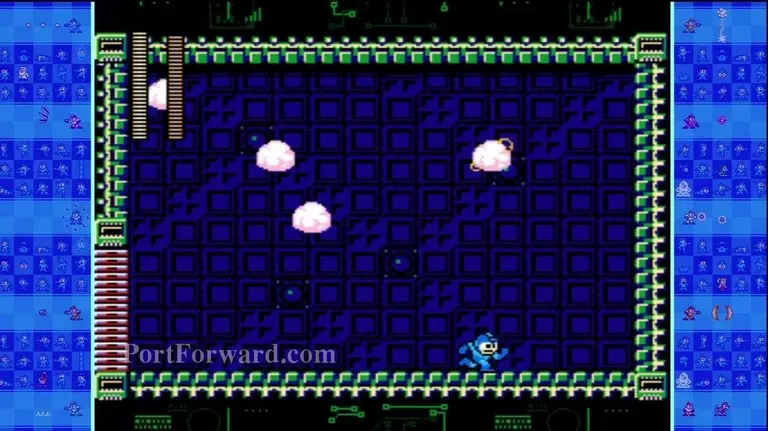
This is the room before Sheep Man. Take out the two Pointans and go through the gate.

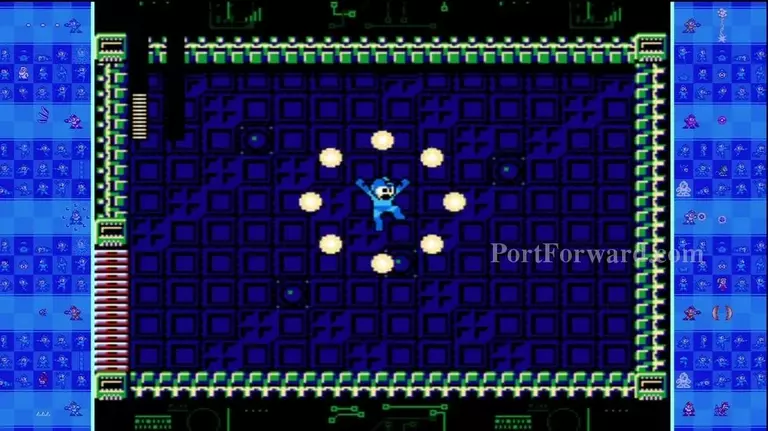
Sheep Man's weakness is the Rebound Striker from Strike Man but we don't have that yet so blast away at him. Avoid the spark he throws that moves in a wave pattern.
Sheep Man forms into four clouds and sends out bolts of lightning.
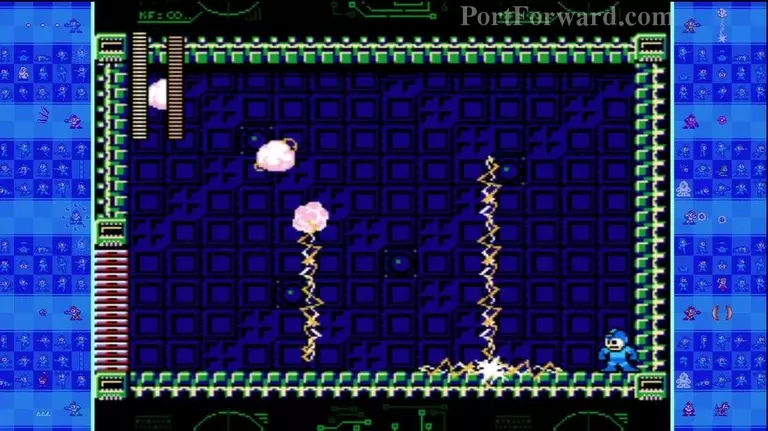
When the bolt hits the floor, the cloud disappears and the electricity has a small splash area on the ground.
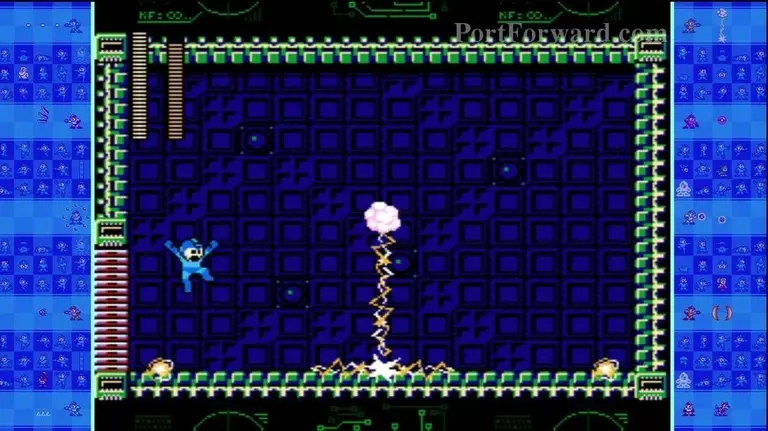
The final cloud is Sheep Man and the bolt will send two mini volts across the floor. Jump to avoid those then continue the assault.
After depleting his life. Sheep Man explodes and dies.
Killing a Robot Master will show Mega Man gaining his power.
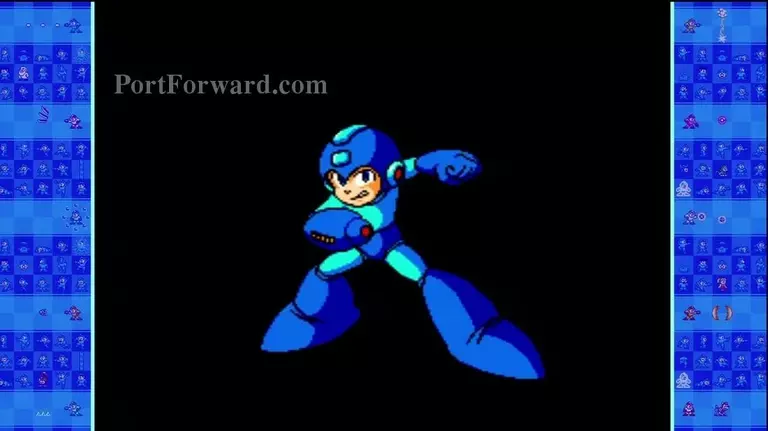
Mega Man about to get his weapon.
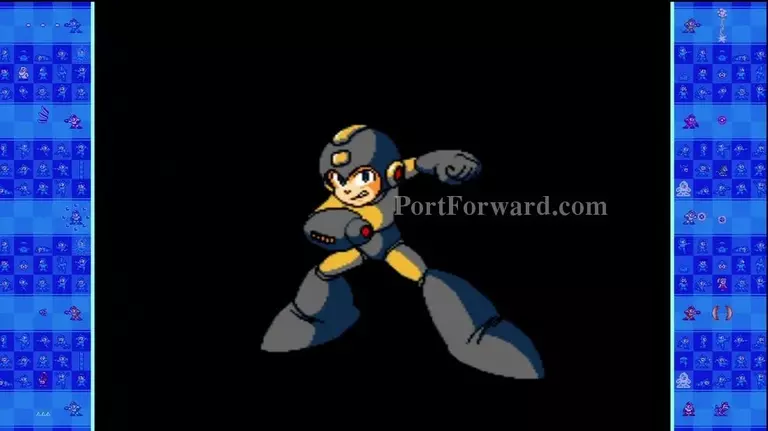
Mega Man with Thunder Wool obtained.
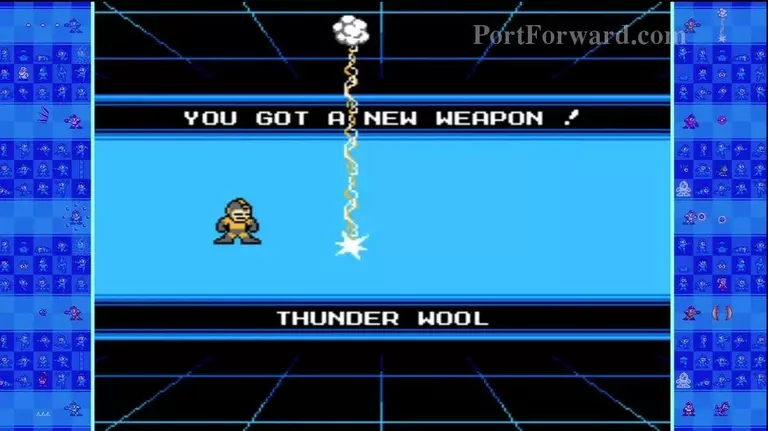
Demo of Thunder Wool.
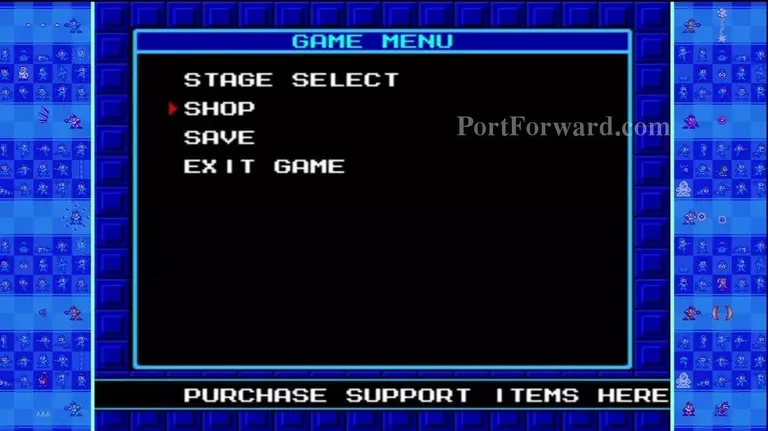
Post fight options.
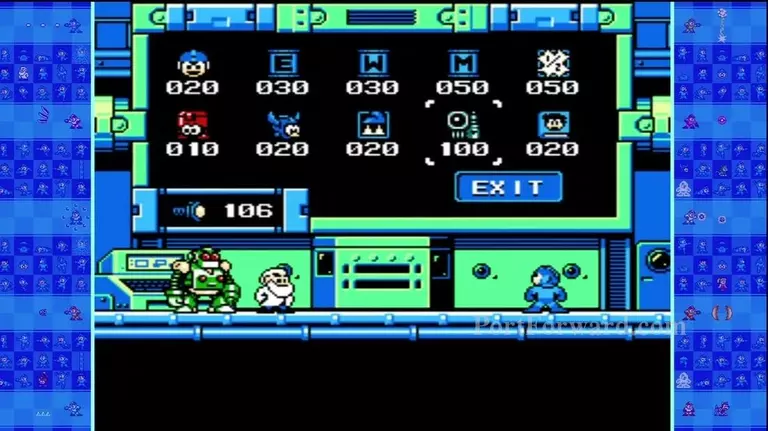
Store preview.
More MegaMan 10 Walkthroughs
This MegaMan 10 walkthrough is divided into 14 total pages.


