
This Minecraft walkthrough is divided into 19 total pages.
You can jump to nearby pages of the game using the links above.
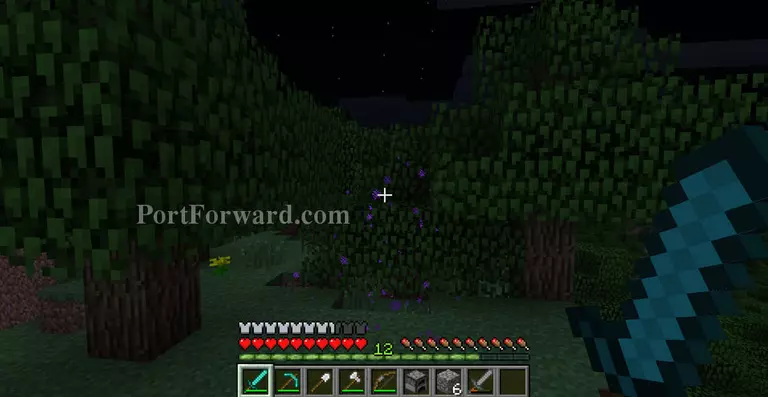
The Beginning of the End.

You'll start seeing these tall, purple-eyed monsters. They don't attack you on sight, however they're vital to killing the end boss and only attack if you look at them.
It teleports away!
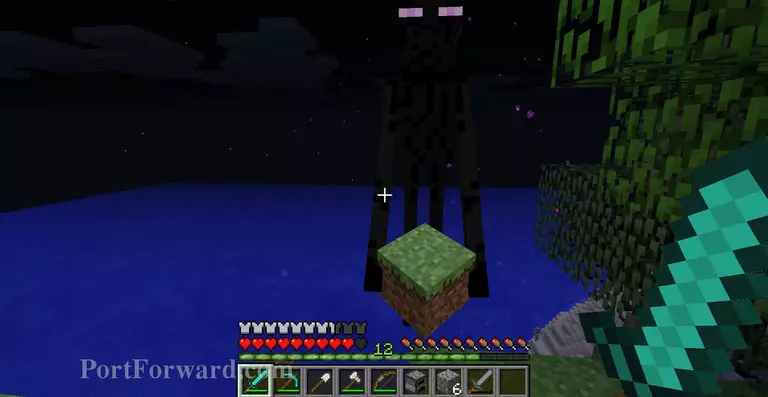
Gotcha!
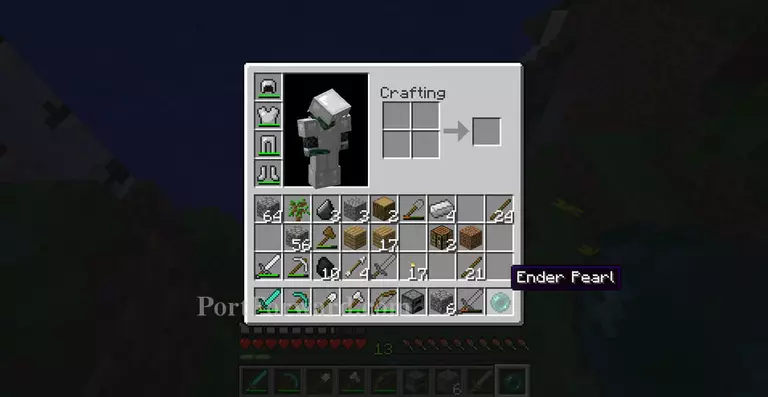
These 'endermen' drop 'Ender Pearls'. Save them. You'll need them to get to the end boss.
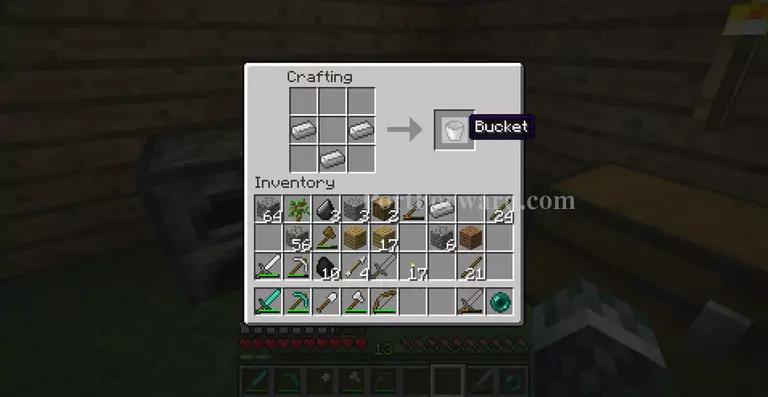
Using these formula with iron ingots, buckets are useful in creating obsidian--to get to The Nether
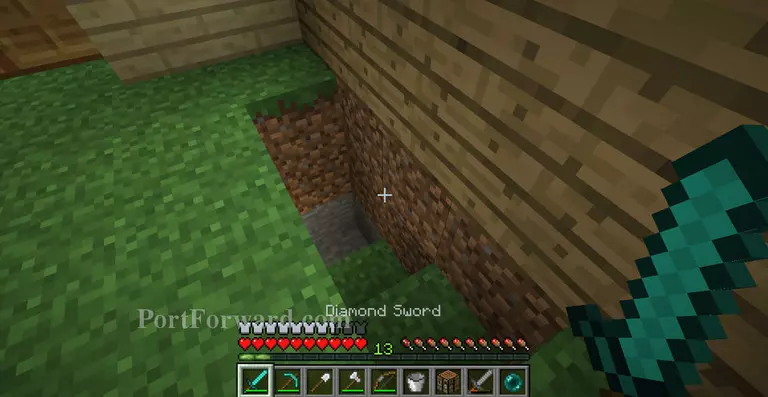
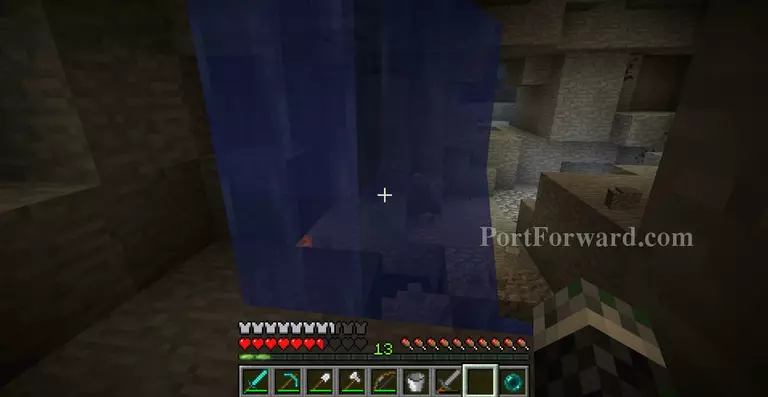
Let's head to the mine.
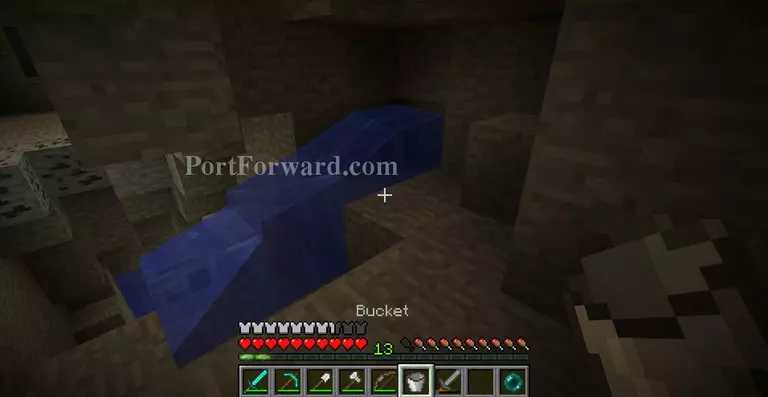
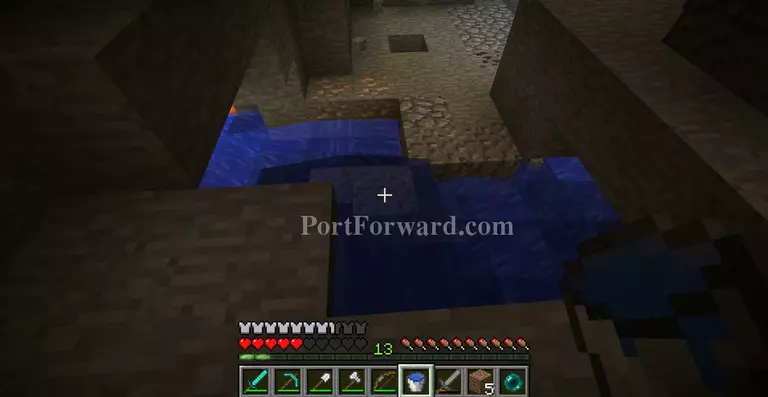
Right click any water source with your Bucket to remove it and get Water.
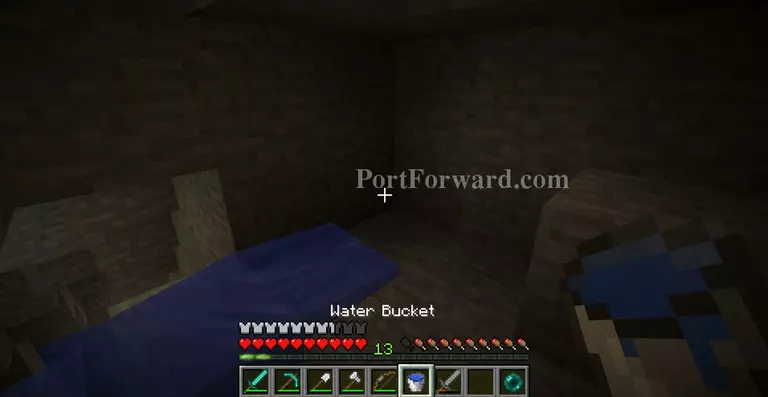
Water!
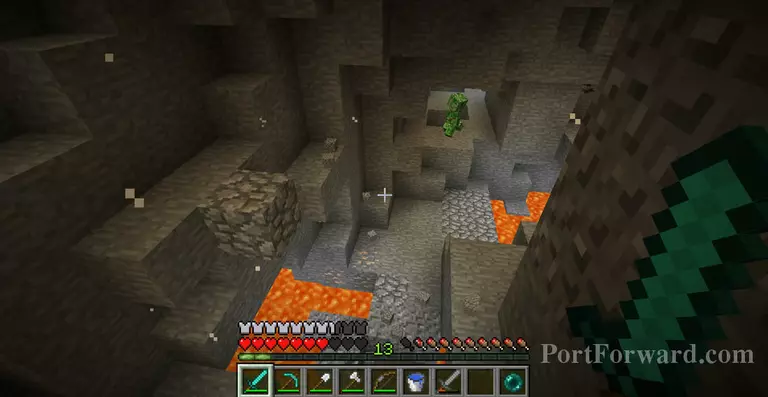
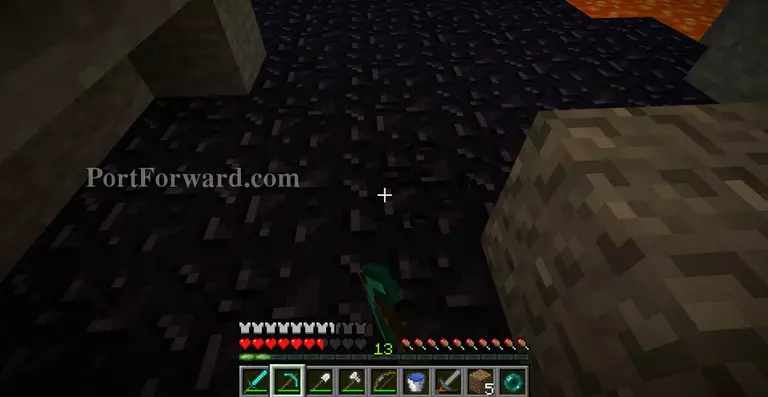
Creepers are waiting for me.
Place water from your bucket near Lava, allowing it to flow down into the lava to create Obsidian.
Let it flow!
Obsidian!
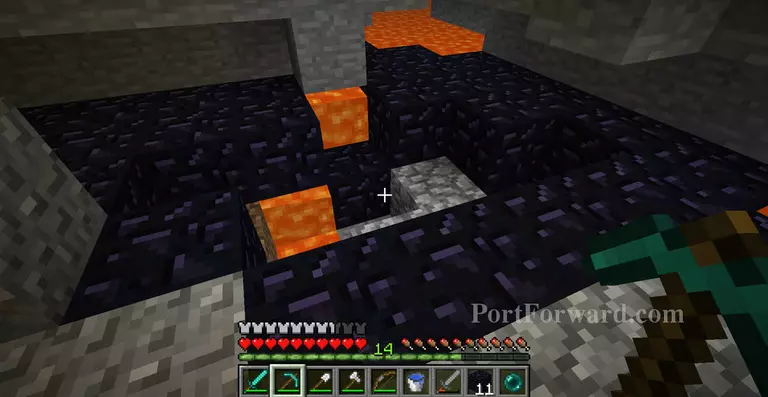
Around 11 should be an ample amount. I took a few more just in case.
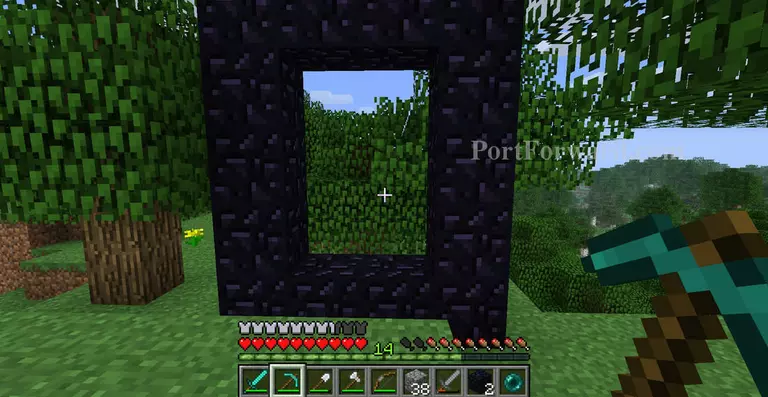
With your obsidian, head back to the surface and create this structure.
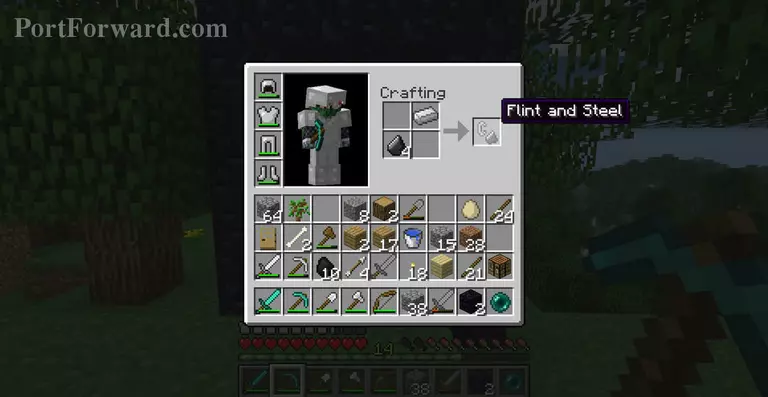
Remember the flint I told you to keep? This is where it comes in handy. Combine it with an iron ingot.
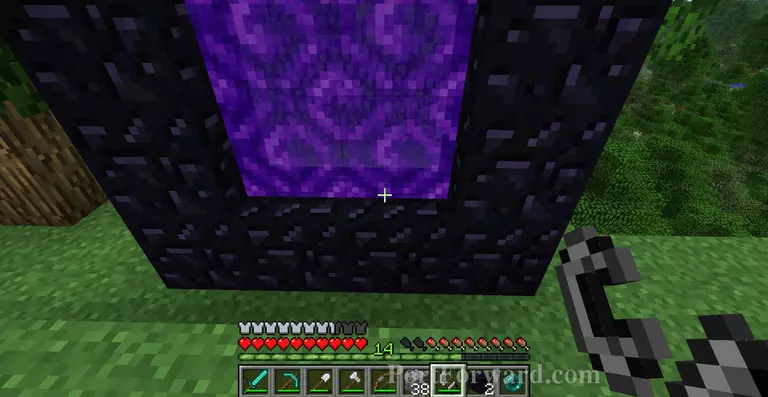
Then right click the obsidian for a portal.
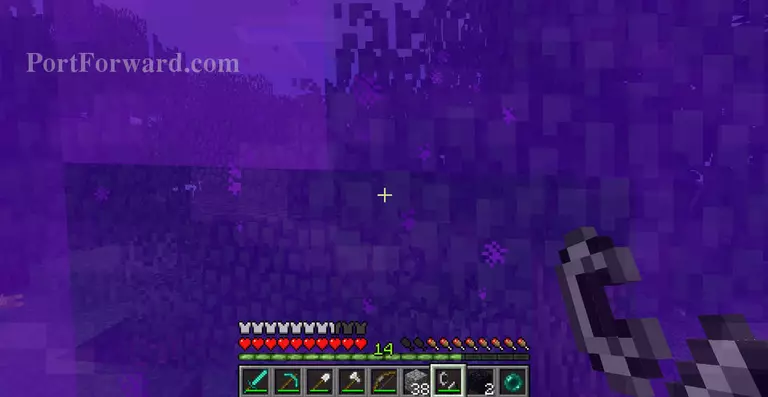
Then hop in!
More Minecraft Walkthroughs
This Minecraft walkthrough is divided into 19 total pages.


