
This Mirror's Edge walkthrough is divided into 11 total pages.
You can jump to nearby pages of the game using the links above.
Chapter 2 - Jacknife

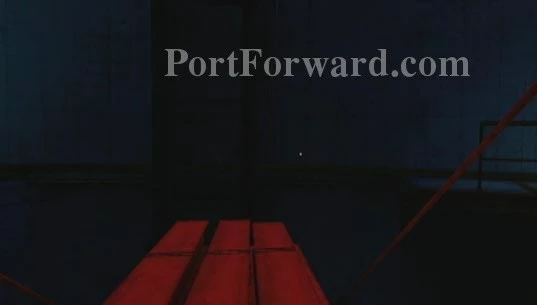
Climb the fence in front of you and safely roll to the aqueducts below. Once the helicopter appears, quickly run through the aqueducts, and use the alcoves to avoid the copter's gunfire. Alcoves like this can save you from enemy fire.
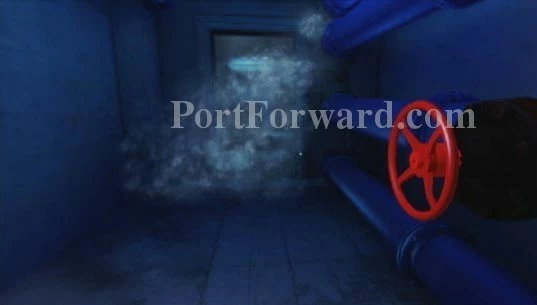
At the end of the aqueduct is a barbed wire fence. Turn right through the colored door, and turn the red valve to shut off the water.
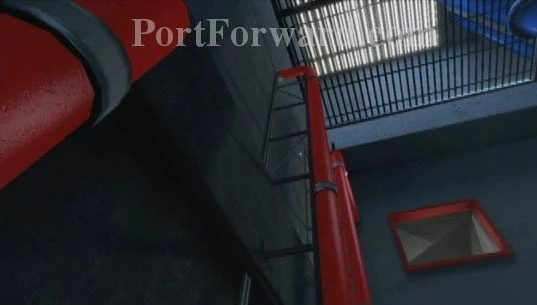
Use the colored mat in front of you, run, and leap up to the red pipes. Navigate the pipes up through the duct.
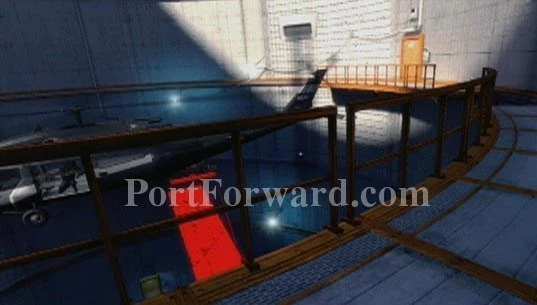
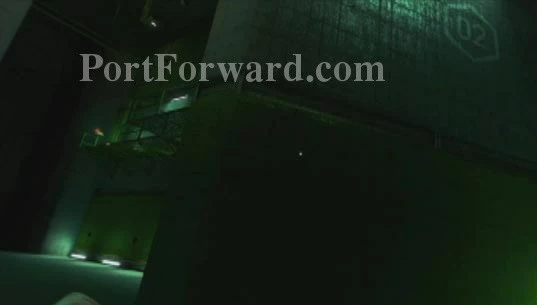
After the helicopter and blues appear, climb the red containers to your left, and jump onto the hanging planks. Drop to the planks below, and then proceed left. Keep spiraling down the rotunda to escape enemy fire.
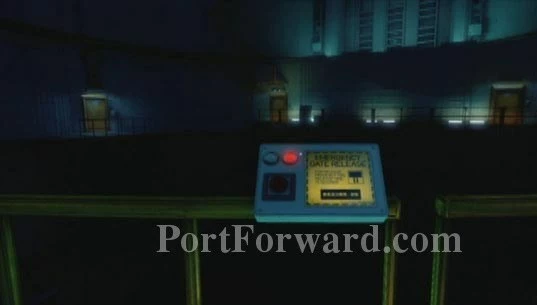
Wall run over the gaps, and swing over the bars as needed towards as the blues slow their pursuit. Continue to the base of the rotunda, and interact with the control panel -- this panel will open the large emergency gate across from youâ¦but only for a short time.
Quickly run along the walls and up to the ledge where the gate is slowly closing â you may have to slide under it to get by into the next room.
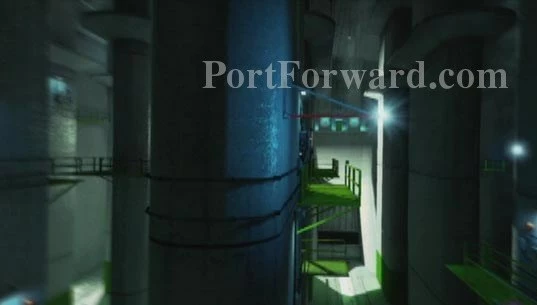
Use focus if you get lost in this catwalk maze.
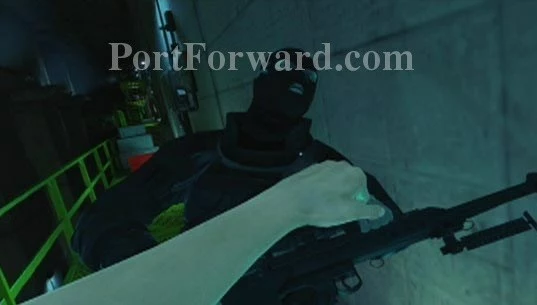
Snipers are deadly enemies who can take you out with only a few shots.
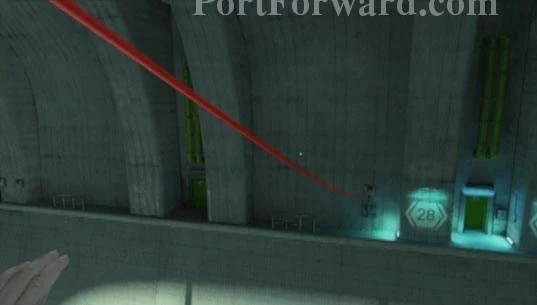
Continue jumping from ledge to ledge and grab the red zip-line to enter the green door across the way (if you're having trouble spotting the rip-line, use your focus power to help pinpoint it).

Use the panel to open another emergency gate.
The wooden plans will spin clock-wise. Turn around and move to the catwalks.

Panels can also be used to raise platforms.

It can be hard to make tricky jumps while being attacked. If you're hurt, avoid damage for a few seconds to start recovering health.
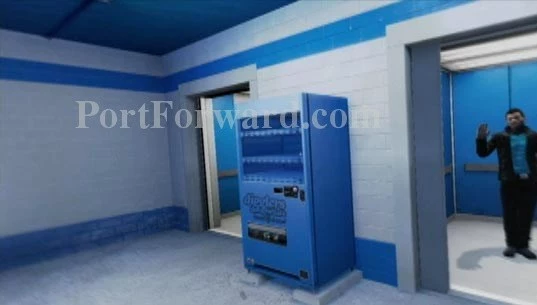
Even though Jacknife has a head start, it's easy to keep an eye on him. Take the second elevator to catch up to Jacknife.
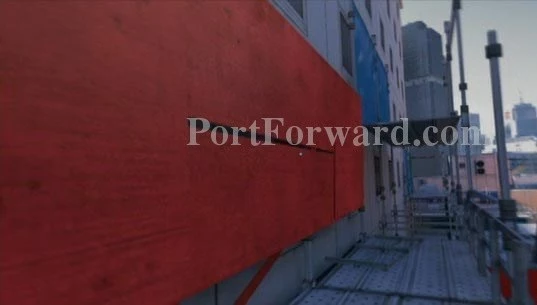
Use the poles and pipes to get onto the small duct sticking out of the building, then jump over to the building to the right. Run over the fans, over the planks, and then wall run across the red wall.
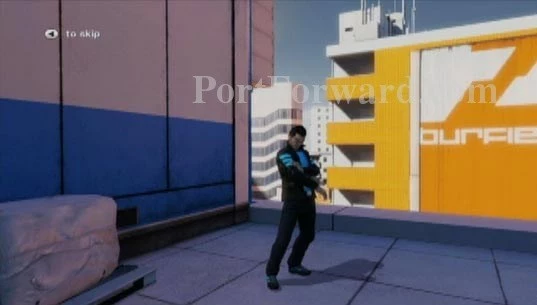
Once catching Jacknife, he'll provide new information. There will be a short cut-scene and then the mission will be completed.
More Mirror's Edge Walkthroughs
This Mirror's Edge walkthrough is divided into 11 total pages.


