
This Splinter Cell: Double Agent walkthrough is divided into 11 total pages.
You can jump to nearby pages of the game using the links above.
JBA HQ 4
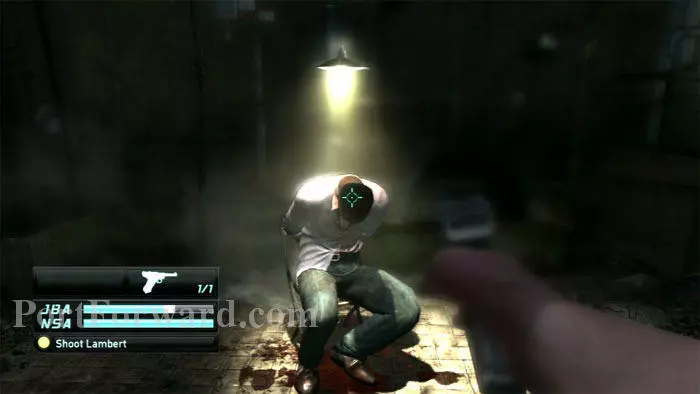
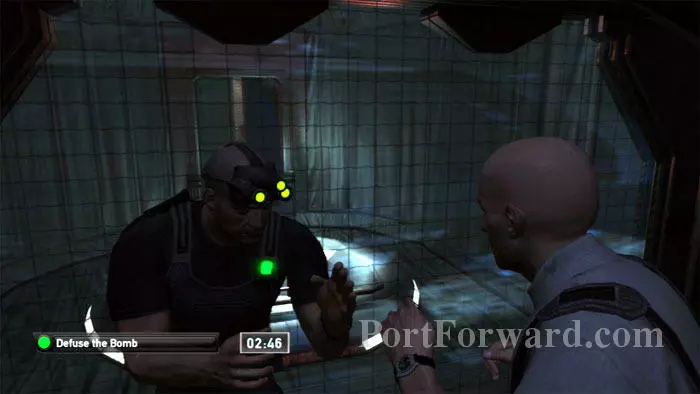
Lambert has been captured, and Emile orders you to shoot him. If you comply, the rest of the mission is much easier, but, like the cruise ship and Hisham, Lambert is one of the three targets that will determine if you can play the bonus mission. You can only side with the JBA on one of the three targets in order to get the bonus mission.
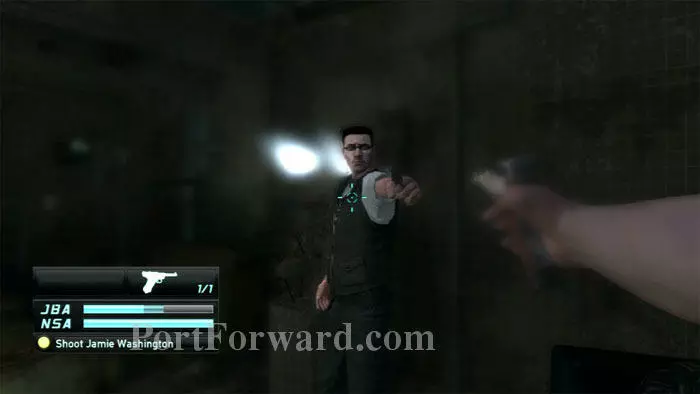
Your other option is to shoot Jamie, which will make you a kill-on-sight target for the JBA. If you do nothing, Jamie shoots you and the game ends.

One of your new profile objectives is to scan the retinas of four JBA members: Emile, Enrica, Jamie and Dayton. If you shot Jamie, you can scan his retina now. (Moss' retina can be scanned in the bonus mission.)
Also if you shot Jamie, there will be guards outside the door ready to shoot you upon leaving. Activate your radar and wait until they walk away.
If you saved the cruise ship earlier, then Enrica's body can be found near the incinerator. Exit the interrogation room and turn right, then descend some stairs and make another right through some plastic strips to find her body. Ascend the ladder on the right.
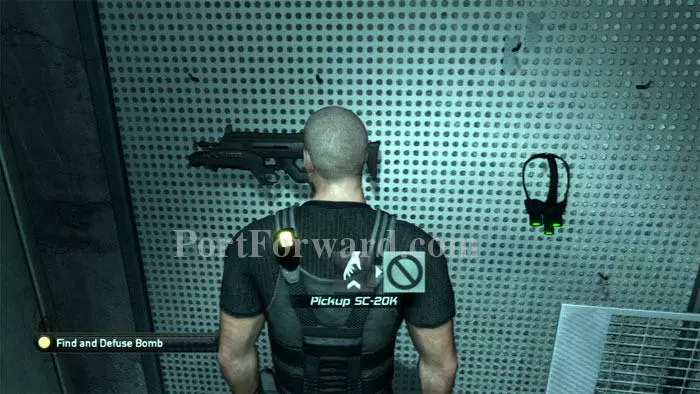
You'll emerge in the garage. Across the hall is the firing range, where you'll find an SC-20K and goggles on this back wall. If you let Enrica live, she'll give you these herself.
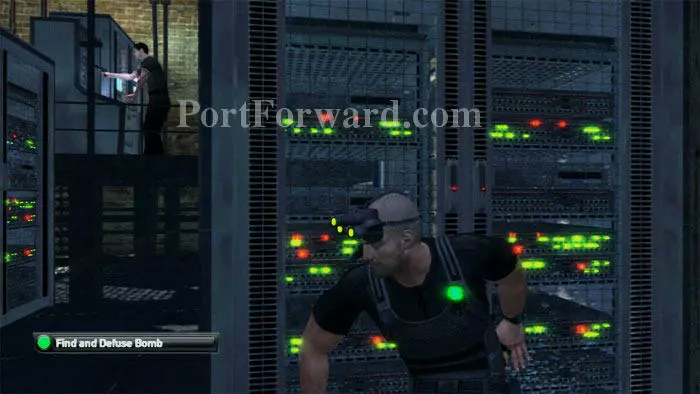
Stanley Dayton can be found in the server room. He's behind bulletproof glass and is rather skittish so you'll have to go hunting.
Now, head off to the armory. On the way, this guard can be interrogated to learn that Emile and the bomb are in the lowest level.
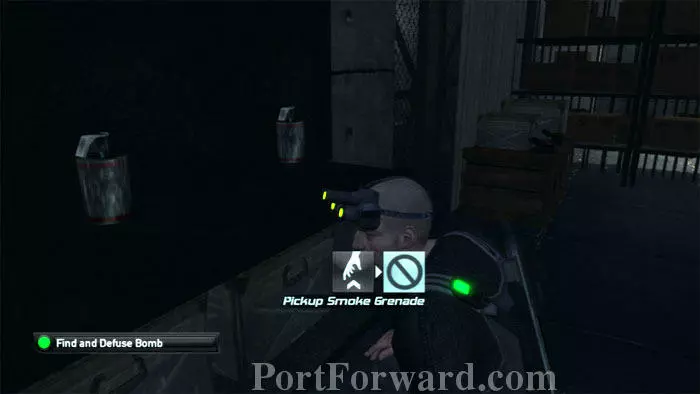
Smoke grenades can be found in the armory here. Note the 5.56mm ammo to the right. If Enrica is alive, you'll find her in the surveillance room across the hall.

The elevator is your next destination. If Enrica is alive, she'll lead you there.
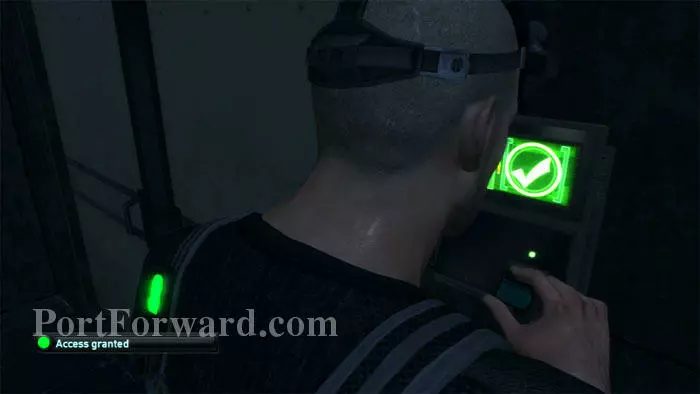
Otherwise, you'll find it a short distance from the armory. Your retinal scans will allow access.
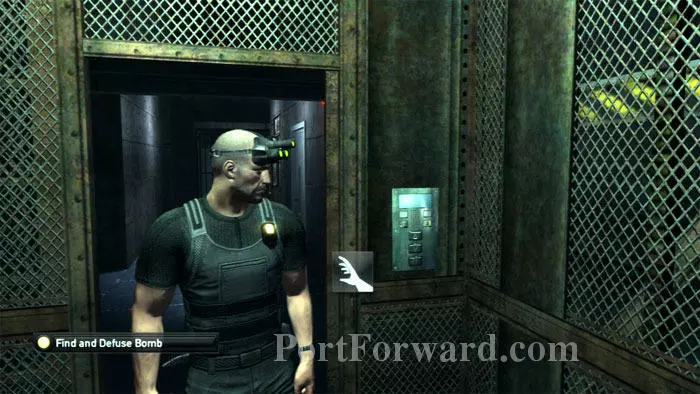
If you've been following the walkthrough, the only remaining profile objectives are Jamie's professional bio as well as his retinal scan if you didn't shoot him, plus Emile's and Moss' retinal scan. Make sure you have all profiles you intend to get before riding the elevator down. You won't be coming back.
If you enjoy knocking out guards, you're going to love this next part. Half a dozen scientists and guards patrol the area. All of them can be lured under this pipe, either by turning off lights or whistling.
Here's my nice collection. Notice the enhanced night vision.
If you prefer to avoid the patrols, sneak along the railing on the right to these stairs, or just hop over. That's Jamie's office door below. The code is 1234.
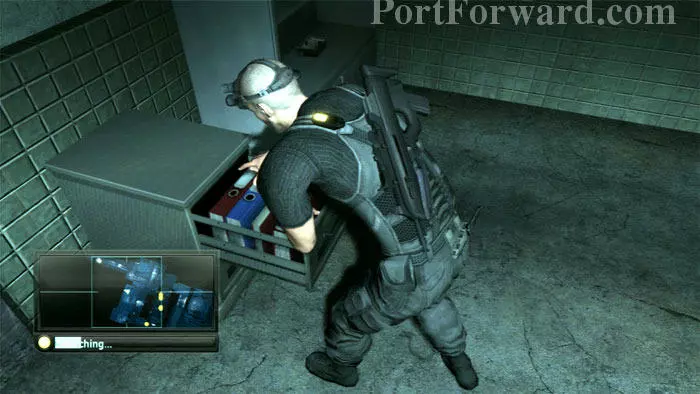
Search this cabinet for Jamie's professional bio.
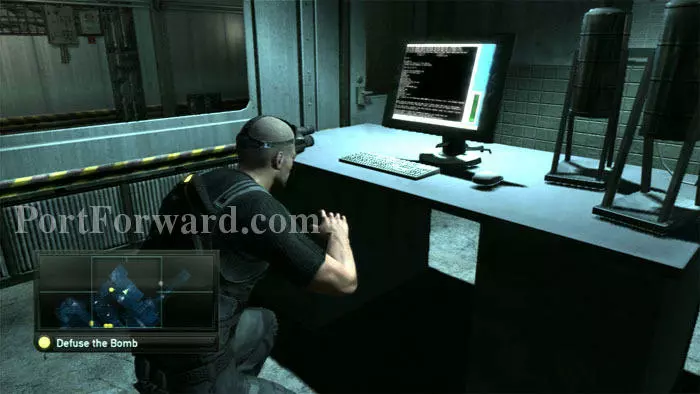
The main lab code, 2112, is revealed on this computer. Continue through the door on the left.
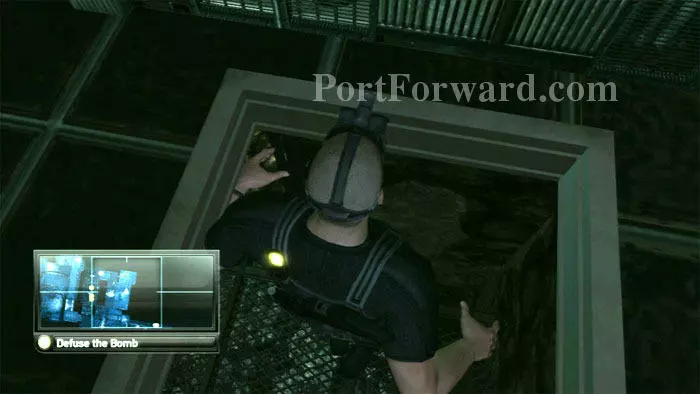
Drop through this trap.
Hop onto a crate and climb through this vent.
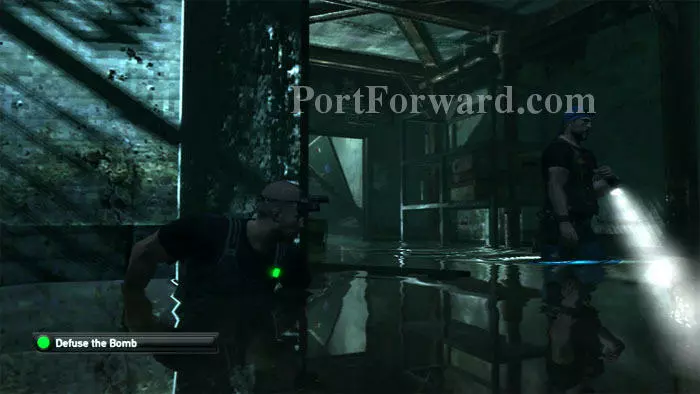
A very twitchy guard patrols the flooded area. Press your back against this wall then scurry through the doorway once he walks past.
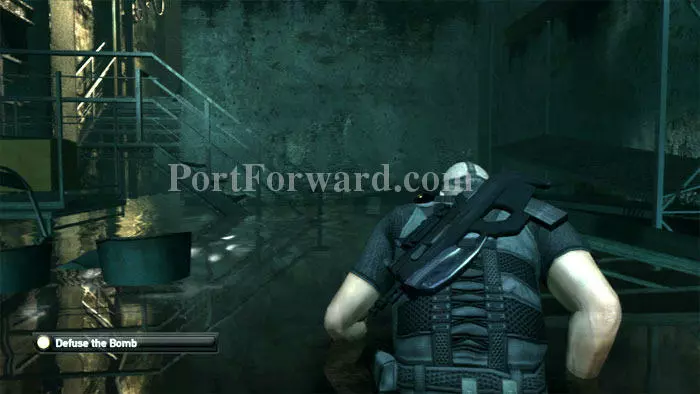
Turn left to climb these stairs, then exit though a door.
You can also reach this area by passing through these double doors to the left of the railing you saw earlier. This is very easily accomplished if you've already knocked out all the patrols. Either way, the door ahead is your destination.
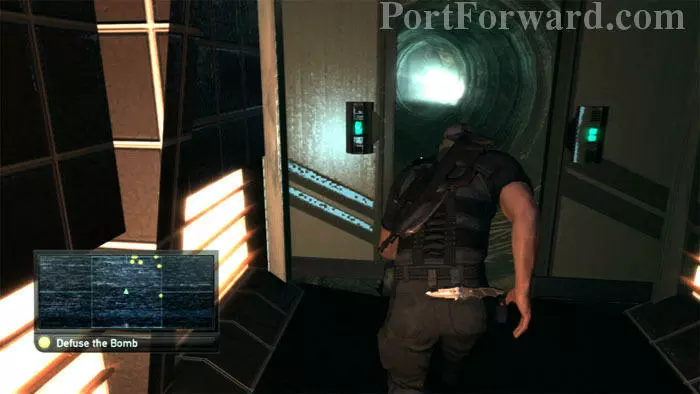
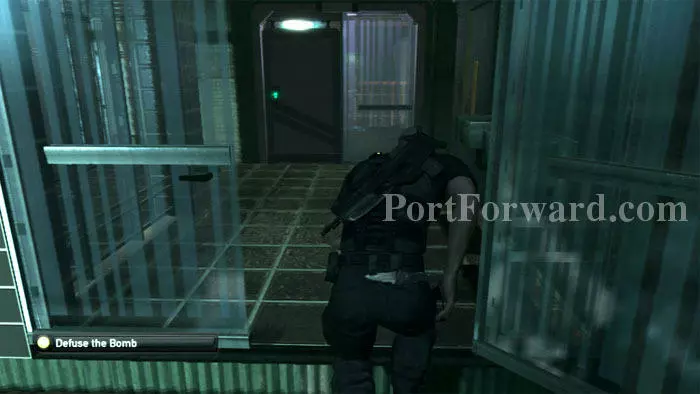
Slip through these double doors to the tunnel beyond.
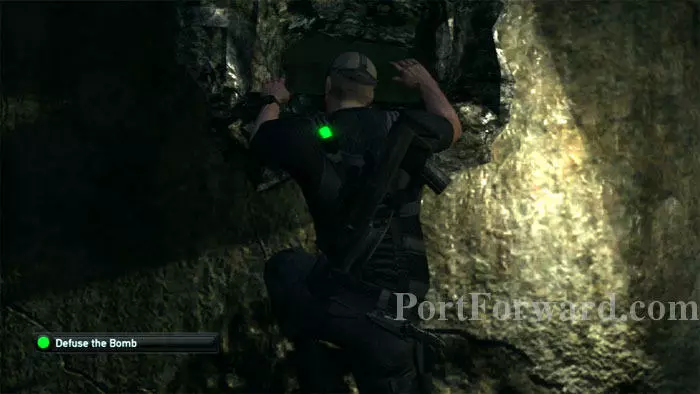
The tunnel leads to double doors and a checkpoint, followed by this cutscene. The ladder behind Emile is your destination.
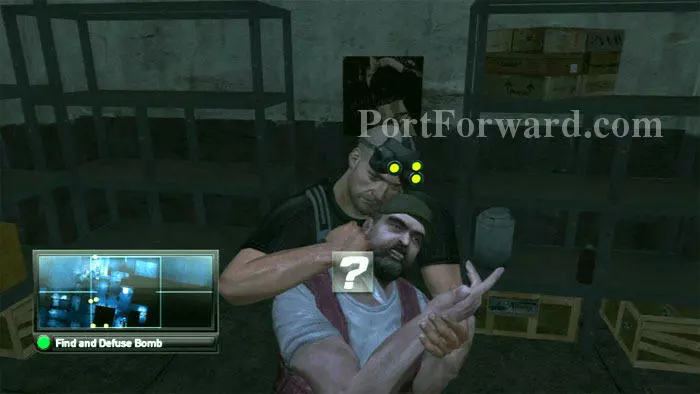
Wait atop the stairs until the guard is in this position. You can then easily grab him from behind before continuing through the door on the right.

Enter the main laboratory door, code 2112. Keep left to avoid the guards.
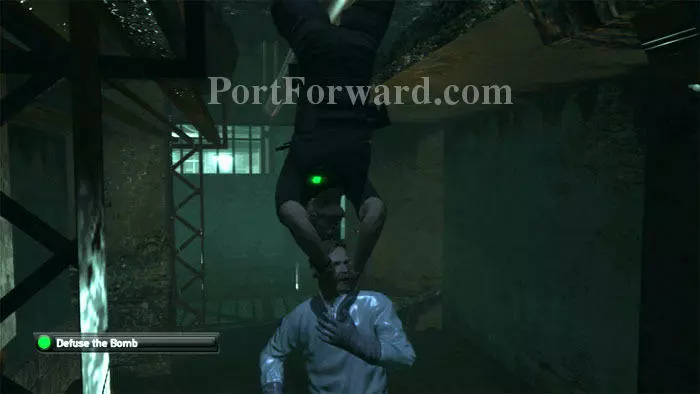
Make some noise to lure the guards away from the ladder. Climb it, then another.
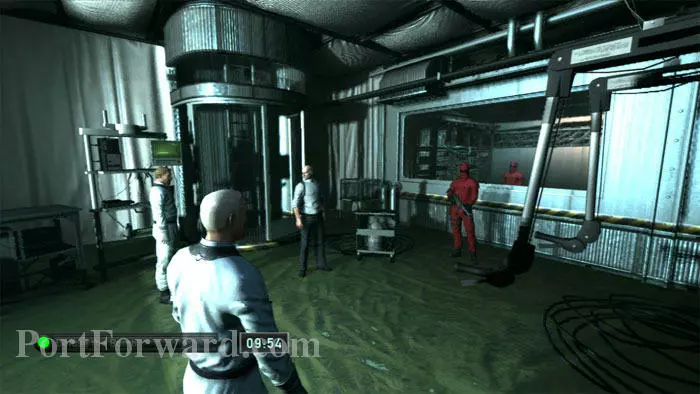
Emile is behind glass, arming the bomb.
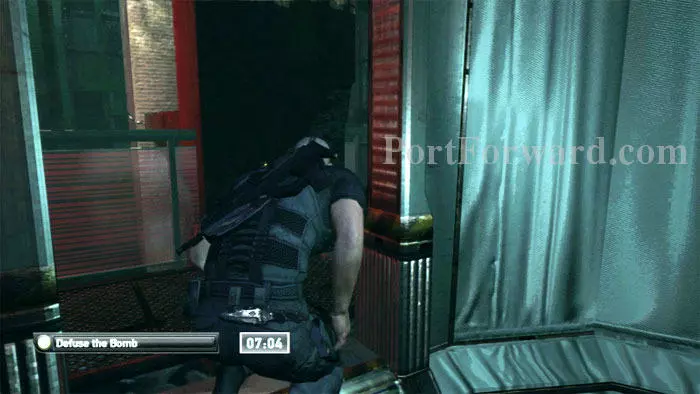
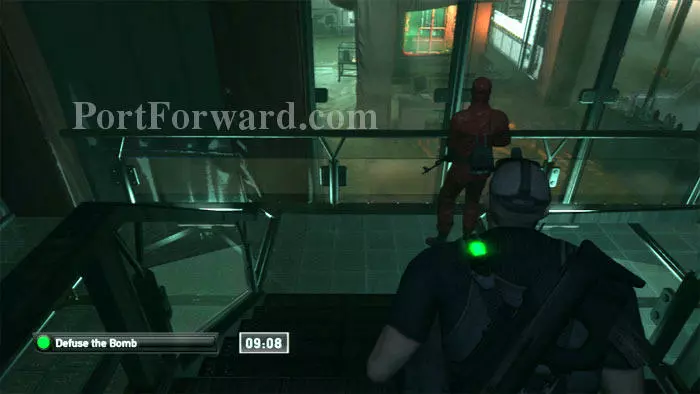
Slip out this doorway behind the ladder, then hop over a railing on the right.
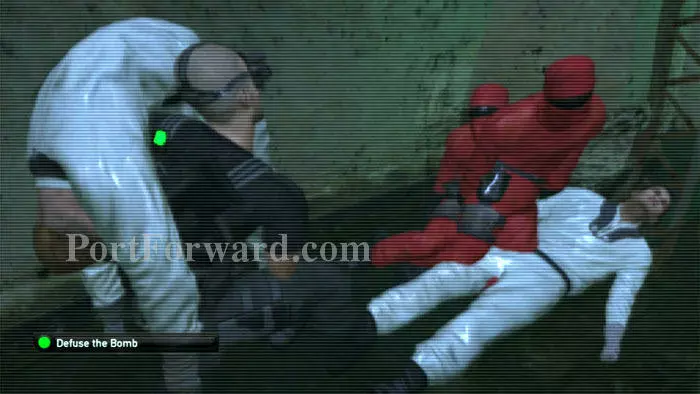
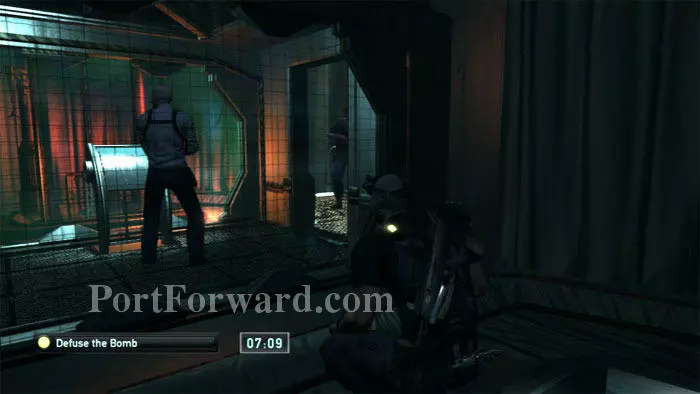
This dark area, coupled with your night vision, is perfect for grabbing the four guards Emile has brought with him.

Whistle and use your ultrasonic emitter to lure the guards and keep their backs to you.
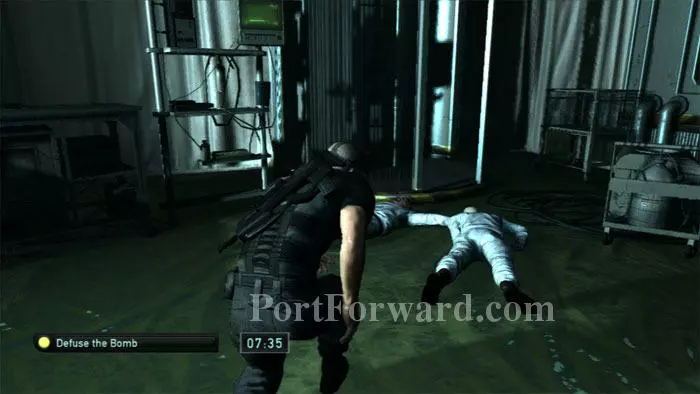
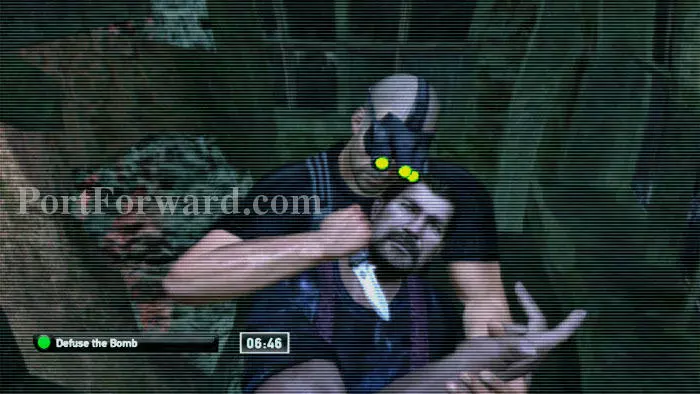
Once the four guards are out, quietly sneak into the room with the bomb - and Emile.
I found it possible to hug the left wall and grab Emile unsuspecting from behind. A brief scuffle ensues, with Sam the victor. You can snipe Emile or simply gun him down if you prefer.
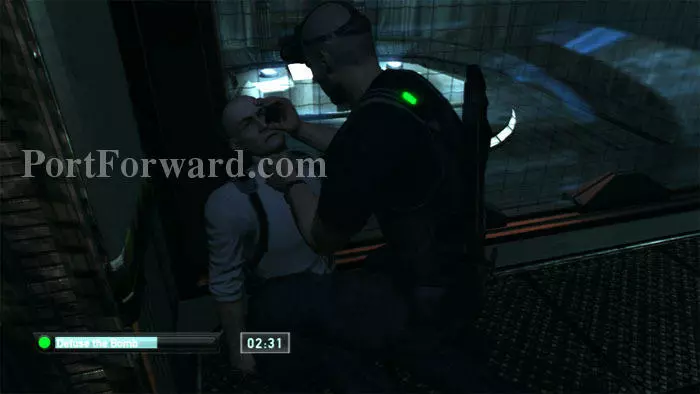
You can then scan Emile's retina to complete the profile objectives. Moss' retina may be scanned later on in the bonus mission.

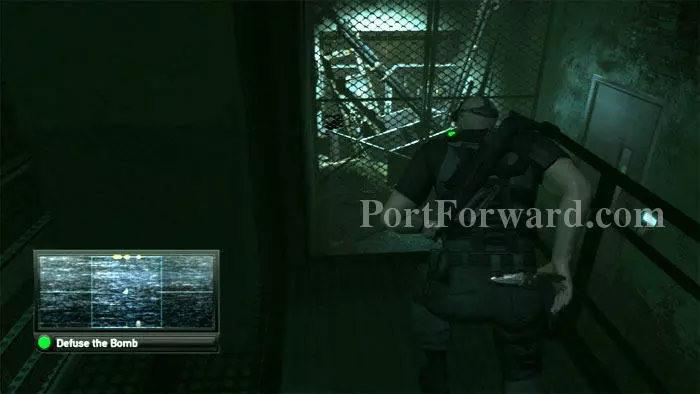
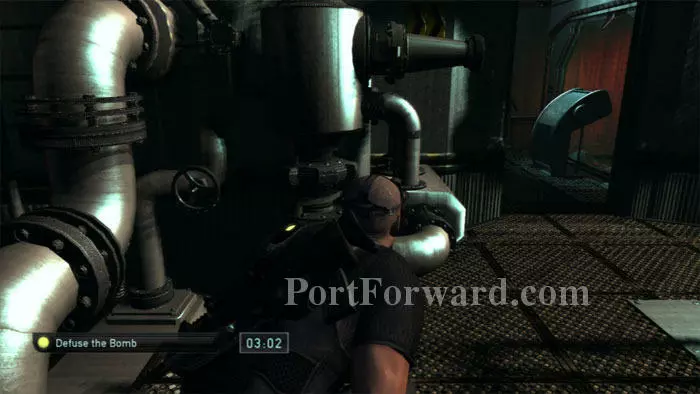
Stay crouched and keep quiet so as not to attract the guards below, or else they'll come up the ladder. Crack the safe, hack the computer, then remove the detonator on the bomb.
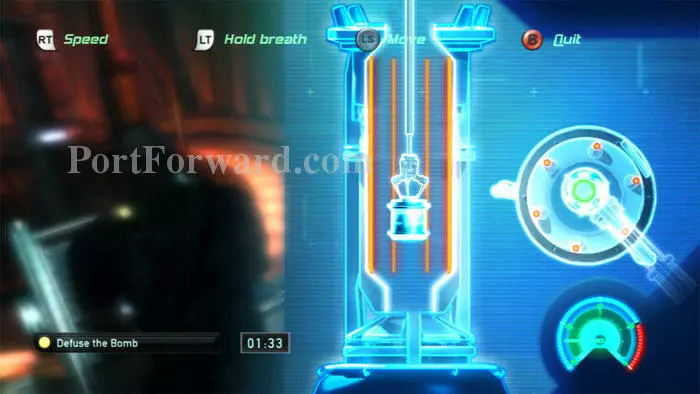
Removing the detonator is similar to placing the detonators in the mines, earlier. Focus on the target graphic on the right, keeping the circle green.
Once the bomb is defused, the ending plays. The good ending is played if you saved all three targets (Lambert, Hisham, the cruise ship) or if you saved any two of them and your NSA standing is above 33%. The so-so ending plays if your NSA trust is below 33% but you saved all three targets. This ending also plays if you failed to save two of the three targets but your NSA trust is above 33%. The bad ending plays if you failed to save all three targets, or if you failed to save any two targets and ended with NSA trust below 33%.
More Splinter Cell: Double Agent Walkthroughs
This Splinter Cell: Double Agent walkthrough is divided into 11 total pages.


