
This Splinter Cell: Double Agent walkthrough is divided into 11 total pages.
You can jump to nearby pages of the game using the links above.
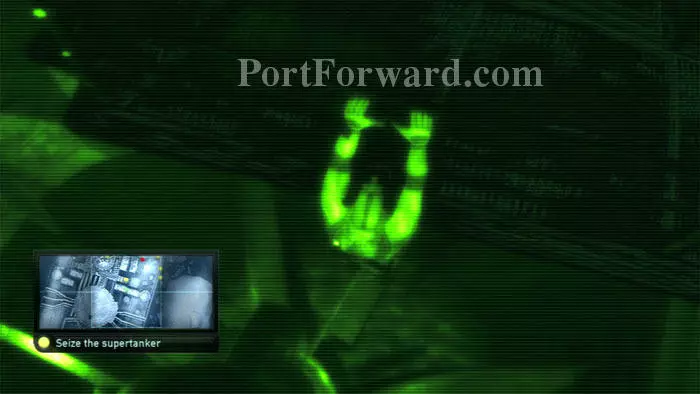
Sea of Okhotsk
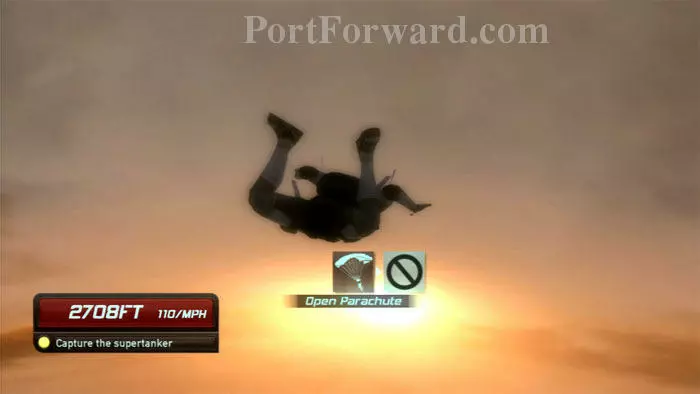
After your free fall you can press "A" to open your chute.
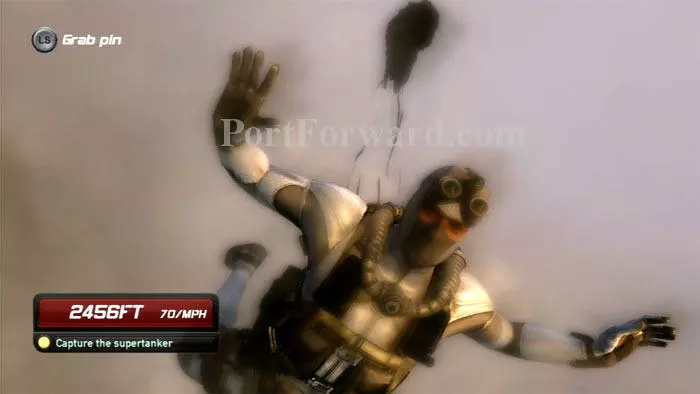
Surprise, surprise, the chute fails. Activate your backup chute by spinning the Left Stick until the icon to pull the pin appears. Press "A" to activate the backup chute.
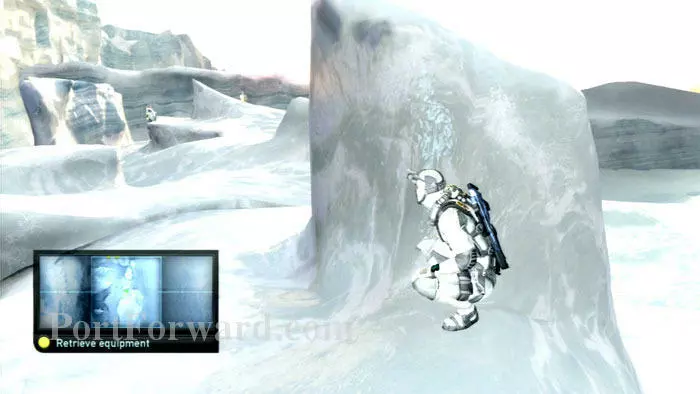
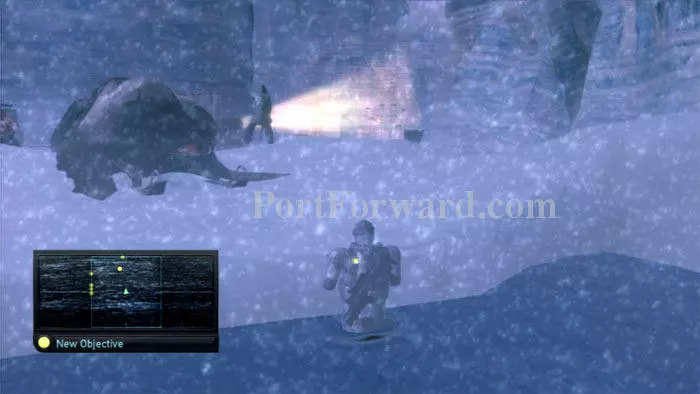
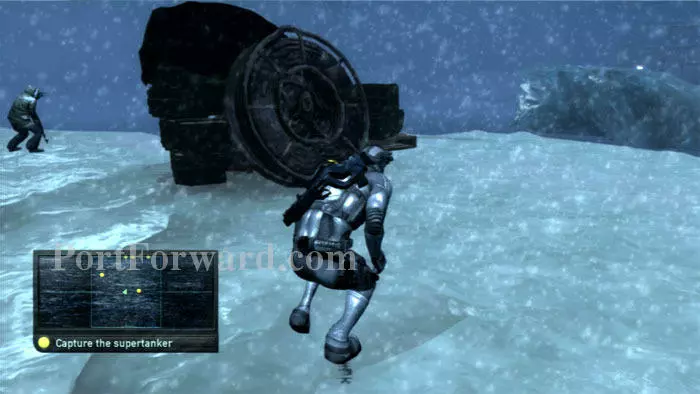
Your first objective is to retrieve your gear, currently guarded by a pair of patrols. I've run this scenario multiple times and have come up with a reliable approach. Hide behind this ice block until the patrols move left out of sight.
Quickly scurry around to this next ice block. Note the ledge on the right. Try to squeeze along the ledge while facing away from the water.
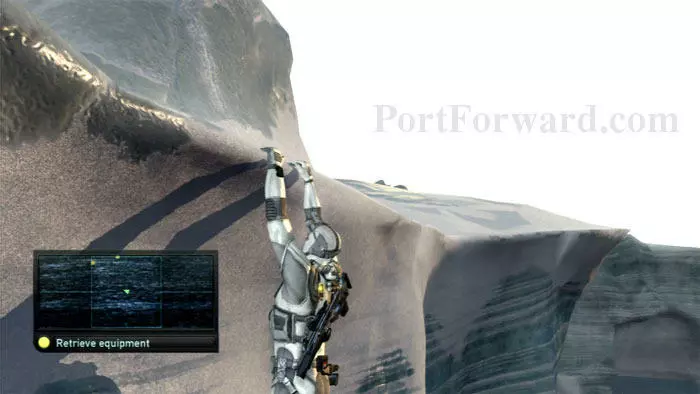
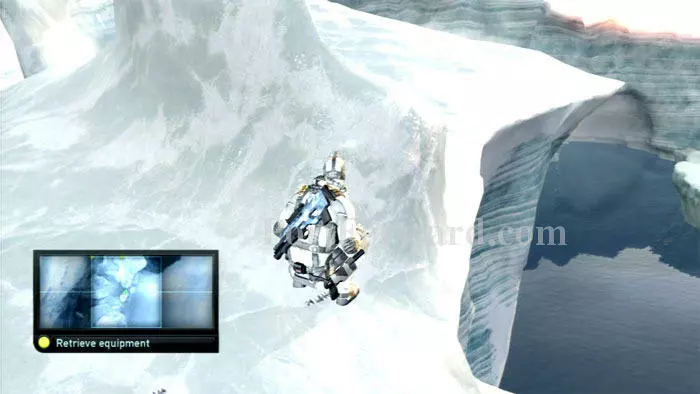
You should fall off the ledge, but then grab hold with your hands. Shimmy to the right.
When you can shimmy no farther, wait for both guards to be facing away from you. Pull yourself up onto the ledge. Be careful not to face the water or you will jump in.
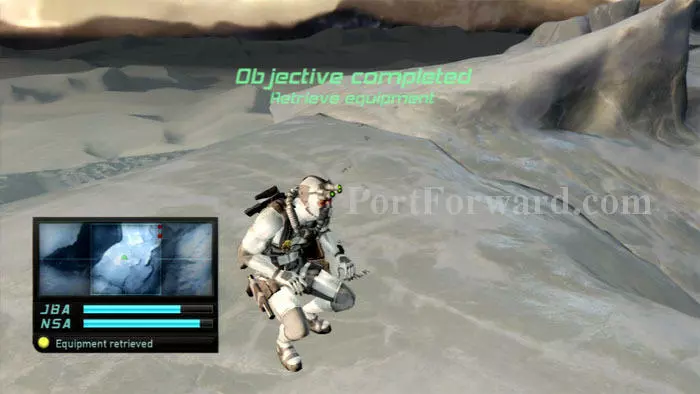
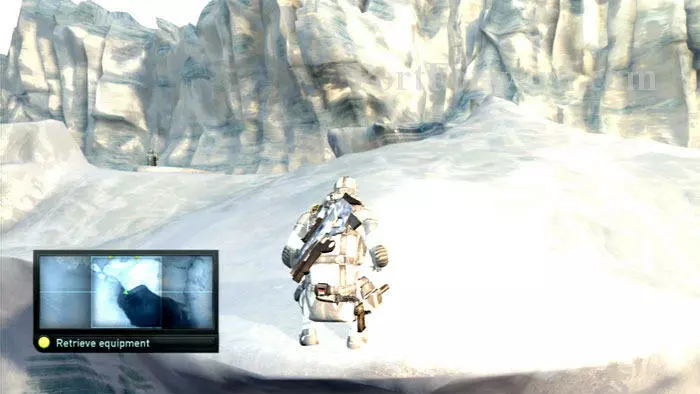
Your equipment will be a short distance to the right. Retrieve the sticky shockers and sticky cameras quickly to complete the objective.
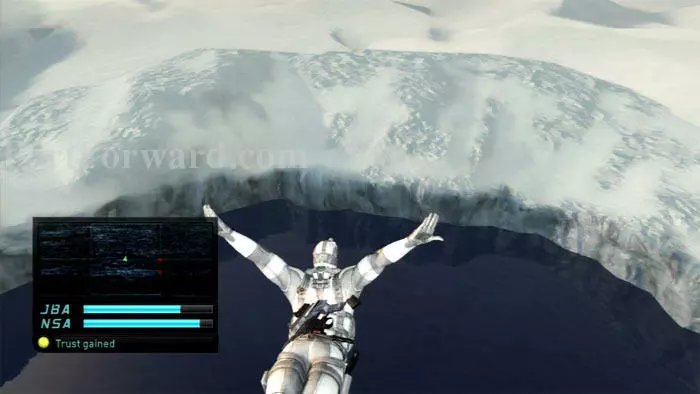
Run the short distance to the water's edge and dive in - with perfect form.
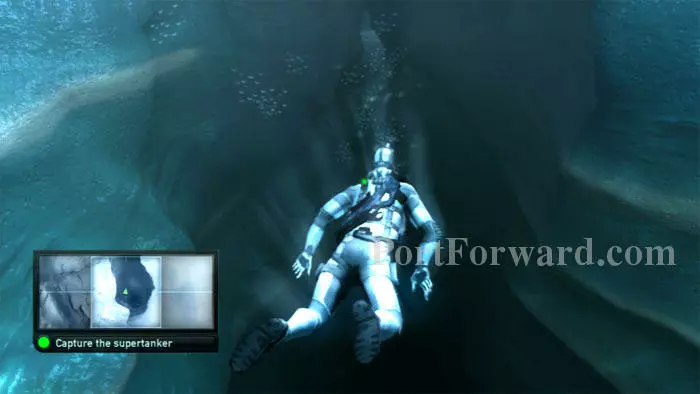
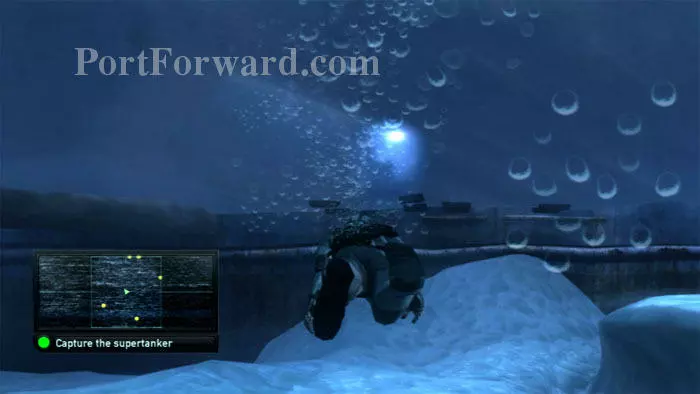
Swim left between the ice floes.
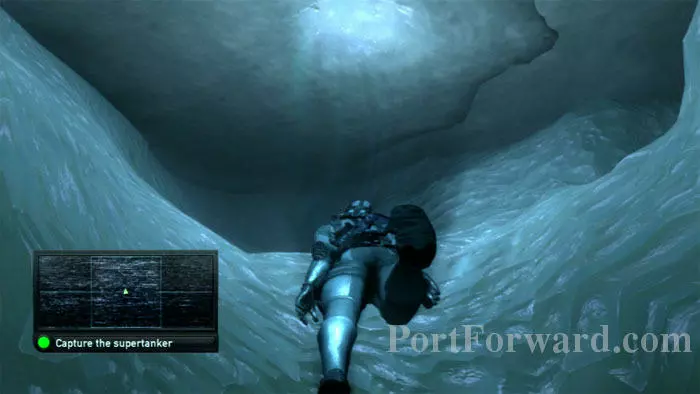
You'll reach an area with thin ice. You can pull a guard through and kill him - but that's a bit brutish.
Instead, I prefer to swim into this passage on the right.
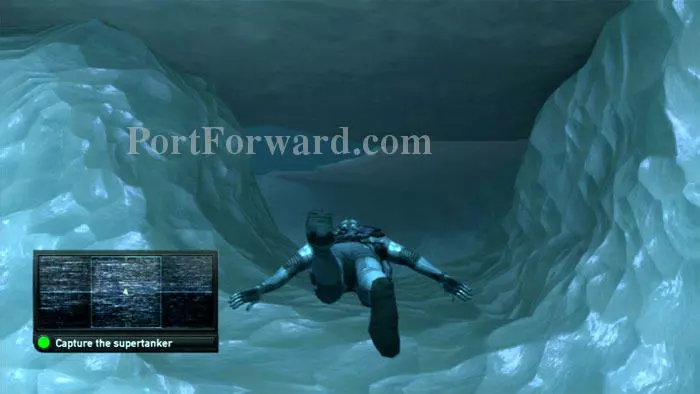
You'll swim past a checkpoint, but stay underwater. Keep swimming almost to the end of the ice shelf (note my position on the map, lower-left.) You will likely see a guard above the surface.
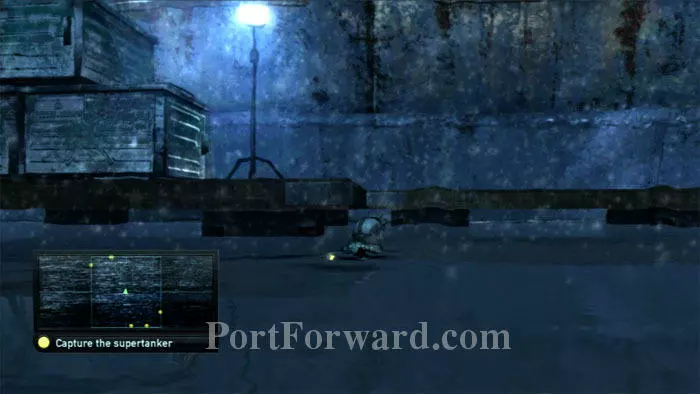
You'll be able to pull yourself up here in front of the snowmobiles, just make sure to wait for the guard to move on. The explosives are placed where the light is shining ahead.
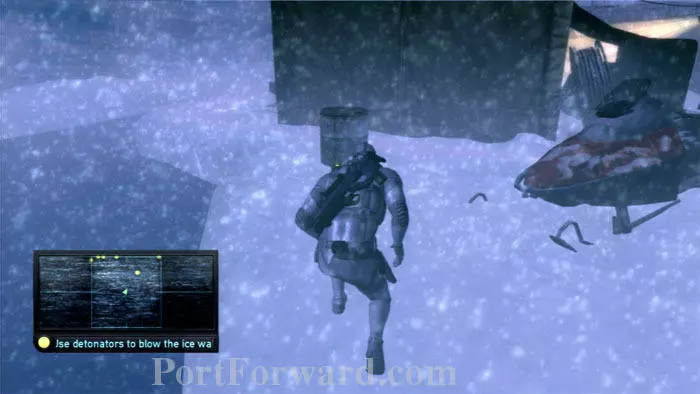
Head left, hugging the shore line. The fabric of the tent ahead can be cut for an optional pickup - 5.56mm ammo is on a table inside the tent.
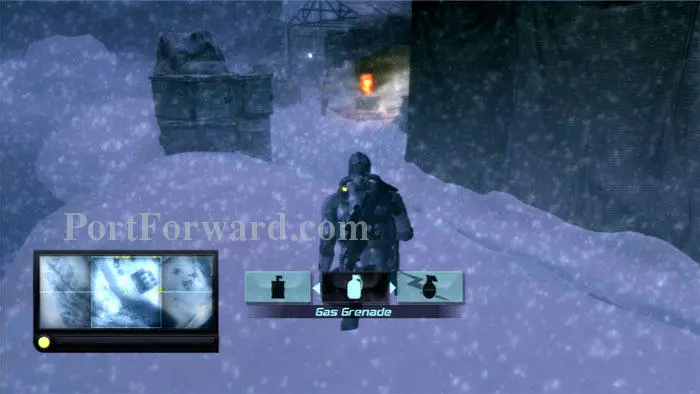
Keep left of the tent and equip a gas grenade. Toss it at the solitary guard warming himself at the fire. The detonator is to his right.
Once the guard is down, it should be a clear path to the detonator, identified by the green light.
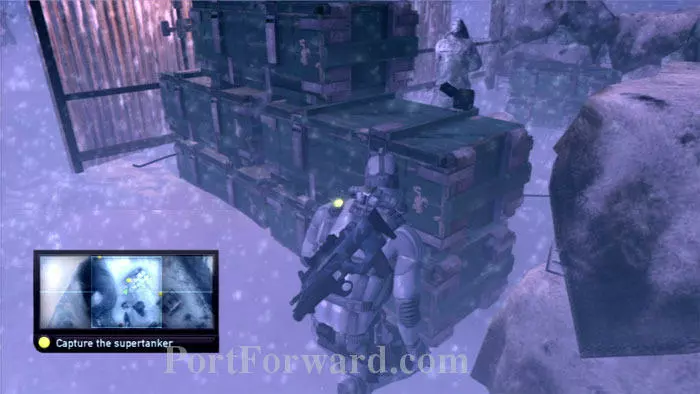
Turn left into this shack to find more 5.56mm ammo. I found it was relatively safe to climb onto the crates and simply grab it.
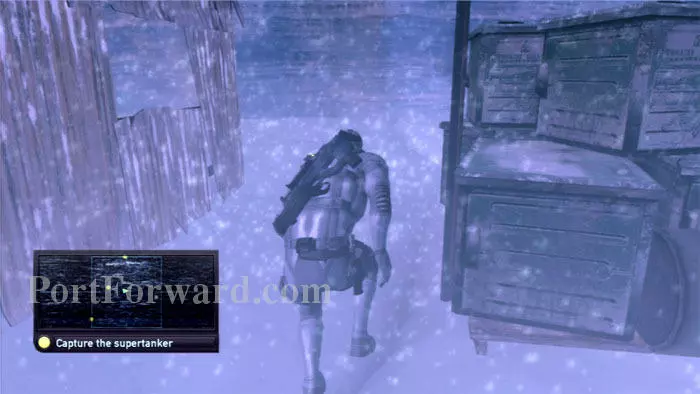
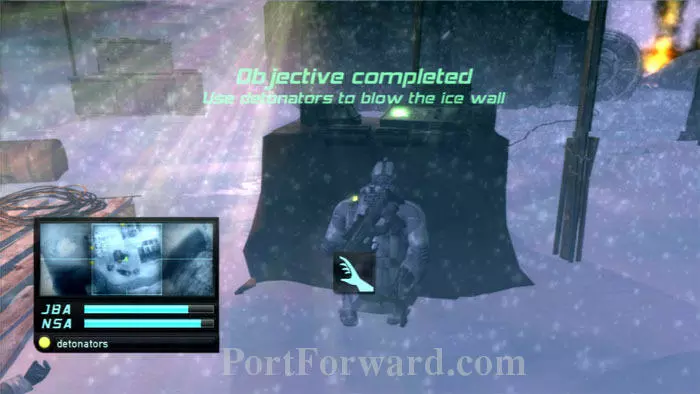
Continue around to the right of the shack, pressing on towards the area where the detonators were placed on the ice wall.
Jump into this newly-created crater and swim away to complete the objective of reaching the Rublev without any alerts.

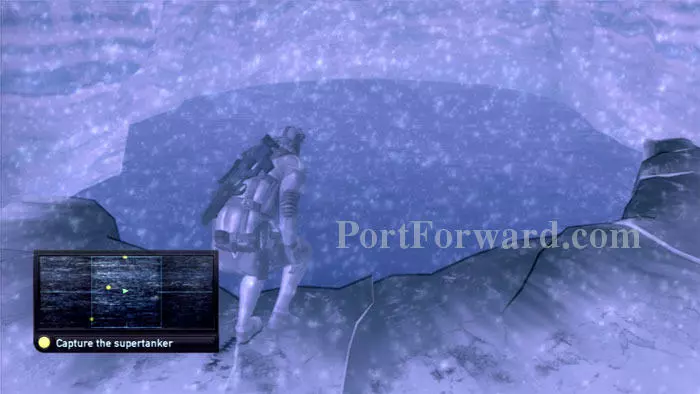
After the next area loads, look up to see that there are two weak spots in the ice. Go to the one on the right.
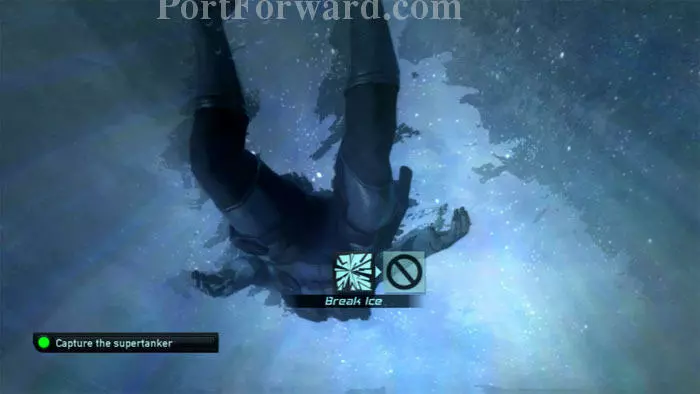
Break the ice, then immediately descend (press "B") to avoid detection by the guard who approaches.
Wait for the guard to walk away before surfacing. Scurry ahead and re-enter the water to the right of the equipment but to the left of the large floe ahead, blocking a zodiac.
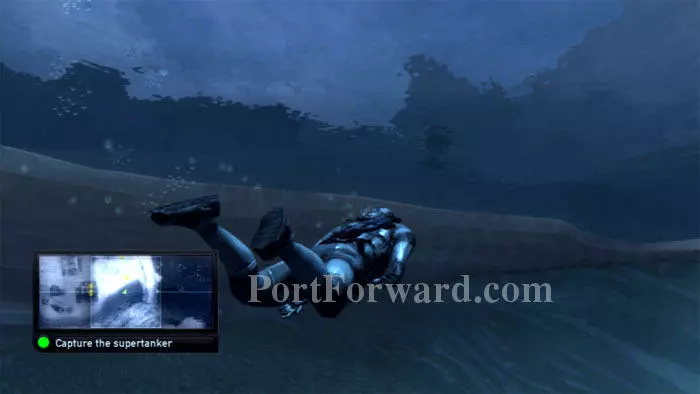
Swim towards the light. Stay submerged to avoid detection from the guard on the zodiac.
Surface once you get near the light, then climb onto the pier to reach the next checkpoint.
Use this winch to call another zodiac from above.
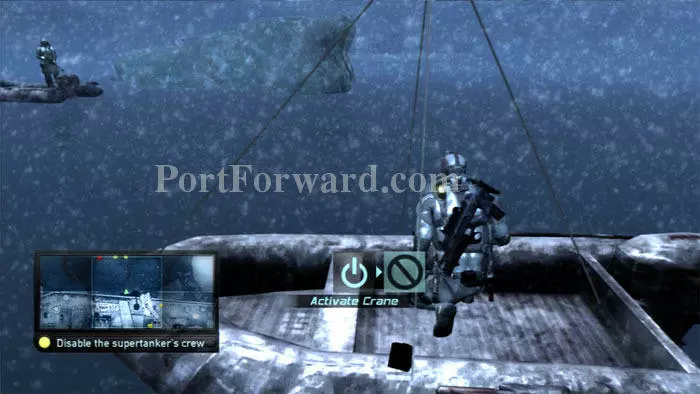
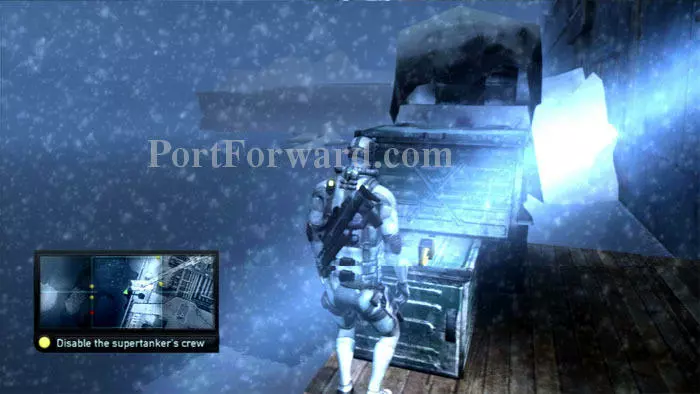
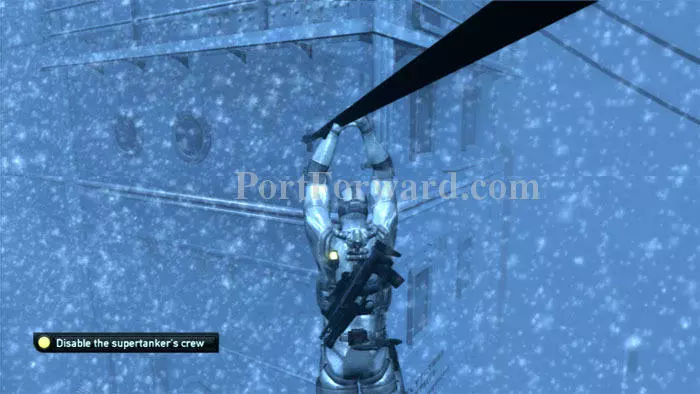
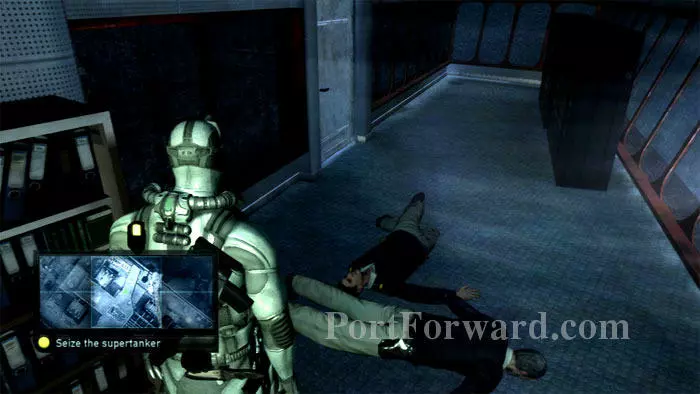
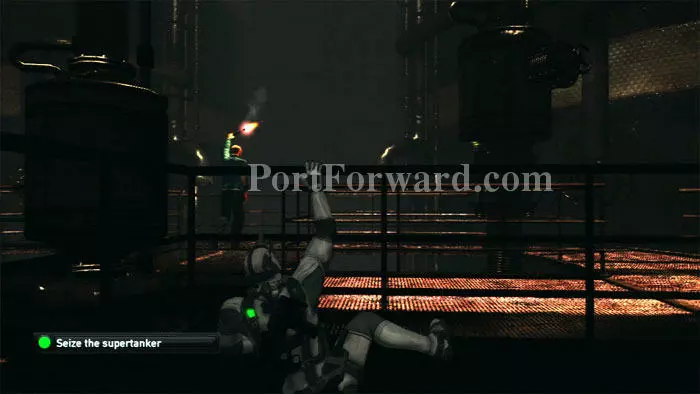
Enter the zodiac then activate the crane to hoist yourself onto the ship. You will receive word from the ship's soon-to-be owner that you must disable the ship's crew. This is your new objective.
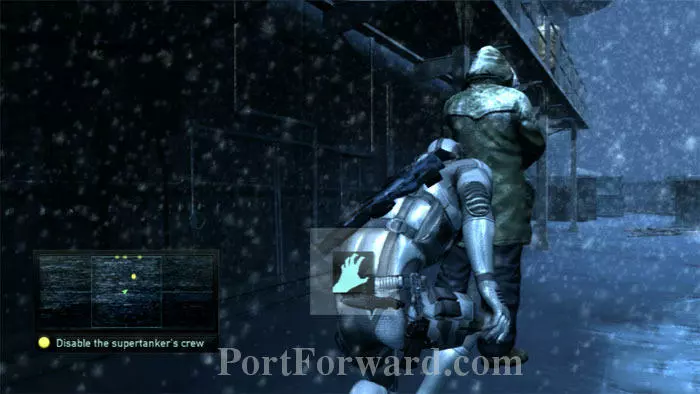
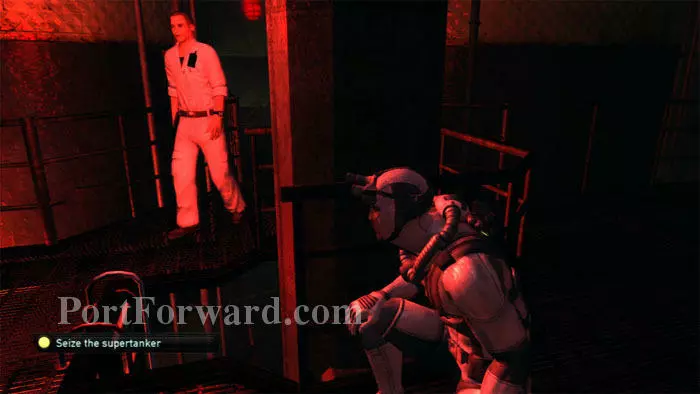
There are 16 crew members that you must subdue or kill. The first is right here, and is easy enough to sneak up on. You are required to take out all 16 crew members or the mission will not end. This is completely at odds with the play style of a stealth-action game.
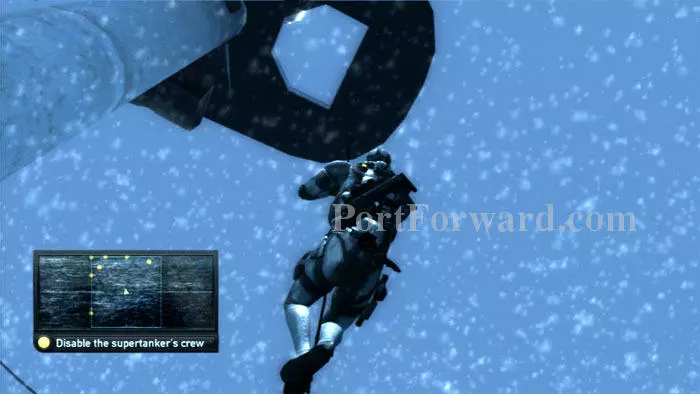
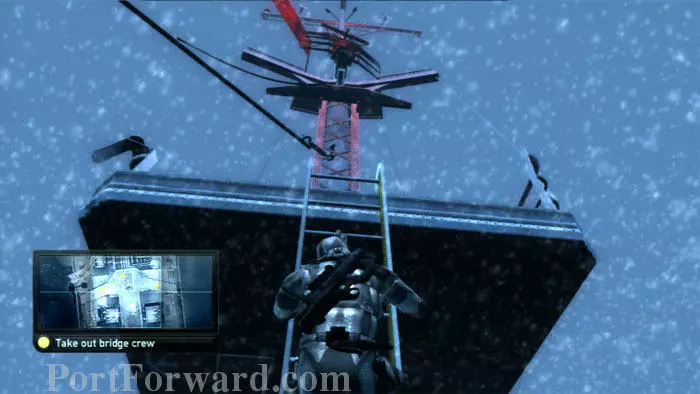
As such, I recommend going all-out and playing most of the level as a sniper. Begin by climbing this rope to the perch above.

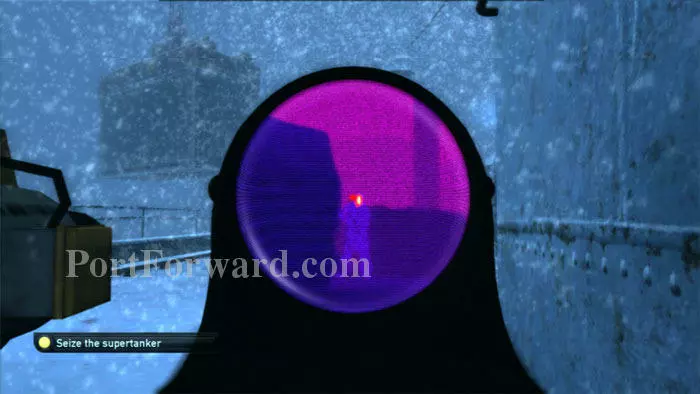
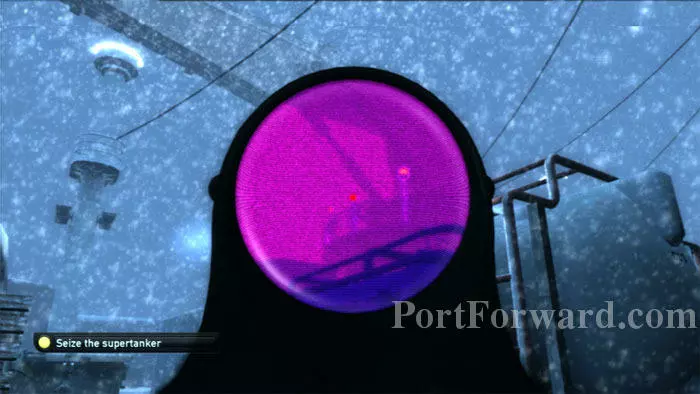
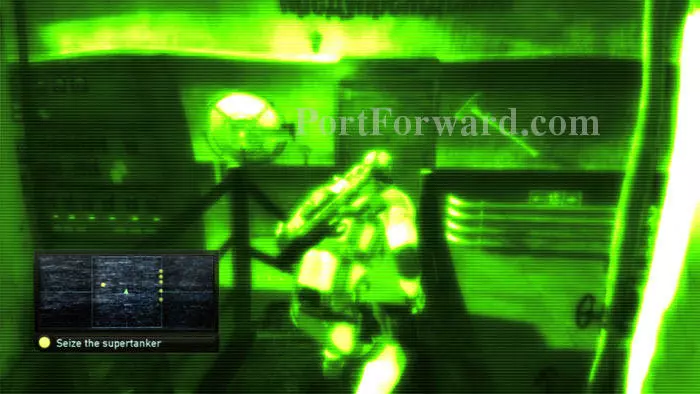
Use your left-bumper radar to identify targets, then pull up your SC-20K and press the right stick to activate the sniper scope. Press the D-Pad to the right to activate heat vision. Press the left trigger to hold your breath and steady the site. Right trigger does the deed.
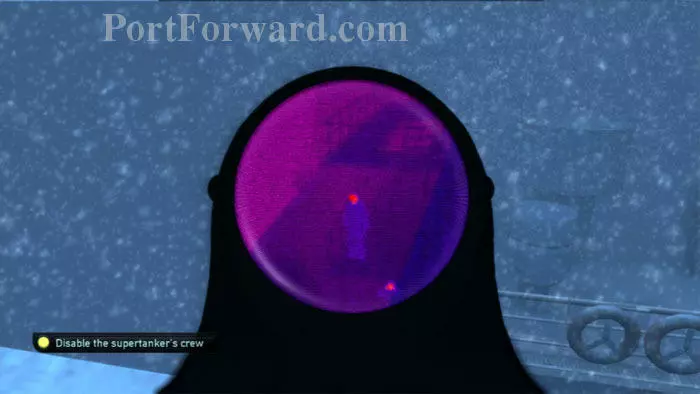
Head shots are one-shot kills and don't attract attention. Crew members 2-5 can be safely taken out from this perch. The side of the ship with your zodiac should now be clear.
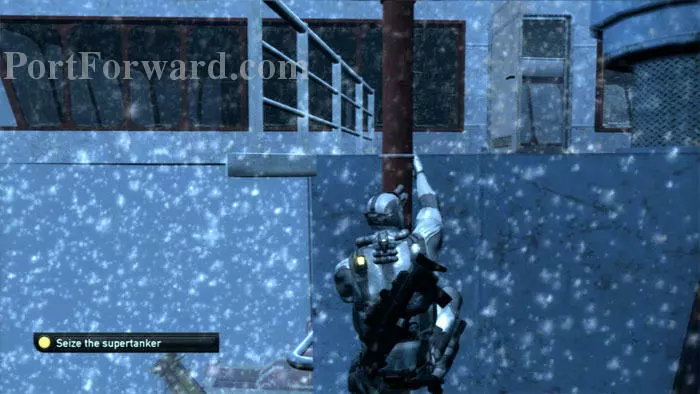
Ride this zip line across the deck.
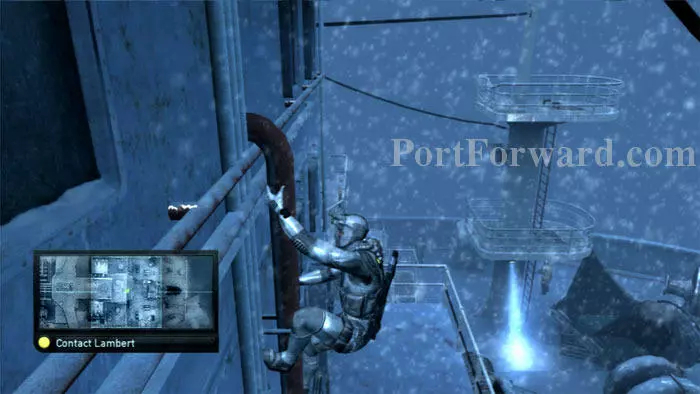
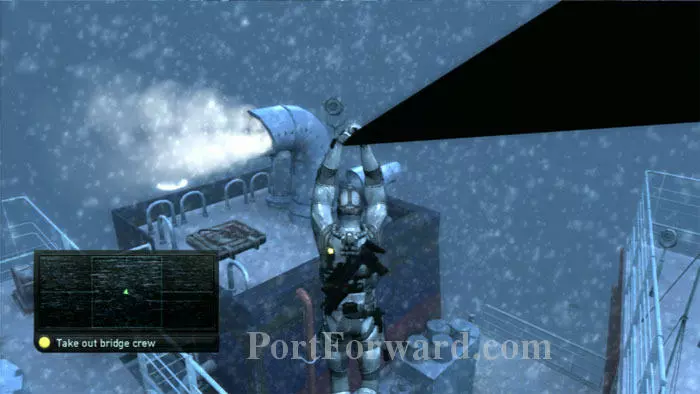
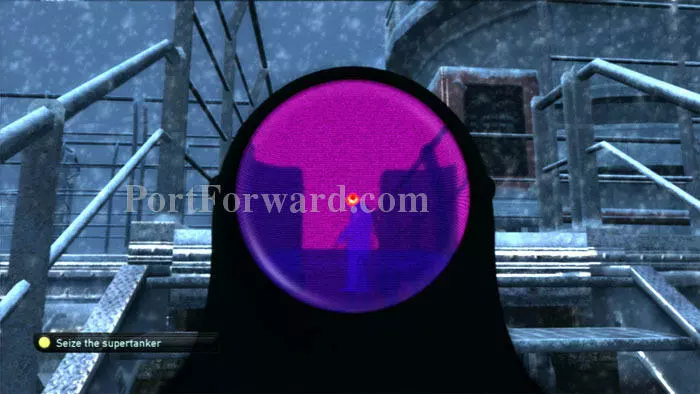
Shimmy right then descend this pipe. You will receive a new secondary objective to disrupt the ship's communications. Crew members 6 and 7 can just be seen below near the tower.
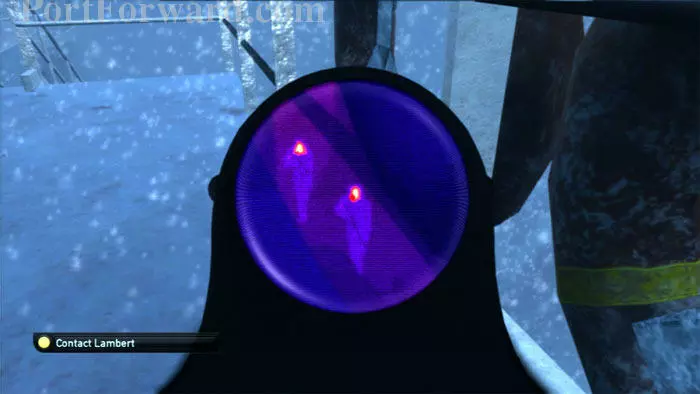
Here they are in my scope. After they're down, you'll receive word of only 9 more left.
Drop to the deck then climb the ladder to this second perch.
From here, you should be able to spy crewman number 8.
Note that to your left will be a life boat that can be dislodged, killing two crew members if you arrive especially early in the mission.
Ride this zip line then climb the pipe on the right. You receive a new objective that the bridge crew must be disabled.
Crewman 9 can be grabbed here.
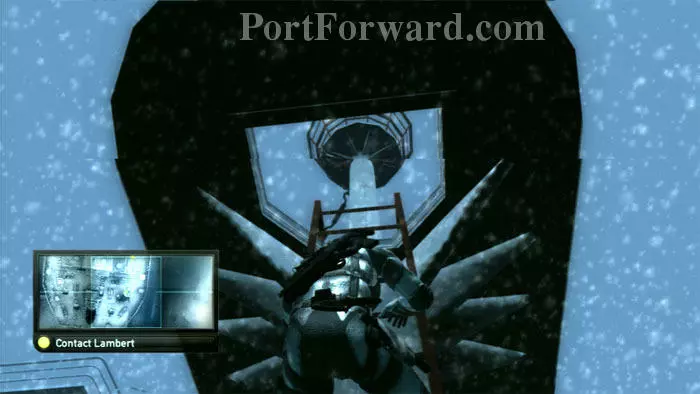
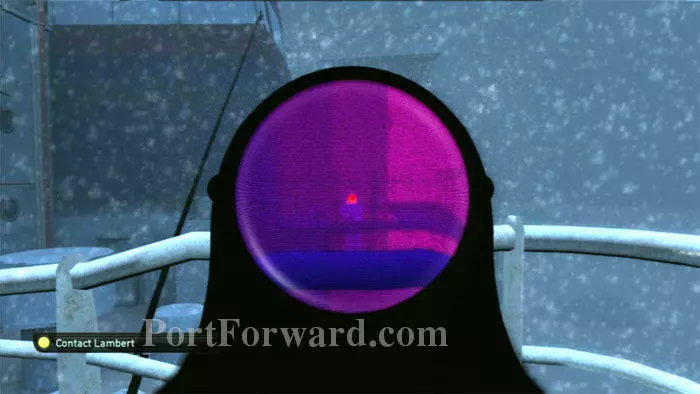
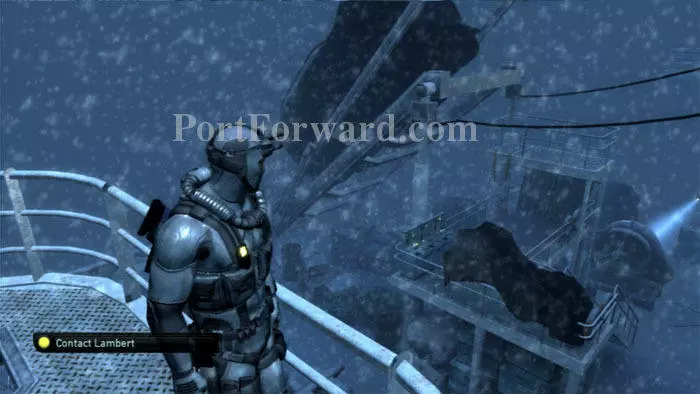
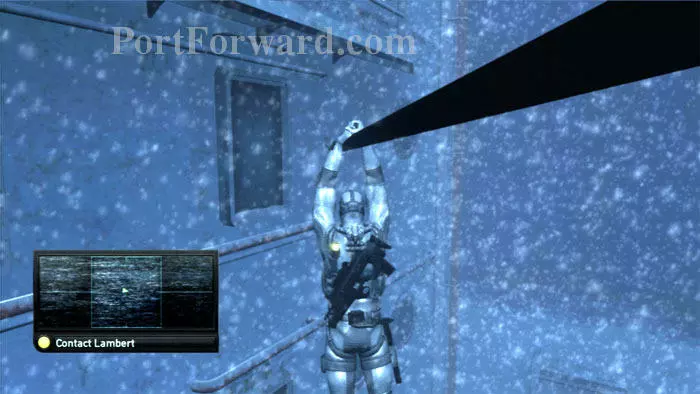
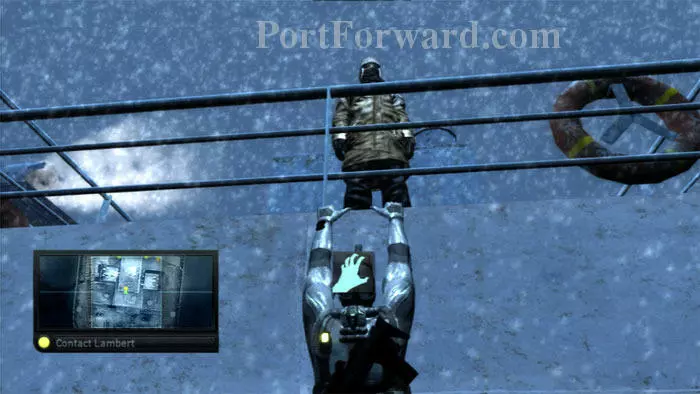
Climb over the railing then ascend the communications tower.

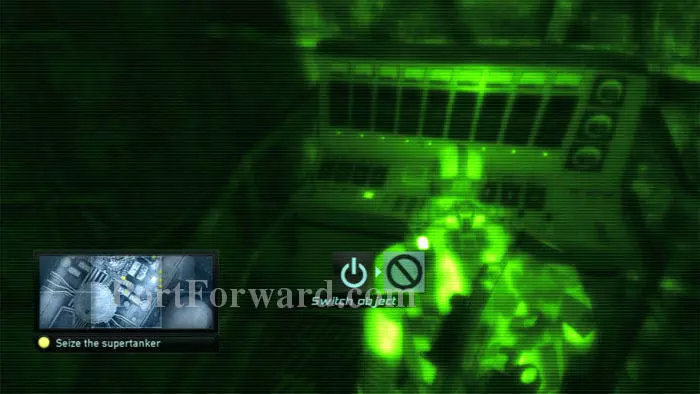
Pick the lock and use the computer to complete two objectives: Contact Lambert and Disable Communications.
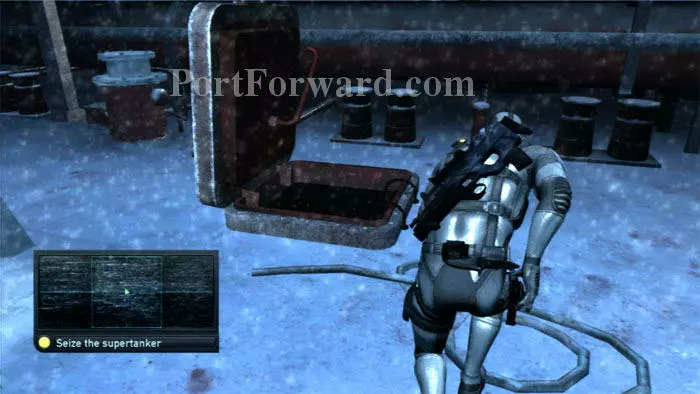
Ride the zip line over to the smoke stacks. Open the trap door and descend the rope.
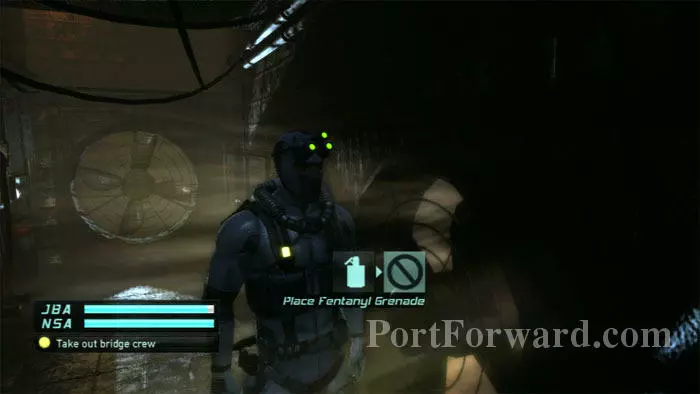
Place the Fentanyl grenade in one of these vents. Note that you won't get notification that the bridge crew objective is complete until you climb the rope back up to the deck.
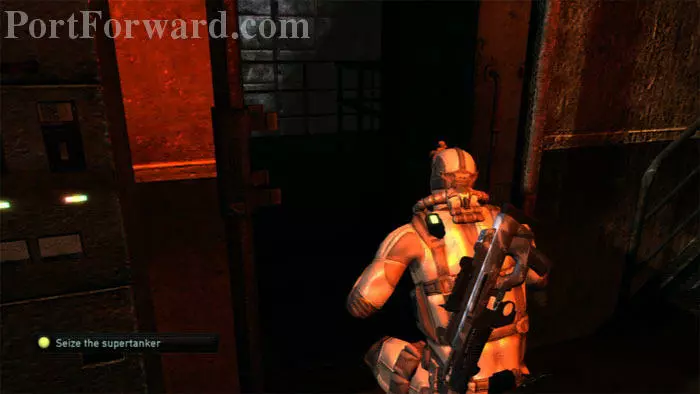
Descend two ladders to find the bridge directly across from the smoke stacks. Enter the bridge door on the left.
Find the bridge crew (crewmen 10-12) incapacitated (killed?) by the gas. Continue through the door ahead/left.
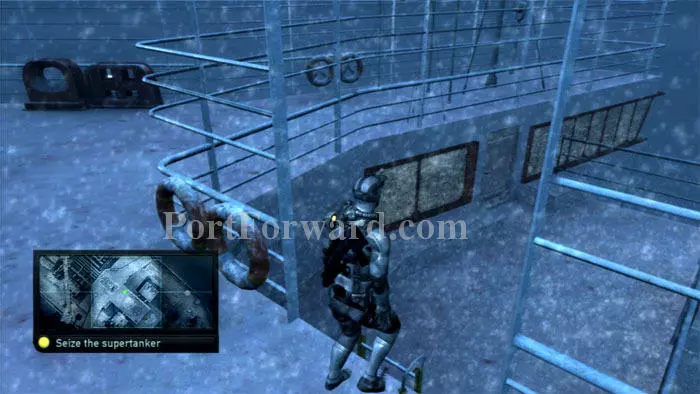
Climb down this pipe while a crane moves a shipping crate. A new section of the ship is now accessible.
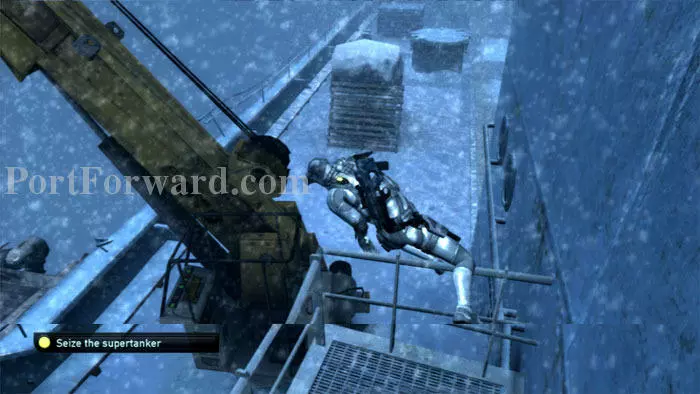
Hop over the railings to descend to the deck. Note your zodiac on the left.
Crewman 13 is patrolling the shipping crates.
Crewman 14 is on the turret above/right. Head into the nearby shipping crate for 5.56mm ammo.
Use caution ascending these stairs; crewman 15 patrols ahead.
Straight ahead and down another flight of stairs you'll find this trap on the right.
Descend the ladder then find the door on the left.
Turn left, make the first right, then find this ladder. Before descending, take out the solitary patrol on these catwalks, number 16. He is your last crewmen that you must eliminate
Descend these stairs then pass through the door ahead, and then another.
Keep right then pass through this door, just to the left of a set of stairs. The captain asks if you are ready to die.
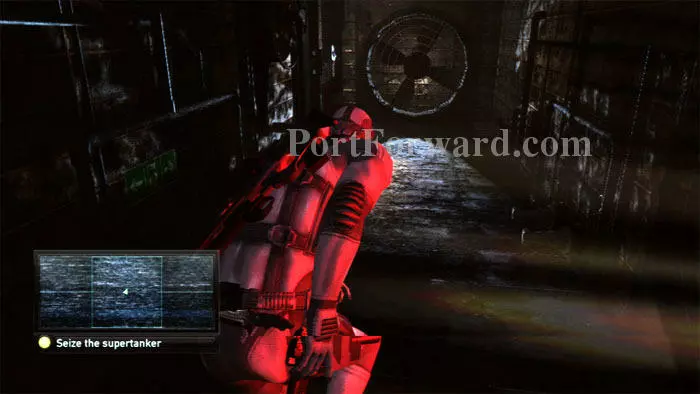
Disable the large fan at this console.
Hop over the railing and land on one of the now-stopped fan blades. Slip into the fuel below.
Swim through this tunnel.
Climb onto the circular platform and then climb over this railing while the captain is facing away. If he sees you he'll drop the flare into the fuel and explode the ship. Grab him from behind to complete the objective.
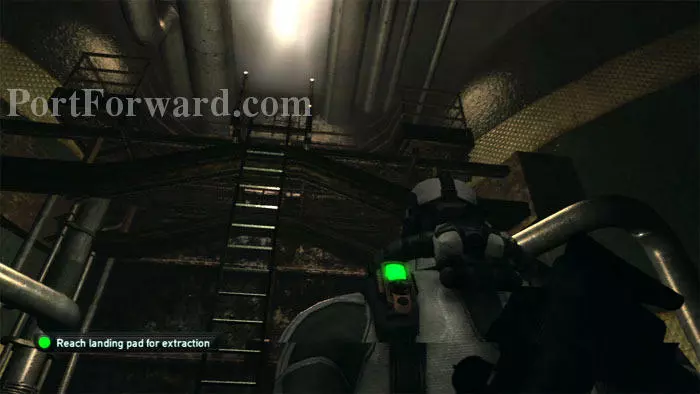
Climb the nearby ladder and open the ceiling hatch to reach the helipad and end the misson.
More Splinter Cell: Double Agent Walkthroughs
This Splinter Cell: Double Agent walkthrough is divided into 11 total pages.


