Splinter Cell: Double Agent Walkthrough JBA HQ 3

September 12, 2016 (Last Updated: ) | Reading Time: 6 minutes

This Splinter Cell: Double Agent walkthrough is divided into 11 total pages.

You can jump to nearby pages of the game using the links above.

JBA HQ 3

Splinter Cell: Double Agent Walkthrough - Splinter Cell-Double-Agent 353

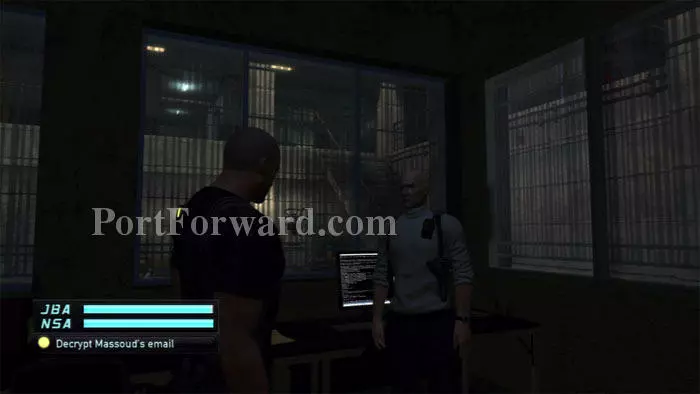
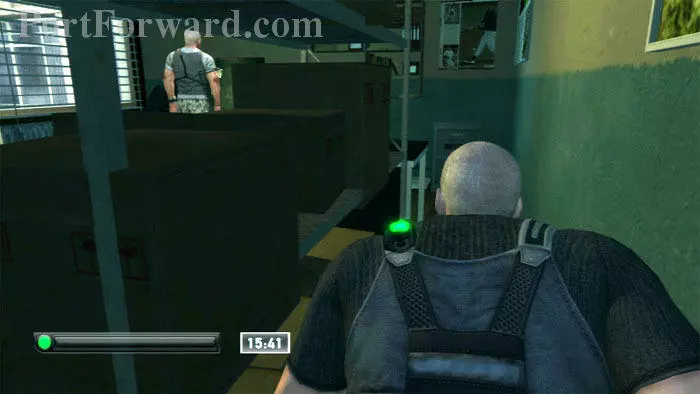
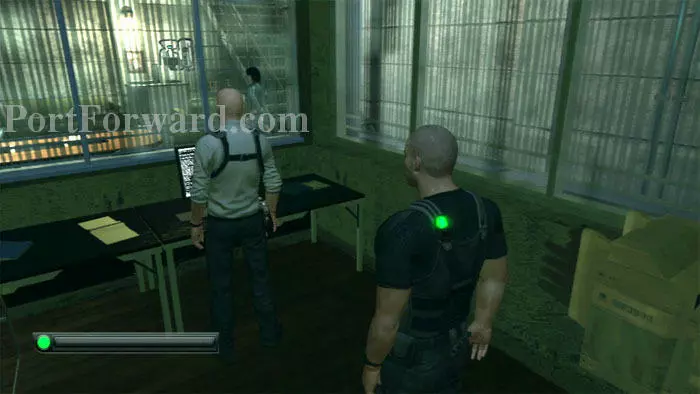
After the phone call, follow Emile to this computer. He has an email he wants you to decrypt.

Splinter Cell: Double Agent Walkthrough - Splinter Cell-Double-Agent 354

Imagine the cube flattened into an array. To solve the puzzle, you cannot repeat a number in a row or column. Above is one possible solution.

Splinter Cell: Double Agent Walkthrough - Splinter Cell-Double-Agent 355

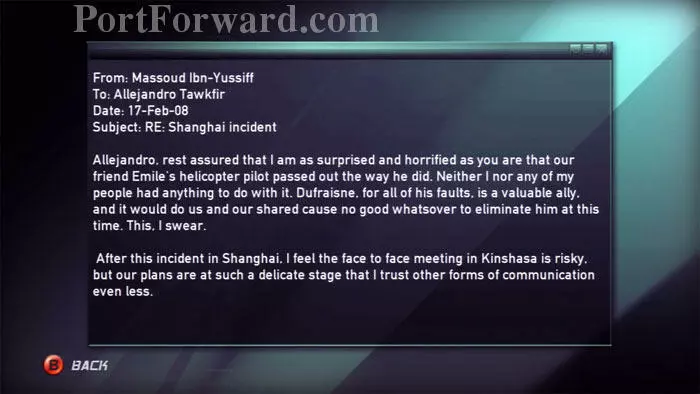
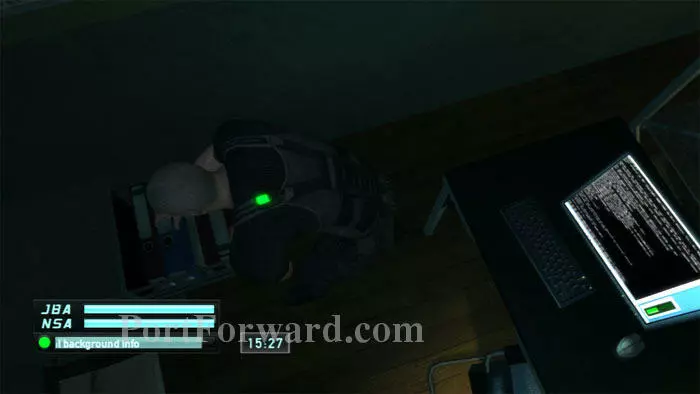
And here's the decrypted email. Massoud is safe. Other background emails are also available.

Splinter Cell: Double Agent Walkthrough - Splinter Cell-Double-Agent 356

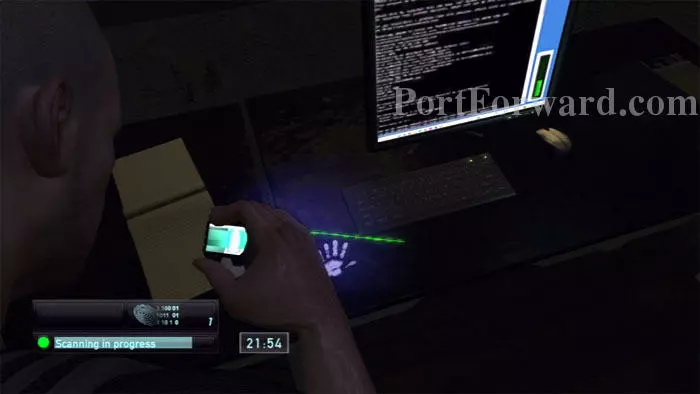
Before leaving, use your fingerprint scanner to obtain Emile's prints from the desk.

Splinter Cell: Double Agent Walkthrough - Splinter Cell-Double-Agent 357

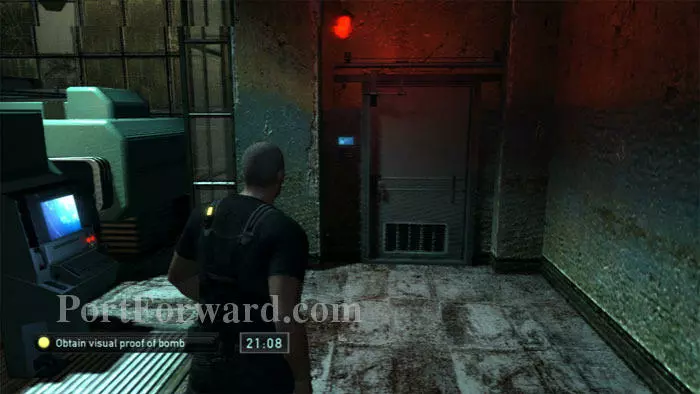
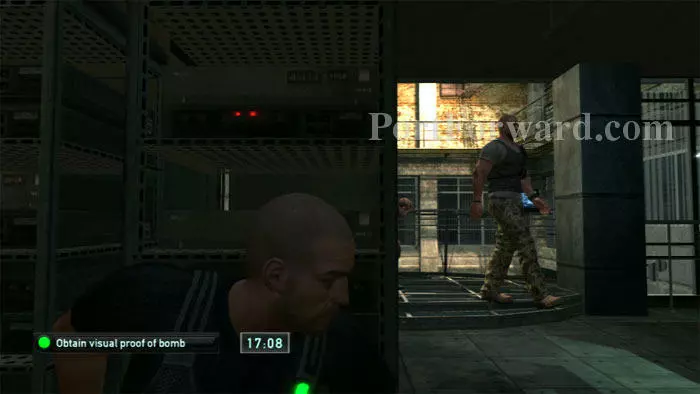
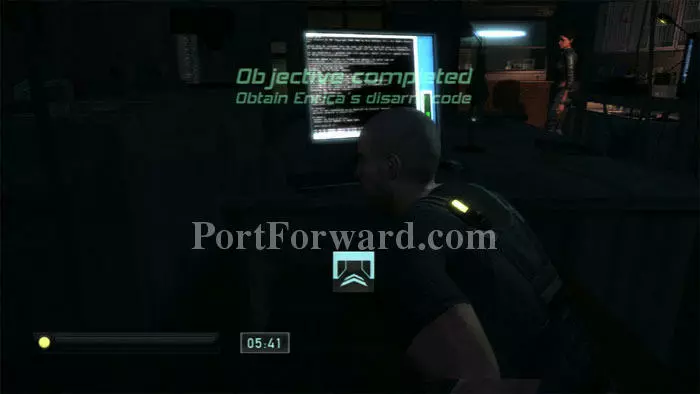
Two of your three primary objectives are already complete. The third, Obtain Visual Proof of Bomb, is completed in the restricted area. Return to the mine assembly area, then use the voice lock to access the door ahead.

Splinter Cell: Double Agent Walkthrough - Splinter Cell-Double-Agent 358

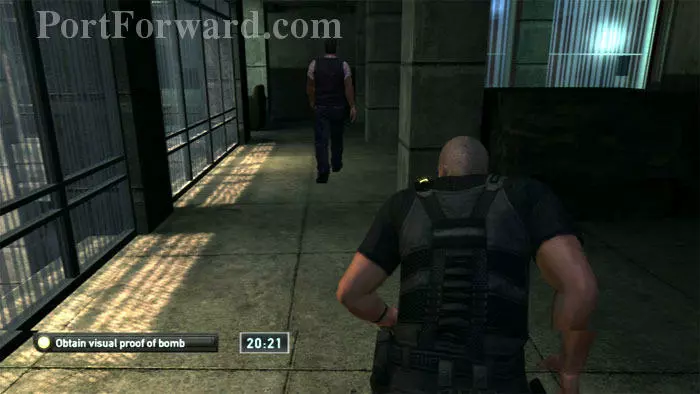
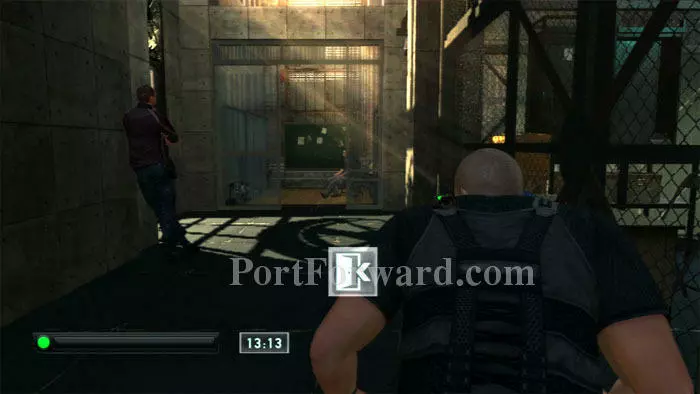
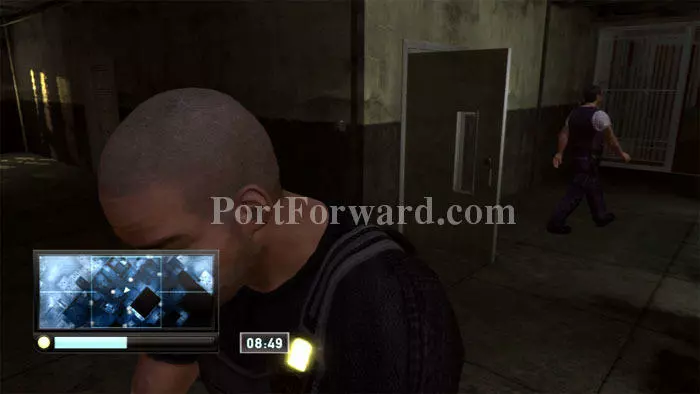
As before, ascend the stairs, take the door on the right, then another door to reach the living quarters. Shadow this guard down the corridor, then turn right into the billiards room.

Splinter Cell: Double Agent Walkthrough - Splinter Cell-Double-Agent 359

The lights in this area are already out, making it easy to get past the guards unnoticed.

Splinter Cell: Double Agent Walkthrough - Splinter Cell-Double-Agent 360

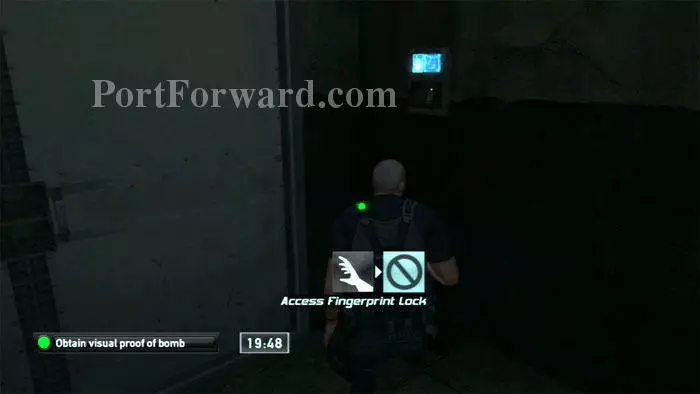
Emile's fingerprint will get you through this secure door. We're heading for the surveillance monitors.

Splinter Cell: Double Agent Walkthrough - Splinter Cell-Double-Agent 361

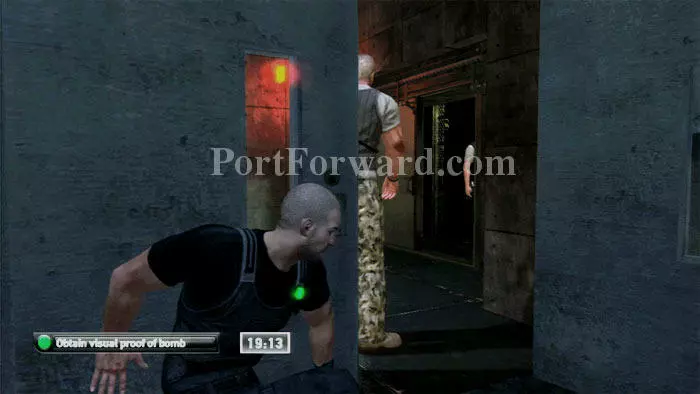
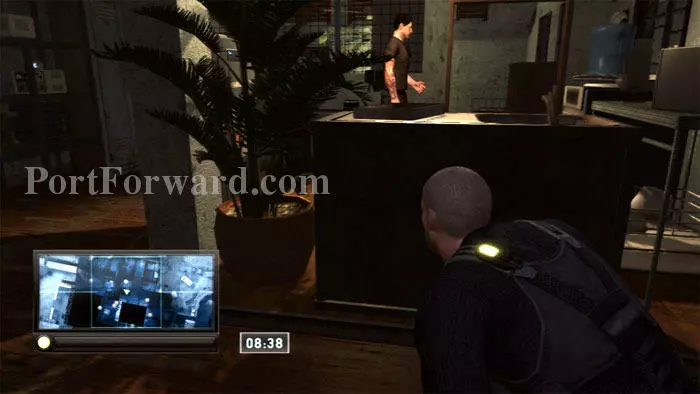
Wait here for Moss and Jamie to finish arguing.

Splinter Cell: Double Agent Walkthrough - Splinter Cell-Double-Agent 362

Quietly follow Moss down the corridor. That's his quarters on the right -- ignore it for now.

Splinter Cell: Double Agent Walkthrough - Splinter Cell-Double-Agent 363

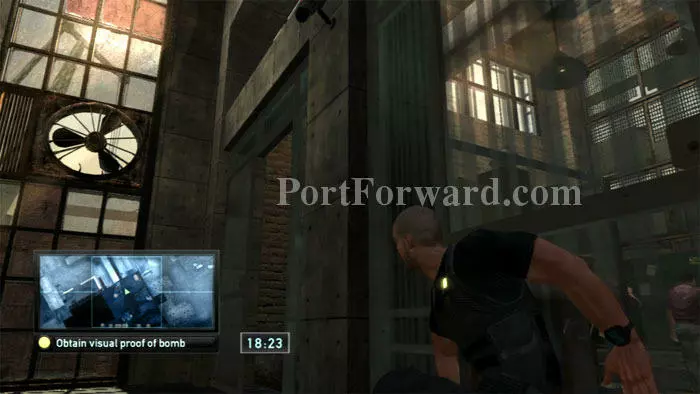
Hug the wall to safely slip beneath this camera. Alternately, sneak through the armory across the hall to bypass the camera's view.

Splinter Cell: Double Agent Walkthrough - Splinter Cell-Double-Agent 364

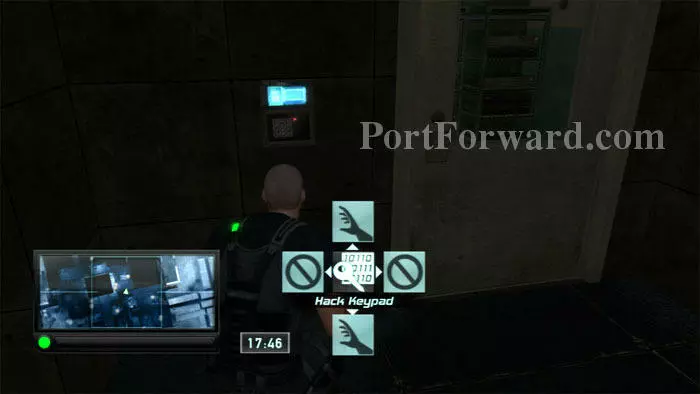
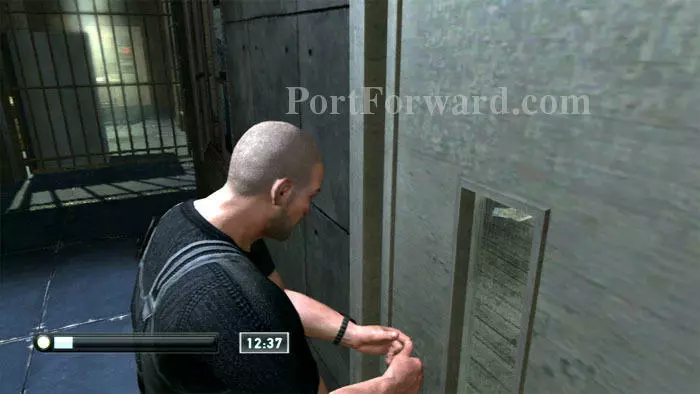
Follow the corridor left, then hack this keypad on the right. Alternately, enter code 1269.

Splinter Cell: Double Agent Walkthrough - Splinter Cell-Double-Agent 365

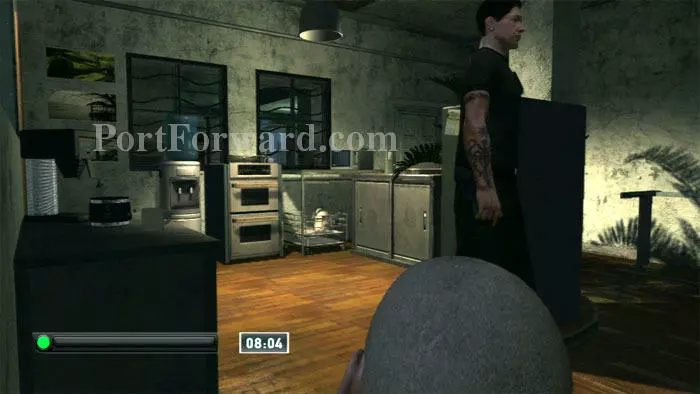
Wait here for Moss to finish talking and then head to his office.

Splinter Cell: Double Agent Walkthrough - Splinter Cell-Double-Agent 366

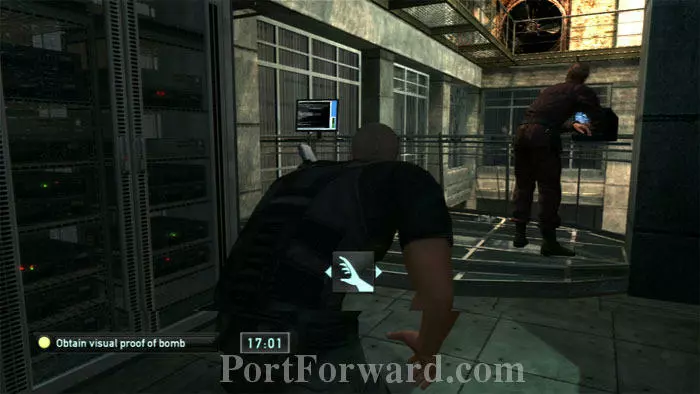
The computer you want is on the left.

Splinter Cell: Double Agent Walkthrough - Splinter Cell-Double-Agent 367

Hack the computer and record the video feed of the bomb to complete the third primary objective.

Splinter Cell: Double Agent Walkthrough - Splinter Cell-Double-Agent 368

Sneak to Moss' office door at the back of the room. This path on the right is easier than the path on the left.

Splinter Cell: Double Agent Walkthrough - Splinter Cell-Double-Agent 369

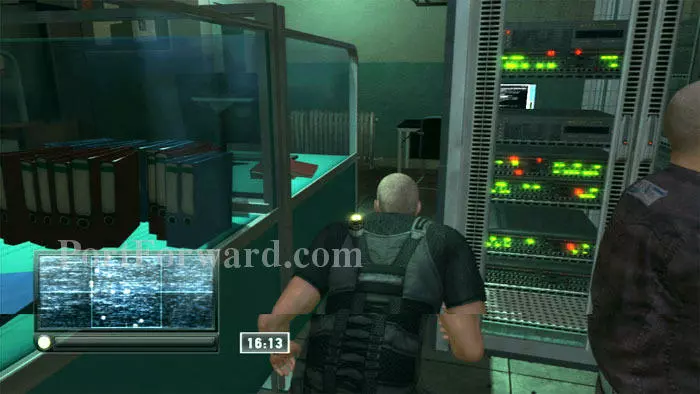
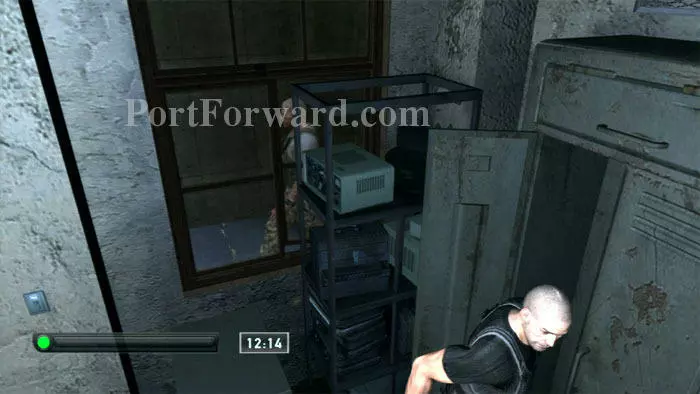
Sneak behind these shelves of boxes on the right. The file cabinet ahead is your destination.

Splinter Cell: Double Agent Walkthrough - Splinter Cell-Double-Agent 370

Search the cabinet to obtain Moss' professional bio.

Splinter Cell: Double Agent Walkthrough - Splinter Cell-Double-Agent 371

Moss' fingerprints can be lifted here. The computer can be hacked to obtain Jamie's office keycode 1234.

Splinter Cell: Double Agent Walkthrough - Splinter Cell-Double-Agent 372

Backtrack the way you came. This time, you'll need to sneak through the room across from the camera, as a patrol is blocking your path.

Splinter Cell: Double Agent Walkthrough - Splinter Cell-Double-Agent 373

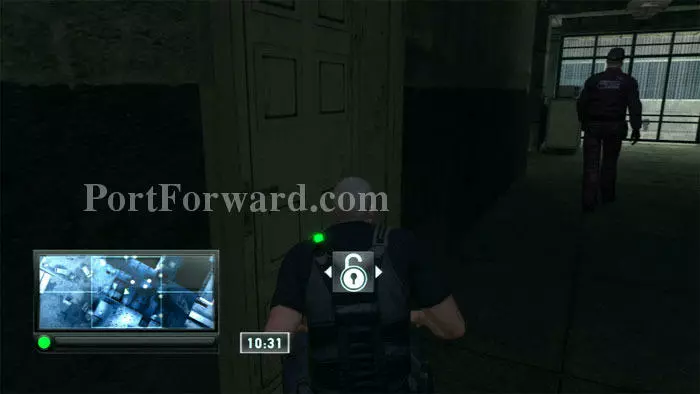
Pick the lock on Moss's quarters.

Splinter Cell: Double Agent Walkthrough - Splinter Cell-Double-Agent 374

Quickly hide in this locker; your entry triggers Moss' return.

Splinter Cell: Double Agent Walkthrough - Splinter Cell-Double-Agent 375

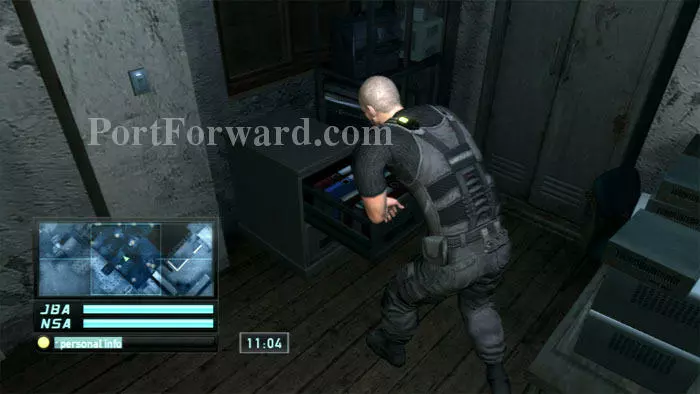
Moss will leave once he's finished with his punching bag. Search this cabinet to obtain Moss' personal info. Moss' fingerprints can also be scanned her if you missed them earlier.

Splinter Cell: Double Agent Walkthrough - Splinter Cell-Double-Agent 376

Backtrack to Enrica's quarters and pick the lock on her door.

Splinter Cell: Double Agent Walkthrough - Splinter Cell-Double-Agent 377

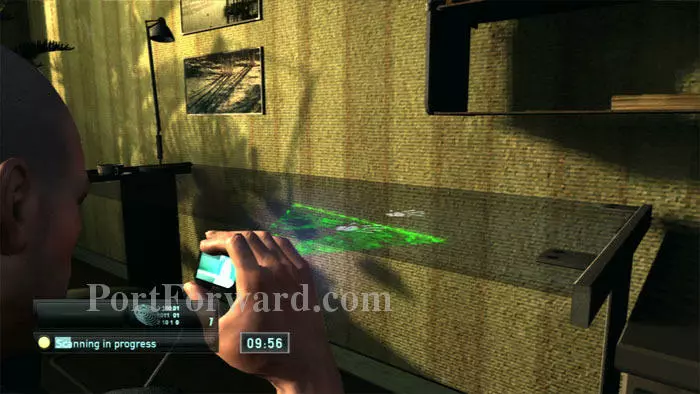
Scan Enrica's prints on this table, or from the nearby dresser. Avoid the bathroom; Emile will spot you through the window.

Splinter Cell: Double Agent Walkthrough - Splinter Cell-Double-Agent 378

Across the hall are the quarters of Jamie Washington and Stanley Dayton. (Be sure to watch your radar in this hallway for the two roaming guards.)

Splinter Cell: Double Agent Walkthrough - Splinter Cell-Double-Agent 379

Jamie is inside, playing tech-support with Emile. Wait for him to step through the door on the right.

Splinter Cell: Double Agent Walkthrough - Splinter Cell-Double-Agent 380

Jamie Washington's fingerprints can be scanned on this table. Stanley Dayton's can be scanned from the table on the right (by the lamp). This complete's the fingerprint profile objective.

Splinter Cell: Double Agent Walkthrough - Splinter Cell-Double-Agent 381

Wait in this corner (or the nearby locker) for Jamie to leave before exiting yourself.

Splinter Cell: Double Agent Walkthrough - Splinter Cell-Double-Agent 382

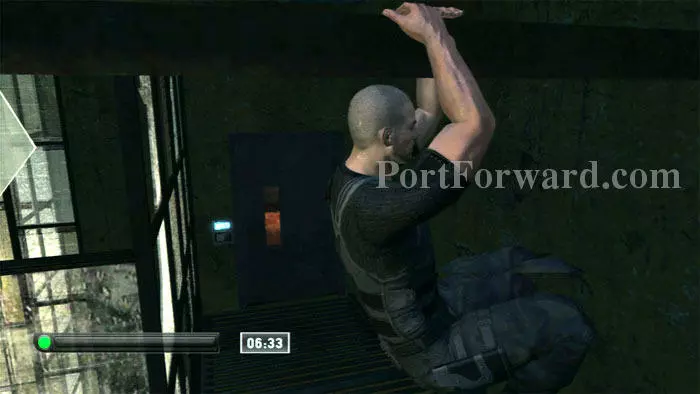
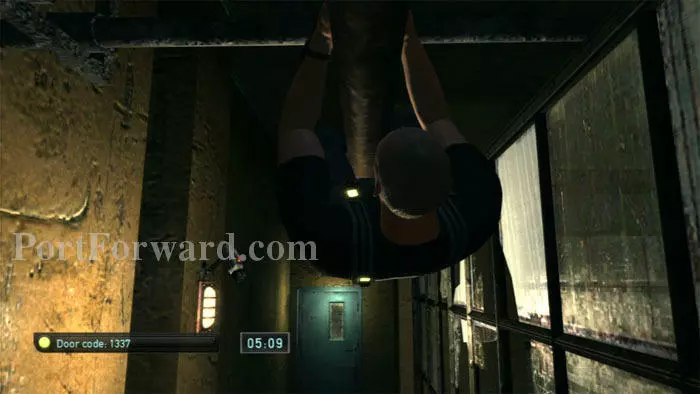
Backtrack downstairs, using this pipe as before to get past the security camera. Enter the code 1337 into the keypad to access Enrica's workshop. We're working on the secondary objective, Obtain Enrica's Disarm Code.

Splinter Cell: Double Agent Walkthrough - Splinter Cell-Double-Agent 383

Again, squeeze past the table on the right and come to this computer. Hack it to obtain the disarm code. The surveillance room code 1269 can also be found here. You can hide under the desk if Enrica moves to this part of the room before you're done.

Splinter Cell: Double Agent Walkthrough - Splinter Cell-Double-Agent 384

Exit across the pipe and descend the stairs on the right to return to the mine area.

Splinter Cell: Double Agent Walkthrough - Splinter Cell-Double-Agent 385

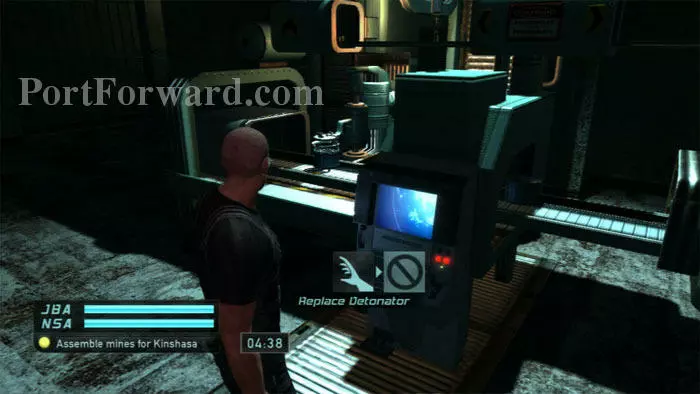
If you have the time, replace the detonators to create ten mines. As before, I found it best to focus on the right-side target graphic.

Splinter Cell: Double Agent Walkthrough - Splinter Cell-Double-Agent 386

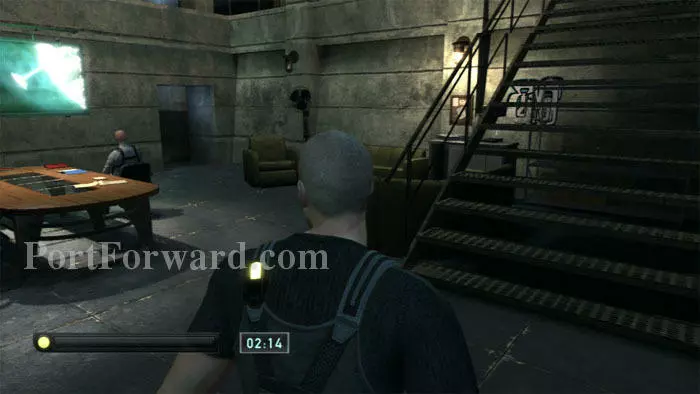
Your only remaining objectives should be the training course and firing range secondary objectives. If you have time, head up the stairs. I've only got two minutes, so I'm returning to the email decryption computer through the door on the left. Emile is already sitting outside the office waiting for time to run out.

Splinter Cell: Double Agent Walkthrough - Splinter Cell-Double-Agent 387

Once Emile shows up, he'll read the unencrypted email, then lead you to, "the fireworks."

Splinter Cell: Double Agent Walkthrough - Splinter Cell-Double-Agent 388

You have three options. (1) Jam the signal and stop the ship from blowing up. This raises your standing with the NSA and lowers it with the JBA.

Splinter Cell: Double Agent Walkthrough - Splinter Cell-Double-Agent 389

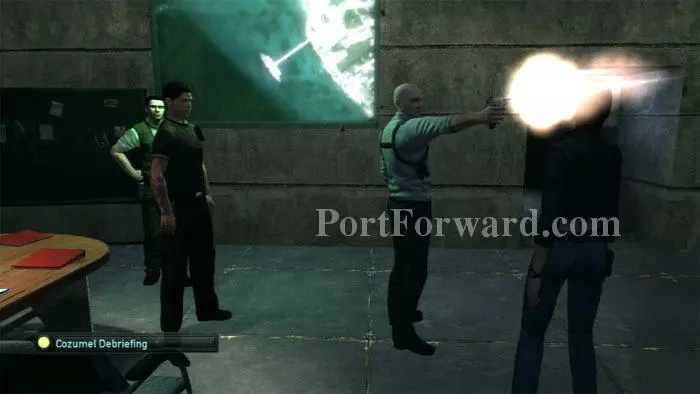
Emile will shoot Enrica. Option (2), Frame Enrica, results in her death as well, but your standing with JBA and NSA both goes up.

Splinter Cell: Double Agent Walkthrough - Splinter Cell-Double-Agent 390

Option (3), Destroy Ship, is the most exciting. You will gain trust with the JBA but will lose a significant amount of trust with the NSA. Also note that the ship is one of the three targets that determine whether you can play the bonus mission. Only one of the three can be destroyed.

More Splinter Cell: Double Agent Walkthroughs

This Splinter Cell: Double Agent walkthrough is divided into 11 total pages.

More From Portforward