
This Splinter Cell: Double Agent walkthrough is divided into 11 total pages.
You can jump to nearby pages of the game using the links above.
Shanghai
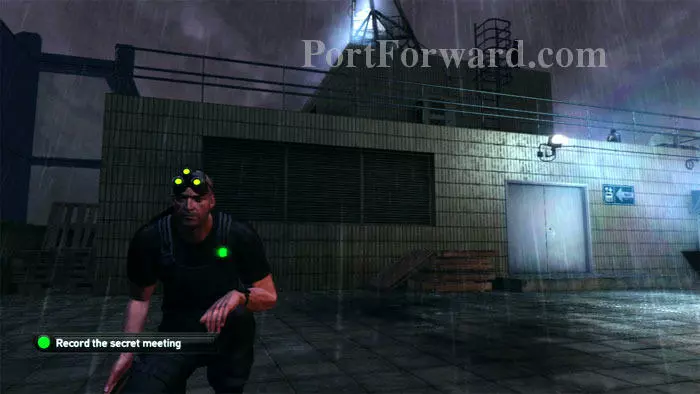
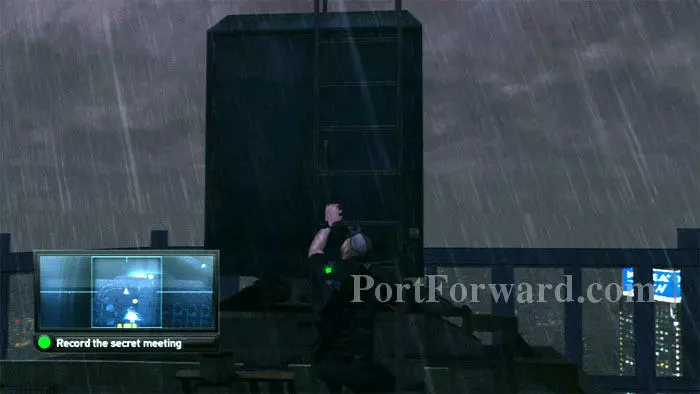
After leading the plane to safety, here's the plan. Step onto the palettes ahead/left, then climb over the the railing on the roof above. From there, ascend the ladder upper-right.
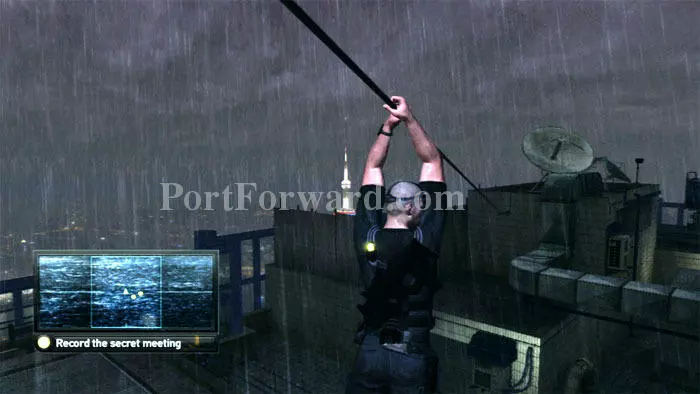
You can then ride this zip line across the roof.

Climb onto this air vent then walk the plank to the other side.

Jump to this pipe.
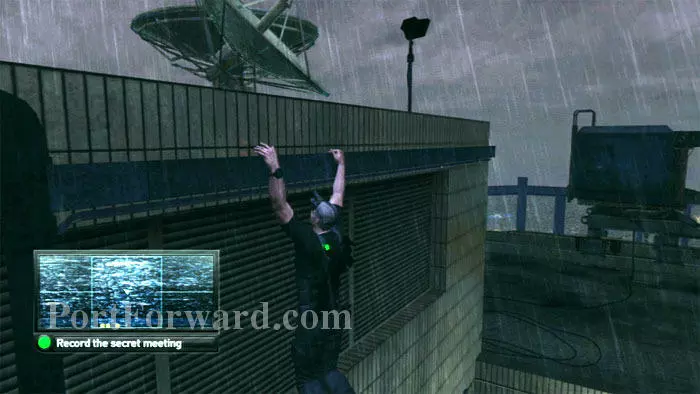
Shimmy to the right.
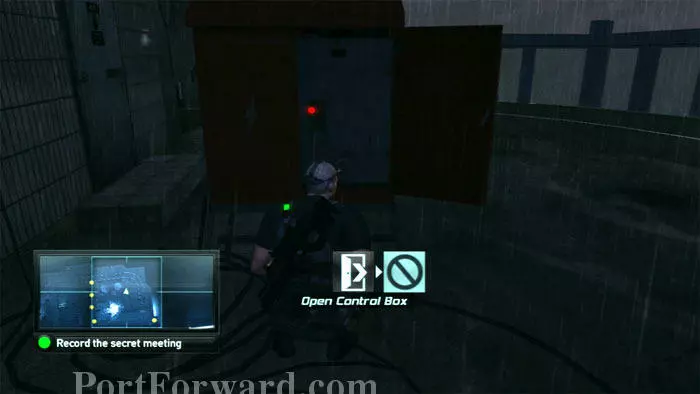
Drop below. Open this control box and hack the computer to launch the crane with the lights off.
Climb this ladder to reach the crane.
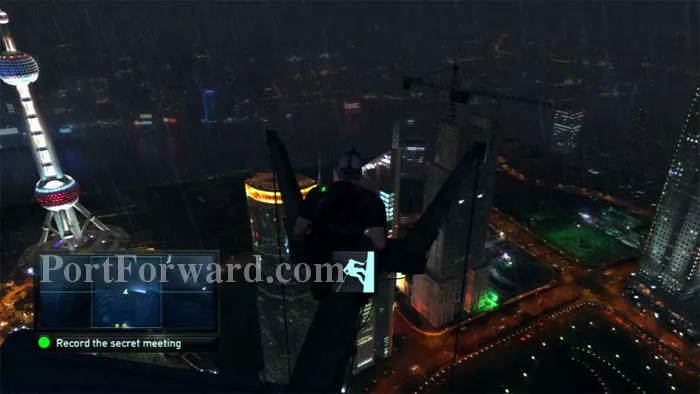
Now this is what I call a view. This beautiful level earns Double Agent an additional star.

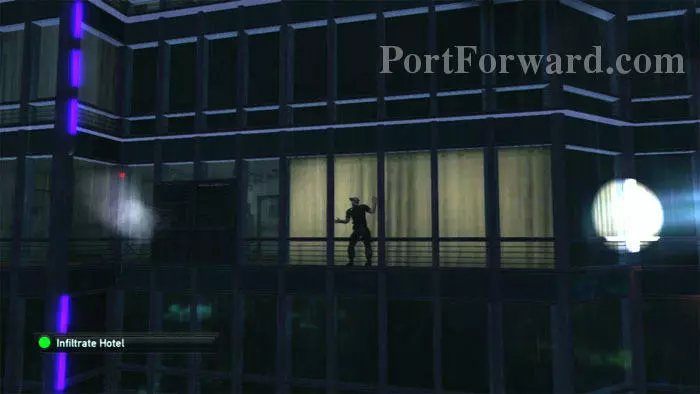
Rappel down the side of the building to the window washer's platform.
Walk left along the building's ledge.
Drop to your hands to get around the corner.
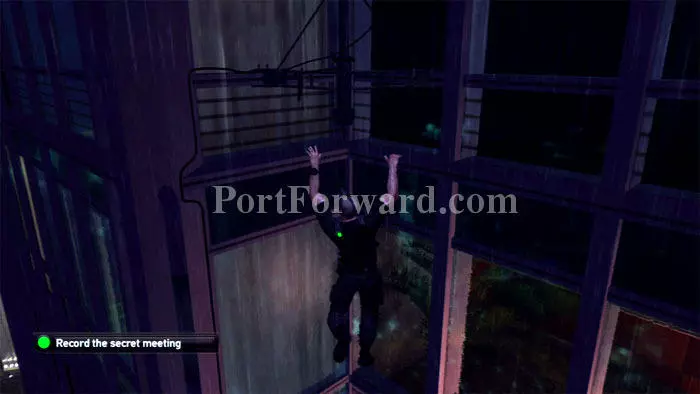
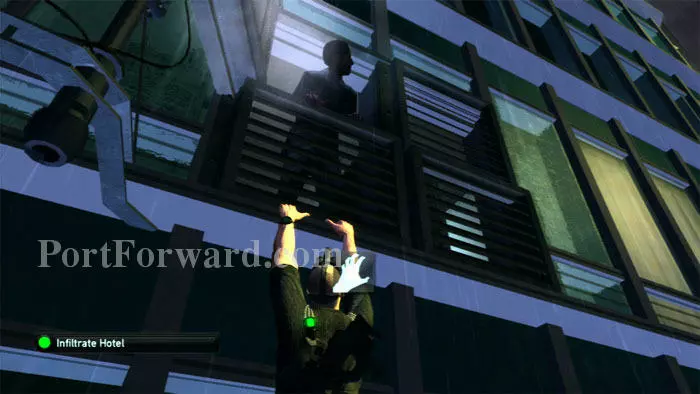
Climb down this pipe.
Mantle along this ledge, then pull yourself up when you reach this position.
Walk along the ledge to the right. You will reach a new checkpoint.
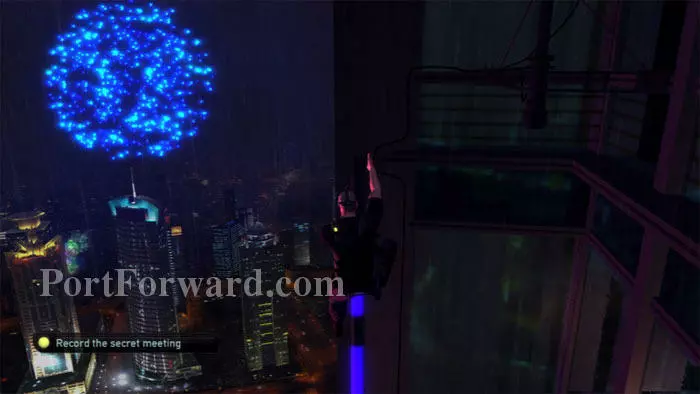
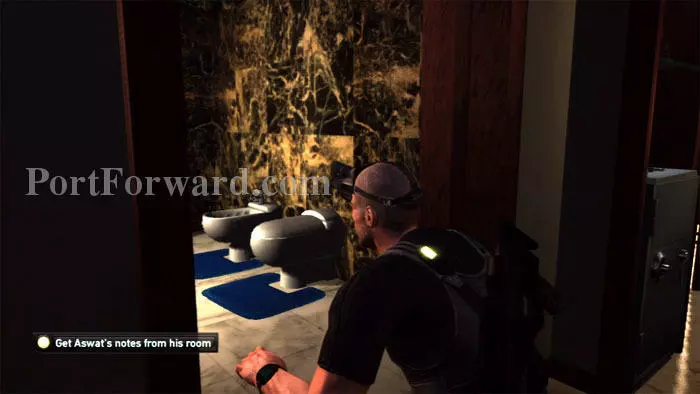
Rappel once again when you reach this spot. Through the window is the outline of someone relieving themselves. It just wouldn't be Splinter Cell otherwise (1) (2) (3) (4).
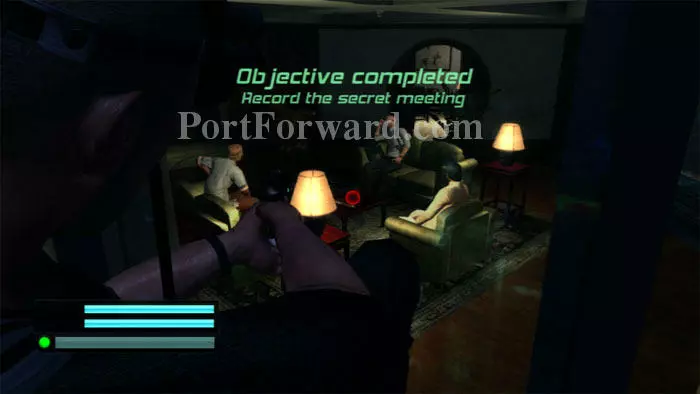
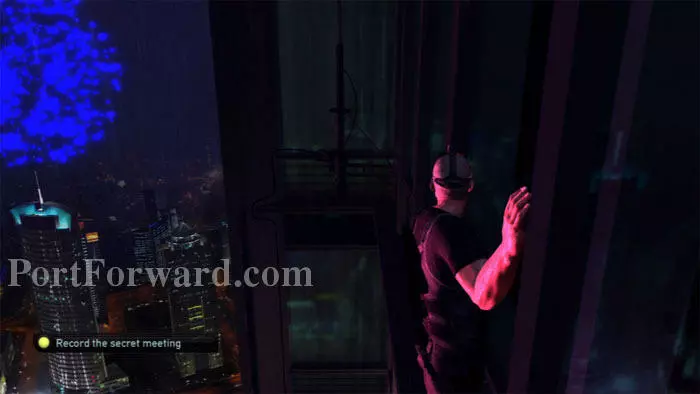
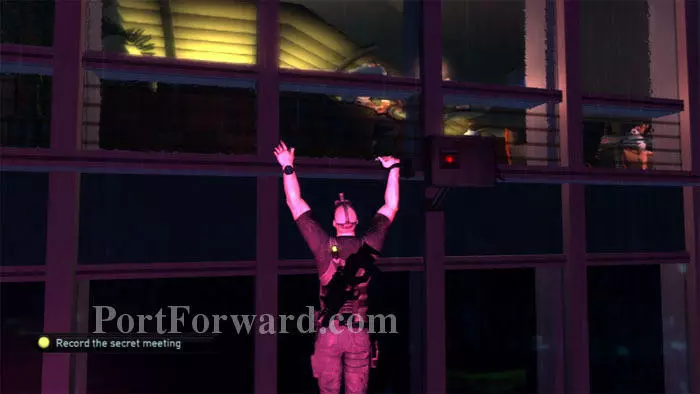
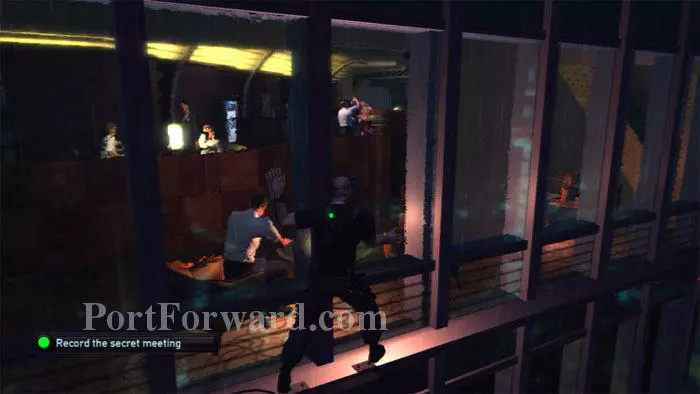
Ready your laser microphone as you descend. You'll want to have it handy immediately upon reaching this window. Record the entire conversation to complete the objective.

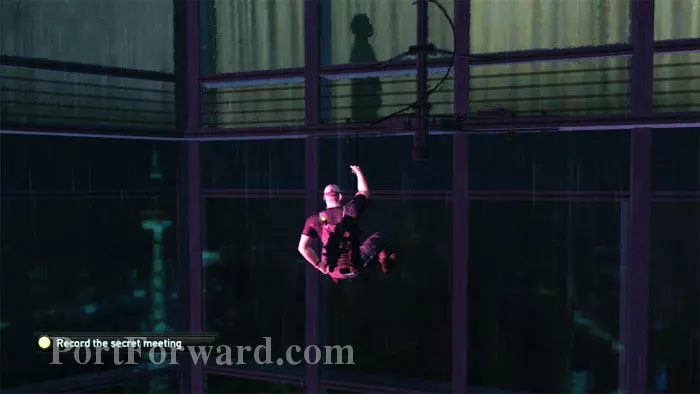
Once the meeting is recorded, rappel down to the red light as fast as you can. Pressing "Y" will let you move in large jumps.
A helicopter is on your tail, but if you move fast you can get to safety before it arrives. Shimmy left toward the laundry vent. If you aren't fast enough to beat the chopper, move up/down to avoid the searchlight. The chopper patrols in a predictable box pattern.
Hang out beneath this vent and wait for the guard to appear. You can either pull him through or wait for him to move to the window on the right, where you can easily grab him from behind.

This dark area to the left is a great spot to hide the body. It's also where you'll find a trap door.
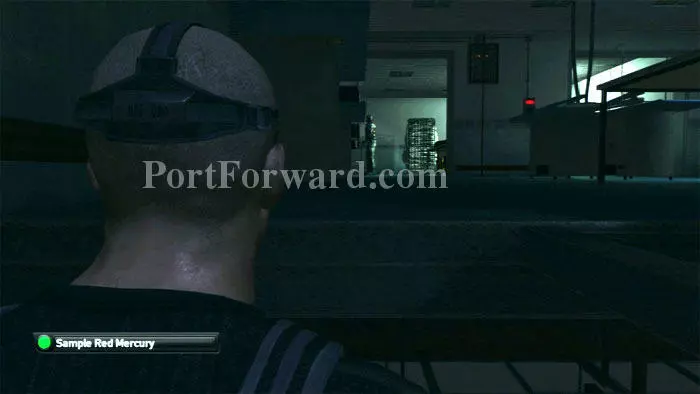
Crawl through the subfloor and emerge in this dark area. Two guards patrol the laundry; stay put and watch their movements before approaching the red light on the wall ahead.
Cut this cable to kill the lights. You want to duck behind the washing machine on the far left wall. (Alternately, you can exit through a double-door in the bright room behind you that leads to an elevator, but this is the stealthier route.)
Crouch into the crawlspace and climb the ladder ahead.
Upon reaching the top, look up to find the vent seen above. Crawl through.
You'll emerge in this closet. Switch the lights off, then use your optic cable to check for guards before opening the door.
The path to the safe is to the left, but turn right into this bedroom for an optional diversion.
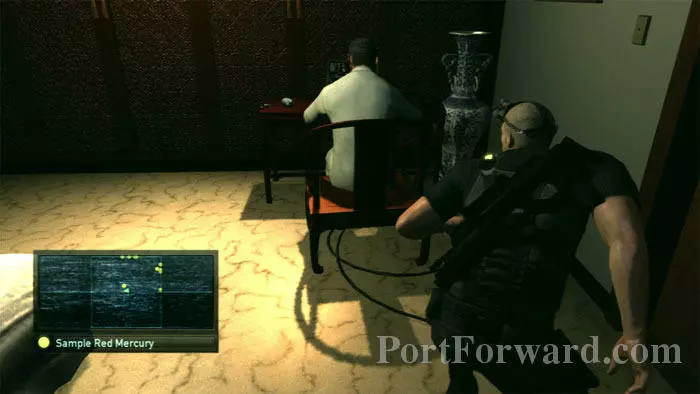
This hacker is to your right. Interrogate him to learn that he has hacked the building's surveillance cameras. Hide the body in the dark corner.
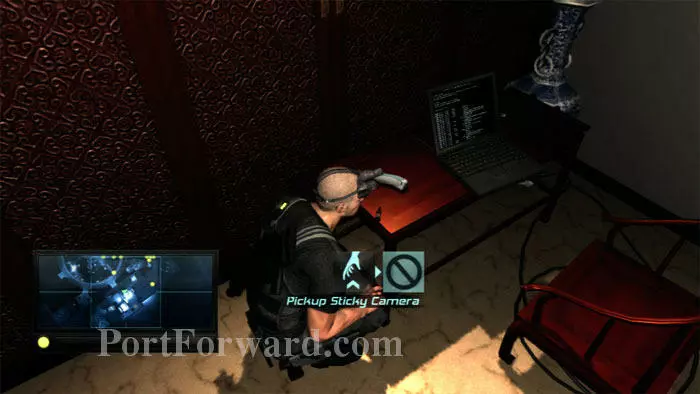
Two sticky cameras are on this desk, and you can hack the laptop to disable the surveillance cameras. The neighboring bathroom has a secret door that leads to the elevator used for the alternate route.

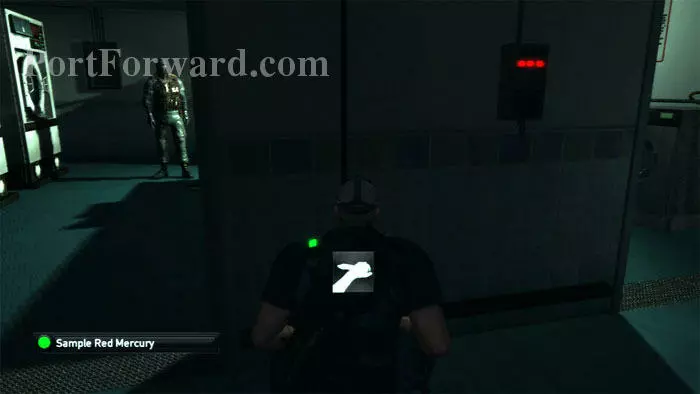
Turn out the light before exiting, then backtrack past the closet and pause at this screen. Wait for the guard to go to the window before continuing.
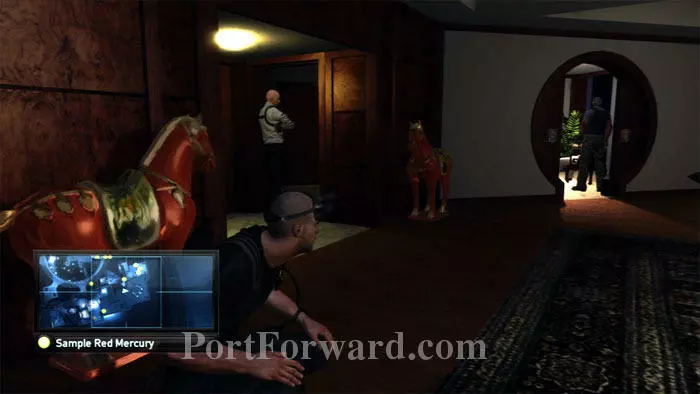
Keep left, then pause here. That's Emile on the left, and Moss on the right. Wait for Emile to turn out the light and leave. Follow Emile through the doorway on the left.
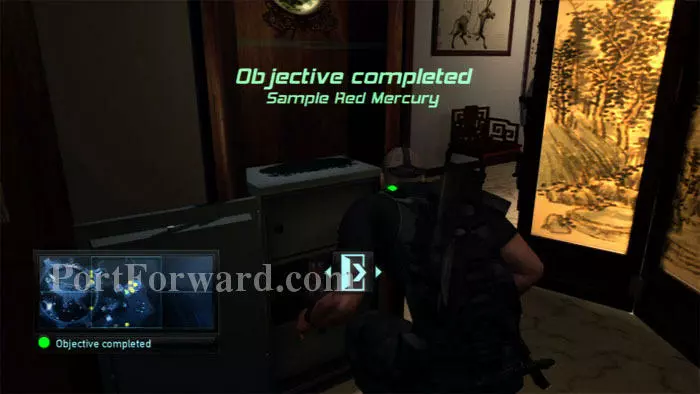
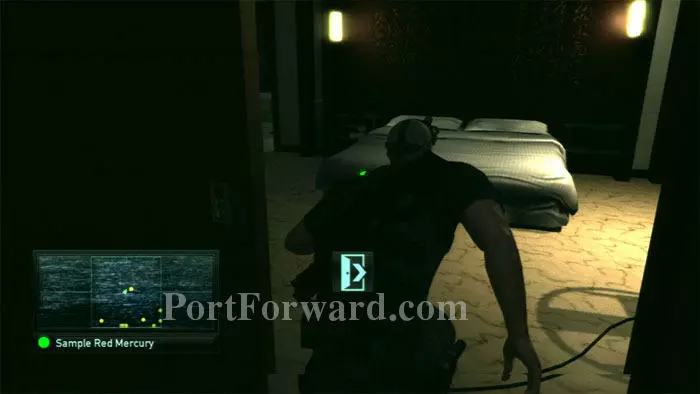
Crack the safe just as you did in the training exercise, then sample the red mercury to complete the objective.
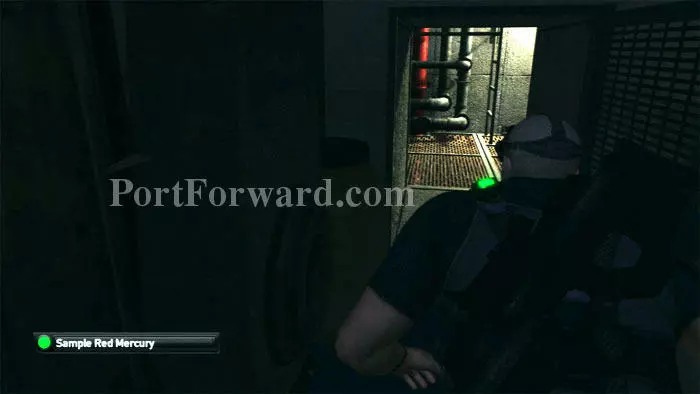
Enter this bathroom to the left of the safe.
Hoist yourself into this ceiling vent.
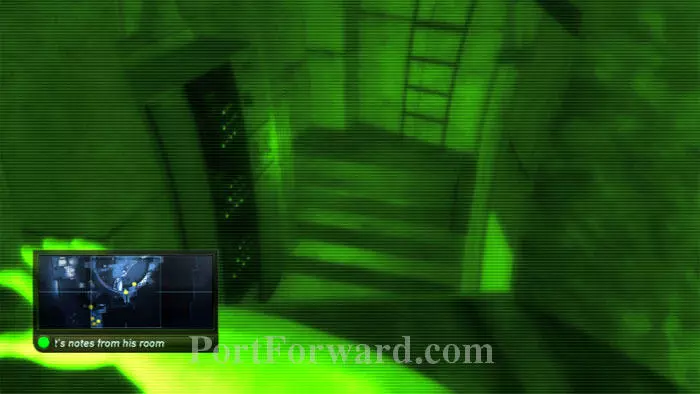
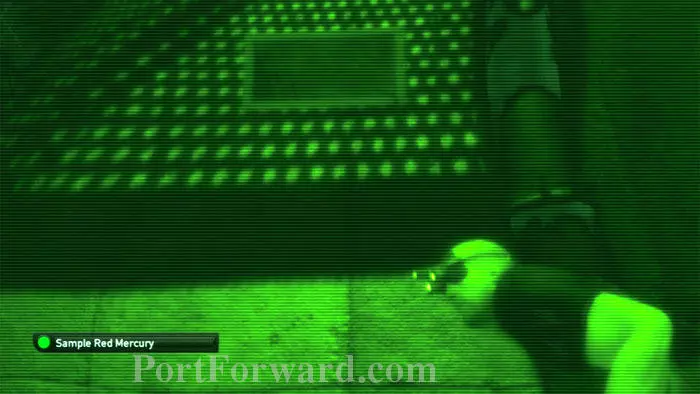
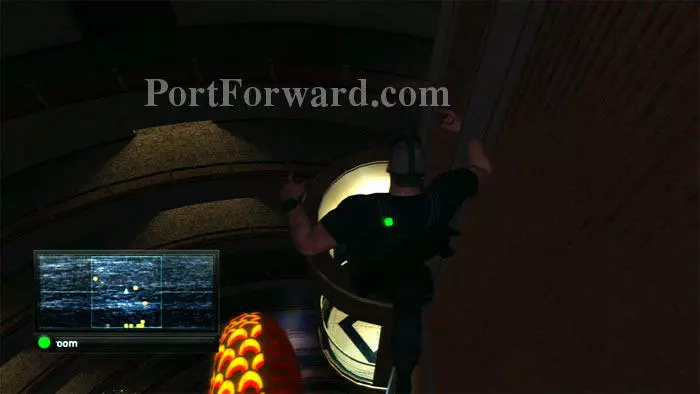
Before exiting the vent, pause and observe the local patrols on your map. Once the immediate area is clear, hop down and climb up the ladder visible ahead.

Rappel from this spot.

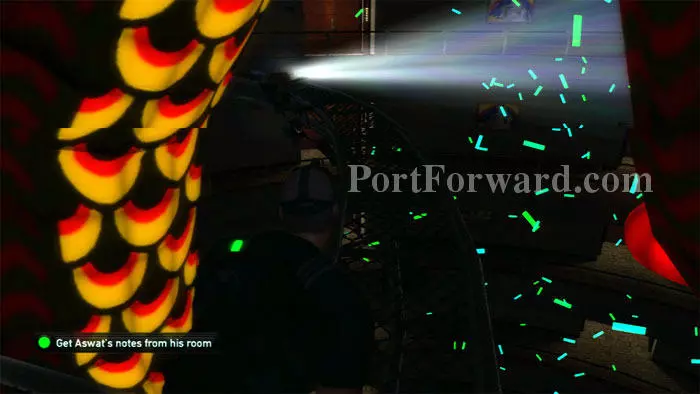
Confetti fireworks are released. This is a very colorful sequence.
Arrive at a catwalk, turn left, then jump onto this elevator once it arrives.
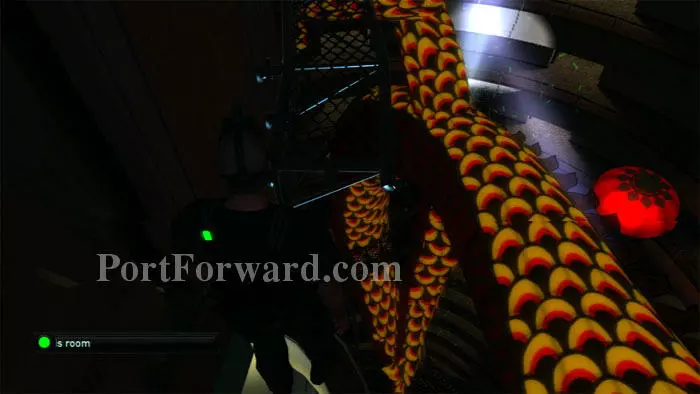
After the elevator arrives below at this catwalk, jump across and find a second elevator on the other side. Ride it down as well.
Jump onto this catwalk and turn left. Proceed with caution around the moving spotlight so as not to be illuminated by its beam.

Hop over the railing and turn right. The first door is room 2405. Aswat's room is the next door up, 2406.
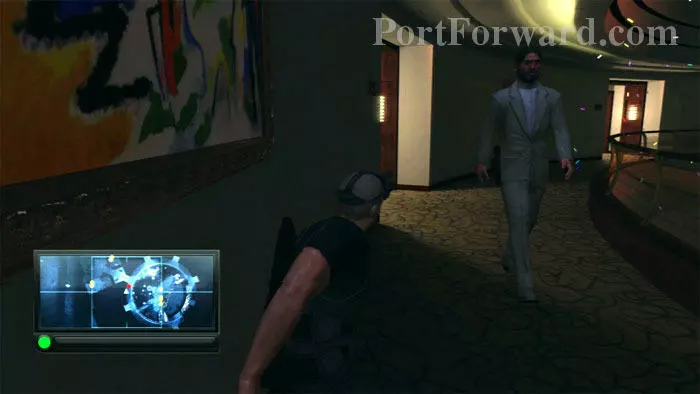
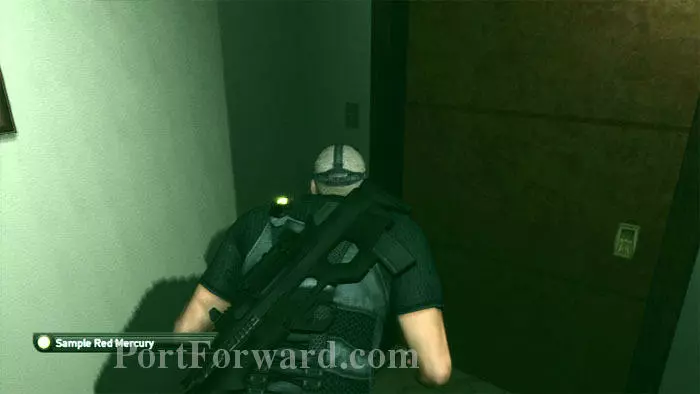
A solitary guard patrols the floor. Press your back to the wall and he'll walk right past.
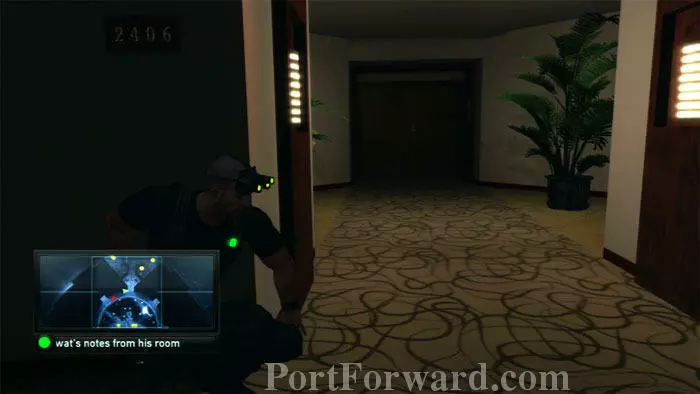
Turn left and approach the door to 2406. Checkpoint.

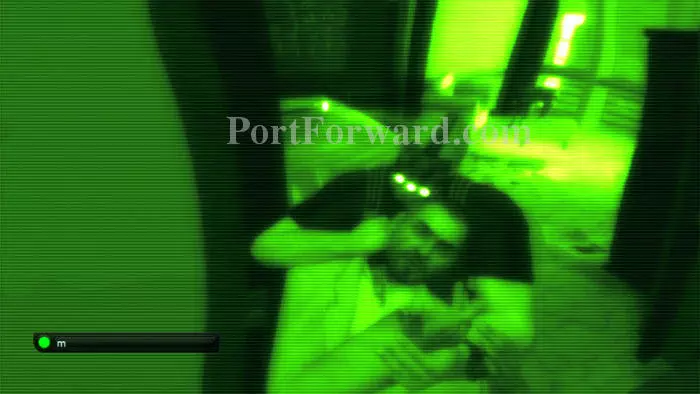
Use your optic cable to look under the door then activate night vision. Four guards are inside. Wait for this one to walk in front of your scope.

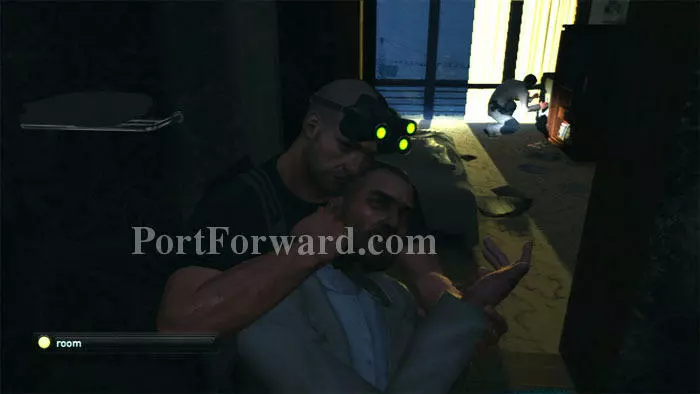
Enter then close the door behind yourself. Grab the guard you just saw as he's crouching here in front of this computer (which has a background email). The rest of the mission will be much easier with all four guards out of the way.
Carefully lead the guard into the bedroom on the left, pausing in darkness while the fireworks burst. Keep left and duck into the bathroom.
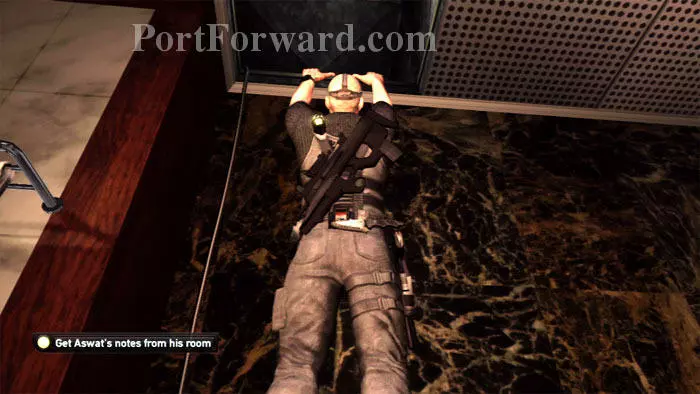
Knock out the guard and hide his body in the shower. Be quiet -- a second guard is positioned at the safe on the right.
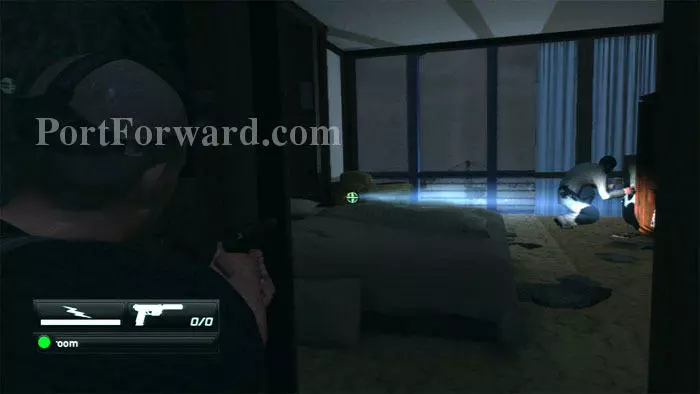
Your SC Pistol disables the flashlight, making it easier to grab the second guard. Hide his body in the shower, too.

Pause here and observe the movements of the other two guards. When one is isolated and has his back to you, grab him and drag him to the shower. Repeat on the other, and you can now work in peace. This is a good time to save your game, as the next part requires careful timing.

Crack the safe and pick up the documents to complete the objective. You receive a new NSA objective -- kill Aswat.
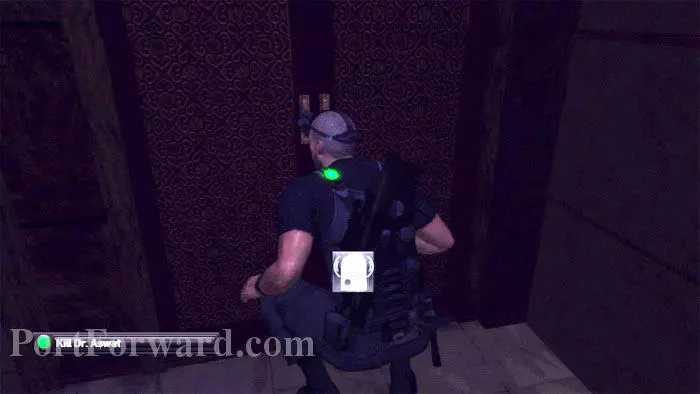
Aswat is headed back to the room. What better reception than a wall mine? Place the mine directly under the doorknobs on this closet to the left of the apartment door.
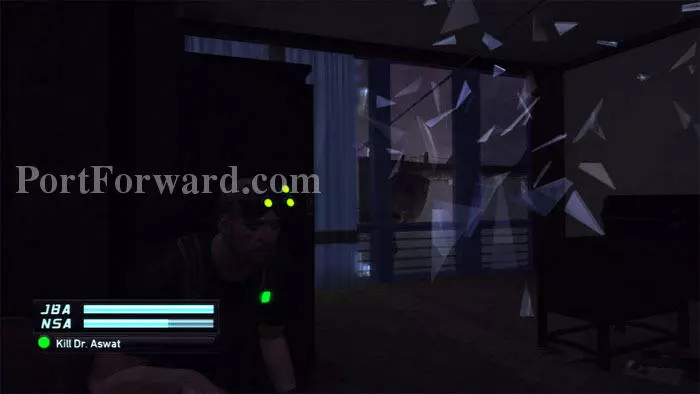
Wait outside this side room to the right. Emile's chopper busts open the window to facilitate your escape. Don't join him just yet, though.
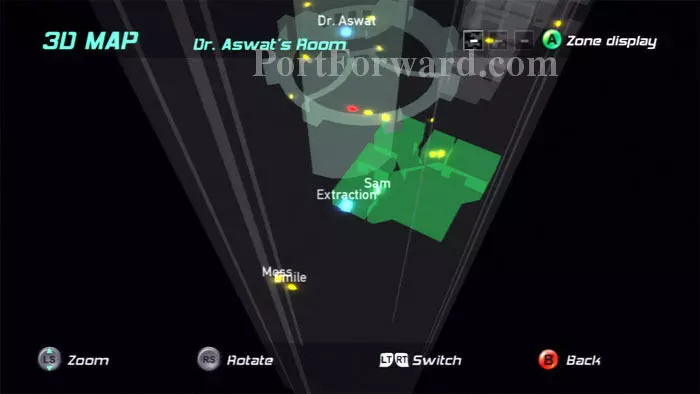
You can watch Dr. Aswat's approach on your 3D Map. Note that an optional approach is to snipe Aswat before he begins walking back to the apartment.
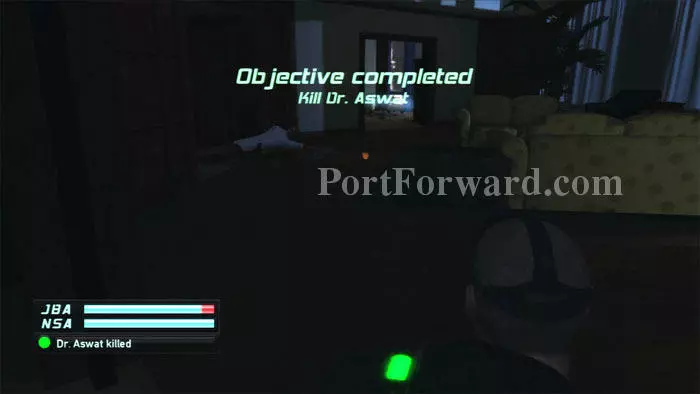
Upon returning to the apartment, Aswat is killed by the mine.
Quickly jump onto Emile's zip line so as not to lose precious JBA trust.
More Splinter Cell: Double Agent Walkthroughs
This Splinter Cell: Double Agent walkthrough is divided into 11 total pages.


