
This Splinter Cell: Double Agent walkthrough is divided into 11 total pages.
You can jump to nearby pages of the game using the links above.
JBA HQ 2
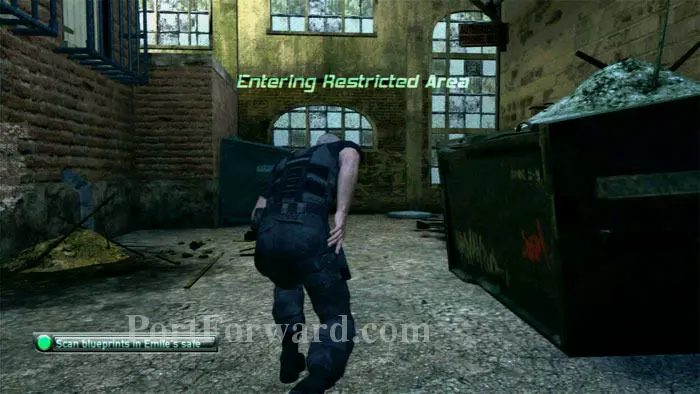
Climb onto the dumpster ahead/left, then over the wall.

The garage on the right is the safe area. Sneak in while the two guards are busy entertaining themselves.

Talk to Enrica and then follow her. Keep pace or trust is lost.
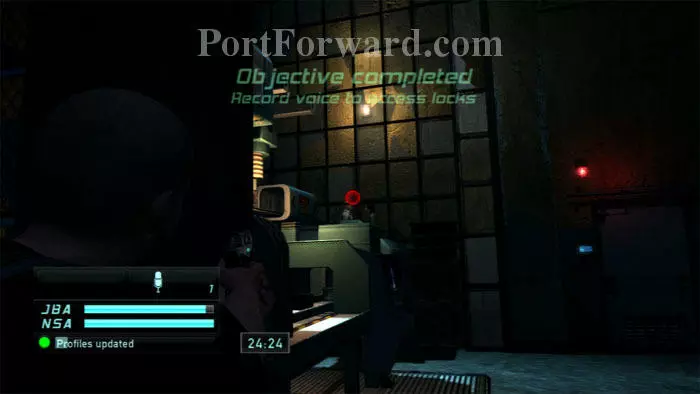
After Enrica leaves, stand in shadow and ready your laser microphone. Use it to record voice samples of Emile and Enrica, updating two of the five needed for the secondary objective.

To get another voice sample, turn around and spot Jamie. Follow him upstairs.
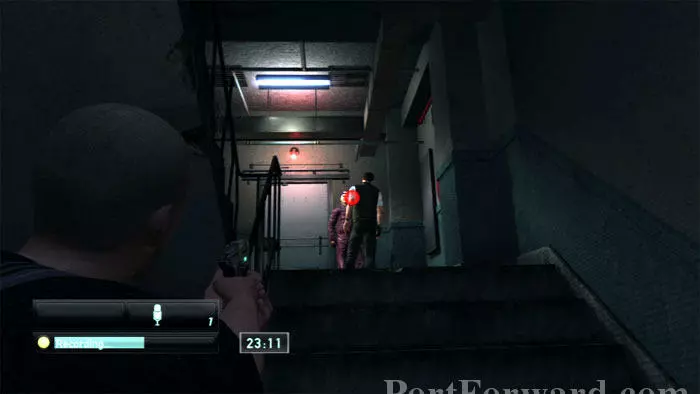
Record Jamie while he talks to this technician.
Wait on the stairs for Moss to come by. Record him as he mumbles to himself that a guard isn't at his post. You now have four out of five voice recordings. The opportunity to record the fifth will come later.

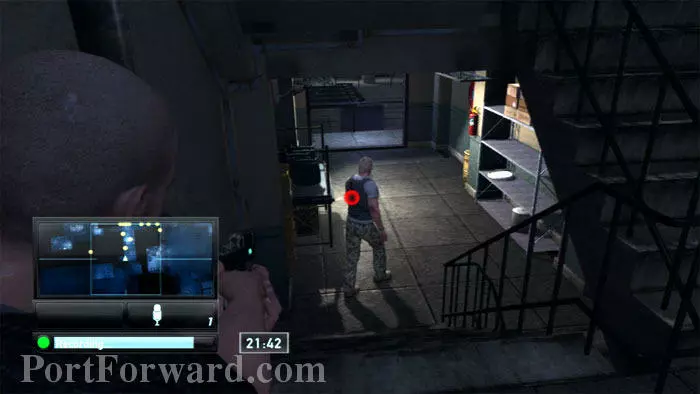
Backtrack downstairs where Enrica left you. Use this machine to begin assembling mines.

This mini-game is much easier if you ignore the lower graphic. Instead, focus on the target graphic on the right. Keep aiming for the bull's eye and keep the target green.

You need to assemble 10 mines and you have 5 detonators to spare. Here I complete the objective with 4 detonators left.

Next up: Enrica's professional bio. Use your previously-obtained voiceprint to unlock this nearby door.

Ascend the stairs. Ignore the door on the right, instead heading left.
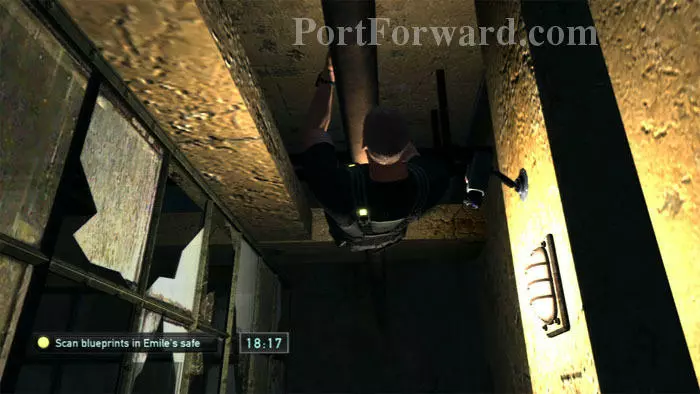
Climb onto this ceiling pipe to get past the camera.
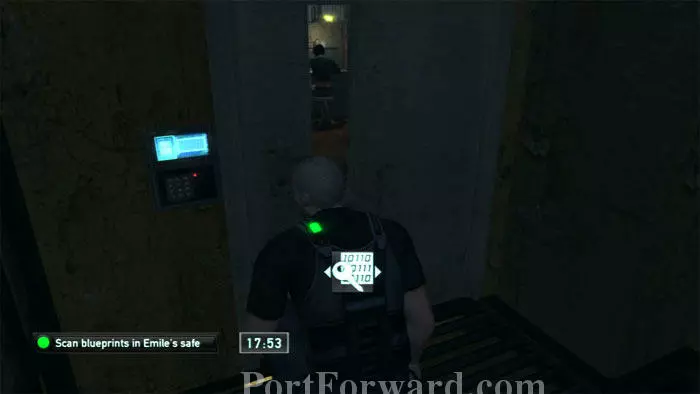
Quietly approach the door to Enrica's office. Hack the keypad.
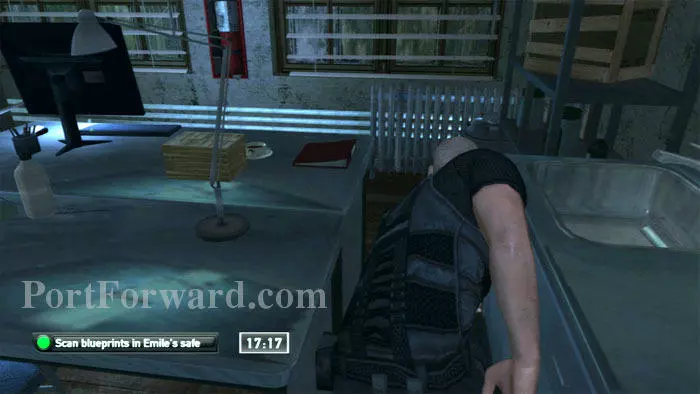
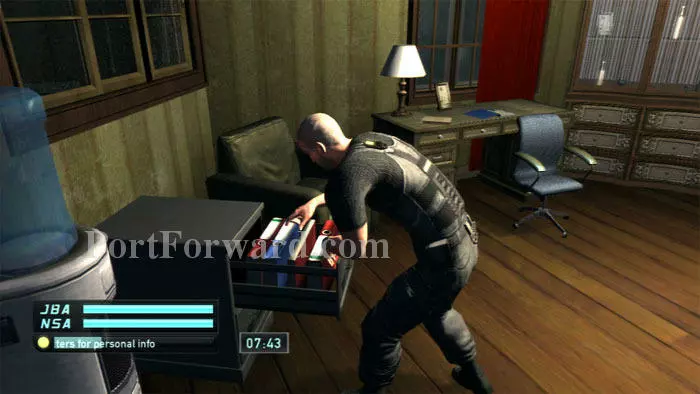
Squeeze between these desks and the sink. The computer on the left has an email with some background.
Search this cabinet to obtain Enrica's bio.

Next up is Stanley Dayton's personal bio. Backtrack and pass through the door you ignored a moment ago.

Ascend the stairs and continue through this door. Be sure to turn out the light first, and close the door behind yourself so as not to alert anyone.
Two guards are up here, one asleep and the other very much awake. His A.I. is remarkably difficult and random. I've walked this floor many times and the best thing I've learned to do is begin by switching off this switch on the right, which controls the light above the sleeping guard.
Wait here for the patrol to walk past. He'll spend a moment to turn the light switch back on.
While he does that, scurry ahead and turn off the light switch visible ahead, just outside the pool room. This controls the light over the couch.
Dayton's room is ahead/left. Round the corner on the right to switch the light off in front of his door before picking the lock.
Again, be sure to close the door behind yourself.
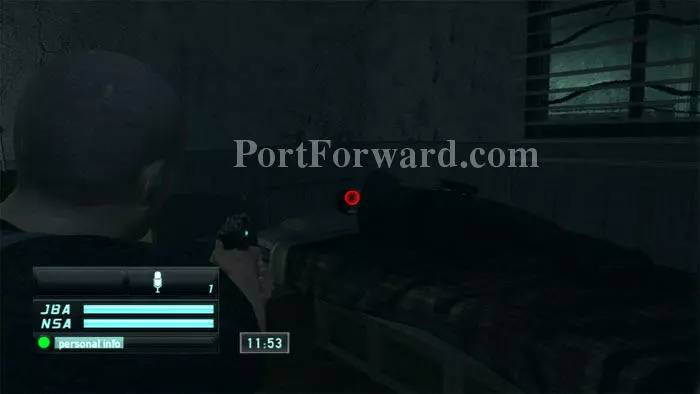
Use your laser mic to sample Dayton's voice while he talks in his sleep. Search the cabinet next to his bed for his personal info.
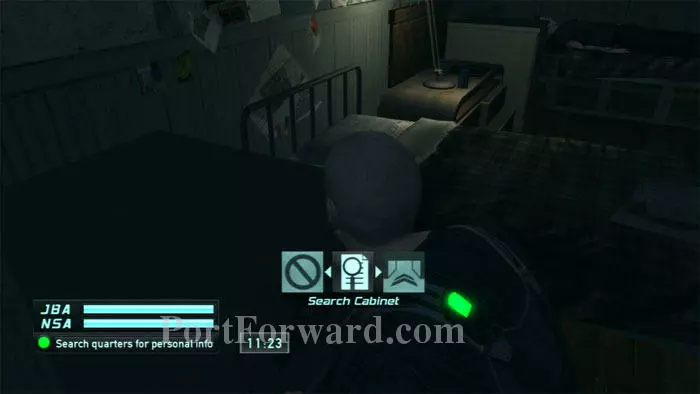
Search this cabinet by the opposite bed for Jamie's personal info.

Before leaving through the door, use your optic cable to make sure the guard has begun a patrol away from the area.
Turn left down this hallway. That's Enrica's quarters on the right.

Search this cabinet to update Enrica's profile with her personal info.
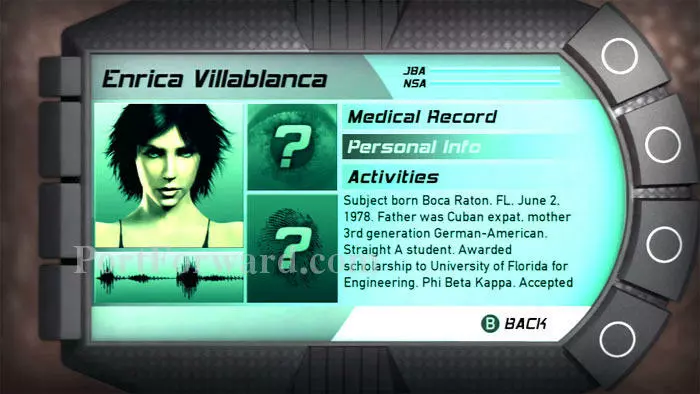
Don't forget to read these profiles from your "Back" button menu.

Next up: Emile's quarters. Head into the bathroom and exit out this window.
Hop onto the crates behind the truck, climb the pipe, then hoist yourself onto the balcony.
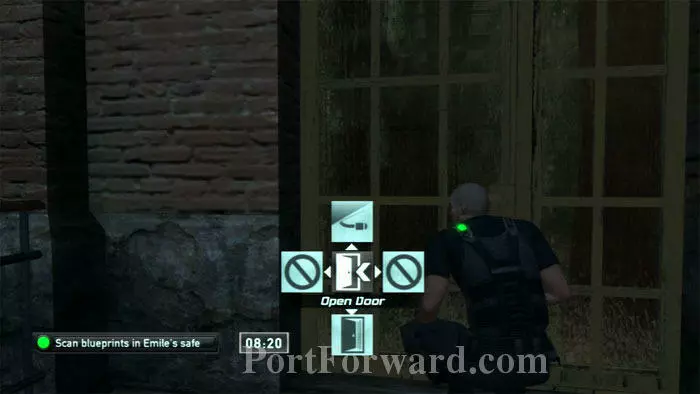
Enter through these french doors.
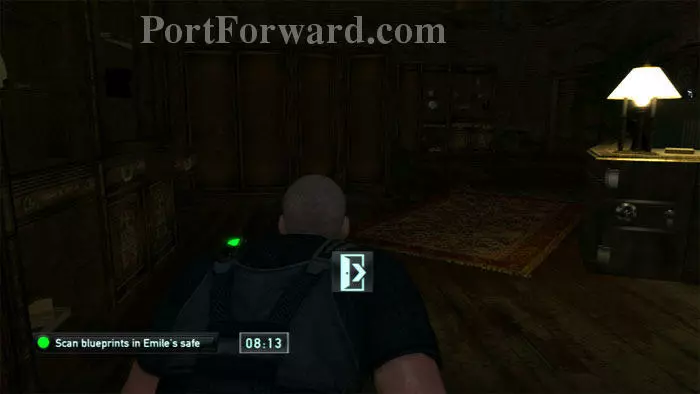
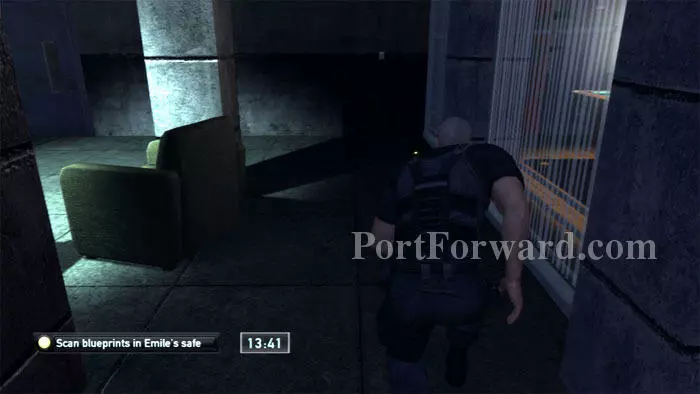
The safe is on the right; hug the left wall to avoid it. A checkpoint by the safe will trigger Emile to come into the room.

Slip into this hallway on the left, then enter Emile's bedroom at the second door on the left.
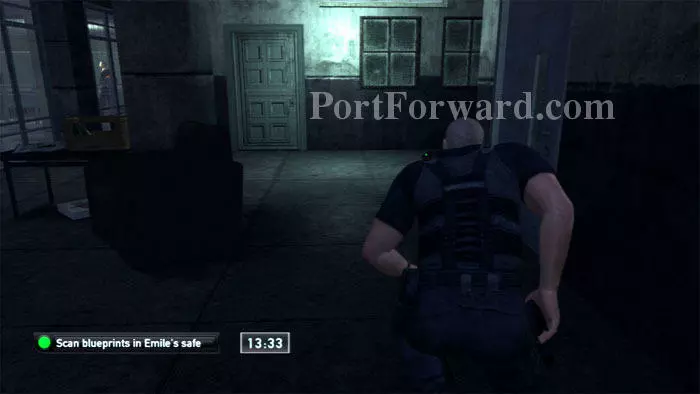
Emile's personal info is in this cabinet.
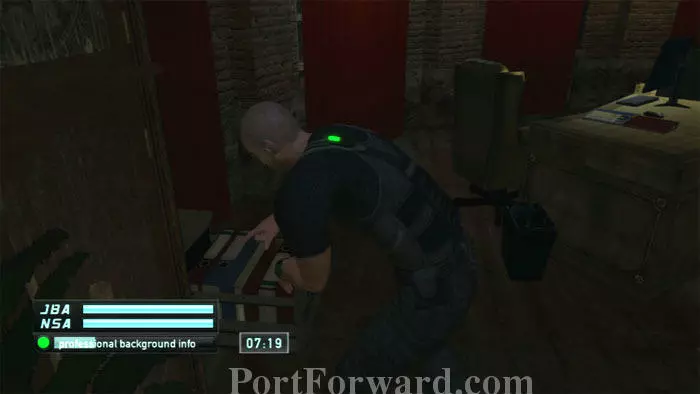
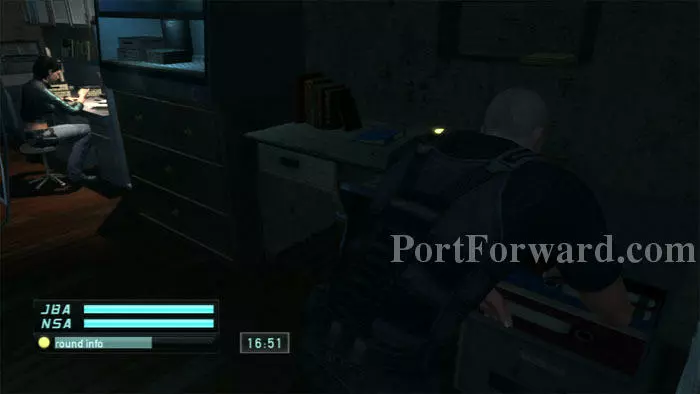
Backtrack through the hallway and find Emile's professional info in this cabinet. Hack the computer on the desk.
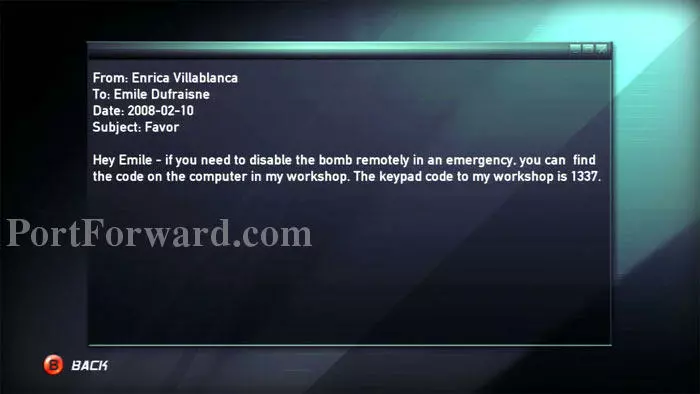
This email reveals the keypad code to Enrica's workshop, 1337.
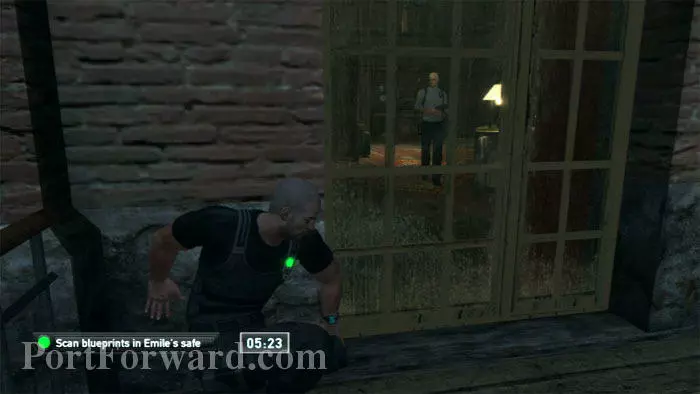
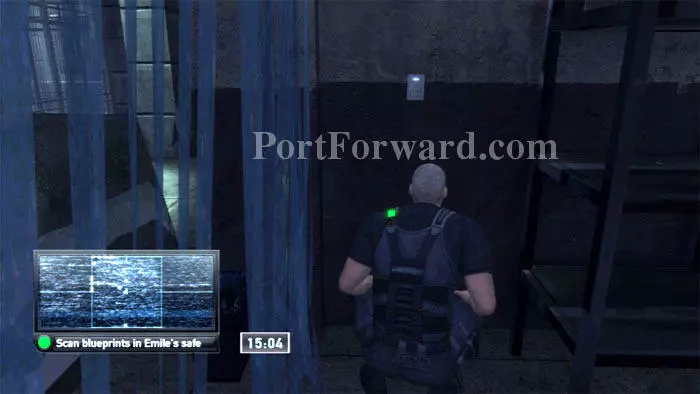
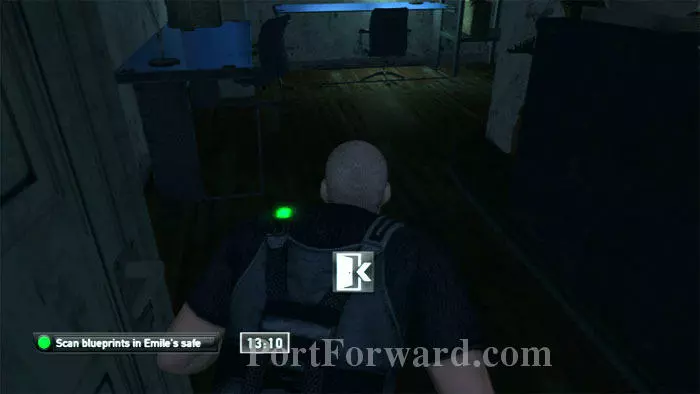
Approach the safe to trigger the checkpoint, then quickly return to the balcony and wait for Emile and Jamie to finish their conversation.
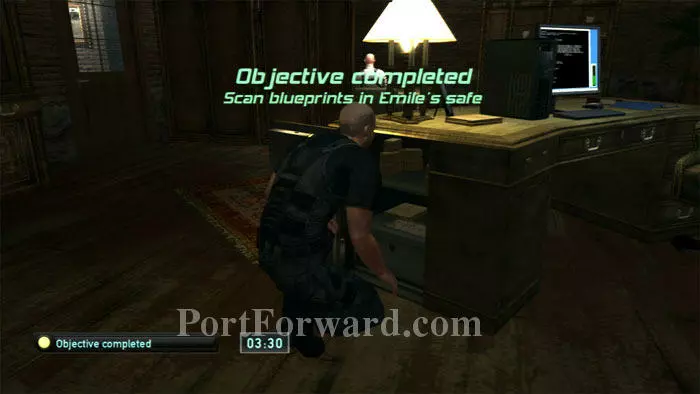
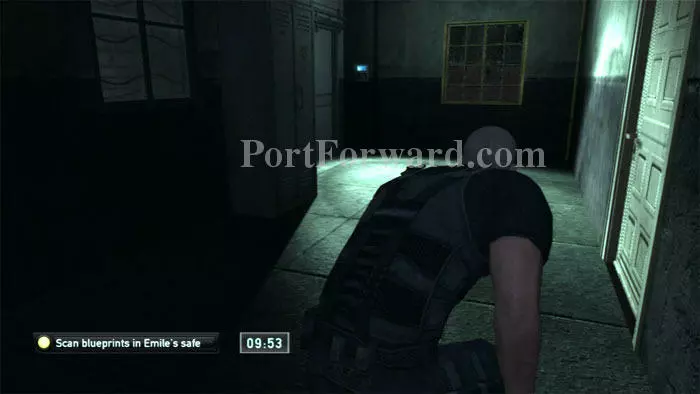
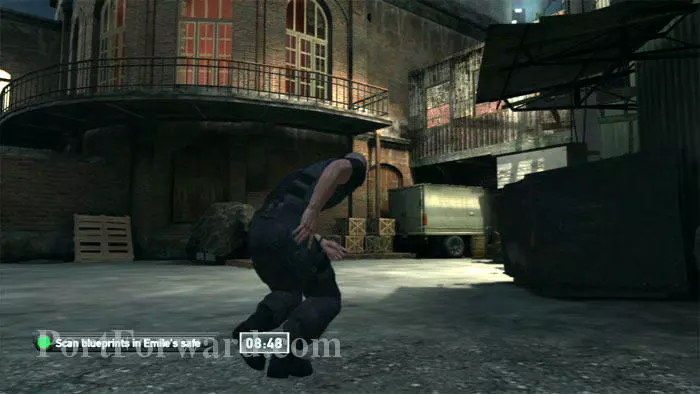
Re-enter once Jamie leaves and Emile sits down. Crack the safe and scan the blueprints to complete the objective. If Emile gets up while you are safe-cracking, try waiting for another sit-stand-sit cycle before re-entering. Very annoying.

You've now completed all of the primary objectives and all of the profile objectives. If you are out of time, return to Enrica's quarters for a special ending.

Otherwise, hide on the balcony and wait for Emile to retire to his bedroom, then exit through his office door.
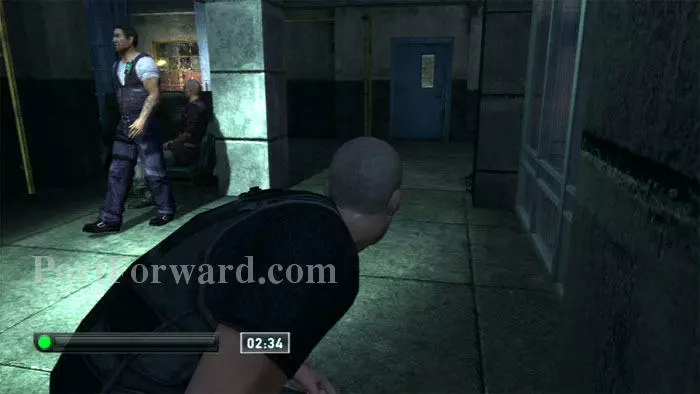
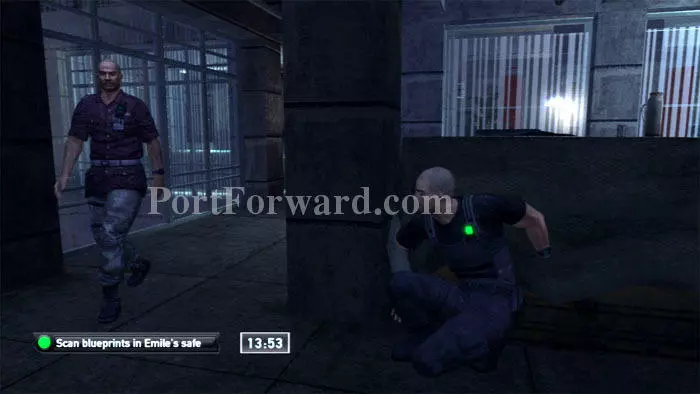
The sleeping guard is now awake. You'll have to sneak past both guards to backtrack to the blue door ahead. A nearby locker is a good place to hide if needed.
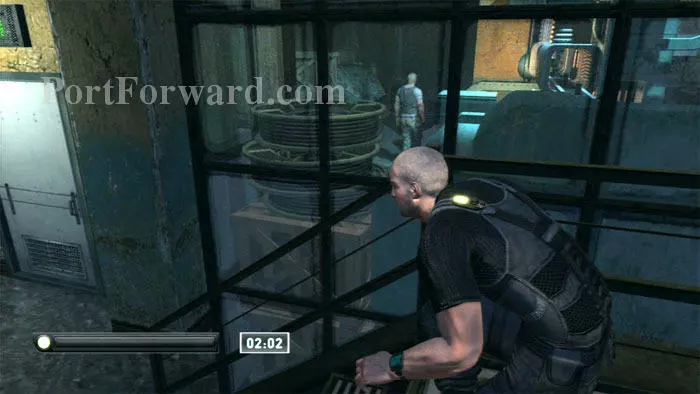
Moss is in the mine assembly area. Look through the glass to make sure he's facing away from the door before entering.

Head upstairs to the infirmary and retrieve the pilot's body.
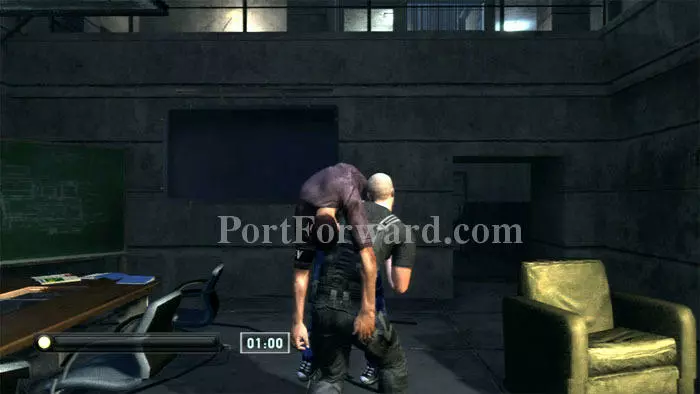
Carry the pilot's body downstairs and through the doorway ahead/right.
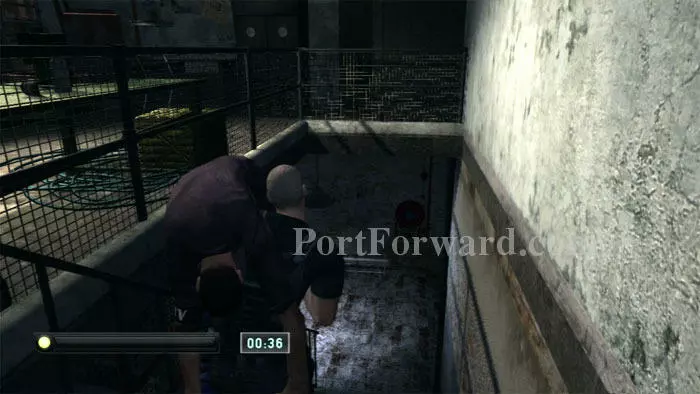
Follow the corridor to this room and descend these stairs.
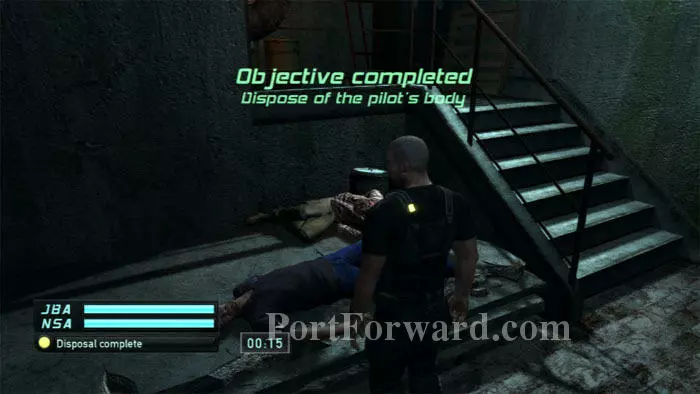
Drop the body here to complete the objective. Note the body of the TV chopper pilot you saw previously. Is the body you just placed that of the Shanghai pilot? If so, why is he wearing a "TV" armband? Weird.

Your other two secondary objectives, complete the training course and practice at the firing range, are the same as before. I'm out of time, so if you complete them before the clock runs out, you're a better player than I. Return to the mine assembly area and listen to Enrica to end the level.
More Splinter Cell: Double Agent Walkthroughs
This Splinter Cell: Double Agent walkthrough is divided into 11 total pages.


