Starcraft 2: Heart of the Swarm Walkthrough Kaldir 3: Enemy Within

September 12, 2016 (Last Updated: ) | Reading Time: 5 minutes

This Starcraft 2: Heart of the Swarm walkthrough is divided into 27 total pages.

You can jump to nearby pages of the game using the links above.

Kaldir 3: Enemy Within

Starcraft 2: Heart of the Swarm Walkthrough - Starcraft 2-Heart-of-the-Swarm 199

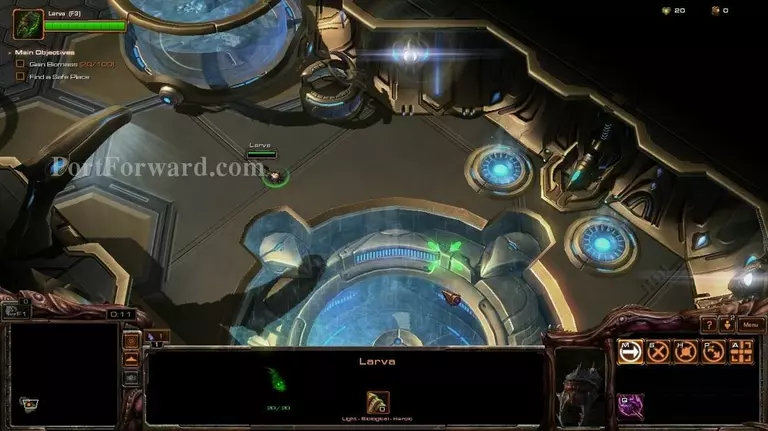
This is one of the most interesting missions, and my favorite one.

Starcraft 2: Heart of the Swarm Walkthrough - Starcraft 2-Heart-of-the-Swarm 200

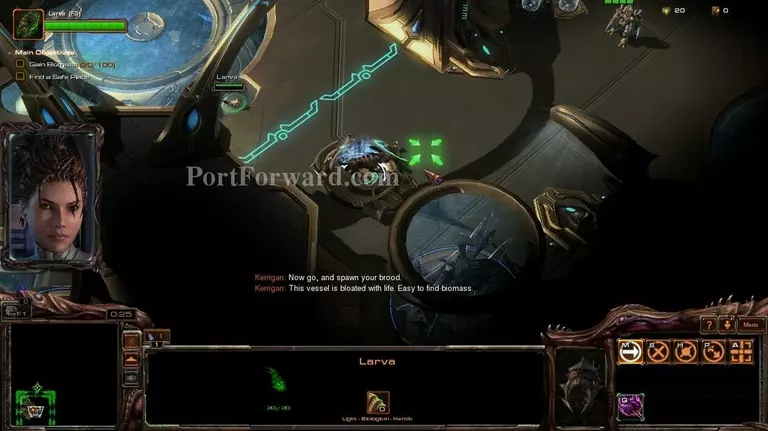
You control a larvae. Go forward until you find a neutral creature and use your first spell on it.

Starcraft 2: Heart of the Swarm Walkthrough - Starcraft 2-Heart-of-the-Swarm 201

You will hide within it, and the zealot will just continue his way forward.

Starcraft 2: Heart of the Swarm Walkthrough - Starcraft 2-Heart-of-the-Swarm 202

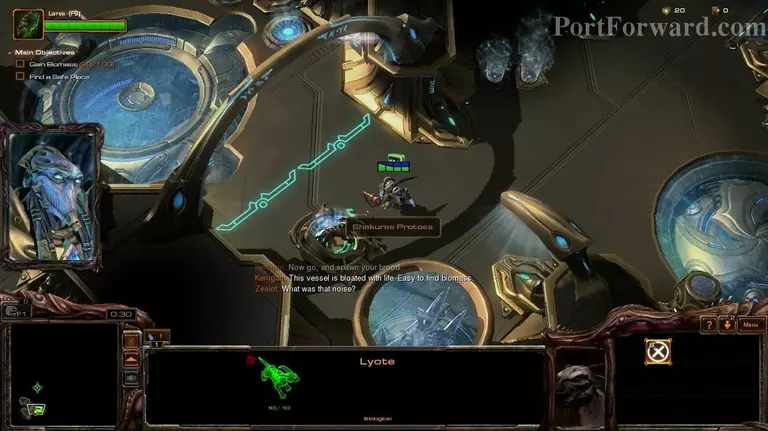
After he's off, use your second ability to consume the Lyota.

Starcraft 2: Heart of the Swarm Walkthrough - Starcraft 2-Heart-of-the-Swarm 203

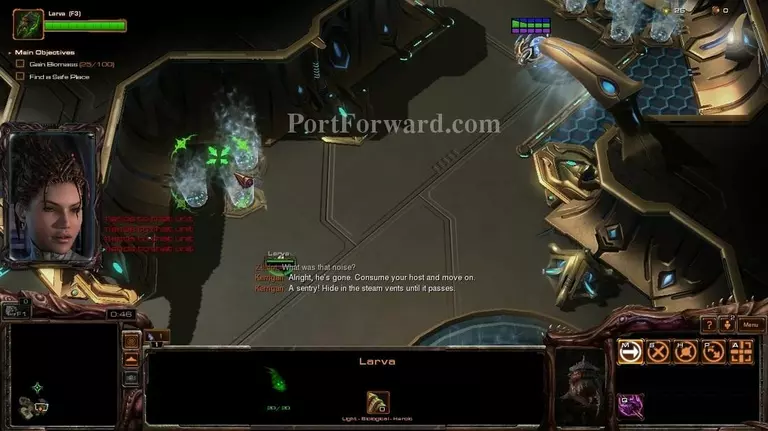
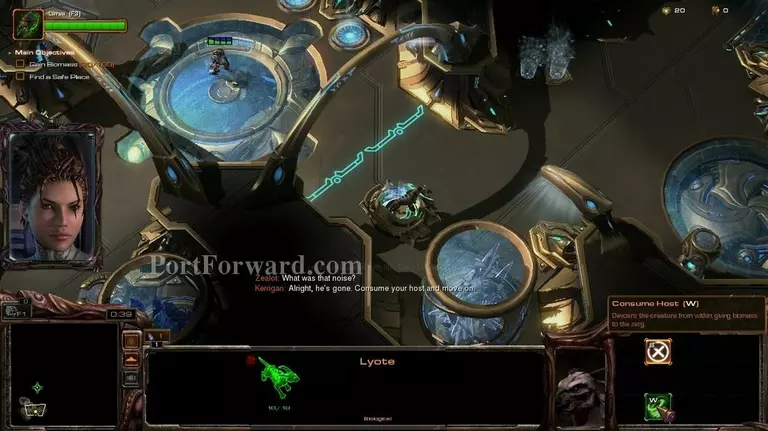
A sentry will start coming towards you, hide in the steam vents.

Starcraft 2: Heart of the Swarm Walkthrough - Starcraft 2-Heart-of-the-Swarm 204

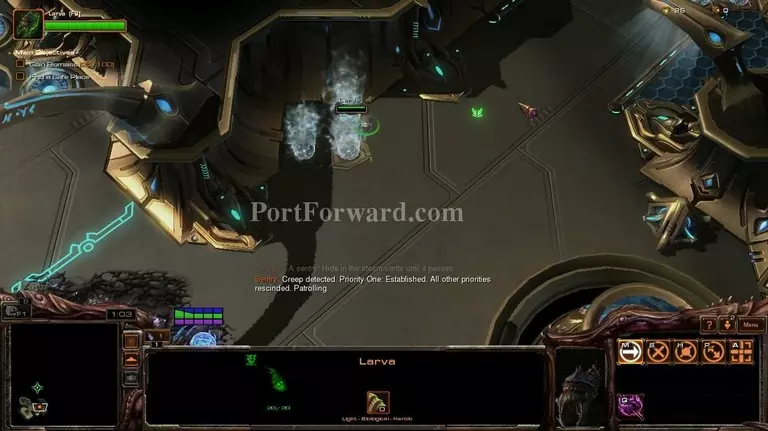
After he's off, continue forward.

Starcraft 2: Heart of the Swarm Walkthrough - Starcraft 2-Heart-of-the-Swarm 205

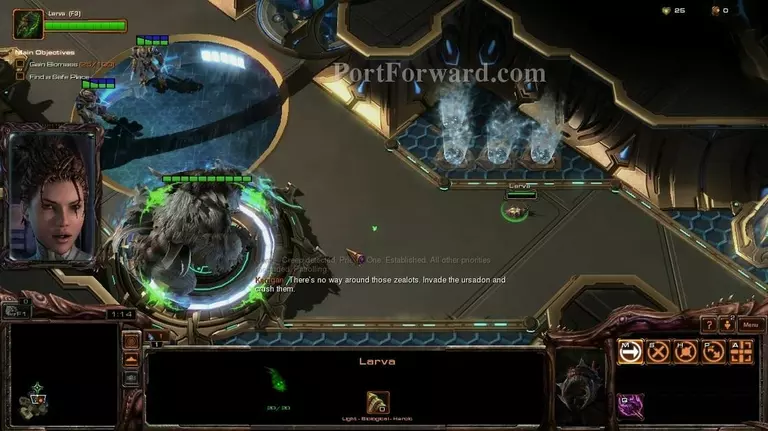
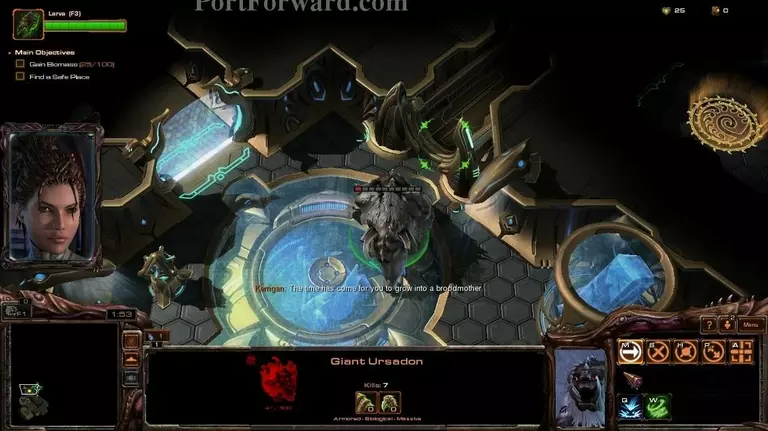
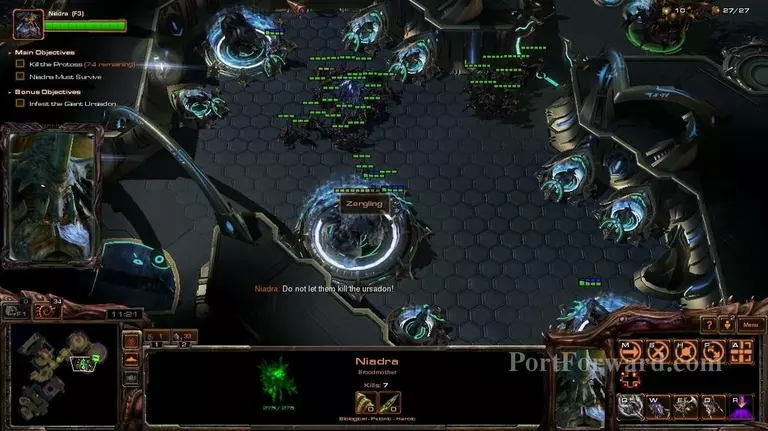
You will find a giant Ursadon. Use your ability on him and...

Starcraft 2: Heart of the Swarm Walkthrough - Starcraft 2-Heart-of-the-Swarm 206

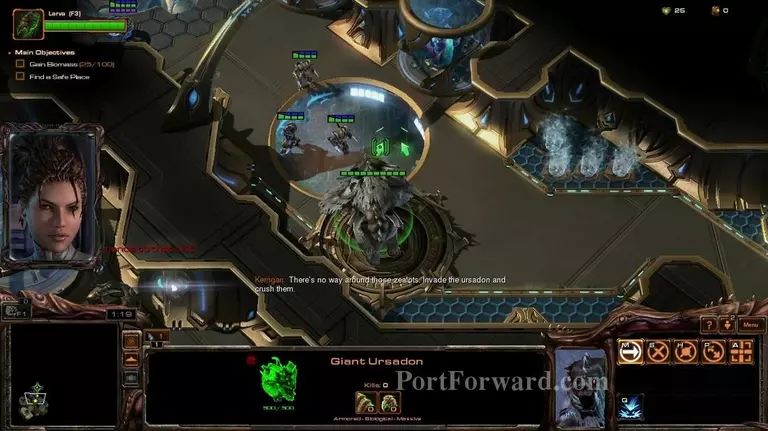
...you will take control of him. Destroy the protoss. You can use your ability on them.

Starcraft 2: Heart of the Swarm Walkthrough - Starcraft 2-Heart-of-the-Swarm 207

After you're done, use "Consume Host" and continue your way through the vents.

Starcraft 2: Heart of the Swarm Walkthrough - Starcraft 2-Heart-of-the-Swarm 208

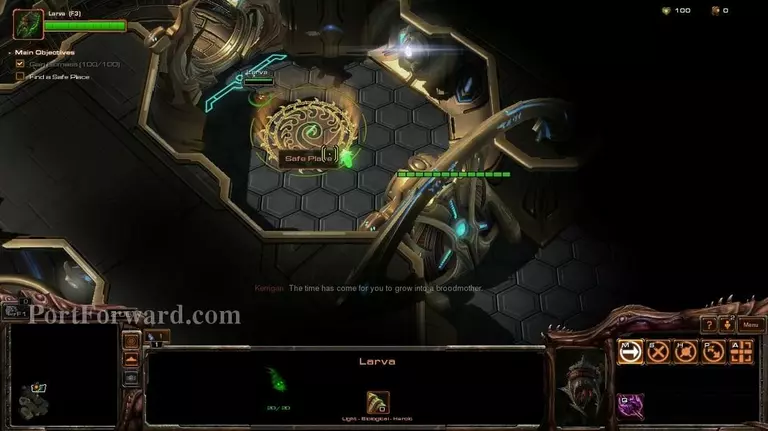
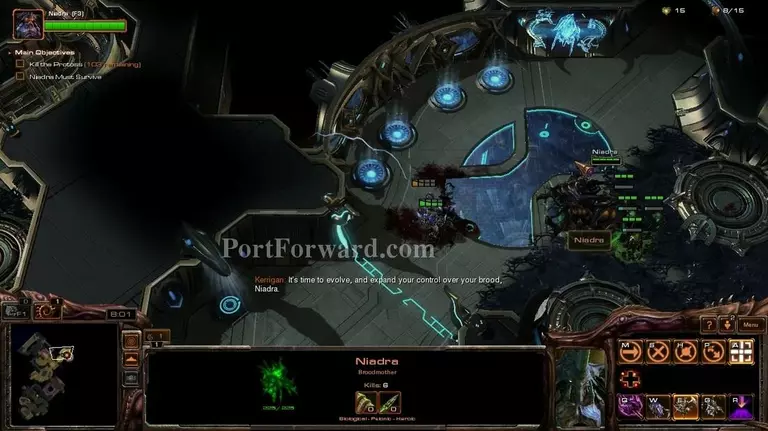
Go into the circle and...

Starcraft 2: Heart of the Swarm Walkthrough - Starcraft 2-Heart-of-the-Swarm 209

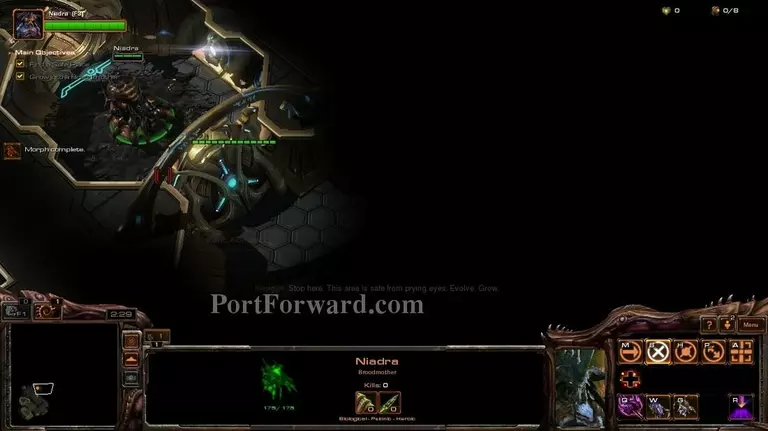
...mutate into Niadra.

Starcraft 2: Heart of the Swarm Walkthrough - Starcraft 2-Heart-of-the-Swarm 210

You can make zerglings, and i strongly suggest you do.

Starcraft 2: Heart of the Swarm Walkthrough - Starcraft 2-Heart-of-the-Swarm 211

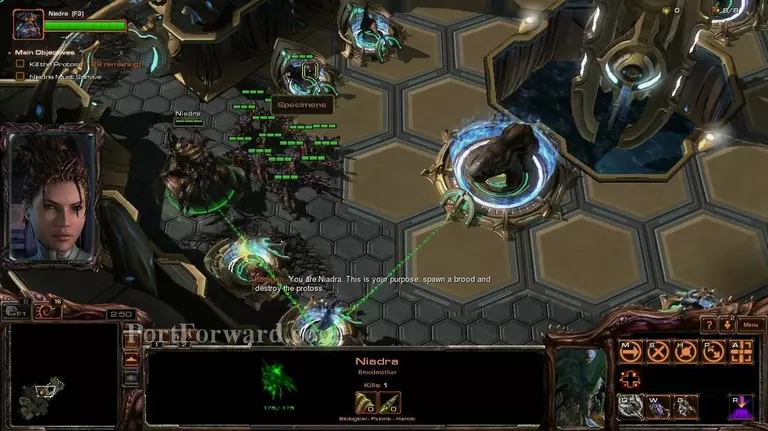
Go forward, using your first ability on every creature you find.

Starcraft 2: Heart of the Swarm Walkthrough - Starcraft 2-Heart-of-the-Swarm 212

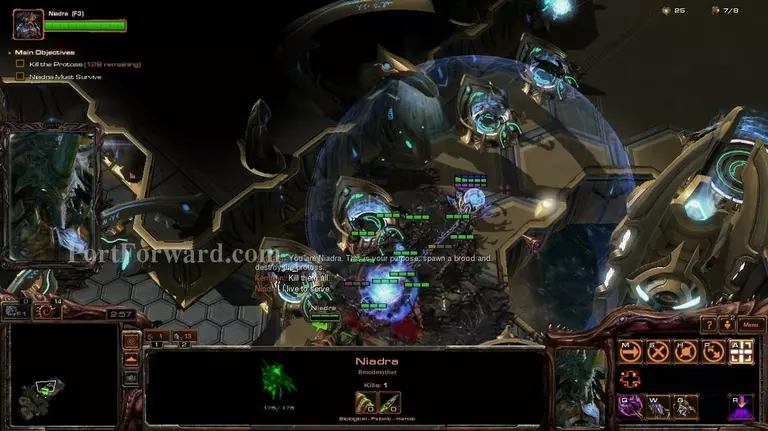
You can take care of the protoss with the zerglings while Niadra is collecting biomass.

Starcraft 2: Heart of the Swarm Walkthrough - Starcraft 2-Heart-of-the-Swarm 213

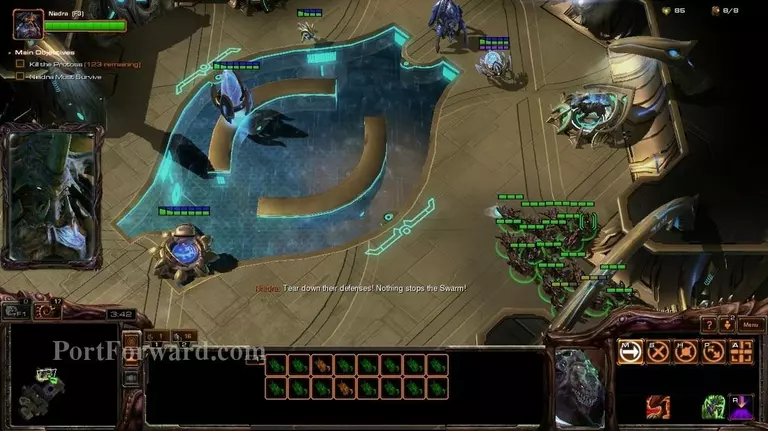
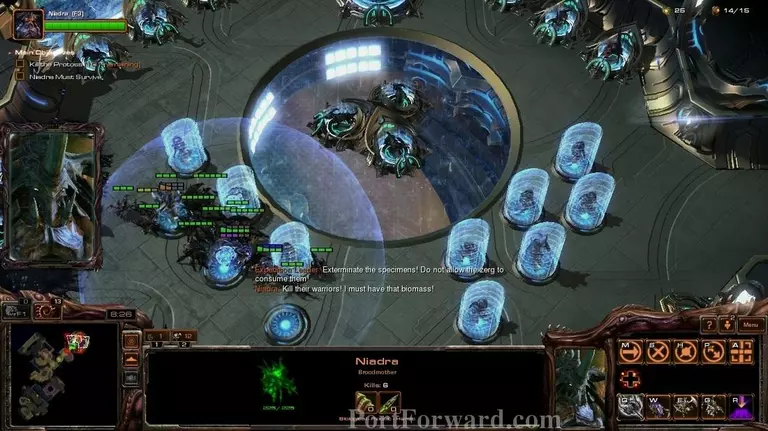
In the next room you will find a small protoss force with a probe.

Starcraft 2: Heart of the Swarm Walkthrough - Starcraft 2-Heart-of-the-Swarm 214

I recommend taking care of the probe, since it will construct additional cannons.

Starcraft 2: Heart of the Swarm Walkthrough - Starcraft 2-Heart-of-the-Swarm 215

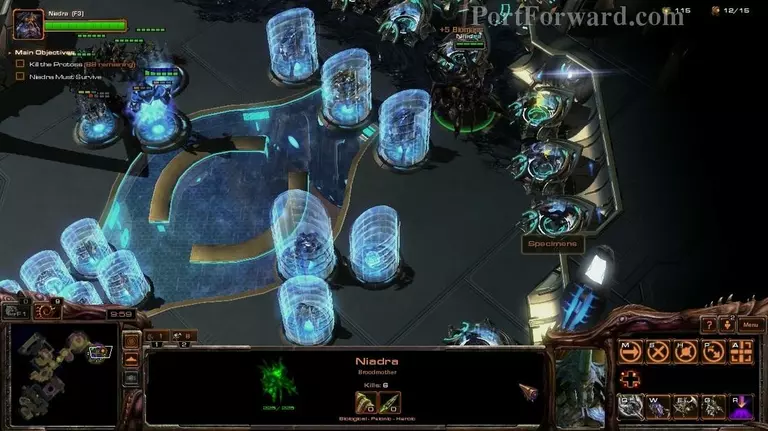
After you're done with that, use the zerglings to go through the vents (Niadra is too big to fit in there).

Starcraft 2: Heart of the Swarm Walkthrough - Starcraft 2-Heart-of-the-Swarm 216

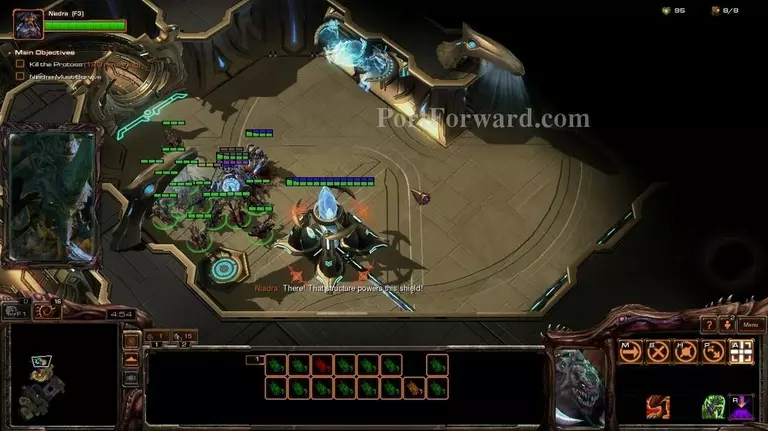
Use the zerglings to destroy the generator.

Starcraft 2: Heart of the Swarm Walkthrough - Starcraft 2-Heart-of-the-Swarm 217

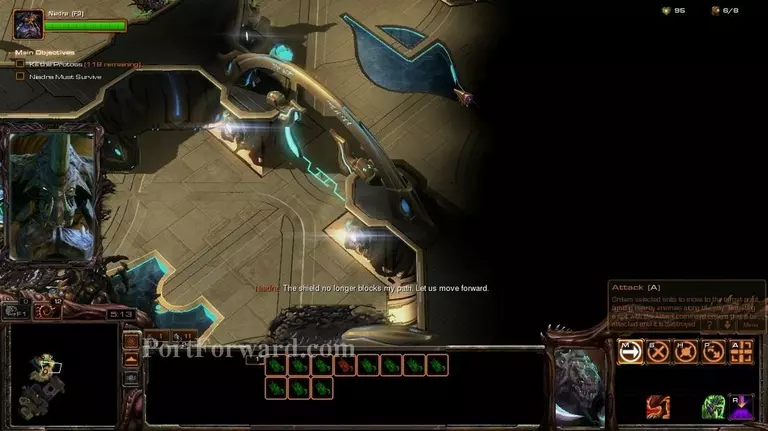
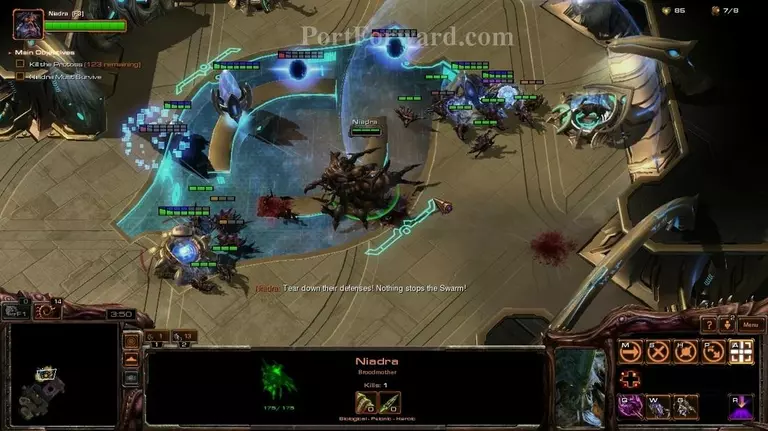
After you are done with that, the force field that blocked the way before will open and you will be able to continue with Niadra.

Starcraft 2: Heart of the Swarm Walkthrough - Starcraft 2-Heart-of-the-Swarm 218

Use the zerglings to go through the vents again.

Starcraft 2: Heart of the Swarm Walkthrough - Starcraft 2-Heart-of-the-Swarm 219

Use them to destroy the cannon and the generator on the other side of the force field.

Starcraft 2: Heart of the Swarm Walkthrough - Starcraft 2-Heart-of-the-Swarm 220

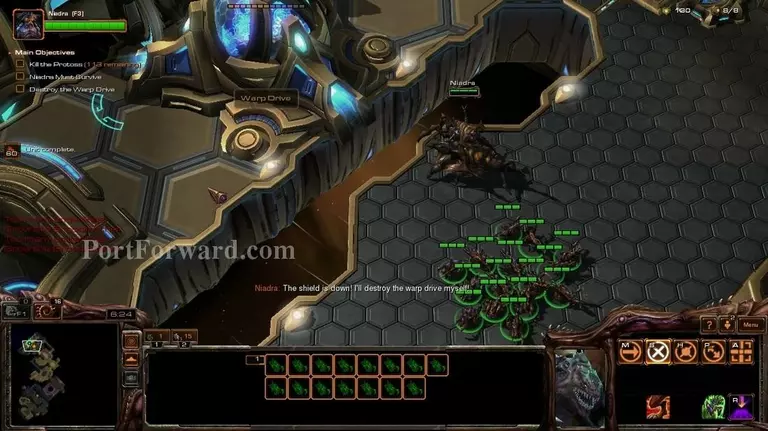
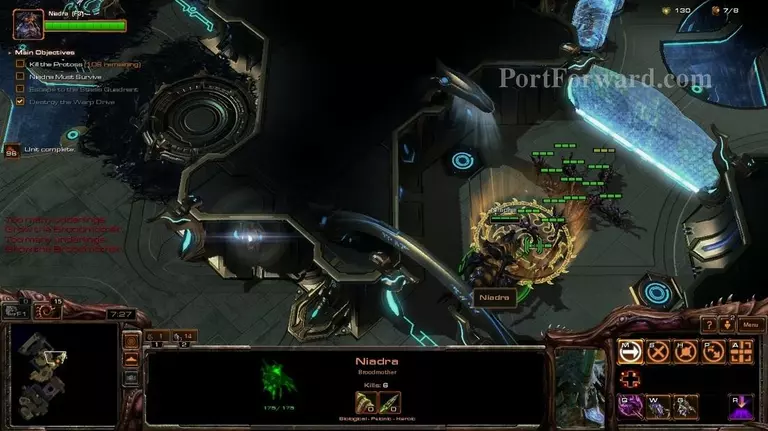
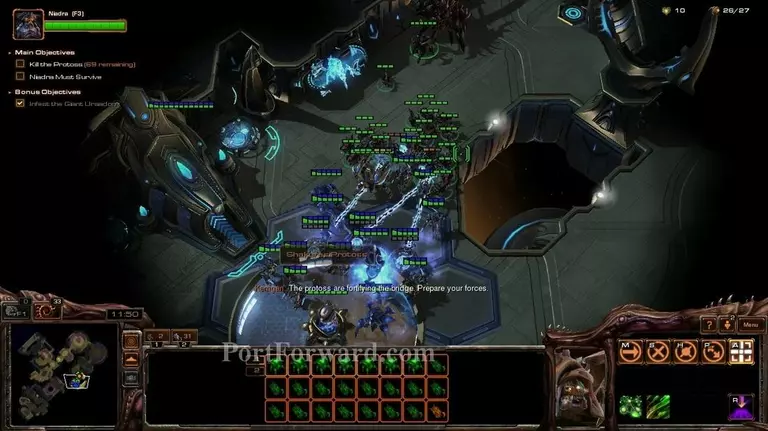
Now Niadra has access to this area. Destroy the Warp Drive.

Starcraft 2: Heart of the Swarm Walkthrough - Starcraft 2-Heart-of-the-Swarm 221

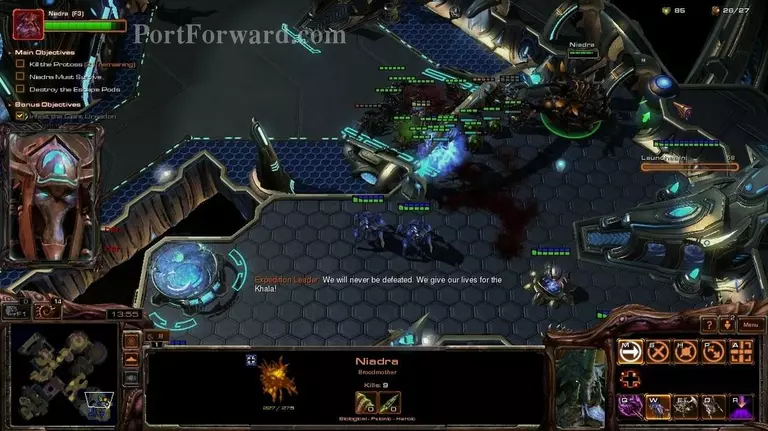
After you do that, go to the place marked on the minimap. Destroy the archon first, since it will decimate your zerglings.

Starcraft 2: Heart of the Swarm Walkthrough - Starcraft 2-Heart-of-the-Swarm 222

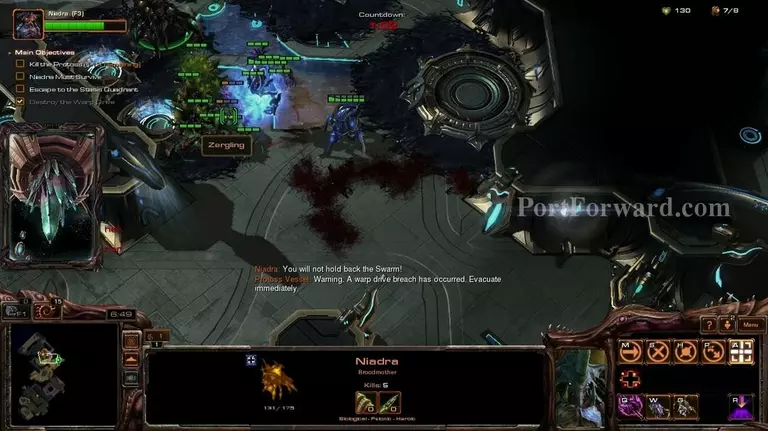
A timer should appear on the top. Try to get to the area before the timer runs out.

Starcraft 2: Heart of the Swarm Walkthrough - Starcraft 2-Heart-of-the-Swarm 223

After you reach the place, the timer will stop.

Starcraft 2: Heart of the Swarm Walkthrough - Starcraft 2-Heart-of-the-Swarm 224

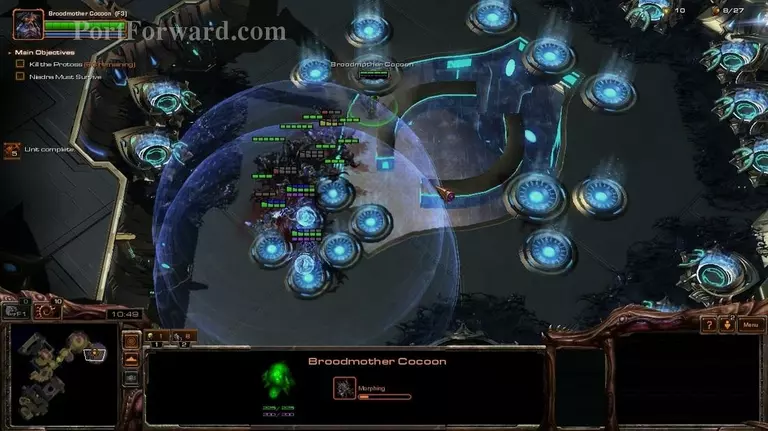
After the force field opens up, just go to the next room and consume the biomass from the creatures.

Starcraft 2: Heart of the Swarm Walkthrough - Starcraft 2-Heart-of-the-Swarm 225

You should be able to evolve Niadra even more now.

Starcraft 2: Heart of the Swarm Walkthrough - Starcraft 2-Heart-of-the-Swarm 226

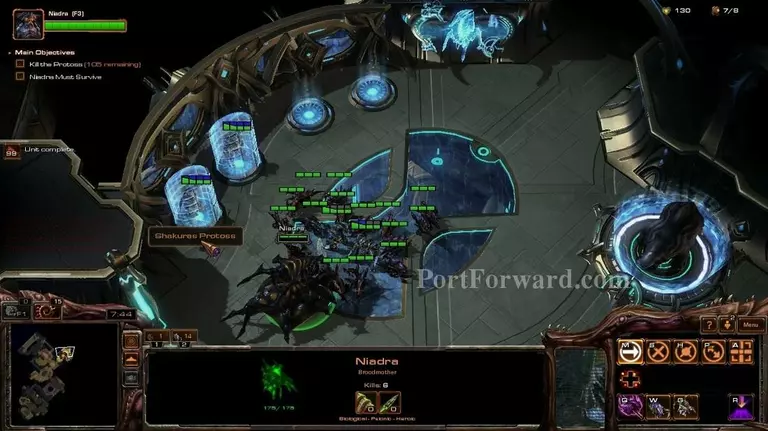
After doing so, you will gain access to roaches and more supply.

Starcraft 2: Heart of the Swarm Walkthrough - Starcraft 2-Heart-of-the-Swarm 227

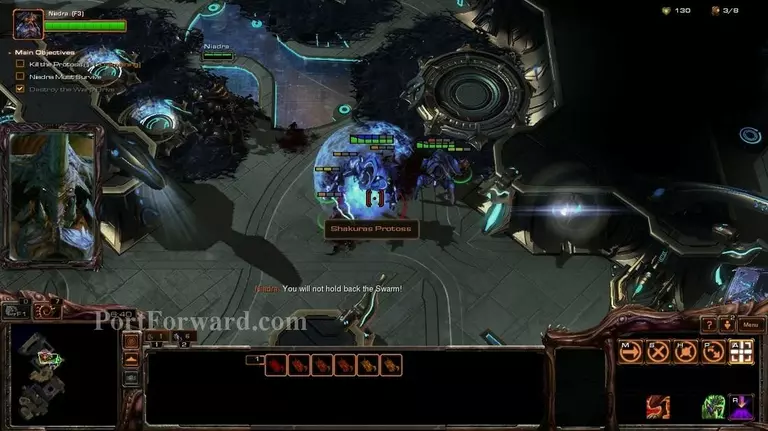
In the next room, be careful because the protoss will attack the creatures. Take care of the biomass with Niadra while your forces take care of the protoss forces.

Starcraft 2: Heart of the Swarm Walkthrough - Starcraft 2-Heart-of-the-Swarm 228

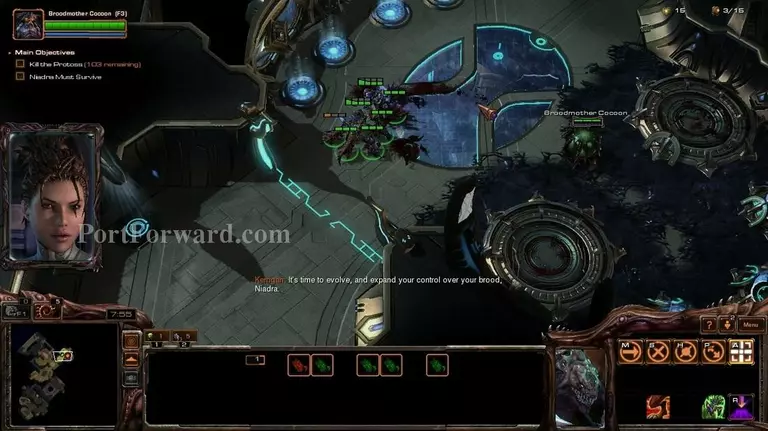
The next room is almost the same.

Starcraft 2: Heart of the Swarm Walkthrough - Starcraft 2-Heart-of-the-Swarm 229

You should gather enough biomass to evolve yet again in the room.

Starcraft 2: Heart of the Swarm Walkthrough - Starcraft 2-Heart-of-the-Swarm 230

You should gain Hydras and more supply.

Starcraft 2: Heart of the Swarm Walkthrough - Starcraft 2-Heart-of-the-Swarm 231

In the next room, you will find an Ursadon. Make sure you grab control of him with Niadra, as he will aid you.

Starcraft 2: Heart of the Swarm Walkthrough - Starcraft 2-Heart-of-the-Swarm 232

Go in the next room and destroy the generator.

Starcraft 2: Heart of the Swarm Walkthrough - Starcraft 2-Heart-of-the-Swarm 233

The next phase of the level is a bit hard. Make sure you're constantly reinforcing with Niadra, while your main forces are attacking.

Starcraft 2: Heart of the Swarm Walkthrough - Starcraft 2-Heart-of-the-Swarm 234

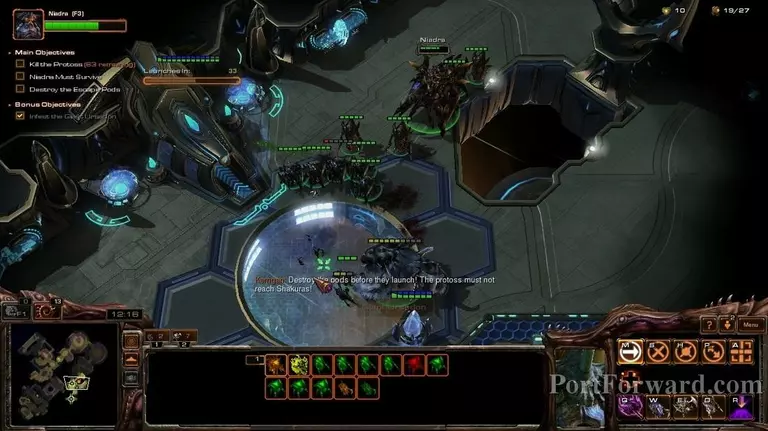
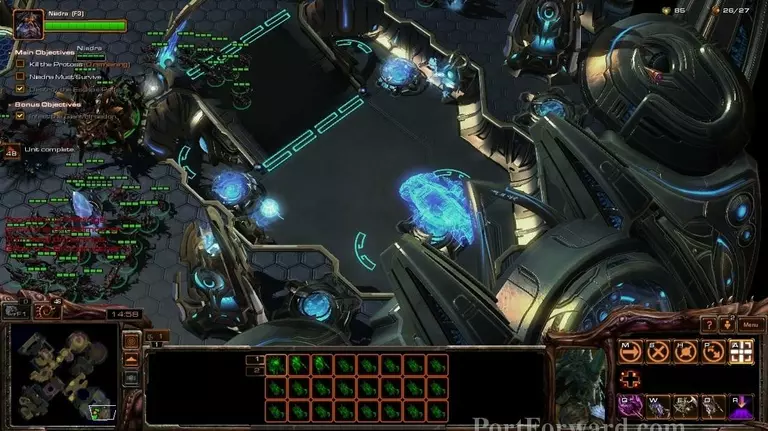
You have to destroy the pods before the timer runs out.

Starcraft 2: Heart of the Swarm Walkthrough - Starcraft 2-Heart-of-the-Swarm 235

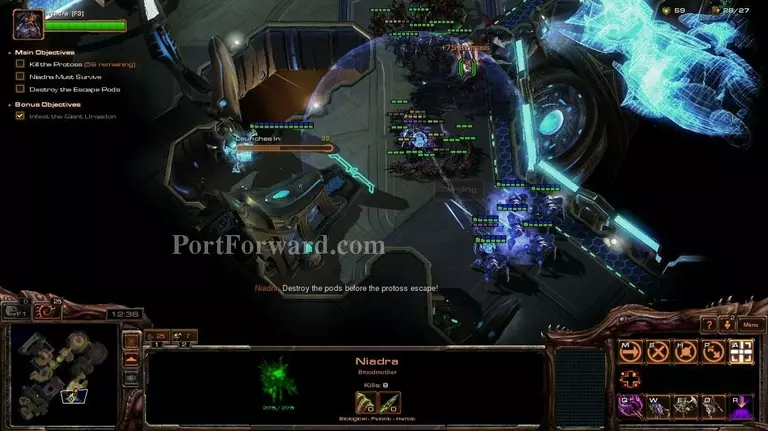
There are around 5 pods in this room.

Starcraft 2: Heart of the Swarm Walkthrough - Starcraft 2-Heart-of-the-Swarm 236

After you're done with that, destroy the protoss forces.

Starcraft 2: Heart of the Swarm Walkthrough - Starcraft 2-Heart-of-the-Swarm 237

When it's over...

Starcraft 2: Heart of the Swarm Walkthrough - Starcraft 2-Heart-of-the-Swarm 238

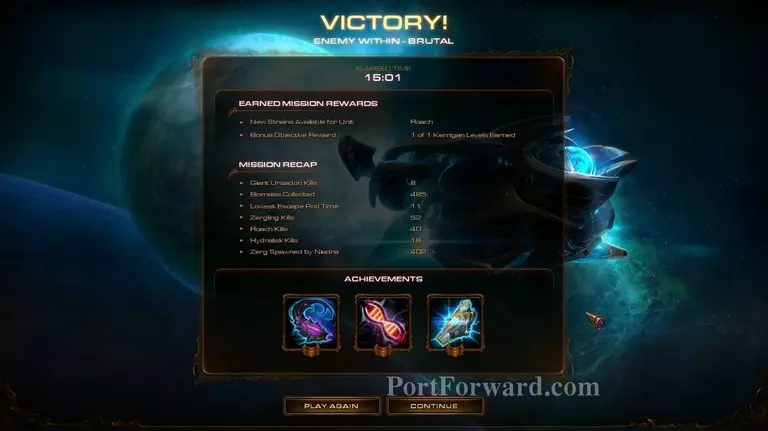
...it's over with the whole mission.

More Starcraft 2: Heart of the Swarm Walkthroughs

This Starcraft 2: Heart of the Swarm walkthrough is divided into 27 total pages.

More From Portforward