Starcraft 2: Heart of the Swarm Walkthrough Zerus 2: The Crucible

September 12, 2016 (Last Updated: ) | Reading Time: 5 minutes

This Starcraft 2: Heart of the Swarm walkthrough is divided into 27 total pages.

You can jump to nearby pages of the game using the links above.

Zerus 2: The Crucible

Starcraft 2: Heart of the Swarm Walkthrough - Starcraft 2-Heart-of-the-Swarm 280

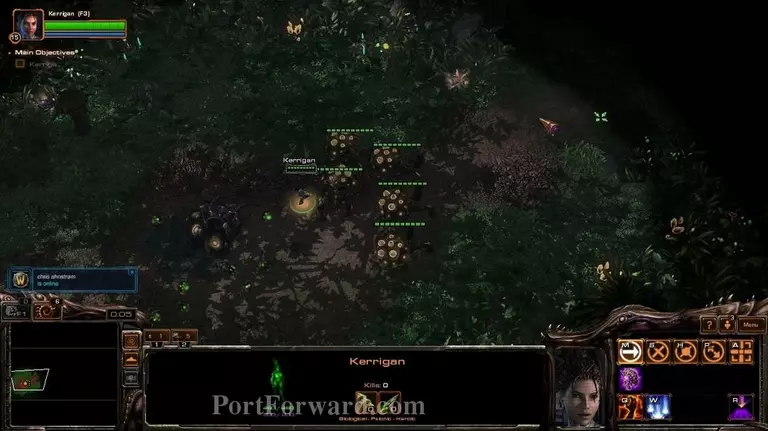
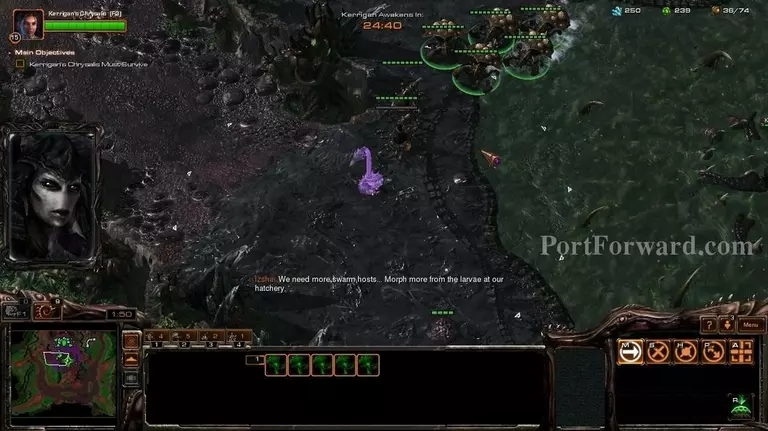
In this mission you start off with Kerrigan and a new unit. The swarm host.

Starcraft 2: Heart of the Swarm Walkthrough - Starcraft 2-Heart-of-the-Swarm 281

When you burrow them, they will send out locusts, ranged versions of zerglings.

Starcraft 2: Heart of the Swarm Walkthrough - Starcraft 2-Heart-of-the-Swarm 282

They are not too powerful, but the ability to make free units is incredibly useful.

Starcraft 2: Heart of the Swarm Walkthrough - Starcraft 2-Heart-of-the-Swarm 283

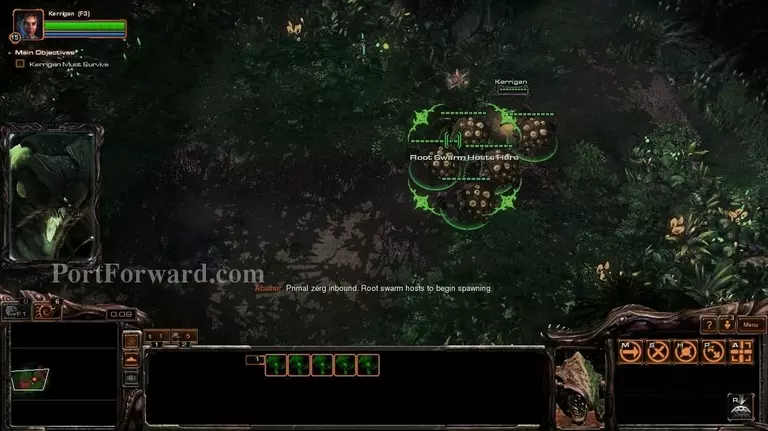
Destroy the primal zerg attack...

Starcraft 2: Heart of the Swarm Walkthrough - Starcraft 2-Heart-of-the-Swarm 284

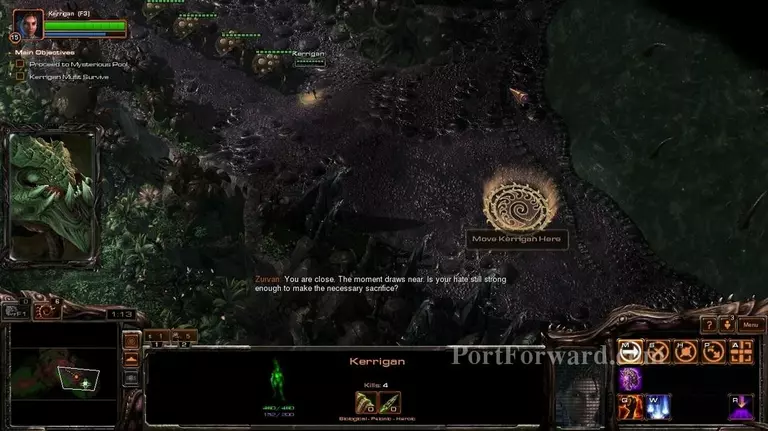
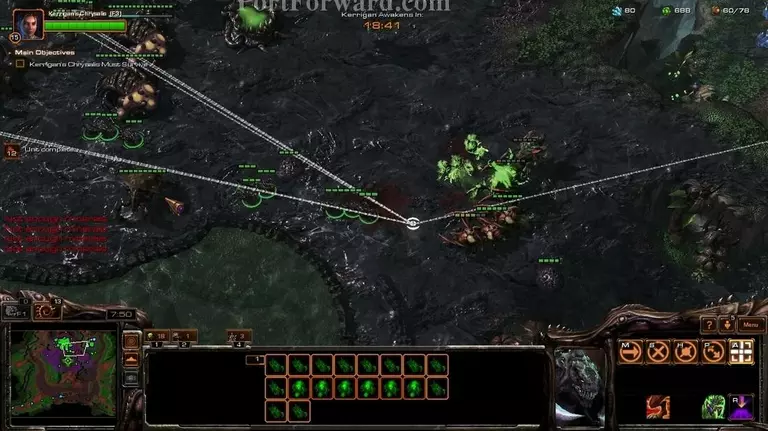
...and continue forward to the circle.

Starcraft 2: Heart of the Swarm Walkthrough - Starcraft 2-Heart-of-the-Swarm 285

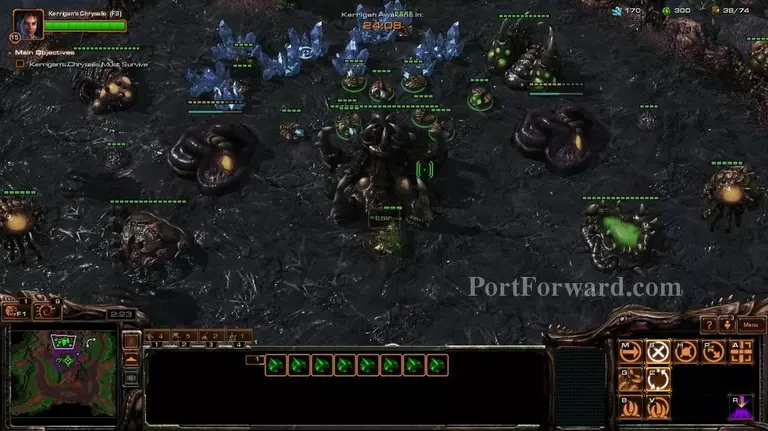
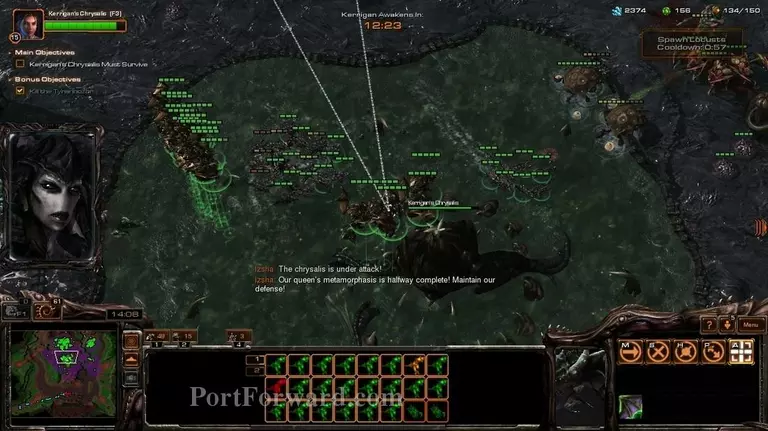
When you step into the circle, you will lose Kerrigan. She will be inside the chrysalis.

Starcraft 2: Heart of the Swarm Walkthrough - Starcraft 2-Heart-of-the-Swarm 286

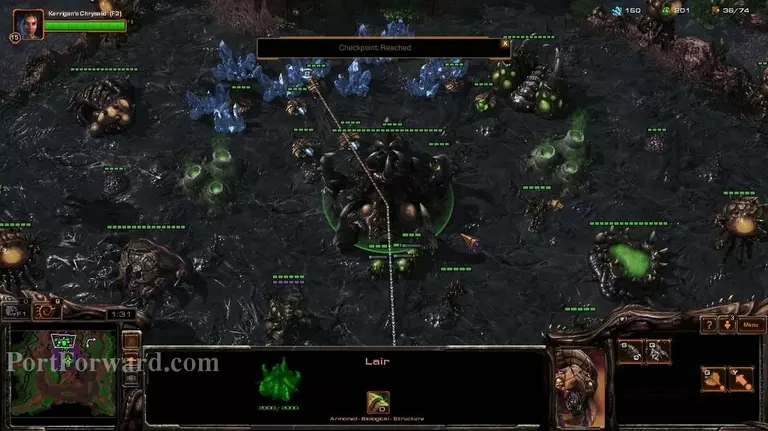
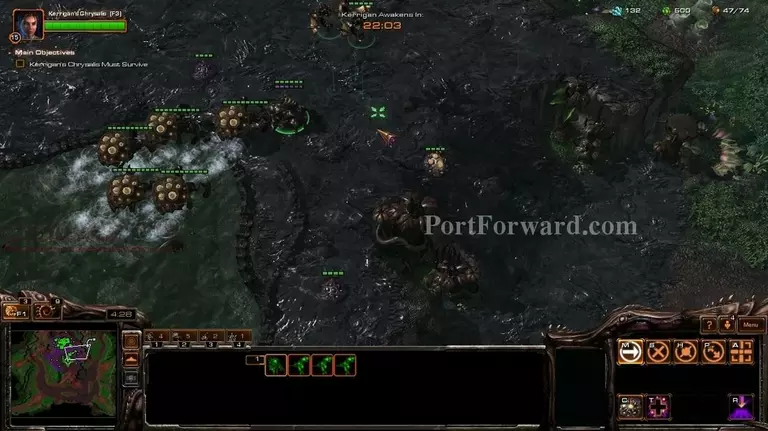
Like the usual, start by droning up.

Starcraft 2: Heart of the Swarm Walkthrough - Starcraft 2-Heart-of-the-Swarm 287

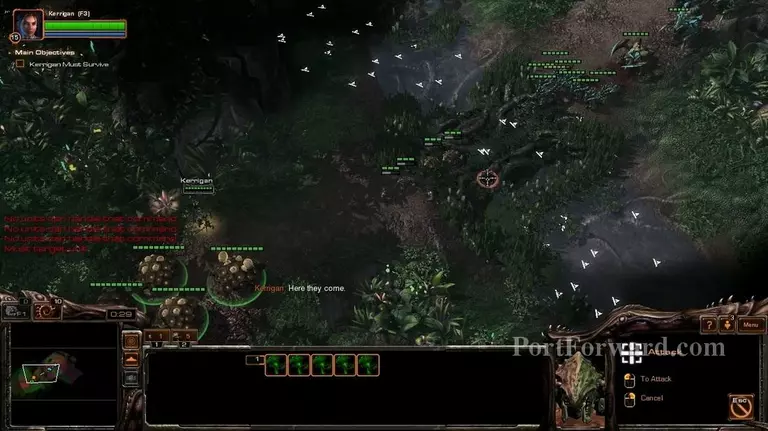
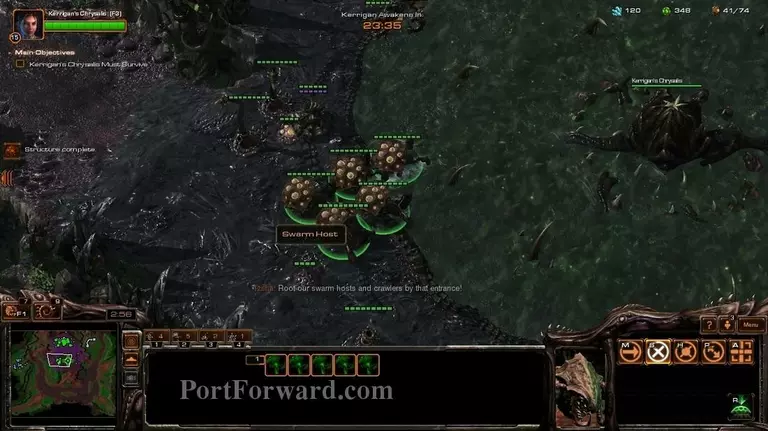
The first wave of enemy forces will be to the left, so put your spine crawlers and burrow your swarm hosts over there.

Starcraft 2: Heart of the Swarm Walkthrough - Starcraft 2-Heart-of-the-Swarm 288

Since the swarm hosts and the mutalisks require a lot of gas, make the extractors early, but don't put drones into them instantly.

Starcraft 2: Heart of the Swarm Walkthrough - Starcraft 2-Heart-of-the-Swarm 289

Use your only available queen to creep spread a little. It's not entirely useful in this mission, but it is still not hurting anything.

Starcraft 2: Heart of the Swarm Walkthrough - Starcraft 2-Heart-of-the-Swarm 290

You should be able to hold off the first way with ease.

Starcraft 2: Heart of the Swarm Walkthrough - Starcraft 2-Heart-of-the-Swarm 291

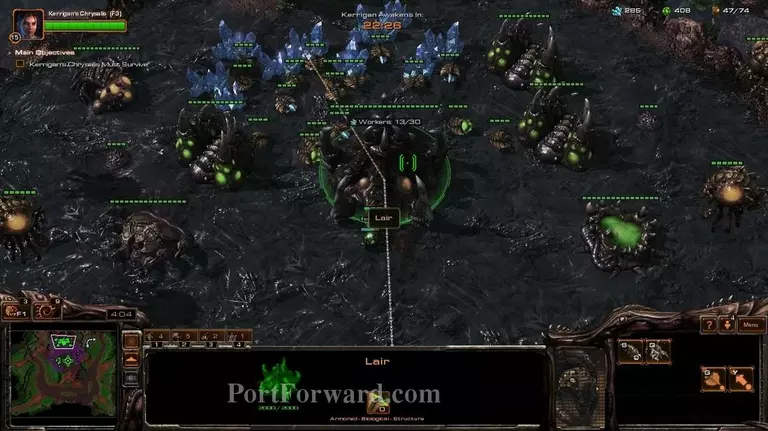
Now you can put the drones in the extractors.

Starcraft 2: Heart of the Swarm Walkthrough - Starcraft 2-Heart-of-the-Swarm 292

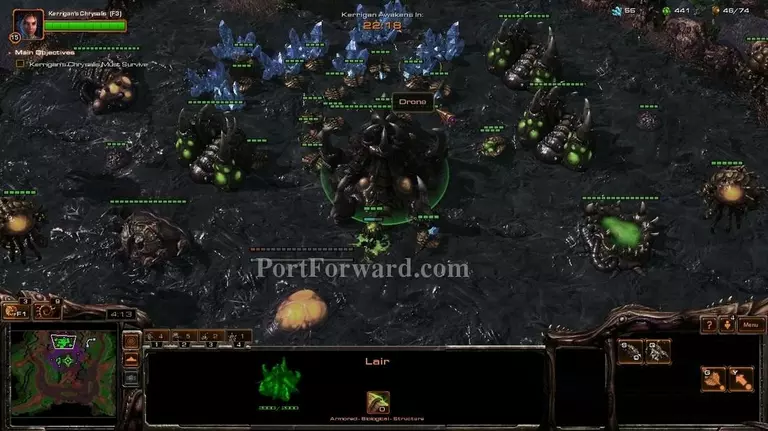
Also make a hatchery.

Starcraft 2: Heart of the Swarm Walkthrough - Starcraft 2-Heart-of-the-Swarm 293

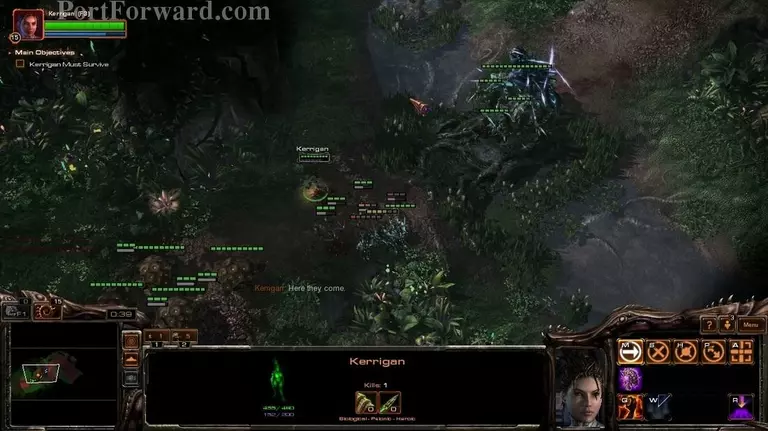
Move your forces to the right side, since that's when the enemy is going to be attacking next.

Starcraft 2: Heart of the Swarm Walkthrough - Starcraft 2-Heart-of-the-Swarm 294

Make an expansion to the right. Usually, it never gets attacked so you can just leave it there without worrying about it.

Starcraft 2: Heart of the Swarm Walkthrough - Starcraft 2-Heart-of-the-Swarm 295

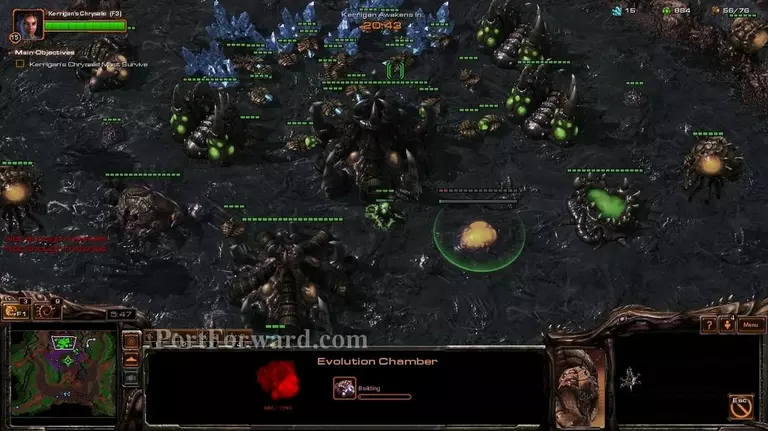
Remember to make 2 evolution chambers and start on the upgrades.

Starcraft 2: Heart of the Swarm Walkthrough - Starcraft 2-Heart-of-the-Swarm 296

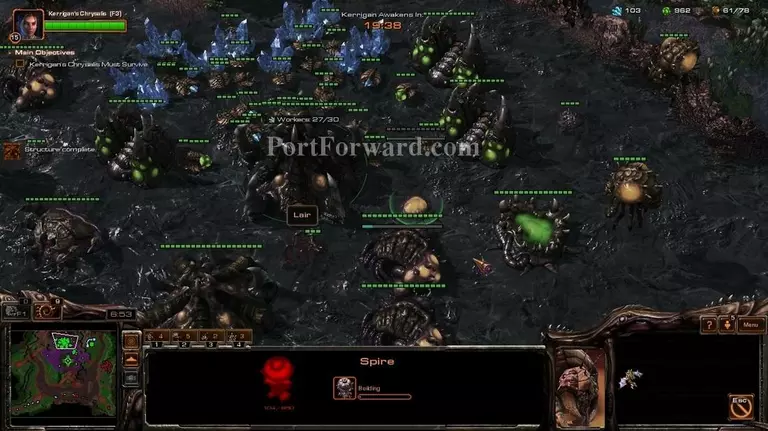
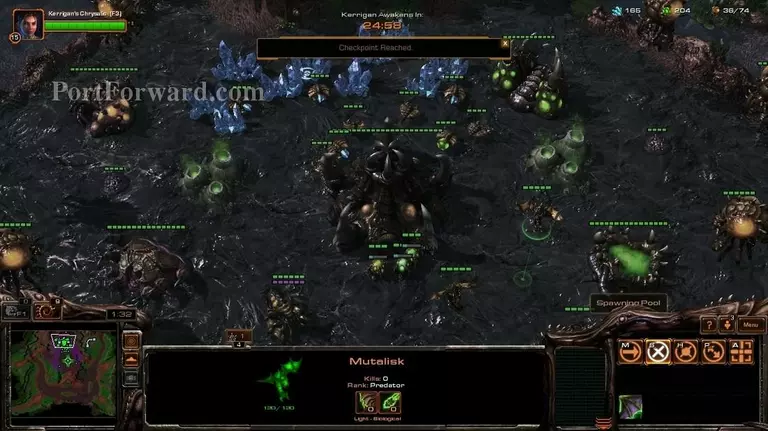
Also, make a spire as we will need the mutalisks, and drones for the expansion. If you want, you can make a third hatchery.

Starcraft 2: Heart of the Swarm Walkthrough - Starcraft 2-Heart-of-the-Swarm 297

You might have some trouble with the second wave.

Starcraft 2: Heart of the Swarm Walkthrough - Starcraft 2-Heart-of-the-Swarm 298

Make a bunch of zerglings and make sure you killed the Ultralisk and you're golden.

Starcraft 2: Heart of the Swarm Walkthrough - Starcraft 2-Heart-of-the-Swarm 299

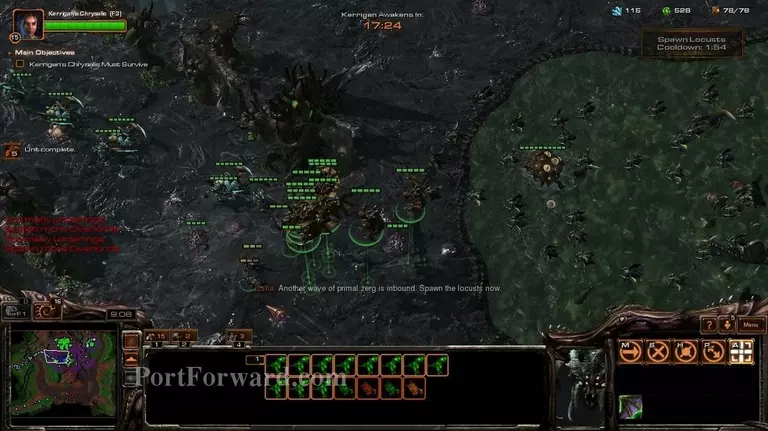
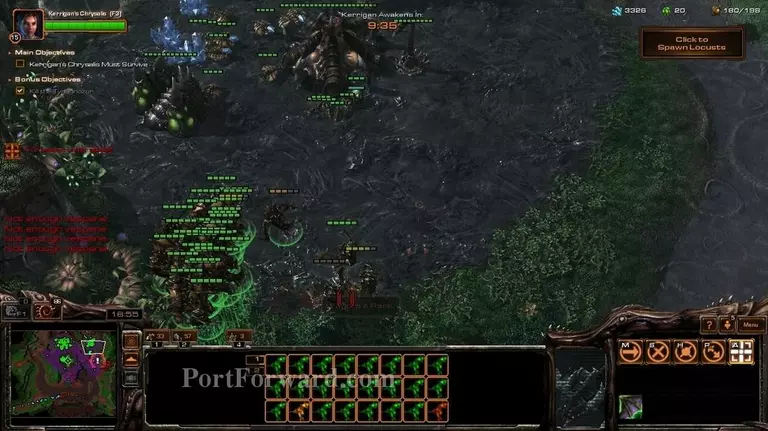
You will gain an ability that you can activate from the top right of the screen. Use it on every wave, since it has a really short cooldown.

Starcraft 2: Heart of the Swarm Walkthrough - Starcraft 2-Heart-of-the-Swarm 300

You should also start massing on mutalisks.

Starcraft 2: Heart of the Swarm Walkthrough - Starcraft 2-Heart-of-the-Swarm 301

Don't forget to put drones on the extractors of you expansion, gas is really important.

Starcraft 2: Heart of the Swarm Walkthrough - Starcraft 2-Heart-of-the-Swarm 302

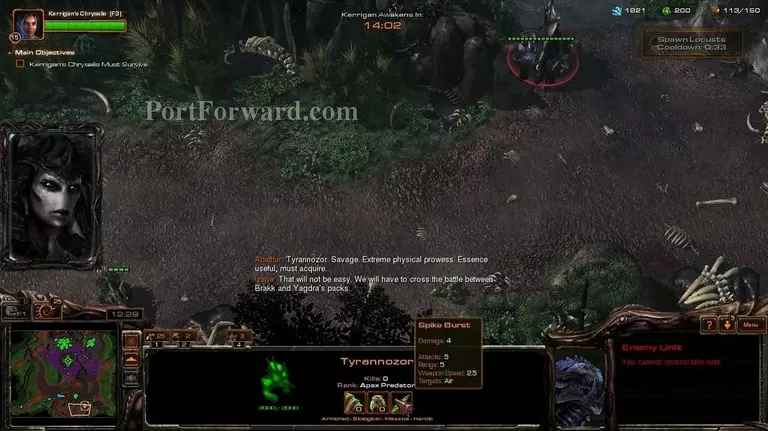
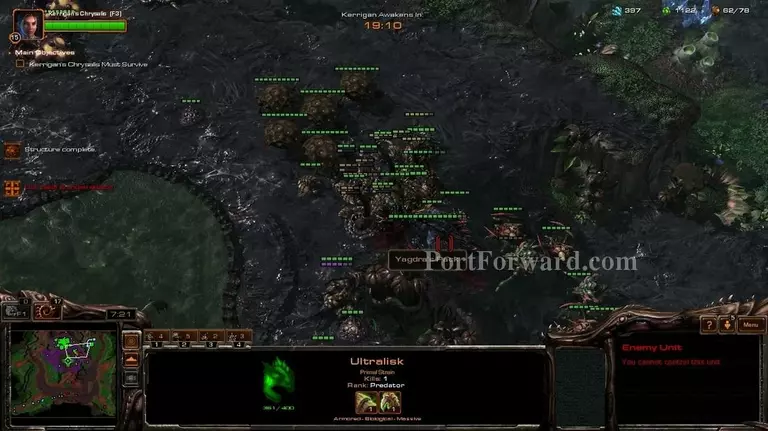
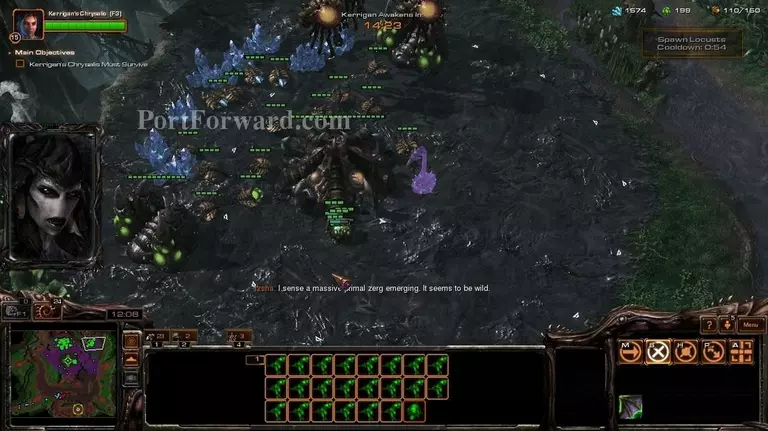
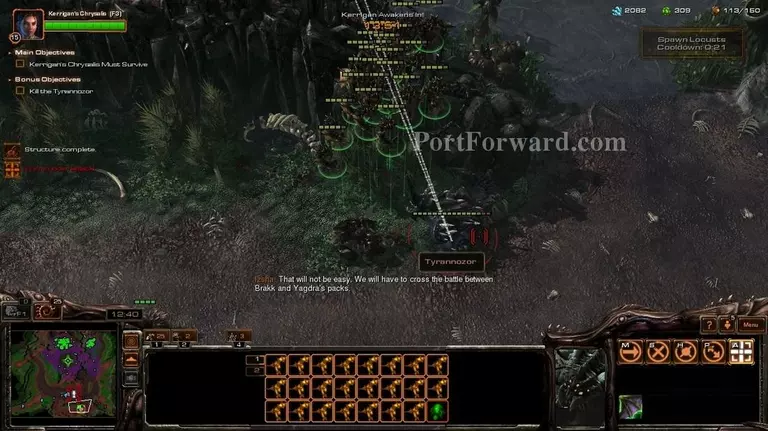
After a bit, an optional moster will appear. I recommend you take it out right after it appeared on the map with your mutalisks.

Starcraft 2: Heart of the Swarm Walkthrough - Starcraft 2-Heart-of-the-Swarm 303

He deals splash damage though...

Starcraft 2: Heart of the Swarm Walkthrough - Starcraft 2-Heart-of-the-Swarm 304

...so try to split your mutalisks up.

Starcraft 2: Heart of the Swarm Walkthrough - Starcraft 2-Heart-of-the-Swarm 305

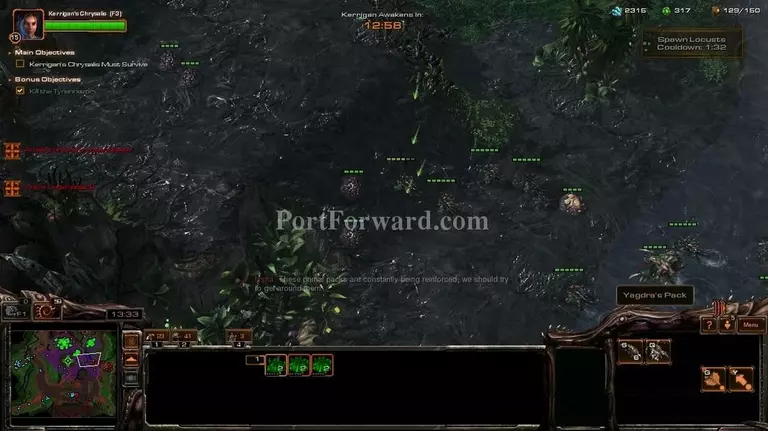
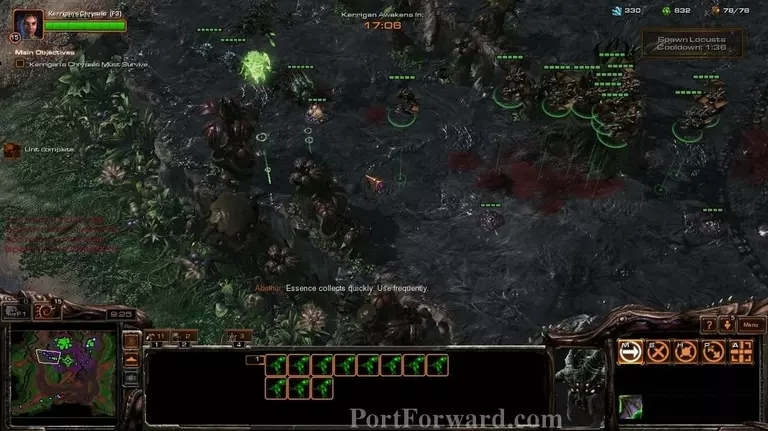
A bit after the optinal objective is started, you will get attacked on both fronts. Spawn the locusts and use the mutalisks to finish of the remains.

Starcraft 2: Heart of the Swarm Walkthrough - Starcraft 2-Heart-of-the-Swarm 306

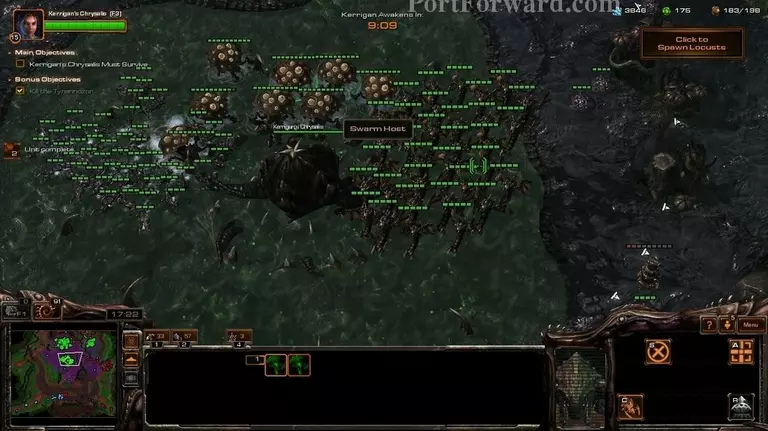
After you have ~30 mutalisks, start making swarm hosts only.

Starcraft 2: Heart of the Swarm Walkthrough - Starcraft 2-Heart-of-the-Swarm 307

Also, your expansion might get attacked by flyers from time to time, take them out with your mutalisks.

Starcraft 2: Heart of the Swarm Walkthrough - Starcraft 2-Heart-of-the-Swarm 308

You should have a big flock of mutalisks and a bunch of swarm hosts. Don't make zerglings unless you need some units really fast.

Starcraft 2: Heart of the Swarm Walkthrough - Starcraft 2-Heart-of-the-Swarm 309

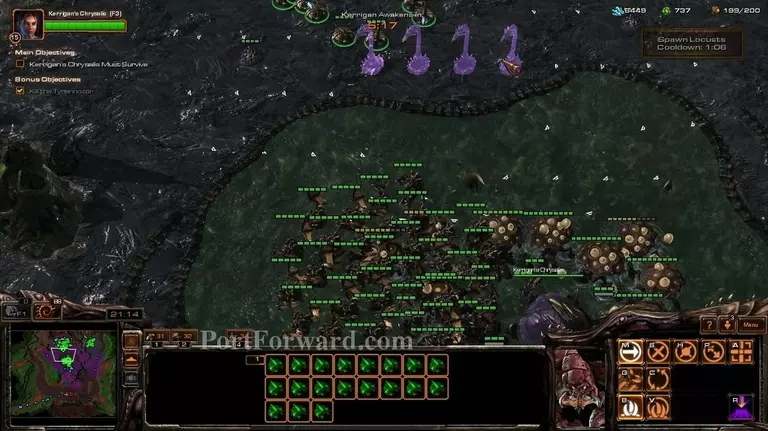
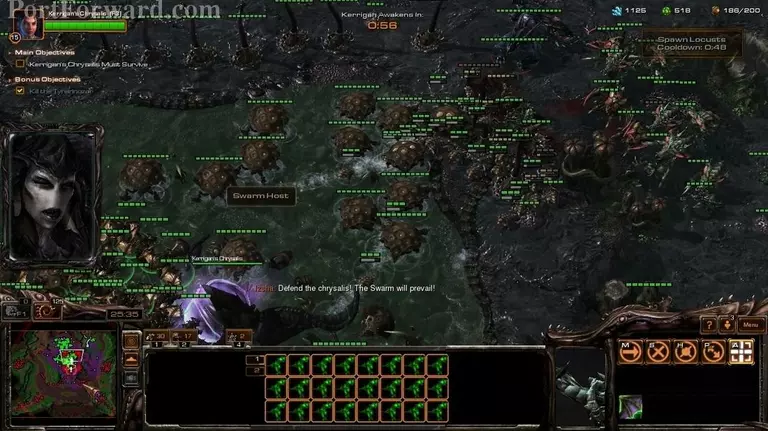
At around 5 minutes remaining, start using up all of your drones to make spine crawlers around the whole place.

Starcraft 2: Heart of the Swarm Walkthrough - Starcraft 2-Heart-of-the-Swarm 310

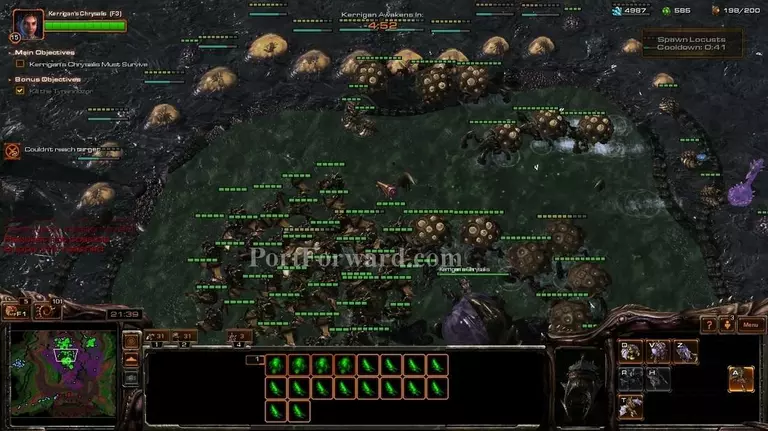
Make as many as you can, but leaving a few drones at your main base to gather minerals.

Starcraft 2: Heart of the Swarm Walkthrough - Starcraft 2-Heart-of-the-Swarm 311

Also, start splitting your groups of swarm host, ideally 3 groups for every entrance to the base.

Starcraft 2: Heart of the Swarm Walkthrough - Starcraft 2-Heart-of-the-Swarm 312

Ideally, the area around the chrysalis should look like this.

Starcraft 2: Heart of the Swarm Walkthrough - Starcraft 2-Heart-of-the-Swarm 313

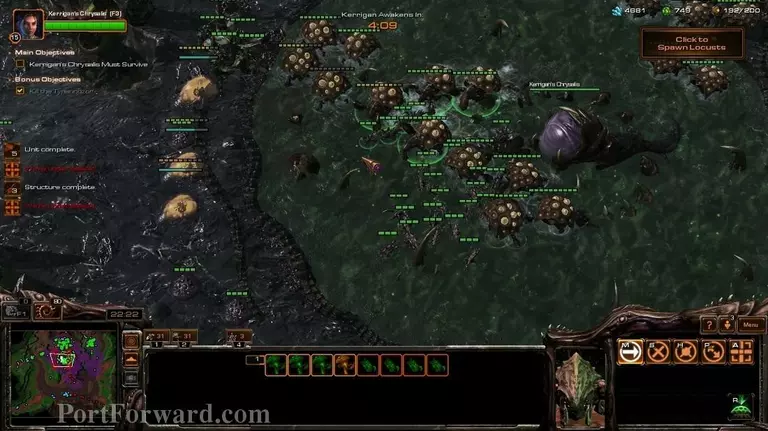
Use your locusts at around 2min and 30 seconds remaining.

Starcraft 2: Heart of the Swarm Walkthrough - Starcraft 2-Heart-of-the-Swarm 314

The last waves can be pretty tough, also defending the expansion at this point is unneded.

Starcraft 2: Heart of the Swarm Walkthrough - Starcraft 2-Heart-of-the-Swarm 315

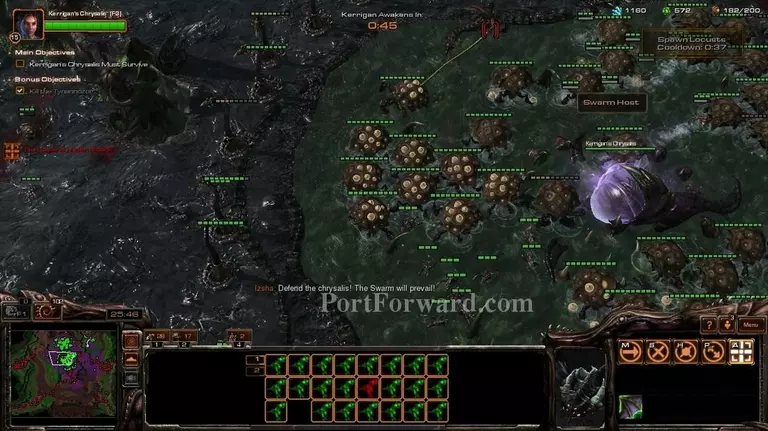
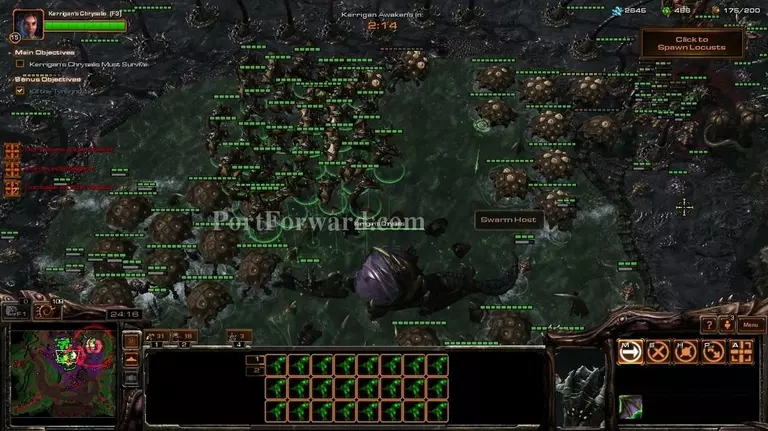
Use your locusts again as soon as you can.

Starcraft 2: Heart of the Swarm Walkthrough - Starcraft 2-Heart-of-the-Swarm 316

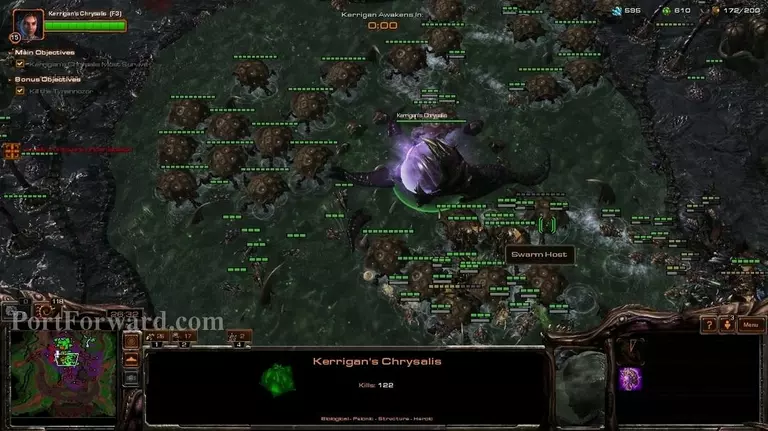
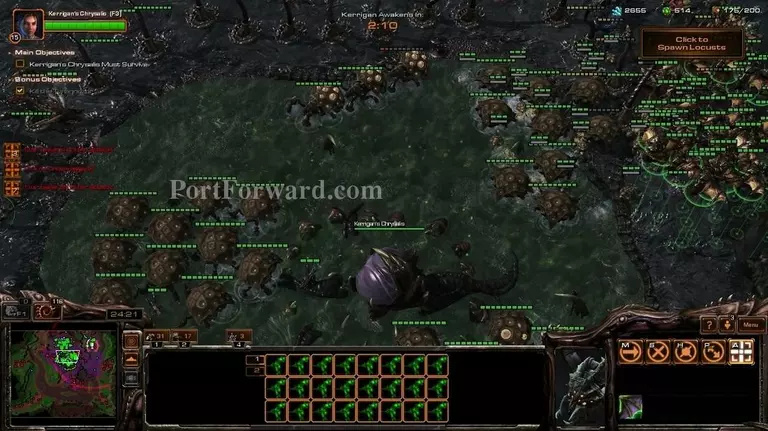
If everything went properly...

Starcraft 2: Heart of the Swarm Walkthrough - Starcraft 2-Heart-of-the-Swarm 317

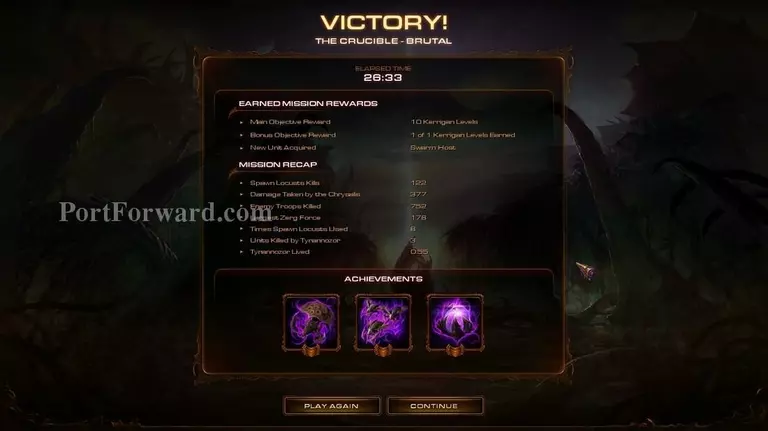
...that should be the end of that.

More Starcraft 2: Heart of the Swarm Walkthroughs

This Starcraft 2: Heart of the Swarm walkthrough is divided into 27 total pages.

More From Portforward