You can jump to nearby pages of the game using the links above.
Zerus 3: Supreme
Starcraft 2: Heart of the Swarm Walkthrough - Starcraft 2-Heart-of-the-Swarm 318
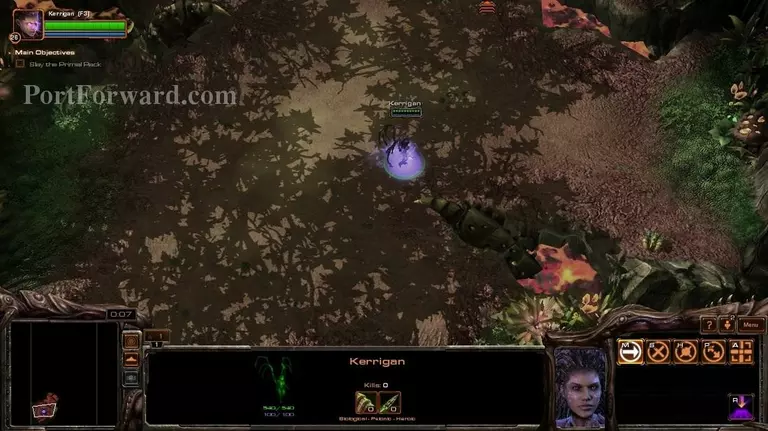
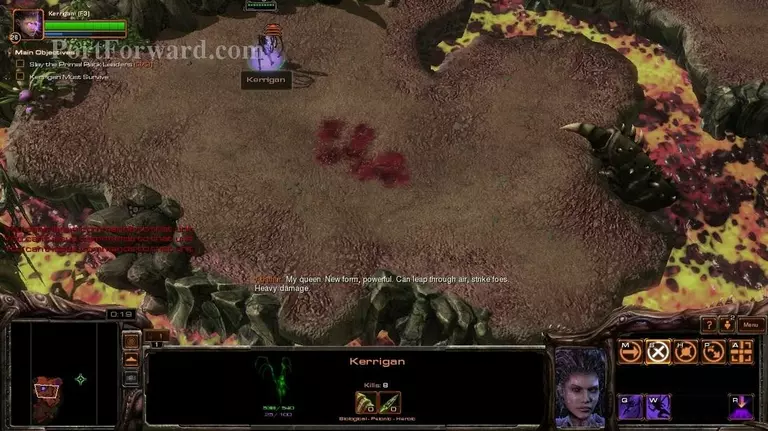
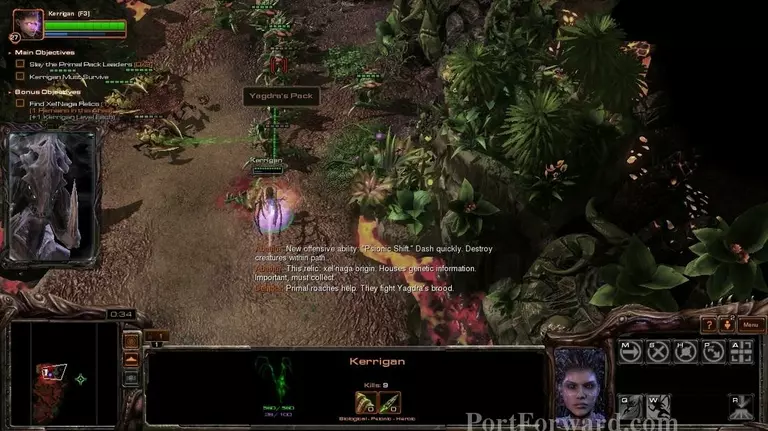
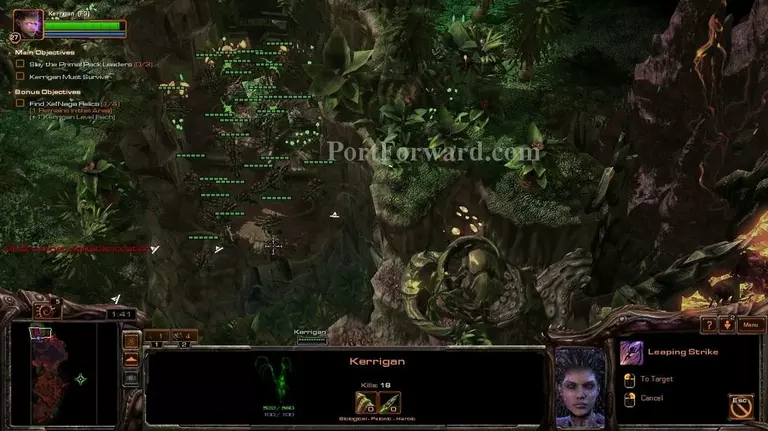
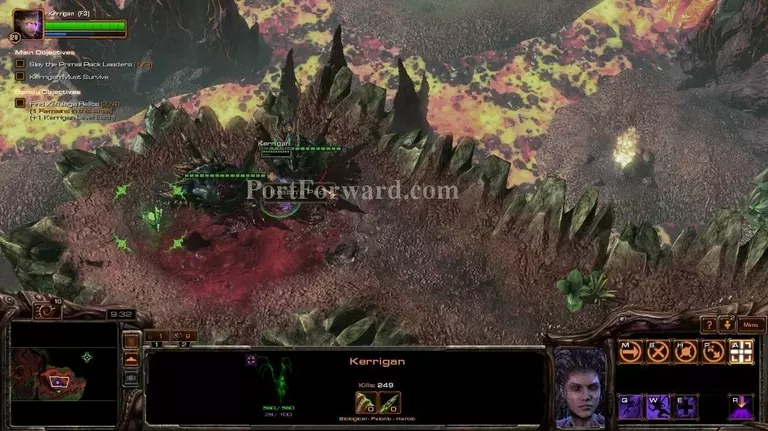
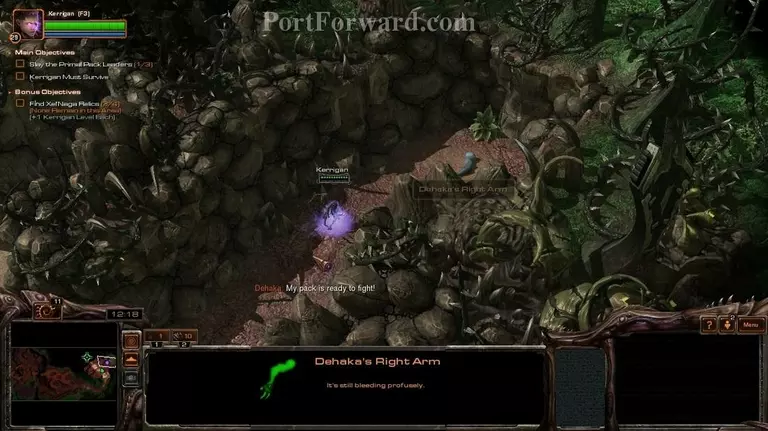
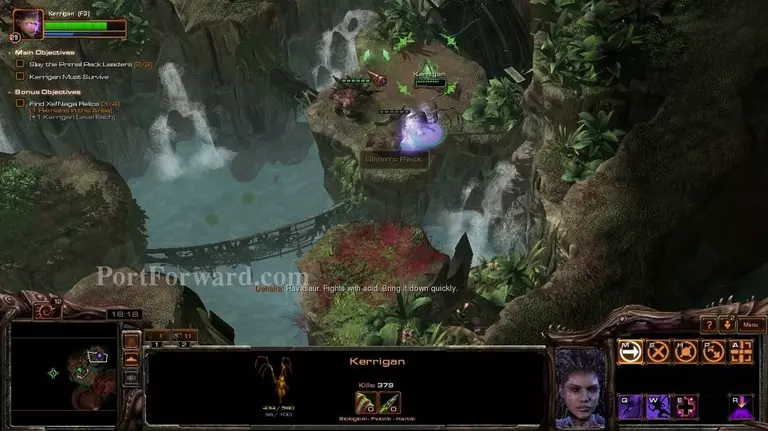
In this mission, you control only Kerrigan and you are given a few other units from time to time.
Starcraft 2: Heart of the Swarm Walkthrough - Starcraft 2-Heart-of-the-Swarm 319
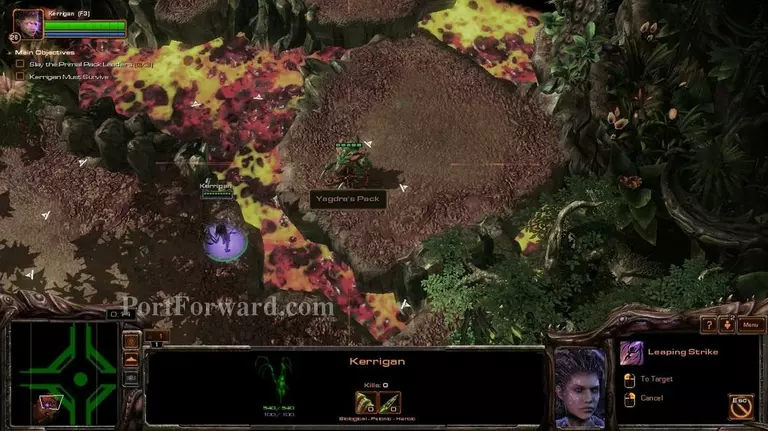
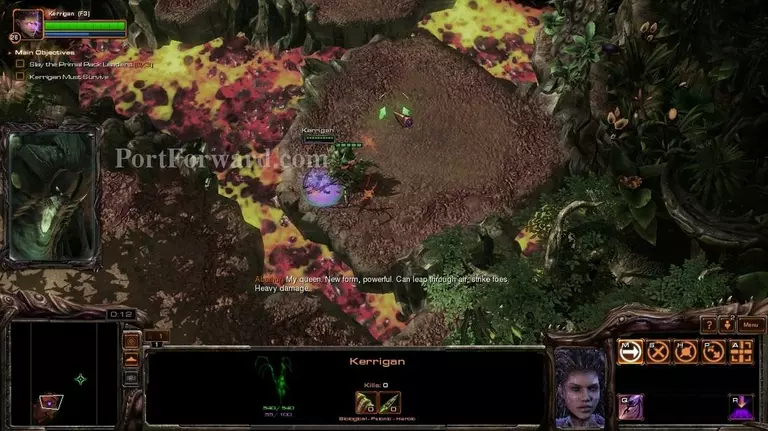
In the beggining you get to learn your first ability. Leaping Strike.
Starcraft 2: Heart of the Swarm Walkthrough - Starcraft 2-Heart-of-the-Swarm 320
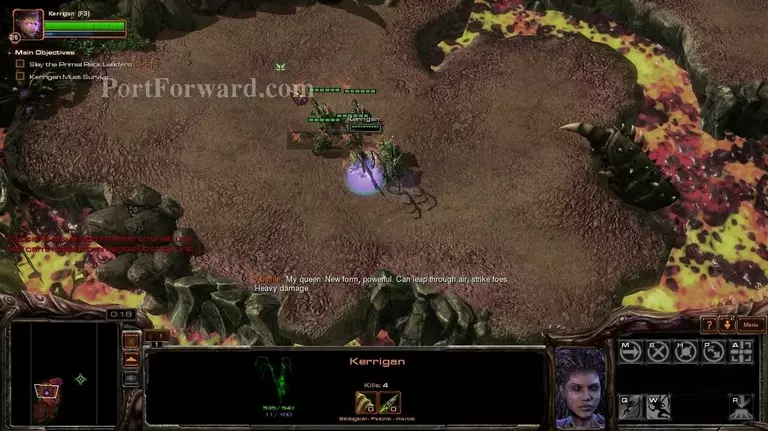
You leap forward and deal heavy damage.
Starcraft 2: Heart of the Swarm Walkthrough - Starcraft 2-Heart-of-the-Swarm 321
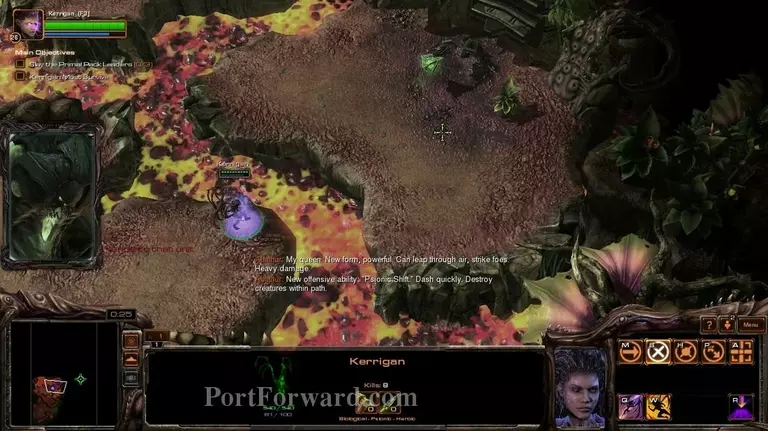
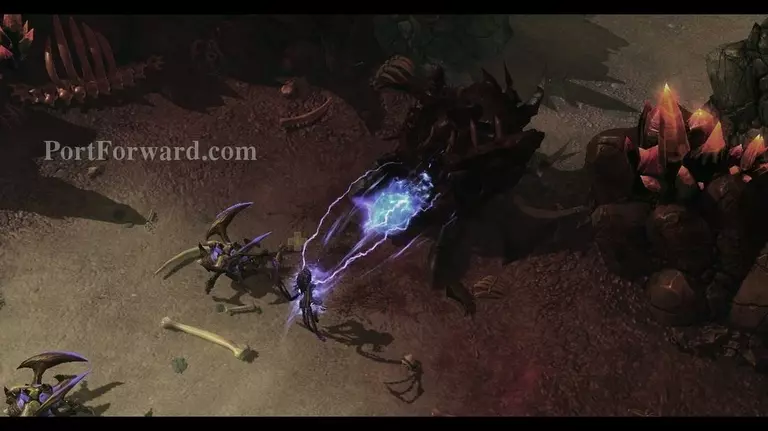
You second ability is called Psionic Shift.
Starcraft 2: Heart of the Swarm Walkthrough - Starcraft 2-Heart-of-the-Swarm 322
You dash through the air, doing damage to anything you pass through.
Starcraft 2: Heart of the Swarm Walkthrough - Starcraft 2-Heart-of-the-Swarm 323
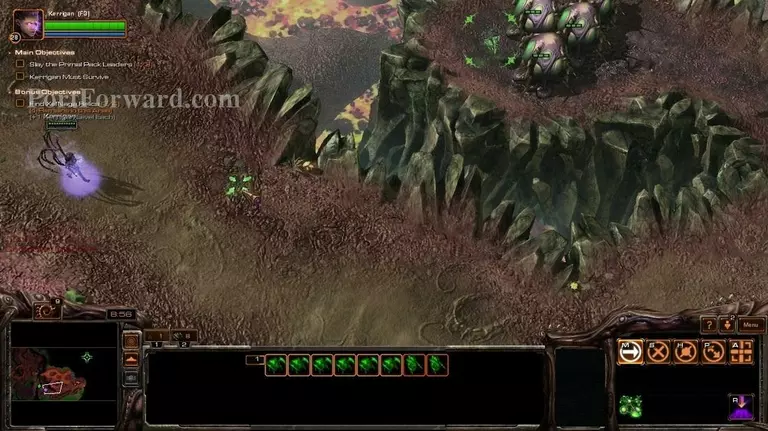
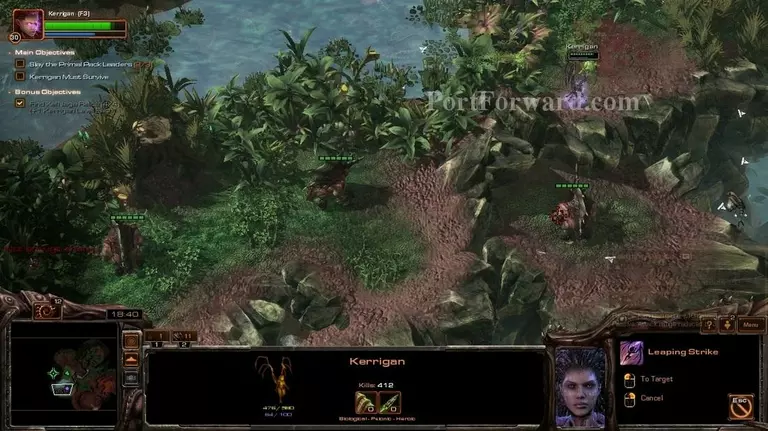
You can use your Leaping Strike on the ground to go through gaps.
Starcraft 2: Heart of the Swarm Walkthrough - Starcraft 2-Heart-of-the-Swarm 324
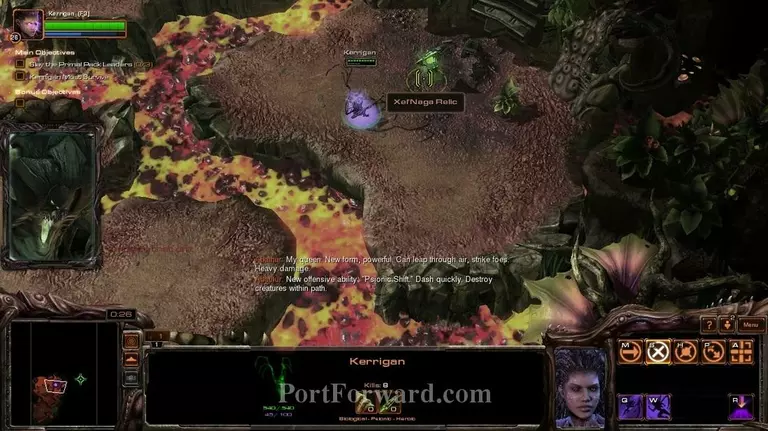
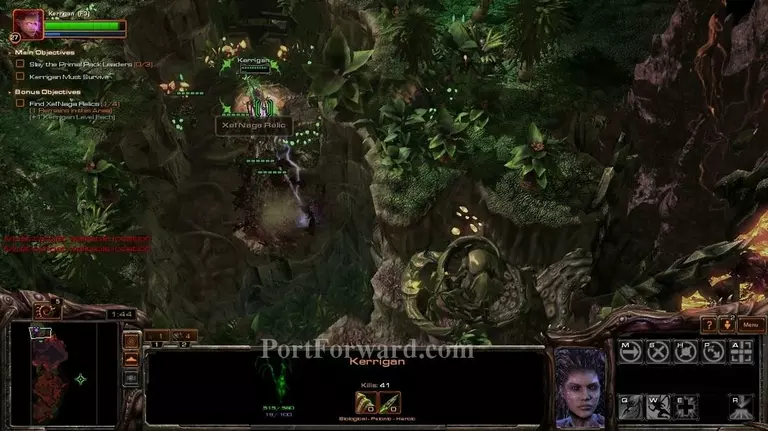
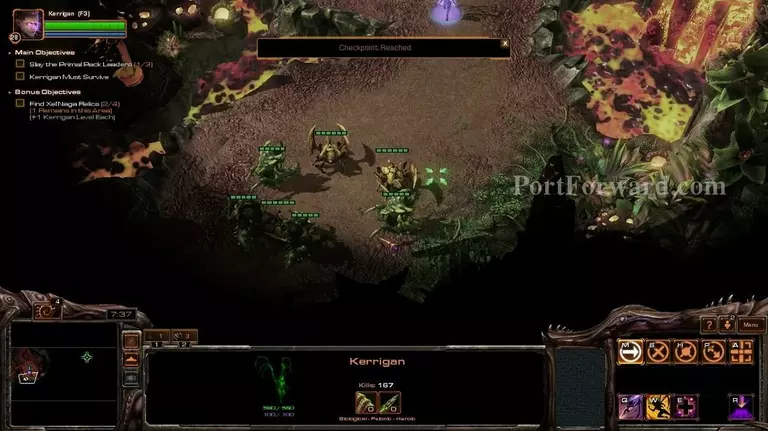
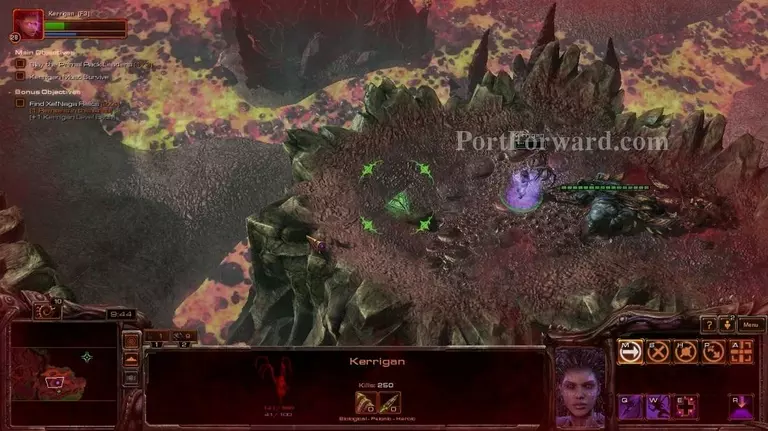
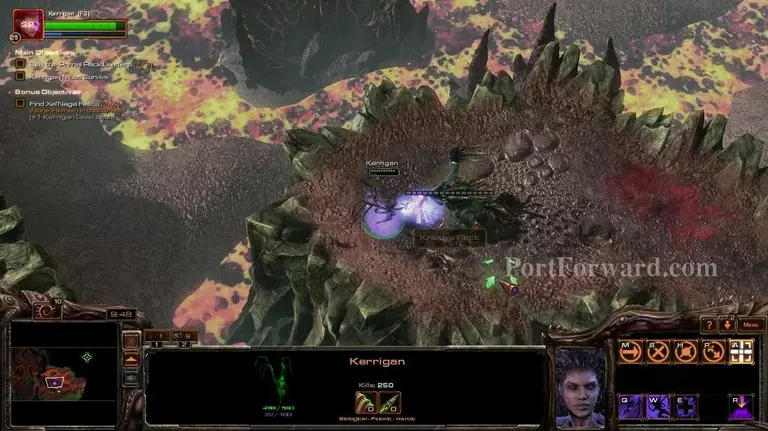
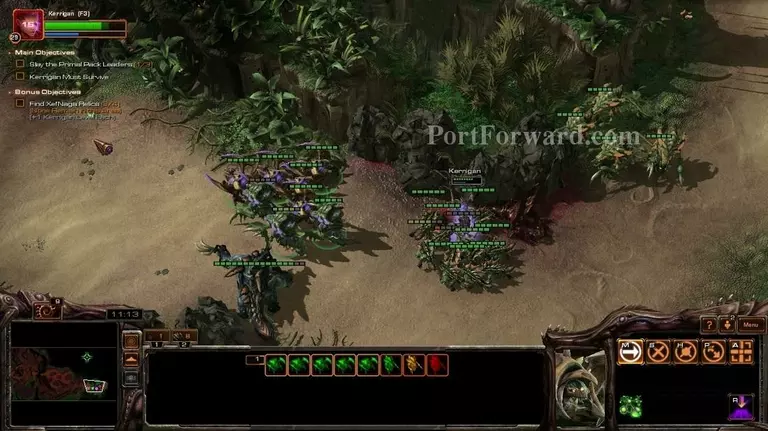
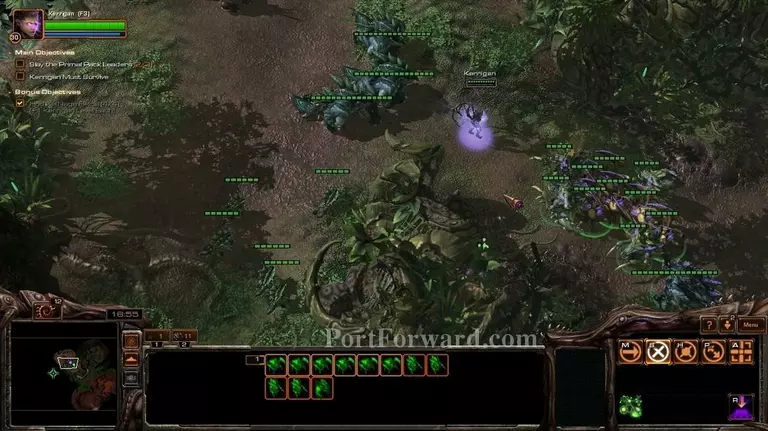
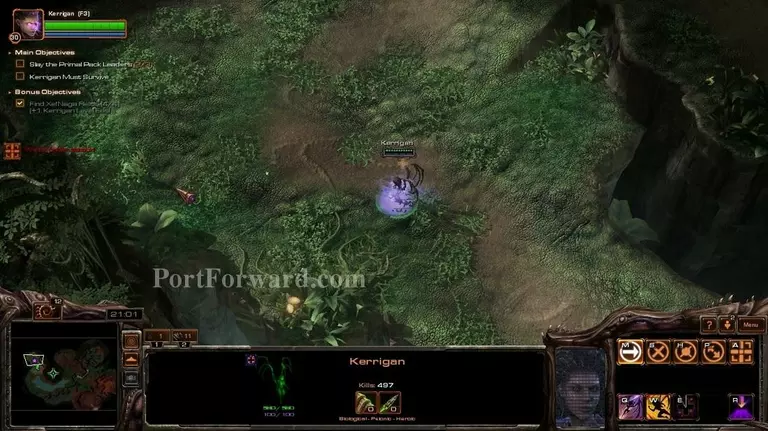
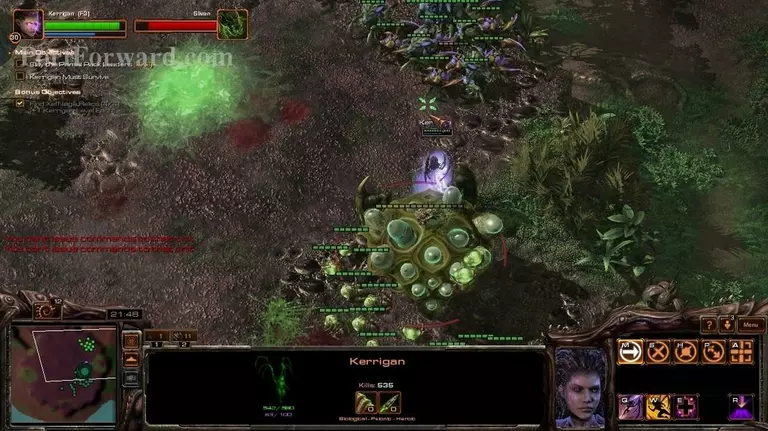
The optional objective is to collect Xel'Naga Relics.
Starcraft 2: Heart of the Swarm Walkthrough - Starcraft 2-Heart-of-the-Swarm 325
Each one grants you one level.
Starcraft 2: Heart of the Swarm Walkthrough - Starcraft 2-Heart-of-the-Swarm 326
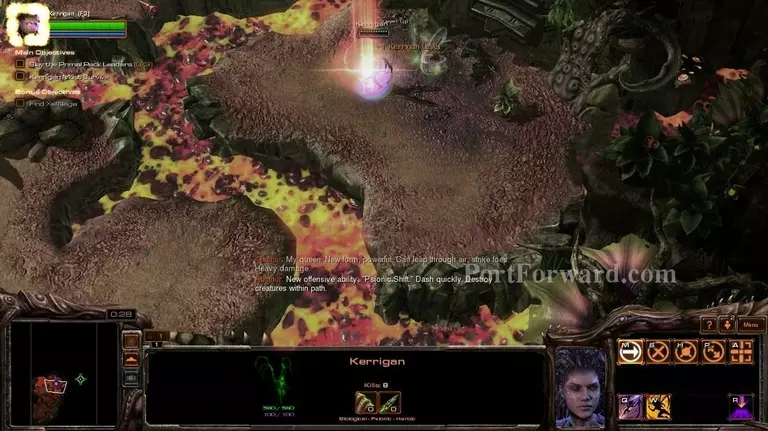
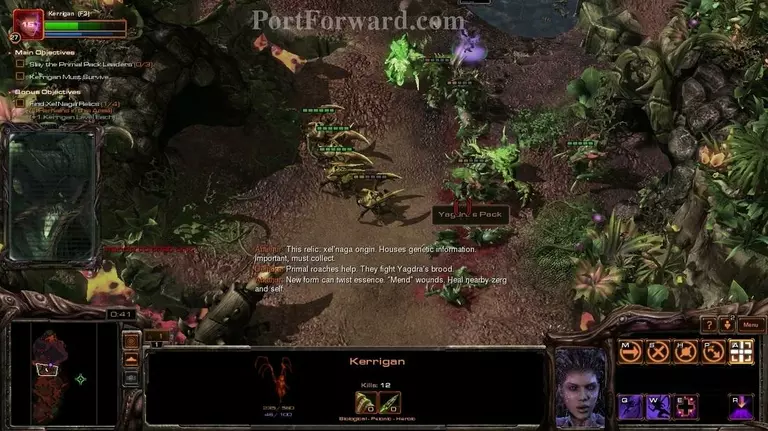
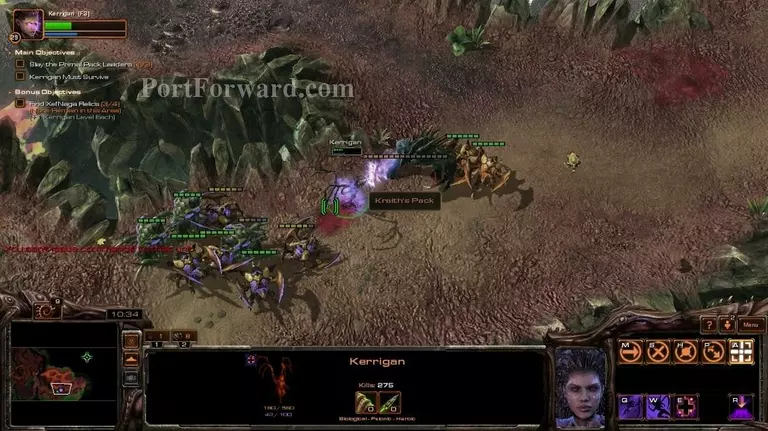
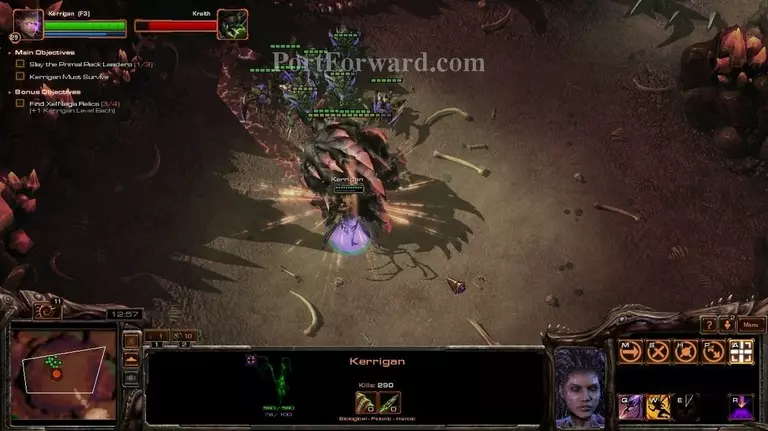
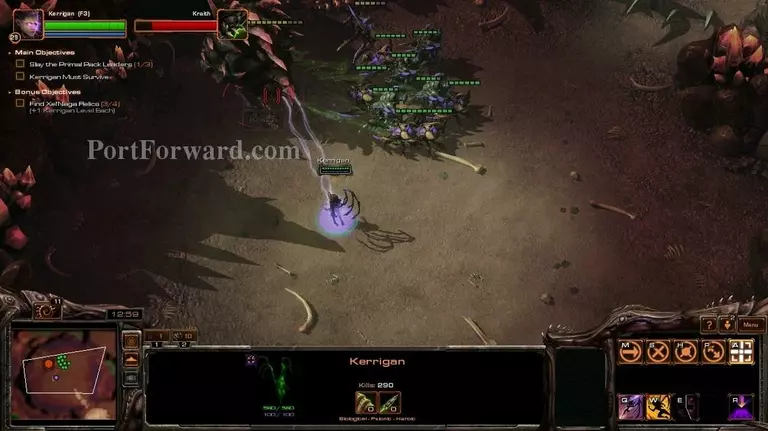
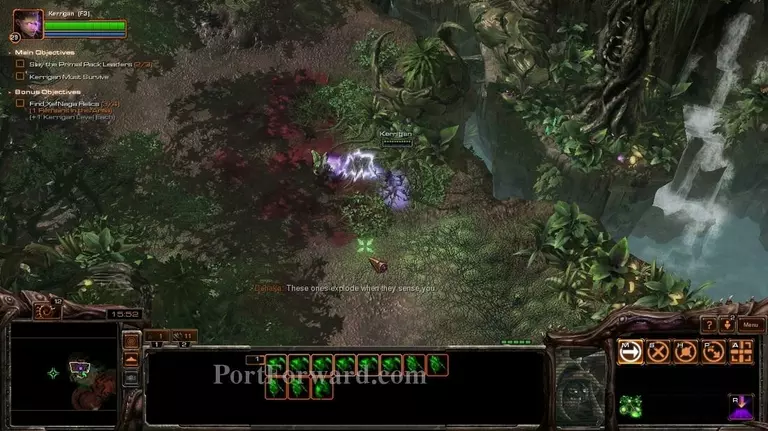
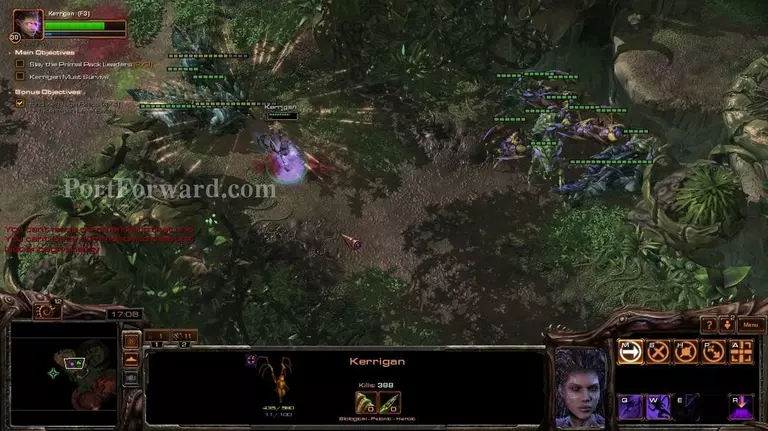
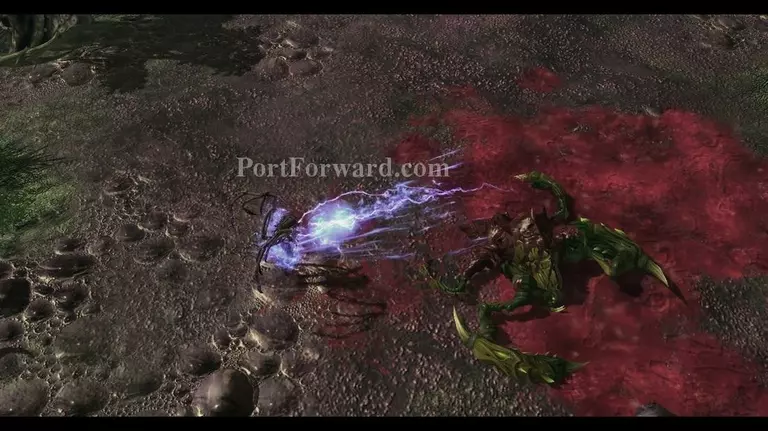
Using Psionic Shift one shots zerglings, 2 shots hydralisks and is not that effective against roaches and ultralisks.
Starcraft 2: Heart of the Swarm Walkthrough - Starcraft 2-Heart-of-the-Swarm 327
While fighting the hydras, you will get your third ability, Mend. You can heal yourself and units around you with it.
Starcraft 2: Heart of the Swarm Walkthrough - Starcraft 2-Heart-of-the-Swarm 328
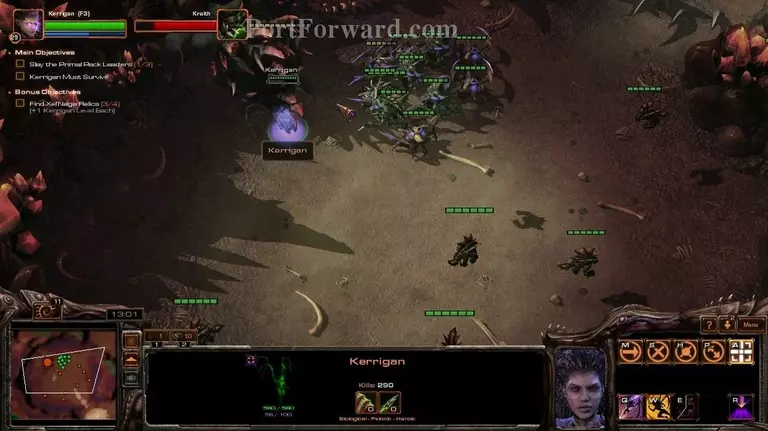
After you kill the hydras, you will gain control of the roaches that were helping you.
Starcraft 2: Heart of the Swarm Walkthrough - Starcraft 2-Heart-of-the-Swarm 329
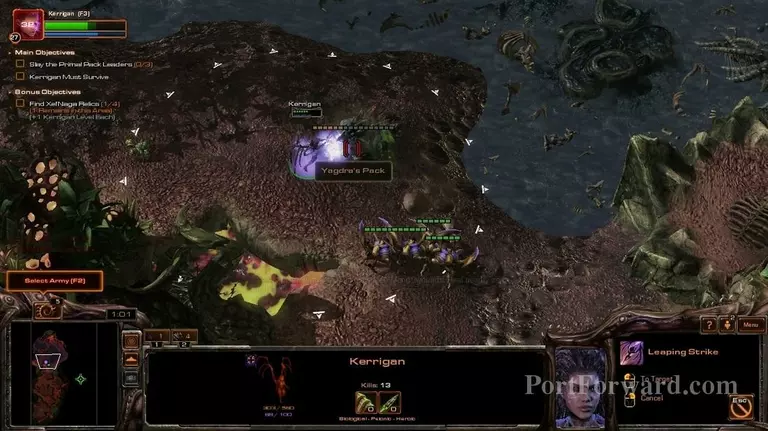
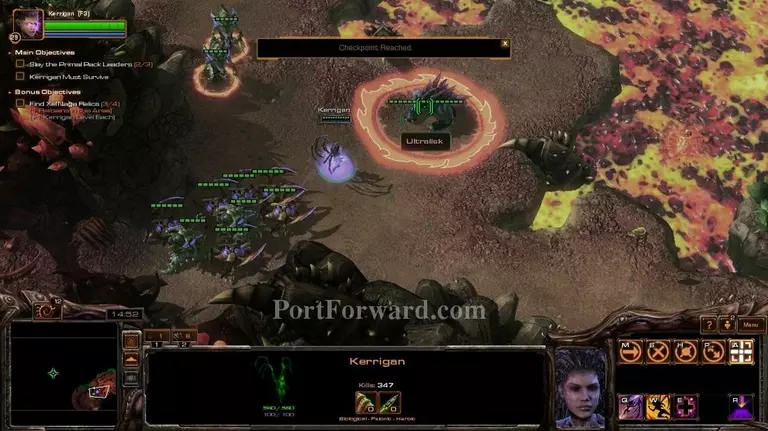
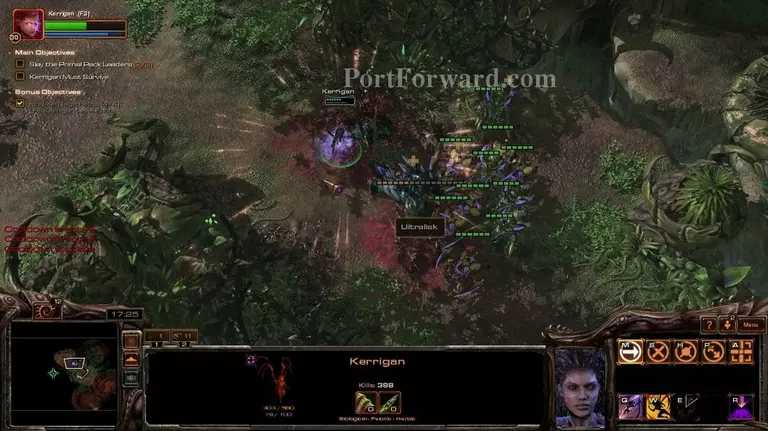
To easily kill an ultralisk, just use Leaping Strike on him twice and hit him a few times.
Starcraft 2: Heart of the Swarm Walkthrough - Starcraft 2-Heart-of-the-Swarm 330
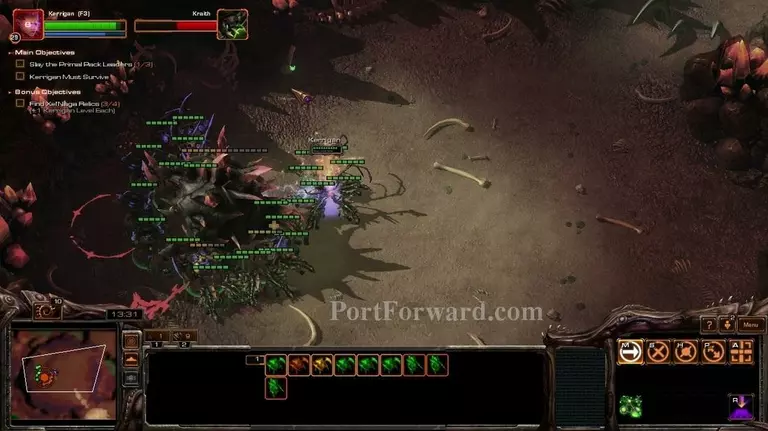
Be careful with the Hydra ultralisk combination, because it deals quite a high ammount of damage. Use Mend frequently.
Starcraft 2: Heart of the Swarm Walkthrough - Starcraft 2-Heart-of-the-Swarm 331
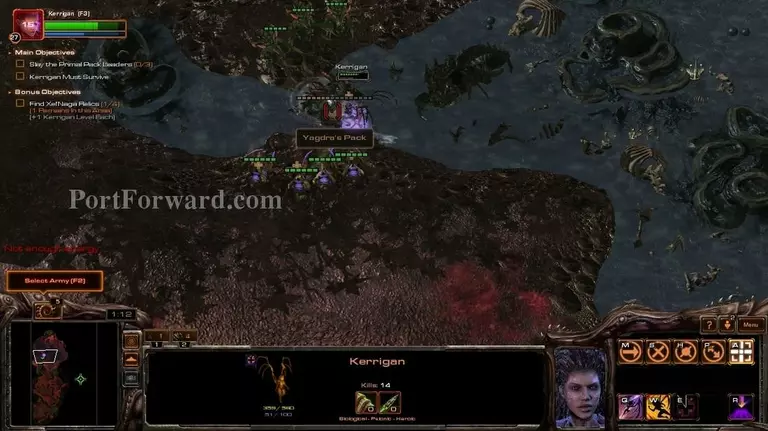
The second relick is to the north. Use leaping strike and then psionic shift...
Starcraft 2: Heart of the Swarm Walkthrough - Starcraft 2-Heart-of-the-Swarm 332
...to kill most of the zerglings.
Starcraft 2: Heart of the Swarm Walkthrough - Starcraft 2-Heart-of-the-Swarm 333
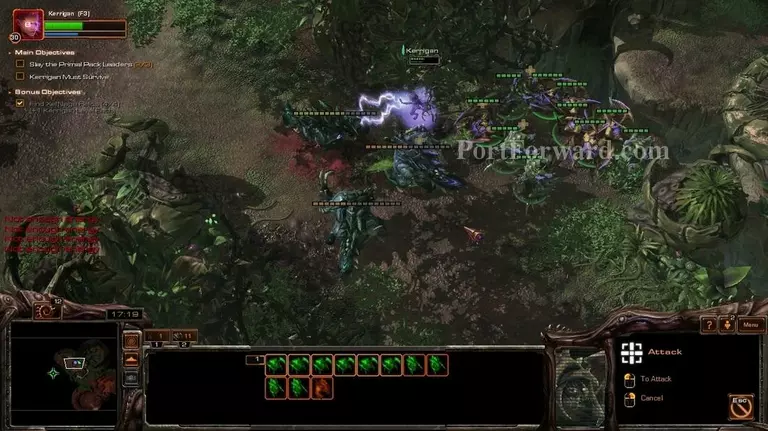
Going forward, you will notice more Ultralisk-Hydra combos. Use psionic shift twice on the hydras and then kill the ultralisk.
Starcraft 2: Heart of the Swarm Walkthrough - Starcraft 2-Heart-of-the-Swarm 334
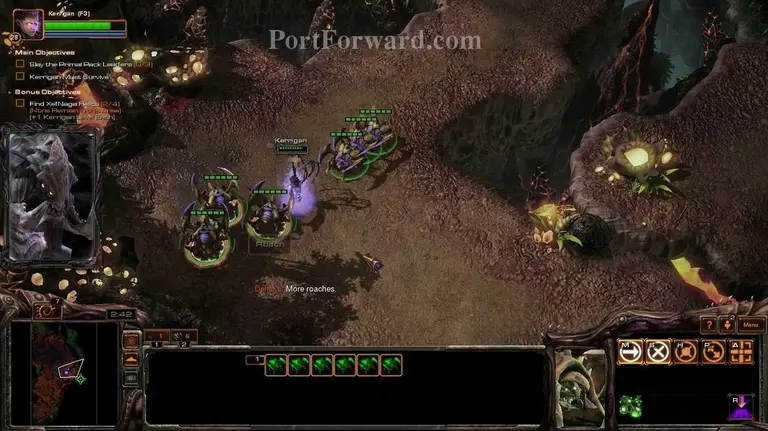
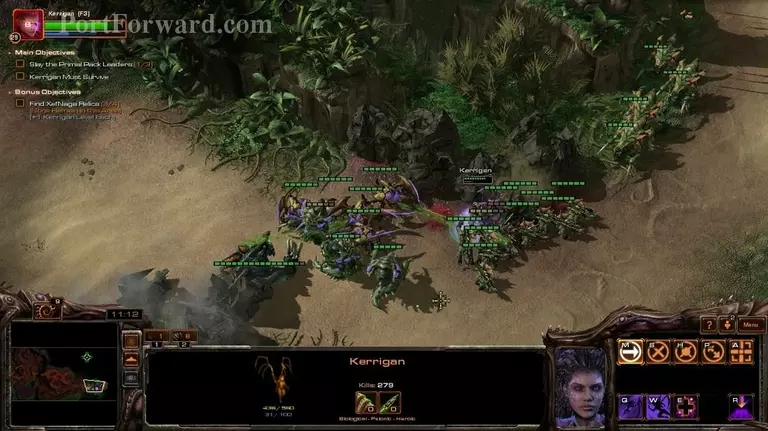
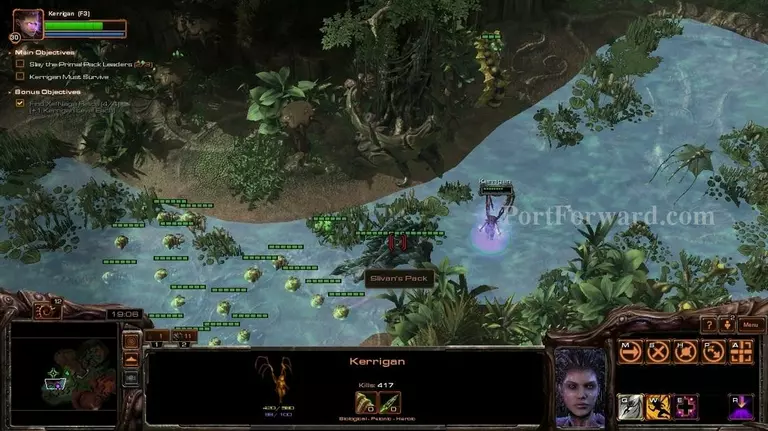
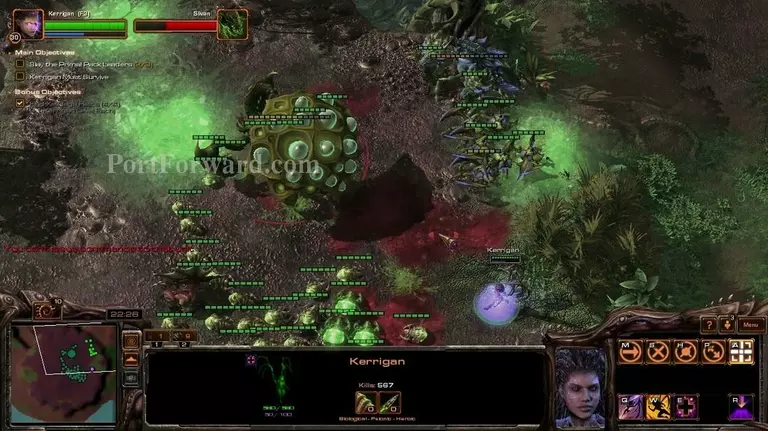
You will find more raoches along the way.
Starcraft 2: Heart of the Swarm Walkthrough - Starcraft 2-Heart-of-the-Swarm 335
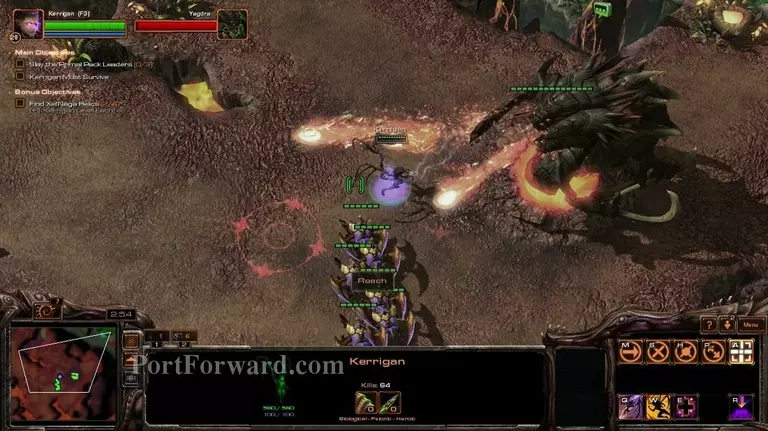
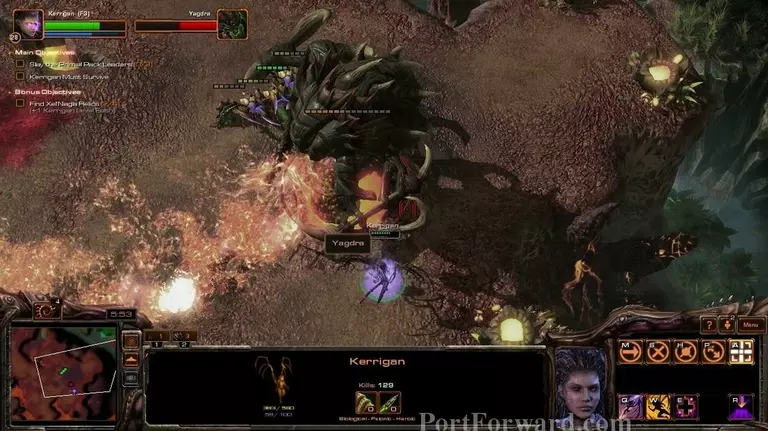
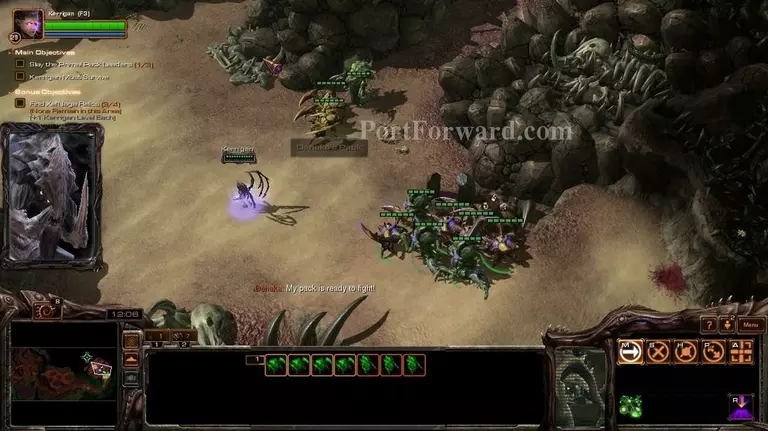
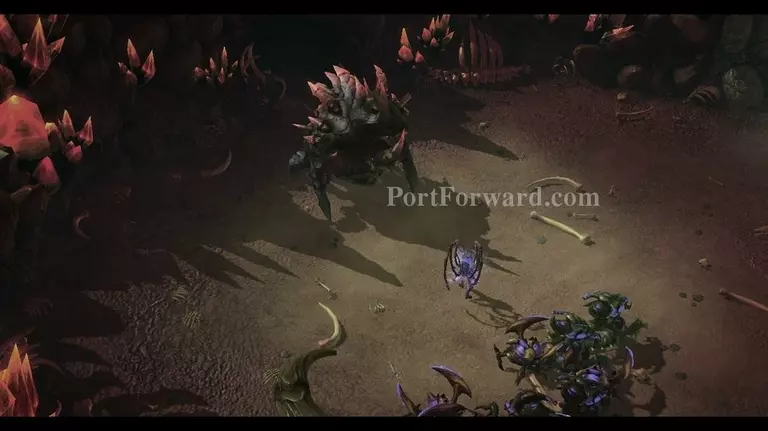
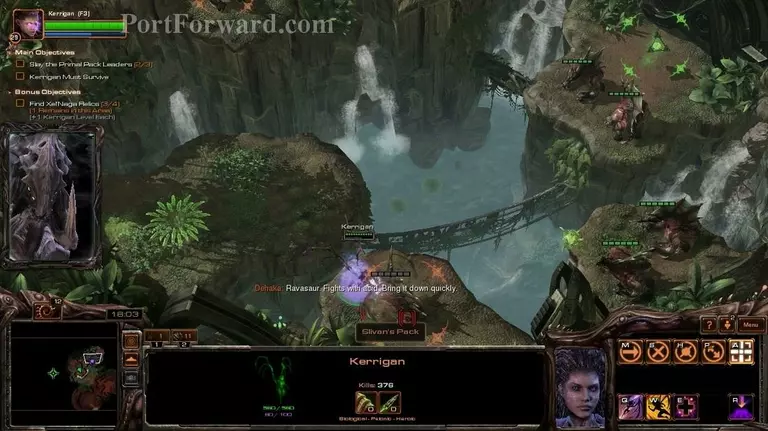
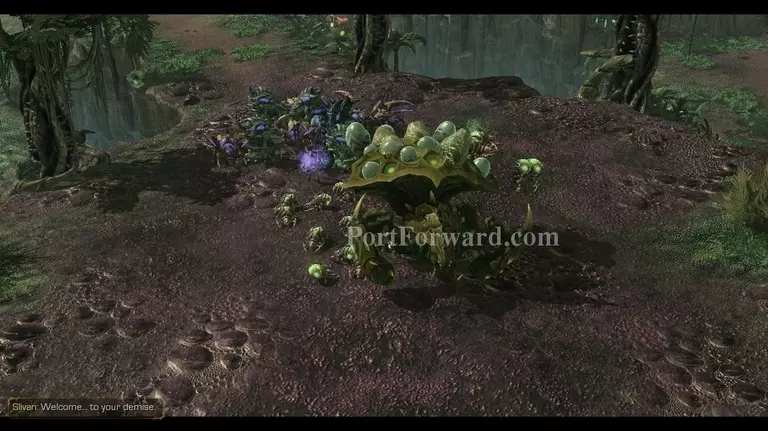
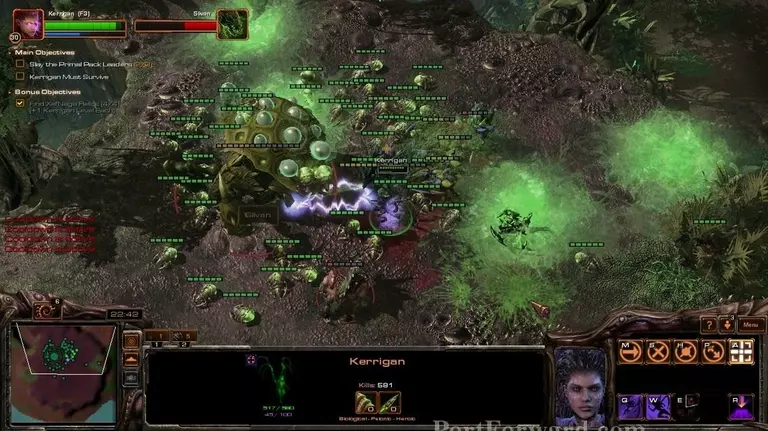
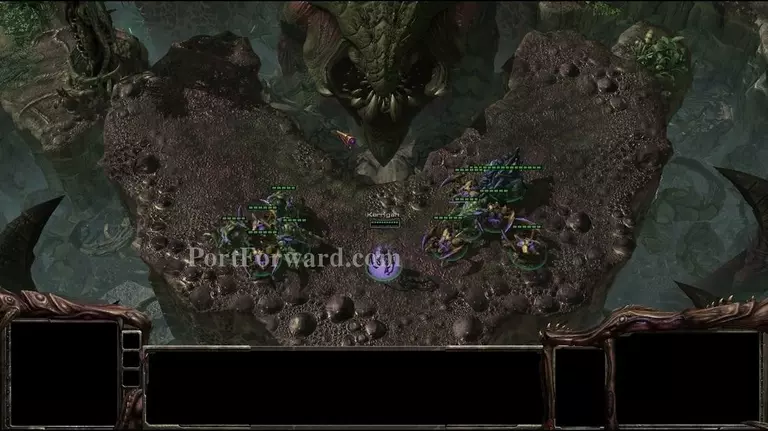
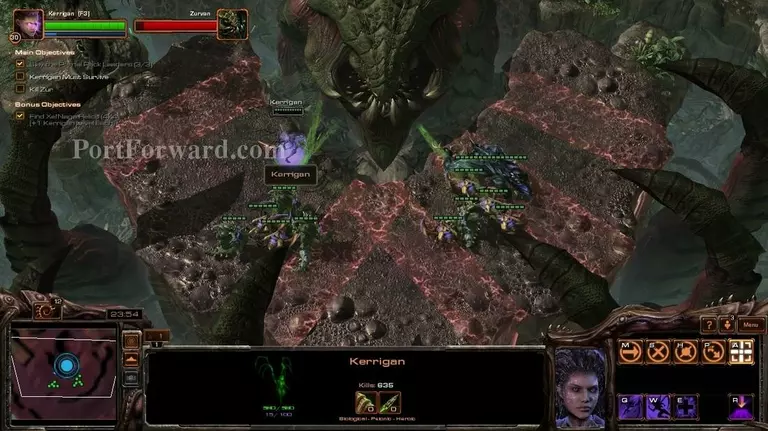
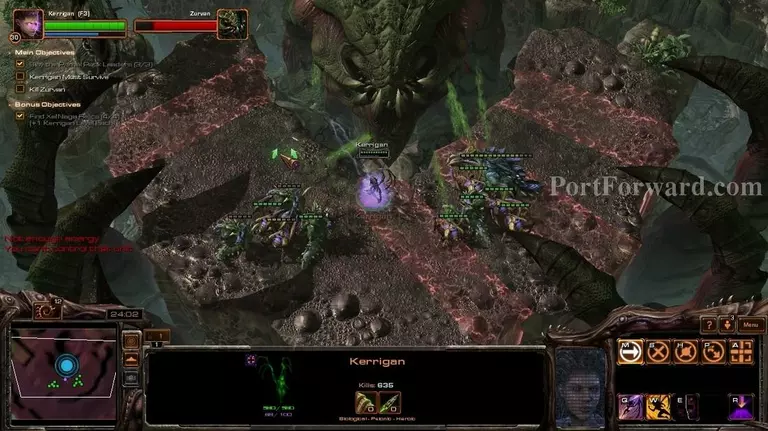
You will meet the first boss after you get your second set of roaches.
Starcraft 2: Heart of the Swarm Walkthrough - Starcraft 2-Heart-of-the-Swarm 336
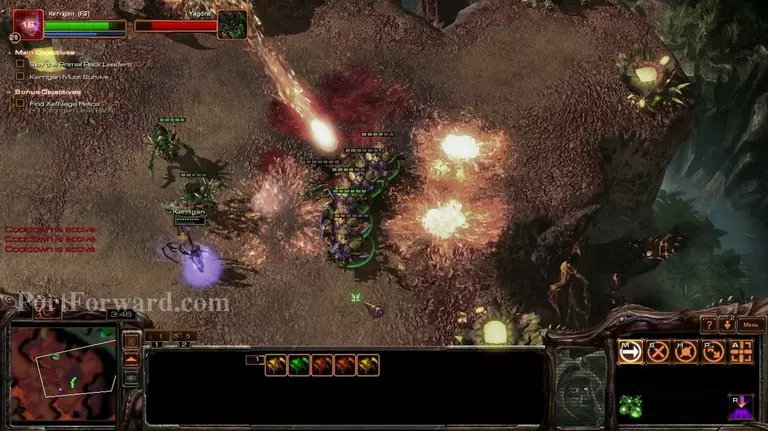
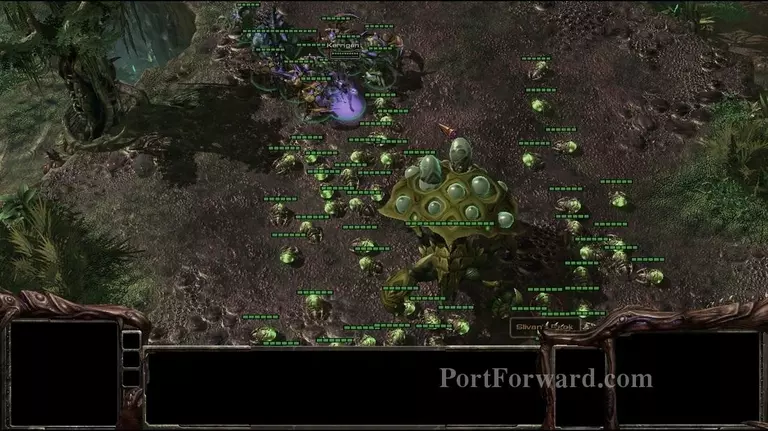
Dodge the red circles and attack him.
Starcraft 2: Heart of the Swarm Walkthrough - Starcraft 2-Heart-of-the-Swarm 337
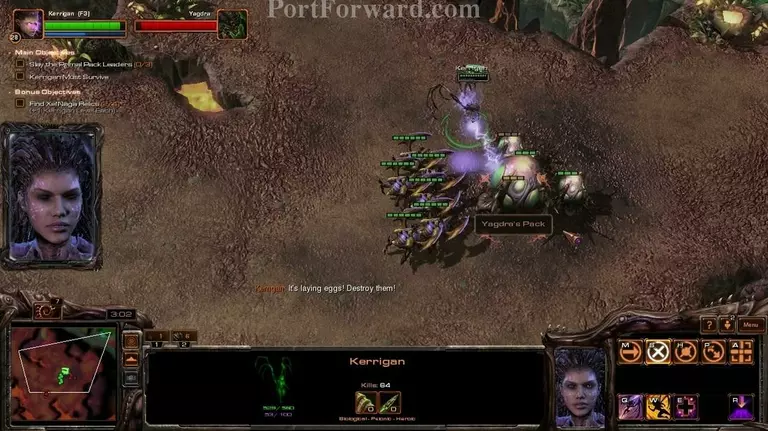
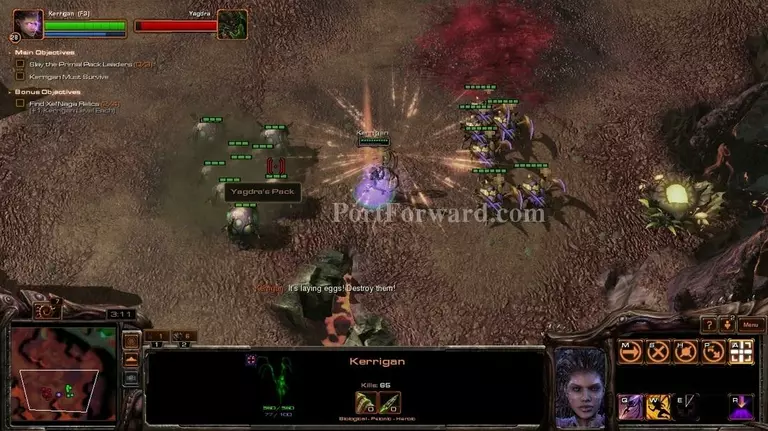
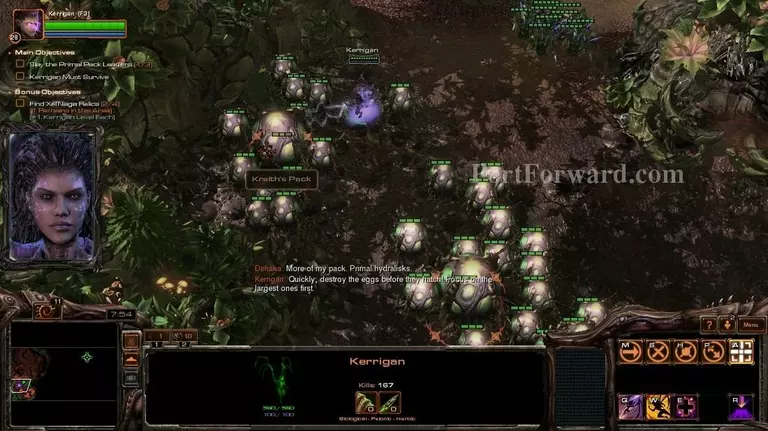
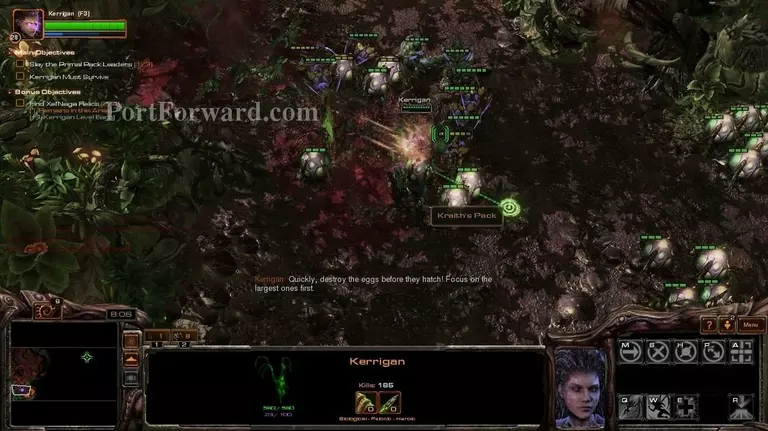
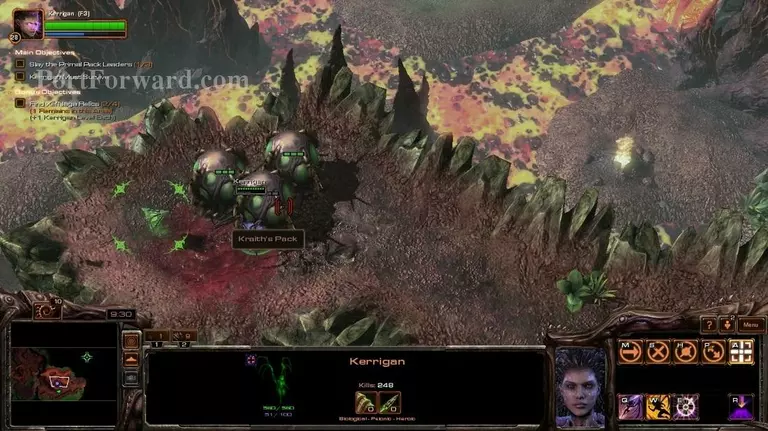
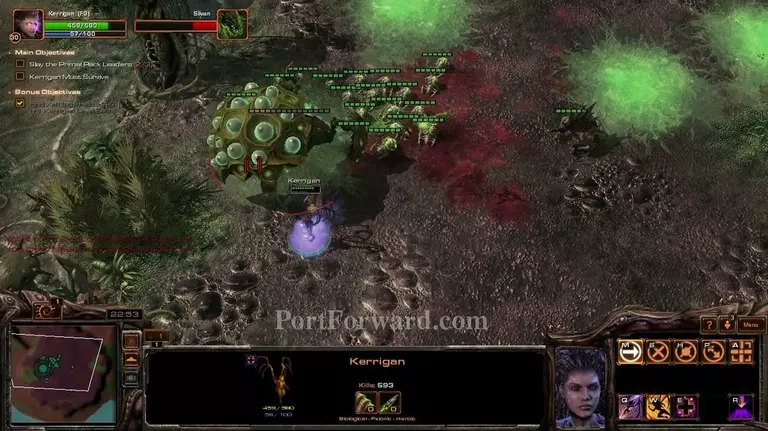
When he burrows away, he will leave eggs. You can kill the big one and leave the rest to continue attacking him.
Starcraft 2: Heart of the Swarm Walkthrough - Starcraft 2-Heart-of-the-Swarm 338
When he stacks up a lot of eggs, use psionic shift to easily destroy them.
Starcraft 2: Heart of the Swarm Walkthrough - Starcraft 2-Heart-of-the-Swarm 339
The big eggs hatch ultralisks, that's why you want to destroy them.
Starcraft 2: Heart of the Swarm Walkthrough - Starcraft 2-Heart-of-the-Swarm 340
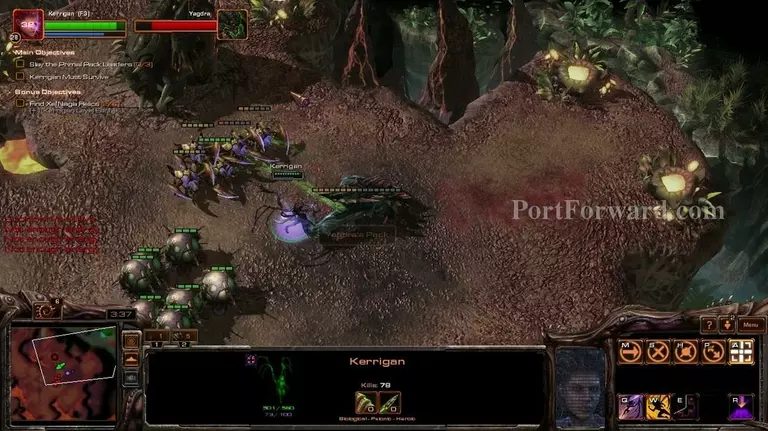
If you lose your roaches, don't worry, you can solo most of the mission with kerrigan only.
Starcraft 2: Heart of the Swarm Walkthrough - Starcraft 2-Heart-of-the-Swarm 341
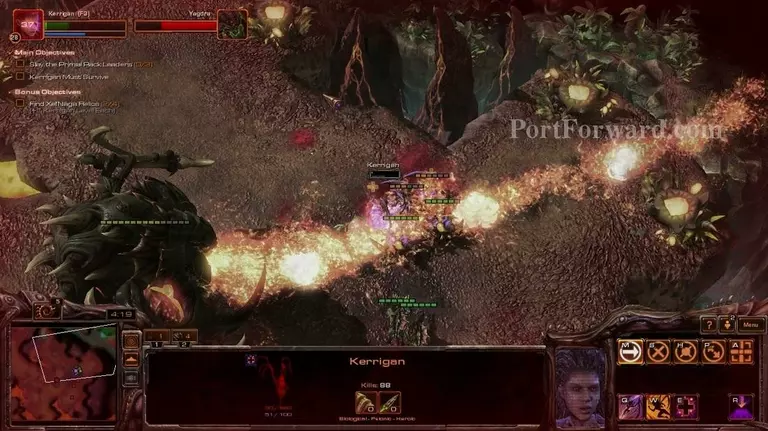
Sometimes he will start shooting a line of fire at you. Make sure you dodge it, as it deals a high ammount of damage over time.
Starcraft 2: Heart of the Swarm Walkthrough - Starcraft 2-Heart-of-the-Swarm 342
You can burrow the roaches if you don't want to micro them and want them to stay alive as long as possible. Tip: Split them up if you do so.
Starcraft 2: Heart of the Swarm Walkthrough - Starcraft 2-Heart-of-the-Swarm 343
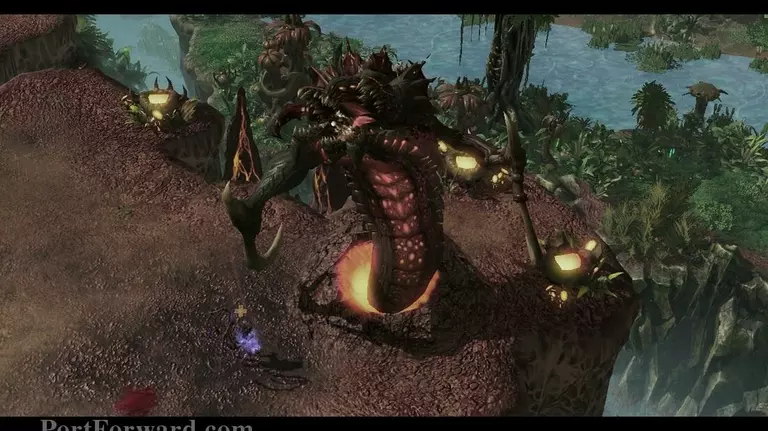
While using his fire breath attack...
Starcraft 2: Heart of the Swarm Walkthrough - Starcraft 2-Heart-of-the-Swarm 344
...he will rotate, so make sure you are on the move.
Starcraft 2: Heart of the Swarm Walkthrough - Starcraft 2-Heart-of-the-Swarm 345
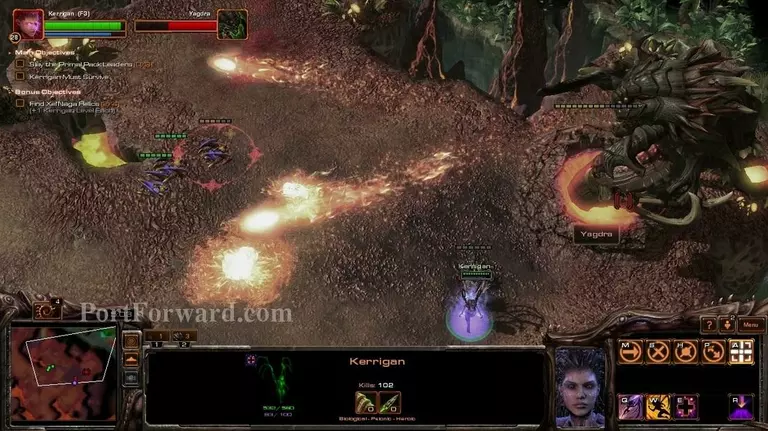
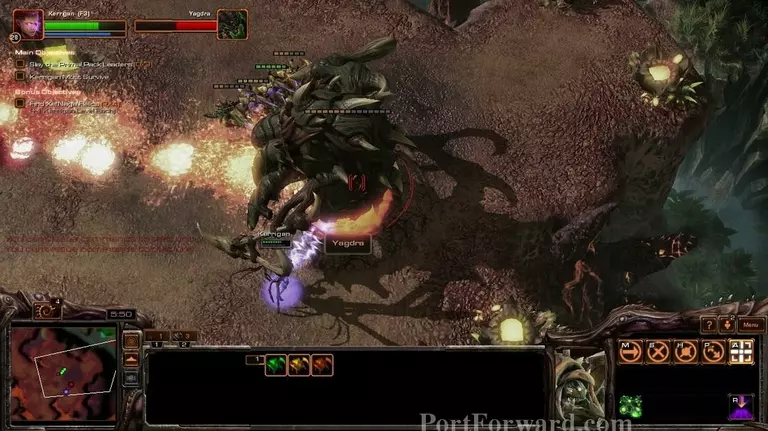
After a lot of fighting, you should be able to take care of him.
Starcraft 2: Heart of the Swarm Walkthrough - Starcraft 2-Heart-of-the-Swarm 346
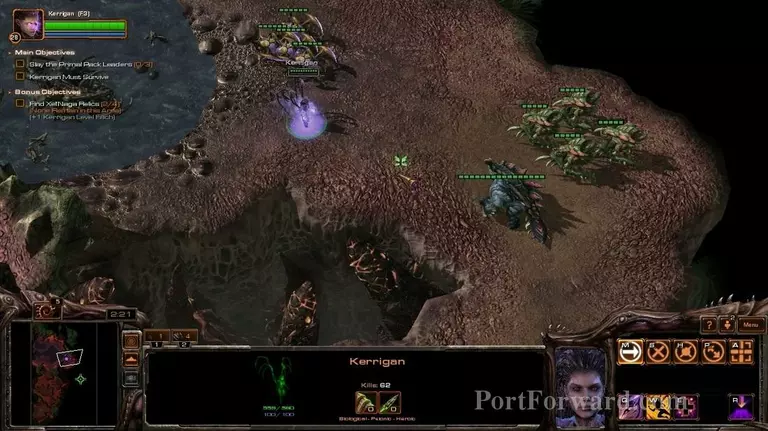
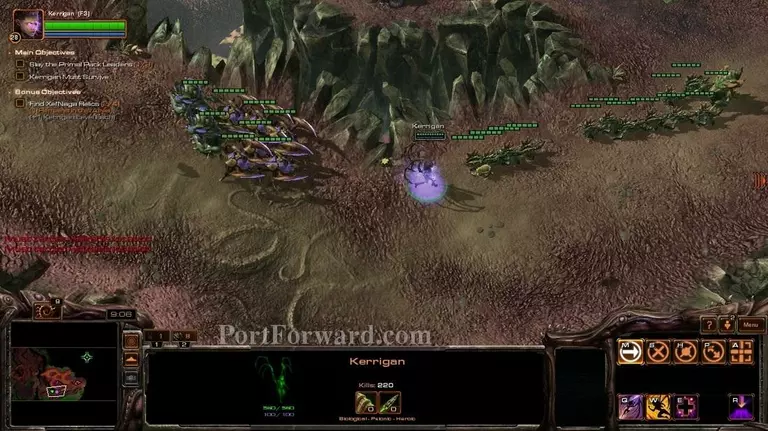
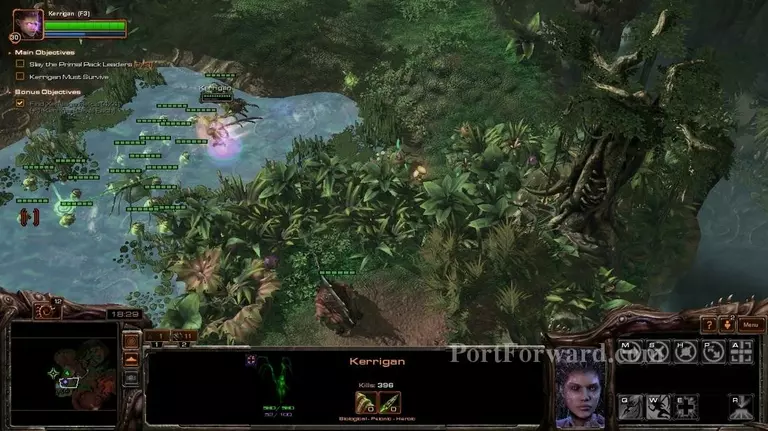
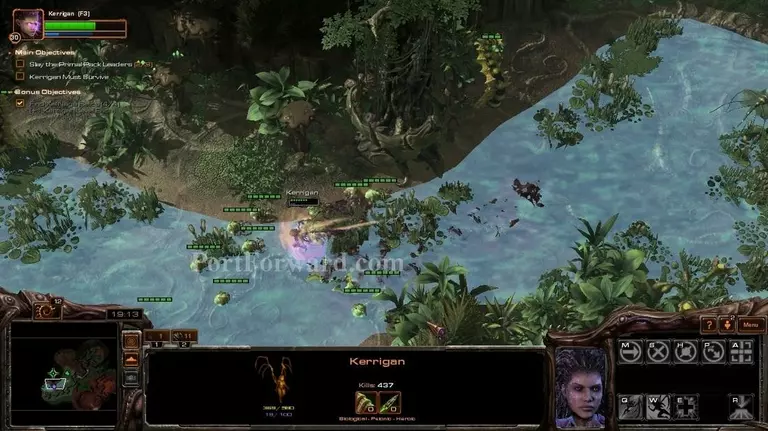
Go south and you will find some primal hydras and roaches that will aid you.
Starcraft 2: Heart of the Swarm Walkthrough - Starcraft 2-Heart-of-the-Swarm 347
Going south, you will find a lot of eggs. Use leaping strike on the big ones and after that...
Starcraft 2: Heart of the Swarm Walkthrough - Starcraft 2-Heart-of-the-Swarm 348
...psionic shift to destroy the little ones.
Starcraft 2: Heart of the Swarm Walkthrough - Starcraft 2-Heart-of-the-Swarm 349
The third Xel'Naga artifact is quite easy to spot.
Starcraft 2: Heart of the Swarm Walkthrough - Starcraft 2-Heart-of-the-Swarm 350
Destroy the 2 waves of primal zerg attacking you before going for the artifact though.
Starcraft 2: Heart of the Swarm Walkthrough - Starcraft 2-Heart-of-the-Swarm 351
If you don't want a micro intensive battle, go with kerrigan only and destroy 2 of the eggs.
Starcraft 2: Heart of the Swarm Walkthrough - Starcraft 2-Heart-of-the-Swarm 352
After that, the ultralisks will pop up.
Starcraft 2: Heart of the Swarm Walkthrough - Starcraft 2-Heart-of-the-Swarm 353
Kill one with leaping strike.
Starcraft 2: Heart of the Swarm Walkthrough - Starcraft 2-Heart-of-the-Swarm 354
After you've dealt with him, take the artifact.
Starcraft 2: Heart of the Swarm Walkthrough - Starcraft 2-Heart-of-the-Swarm 355
You will restore your health and mana, making it easy to dispatch of the other ultralisk.
Starcraft 2: Heart of the Swarm Walkthrough - Starcraft 2-Heart-of-the-Swarm 356
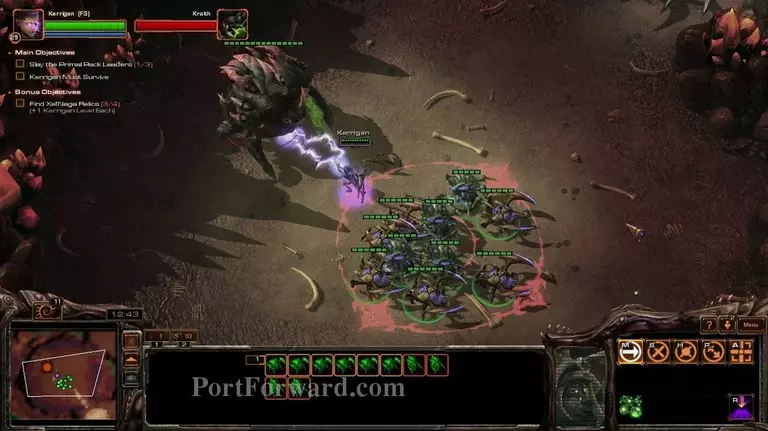
A large group of the primal zerg will attack you here. Be really careful, because kerrigan might die easily.
Starcraft 2: Heart of the Swarm Walkthrough - Starcraft 2-Heart-of-the-Swarm 357
I suggest lots of kiting, since the ultralisks are a heavy punch.
Starcraft 2: Heart of the Swarm Walkthrough - Starcraft 2-Heart-of-the-Swarm 358
Go forward and you will find a group of hydras and zerglings, use psionic shift to finish them off.
Starcraft 2: Heart of the Swarm Walkthrough - Starcraft 2-Heart-of-the-Swarm 359
An ultralisk will bust out of the rocks though, so be wary of that.
Starcraft 2: Heart of the Swarm Walkthrough - Starcraft 2-Heart-of-the-Swarm 360
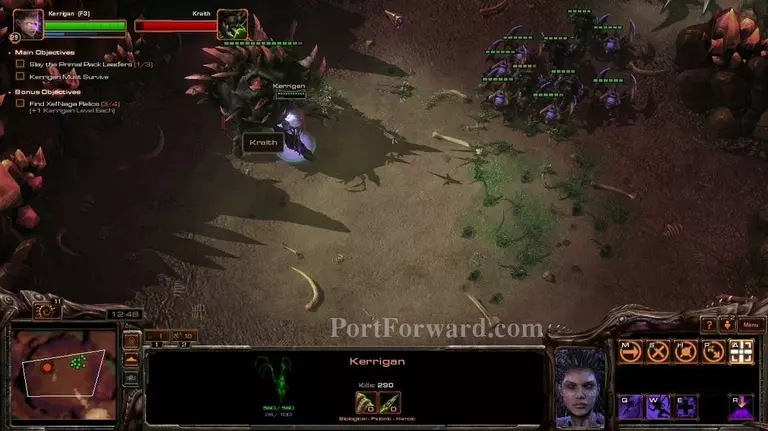
You will gain more forces soon.
Starcraft 2: Heart of the Swarm Walkthrough - Starcraft 2-Heart-of-the-Swarm 361
Also, you will find an easter egg if you follow the path from where the primal allies came from.
Starcraft 2: Heart of the Swarm Walkthrough - Starcraft 2-Heart-of-the-Swarm 362
Go into the canyon and...
Starcraft 2: Heart of the Swarm Walkthrough - Starcraft 2-Heart-of-the-Swarm 363
...you will engage the second boss battle.
Starcraft 2: Heart of the Swarm Walkthrough - Starcraft 2-Heart-of-the-Swarm 364
This one could be a bit easy. Just let kerrigan attack him...
Starcraft 2: Heart of the Swarm Walkthrough - Starcraft 2-Heart-of-the-Swarm 365
...while he is shoting his darts at your primal forces.
Starcraft 2: Heart of the Swarm Walkthrough - Starcraft 2-Heart-of-the-Swarm 366
Frome time to time...
Starcraft 2: Heart of the Swarm Walkthrough - Starcraft 2-Heart-of-the-Swarm 367
...he will use a charging attack. Easy to dodge, but there's a catch...
Starcraft 2: Heart of the Swarm Walkthrough - Starcraft 2-Heart-of-the-Swarm 368
...a lot of zerglings will fall down.
Starcraft 2: Heart of the Swarm Walkthrough - Starcraft 2-Heart-of-the-Swarm 369
Take care of them with...
Starcraft 2: Heart of the Swarm Walkthrough - Starcraft 2-Heart-of-the-Swarm 370
...psionic shift. It might now be hard, but you're not able to use Leaping Strike because of that.
Starcraft 2: Heart of the Swarm Walkthrough - Starcraft 2-Heart-of-the-Swarm 371
The boss fight should be pretty easy.
Starcraft 2: Heart of the Swarm Walkthrough - Starcraft 2-Heart-of-the-Swarm 372
After winning, you will will get an ultralisk of you own + a few hydras.
Starcraft 2: Heart of the Swarm Walkthrough - Starcraft 2-Heart-of-the-Swarm 373
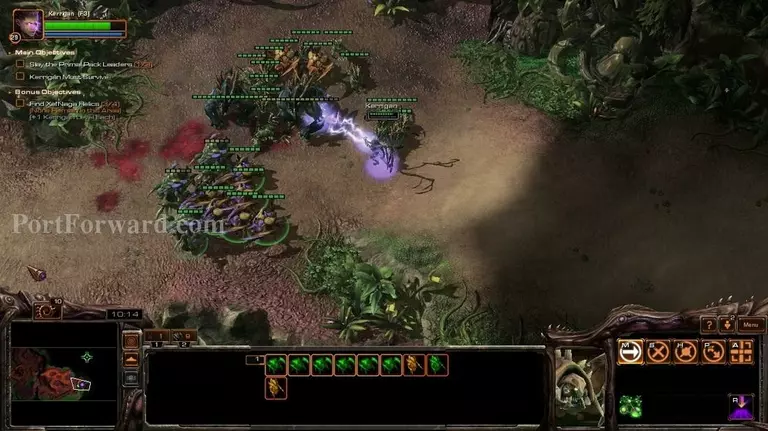
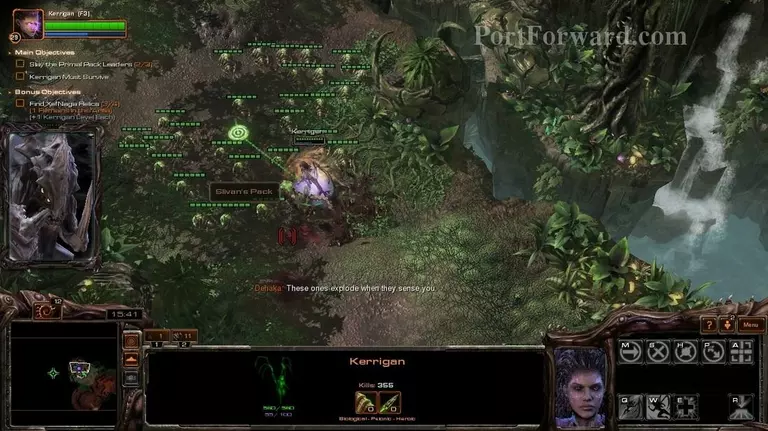
Going forward, you will find a lot of banneling-like zergs.
Starcraft 2: Heart of the Swarm Walkthrough - Starcraft 2-Heart-of-the-Swarm 374
They don't explode instantly, making them easy to dispatch of. I recommend using psionic shift with Kerrigan, while leaving your forces behind her so they don't take damage.
Starcraft 2: Heart of the Swarm Walkthrough - Starcraft 2-Heart-of-the-Swarm 375
To get to the final Xel'Naga relic...
Starcraft 2: Heart of the Swarm Walkthrough - Starcraft 2-Heart-of-the-Swarm 376
...jump from over here...
Starcraft 2: Heart of the Swarm Walkthrough - Starcraft 2-Heart-of-the-Swarm 377
...across.
Starcraft 2: Heart of the Swarm Walkthrough - Starcraft 2-Heart-of-the-Swarm 378
Kill the enemies with leaping strike and 2 normal attacks.
Starcraft 2: Heart of the Swarm Walkthrough - Starcraft 2-Heart-of-the-Swarm 379
Get the artifact and you're golden.
Starcraft 2: Heart of the Swarm Walkthrough - Starcraft 2-Heart-of-the-Swarm 380
Going forward with your army, you will meet 3 enemy ultralisks.
Starcraft 2: Heart of the Swarm Walkthrough - Starcraft 2-Heart-of-the-Swarm 381
I recommend using Kerrigan only against that army, otherwise you might lose a lot of your forces.
Starcraft 2: Heart of the Swarm Walkthrough - Starcraft 2-Heart-of-the-Swarm 382
But you can get your ultralisk to tank if you are eager on using it.
Starcraft 2: Heart of the Swarm Walkthrough - Starcraft 2-Heart-of-the-Swarm 383
Healing up an ultralisk takes a long, long time though.
Starcraft 2: Heart of the Swarm Walkthrough - Starcraft 2-Heart-of-the-Swarm 384
I recommend leaving your army over here while going with Kerrigan alone.
Starcraft 2: Heart of the Swarm Walkthrough - Starcraft 2-Heart-of-the-Swarm 385
Use Kerrigan to defeat the enemy forces.
Starcraft 2: Heart of the Swarm Walkthrough - Starcraft 2-Heart-of-the-Swarm 386
You can...
Starcraft 2: Heart of the Swarm Walkthrough - Starcraft 2-Heart-of-the-Swarm 387
...leap from ledge to ledge.
Starcraft 2: Heart of the Swarm Walkthrough - Starcraft 2-Heart-of-the-Swarm 388
Taking care of the creapers and ultralisks should be no big deal.
Starcraft 2: Heart of the Swarm Walkthrough - Starcraft 2-Heart-of-the-Swarm 389
Just use your abilities properly.
Starcraft 2: Heart of the Swarm Walkthrough - Starcraft 2-Heart-of-the-Swarm 390
After you're finally done with the water section, continue forward with Kerrigan and your primal zerg.
Starcraft 2: Heart of the Swarm Walkthrough - Starcraft 2-Heart-of-the-Swarm 391
You will meet the third boss.
Starcraft 2: Heart of the Swarm Walkthrough - Starcraft 2-Heart-of-the-Swarm 392
This boss constantly spawns creapers.
Starcraft 2: Heart of the Swarm Walkthrough - Starcraft 2-Heart-of-the-Swarm 393
Also, poisonous clouds.
Starcraft 2: Heart of the Swarm Walkthrough - Starcraft 2-Heart-of-the-Swarm 394
Destroy most of the creapers with psionic shift and...
Starcraft 2: Heart of the Swarm Walkthrough - Starcraft 2-Heart-of-the-Swarm 395
...put your forces to attack the boss straight on while trying to protect them with Kerrigan.
Starcraft 2: Heart of the Swarm Walkthrough - Starcraft 2-Heart-of-the-Swarm 396
Don't worry if you lose them though, the boss is actually easier if you control kerrigan only.
Starcraft 2: Heart of the Swarm Walkthrough - Starcraft 2-Heart-of-the-Swarm 397
Just slowly poke him with normal attacks and psionic shift.
Starcraft 2: Heart of the Swarm Walkthrough - Starcraft 2-Heart-of-the-Swarm 398
It should be easy enough.
Starcraft 2: Heart of the Swarm Walkthrough - Starcraft 2-Heart-of-the-Swarm 399
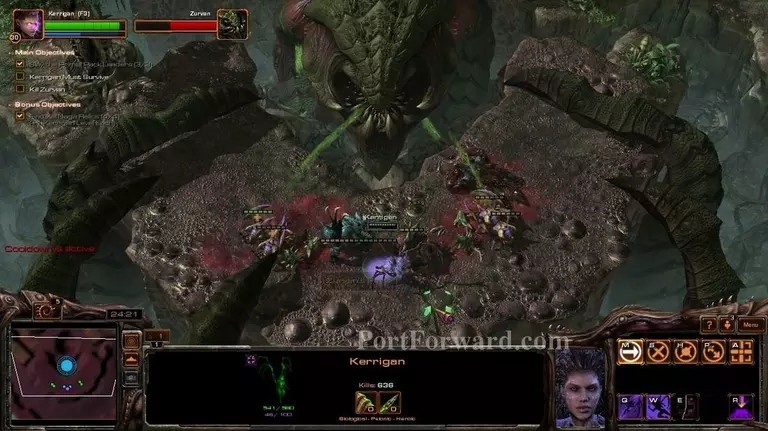
The final boss can be easy and hard in the same time.
Starcraft 2: Heart of the Swarm Walkthrough - Starcraft 2-Heart-of-the-Swarm 400
I suggest not taking the time to micro your units, unless you're good enough. I only microed kerrings.
Starcraft 2: Heart of the Swarm Walkthrough - Starcraft 2-Heart-of-the-Swarm 401
The phase where he attacks with his claws is pretty easy.
Starcraft 2: Heart of the Swarm Walkthrough - Starcraft 2-Heart-of-the-Swarm 402
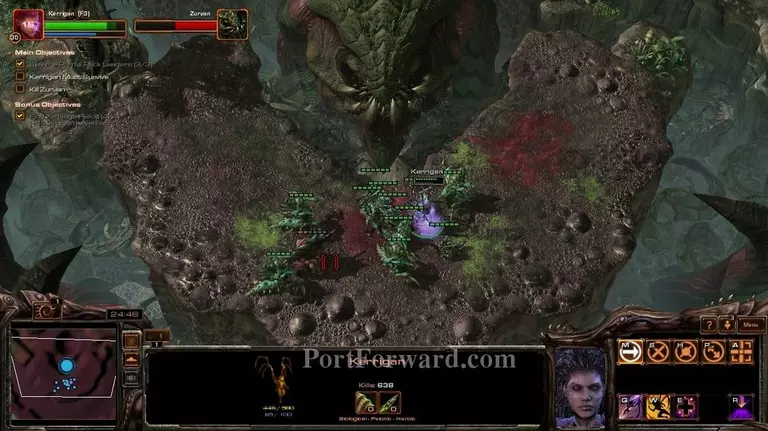
When he starts spitting out units, it can become quite hectic for kerrgian though.
Starcraft 2: Heart of the Swarm Walkthrough - Starcraft 2-Heart-of-the-Swarm 403
Make sure you kill them as fast as you can.
Starcraft 2: Heart of the Swarm Walkthrough - Starcraft 2-Heart-of-the-Swarm 404
If there are no ultralisks though, the waves of enemies should be pretty easy.
Starcraft 2: Heart of the Swarm Walkthrough - Starcraft 2-Heart-of-the-Swarm 405
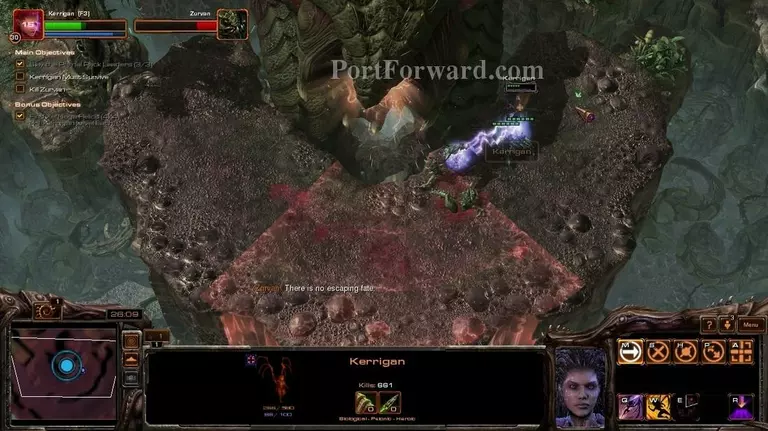
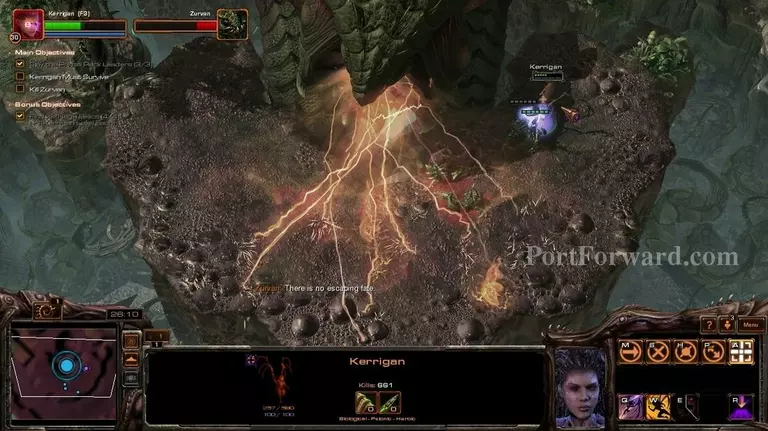
At around 10-25% health, he will start...
Starcraft 2: Heart of the Swarm Walkthrough - Starcraft 2-Heart-of-the-Swarm 406
...spitting out energy. Make sure you dodge it.
Starcraft 2: Heart of the Swarm Walkthrough - Starcraft 2-Heart-of-the-Swarm 407
It is quite easy with 2 of your skills allowing you to leap from location to location.
Starcraft 2: Heart of the Swarm Walkthrough - Starcraft 2-Heart-of-the-Swarm 408
Just use leaping strike at him and you should take care of him pretty easily.
Starcraft 2: Heart of the Swarm Walkthrough - Starcraft 2-Heart-of-the-Swarm 409
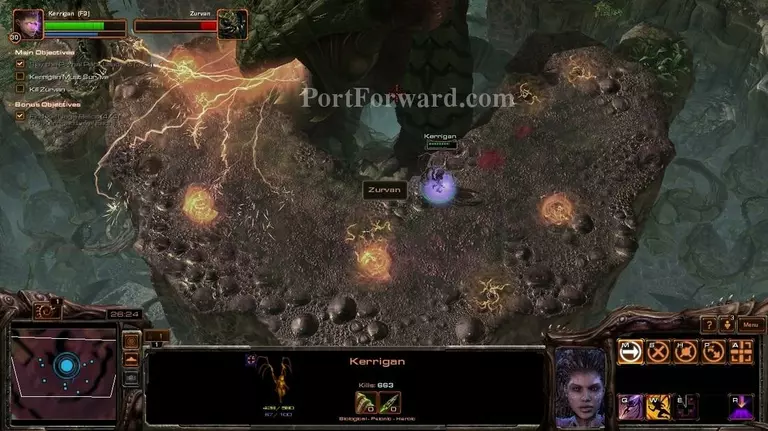
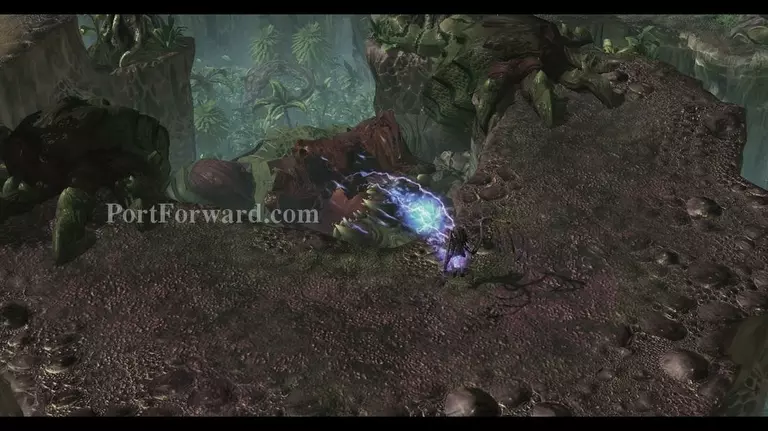
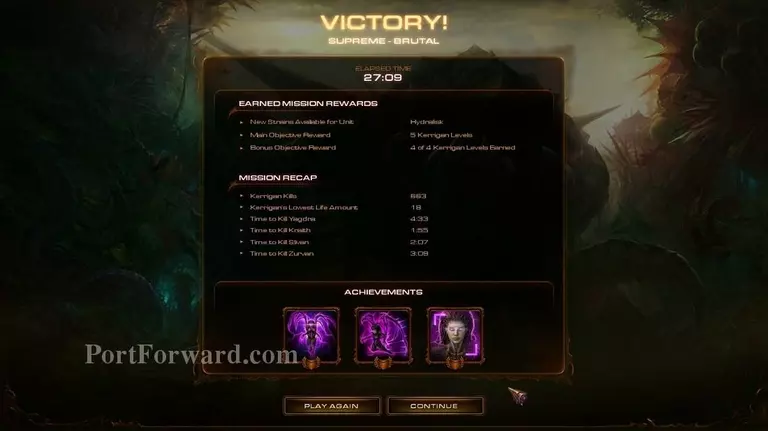
After you're done with him...
Starcraft 2: Heart of the Swarm Walkthrough - Starcraft 2-Heart-of-the-Swarm 410
...you're done with the mission.
More Starcraft 2: Heart of the Swarm Walkthroughs
This Starcraft 2: Heart of the Swarm walkthrough is divided into 27 total pages.