
This Starcraft 2: Heart of the Swarm walkthrough is divided into 27 total pages.
You can jump to nearby pages of the game using the links above.
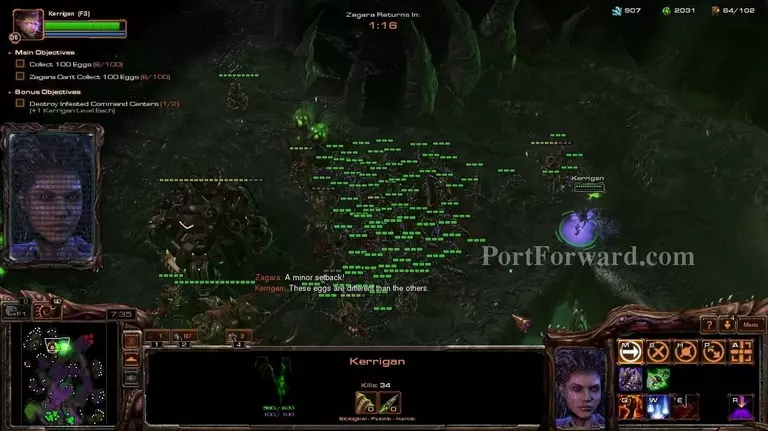
Char 1: Domination

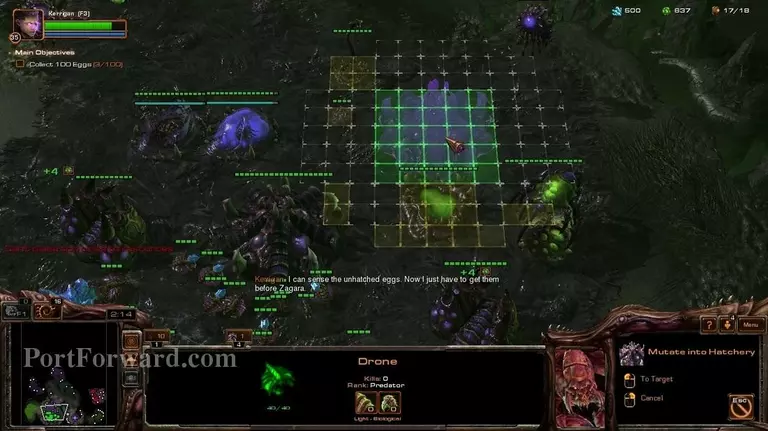
Ths is one of the easiest missions in the game. Start by droning up.
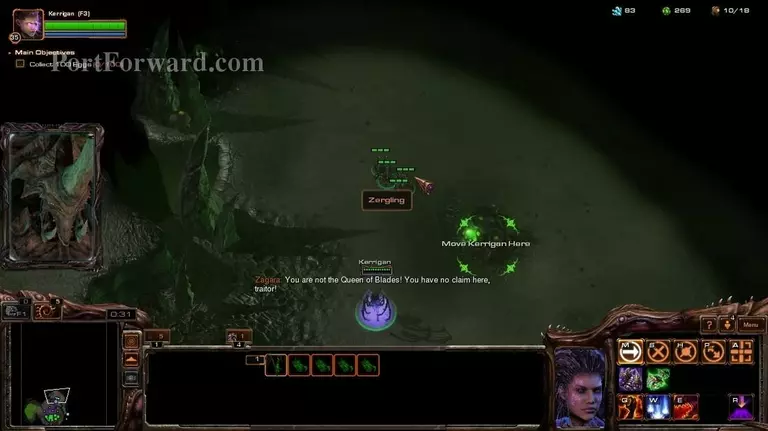
You have to collect 100 eggs and destroy the red base to finish the mission.
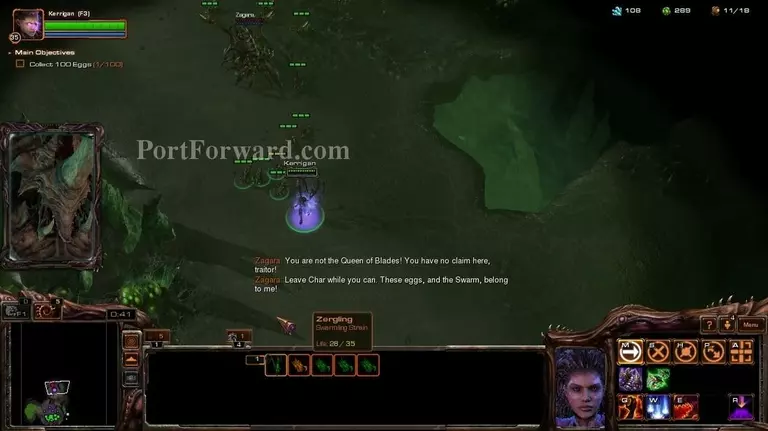
If you have completed the other 2 planets before this one, i suggest you pick the "Wild Mutation" skill and use it on your 4 zerglings from the start to defeat Zagara.
Make 2 evolution chambers for the zergling upgrades and upgrade the hatchery to lair when you can.

Go south and defeat the 3 hydras at the expansion.
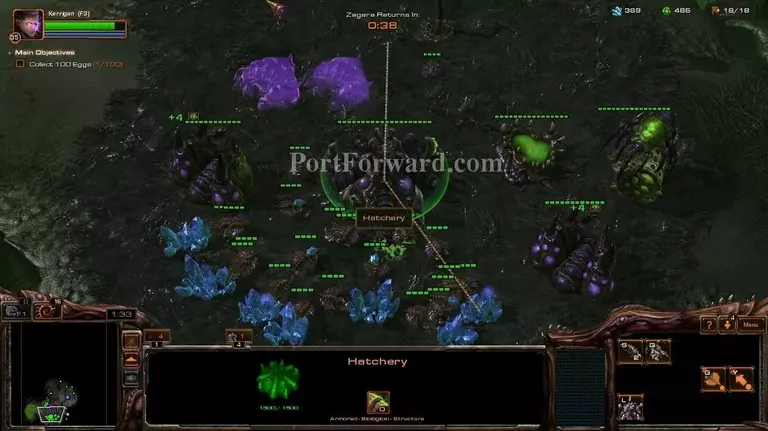
Make a hatchery there.
Also, when you have the recources available, make a another hatchery.
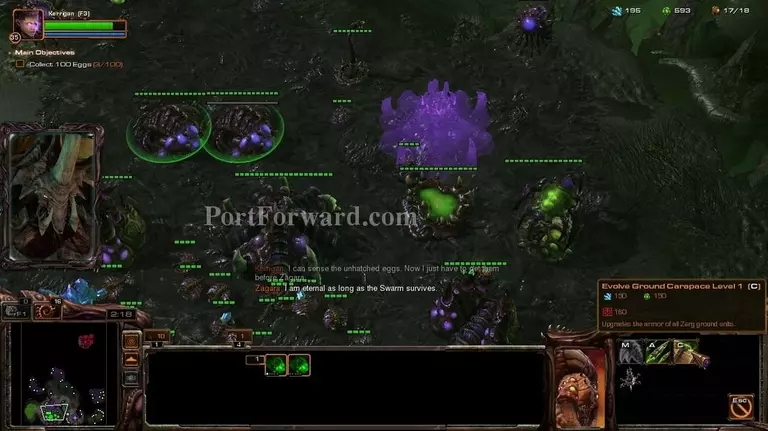
Start your upgrades as soon as you can.
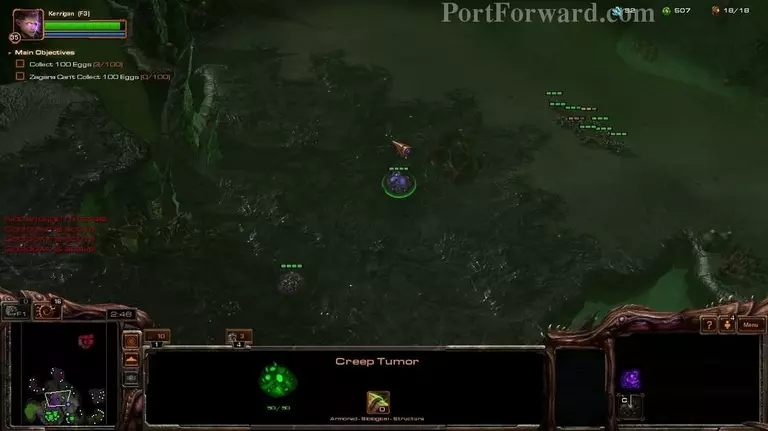
Also, remember to spread creep.
All you need to do this mission is make zerglings.
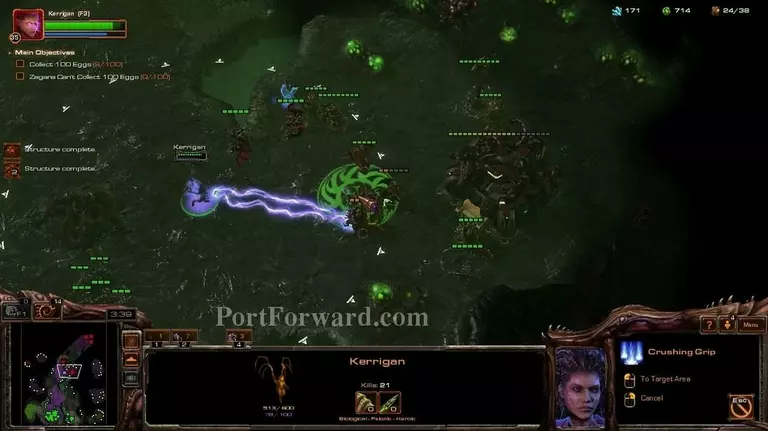
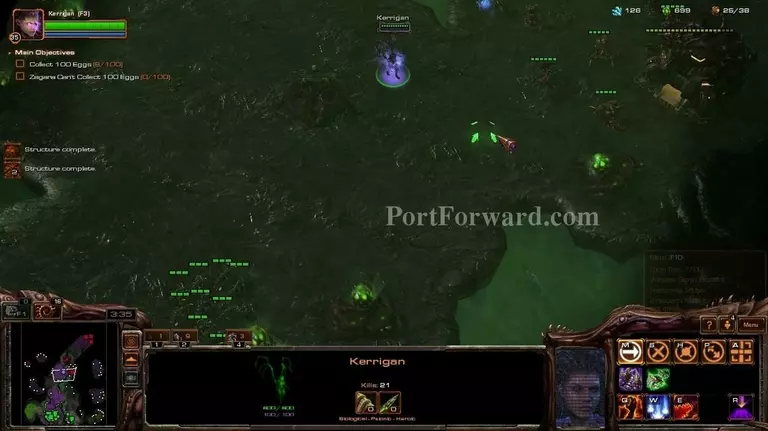
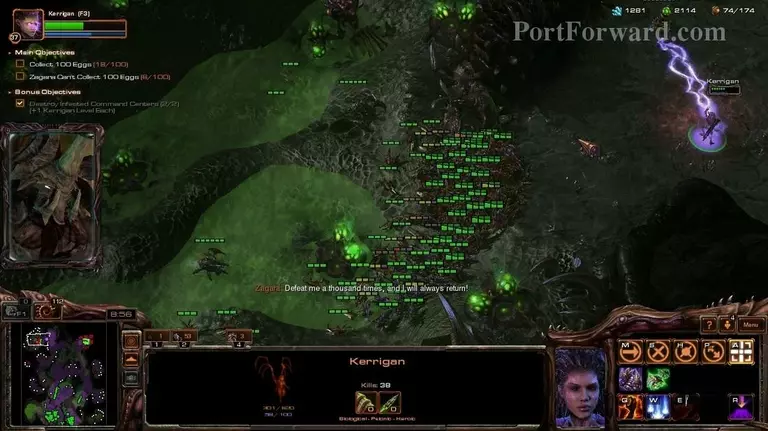
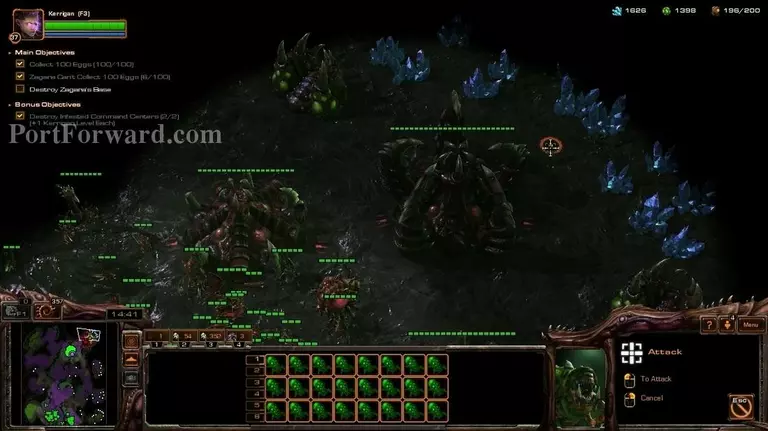
When you feel like you have enough, go to the middle of the map and destroy the infested command center.
You can use the banelings whenever you like, i didn't use them at all.
Destroying the command center will give kerrigan a level up.
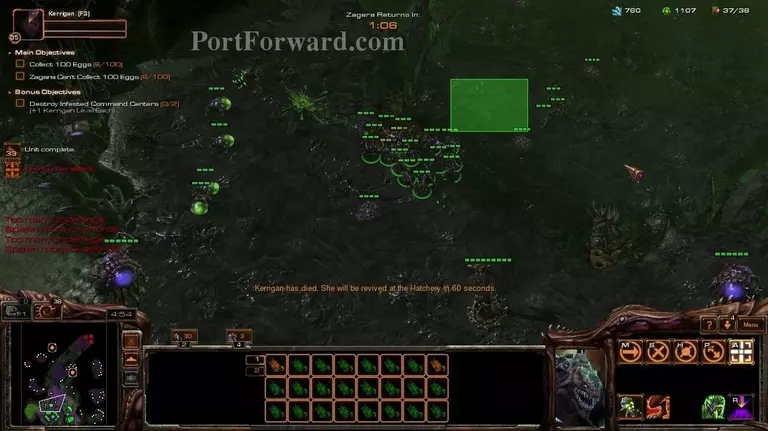
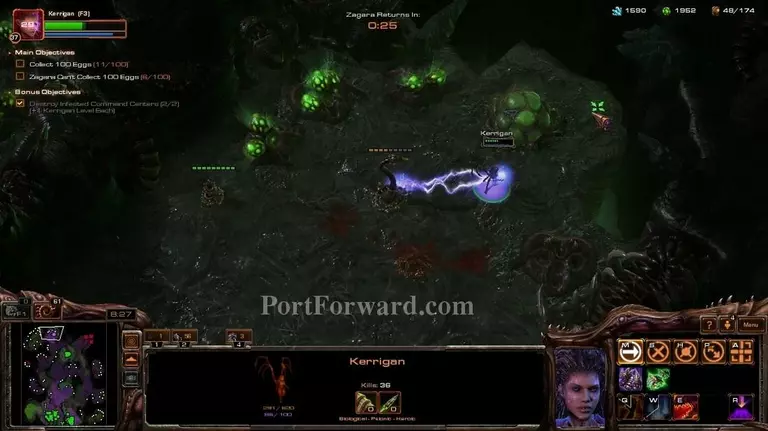
After you have enough zerglings, it will be time to go and destroy the next infested command center.
It should be easy enough, since not a lot of enemies are defending.
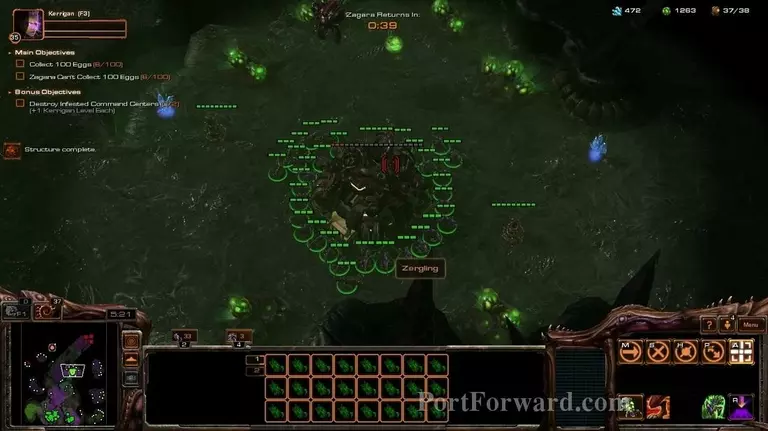
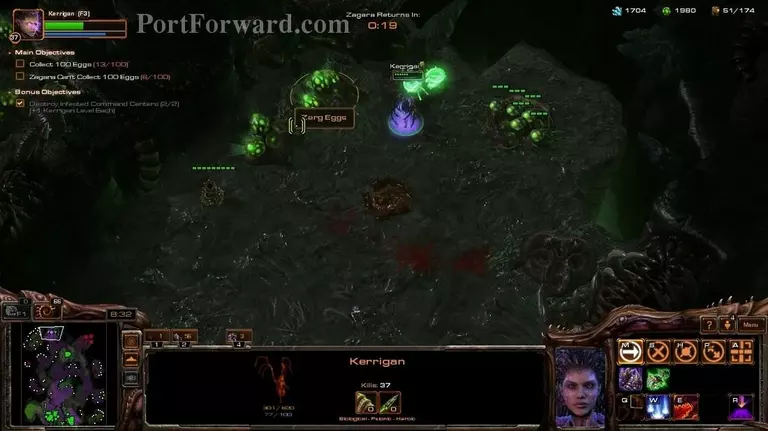
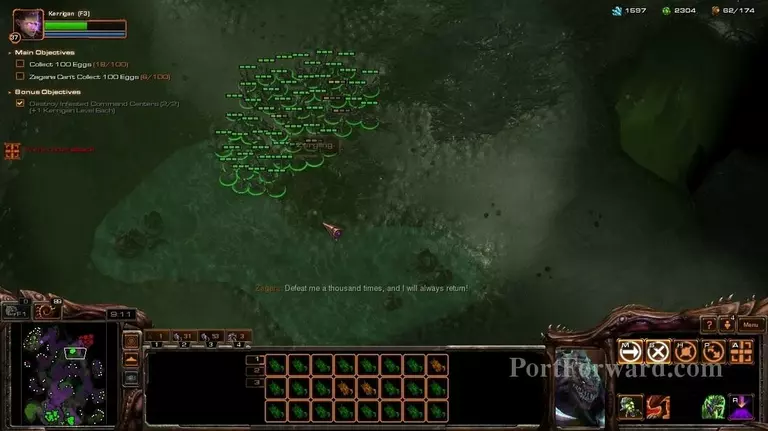
If you move Kerrigan over the unique looking eggs...
...you will get a bunch of free banelings.
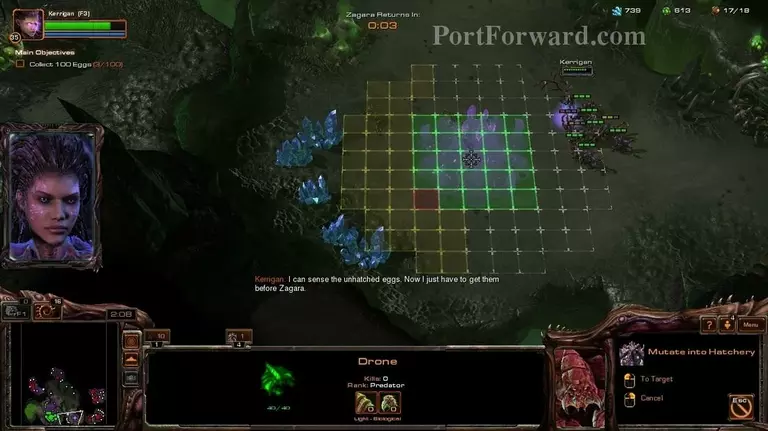
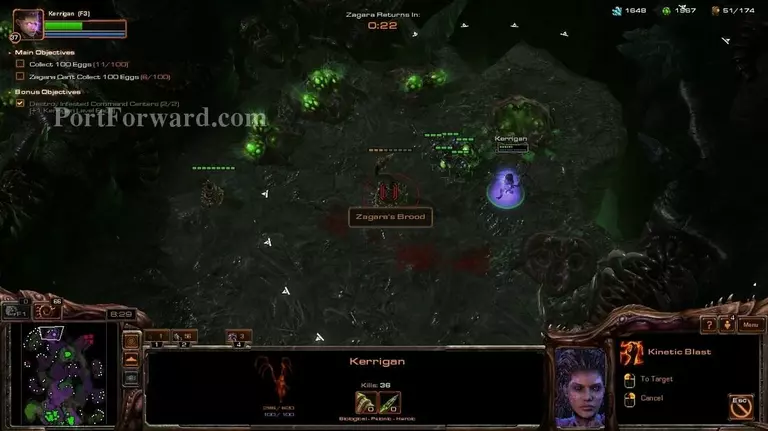
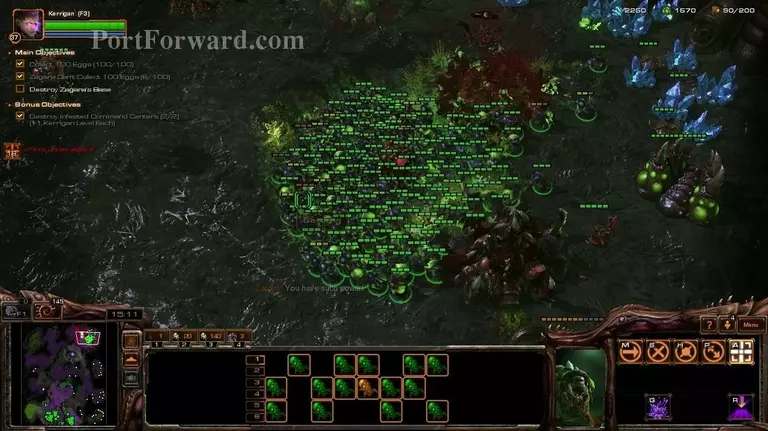
Now that you have destroyed the infested command centers, it is time to collect the eggs.
There are various areas with a lot of eggs.
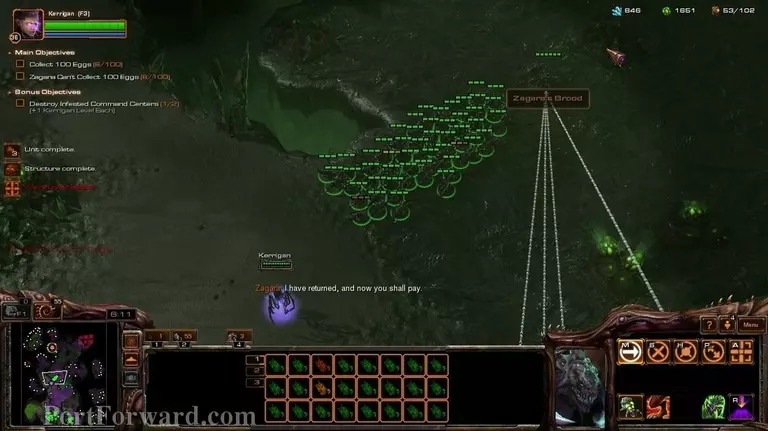
Make 2 groups of zerglings. One in front of the red base, and one to go along with Kerrigan.
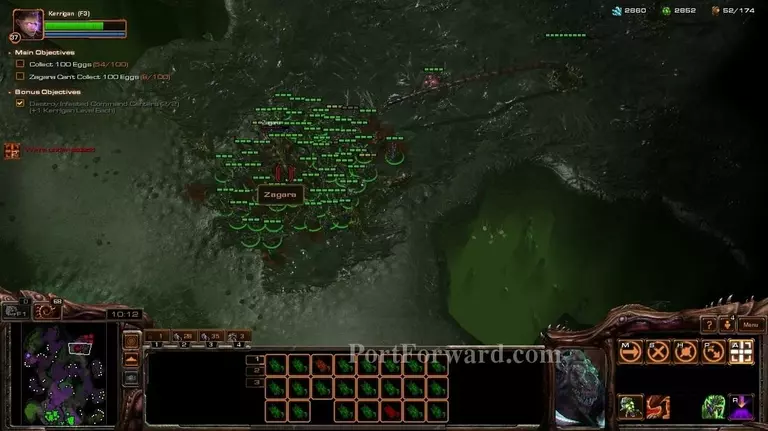
You should be able to kill zagara with zerglings only, she isn't that tough.
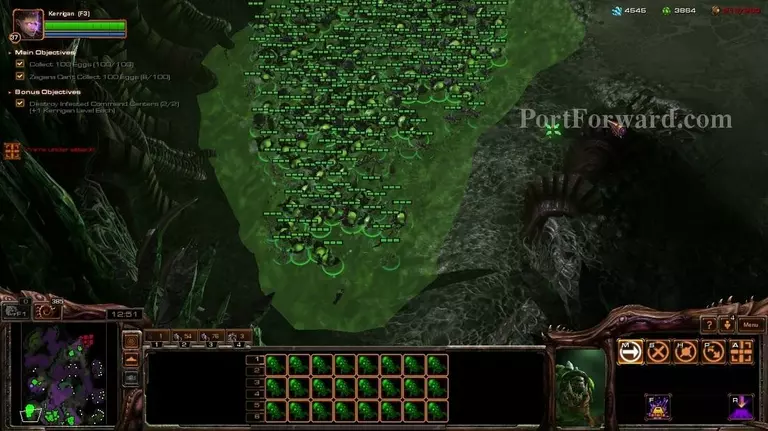
After you have gathered the eggs, you will get a bunch of free zerglings and bannelings.
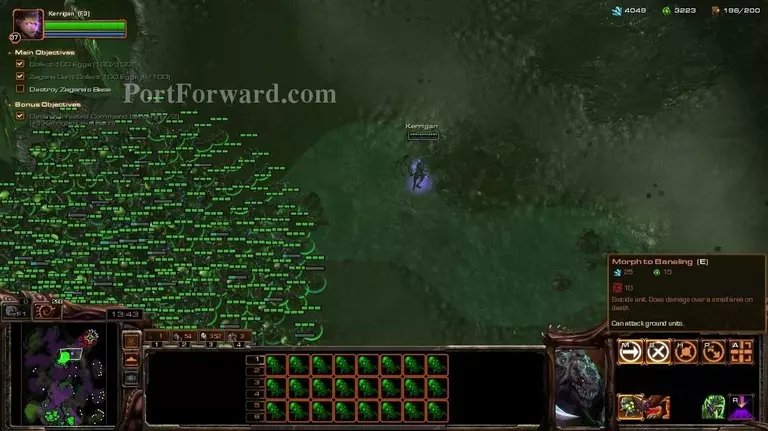
Now it's time to turn every single zergling you have into a bannelings. Just select all the zerglings and hold the E button.
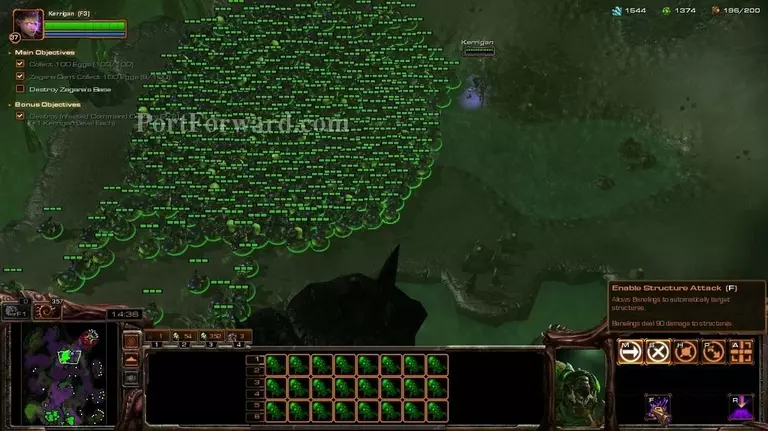
Select all of the bannelings and Enable Structure Attack.
Now press A and left click behind the hatchery.
Now watch how your bannelings are wreaking havoc amongst the enemy base.
And that is that with this mission.2
More Starcraft 2: Heart of the Swarm Walkthroughs
This Starcraft 2: Heart of the Swarm walkthrough is divided into 27 total pages.


