
This Starcraft 2: Heart of the Swarm walkthrough is divided into 27 total pages.
You can jump to nearby pages of the game using the links above.
Char 2: Fire in the Sky
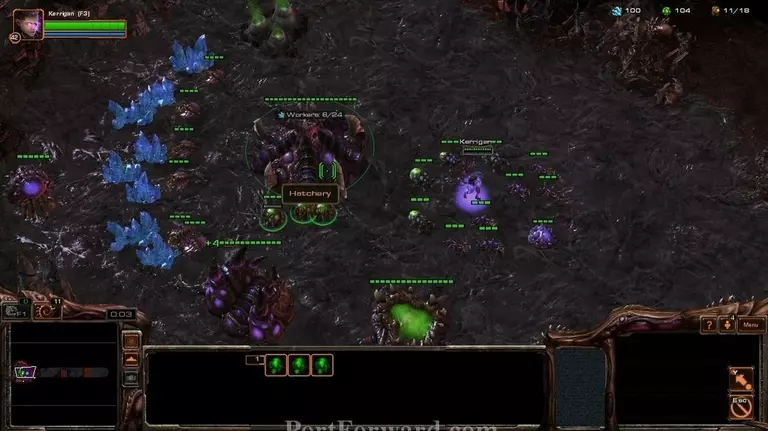
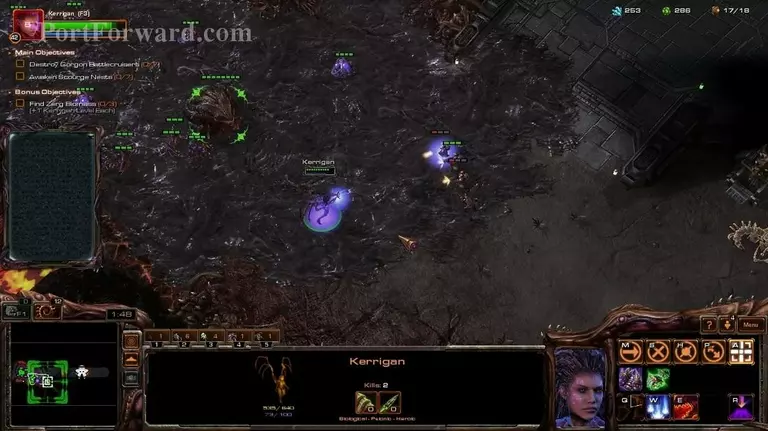
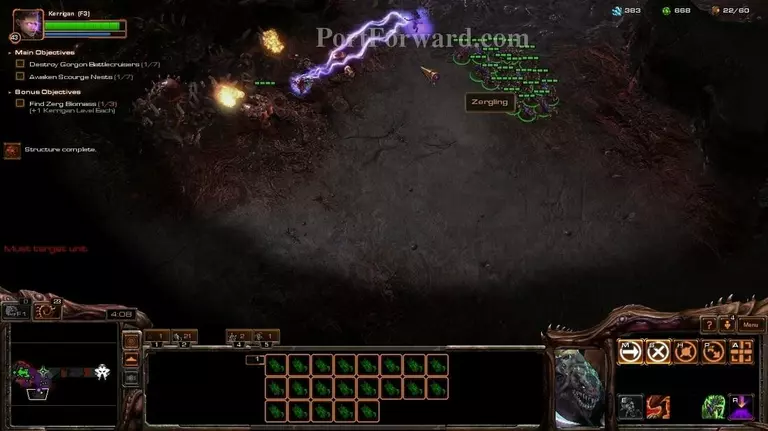
This is a tricky, and could be a hard, mission. Start off by making drones.

Goal of the mission is to use the scourge nests by placing a creep tumor right next to them.
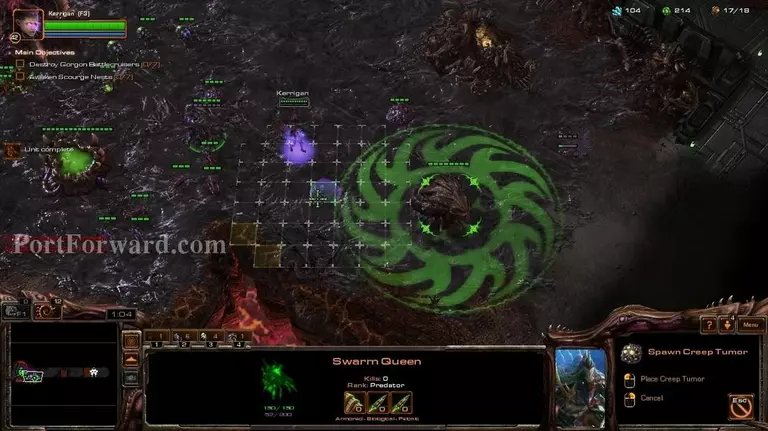
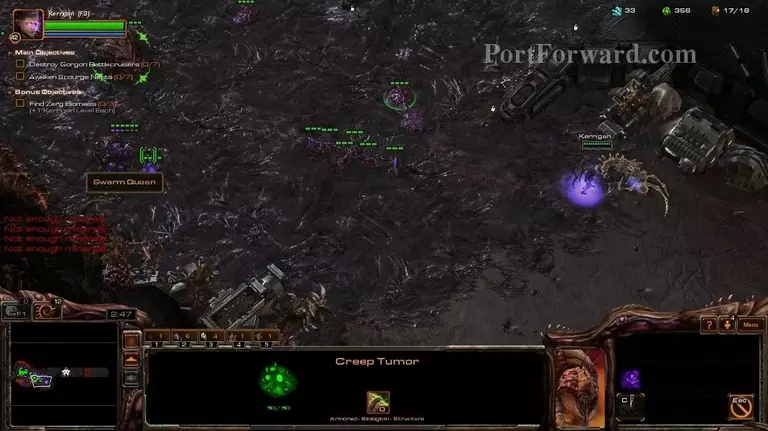
If you have completed the 2 other planets before this mission, your strategy will be to have 2 queens to make creep tumors and mass zerglings.
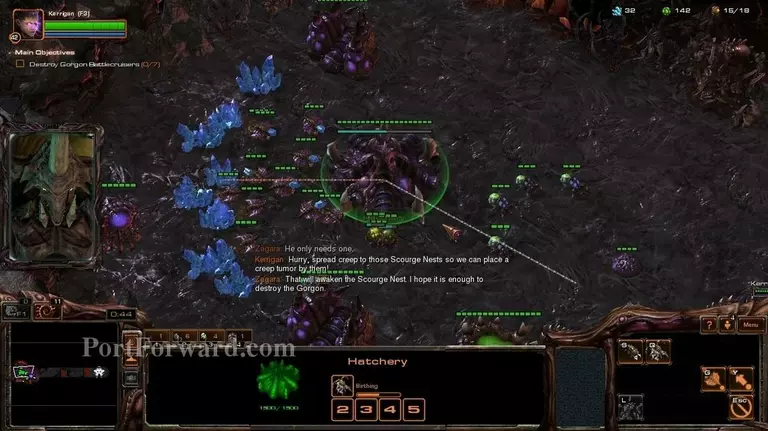
I recommend not putting a creep tumor right away, wait for the Gorgon to be a bit closer.

If Char is your first planet, then your strategy would be to get queens and zerglings. Priority would be Upgrades->Queens->Zerglings.
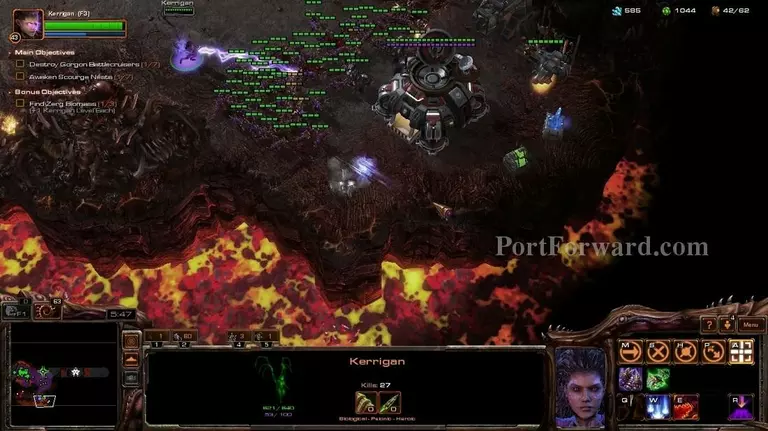
Speaking about upgrades, start your lair and 2 evolution chambers as soon as you can.
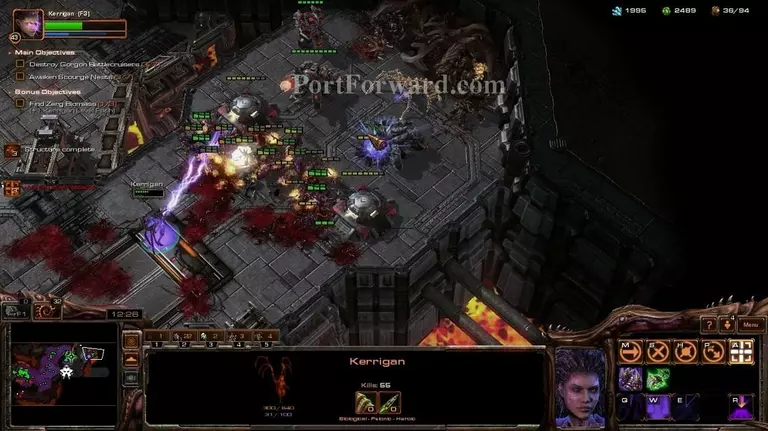
The terran will send squads to attack you from time to time. I would recommend making a few spine crawlers for defence.
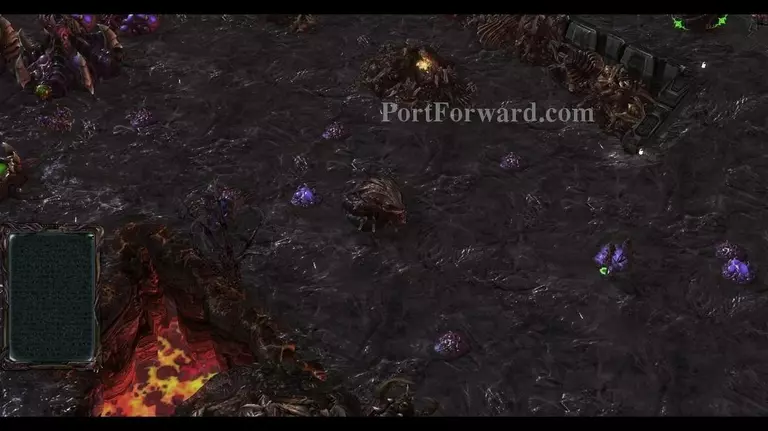
This here is a defiler corpse.
Use it to gain a level.

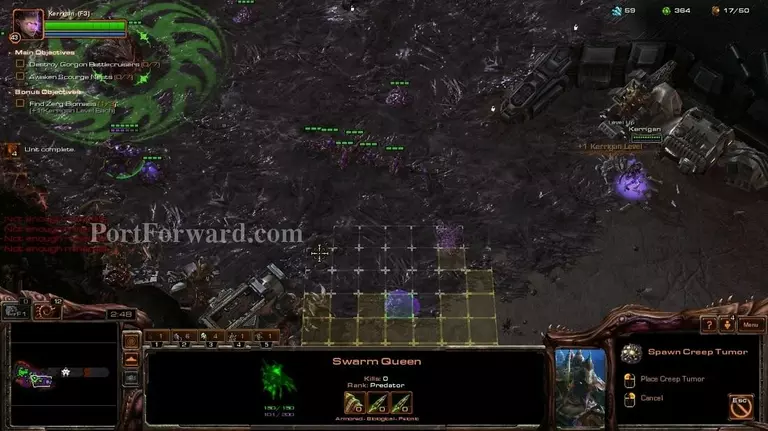
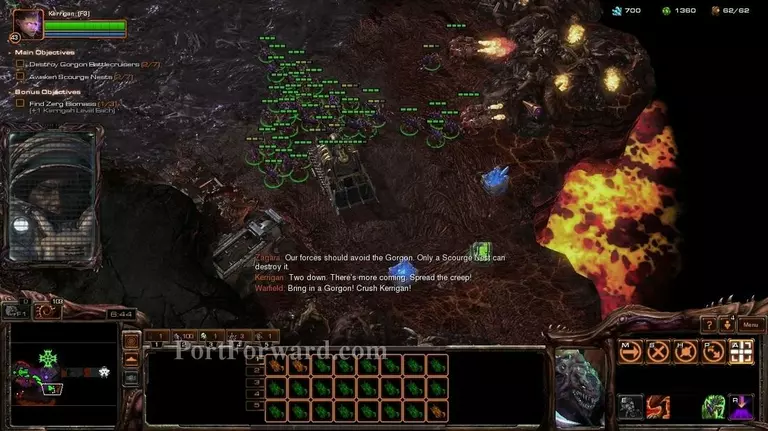
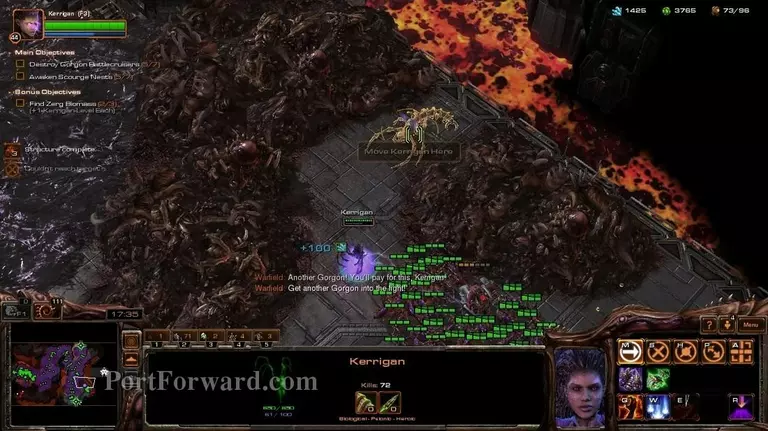
Make sure you make as many creep tumors as you can, they are the most crucial thing so far.
Every time you activate a scourge nest, a gorgon dies.

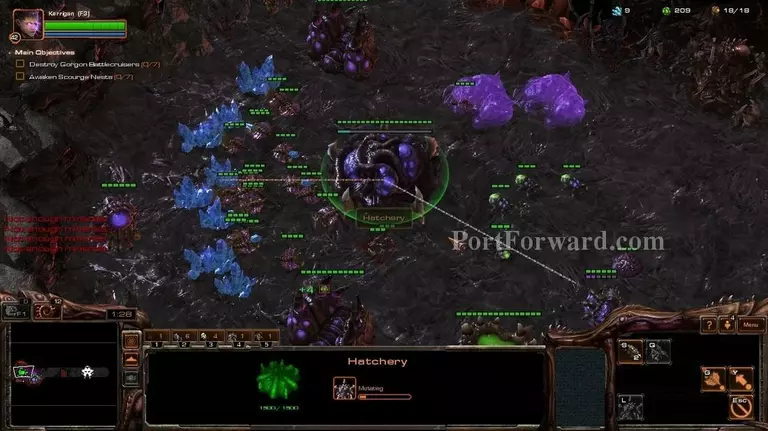
If you're using the mass zergling strategy, make a 3rd hatchery.
If you kill the firebats that are shooting at the air...

...you will gain small reinforcements.

Going to the south, you will find a few terran buildings with minerals behind them.
And a bit to the right is a command center with minerals and gas.
Explore everywhere, since you will find mineral and gas caches everywhere.

Remember to spread creep, otherwise you will surely lose.
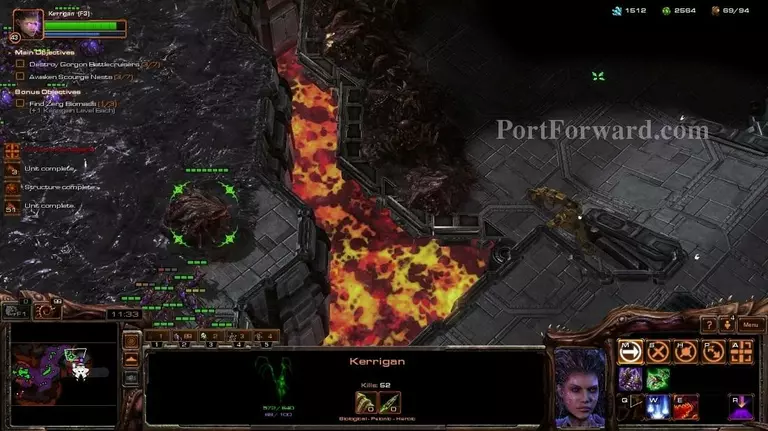
Continue pushing forward to gain access to more scourge nests.
The next defiler remains are to the north-east.

Also, be careful of enemy attacks. I didn't put any spine crawlers and now i'm suffering the consequences.
The last defiler remains are far to the south east.
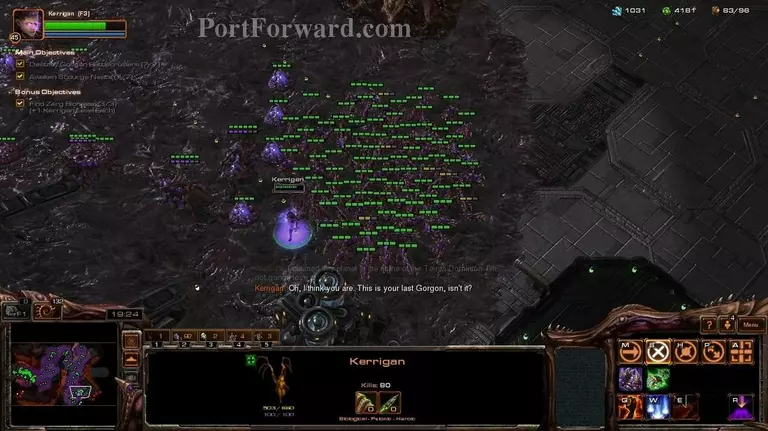
If you followed the strategy properly...

...you should win easily.
More Starcraft 2: Heart of the Swarm Walkthroughs
This Starcraft 2: Heart of the Swarm walkthrough is divided into 27 total pages.


