This Starcraft 2: Heart of the Swarm walkthrough is divided into 27 total pages.
You can jump to nearby pages of the game using the links above.
Zerus 1: Waking the Ancient
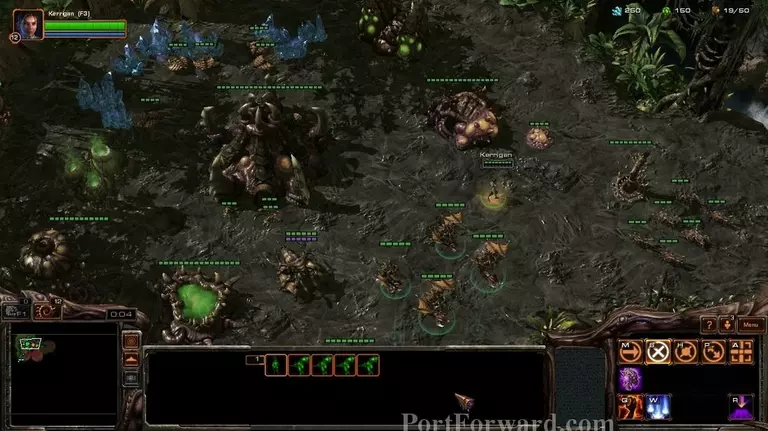
In this mission we have to harvest biomass. Start by the standart droning up.
You also get your second flying unit (after the overlord), the mutalisk. It is a ranged attacker, quite useful when stacked up.

Creep spread as much as you can with the queen.
And start making upgrades from now on.

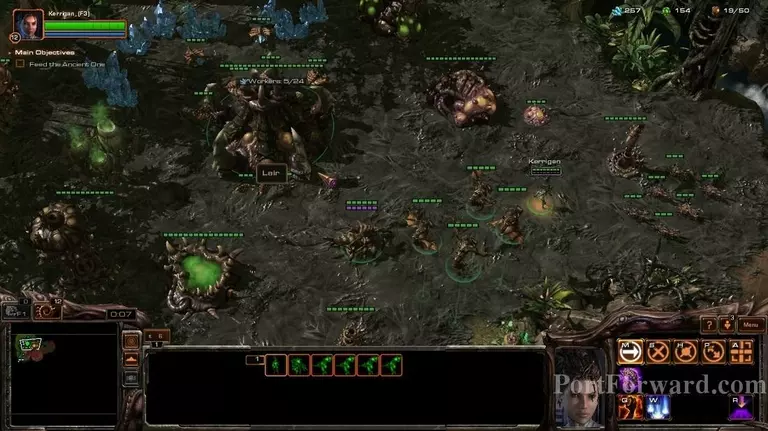
Make your second extractor early, you will need the gas a lot.

Also, make a second hatchery right after the gas.
Gather your army up and attack the neutral animals near the expansion.
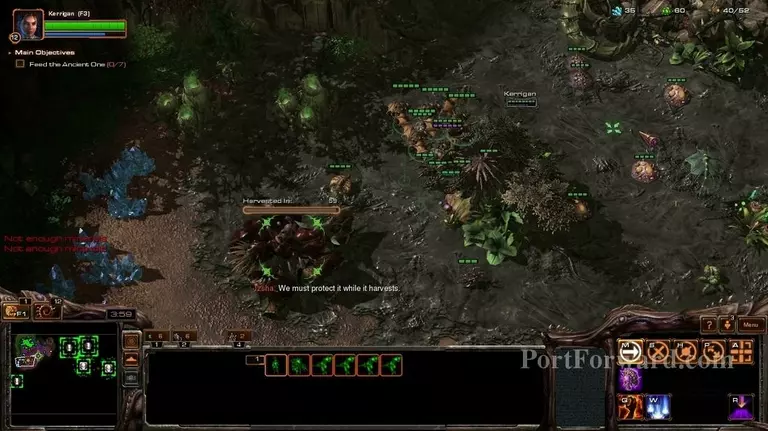
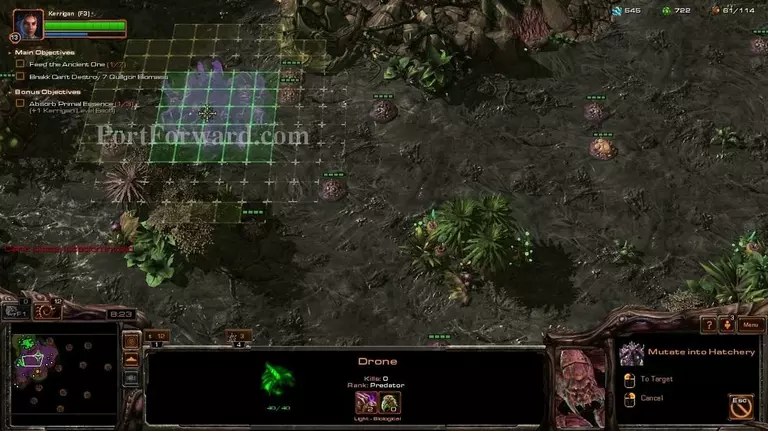
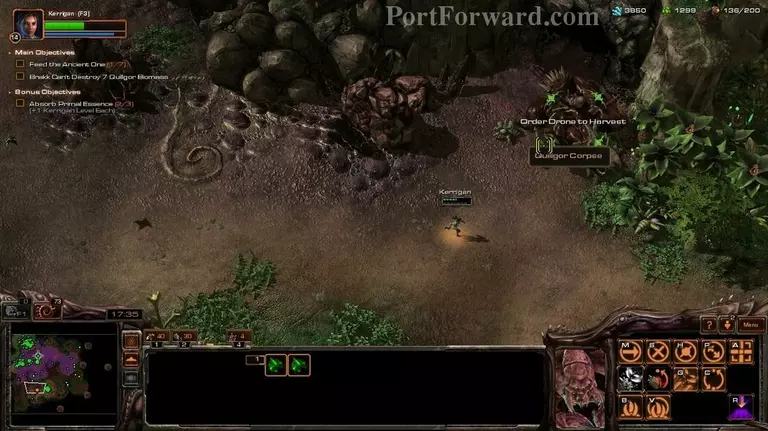
To start harvesting the biomass from the creature, you have to select a drone and right click on it. It will take 60 seconds to gather the biomass.
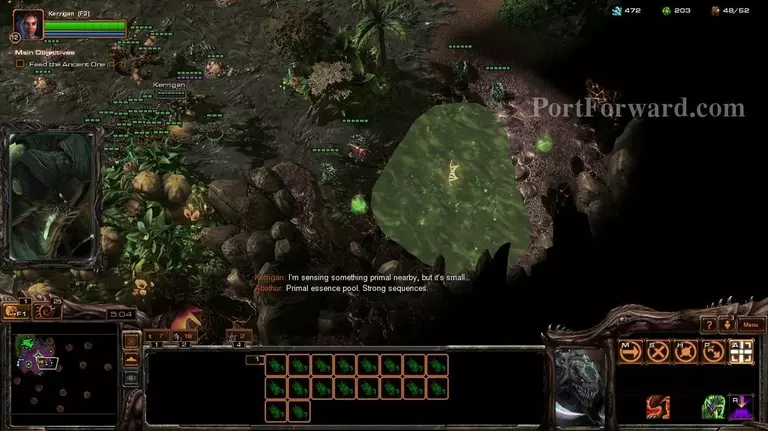
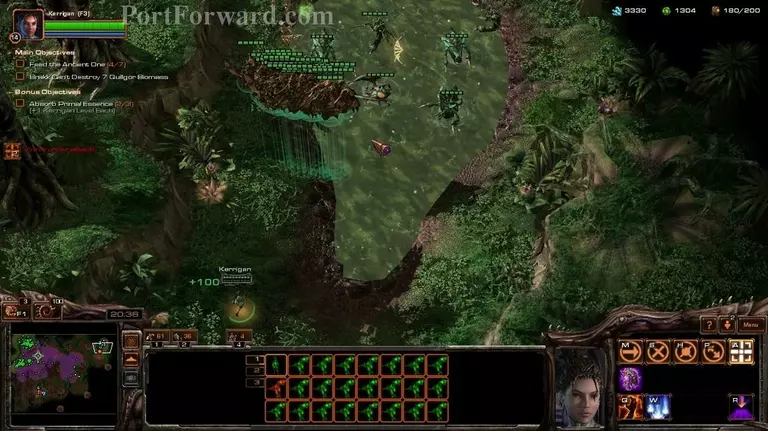
This here is an essence pool. Be sure to grab the essence in it with Kerrigan, as it will level you up.
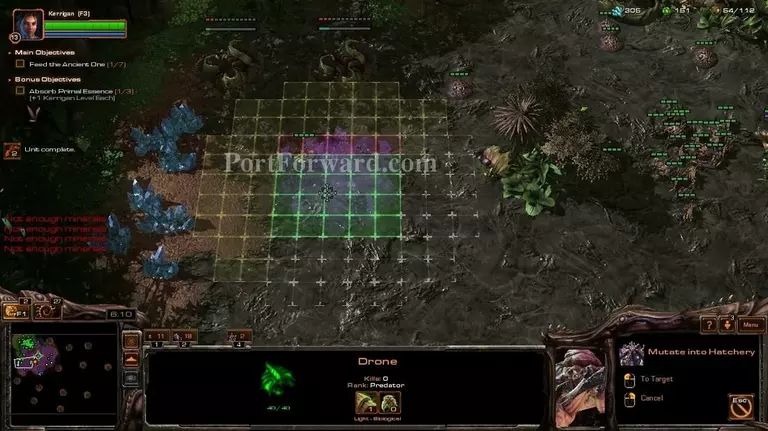
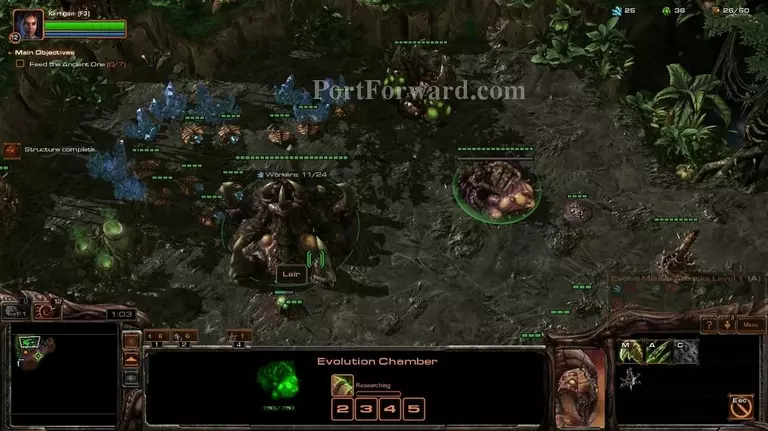
After the biomass has been harvested, make a hatchery and 2 extractors. Put 3 drones on the extractors right away.
Do not forget your upgrades while doing so.

The Primal Zerg might attack you from time to time.

Also, they might attack the biomass from time to time. Make sure to stop them.
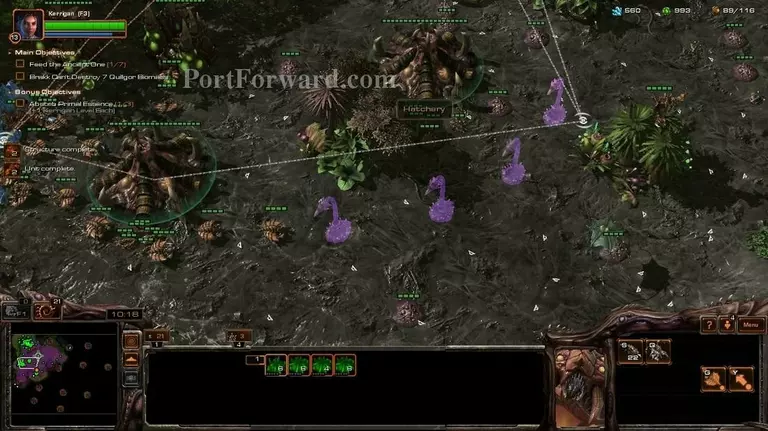
Make a third hatchery somewhere, doesn't matter where.

Also, remember to get the gas pickups on the ground, you will need a lot of gas.

Your main army will consist of mutalisks and you will make zerglings when you need the reinforcements.
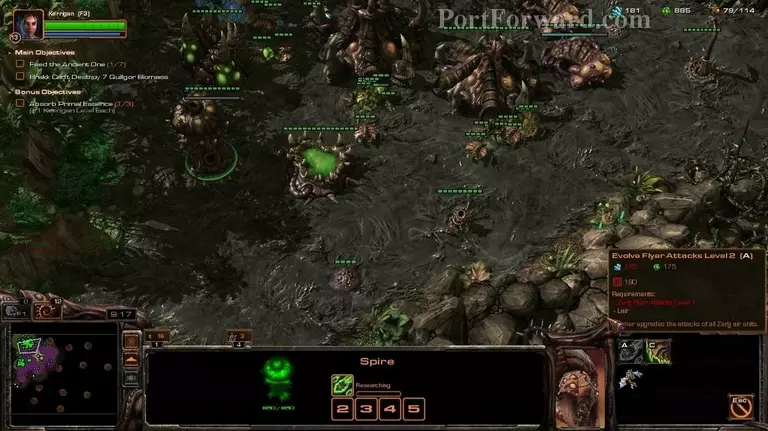
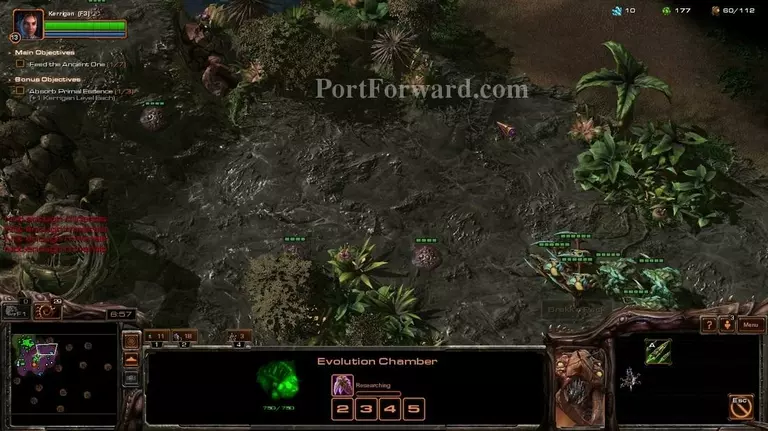
Also, make sure to start the mutalisk upgrades early, don't forget them like me.

When you have a nice ammount of mutalisks, use them and Kerrigan to attack the Quilgor's. Don't gather the biomass until you have completed the optional objectives though.
If you accidentaly made too many drones, you can use them to make spine crawlers, definitely helps.

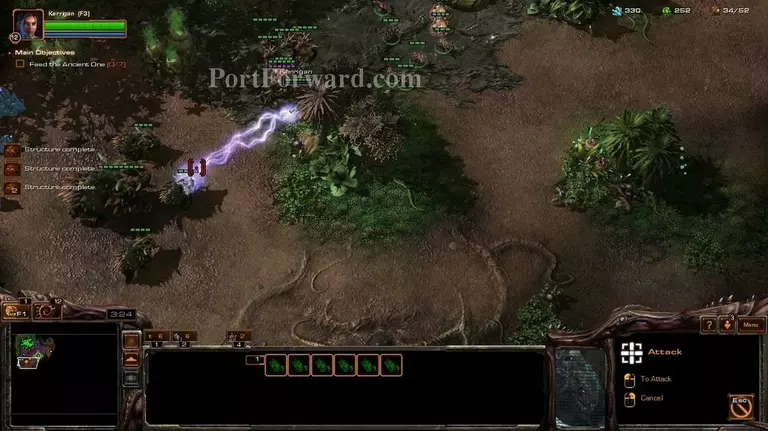
Mutalisks should be able to take care of most of the enemies, if not all.
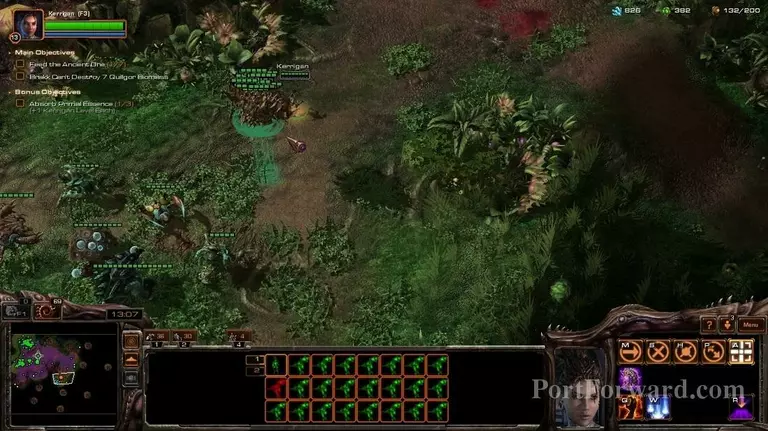
Go around with Kerrigan and your mutalisks and kill enemy outposts to gain territory.

You can find the second essence pool far to the south.

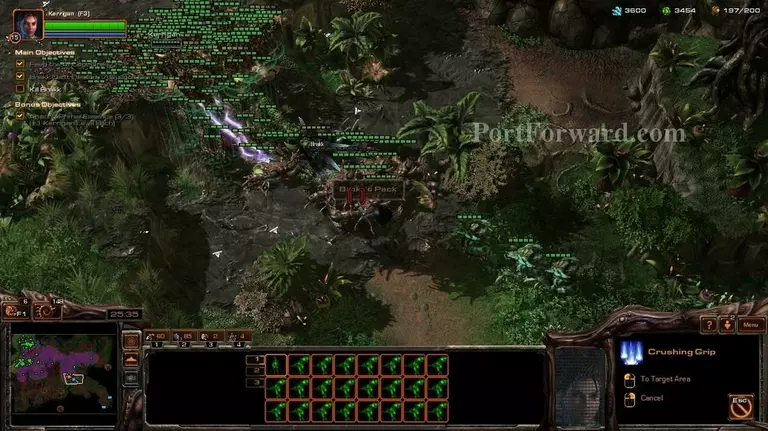
This here is a Primal Hive. Make sure to destroy each one you see on the field.
If you collect biomass from 2 or more places at once, you will get attacked with a bigger force.
The last biomass location is far to the east. After you take it, you're free to collect all of the biomass.

After you collect the biomass, you will get to fight Brakk.
He is really durable, but if you made enough mutalisks you should be able to easily take care of him.

After you deal with him, the mission will end.
More Starcraft 2: Heart of the Swarm Walkthroughs
This Starcraft 2: Heart of the Swarm walkthrough is divided into 27 total pages.