
This Starcraft 2: Wings of Liberty walkthrough is divided into 19 total pages.
You can jump to nearby pages of the game using the links above.
Mission 4: Smash And Grab
Fairly simple mission, like the 2nd mission but with a bit of a twist, you have to destroy the protoss before the zerg does.
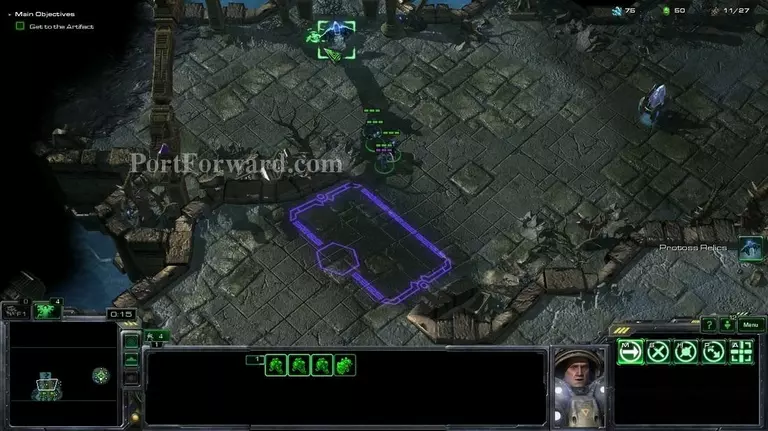
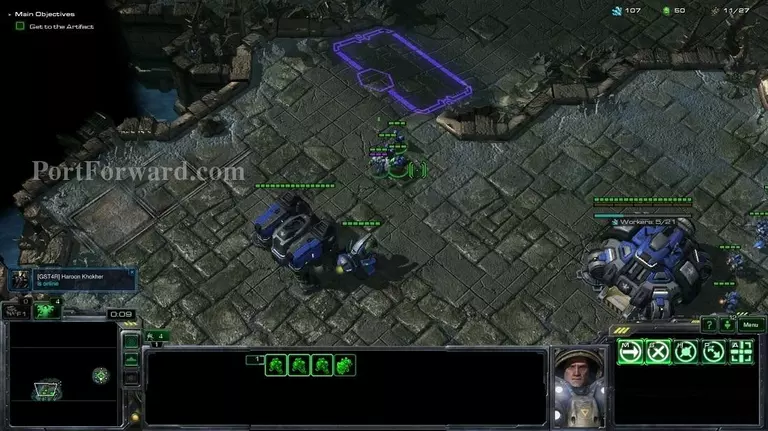
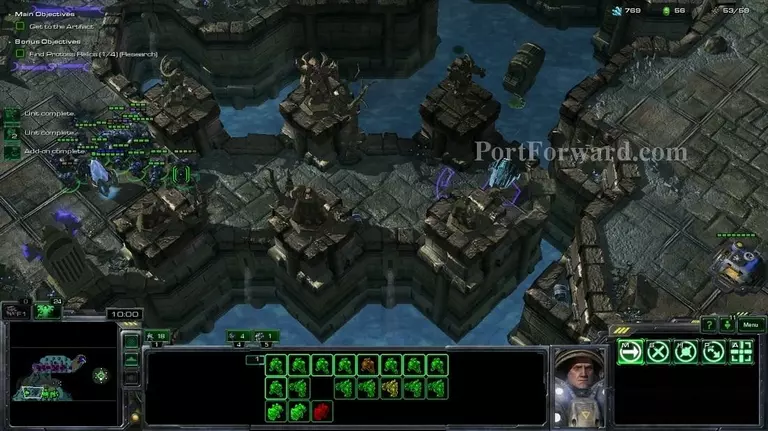
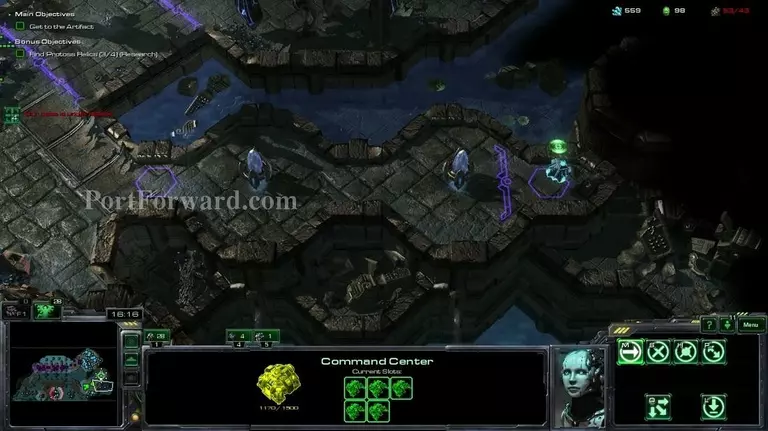
Make sure you grab this artifact here. We will be collecting all of those in this mission.
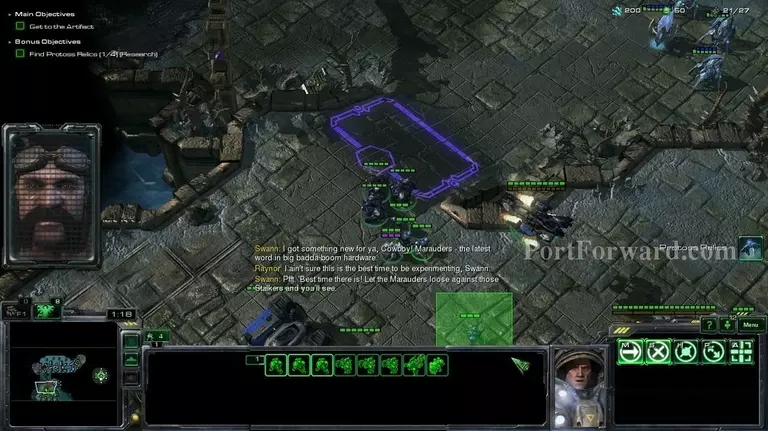
You will get attacked by some stalkers, but right before that you 3 marauders will come as reinforcements.
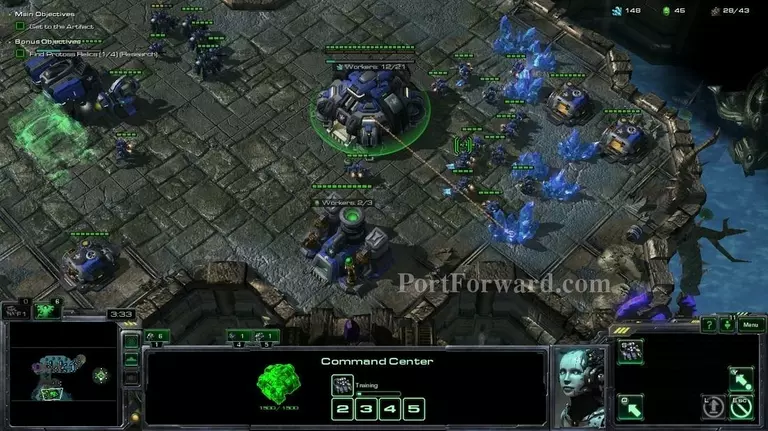
Once you have too many minerals, start building another barracks. I built a total of 4 barracks.
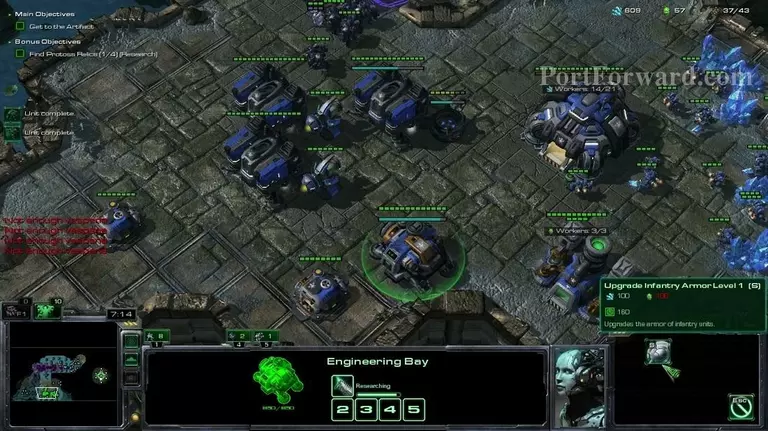
Start making the upgrades as soon as possible as well.
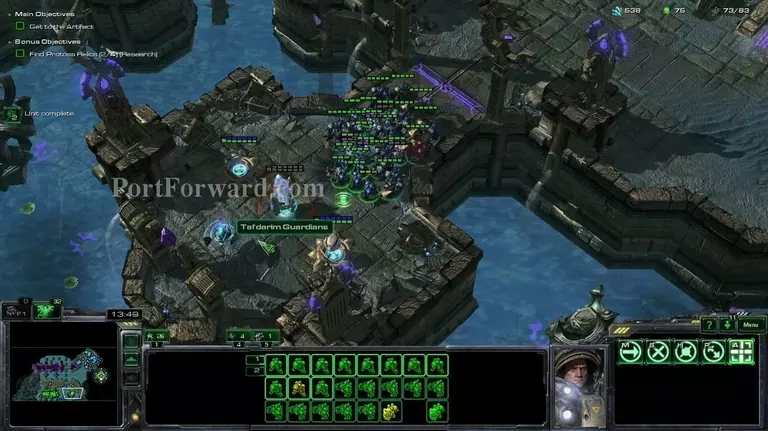
Also, when you have a big enough force, try getting this artifact here. It is guarded by a few stalkers, photon cannons, spine crawlers and hydras.
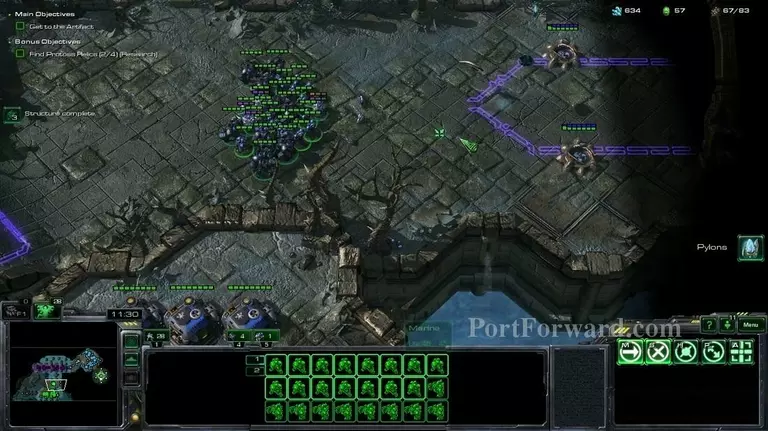
You can also start moving out towards the protoss base when you have ~70 supply of units. Make sure you continue making units in your base and sending them to your main army.
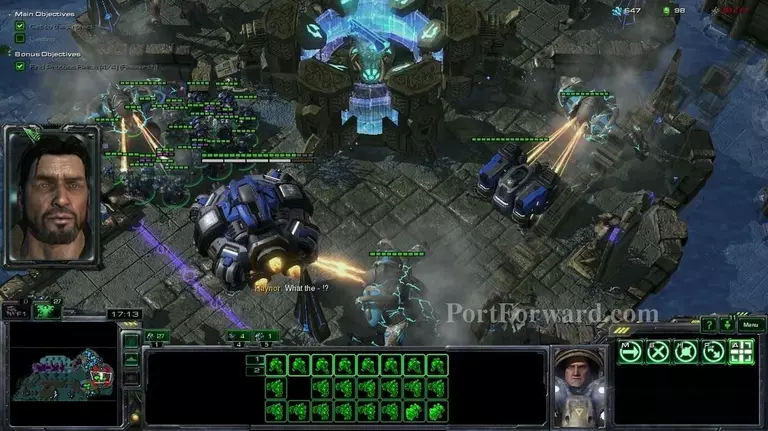
This section can be horrible. Try destroy the pylons first without getting hit by anything else.
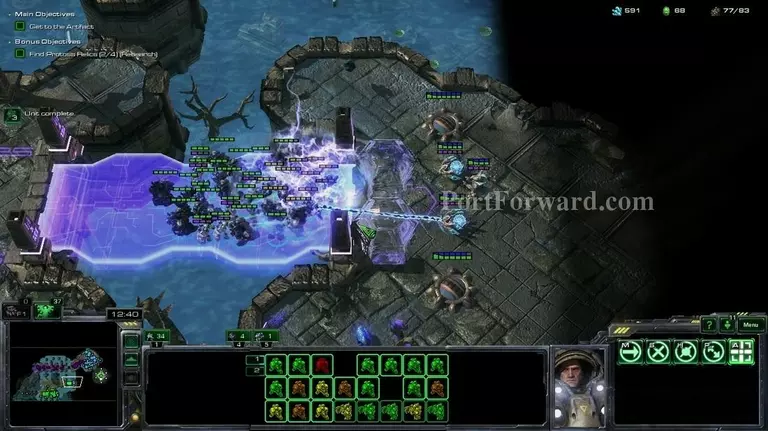
Also, instead of sending your whole army towards the force fields, send 1-2 units at a time to bait the psi-storms. I was a bit stupid here and lost like half of my army.
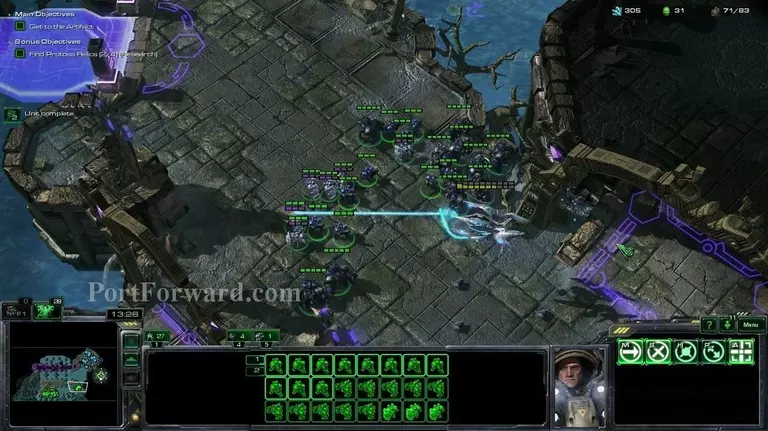
Make sure you also build at least a few marines, not only medics and marauders since there are a few flying units.
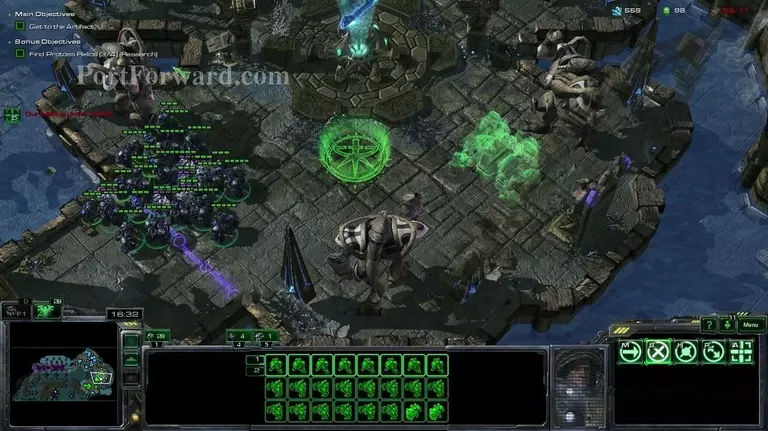
Get this artifact.
I had my base attacked by the zerg while my forces were too far away, so i had to fly in my whole base to my army. Going back with your army will lose you time and you will probably lose a few units.
Make sure you get this artifact over here.
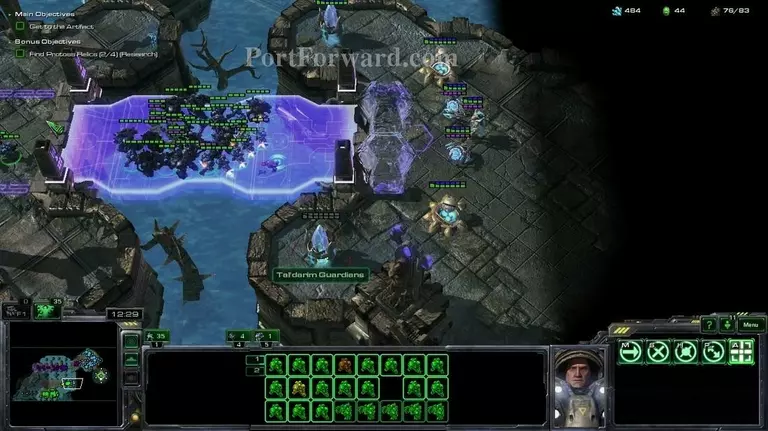
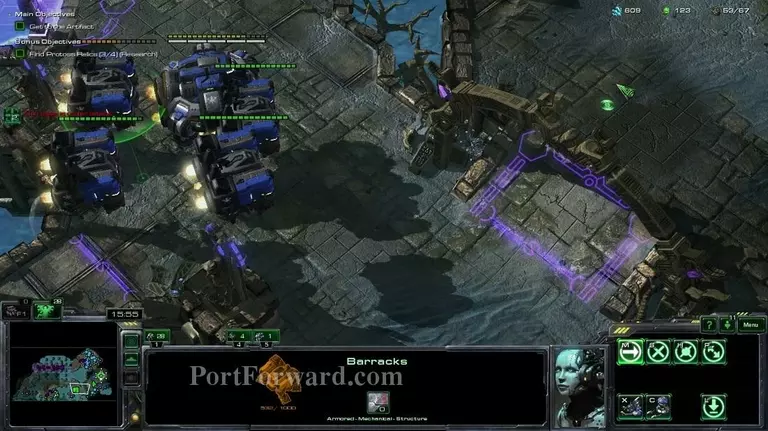
After you're done with the protoss base, you can move out to this area.
Activating the circle will activate 3 stone zealots. I flew in my buildings over here so they could tank up a bit of the damage, making it easier to destroy the stone zealots.
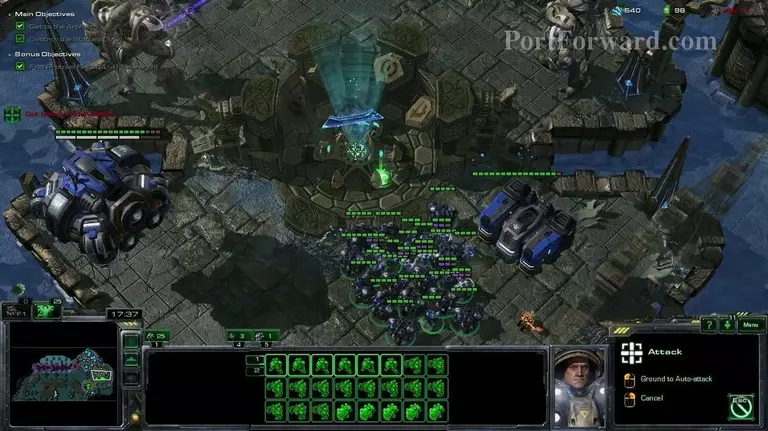
Destroying the stone zealots will finish the mission.
More Starcraft 2: Wings of Liberty Walkthroughs
This Starcraft 2: Wings of Liberty walkthrough is divided into 19 total pages.


