This Starcraft 2: Wings of Liberty walkthrough is divided into 19 total pages.
You can jump to nearby pages of the game using the links above.
Mission 8: Cutthroat
![Starcraft 2: Wings of Liberty Walkthrough - Starcraft 2-Wings-of-Liberty 87](starcraft-2-wings-of-liberty-87-small.webp)
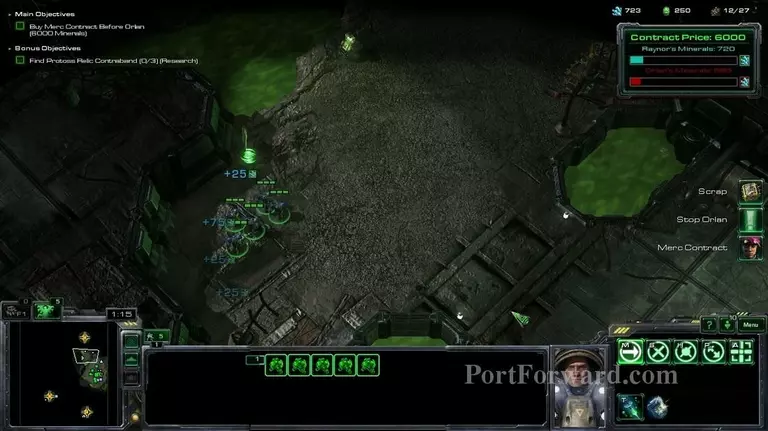
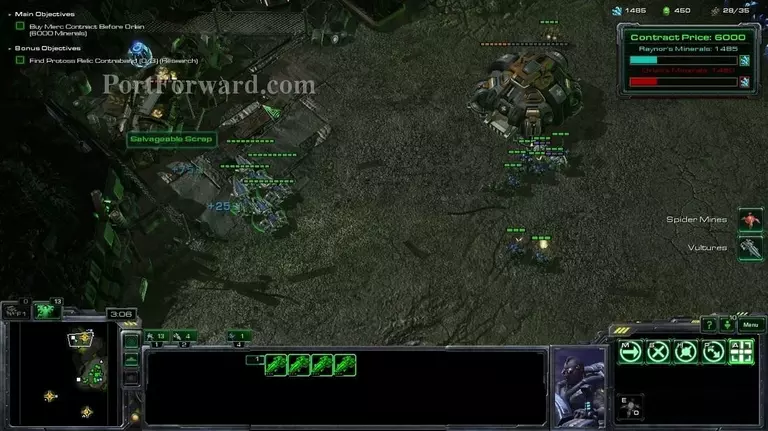
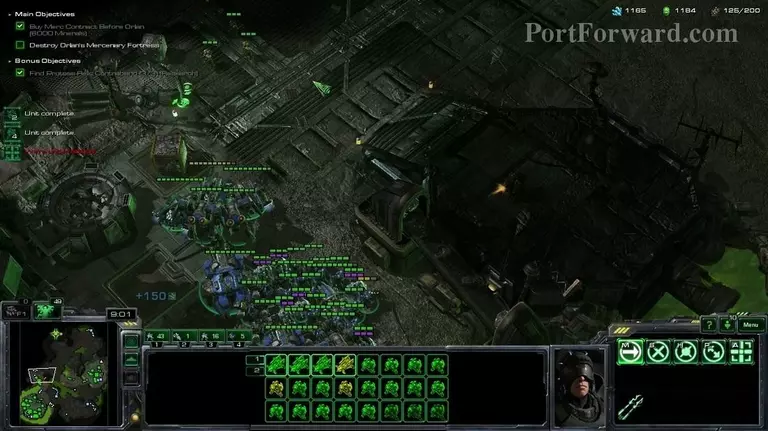
This mission is like "Devil's Playground", you need a bunch of minerals and there's a bunch of them everywhere, but it is timed.
![Starcraft 2: Wings of Liberty Walkthrough - Starcraft 2-Wings-of-Liberty 88](starcraft-2-wings-of-liberty-88-small.webp)
Build a reactor and 2 medics or just go for 2 medics and then attack the marines here. You can completely skip making SCVs this mission.
![Starcraft 2: Wings of Liberty Walkthrough - Starcraft 2-Wings-of-Liberty 89](starcraft-2-wings-of-liberty-89-small.webp)
You will get 4 vultures ~2 minutes into the mission.
![Starcraft 2: Wings of Liberty Walkthrough - Starcraft 2-Wings-of-Liberty 90](starcraft-2-wings-of-liberty-90-small.webp)
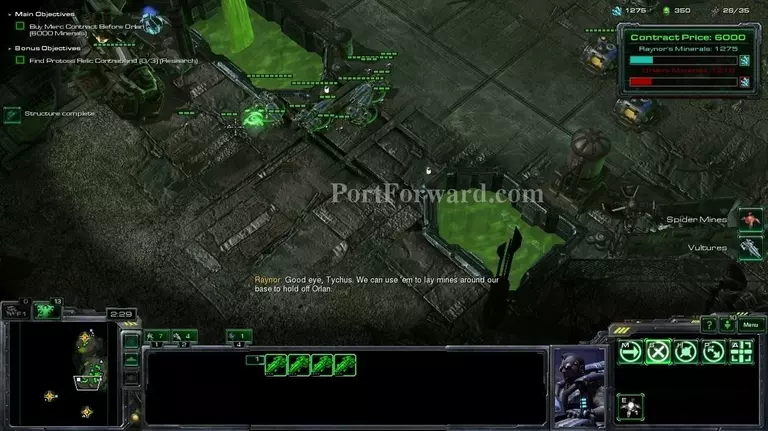
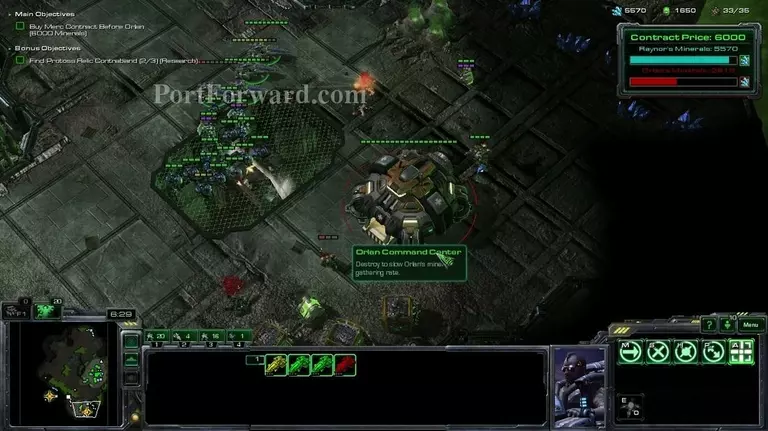
With a few marines, the vultures and the 4 medics you should be able to take out the command center over here.
![Starcraft 2: Wings of Liberty Walkthrough - Starcraft 2-Wings-of-Liberty 91](starcraft-2-wings-of-liberty-91-small.webp)
Make sure you also pick up the protoss artifact over here.
![Starcraft 2: Wings of Liberty Walkthrough - Starcraft 2-Wings-of-Liberty 92](starcraft-2-wings-of-liberty-92-small.webp)
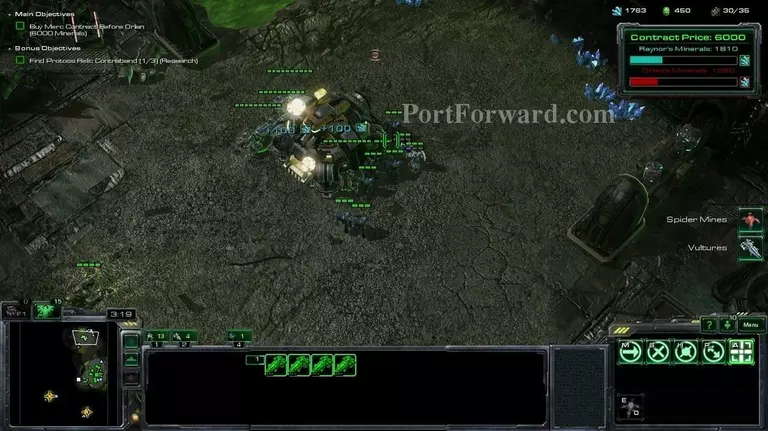
The command center drops 400 minerals when destroyed.
![Starcraft 2: Wings of Liberty Walkthrough - Starcraft 2-Wings-of-Liberty 93](starcraft-2-wings-of-liberty-93-small.webp)
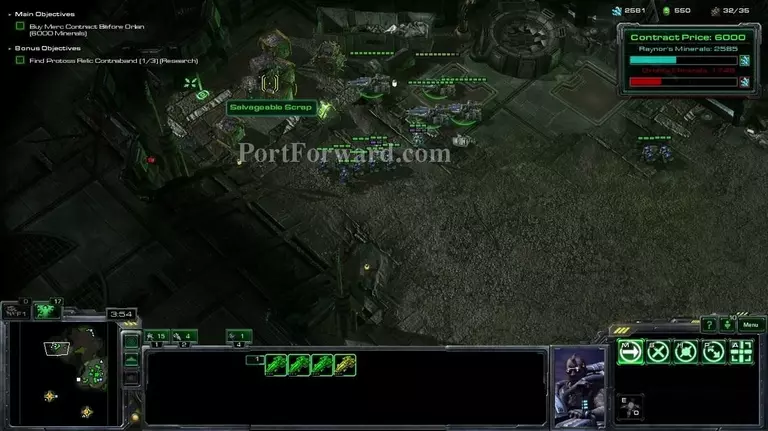
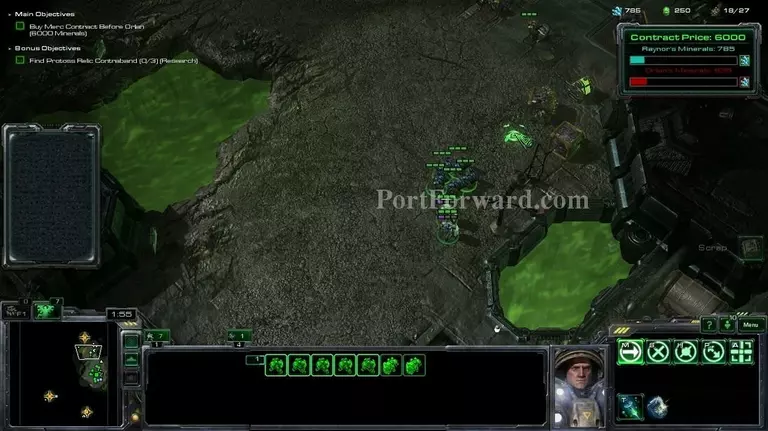
Go around the map picking minerals up and make a few marines but don't spend your money too much.
![Starcraft 2: Wings of Liberty Walkthrough - Starcraft 2-Wings-of-Liberty 94](starcraft-2-wings-of-liberty-94-small.webp)
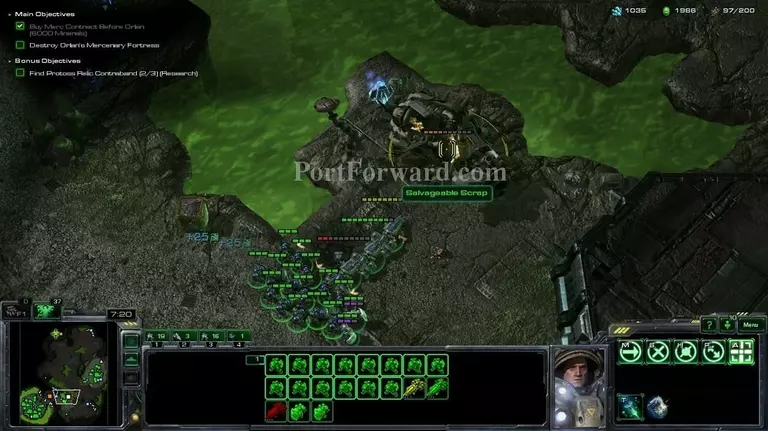
You can go around your base as shown on the minimap and when you reach the other entrance to your base, where your vultures were left off you will find the other protoss research, make sure you get that.
![Starcraft 2: Wings of Liberty Walkthrough - Starcraft 2-Wings-of-Liberty 95](starcraft-2-wings-of-liberty-95-small.webp)
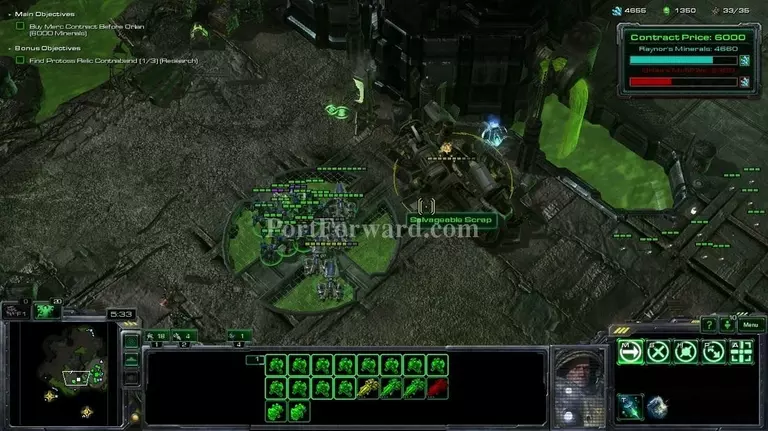
Go south and destroy the other command center.
![Starcraft 2: Wings of Liberty Walkthrough - Starcraft 2-Wings-of-Liberty 96](starcraft-2-wings-of-liberty-96-small.webp)
That should allow you to get the minerals required, but unlike "The Devil's Playground" the mission does not end here.
![Starcraft 2: Wings of Liberty Walkthrough - Starcraft 2-Wings-of-Liberty 97](starcraft-2-wings-of-liberty-97-small.webp)
Another artifact here.
![Starcraft 2: Wings of Liberty Walkthrough - Starcraft 2-Wings-of-Liberty 98](starcraft-2-wings-of-liberty-98-small.webp)
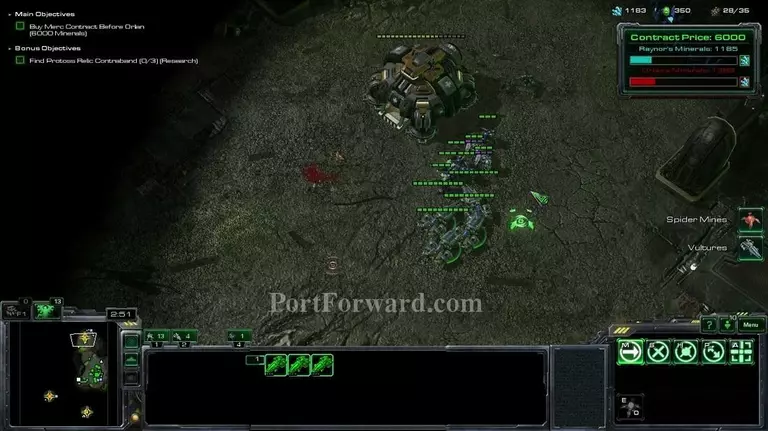
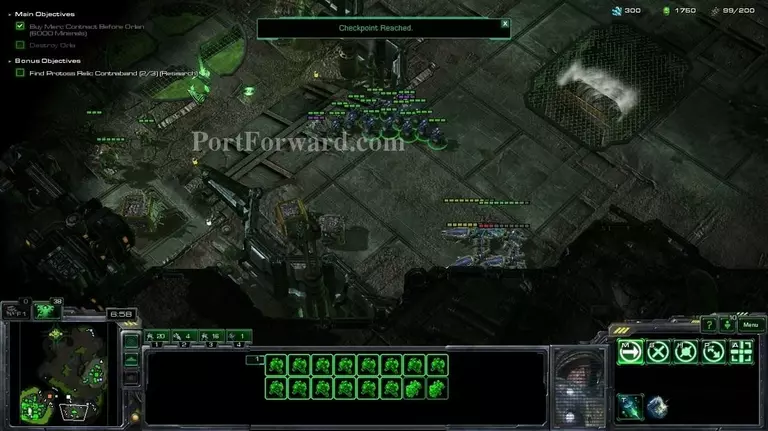
After you've gotten the minerals, you will be given control of this quite large base.
![Starcraft 2: Wings of Liberty Walkthrough - Starcraft 2-Wings-of-Liberty 99](starcraft-2-wings-of-liberty-99-small.webp)
Grab your army and start moving out. Make sure you continue building marines/medics/diamondbacks from your base while continuing.
![Starcraft 2: Wings of Liberty Walkthrough - Starcraft 2-Wings-of-Liberty 100](starcraft-2-wings-of-liberty-100-small.webp)
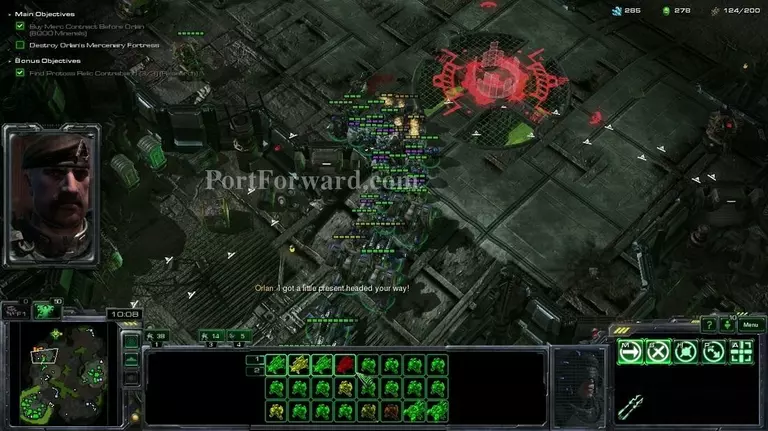
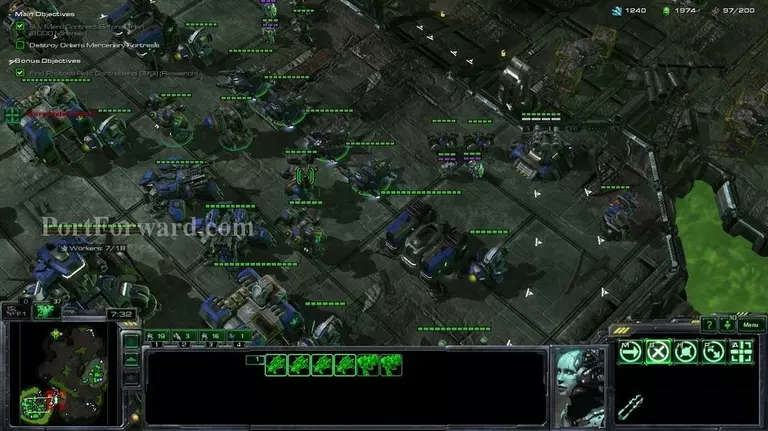
Be careful as the AI will launch a nuke over here.
![Starcraft 2: Wings of Liberty Walkthrough - Starcraft 2-Wings-of-Liberty 101](starcraft-2-wings-of-liberty-101-small.webp)
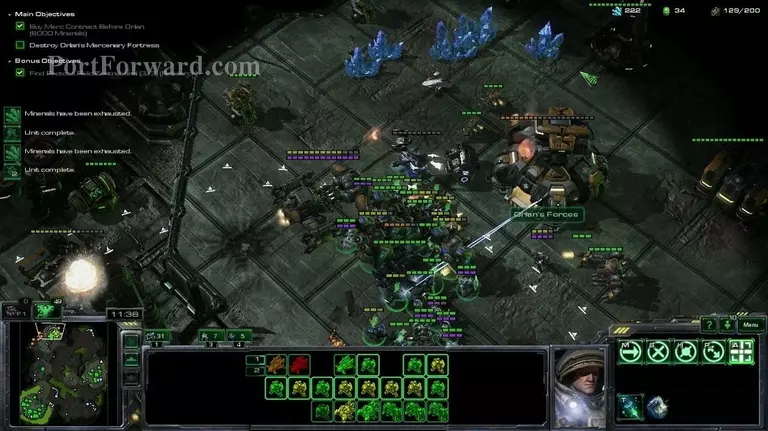
After the nuke has landed, you can slowly start going forward towards the command center. After it is at ~10% HP, you will complete the mission.
![Starcraft 2: Wings of Liberty Walkthrough - Starcraft 2-Wings-of-Liberty 102](starcraft-2-wings-of-liberty-102-small.webp)
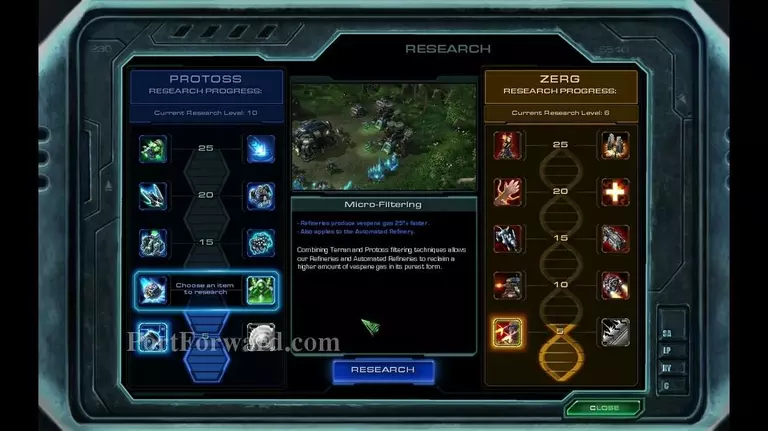
After the mission, you should get the vespene speed upgrade.
More Starcraft 2: Wings of Liberty Walkthroughs
This Starcraft 2: Wings of Liberty walkthrough is divided into 19 total pages.