Starcraft 2: Wings of Liberty Walkthrough Mission 10: The Dig

September 12, 2016 (Last Updated: ) | Reading Time: 2 minutes

This Starcraft 2: Wings of Liberty walkthrough is divided into 19 total pages.

You can jump to nearby pages of the game using the links above.

Mission 10: The Dig

Starcraft 2: Wings of Liberty Walkthrough - Starcraft 2-Wings-of-Liberty 133

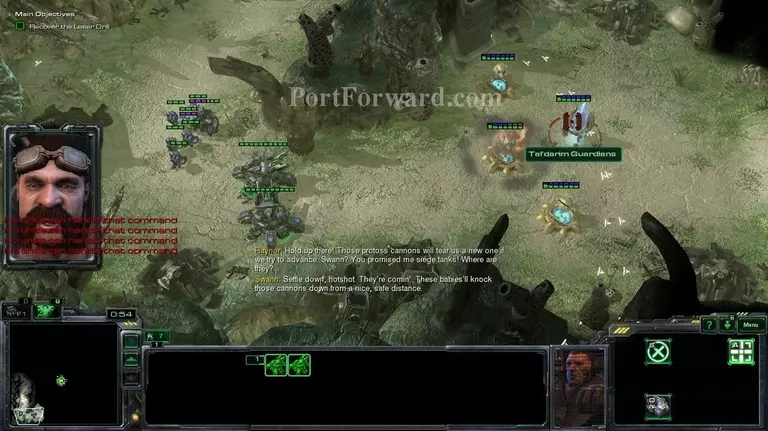
Mission is fairly simple. You start off with a few marines/marauders/medics and after defeating 2 zealots and 2 stalkers you get 2 siege tanks to destroy a few photon cannons.

Starcraft 2: Wings of Liberty Walkthrough - Starcraft 2-Wings-of-Liberty 134

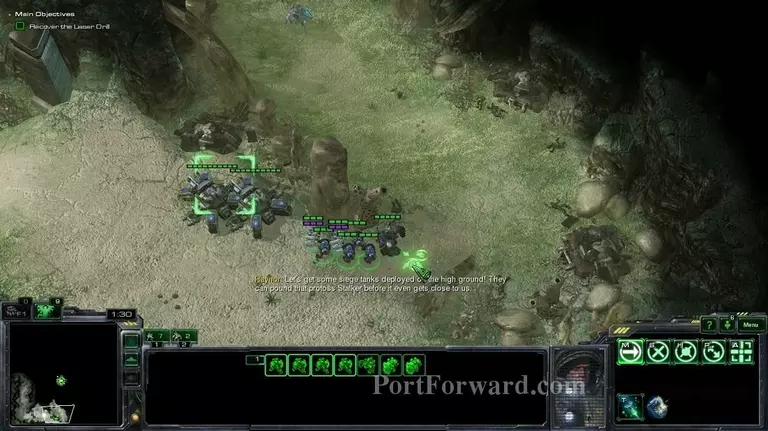
After you destroy them, the game will teach you about siege mode.

Starcraft 2: Wings of Liberty Walkthrough - Starcraft 2-Wings-of-Liberty 135

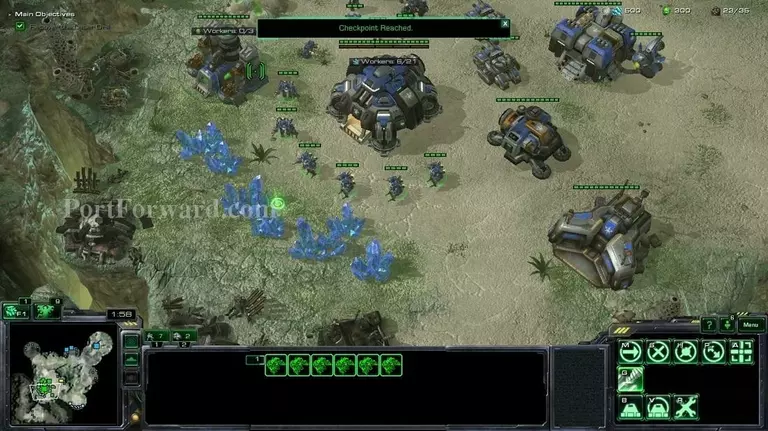
Go a bit further ahead and you will be given control of a base. The game becomes a last stand mission now, like "Zero Hour"

Starcraft 2: Wings of Liberty Walkthrough - Starcraft 2-Wings-of-Liberty 136

There are 2 ways of going with this: Either build bunkers, marines, medics and siege tanks OR build a few ghosts and make a wall.

Starcraft 2: Wings of Liberty Walkthrough - Starcraft 2-Wings-of-Liberty 137

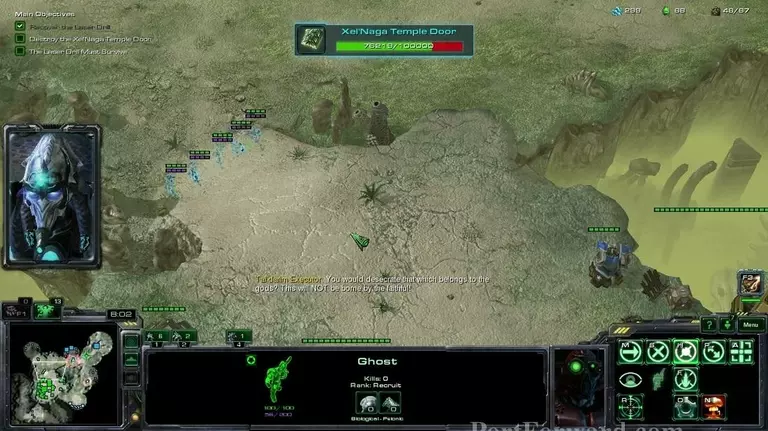
4-5 ghosts should be enough. If you have the upgrade that allows them to stay invisible forever, you can just cloak them and build a wall like that. The protoss will not be able to progress because they do not like to use their observers and detect the ghosts. You will need ~8-10 ghosts to cover up both entrances to your base.

Starcraft 2: Wings of Liberty Walkthrough - Starcraft 2-Wings-of-Liberty 138

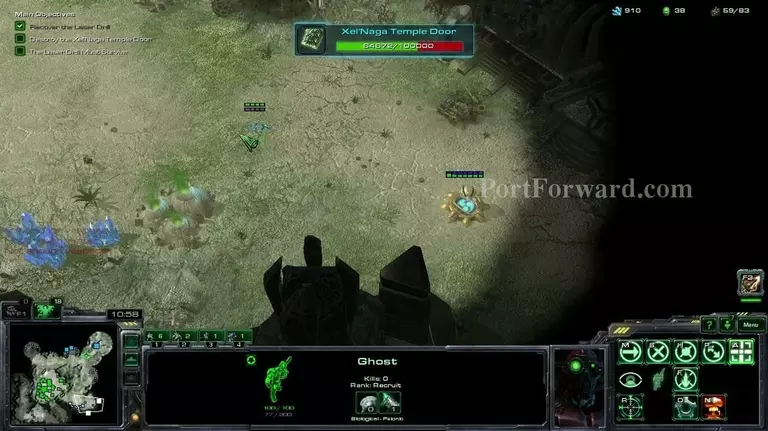
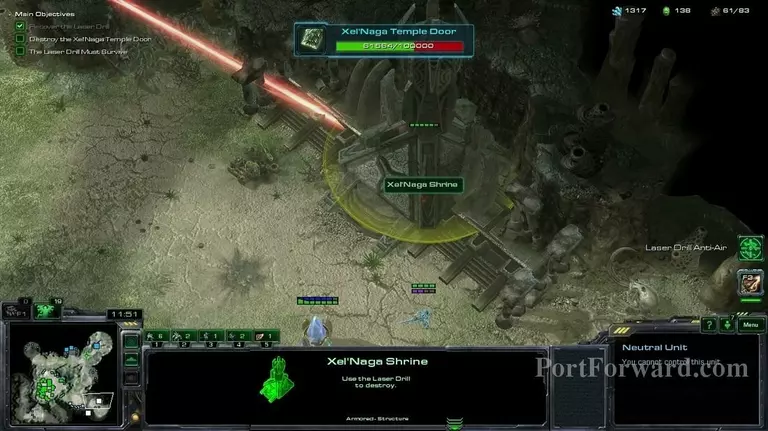
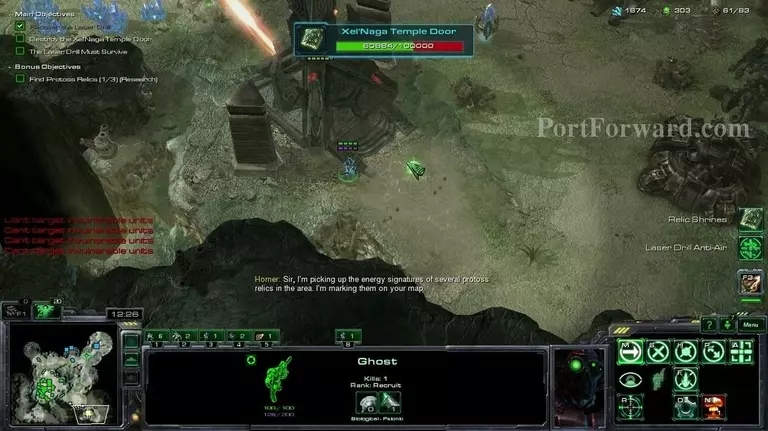
After some time you will be given control of the lazer drill, which you can use to gather the 3 protoss artifacts on this mission.

Starcraft 2: Wings of Liberty Walkthrough - Starcraft 2-Wings-of-Liberty 139

After killing the photon cannon with your ghost (he should have more range than the cannon, if you don't have the upgrade that gives him range, you will probably need other units or you can just nuke the cannon)

Starcraft 2: Wings of Liberty Walkthrough - Starcraft 2-Wings-of-Liberty 140

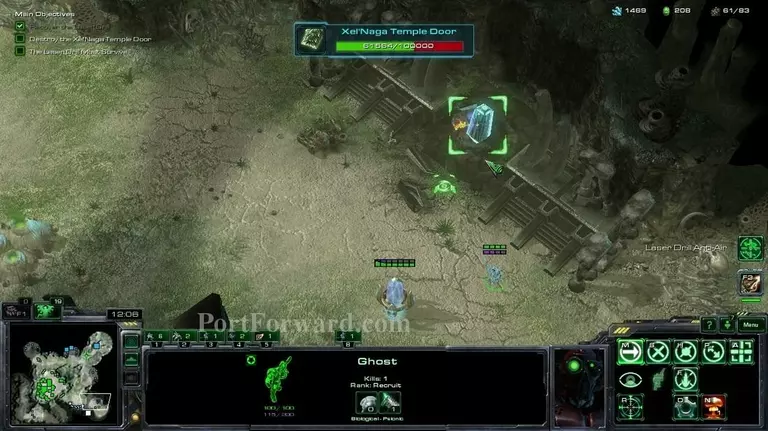
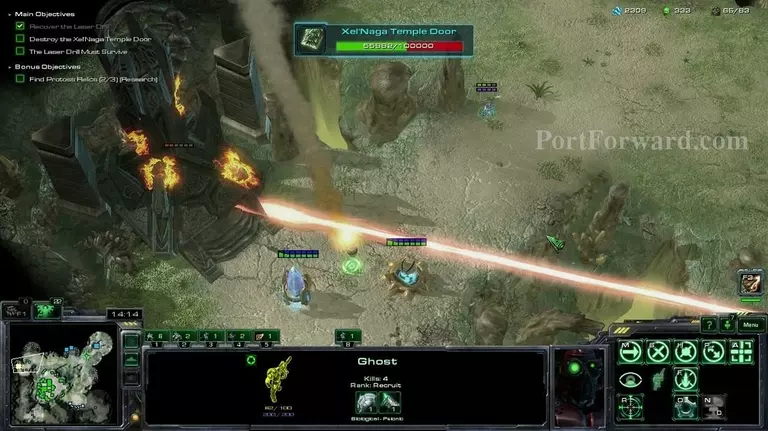
After you destroy the temple with the lazer drill, a protoss artifact will come out of it.

Starcraft 2: Wings of Liberty Walkthrough - Starcraft 2-Wings-of-Liberty 141

There is a second temple with an artifact right below the first one.

Starcraft 2: Wings of Liberty Walkthrough - Starcraft 2-Wings-of-Liberty 142

The third and final artifact is in this possition.

Starcraft 2: Wings of Liberty Walkthrough - Starcraft 2-Wings-of-Liberty 143

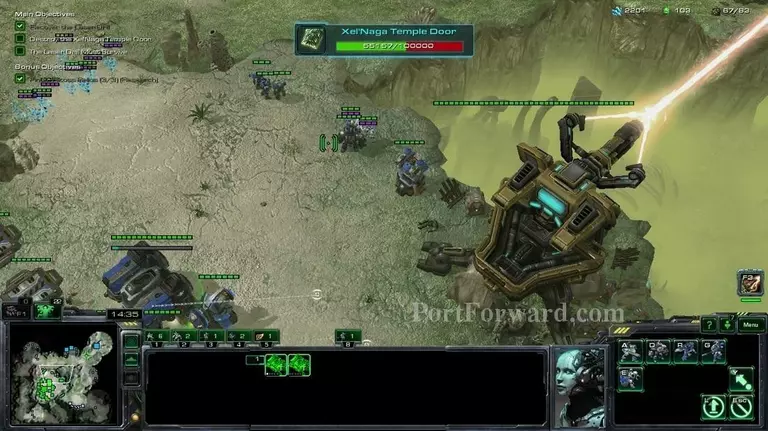
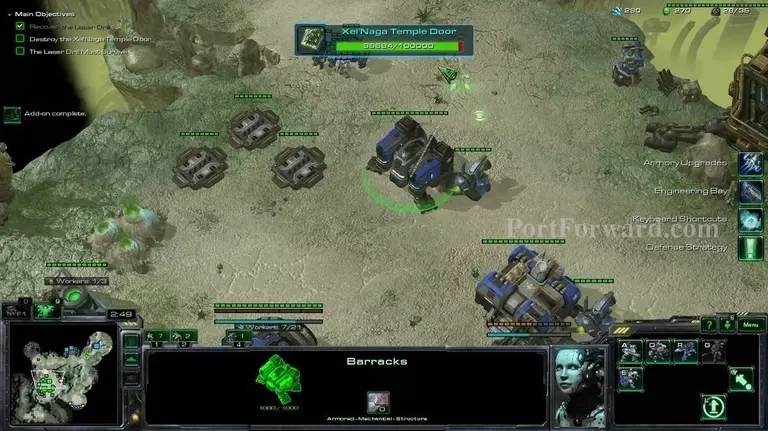
Also, if you're playing on a difficulty higher than normal, you will need to build a LOT of turrets around the lazer, as the protoss send out air units against it once in a while.

Starcraft 2: Wings of Liberty Walkthrough - Starcraft 2-Wings-of-Liberty 144

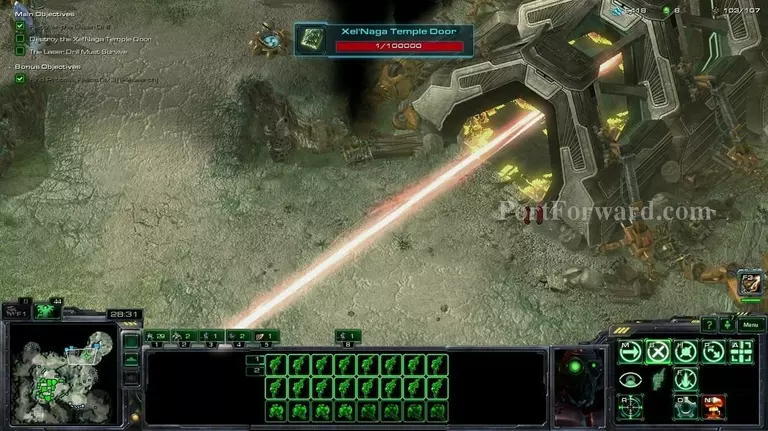
After you've destroyed the xel'naga temple doors, you will complete the mission.

More Starcraft 2: Wings of Liberty Walkthroughs

This Starcraft 2: Wings of Liberty walkthrough is divided into 19 total pages.

More From Portforward