
This Starcraft 2: Wings of Liberty walkthrough is divided into 19 total pages.
You can jump to nearby pages of the game using the links above.
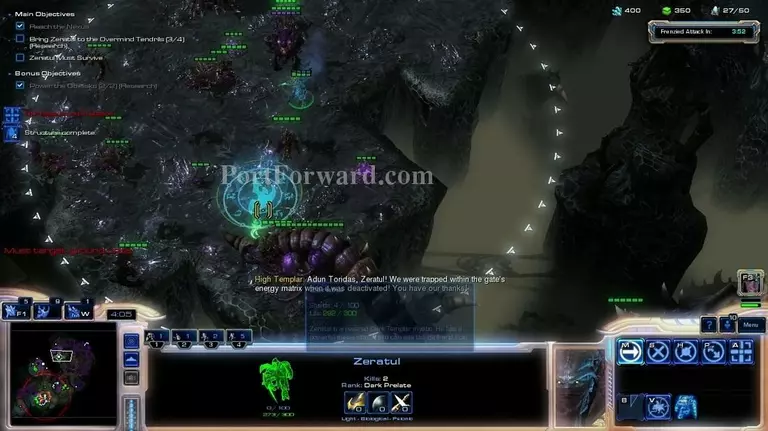
Mission 13: Echoes in the Future
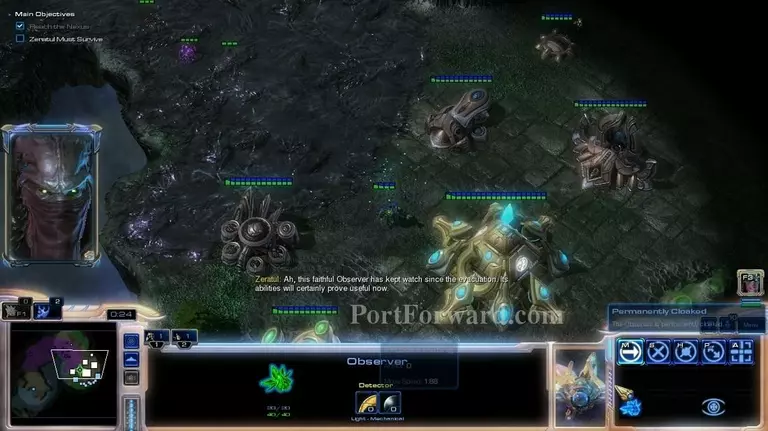
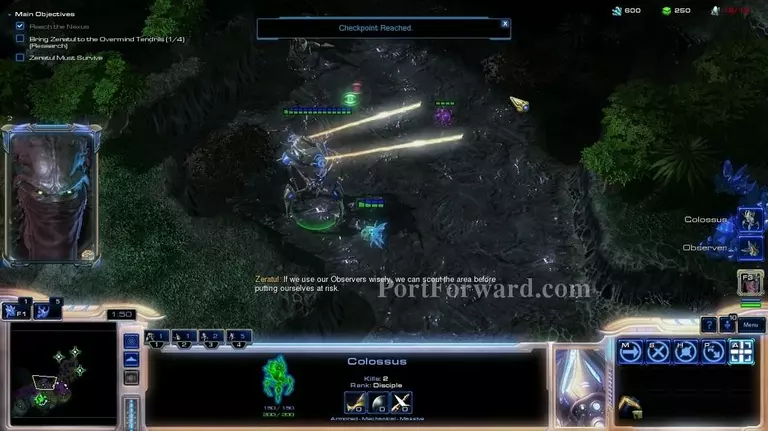
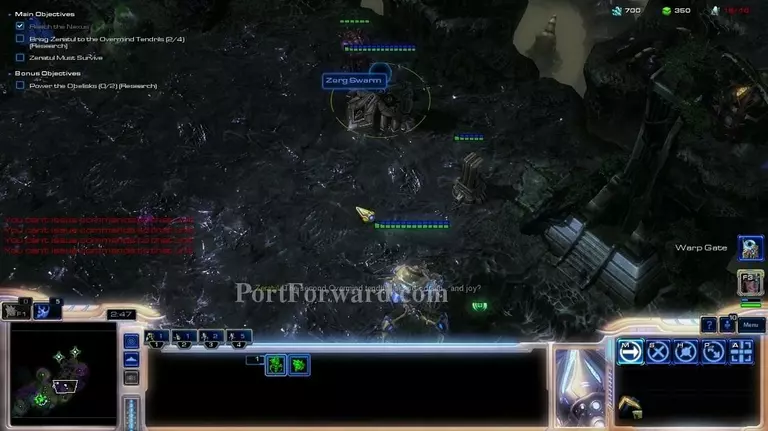
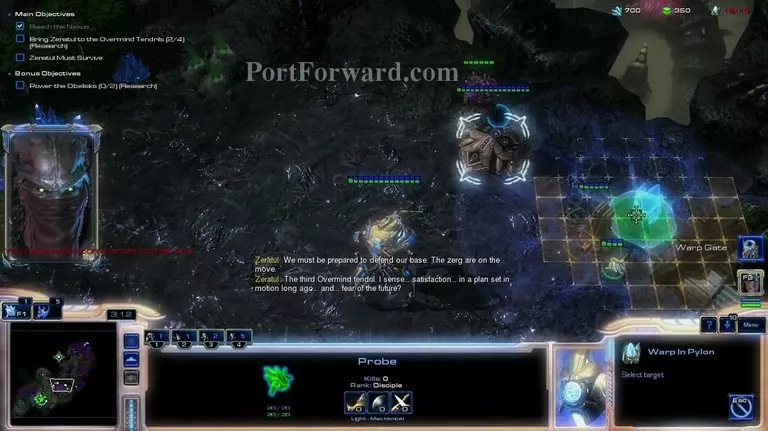
You get a free observer, and soon after that a free base!
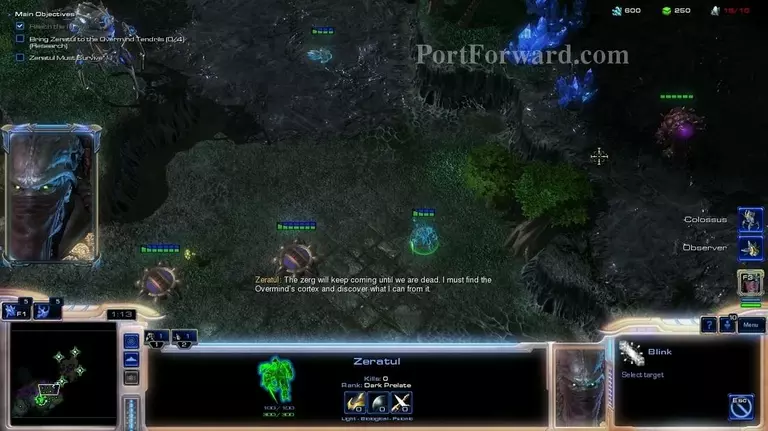
Objective of this mission is to get zeratul to 4 check points. You can do that by building an army and destroying everything, but we aren't going to do that now.
We'll do it a bit quicker than that. First blink to the high ground with zera and get to the first checkpoint.
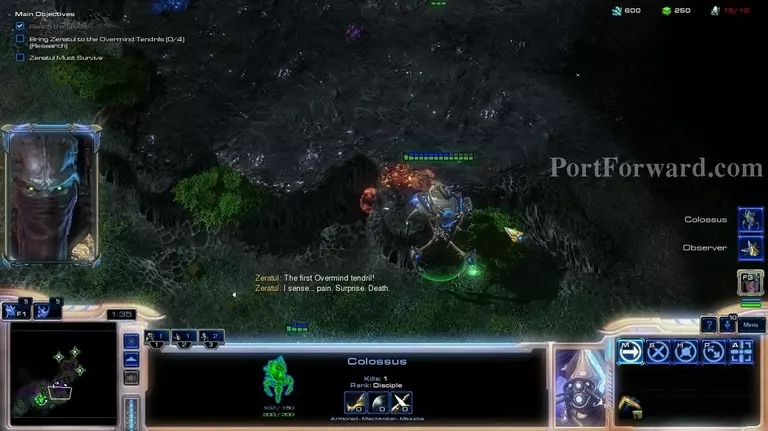
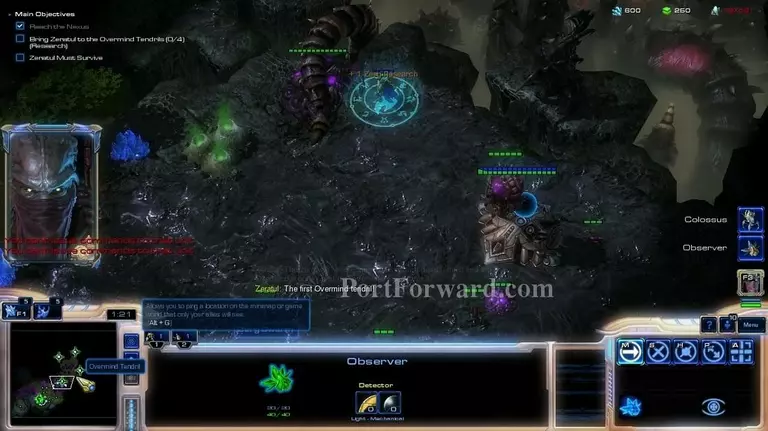
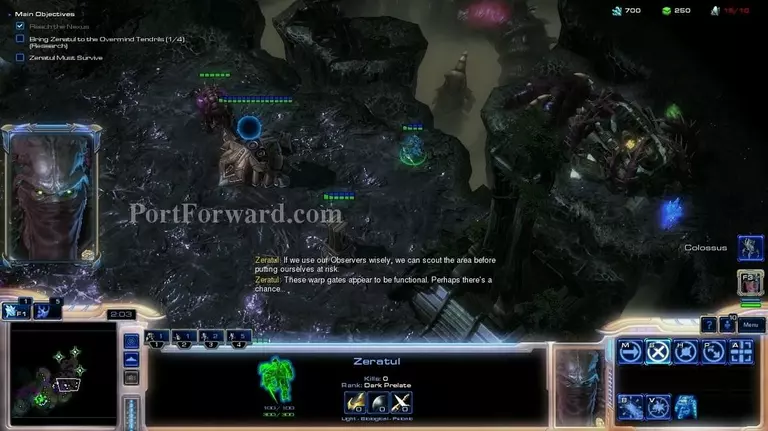
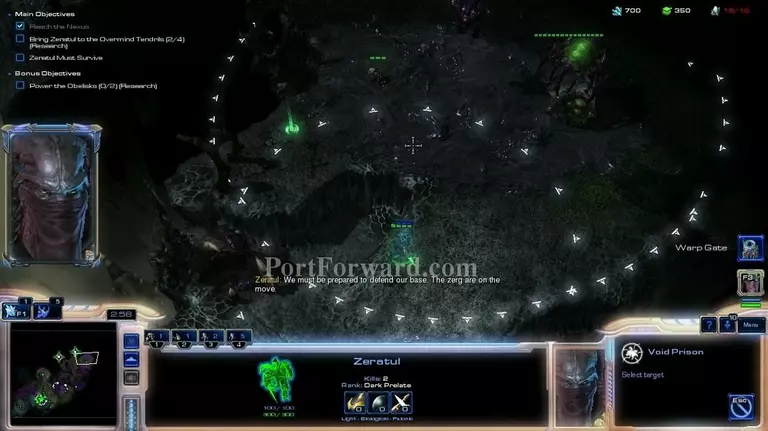
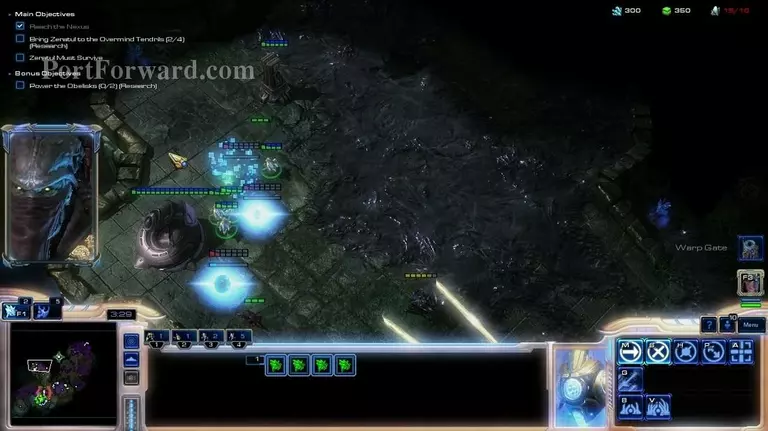
Get one of the colossi and a probe to go to where the first checkpoint is, but be careful to not lose the colossus.
And start moving out with the other colossus and the other probes north, careful with these guys as well.
As soon as zera is vulnerable, go to over here with him.
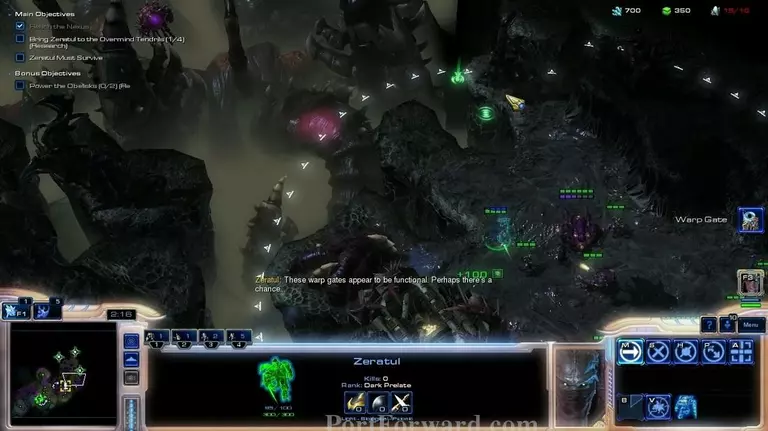
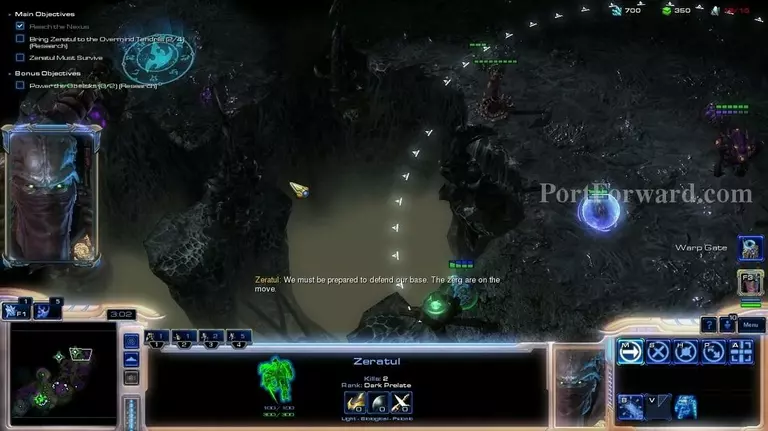
Blink to the other side and go to the corner on the top.
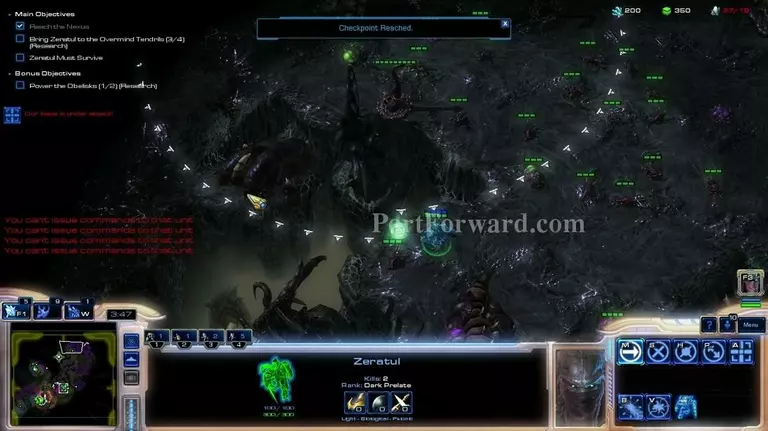
Wait until your blink is off cooldown and blink to the second checkpoint.
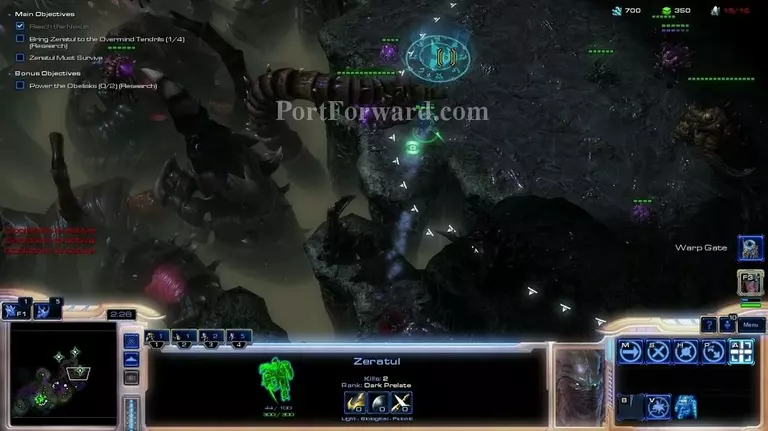
Meanwhile tell the colossus to destroy the creep tumors around the protoss buildings.
When zera is vulnerable, blink up to this point and go to where i'm moving.
Wait here until blink is off cooldown and blink to the checkpoint.
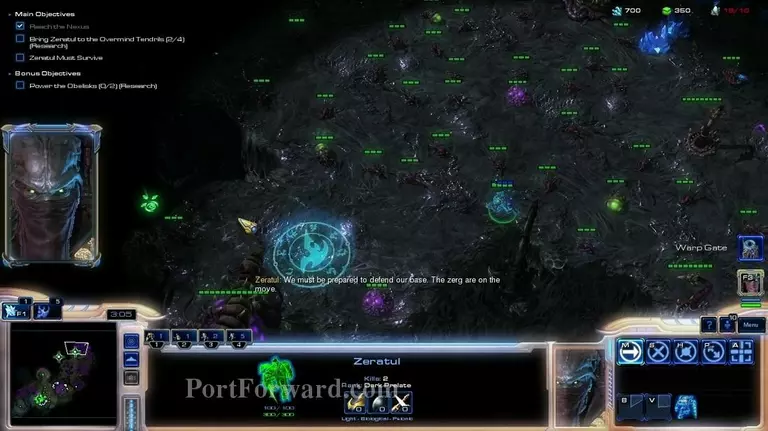
You might miss the blink and go north and you will probably die if it happens, but you should have a saved game at the last checkpoint.
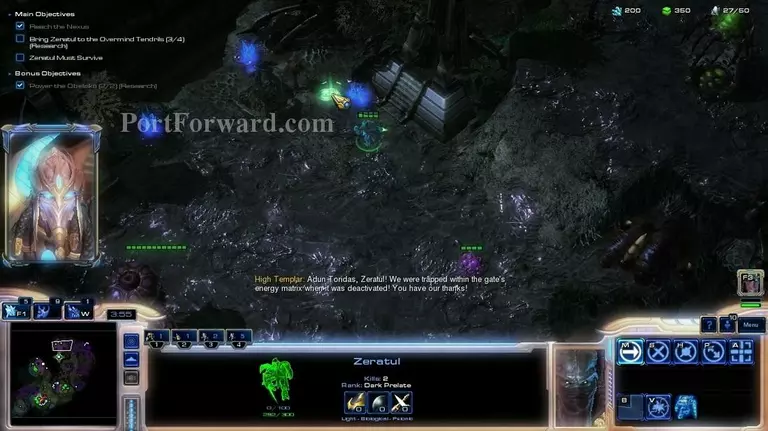
While zera is in the circle, talking, build a pylon to power up the structures here, doing so will give you protoss research.
Do the same to the north.
After that go to here with zera and blink.
Move north and wait until your blink is off cooldown, this is a safe spot even on brutal.
Then use your blink to go to the checkpoint on the bottom. This trick can be a bit harder on brutal, since there will be more enemies and you will take more damage as zera, but it is still possible. This is the end of the mission so make sure you have bot
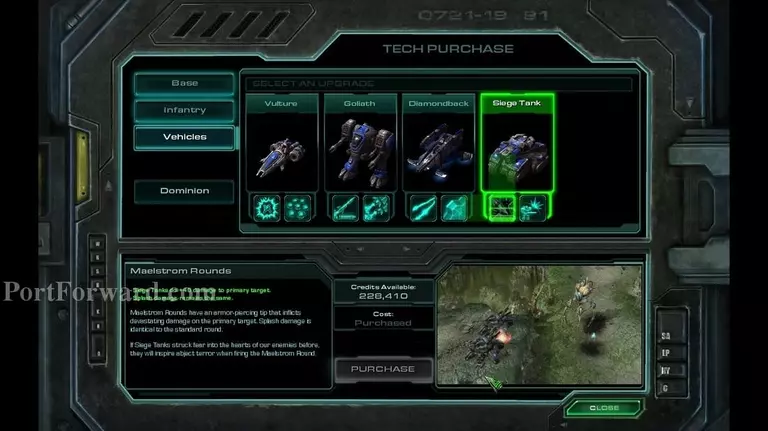
After the mission, this siege tank upgrade can be really useful. Make sure to take it.

Also the orbital command can be very, very good.
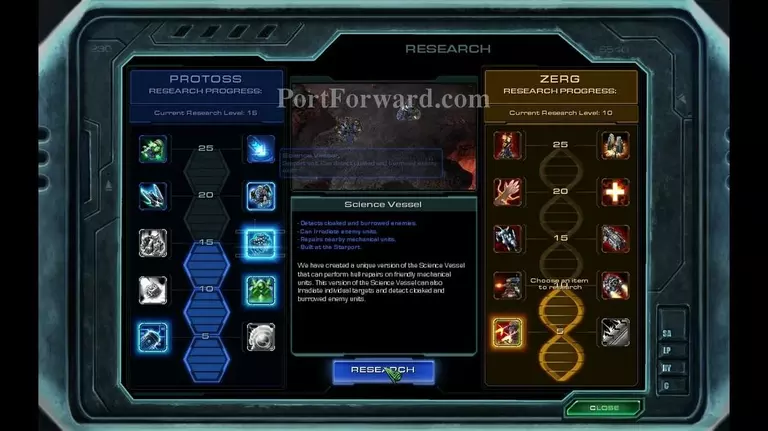
For researches, the command center reactor and the science vessel on the protoss tree will be very good. In the zerg tree: mainly a personal preference.
More Starcraft 2: Wings of Liberty Walkthroughs
This Starcraft 2: Wings of Liberty walkthrough is divided into 19 total pages.


