
This Starcraft 2: Wings of Liberty walkthrough is divided into 19 total pages.
You can jump to nearby pages of the game using the links above.
Mission 14: The Moebious Factor
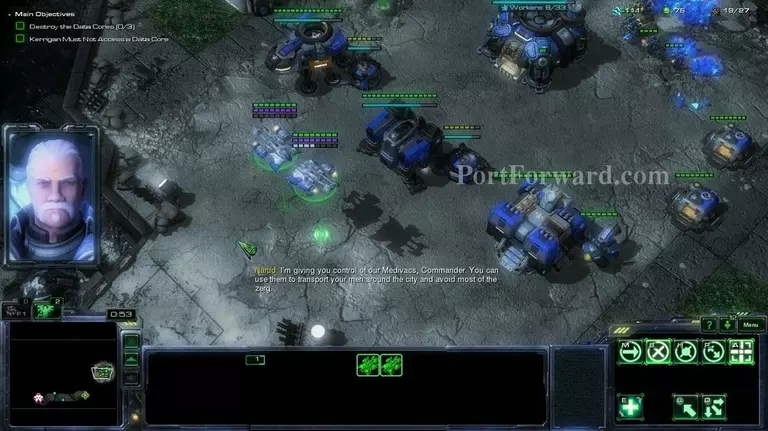
This mission is a bit more original than the last few. The units you will want to have are: at least 3 medivacs (you start with 2, so ideally you don't have to make too many), the marines you get will be enough, make sure you don't lose any and if you do you will need to remake them, you will want 1 siege tank and ~6-8 medics. Try not to lose units this mission.
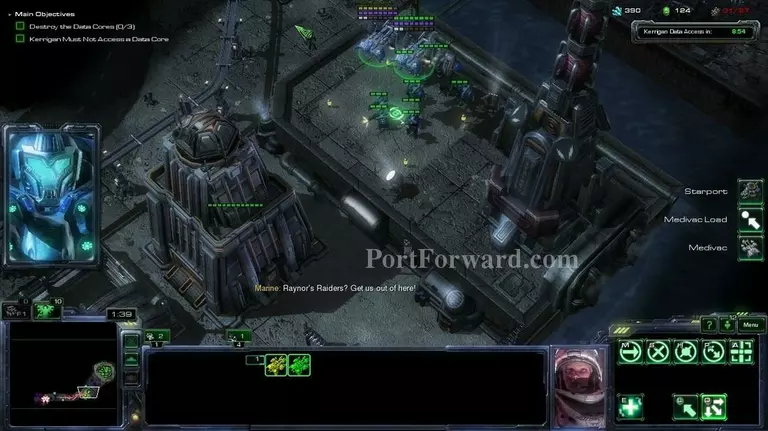
After you destroy the first zerg attack, go with your medivacs and marines to this possition. You will be given a bunch of free marines. The objective of this mission is to destroy 3 moebious buildings that are marked on the map. You can destroy the first one now.
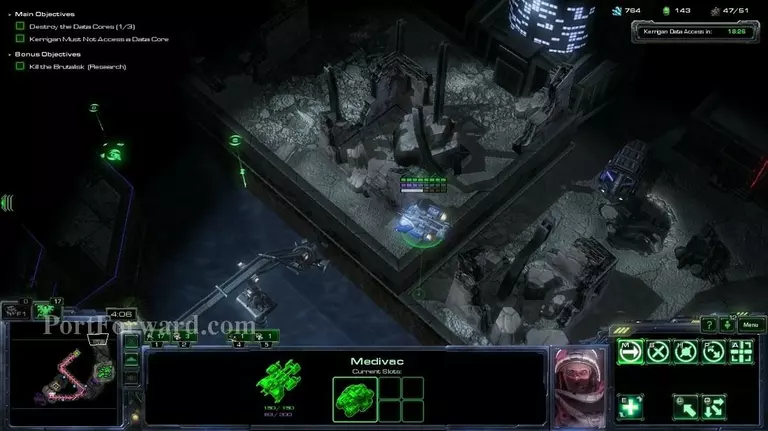
For the second building, you will want to get 1 medivac with a siege tank and go north.
Afterwards drop your siege tank at this spot exactly.
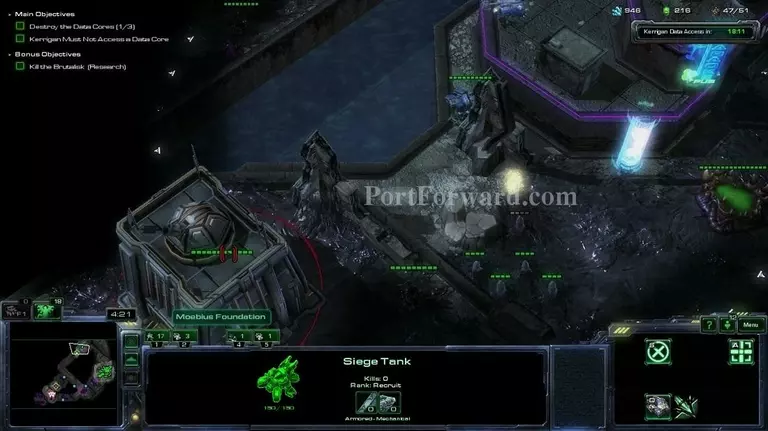
Put him in siege mode and start shooting at the building. He should be safe in this possition.
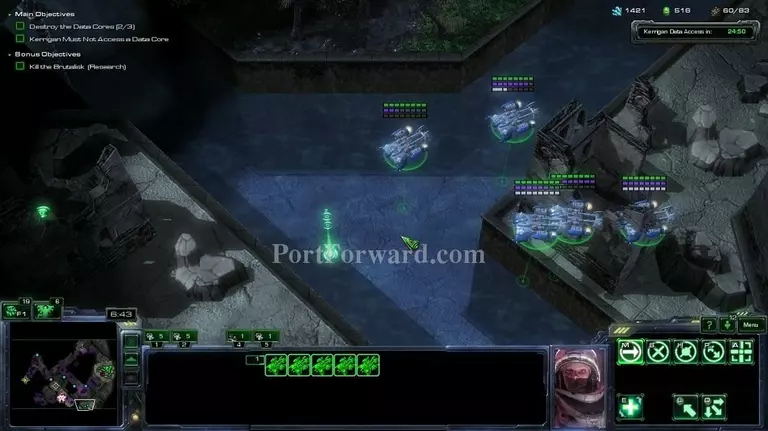
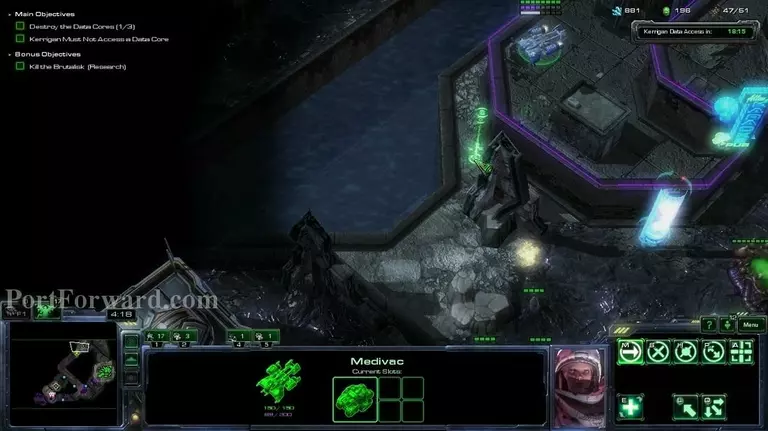
After you have ~15 marines and ~6 medics, with a few medivacs you will want to go south with them.
Hug the bottom part of the map until you reach this river.
Go to here, but be careful not to lose anything to the brutalisk. You can leave your units in this possition.
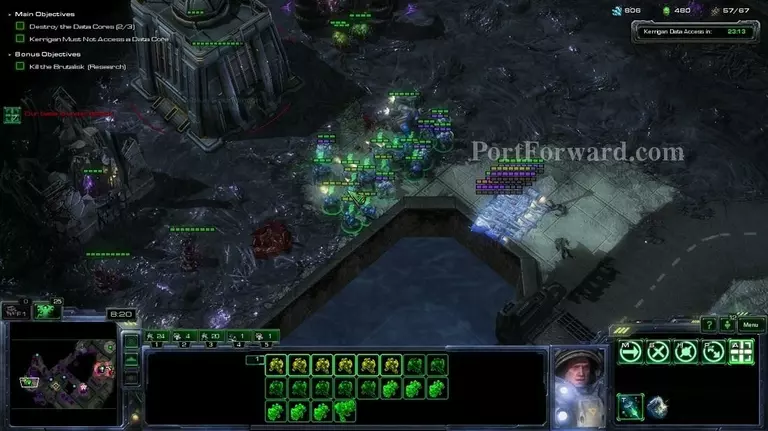
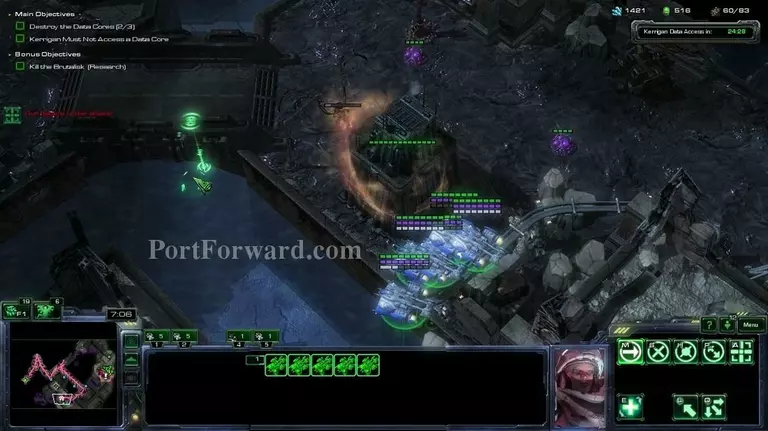
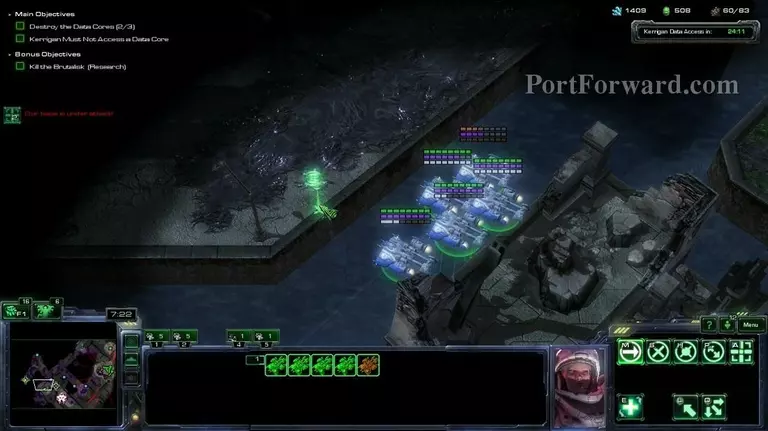
Start proceeding to the last moebious building and destroy it. Try to kill any units around it first, but when you start focusing the building only, don't stop. Also, your base will probably get attacked, so try to lift a few buildings up and keep them alive.
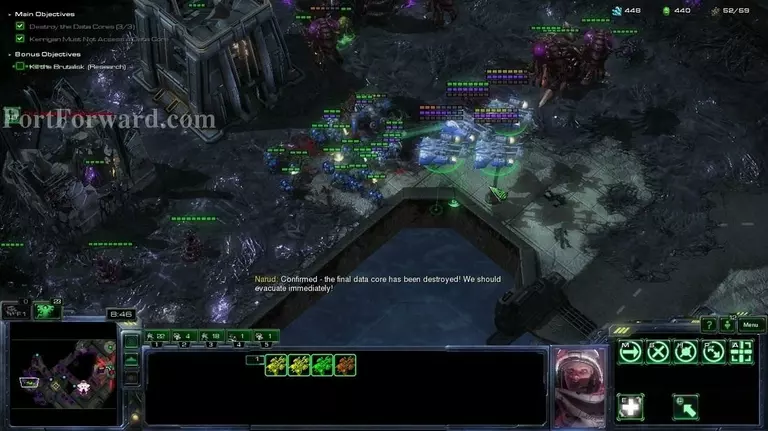
After you destroy the final building, you will complete the mission.
More Starcraft 2: Wings of Liberty Walkthroughs
This Starcraft 2: Wings of Liberty walkthrough is divided into 19 total pages.


