
This Starcraft 2: Wings of Liberty walkthrough is divided into 19 total pages.
You can jump to nearby pages of the game using the links above.
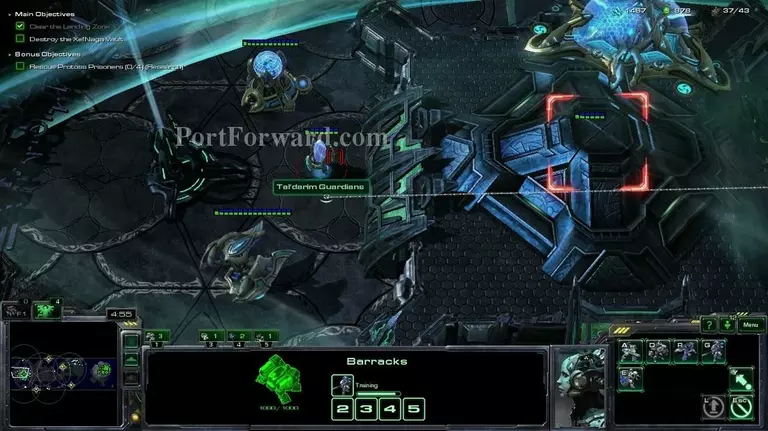
Mission 16: Maw of the Void
This one can be quite long, unless you cheese the hell out of it and make it 5 minutes long.

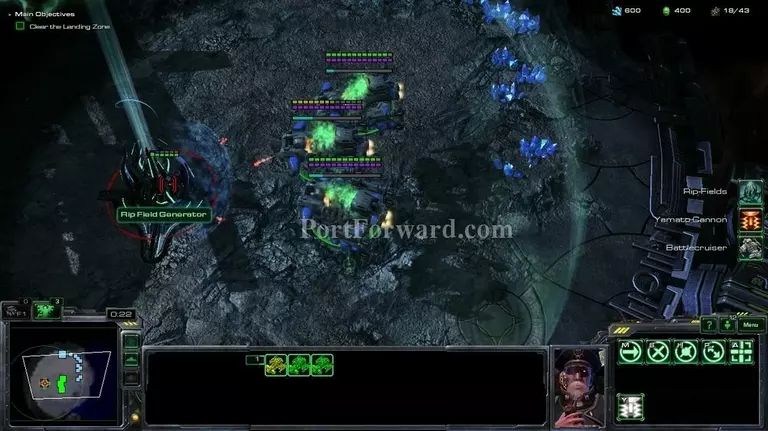
Start off by having your battlecruisers kill everything on the platform your base is on.
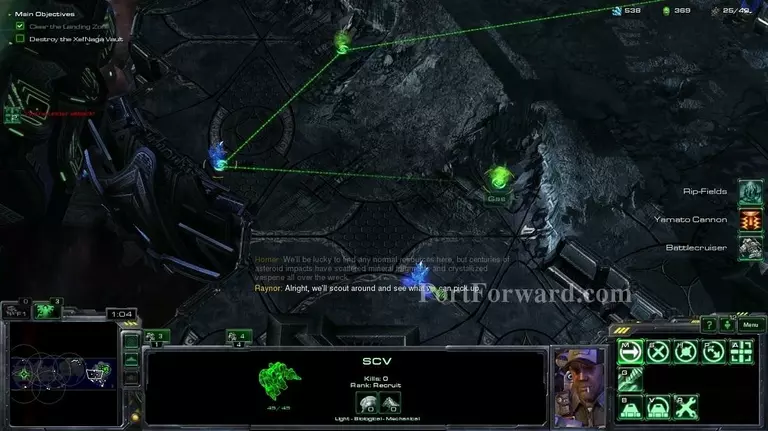
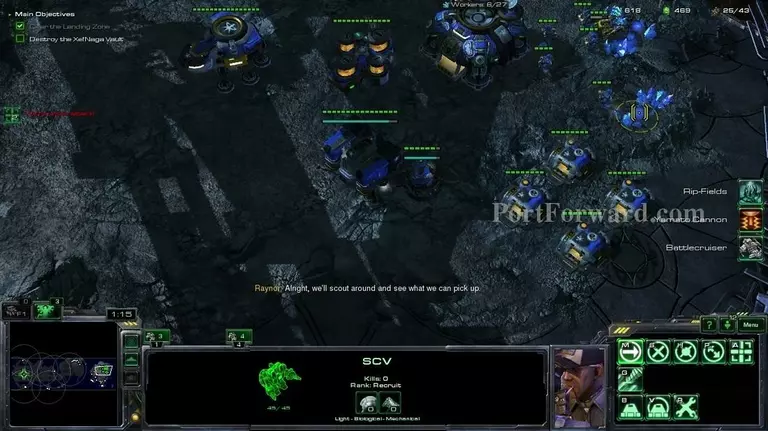
After that shift-queue an SCV to take all of the resource drops.
Make a single medivac and make sure your barracks has a tech lab.
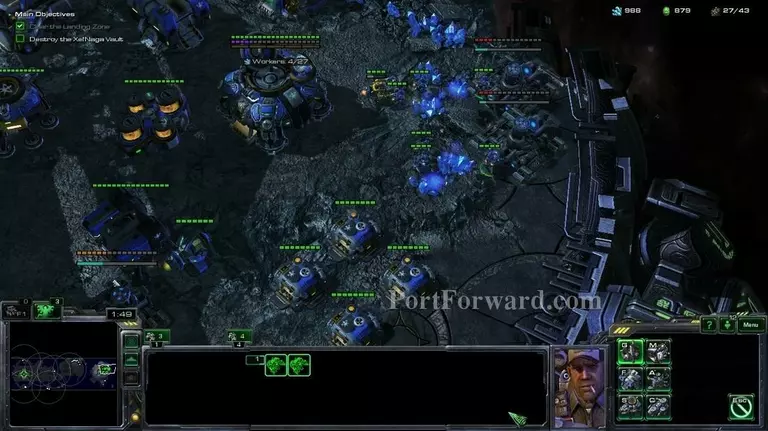
After getting all the resource drops, get 2 SCVs to build 4 black ops (ghost academies) and get nukes on those as soon as possible.
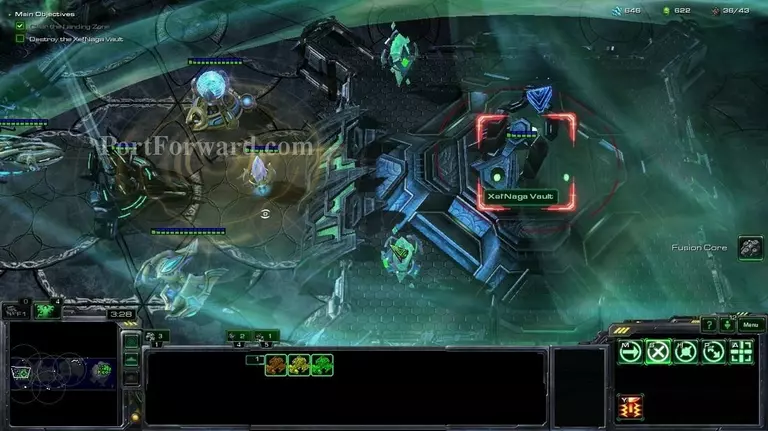
Rembember the upgrade that allows units from the barracks be transported on your waypoint instantly? Well you guessed it, we're nuking the hell out of the objective. First make a marine next to the objective, right bellow that pylon, to trigger a cutscene.
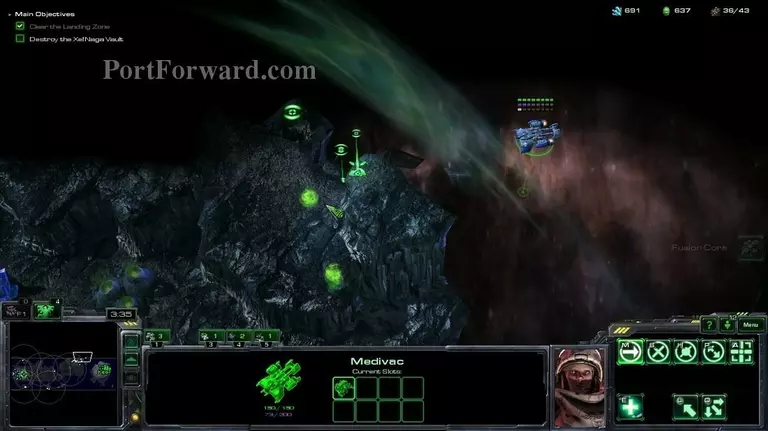
When you have a medivac use it to gather all the resource drops on the northern side of the platform next to your.
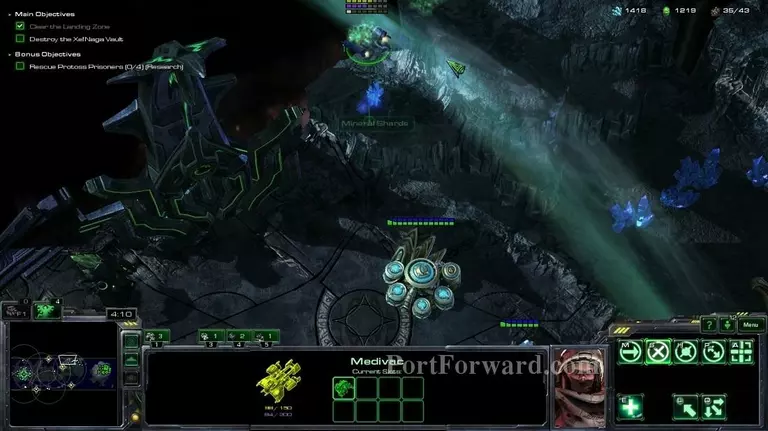
The resources end here.
After you have at least one nuke, make a ghost at exactly the same possition.
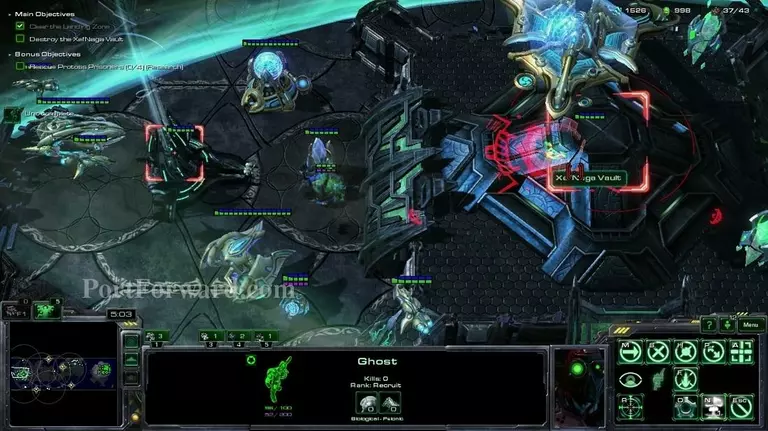
As soon as the ghost gets on the battlefield, cloak it and then start charging the nuke. Do that a few times you will destroy the objective. Difficutly does not really increase on brutal if you're playing with this trick, but if you're playing standardly (you will need a lot of battlecruisers) you might have a bit more trouble on brutal.
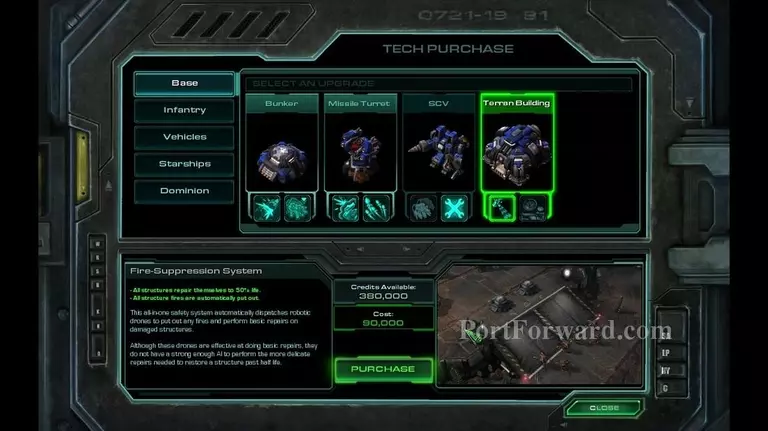
After finishing the mission, get this upgrade.
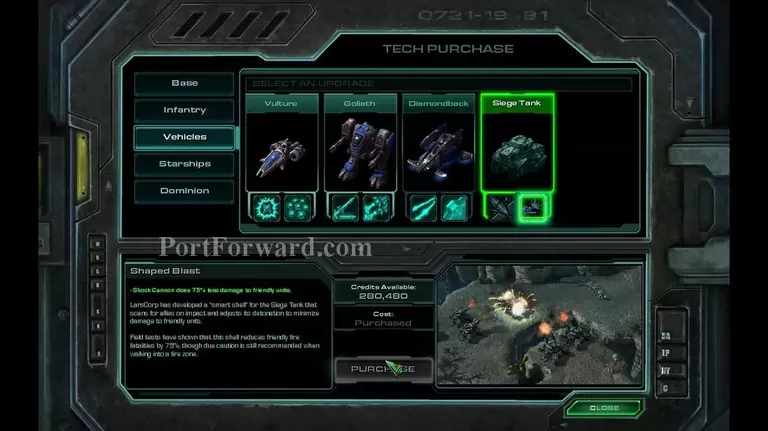
The siege tank one.
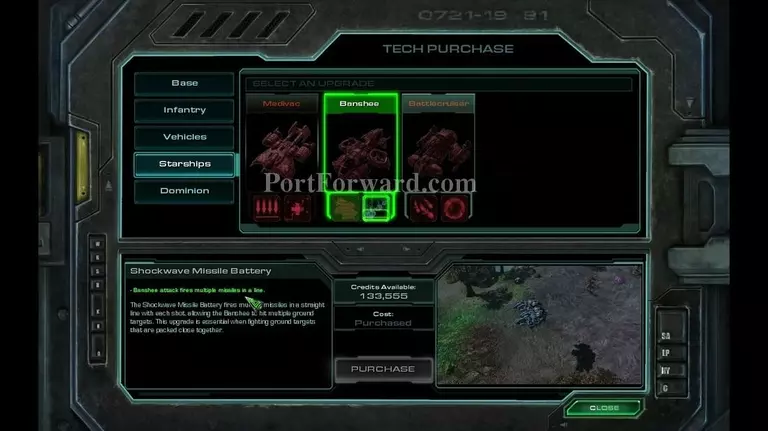
And the second banshee upgrade.
More Starcraft 2: Wings of Liberty Walkthroughs
This Starcraft 2: Wings of Liberty walkthrough is divided into 19 total pages.


