Starcraft 2: Wings of Liberty Walkthrough Mission 18: Shatter The Sky

September 12, 2016 (Last Updated: ) | Reading Time: 2 minutes

This Starcraft 2: Wings of Liberty walkthrough is divided into 19 total pages.

You can jump to nearby pages of the game using the links above.

Mission 18: Shatter The Sky

Starcraft 2: Wings of Liberty Walkthrough - Starcraft 2-Wings-of-Liberty 234

This one is pretty straight forward, and no ghost tricks.

Starcraft 2: Wings of Liberty Walkthrough - Starcraft 2-Wings-of-Liberty 235

You have to destroy 5 generators that explode the whole platform when it happens.

Starcraft 2: Wings of Liberty Walkthrough - Starcraft 2-Wings-of-Liberty 236

You can destroy the first one with the forces you start with. Even on brutal, just try to not lose anything.

Starcraft 2: Wings of Liberty Walkthrough - Starcraft 2-Wings-of-Liberty 237

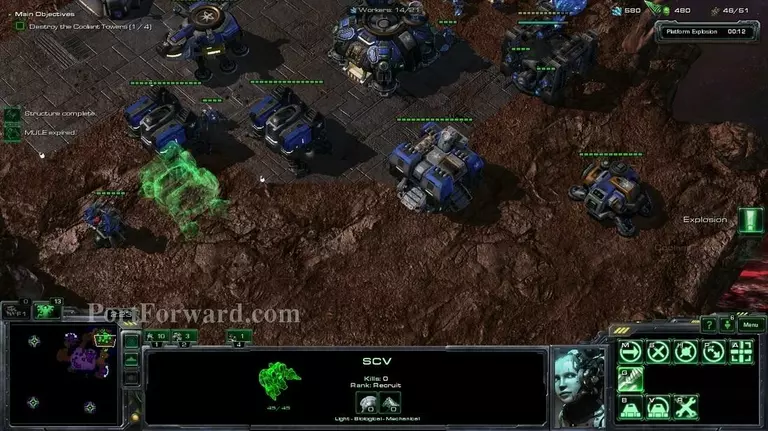
Try to get around 6 barracks, 3 with tech labs and 3 with reactors.

Starcraft 2: Wings of Liberty Walkthrough - Starcraft 2-Wings-of-Liberty 238

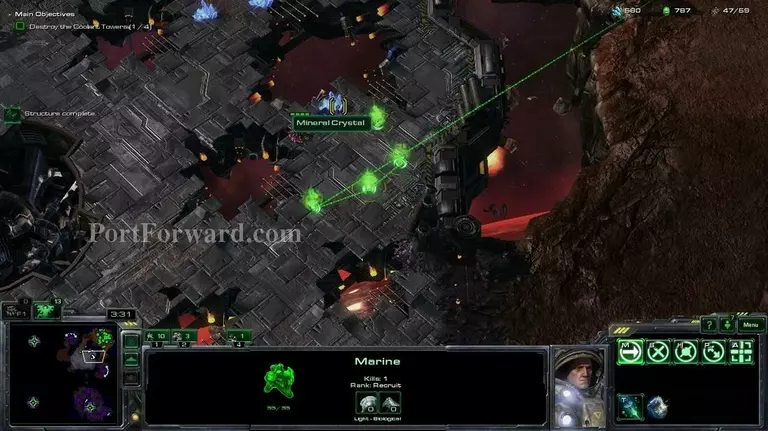
After the platform explodes, you get some mineral/gas pickups.

Starcraft 2: Wings of Liberty Walkthrough - Starcraft 2-Wings-of-Liberty 239

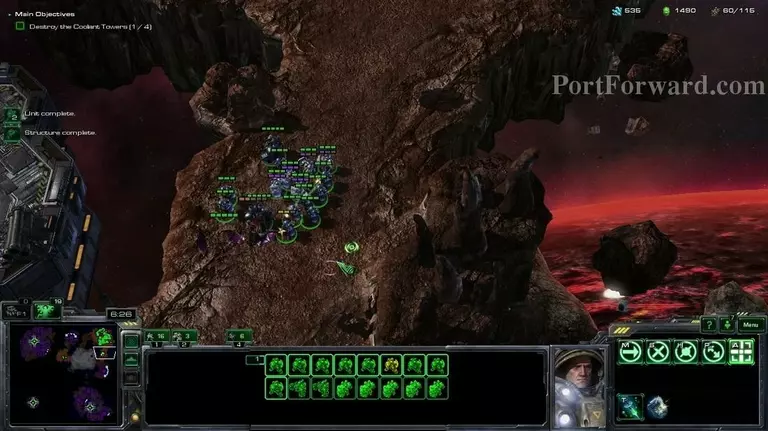
You will want to start building a marine/marauder/medic army.

Starcraft 2: Wings of Liberty Walkthrough - Starcraft 2-Wings-of-Liberty 240

When you have a few units, you should move out and start attacking.

Starcraft 2: Wings of Liberty Walkthrough - Starcraft 2-Wings-of-Liberty 241

The base to the left has only 2 hydralisks and a spore crawler that can attack air units, but you can avoid the spore crawler by going a bit north, which means that you'll be able to go through it just with the 2 banshees and the battlecruiser.

Starcraft 2: Wings of Liberty Walkthrough - Starcraft 2-Wings-of-Liberty 242

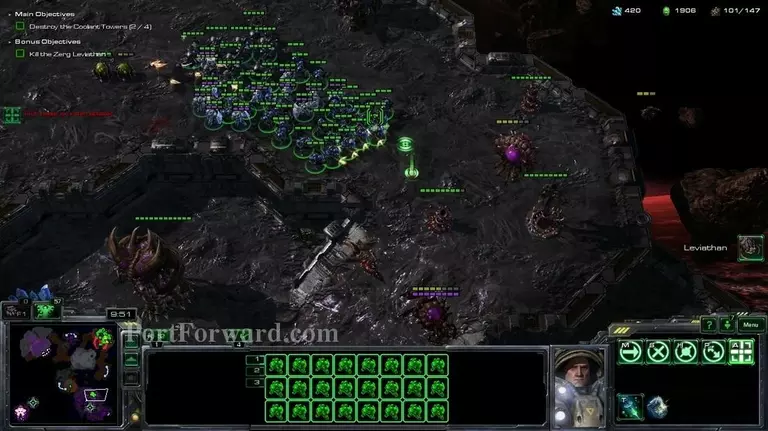
After destroying either generator, a miniboss will spawn, showed on the minimap.

Starcraft 2: Wings of Liberty Walkthrough - Starcraft 2-Wings-of-Liberty 243

Also, be careful to not lose your base while attacking the enemy one, i almost managed to do it but i was able to reflect their attack with a few medics and marauders.

Starcraft 2: Wings of Liberty Walkthrough - Starcraft 2-Wings-of-Liberty 244

The final generator is the hardest to get to, but is still not that hard. Try to dodge the miniboss so you never fight against him and go straight for the zerg base.

Starcraft 2: Wings of Liberty Walkthrough - Starcraft 2-Wings-of-Liberty 245

Destroying the final generator will finish the mission.

More Starcraft 2: Wings of Liberty Walkthroughs

This Starcraft 2: Wings of Liberty walkthrough is divided into 19 total pages.

More From Portforward