Starcraft 2: Wings of Liberty Walkthrough Mission 15: Supernova

September 12, 2016 (Last Updated: ) | Reading Time: 3 minutes

This Starcraft 2: Wings of Liberty walkthrough is divided into 19 total pages.

You can jump to nearby pages of the game using the links above.

Mission 15: Supernova

Starcraft 2: Wings of Liberty Walkthrough - Starcraft 2-Wings-of-Liberty 193

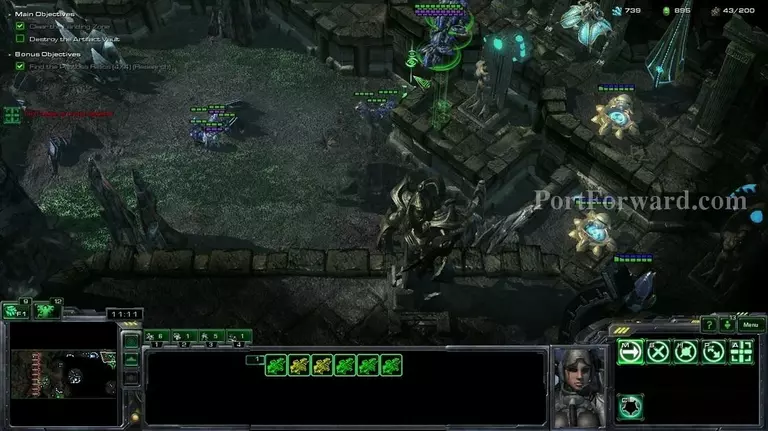
You start off with a couple of banshees and your objective is to destroy a xel'naga temple. You can do that in 2 ways, the standard build army destroy enemy strategy, but i'll show something different.

Starcraft 2: Wings of Liberty Walkthrough - Starcraft 2-Wings-of-Liberty 194

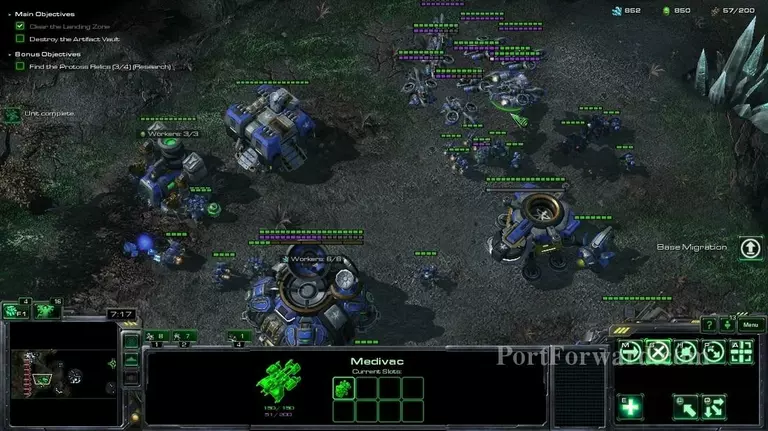
But there is a twist, you must do it before the sun destroys the whole planet. You should build 2 medics, a medivac and as many banshees as you can for now. Also build SCVs and gather gas from both geysers, as you'll want that to make banshees.

Starcraft 2: Wings of Liberty Walkthrough - Starcraft 2-Wings-of-Liberty 195

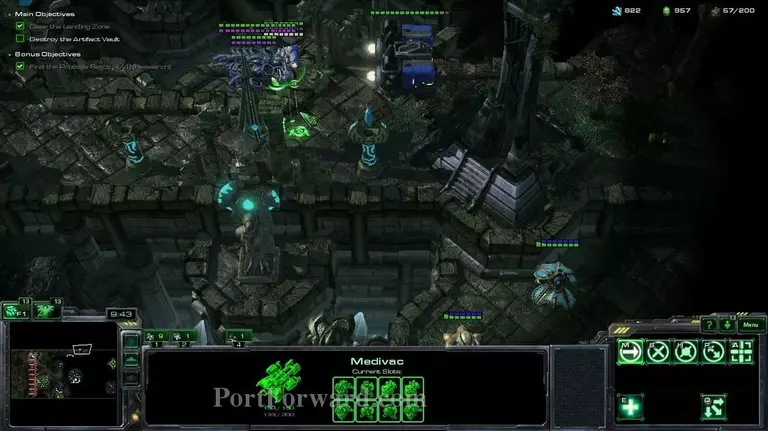
When you have the 2 medics made, start going out and getting artifacs, Don't use the banshees, you want to save them. The first one you want to get is over here.

Starcraft 2: Wings of Liberty Walkthrough - Starcraft 2-Wings-of-Liberty 196

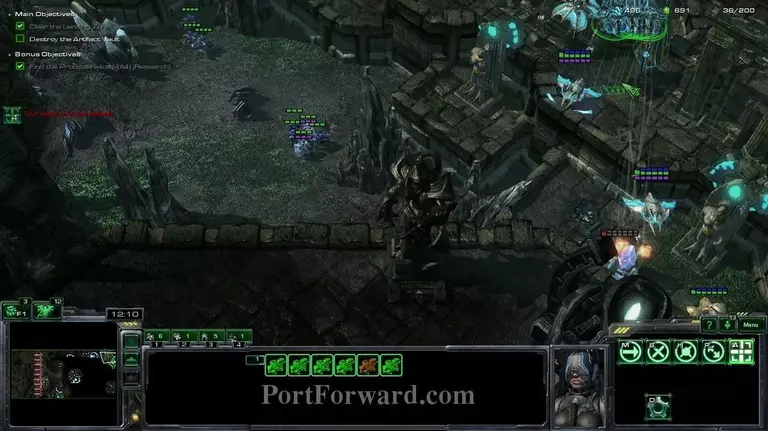
The second one is over here, you might lose most of your army if you're playing on hard or brutal, so make sure you at least get the artifact even if you do manage to lose all your units.

Starcraft 2: Wings of Liberty Walkthrough - Starcraft 2-Wings-of-Liberty 197

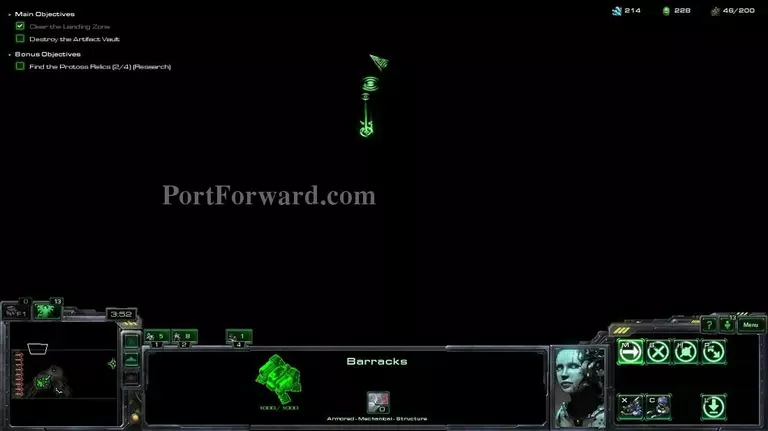
Lift your barracks up and move it to the top of the map.

Starcraft 2: Wings of Liberty Walkthrough - Starcraft 2-Wings-of-Liberty 198

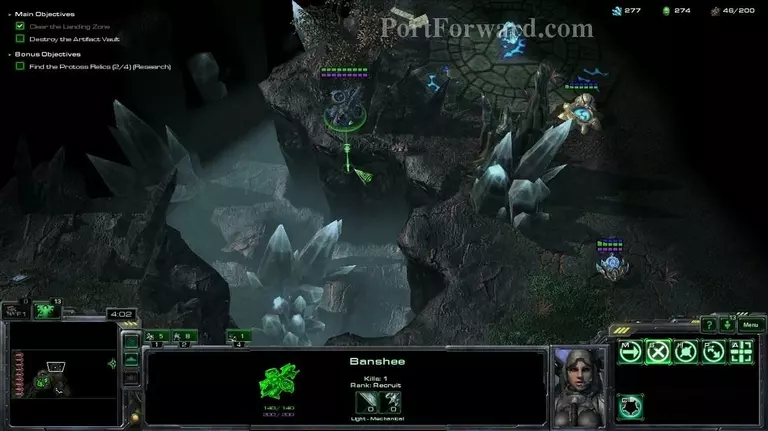
Get your banshee in this possition but do not attack anything with her.

Starcraft 2: Wings of Liberty Walkthrough - Starcraft 2-Wings-of-Liberty 199

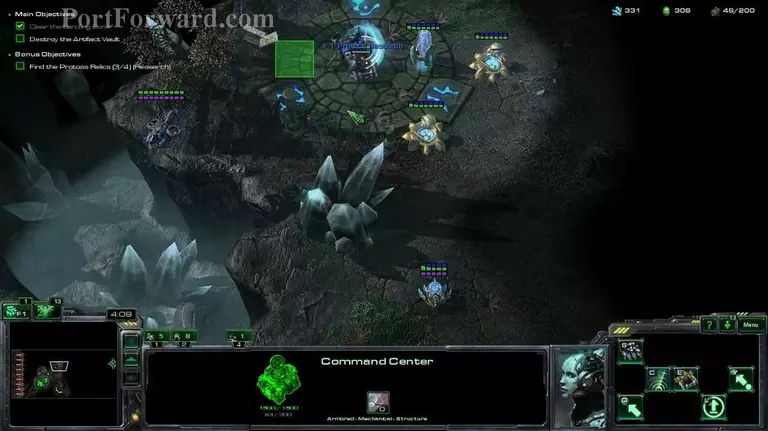
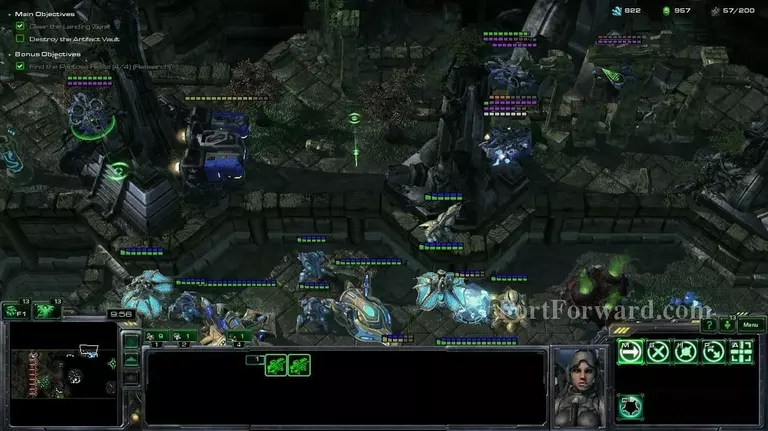
Use your orbital command to drop a mule, they can pick up artifacts (which is insanely good)

Starcraft 2: Wings of Liberty Walkthrough - Starcraft 2-Wings-of-Liberty 200

After you have around 100 energy on your command center, use scanner sweep and then call down a mule over here, to grab the last artifact.

Starcraft 2: Wings of Liberty Walkthrough - Starcraft 2-Wings-of-Liberty 201

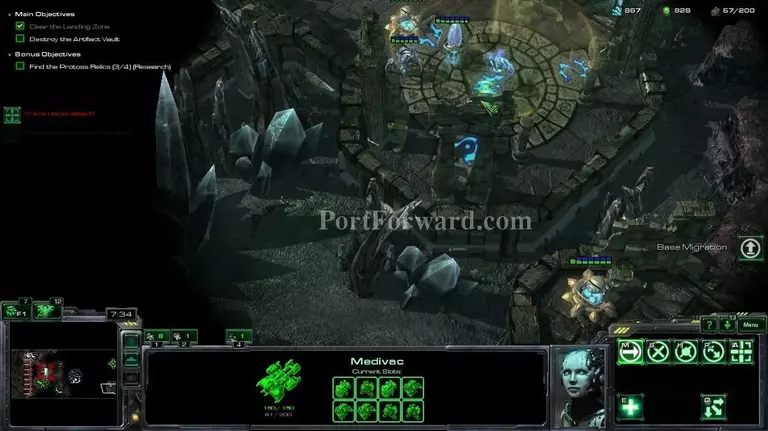
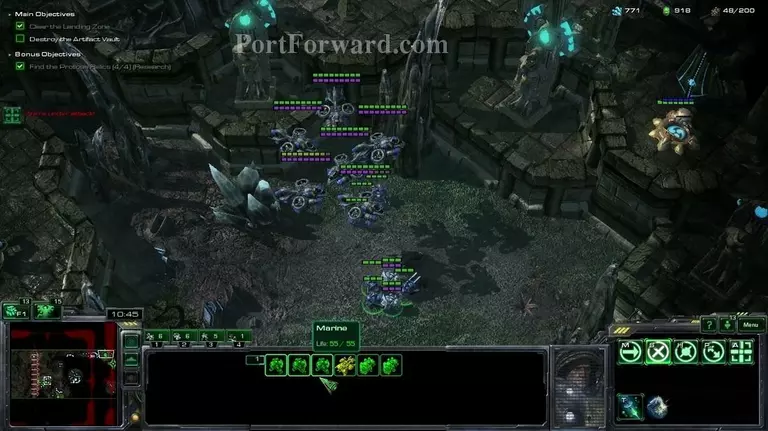
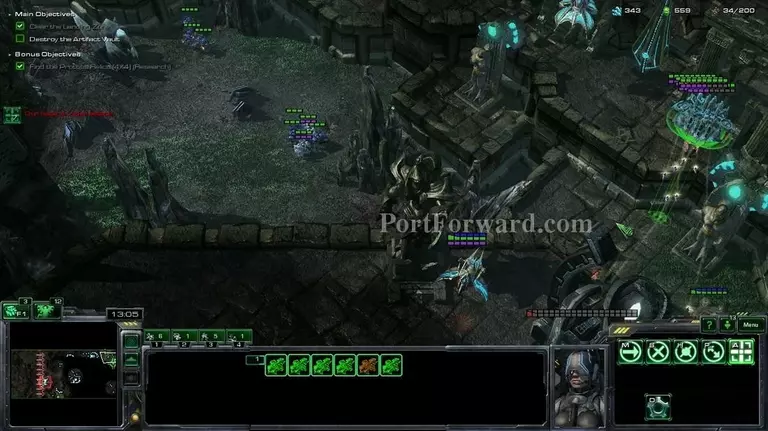
After you have around 8+ banshees, get 3+ scvs in the medivac, 1-2 medics and fill up the rest with marines/scvs

Starcraft 2: Wings of Liberty Walkthrough - Starcraft 2-Wings-of-Liberty 202

Get to this possition with your banshees and your barracks and. Make sure the barracks tanks the hits. You can see the minimap on the pathing i chose.

Starcraft 2: Wings of Liberty Walkthrough - Starcraft 2-Wings-of-Liberty 203

After you reach the enemy base, start going with your banshees forward and try to make as many as possible stay alive.

Starcraft 2: Wings of Liberty Walkthrough - Starcraft 2-Wings-of-Liberty 204

After you go through the enemy base, repair your banshees.

Starcraft 2: Wings of Liberty Walkthrough - Starcraft 2-Wings-of-Liberty 205

Destroy the 3 cannons on the right side 1 by one, and make sure you repair constantly.

Starcraft 2: Wings of Liberty Walkthrough - Starcraft 2-Wings-of-Liberty 206

After you destroy the third cannon, cloak your banshees and destroy the pylon over here.

Starcraft 2: Wings of Liberty Walkthrough - Starcraft 2-Wings-of-Liberty 207

Start shooting at the mission objective but make sure your banshees stay out of the enemies vission, if you get too close the protoss will detect your banshees.

Starcraft 2: Wings of Liberty Walkthrough - Starcraft 2-Wings-of-Liberty 208

After you've destroyed the temple, the mission will be complete.

Starcraft 2: Wings of Liberty Walkthrough - Starcraft 2-Wings-of-Liberty 209

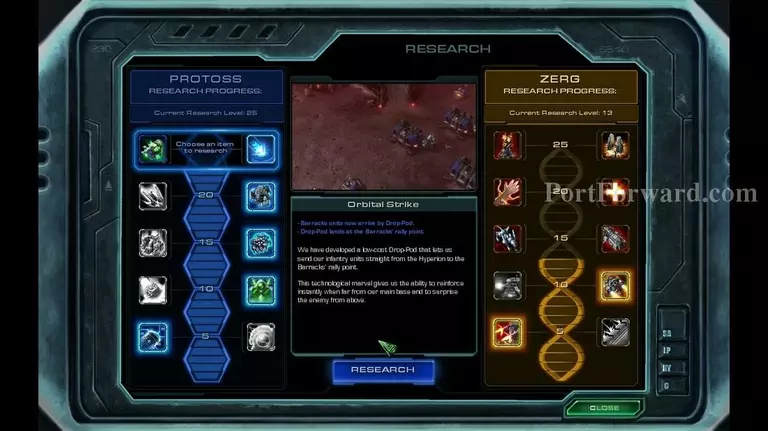
After you're done with that, get Orbital Strike as a research. It's indefinitely more useful than the other one in my opinion.

More Starcraft 2: Wings of Liberty Walkthroughs

This Starcraft 2: Wings of Liberty walkthrough is divided into 19 total pages.

More From Portforward