Starcraft 2: Wings of Liberty Walkthrough Mission 9: Ghost of a Chance

September 12, 2016 (Last Updated: ) | Reading Time: 5 minutes

This Starcraft 2: Wings of Liberty walkthrough is divided into 19 total pages.

You can jump to nearby pages of the game using the links above.

Mission 9: Ghost of a Chance

Starcraft 2: Wings of Liberty Walkthrough - Starcraft 2-Wings-of-Liberty 103

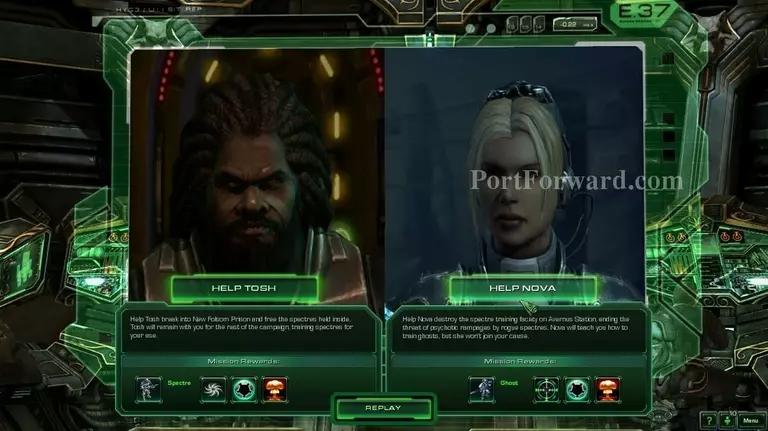
In this mission i chose Nova. If you choose Tosh, the mission shouldn't be too hard.

Starcraft 2: Wings of Liberty Walkthrough - Starcraft 2-Wings-of-Liberty 104

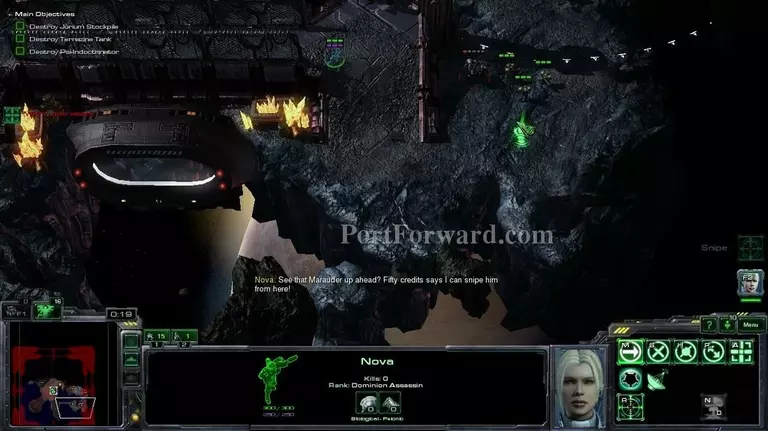
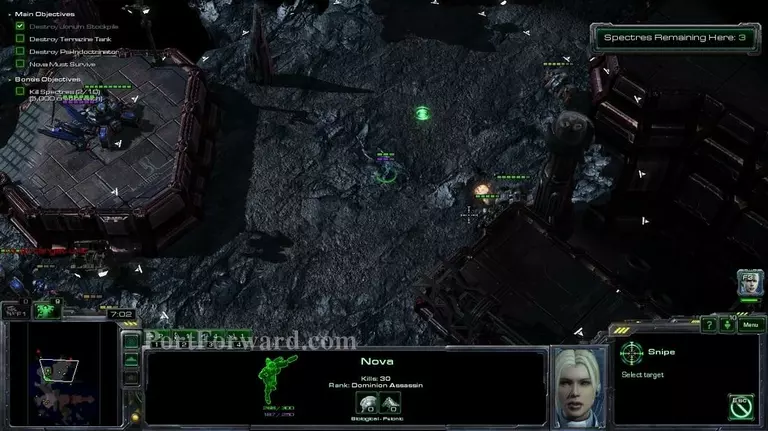
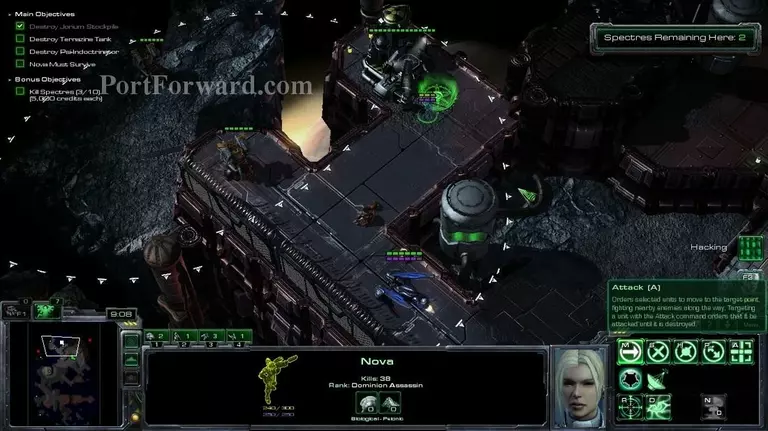
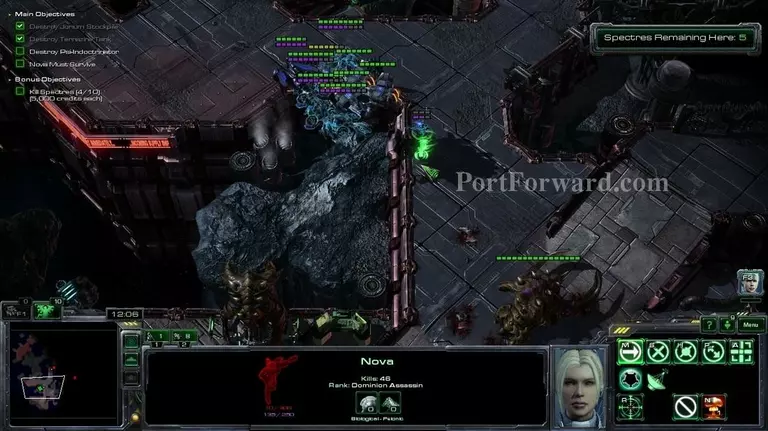
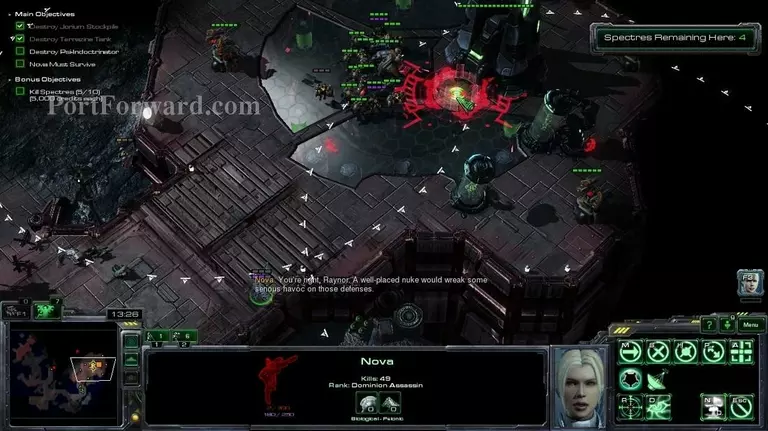
This mission is fairly easy as well, you start off with Nova, a permanently cloaked ghost that doesn't have any mana cost on her abilities and a few marines + medics. Start off by killing the marauders and marines over here.

Starcraft 2: Wings of Liberty Walkthrough - Starcraft 2-Wings-of-Liberty 105

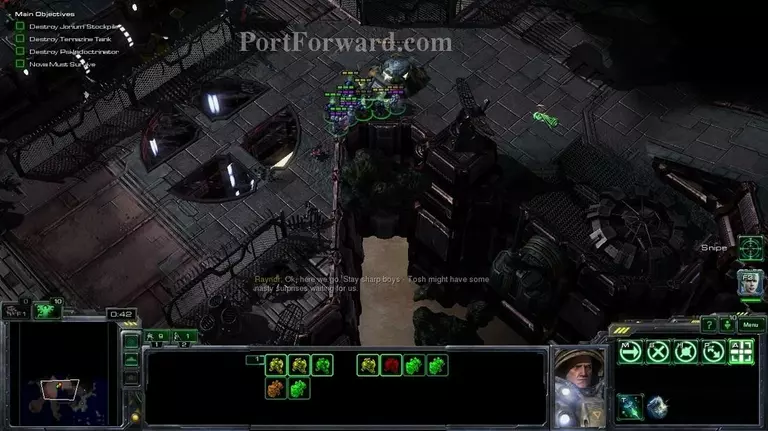
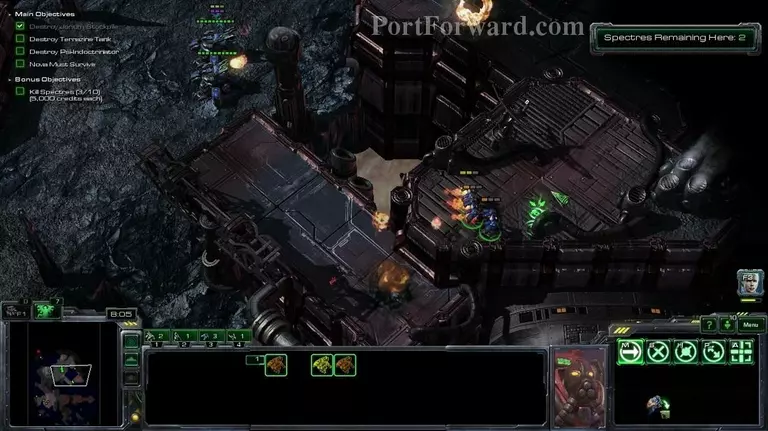
With your marines and medics you should kill the bunker over here. For some reason i forgot there is a bunker there so my units weren't attacking half the time and i lost too many, but it was still fine.

Starcraft 2: Wings of Liberty Walkthrough - Starcraft 2-Wings-of-Liberty 106

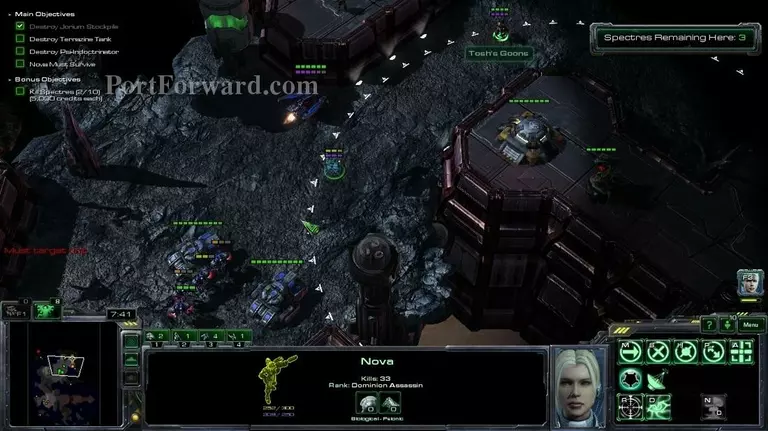
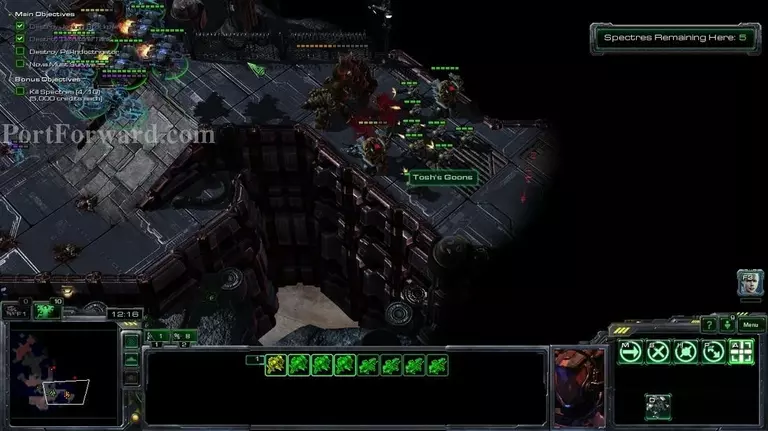
Start going in on the units here with Nova and with your marines.

Starcraft 2: Wings of Liberty Walkthrough - Starcraft 2-Wings-of-Liberty 107

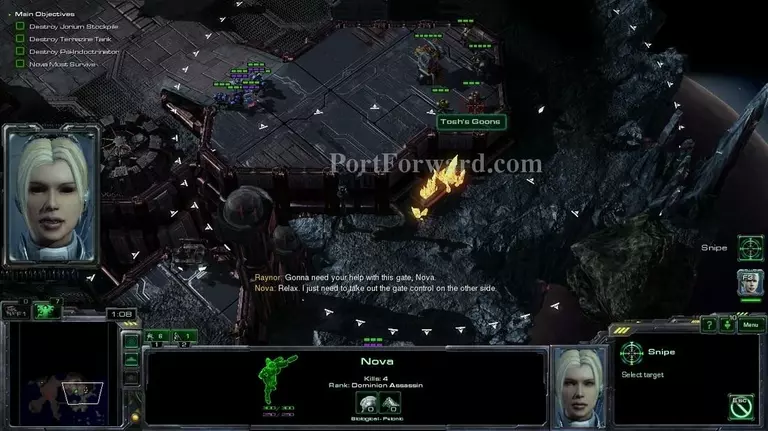
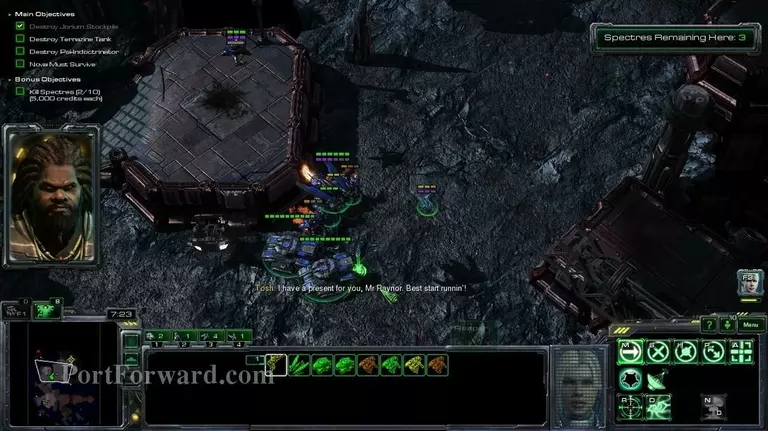
When you destroy the control panel here the door will open and you'll be able to join forces.

Starcraft 2: Wings of Liberty Walkthrough - Starcraft 2-Wings-of-Liberty 108

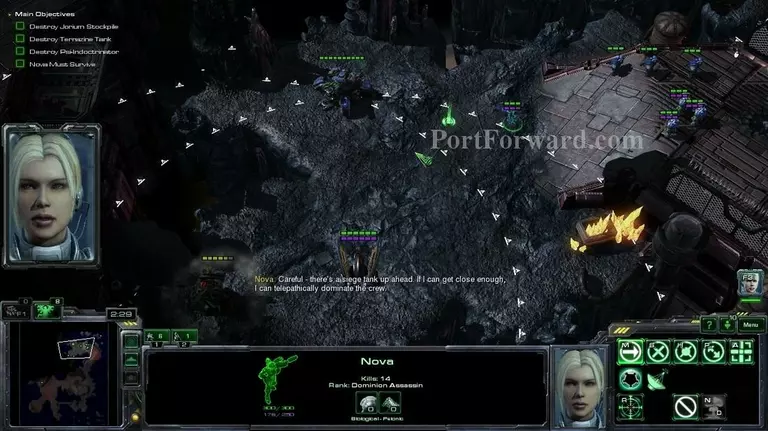
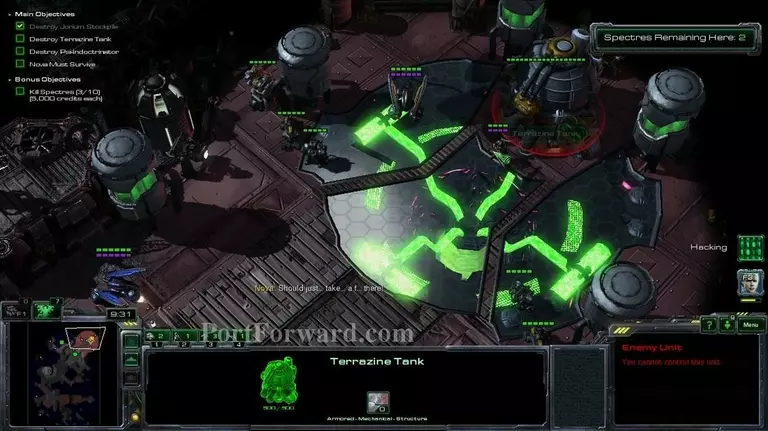
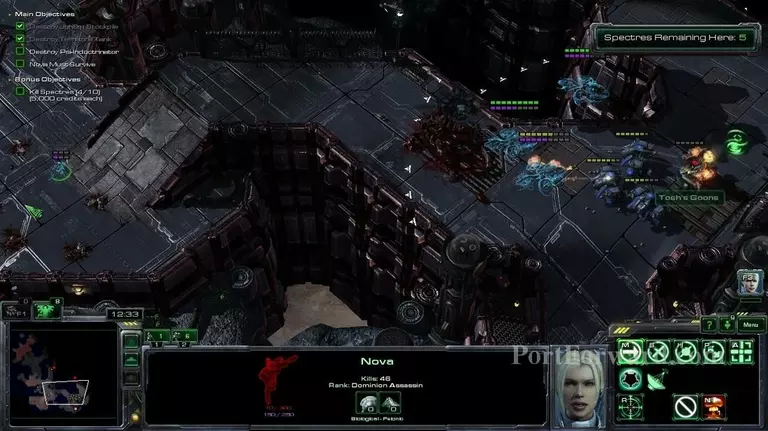
Continue north until you see a siege tank. Take control of it with your new nova ability and destroy the enemy forces.

Starcraft 2: Wings of Liberty Walkthrough - Starcraft 2-Wings-of-Liberty 109

After you're done with the siege tank you could just destroy it with your marines.

Starcraft 2: Wings of Liberty Walkthrough - Starcraft 2-Wings-of-Liberty 110

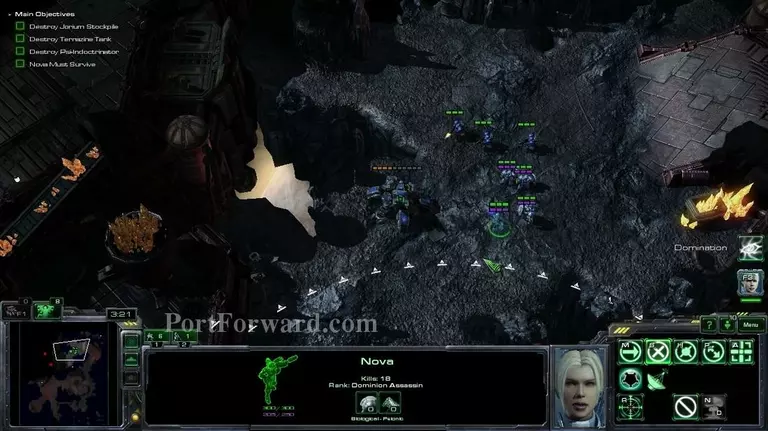
When you reach the objective, you will see a battlecruiser and a gorgon if you're playing on brutal. Dominate one of the 2 and just attack the objective.

Starcraft 2: Wings of Liberty Walkthrough - Starcraft 2-Wings-of-Liberty 111

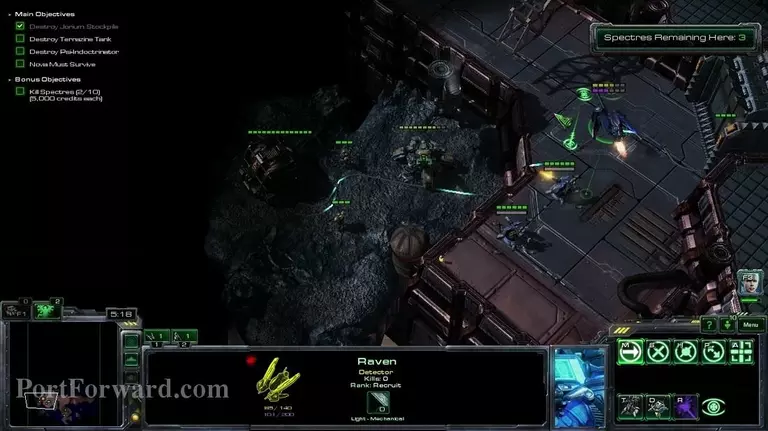
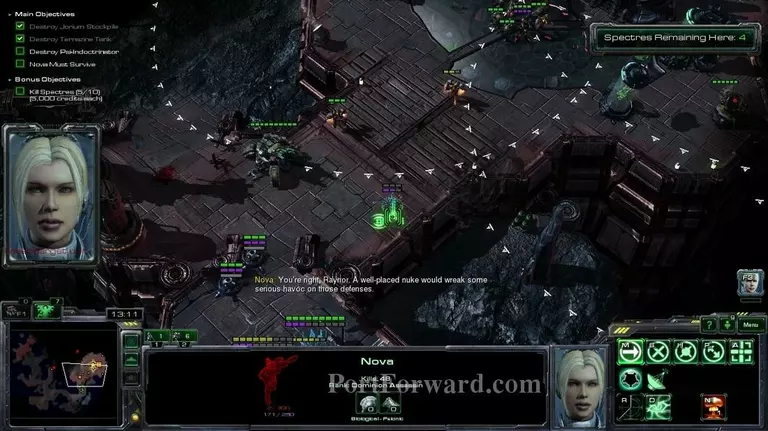
One third of the mission is done. You will have nova transported to another area, use her to dominate one of the ravens that comes and then kill the vikings over here.

Starcraft 2: Wings of Liberty Walkthrough - Starcraft 2-Wings-of-Liberty 112

With the ravens you can kill the siege tank over here.

Starcraft 2: Wings of Liberty Walkthrough - Starcraft 2-Wings-of-Liberty 113

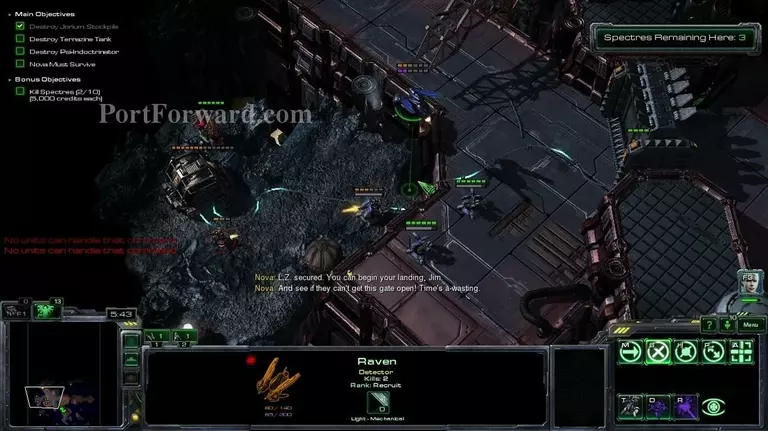
After that you can kill the control panel here and opent he door.

Starcraft 2: Wings of Liberty Walkthrough - Starcraft 2-Wings-of-Liberty 114

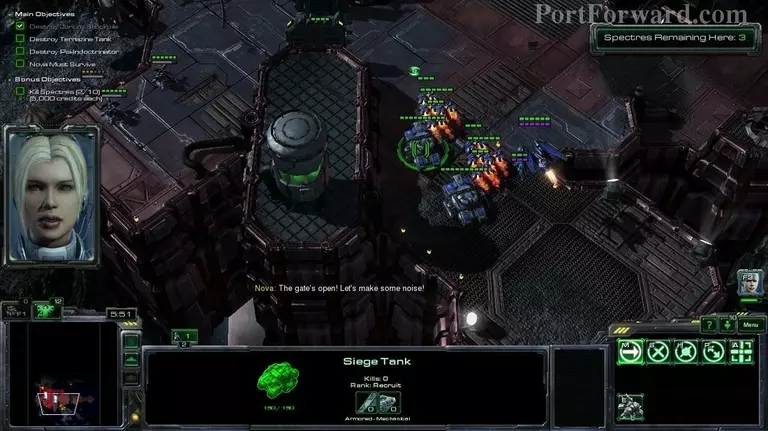
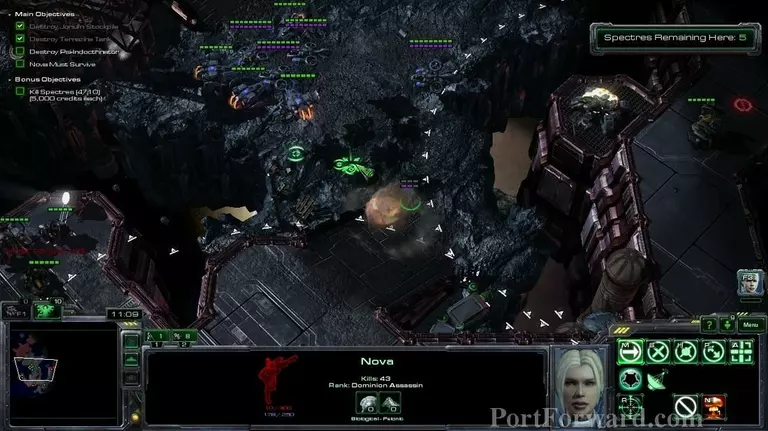
After killing the vikings you will get a few siege tanks and reapers.

Starcraft 2: Wings of Liberty Walkthrough - Starcraft 2-Wings-of-Liberty 115

Dominate the siege tank over here. I was stupid and lost half my reapers, and instead of that happening you can use the raven to scout ahead and take control of the siege tank without taking any damage.

Starcraft 2: Wings of Liberty Walkthrough - Starcraft 2-Wings-of-Liberty 116

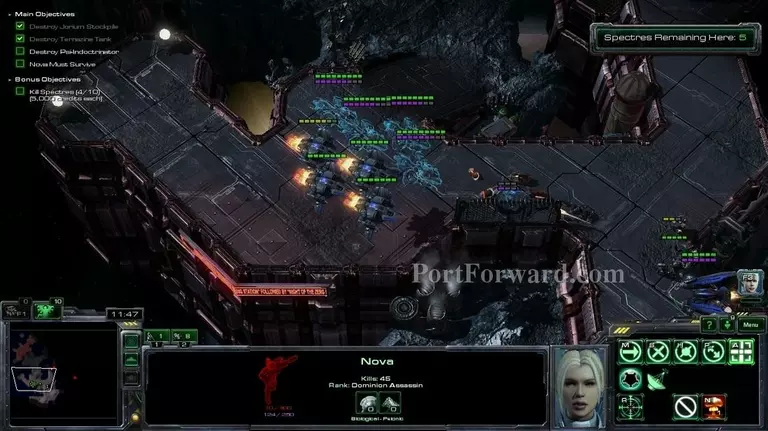
Clean out the area over here.

Starcraft 2: Wings of Liberty Walkthrough - Starcraft 2-Wings-of-Liberty 117

Destroy the siege tank you dominated because you want to be able to dominate another unit.

Starcraft 2: Wings of Liberty Walkthrough - Starcraft 2-Wings-of-Liberty 118

You will get nuked by a spectre, you can scout with your raven and kill it before it nukes though.

Starcraft 2: Wings of Liberty Walkthrough - Starcraft 2-Wings-of-Liberty 119

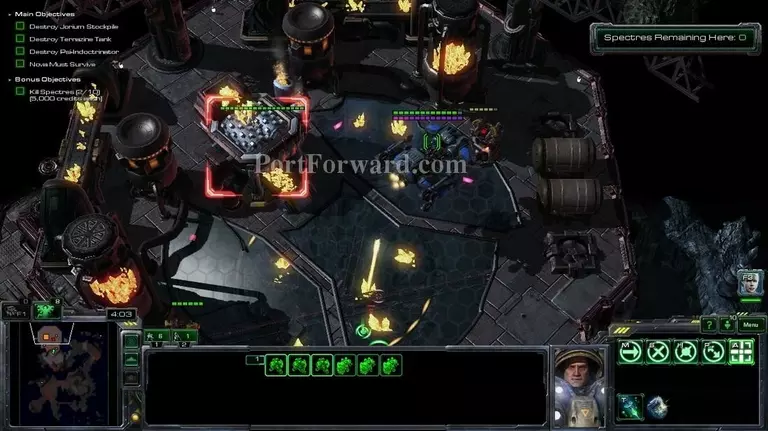
Go over here with your reapers and kill all the turrets and things.

Starcraft 2: Wings of Liberty Walkthrough - Starcraft 2-Wings-of-Liberty 120

Continue with nova to the nuclear silo over here.

Starcraft 2: Wings of Liberty Walkthrough - Starcraft 2-Wings-of-Liberty 121

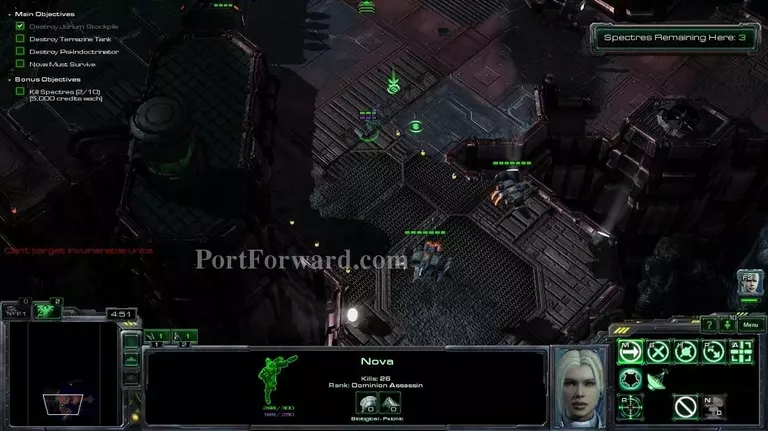
You will get a nuke. On brutal there will be a thor defending this area, which you can dominate and destroy the objective with. On normal, you can just use your siege tanks and reapers. You can also use a nuke to destroy the objective, but i preffer not to. In all cases, try to use a point defence drone from your raven so you don't take much damage, if any at all.

Starcraft 2: Wings of Liberty Walkthrough - Starcraft 2-Wings-of-Liberty 122

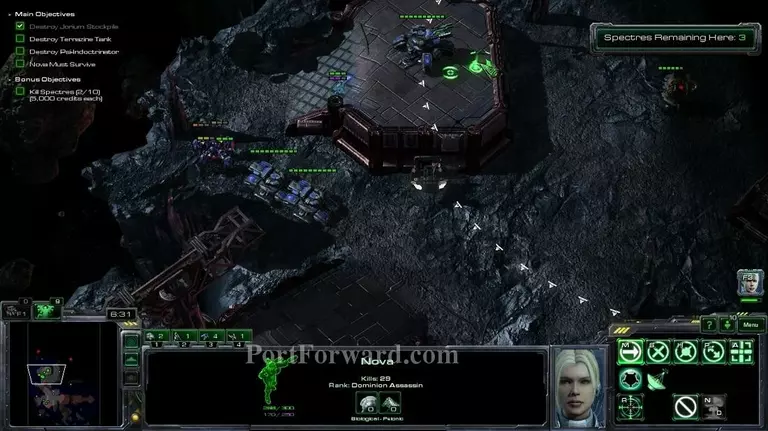
Now it's the final part of the mission. For some reason i forgot there is a siege tank there and almost lost Nova (you have to restart/load from a checkpoint when she dies)

Starcraft 2: Wings of Liberty Walkthrough - Starcraft 2-Wings-of-Liberty 123

But anyway, destroy the enemy forces here.

Starcraft 2: Wings of Liberty Walkthrough - Starcraft 2-Wings-of-Liberty 124

Dominate the raven and then kill the enemies here.

Starcraft 2: Wings of Liberty Walkthrough - Starcraft 2-Wings-of-Liberty 125

When you kill the destructible rocks you will set loose an untralisk.

Starcraft 2: Wings of Liberty Walkthrough - Starcraft 2-Wings-of-Liberty 126

It will destroy the marines ahead.

Starcraft 2: Wings of Liberty Walkthrough - Starcraft 2-Wings-of-Liberty 127

Land your vikings and destroy the turrets over here.

Starcraft 2: Wings of Liberty Walkthrough - Starcraft 2-Wings-of-Liberty 128

When you reach this point, you will either have 1 nuke from the last part of the mission, or you will need to get another nuke (north from here). Since i have a nuke from the last part, i decided to end the mission by destroying the objective here with the nuke.

Starcraft 2: Wings of Liberty Walkthrough - Starcraft 2-Wings-of-Liberty 129

Mission ends after it's destroyed.

Starcraft 2: Wings of Liberty Walkthrough - Starcraft 2-Wings-of-Liberty 130

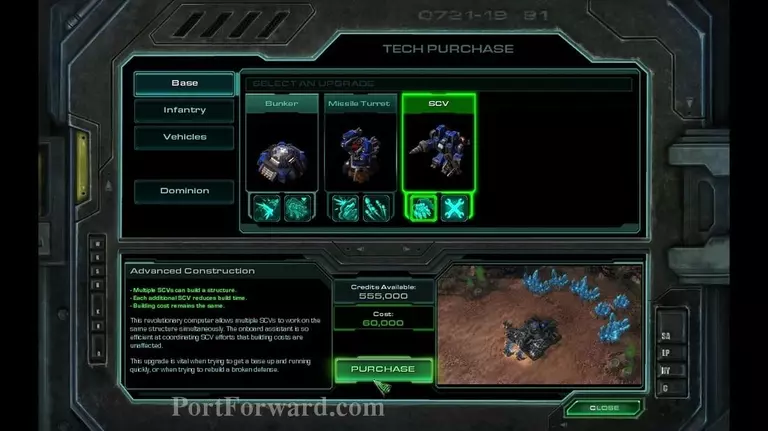
After the mission make sure you get this upgrade.
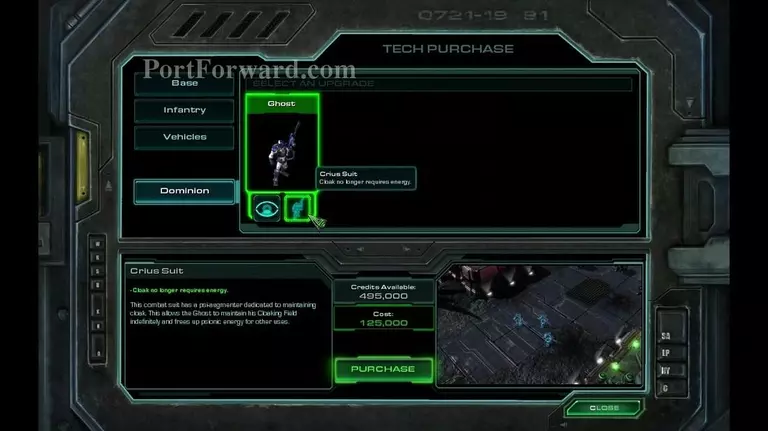
Starcraft 2: Wings of Liberty Walkthrough - Starcraft 2-Wings-of-Liberty 131

The 2 ghost ones.

Starcraft 2: Wings of Liberty Walkthrough - Starcraft 2-Wings-of-Liberty 132

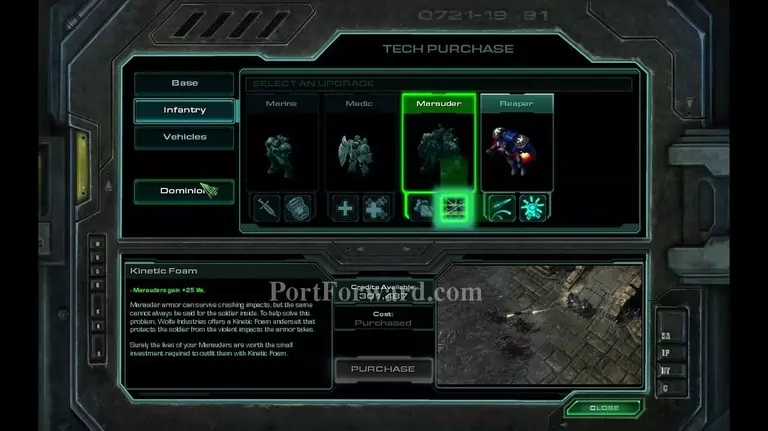
And the 2 marauder ones.

More Starcraft 2: Wings of Liberty Walkthroughs

This Starcraft 2: Wings of Liberty walkthrough is divided into 19 total pages.

More From Portforward