This Starcraft 2: Wings of Liberty walkthrough is divided into 19 total pages.
You can jump to nearby pages of the game using the links above.
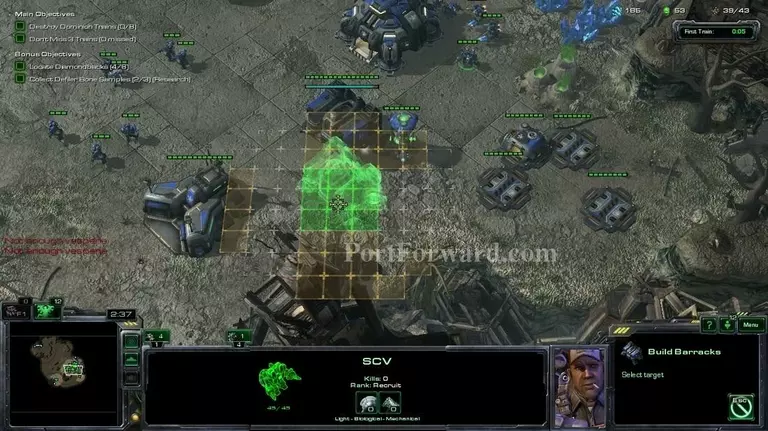
Mission 7: The Great Train Robbery
![Starcraft 2: Wings of Liberty Walkthrough - Starcraft 2-Wings-of-Liberty 74](starcraft-2-wings-of-liberty-74-small.webp)
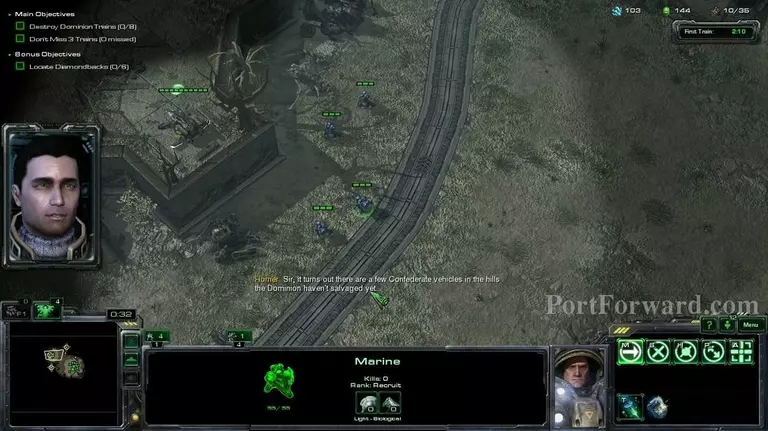
This mission is fairly simple and quite easy on all difficulties: you have to destroy the trains. In the beggining, split up your marines and scour the whole area for mineral/gas pickups and diamond backs.
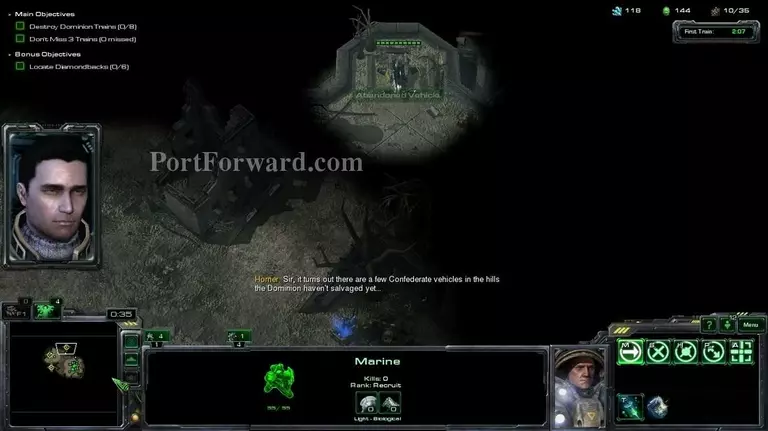
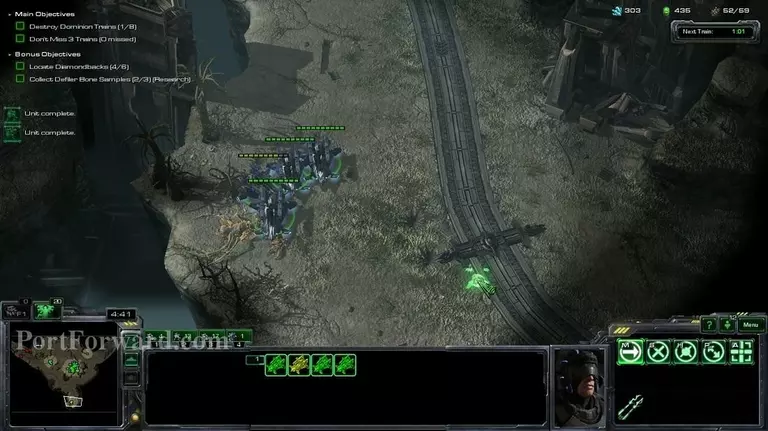
![Starcraft 2: Wings of Liberty Walkthrough - Starcraft 2-Wings-of-Liberty 75](starcraft-2-wings-of-liberty-75-small.webp)
Diamond back here.
![Starcraft 2: Wings of Liberty Walkthrough - Starcraft 2-Wings-of-Liberty 76](starcraft-2-wings-of-liberty-76-small.webp)
Another one here.
![Starcraft 2: Wings of Liberty Walkthrough - Starcraft 2-Wings-of-Liberty 77](starcraft-2-wings-of-liberty-77-small.webp)
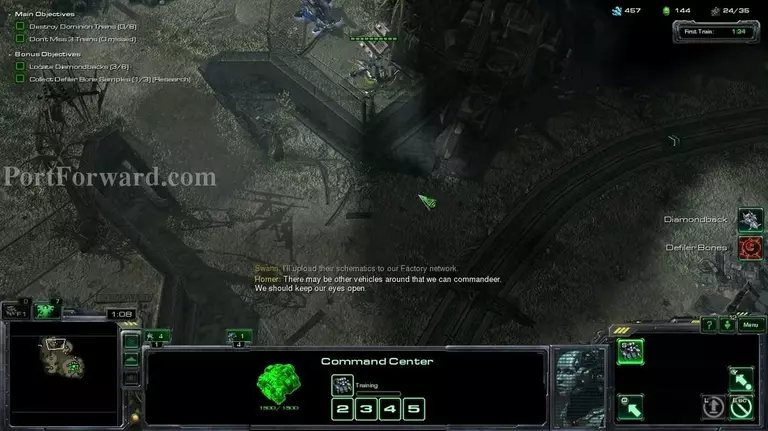
Some zerg research here.
![Starcraft 2: Wings of Liberty Walkthrough - Starcraft 2-Wings-of-Liberty 78](starcraft-2-wings-of-liberty-78-small.webp)
Make sure you're building units while scouring with your diamondbacks. You can go 2 ways: Massing up diamondbacks, which is a riskier strategy, or massing up marines with medics, which is usually better.
![Starcraft 2: Wings of Liberty Walkthrough - Starcraft 2-Wings-of-Liberty 79](starcraft-2-wings-of-liberty-79-small.webp)
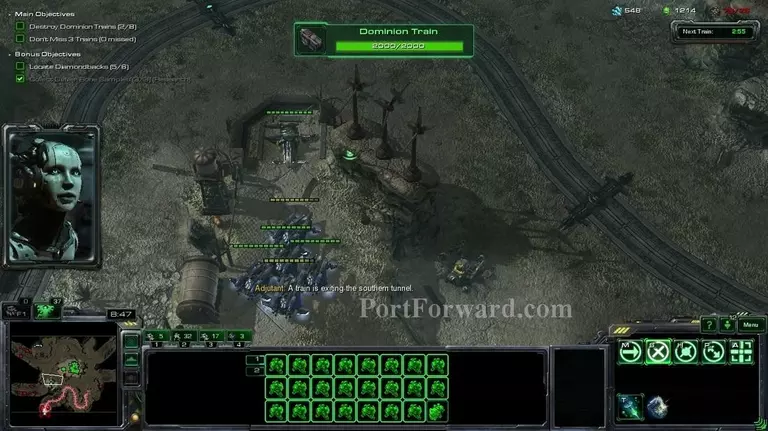
When you kill a train it drops a bunch of minerals and gas, make sure you pick them up.
![Starcraft 2: Wings of Liberty Walkthrough - Starcraft 2-Wings-of-Liberty 80](starcraft-2-wings-of-liberty-80-small.webp)
There's more zerg research here.
![Starcraft 2: Wings of Liberty Walkthrough - Starcraft 2-Wings-of-Liberty 81](starcraft-2-wings-of-liberty-81-small.webp)
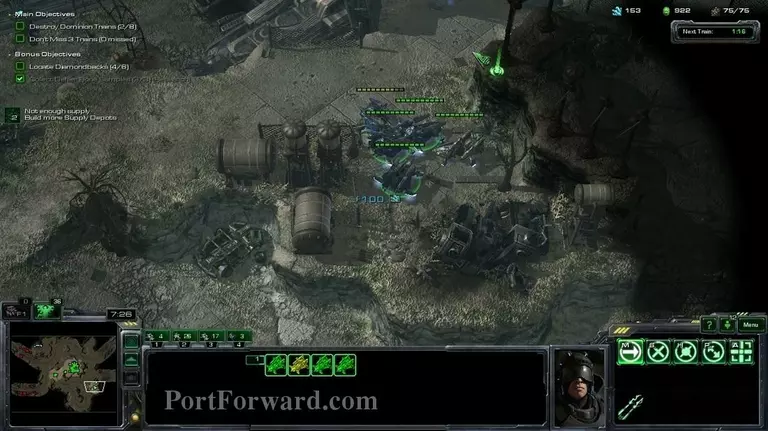
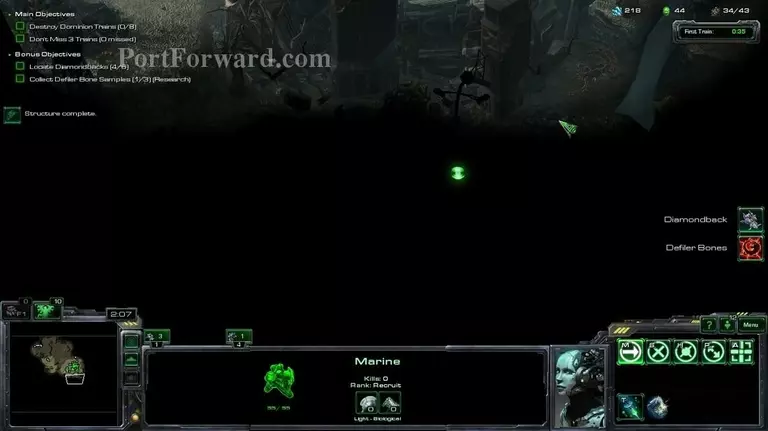
There's another diamondback here.
![Starcraft 2: Wings of Liberty Walkthrough - Starcraft 2-Wings-of-Liberty 82](starcraft-2-wings-of-liberty-82-small.webp)
And the last diamondback is over here.
![Starcraft 2: Wings of Liberty Walkthrough - Starcraft 2-Wings-of-Liberty 83](starcraft-2-wings-of-liberty-83-small.webp)
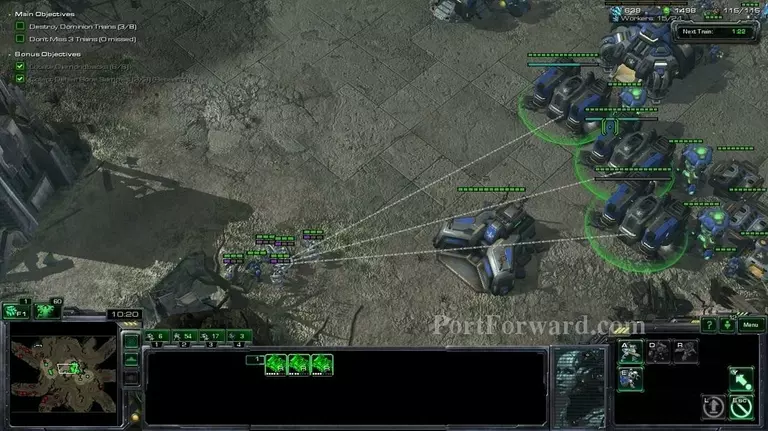
After you have all the diamondbacks, either get marines+medics and make sure you get their armor and damage upgrade, or just mass up diamondbacks.
![Starcraft 2: Wings of Liberty Walkthrough - Starcraft 2-Wings-of-Liberty 84](starcraft-2-wings-of-liberty-84-small.webp)
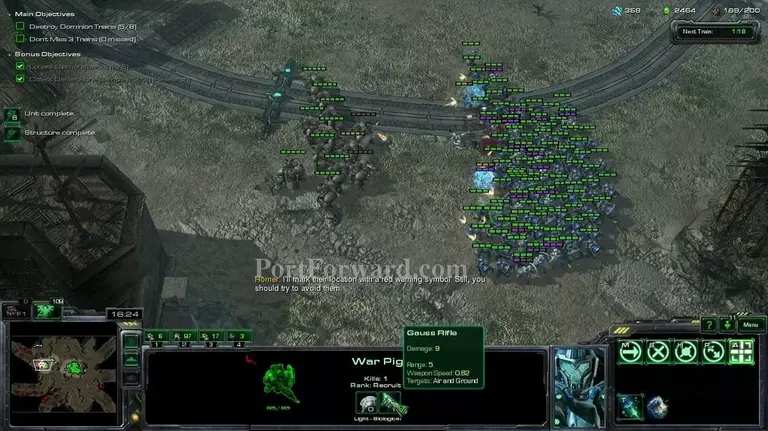
After the 5th destroyed train a force of hammer securities should start patrolling the area. If you have marines+medics they should be a piece of cake, but they might be quite problematic if you have diamondbacks.
![Starcraft 2: Wings of Liberty Walkthrough - Starcraft 2-Wings-of-Liberty 85](starcraft-2-wings-of-liberty-85-small.webp)
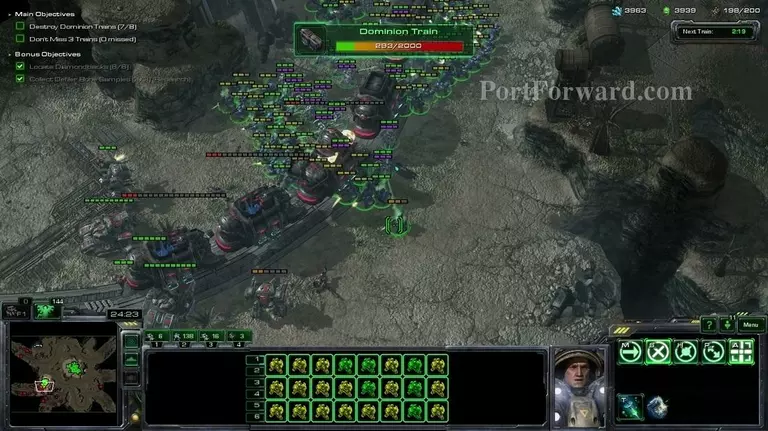
After killing the last train, the mission will end.
![Starcraft 2: Wings of Liberty Walkthrough - Starcraft 2-Wings-of-Liberty 86](starcraft-2-wings-of-liberty-86-small.webp)
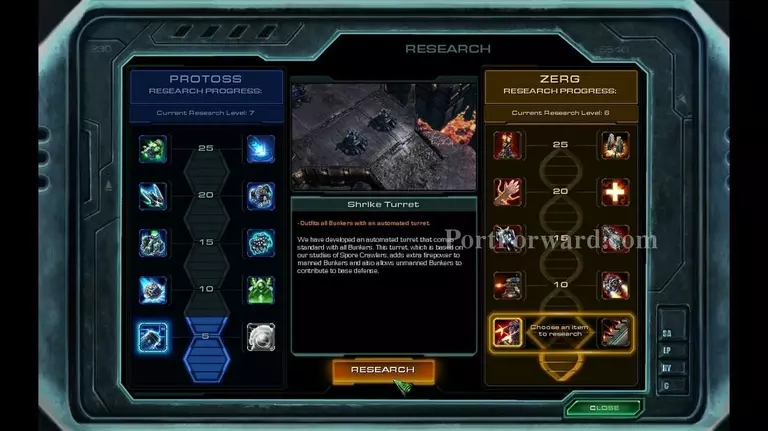
The zerg research you get to choose does not really matter, depends on personal preference mostly.
More Starcraft 2: Wings of Liberty Walkthroughs
This Starcraft 2: Wings of Liberty walkthrough is divided into 19 total pages.