This Starcraft 2: Wings of Liberty walkthrough is divided into 19 total pages.
You can jump to nearby pages of the game using the links above.
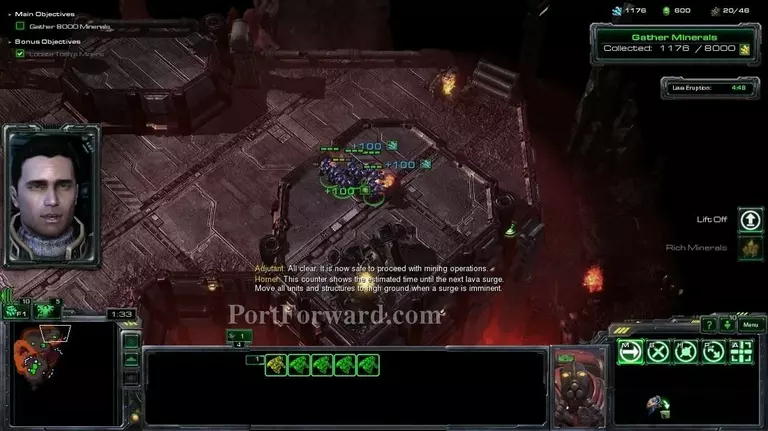
Mission 5: The Devil's Playground
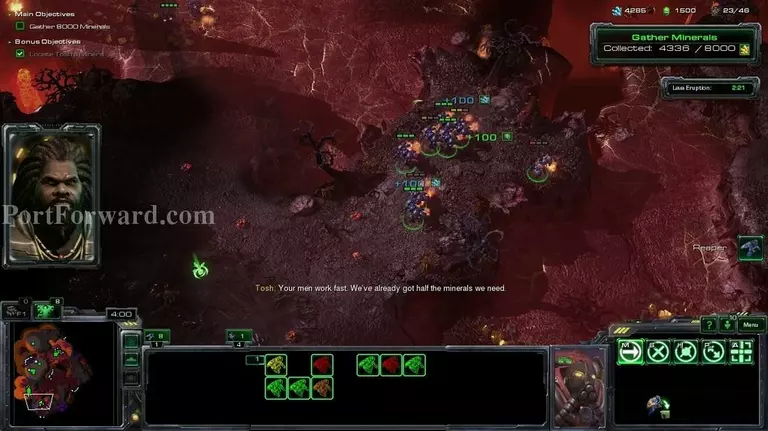
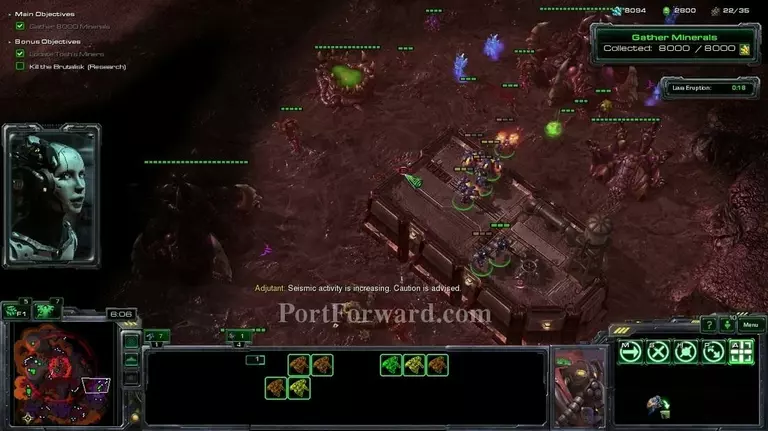
This mission has the objective of getting 8000 minerals OR killing the enemy base. There are 2 ways of doing it: Making an army, killing everything or just using the new unit in this mission: the reapers, to collect all the minerals.
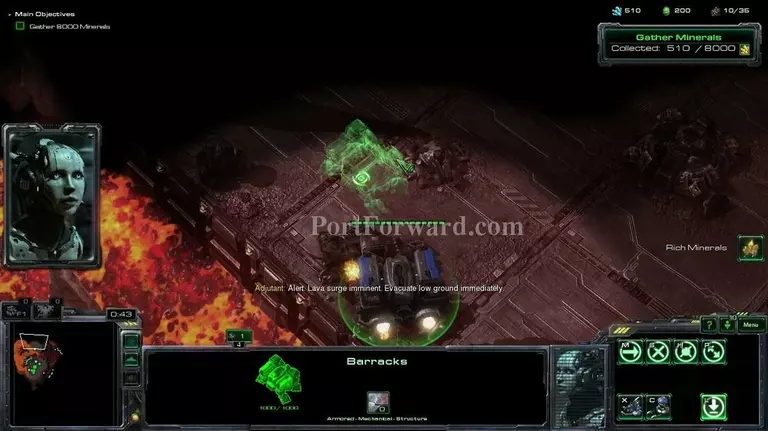
Putting this barracks in this possition will give you control of a few SCVs and a command centre.
Also there is a trick to this mission, every now and then there will be lava flood, so mae sure your buildings and army/SCVs are in the high ground.
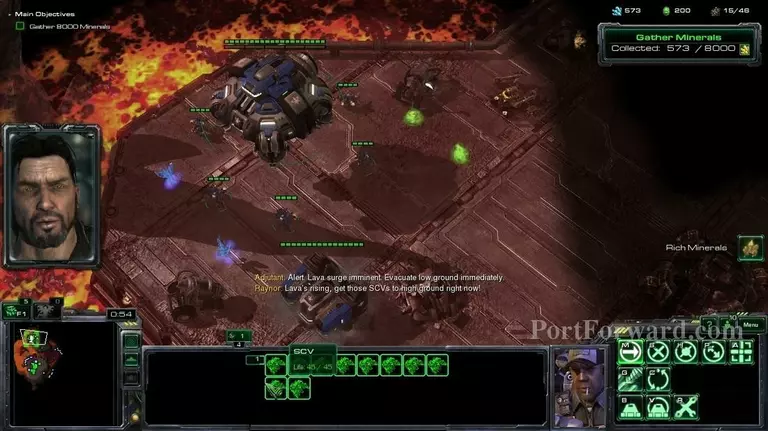
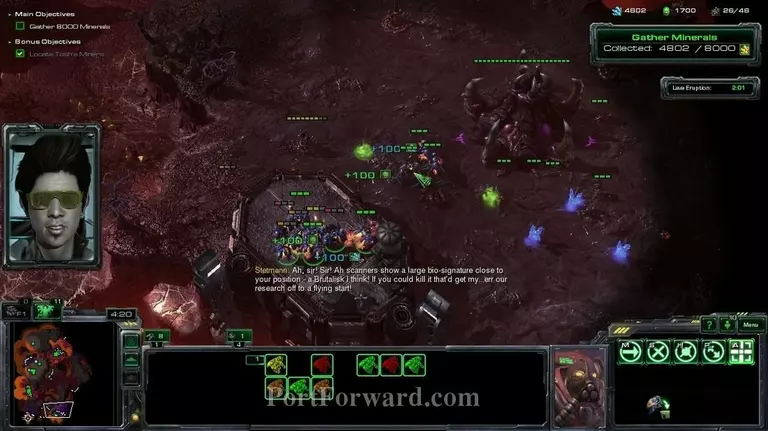
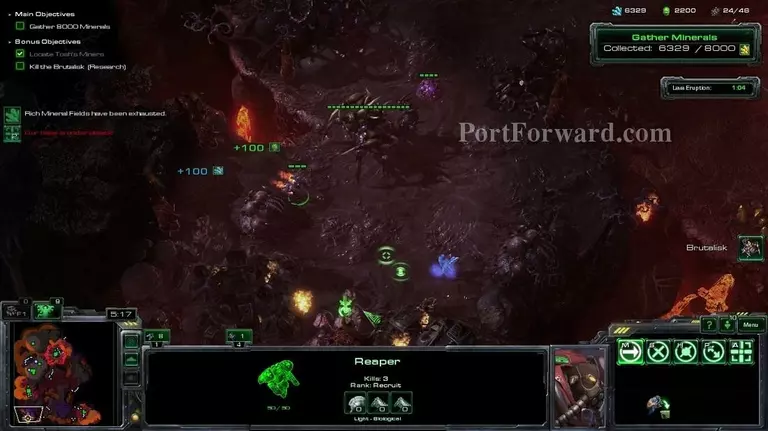
After you get that set of SCVs, make one go to the right and you will take control of a few reapers.
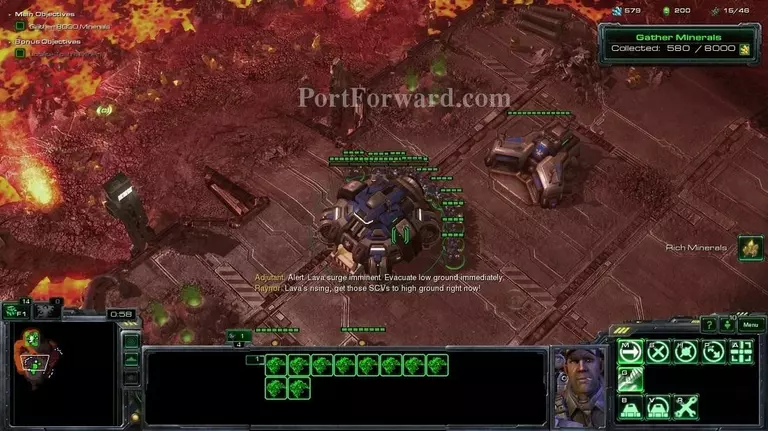
There are mineral pickups on the cliffs, remember to get them.
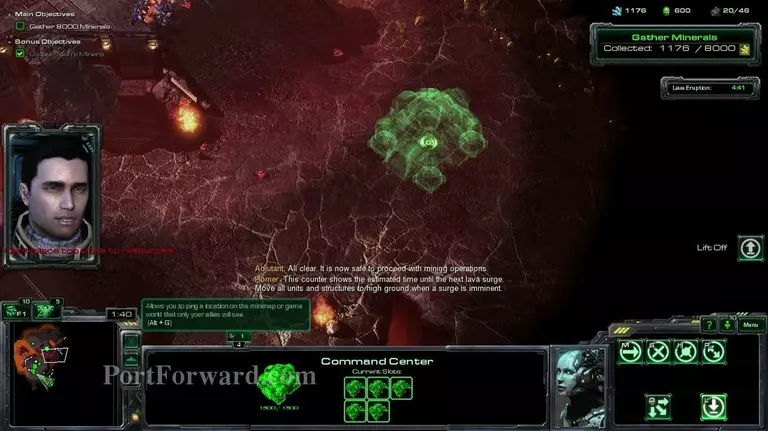
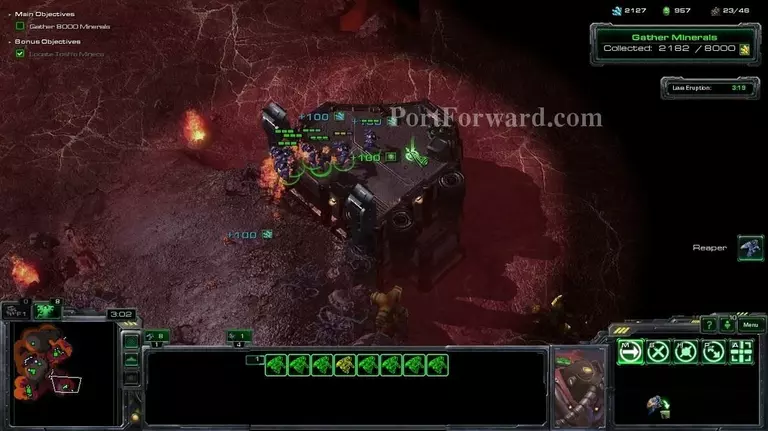
After the lava has diminished, land your command center over here and start mining.

The other command center you want to land over here and start mining with the SCVs you start the mission with.
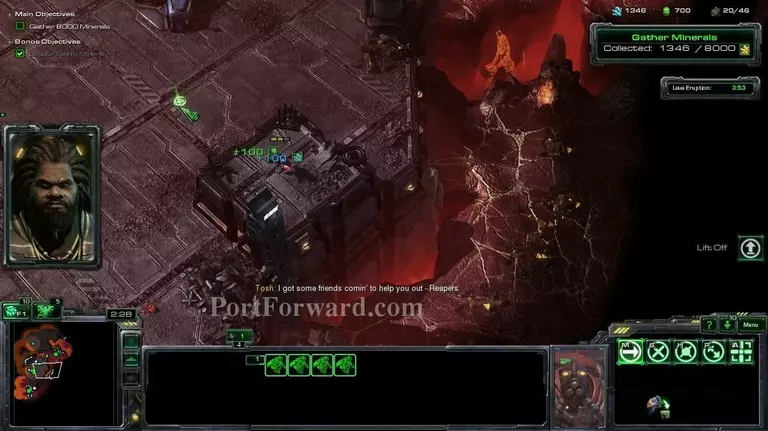
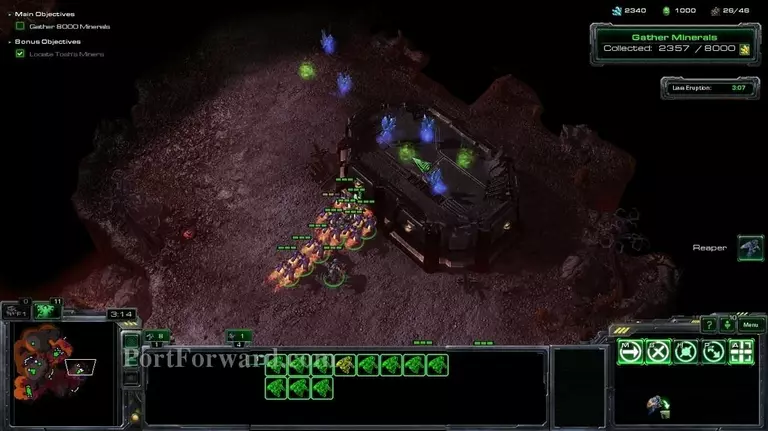
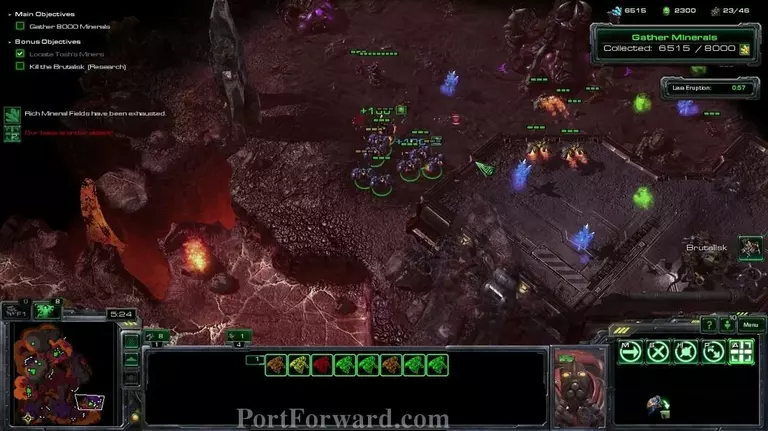
Get your reapers to over here for the minerals. You will also get 2-3 reapers for free when the timer reaches 2:30.
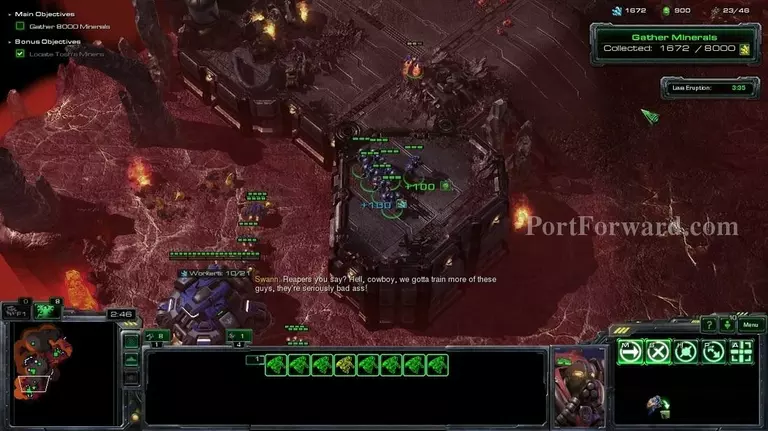
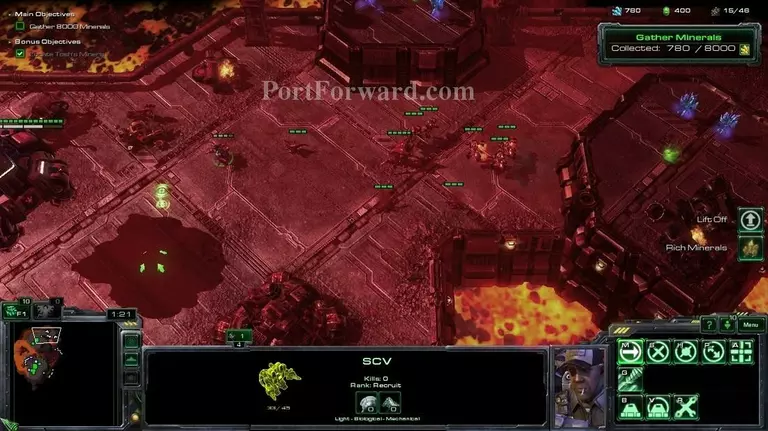
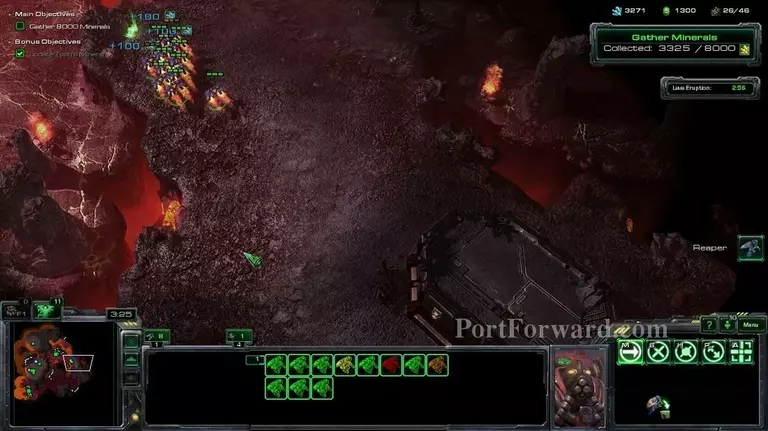
The next place you want your reapers to go to is here.
Third place.
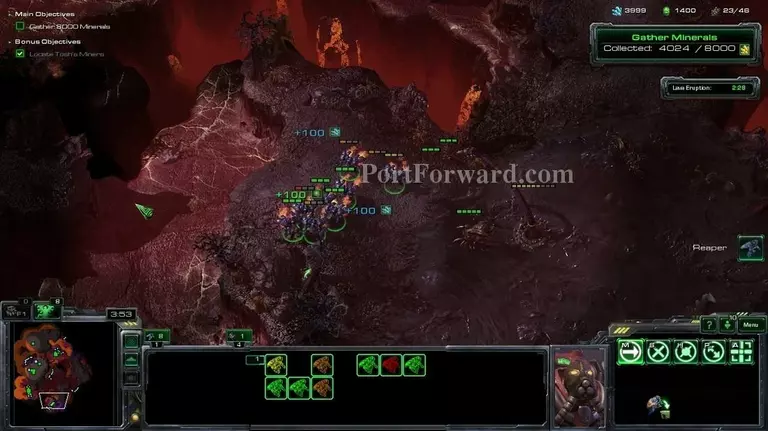
Fourth place.
More minirals above the fourth place.
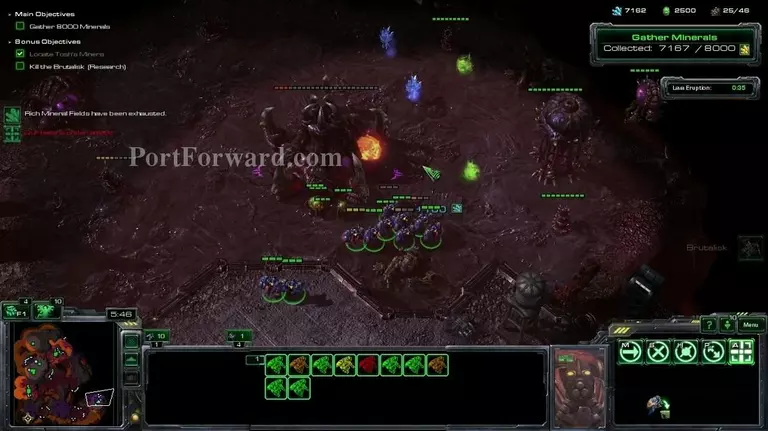
This is the next area, you can go to here from the left or the right. I recommend the left way as it's a bit safer.
This is the left way, there are a few pickups here.
You want to get to over here next and make sure you kill the zerg from the high ground as they won't be able to attack you if all of your units are up there.
When you kill the hatchery 3 mineral crates should fall to the ground. Make sure you kill the broodlings before they destroy you as well.

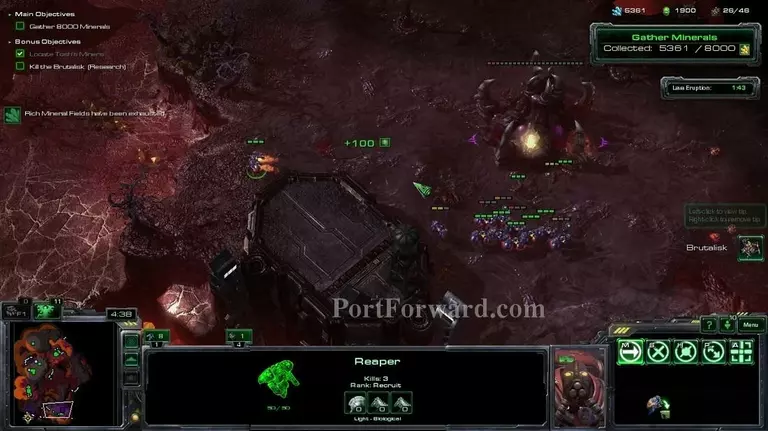
Get one reaper to the brutalisk here.
Disengage after getting the first mineral and then get the one above him.
After doing so try going counter-clockwise and getting the one to the left. Go for the one bellow him as well, but it might be impossible. I didn't manage to get it.
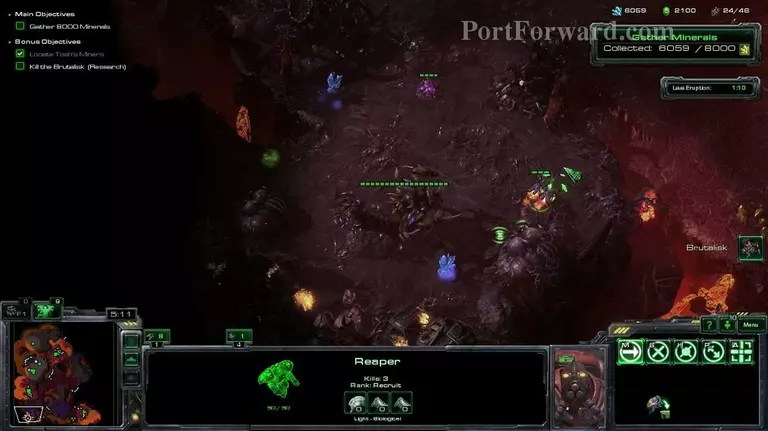
With your main reaper force you will want to continue going right.
Destroy this hatchery as well and get the minerals.
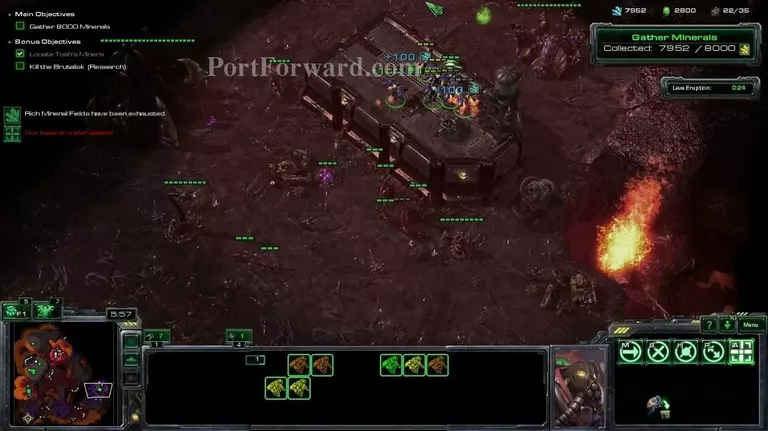
After doing so there are more mineral pickups north.
Above that area there are even more pickups. After getting them you should have the missionl completed.
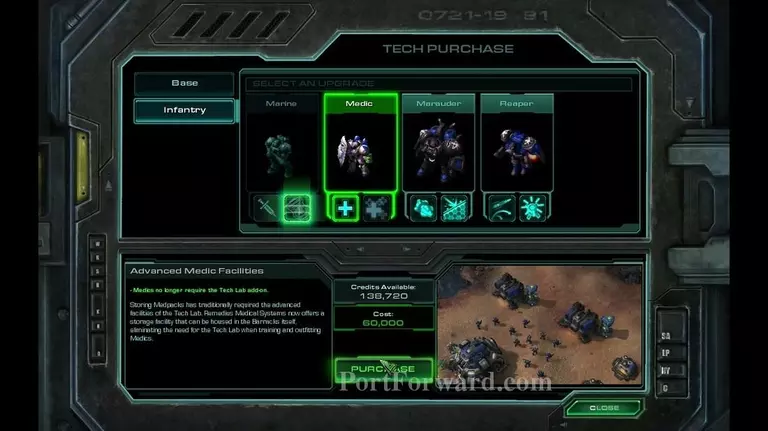
After completing this mission, make sure to get the other 2 marine and medic upgrades. You should have all of them by now.
More Starcraft 2: Wings of Liberty Walkthroughs
This Starcraft 2: Wings of Liberty walkthrough is divided into 19 total pages.