This Super Mario Bros walkthrough is divided into 8 total pages.
You can jump to nearby pages of the game using the links above.
World 1
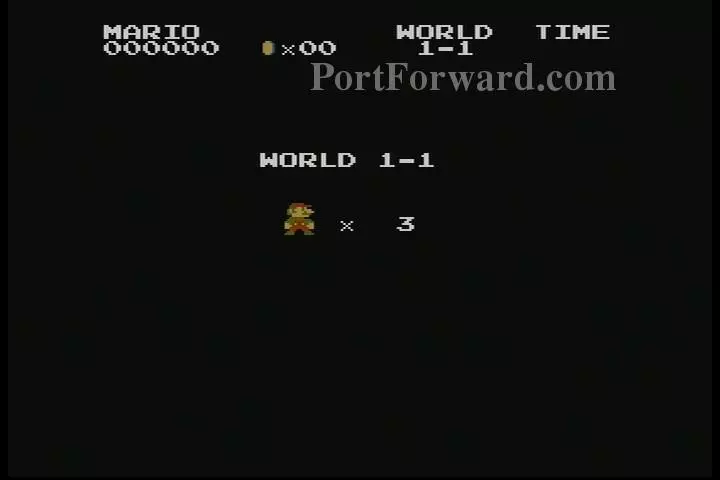
Welcome to Super Mario Bros.! When you begin a new game this screen will appear. It will show you how many lives Mario has, what world and level you are on, as well a few other things shown at the top.
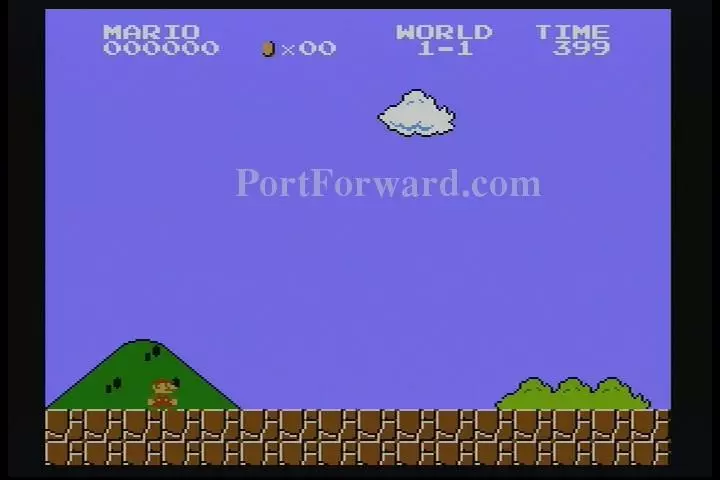
World 1-1 starts out in a standard overworld setting.
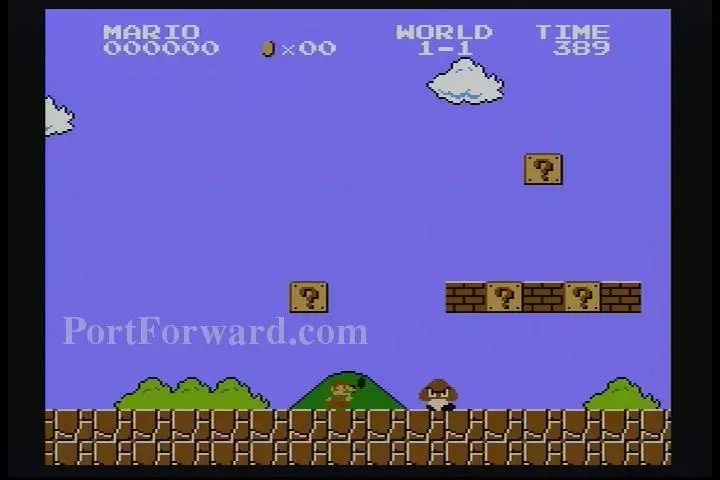
"Starting out, we come upon our first enemy, the Goomba. Goombas can be destroyed by jumping on them, hitting them with a super power, or if Mario is invincible. They produce 100pts.
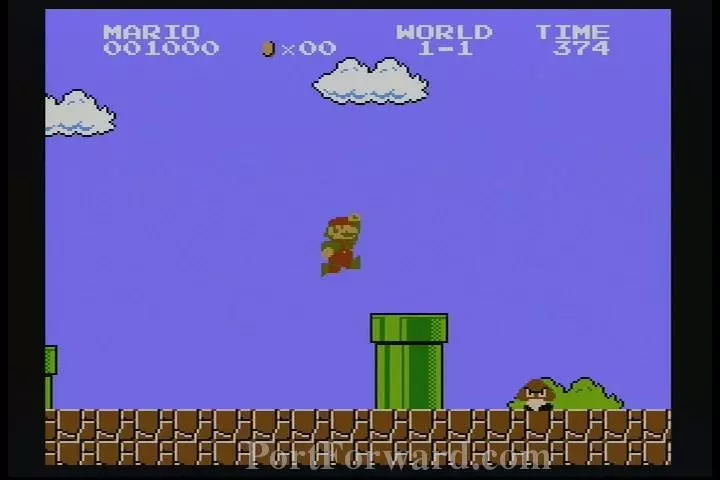
Moving along, there will be several green pipes in a row. Some of the pipes have goombas between them, so watch where you jump.
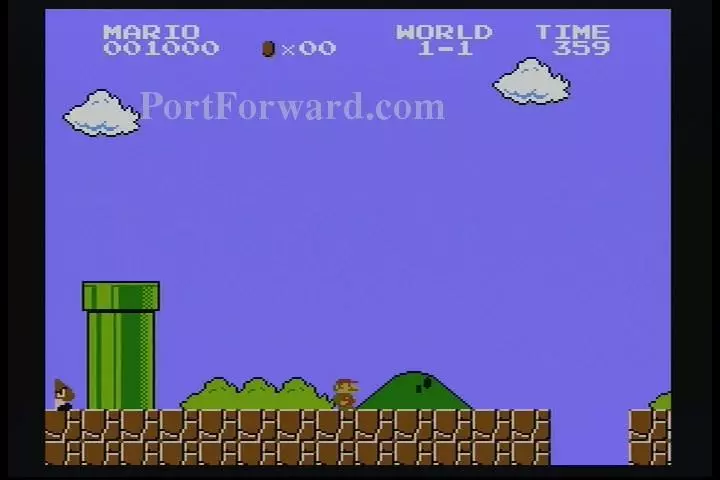
There will be four pipes before you come to a gap. Falling in gaps result in Mario's death and a loss of a life.
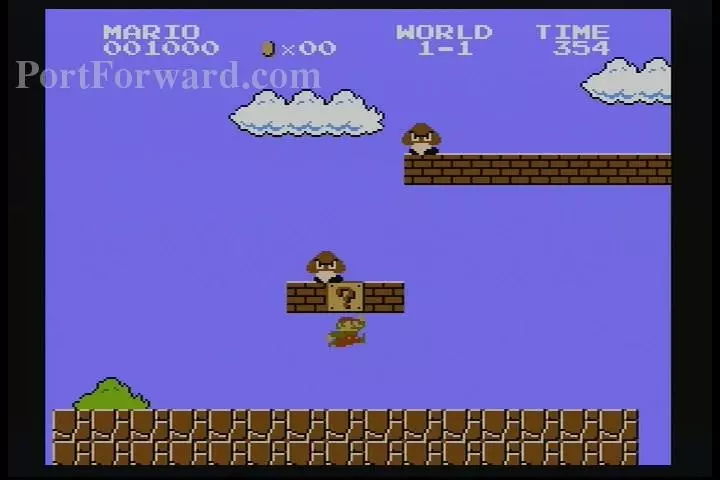
More Goombas along the way, as well as a Q block with a Power Up inside. The next gap shone is best traversed by jumping on top of the bricks and crossing over the gap.
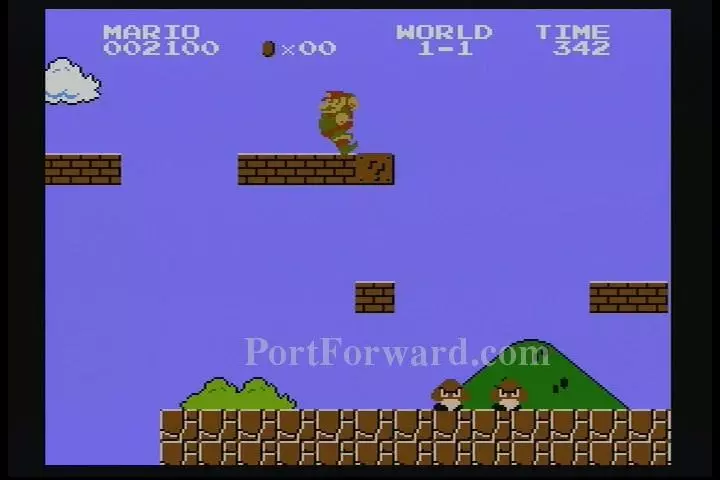
Two more Goombas plus a Q block with a coin.
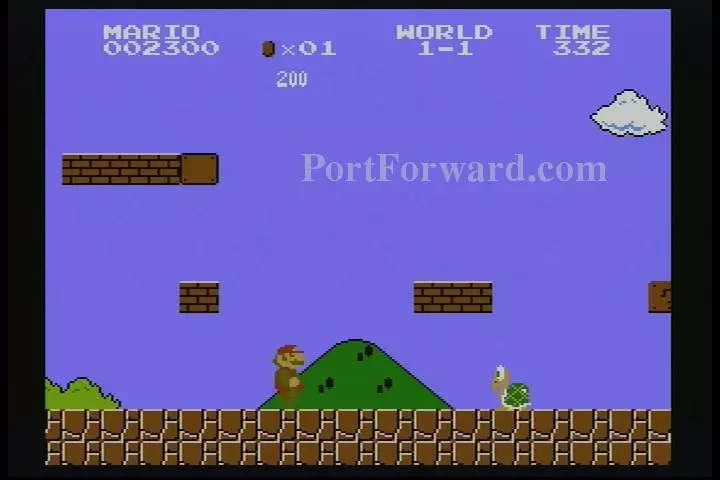
Here, we have the first appearnce of a Koopa Troopa. They come in two varieties: green and red. These guys cannot be completely destroyed by jumping on them. Instead, they will retreat inside their shells, and jumping on them again results in the shell being propelled across the screen, which can be used to kill Goombas. They are worth 100pts.
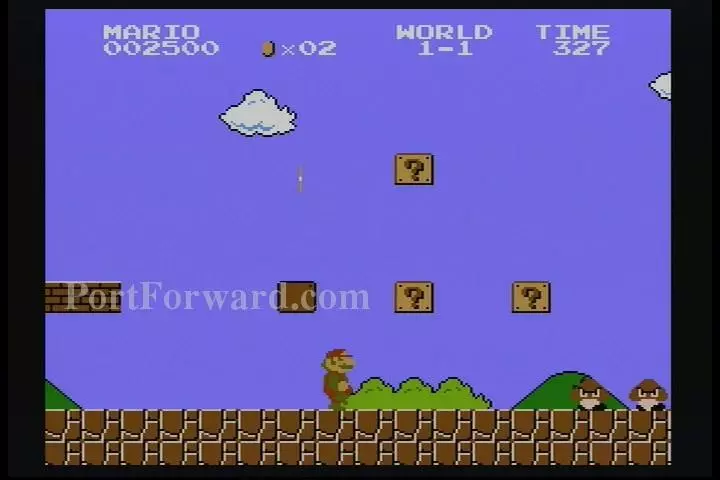
Four more Q blocks, three with coins, while the top one has a power up. And, of course, more Goombas to stomp.
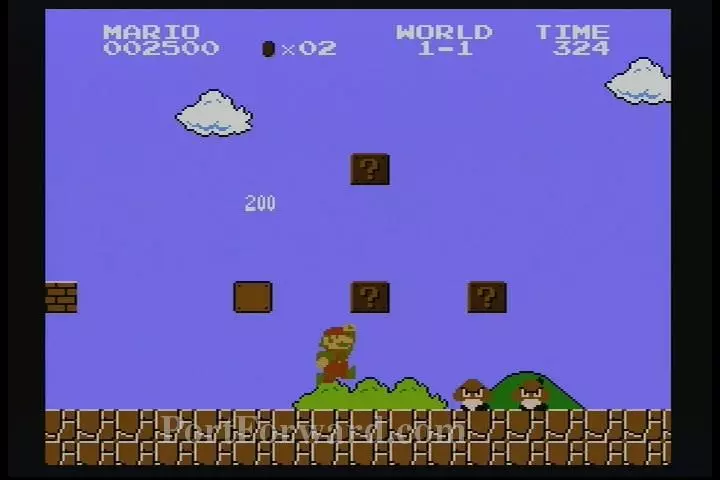
Another thing to note is that collecting coins in a powered up mode doubles the number of points.
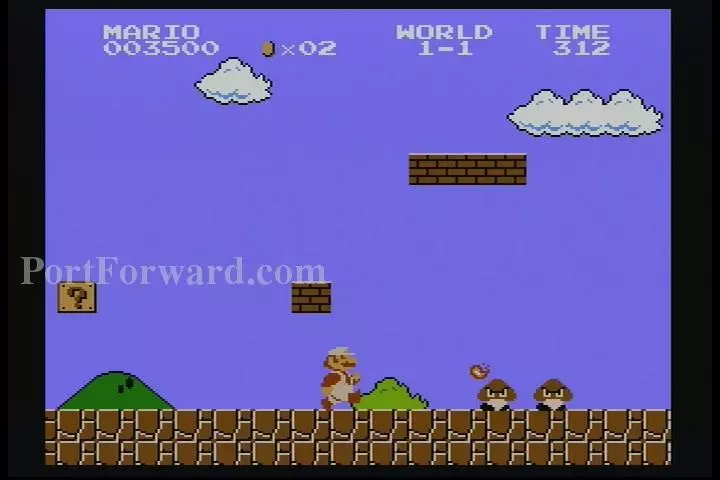
With fire power, Mario can throw fire balls at enemies. The fire balls bounce along the ground though, so make sure to pay attention to where the enemy is, where you are, and where the fire balls are in order to be the most accurate.
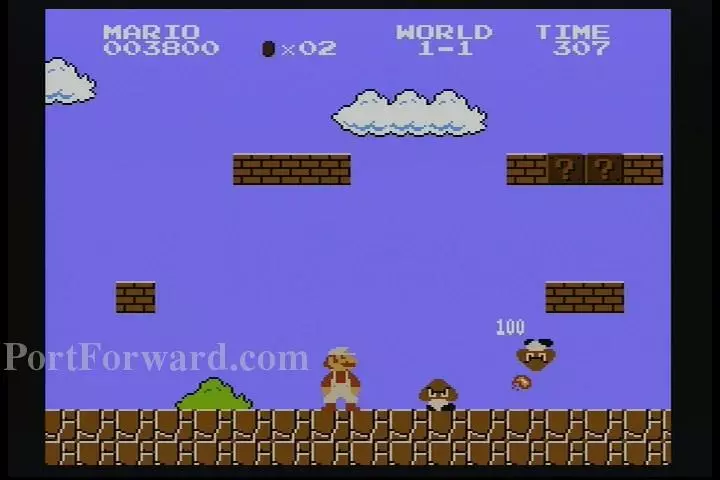
The points, however, stay the same regardless of how the enemies die.
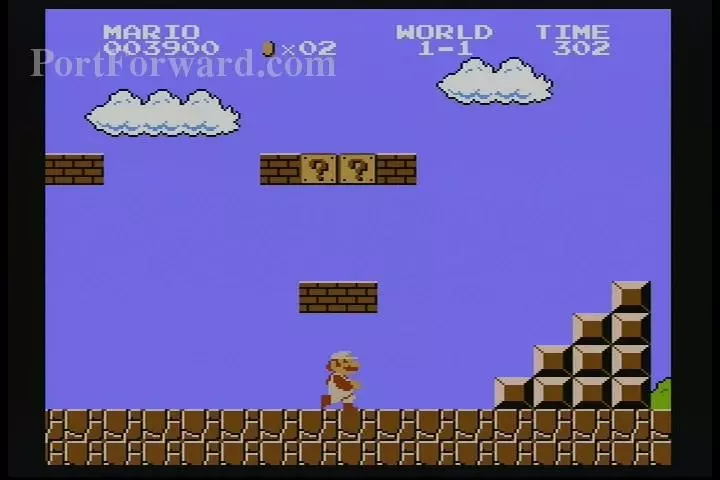
Two Q blocks with coins.
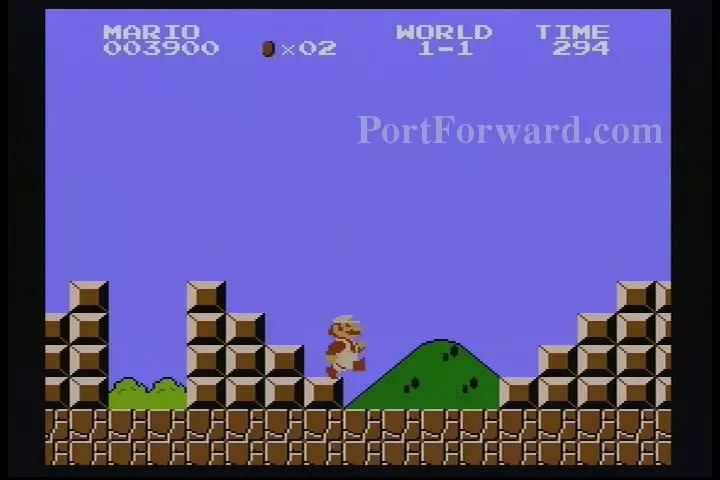
There will be two sets of stairs in a row.
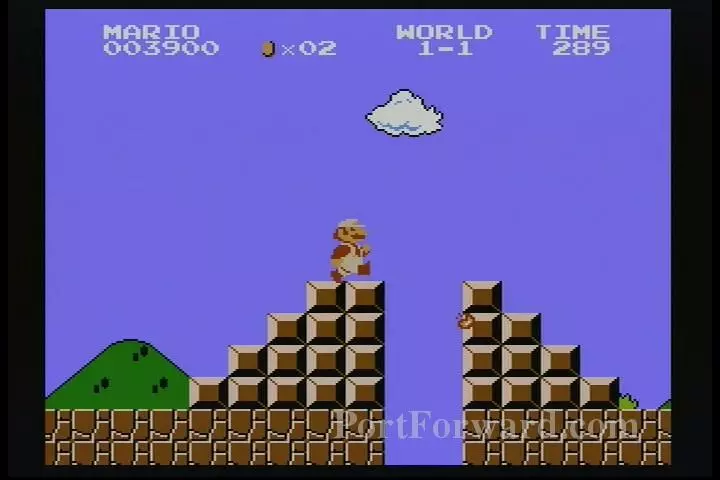
After the stairs, there is another pipe and a Q block with a coin.
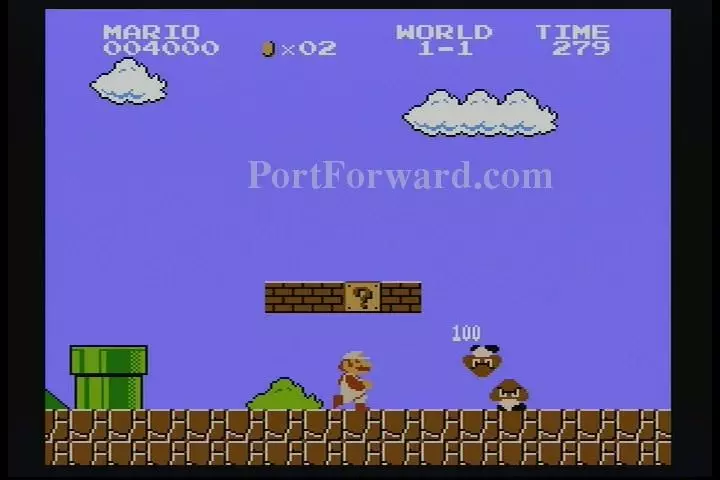
Watch out, though, because those two Goombas can easily sneak up on you.
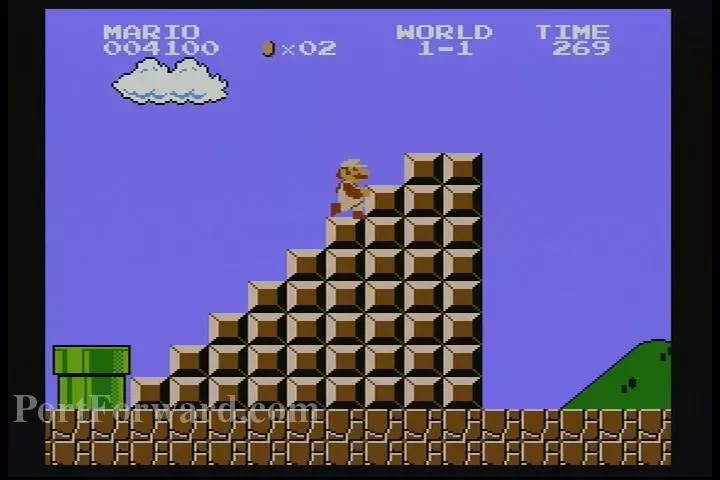
You'll know you've gotten to the end of the level in an onverworld setting when you have a really big staircase like this that goes nowhere.
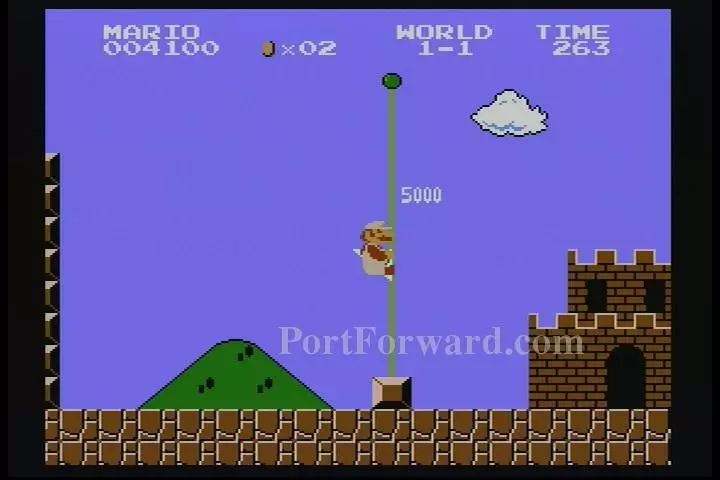
"Jump off the end of the staircase with the right timing to get the highest amount of points possible. The amount of points you get are based on how high up the flagpole you are.
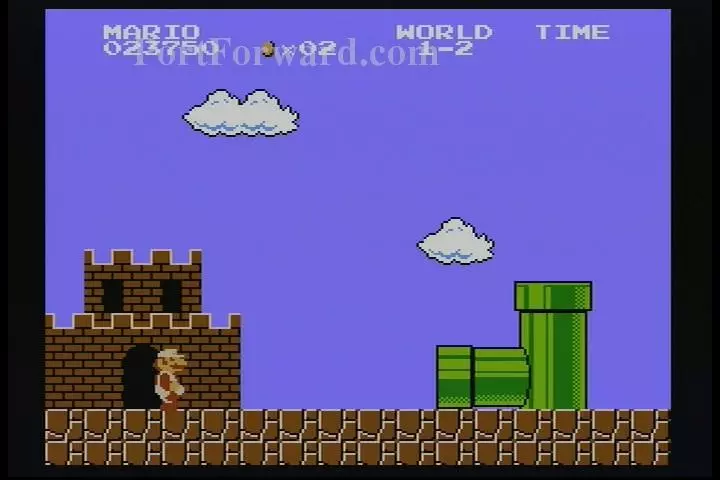
Starting off, you'll be moving on your own to enter a pipe. This cutscene let's you know that this world is an underground setting.
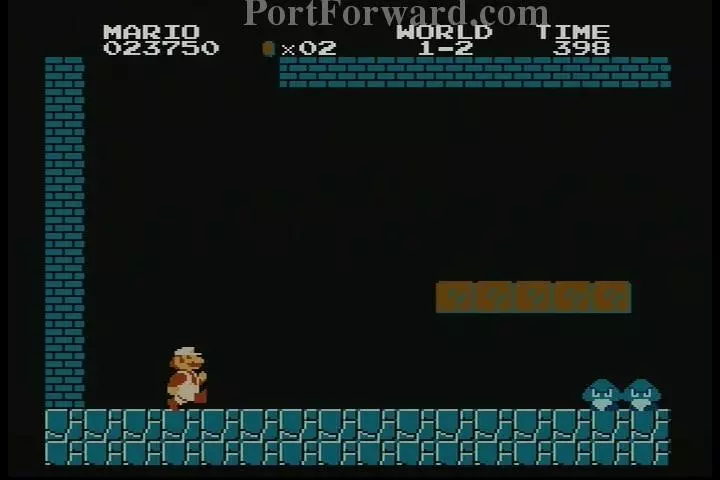
The first Q block in this row contains a power up. All the others contain coins.
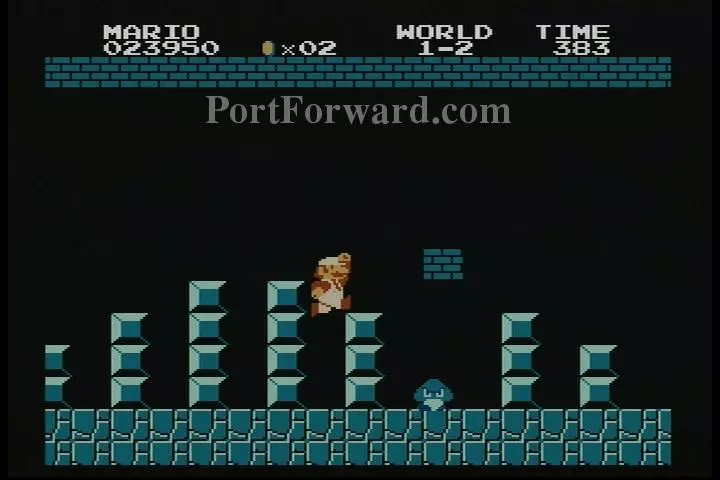
These little "steps" I guess you could call them are a slightly irritating to cross, as it is easy to fall in the gaps. That brick all by itself is actually contains 10 coins if you jump into it multiple times. Just be careful of that Goomba down there, for you cannot get the coins if you are small.
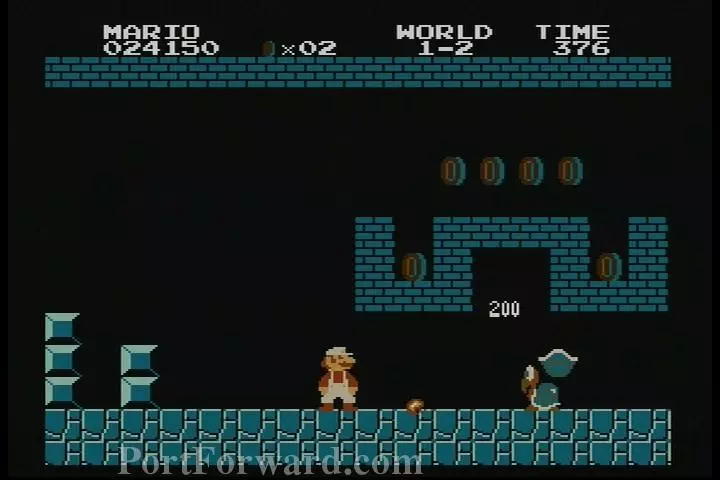
Two Koopas, a figuration of bricks, and six coins in this area. At the far right, if Mario breaks the last set of vertical bricks, he will discover a Star in the top one. The star makes Mario invincible to enemies, and allows him to destroy them by just running into them.
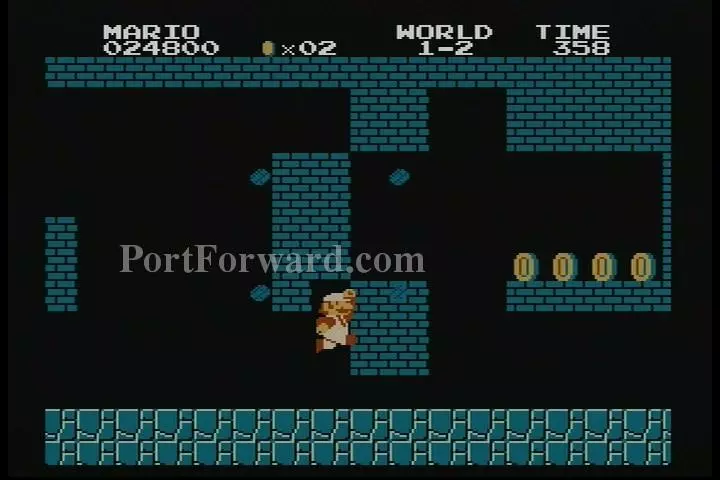
Another Koopa, two Goombas, and four coins here. If you are powered up, the only way for Mario to proceed is to create his own path by breaking some of the bricks above him.
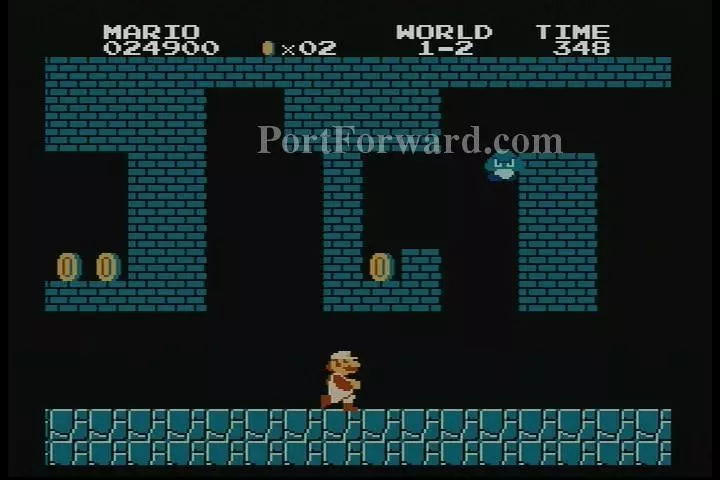
There are three Goombas in this area, and they come from higher platforms, so watch your step.
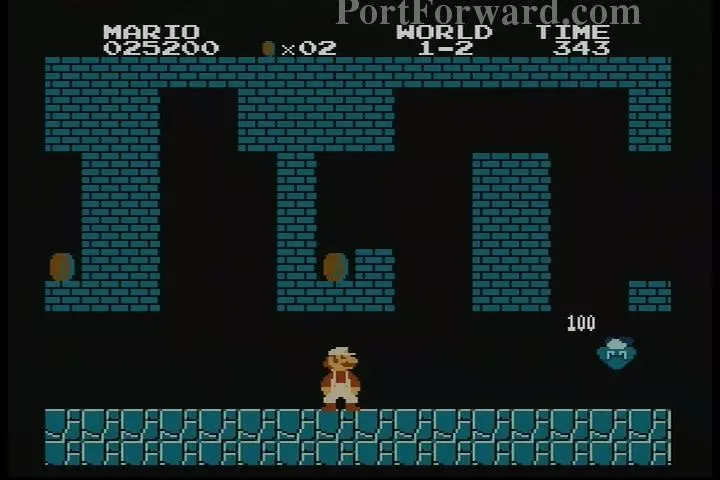
Right next to the second coin, on the right side, is a power up. In the column of bricks, if Mario jumps starting on the right side, the second brick contains 6 coins.
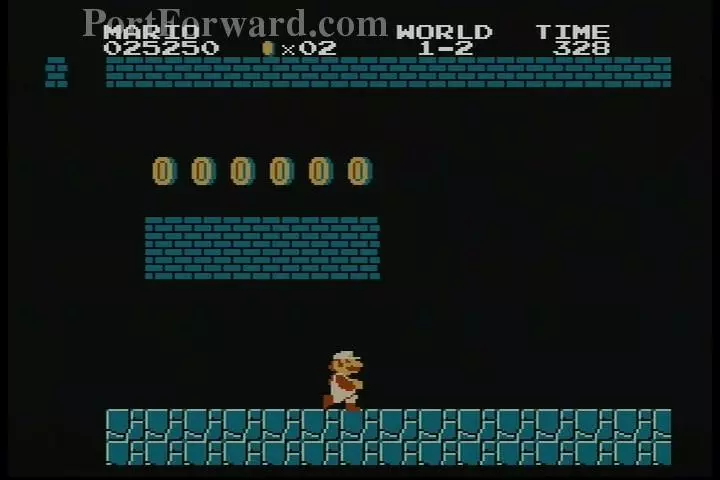
"As seen, it is possible to break the ceiling bricks, and even get above and skip most of the level. If you could get ontop of this set of bricks, one could make that happen, and the rest of the level is cake.
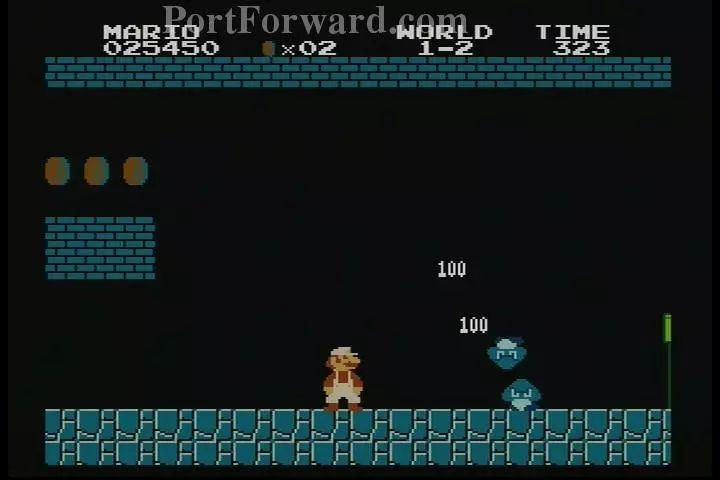
Careful about just running, as there are three Goombas in a row here.
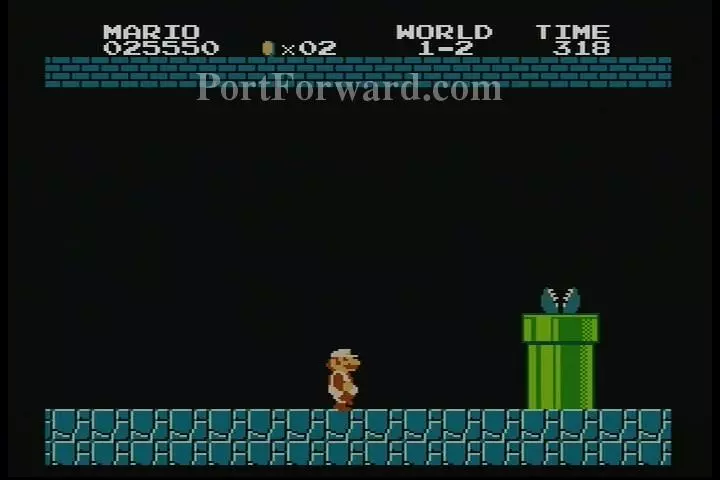
"Up ahead are three pipes which contain new enemies, the Piranha Plant. These enemies can only be destroyed with fire power or invincibility. Otherwise, you wait for them to retreat inside the pipe to traverse safely. They are worth 200pts.
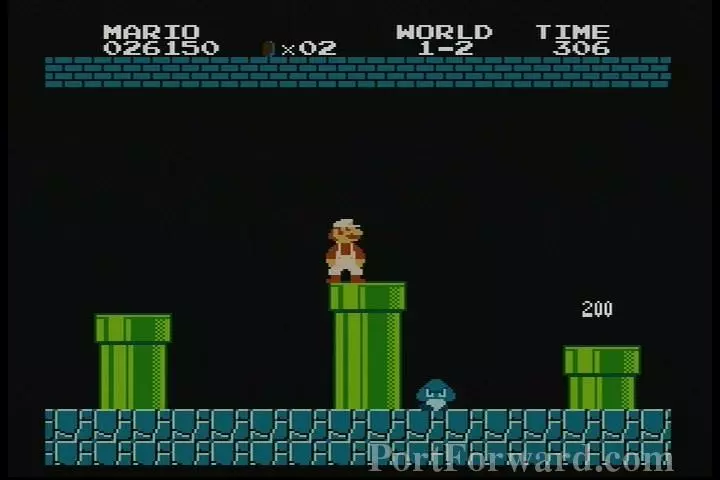
There is also a Goomba between the second and third pipes, so watch out for that.
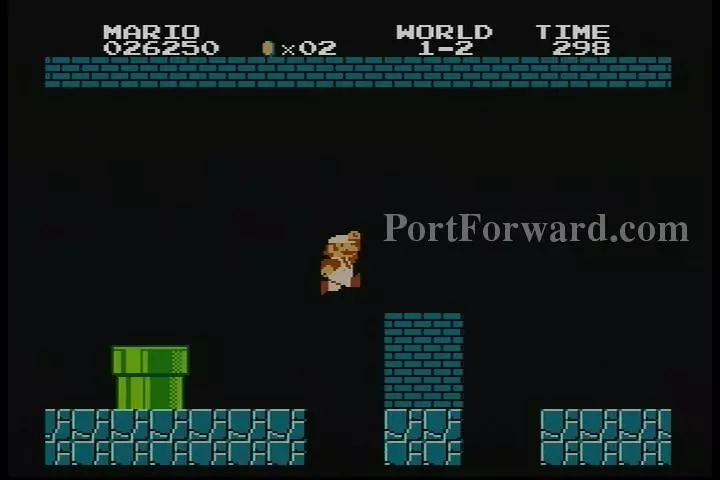
There are a couple of pits after the pipes. The bricks on the middle platform serve no purpose other than making the platforming more challenging.
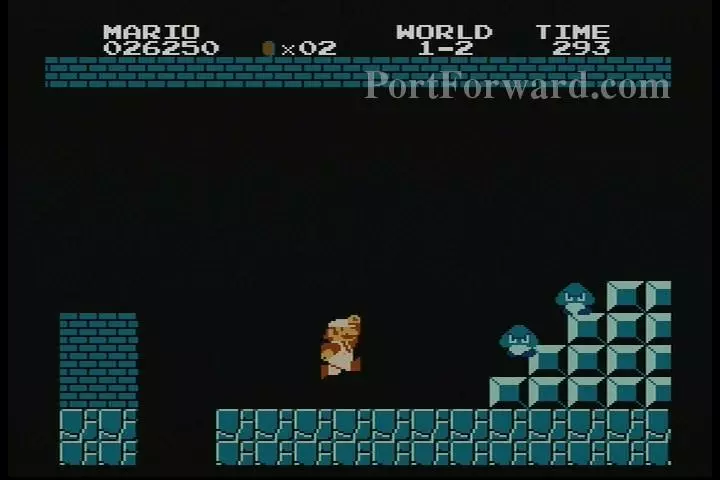
Two more Goombas on the stairs.
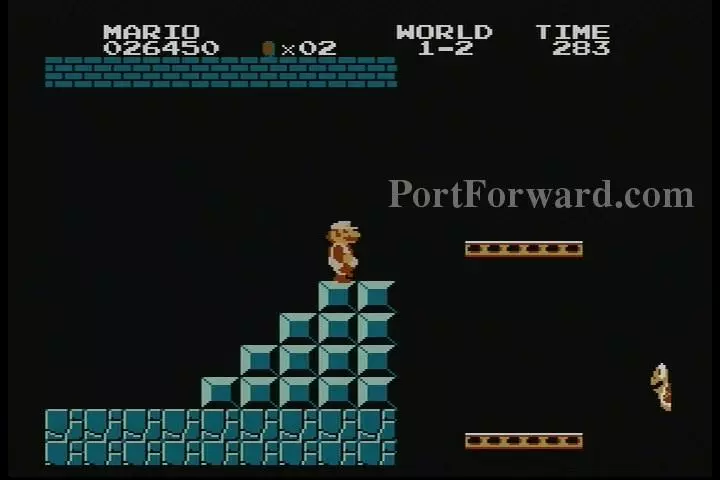
This part can be pretty tricky. Those platforms move from up to down so watch your timing as you make your jumps.
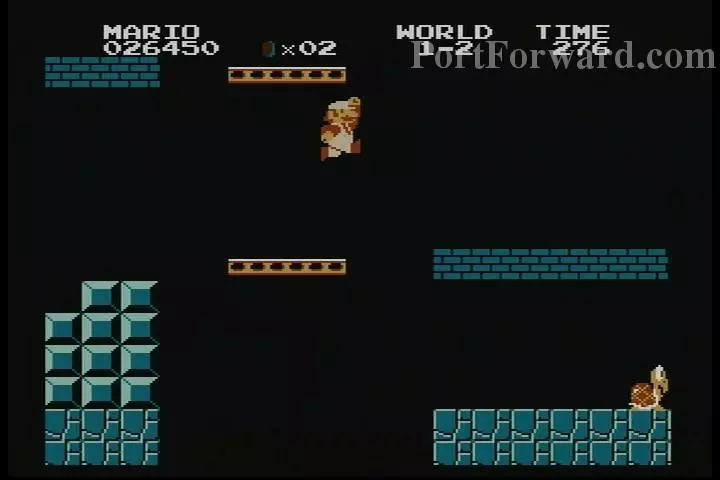
If you can, time it so you can jump on top of the bricks so you won't have to deal with the Troopa. Those red Troopas, by the way, are a lot smarter than their green counterparts. Instead of walking into pits, they actually use their eyes to turn around the other direction, making them a bit more problematic.
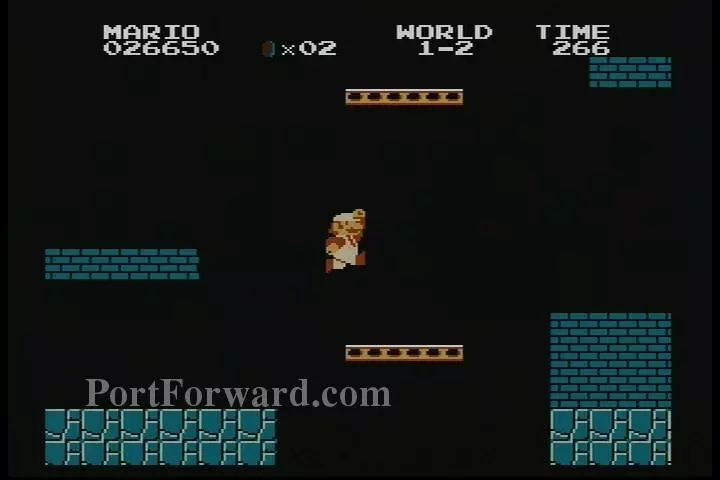
The next set of platforms move in the opposite direction, so, again, watch your timing as you jump. Fortunately, there are no enemies to worry about on the bricks.
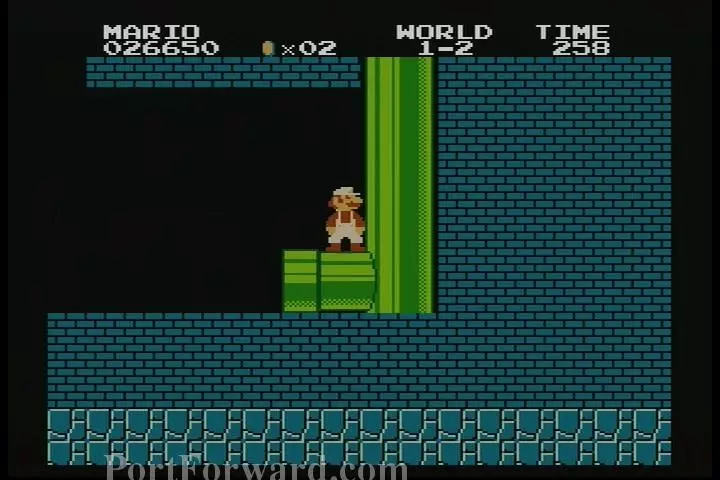
"Whenever you see a pipe like this, that means you are at the end of the underground stage.
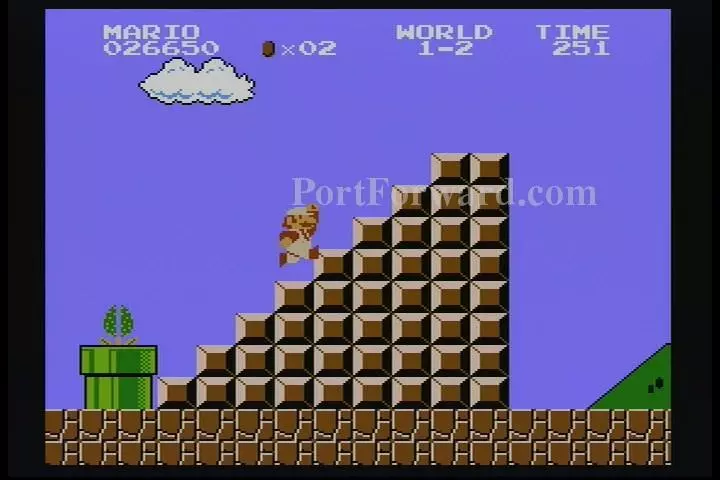
Once again, a giant staircase signifies the end of the level. Don't think you can return underground though, or you'll surely be eaten!
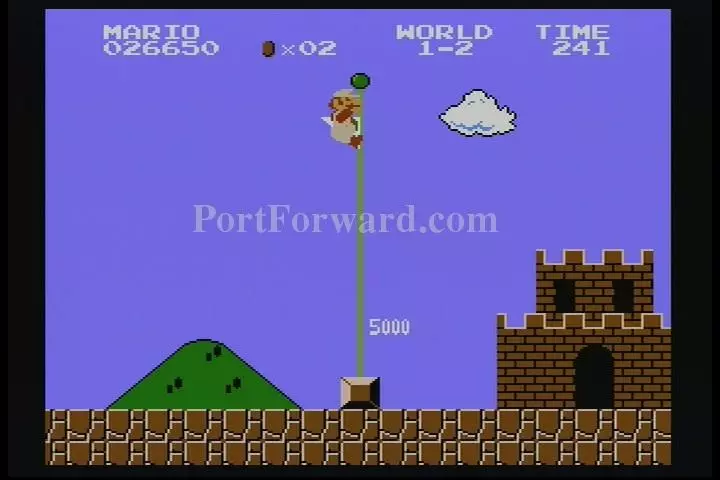
Jump onto the flagpole, and proceed to World 1-3!
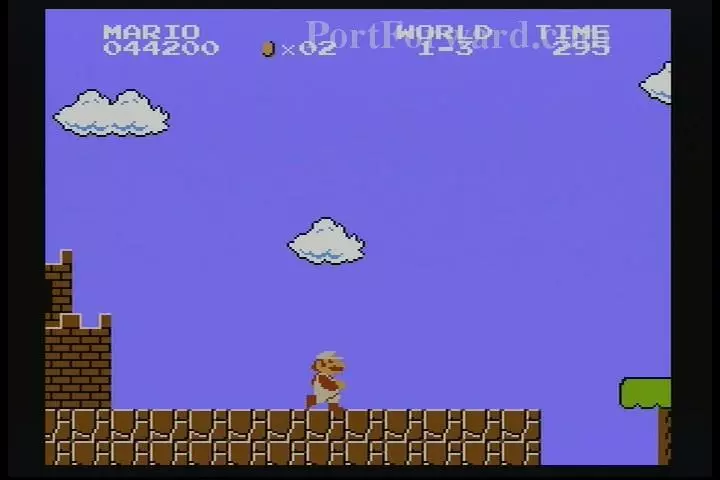
World 1-3 is quite a bit trickier than the previous two levels. The setting is called Athletic, and requires the use of your best platforming skills.
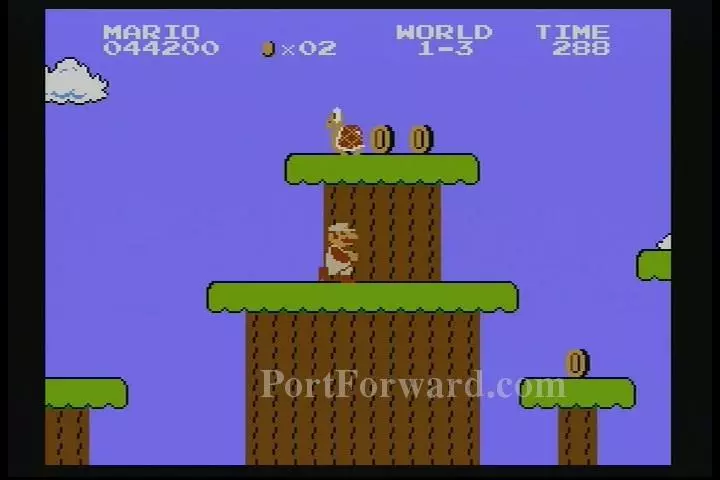
There is a Koopa here as well as three coins. You can also see a coin at the bottom, but oftentimes it is better to skip certain things that make your trek through the level harder. Conserving lives is more important than collecting coins.
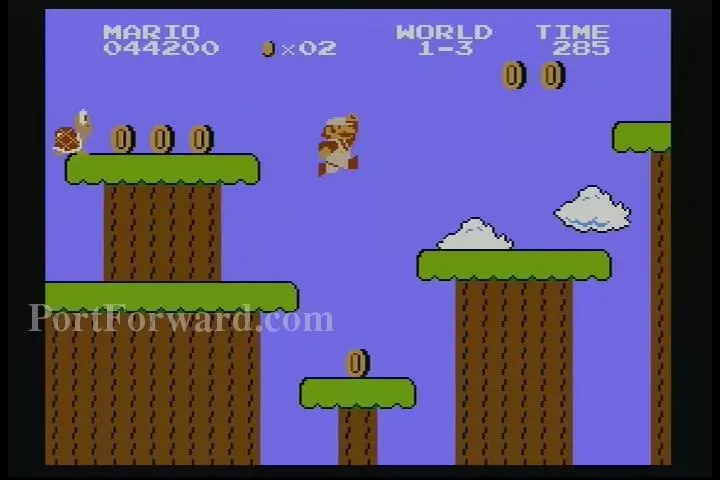
Two more coins in the air
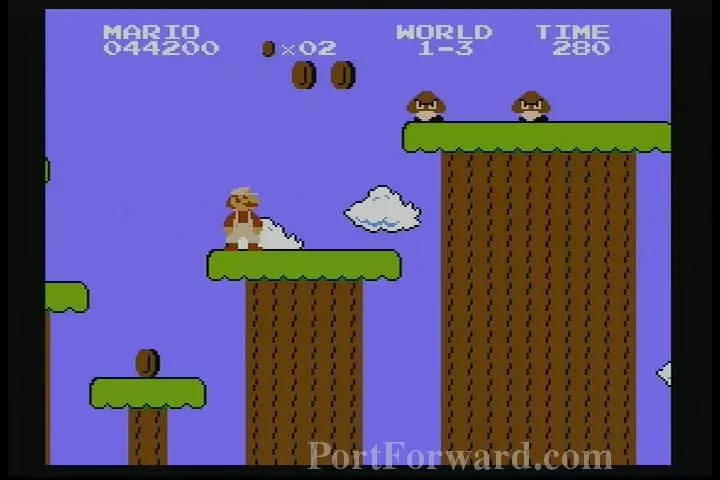
Goombas are pretty dumb, and will fall of the platform they are on once they get past the edge. In this situation, it is better to wait for them to be on your platform before you destroy them. That way, when you jump to the higher platform, you won't risk losing your power up or dieing.
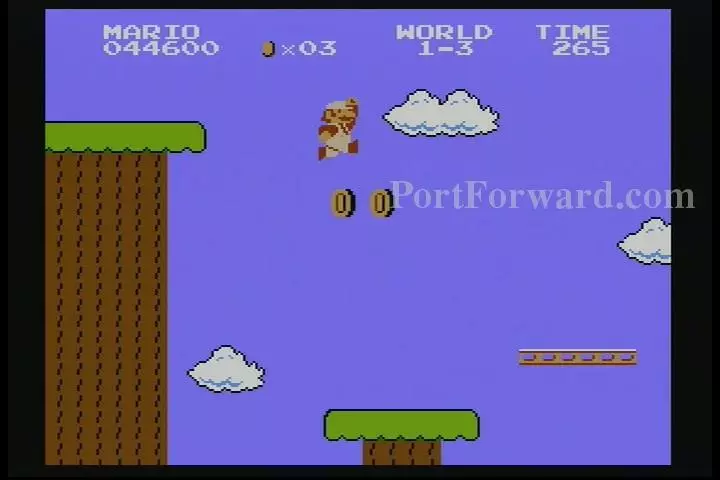
Two more coins.
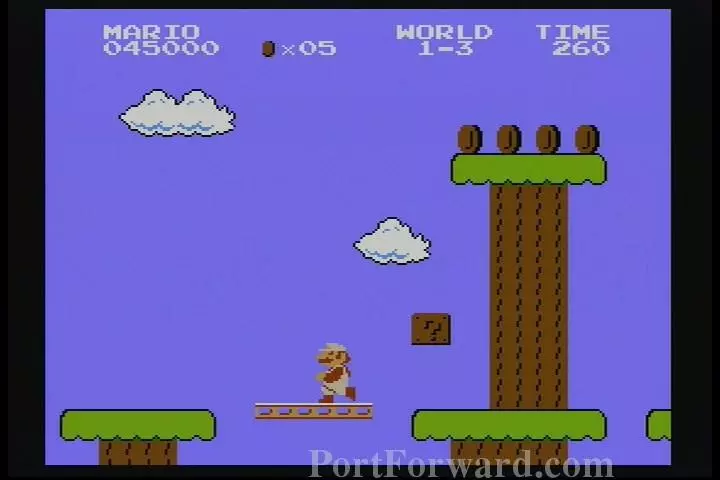
This platform moves up and down. You can use it to get those four coins. Also, that Q block contains a power up.
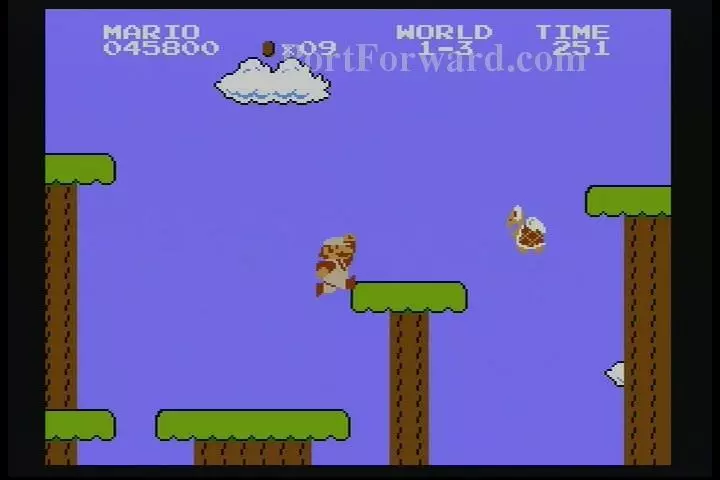
After the coins, there is a new enemy, the Koopa Paratroopa. Paratroopas come in two varieties: red and green. The red variety floats in the air, either vertically or horizontally. They are almost exactly the same as the regular Troopa, only they fly, and take one more jump to get rid of their wings. Fire Power and Invincibility can destroy them.
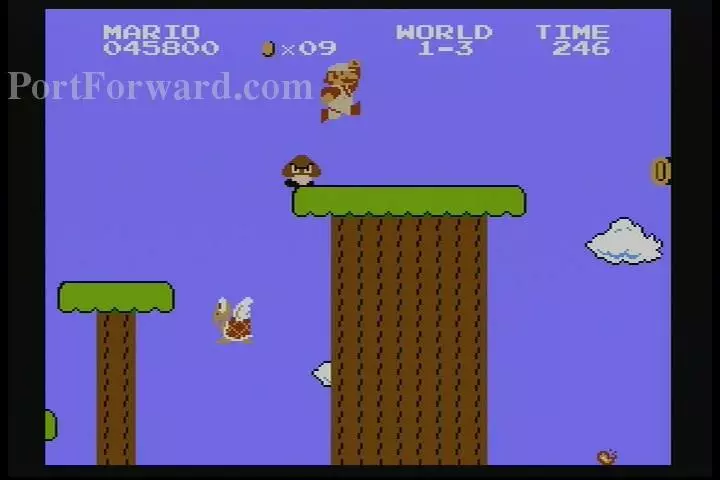
Either watch where you jump, or wait for the Goomba to fall down.
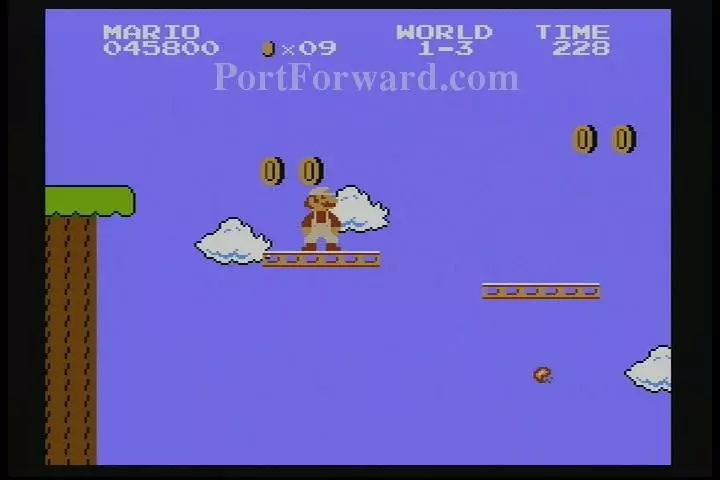
These next two platforms can be quite stressful. They move horizontally in opposite directions, and there is never really a good time to jump from one to other while feeling safe. The best way to do it is to not hesitate, otherwise, you are sure to fall. Luckily, there are no enemies to deal with. Also, the coins are not worth the effort, so don't bother.
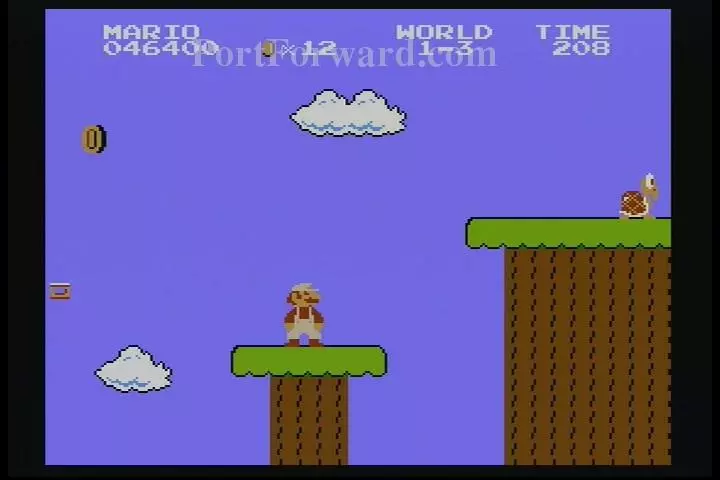
This might seem too high to jump to, but Mario can just barely make it so long as you are holding down B. Also, it's better to wait for the Troopa to be walking the other way before jumping, just in case.
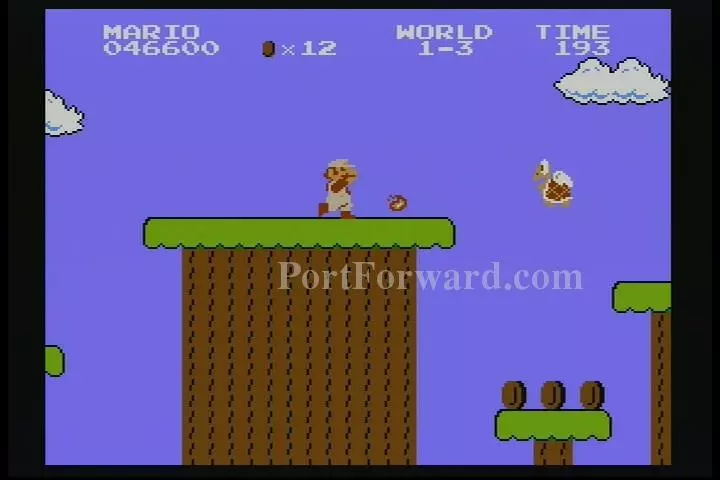
Three more coins and a paratroopa.
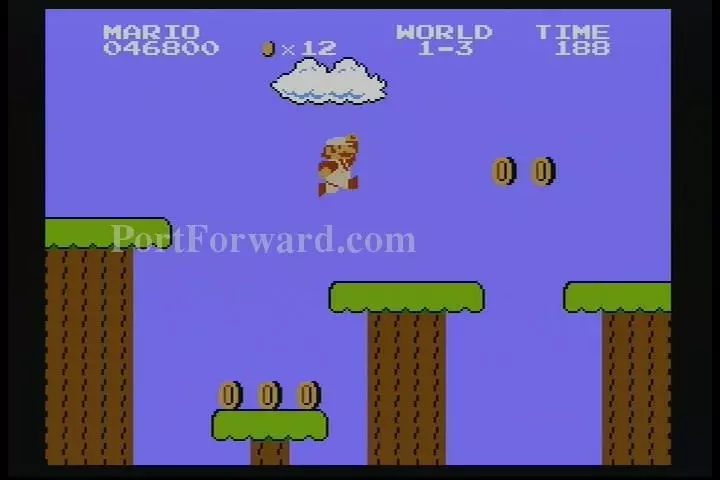
Two more coins.
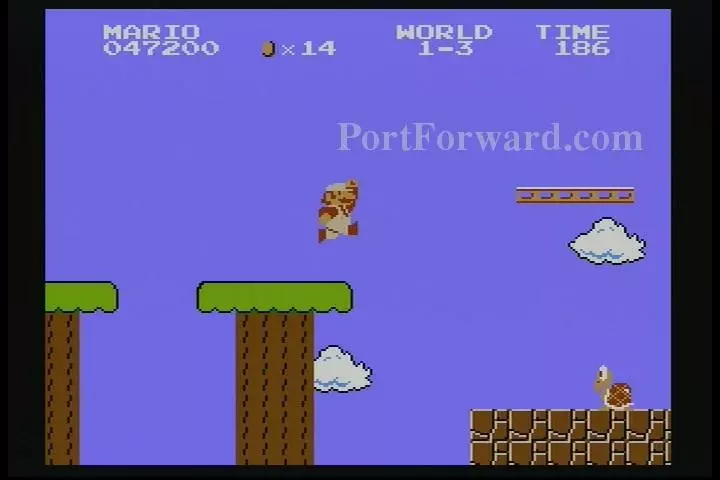
One last enemy before the end. If you can, jump on to the platform to bypass the enemy altogether. It moves horizontal though, so bare that in mind.
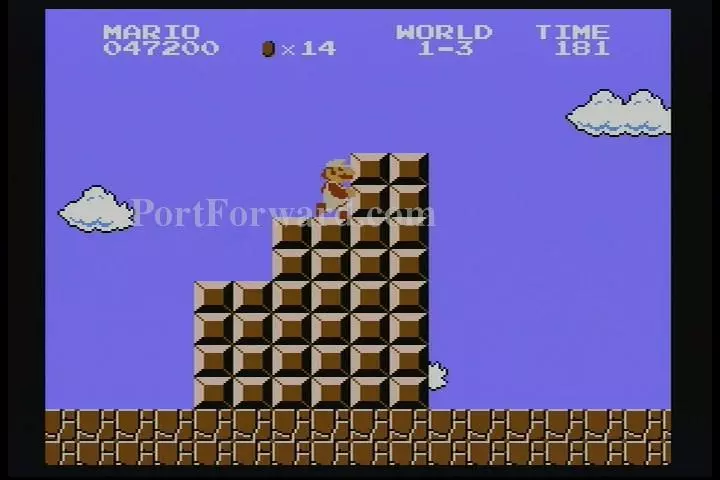
It's not exactly a staircase, but it also signifies the end of the level.
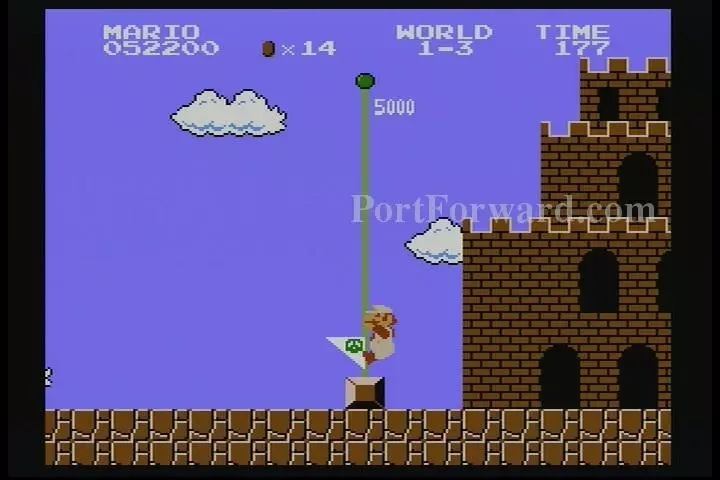
Past the flag pole, and on to World 1-4.
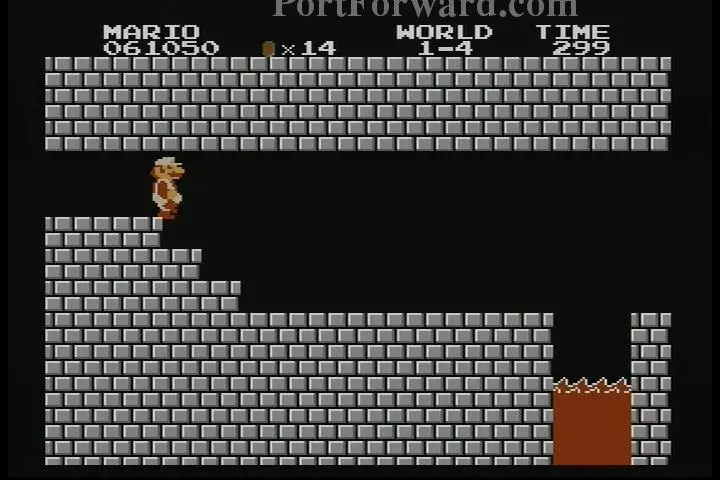
Welcome to World 1-4! It is a castle setting, and is the final level of World 1. The red lava over there is just a fancy variation of a pit; you still die if you fall in it.
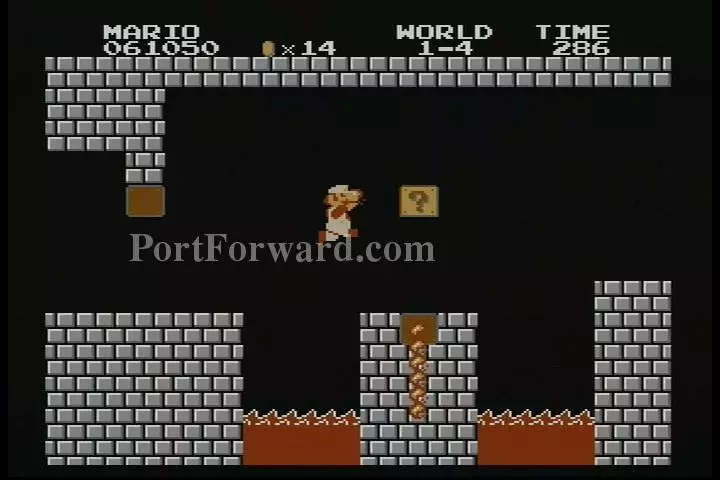
That block hanging from the bricks doesn't really do anything. That Fire bar, however, will take away your power up or kill you, so be careful. If you're feeling like a daredevil, there is a powerup in the Q Block that you can get.
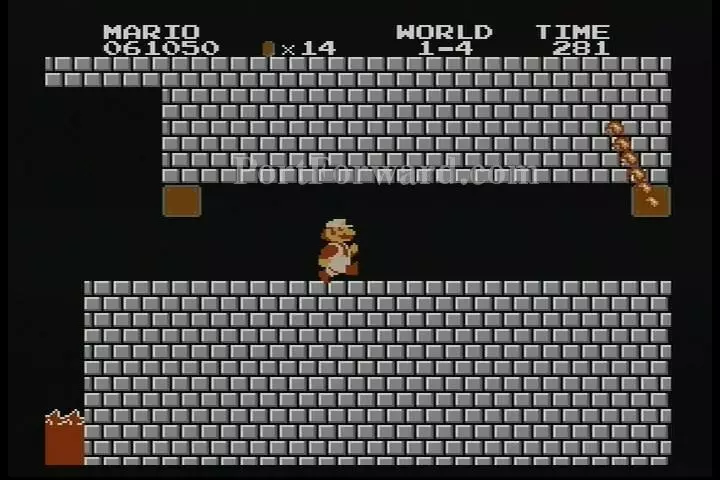
This next hallway contains three fire bars. So long as you watch where your going, they should be easily avoidable.
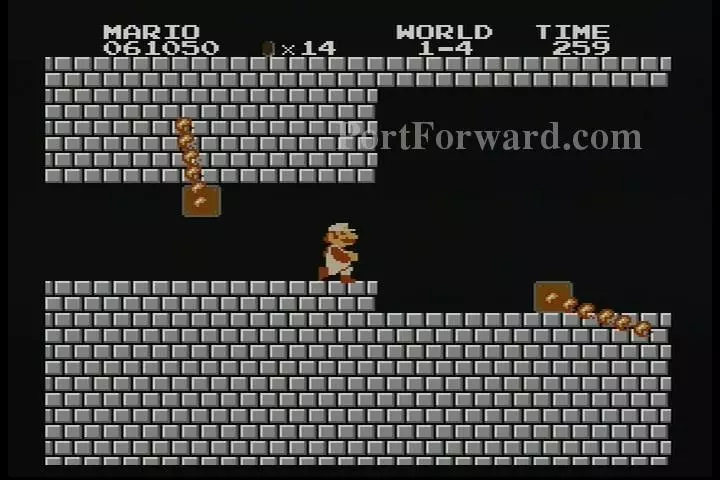
After the hallway there will be three more fire bars in a row, but they are laid out a bit trickier.
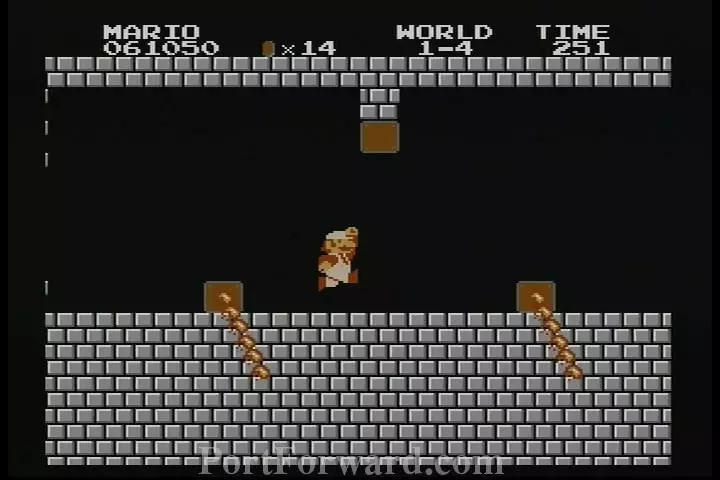
There are two on the floor here that you can either jump over or run over, depending on where they are. You should be safe so long as you stay right in the middle of them.
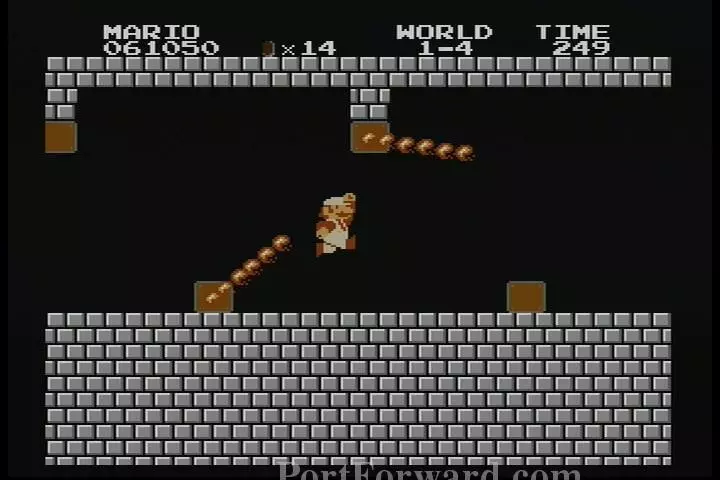
Right after the second one, there is a third one above it. Time your jumps just right, and you should be able to get through them without being hit.
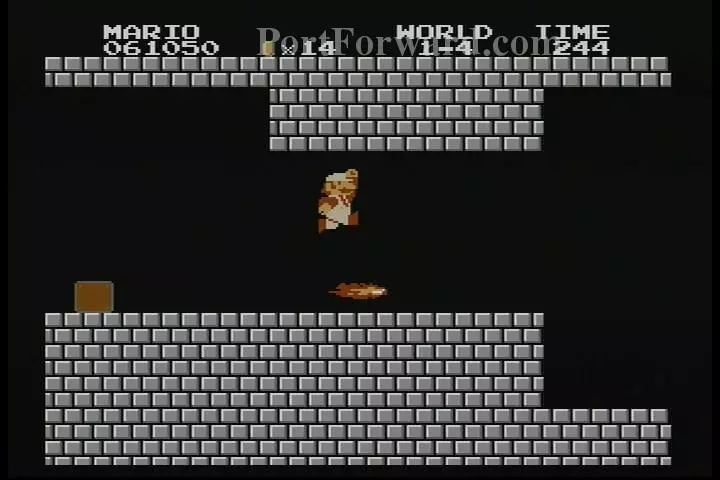
After the firebars, fire balls will start to come towards you. Jump over or duck under them to avoid them.
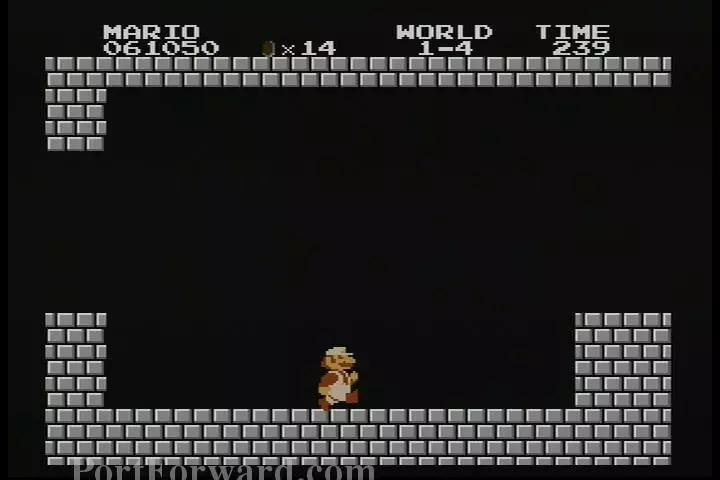
"These little dips in the architecture right here act as safe zones against the fire.
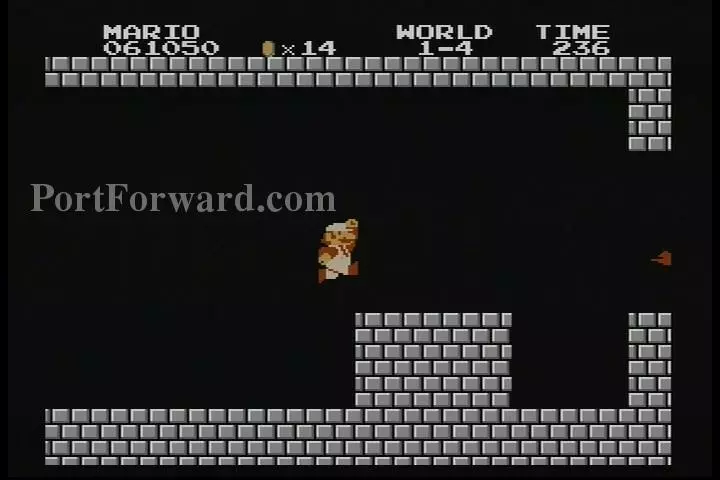
Another dip right before the man himself.
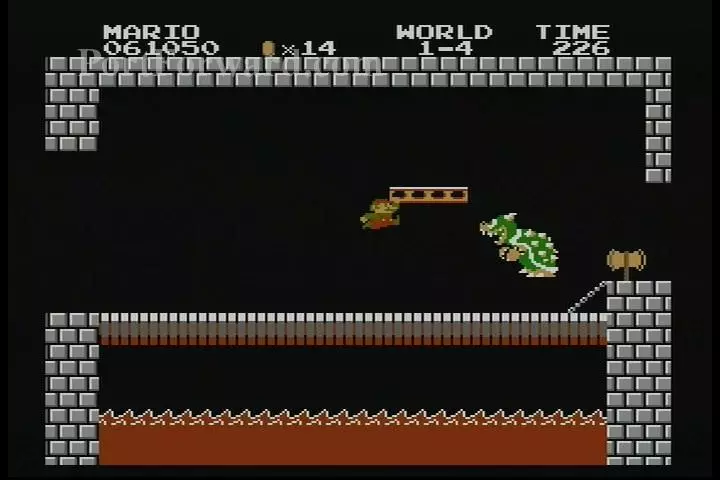
Here he is, Bowser! Touching that axe right behind him is the way to beat him. You either got to jump onto the horizontal moving platform and jump over him, or run under him when he jumps in the air. He will be firing more fireballs at you, and if you touch him you lose your power up or die. Speaking of power ups, another way to beat him is to fire multiple fire balls at him, if you got them anyway.
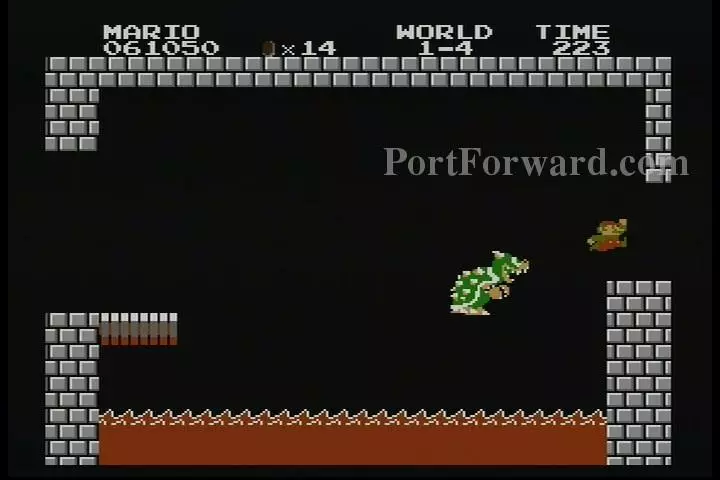
Touching the axe will cause the platform to disappear, causing him to fall to his death.
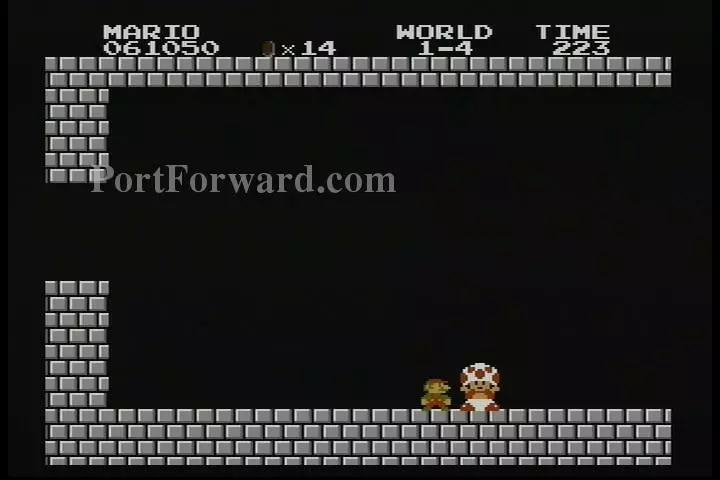
After you defeat him, you'll come to a cutscene with Toad.
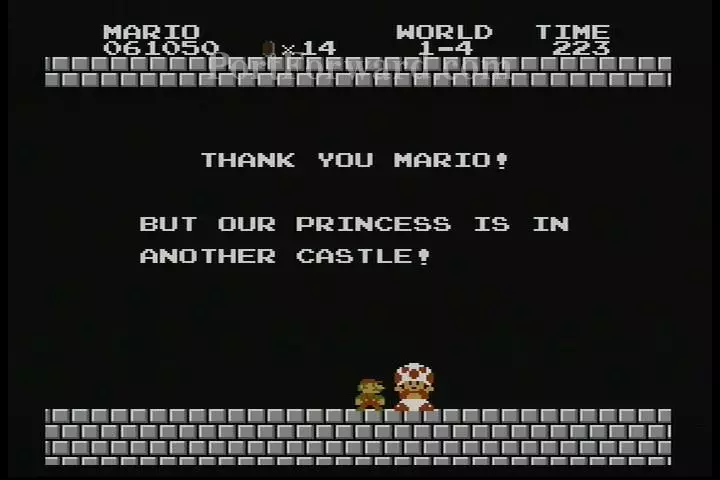
Unfortunately, we were in the wrong castle fighting the wrong bowser. Oh well, on to World 2!
More Super Mario Bros Walkthroughs
This Super Mario Bros walkthrough is divided into 8 total pages.


