
This System Shock 2 walkthrough is divided into 15 total pages.
You can jump to nearby pages of the game using the links above.
Recreational
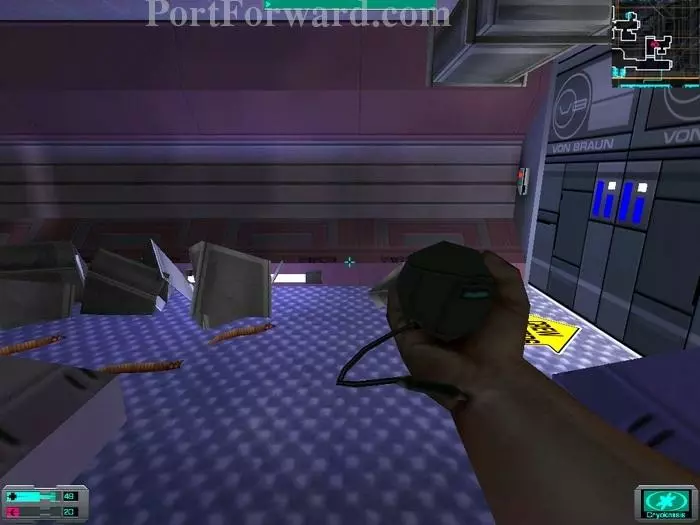
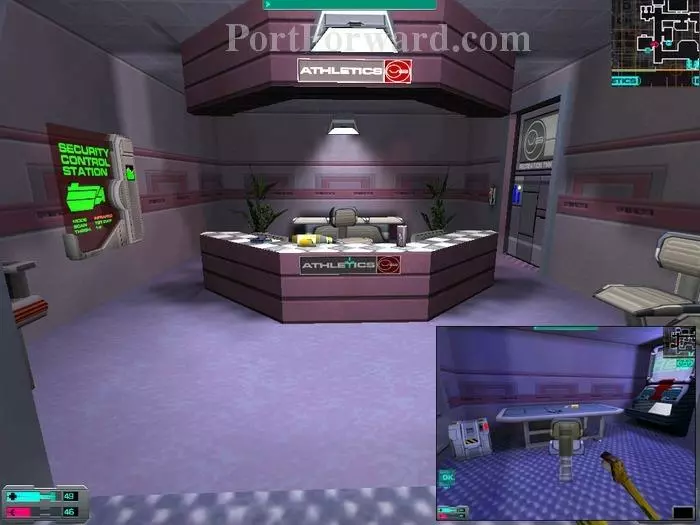
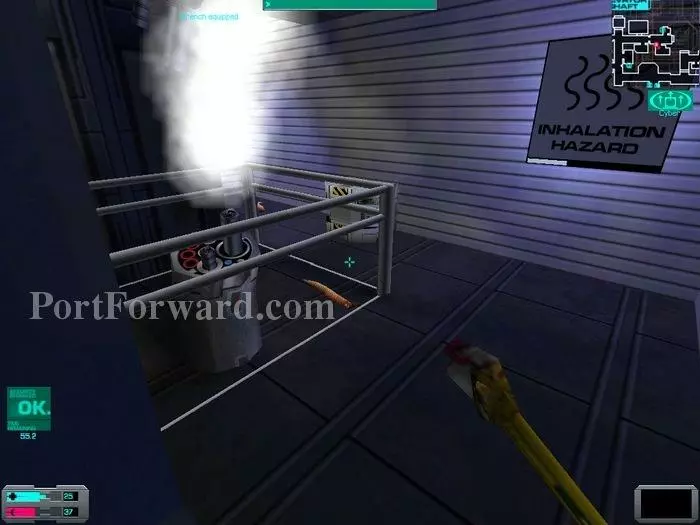
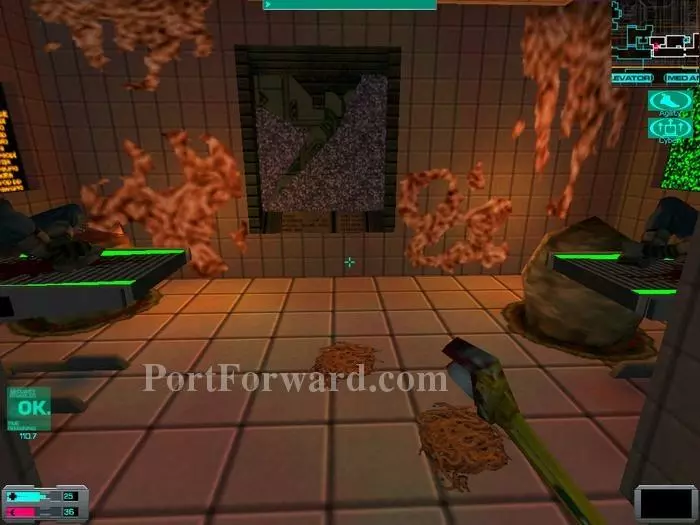
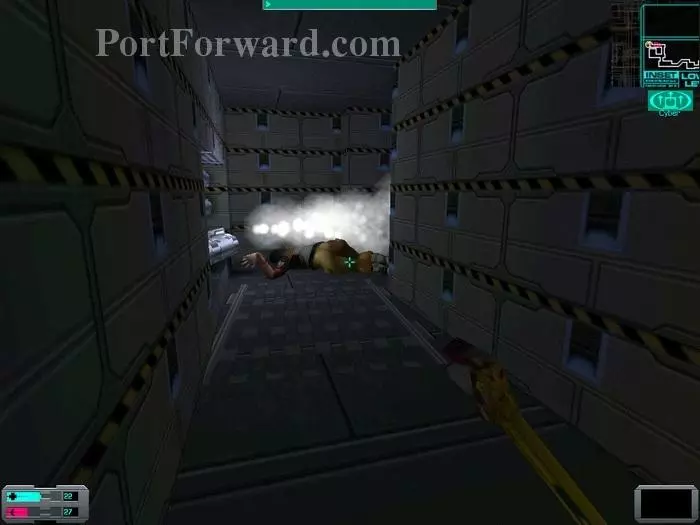
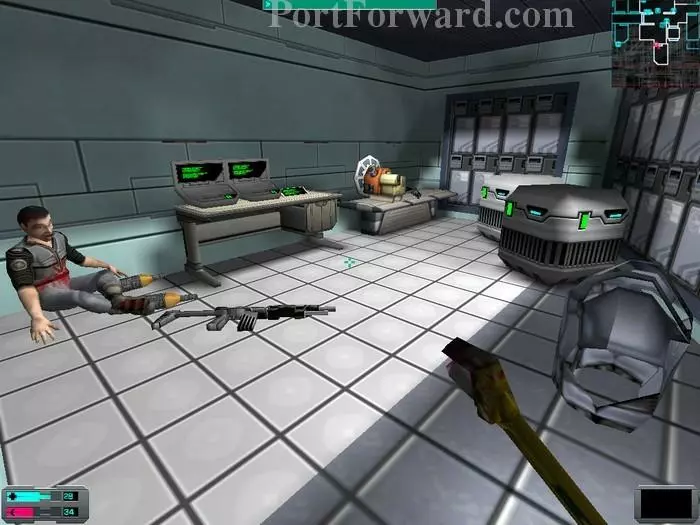
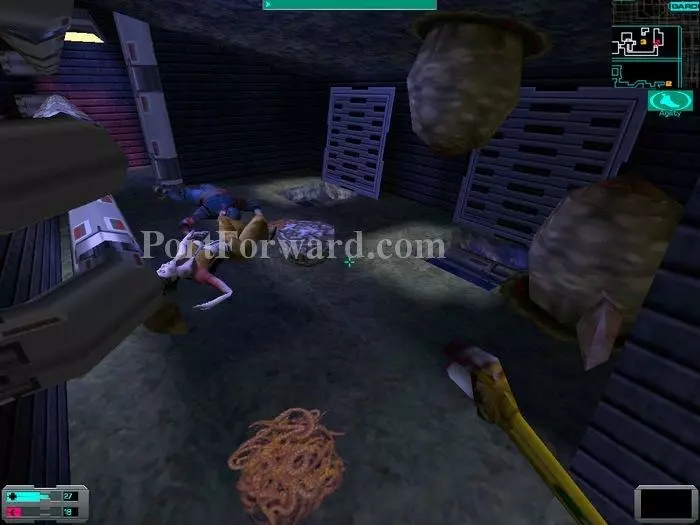
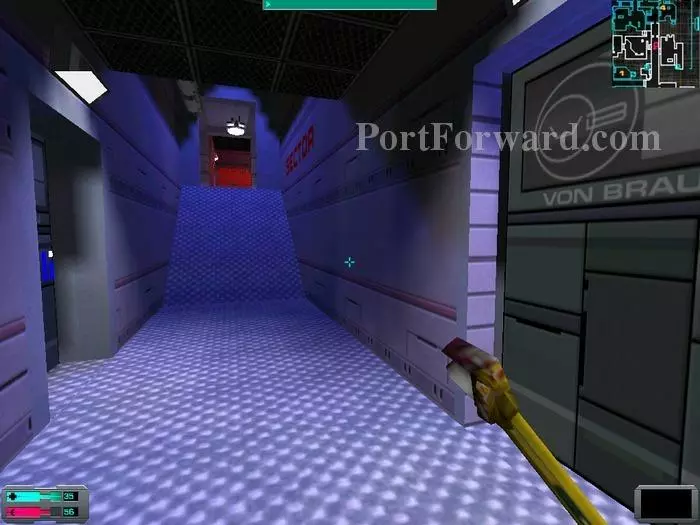
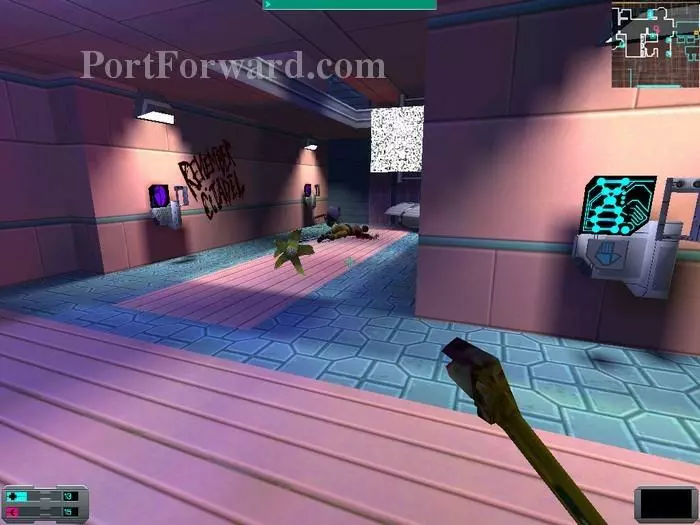
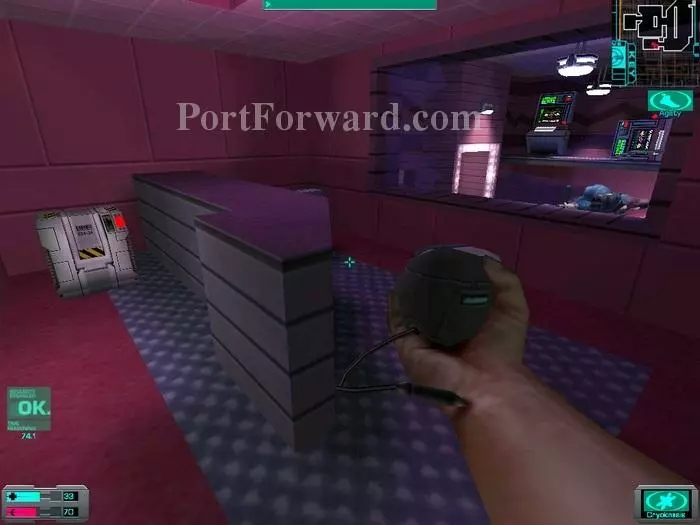
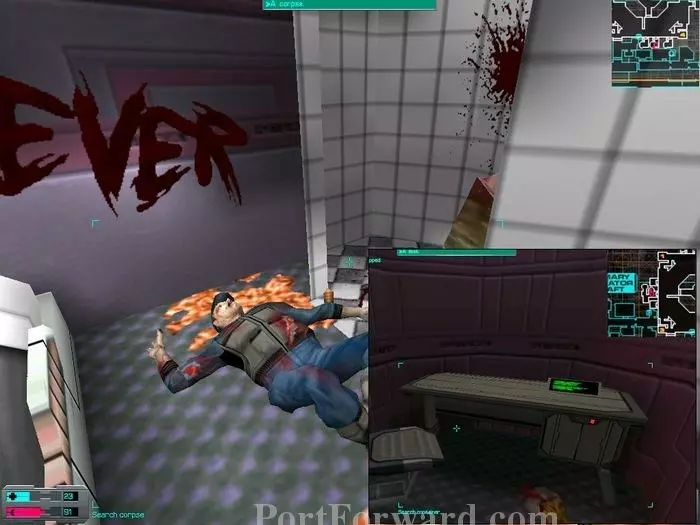
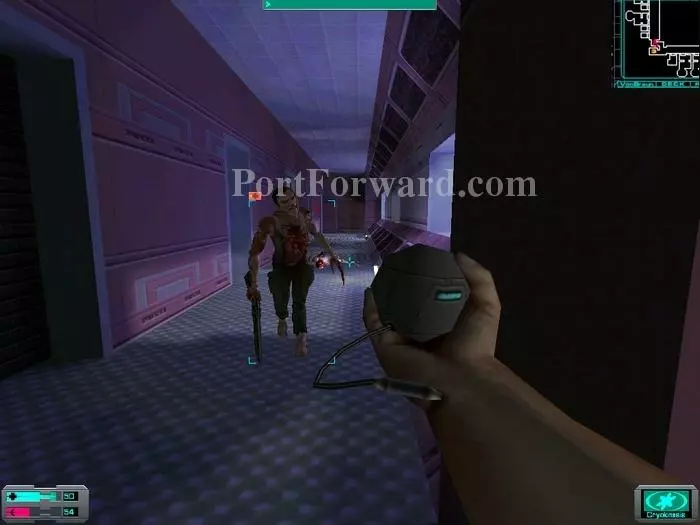
Wow, let's hope this level is a bit less crowded than ops! As I leave the elevator I look right to the window to witness an Oscar-worthy performance by none other than Ken Levine himself! Well... his voice anyway. We learn that this guy is actually Cortez. I pick up the anti-personnel shells from the bench and leave the window, inspired and star-struck! As I move forward some ducts collapse and worms crawl out. I get rid of them and turn left since there's no other way out.
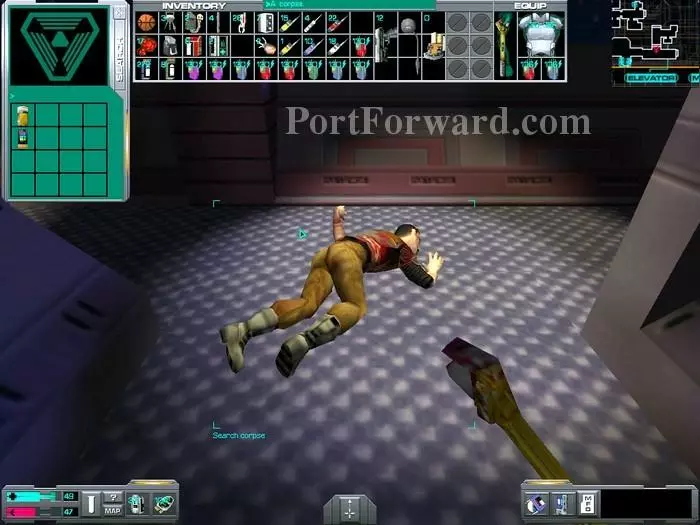
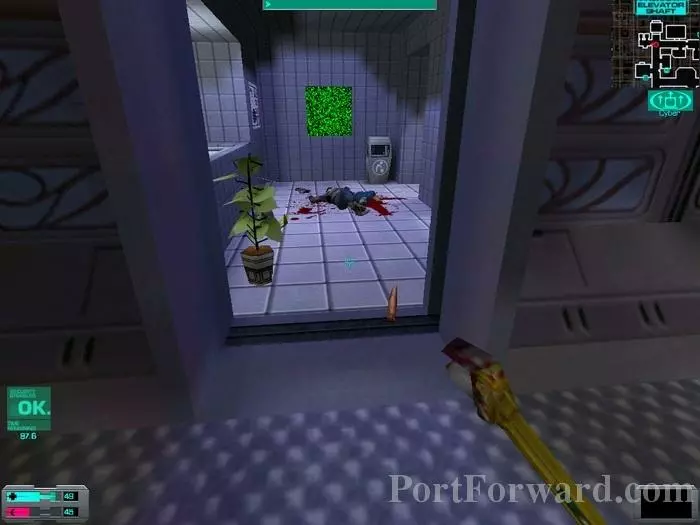
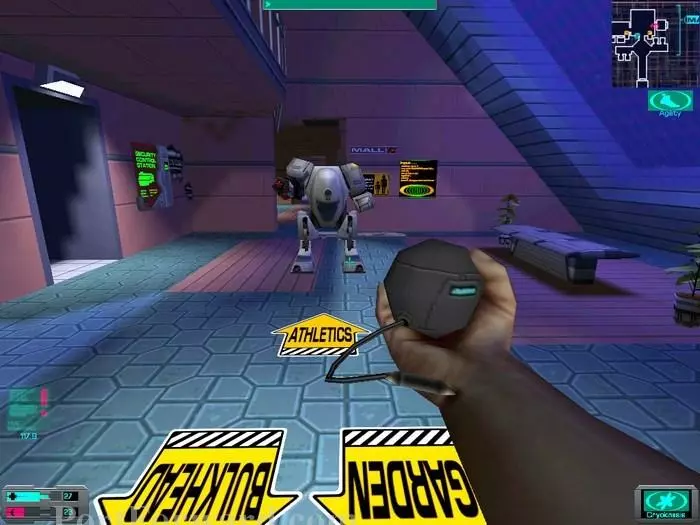
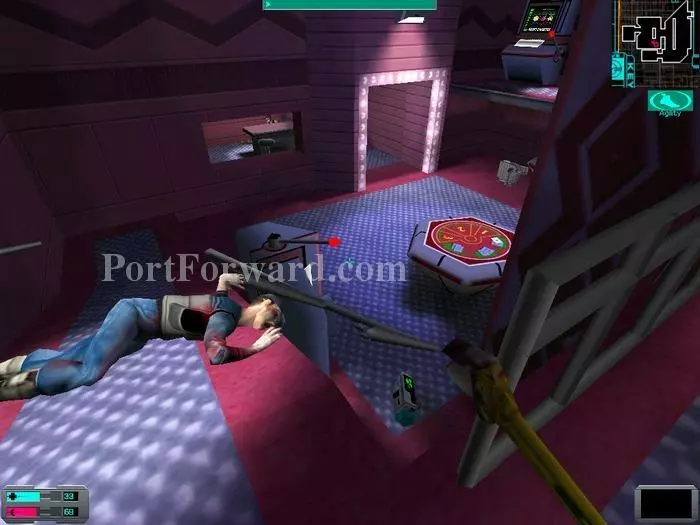
Past the door I find my first dead body as Shodan briefs me. The body has a dead power cell we'll need later on, as well as another game.
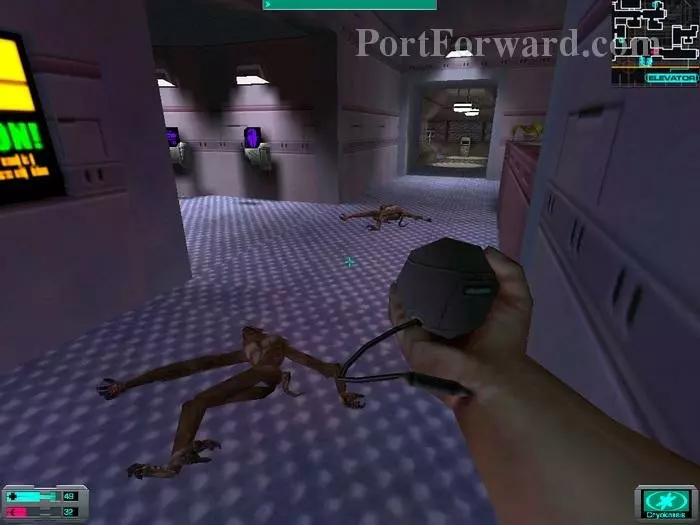
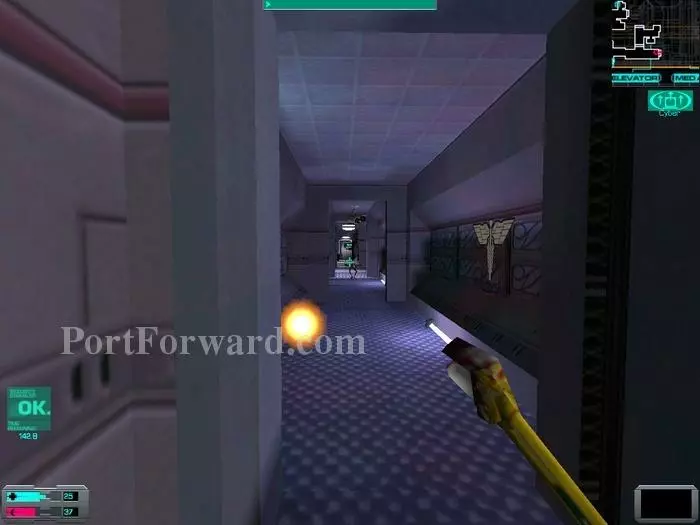
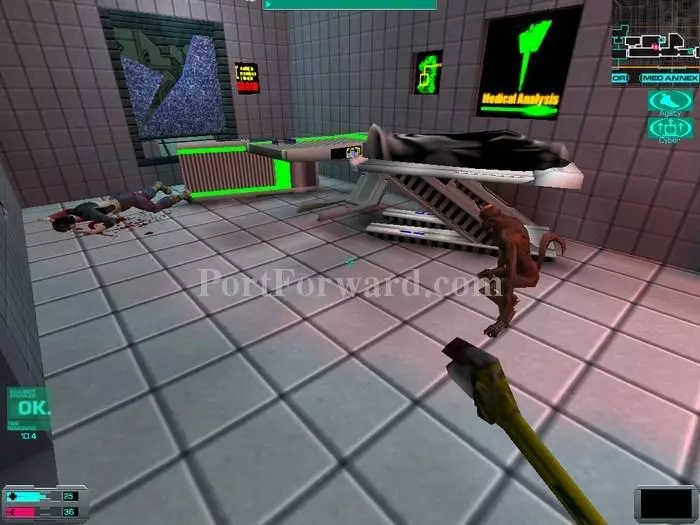
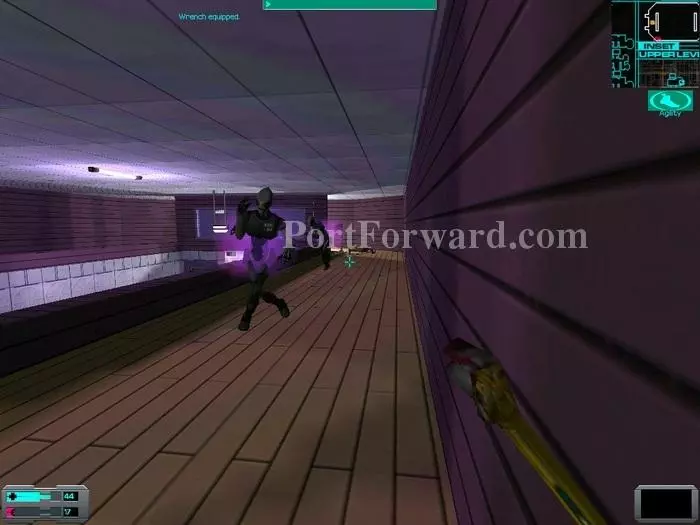
I turn right and spot upgrade stations as I hear more ducts collapsing. This time monkeys emerge. They evidently missed my prior evolution theory class, so I'm happy to repeat myself. Out of view to my right is a camera.
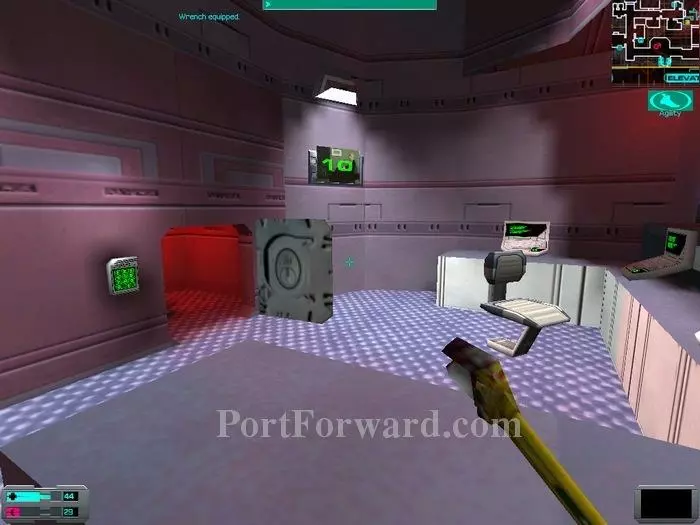
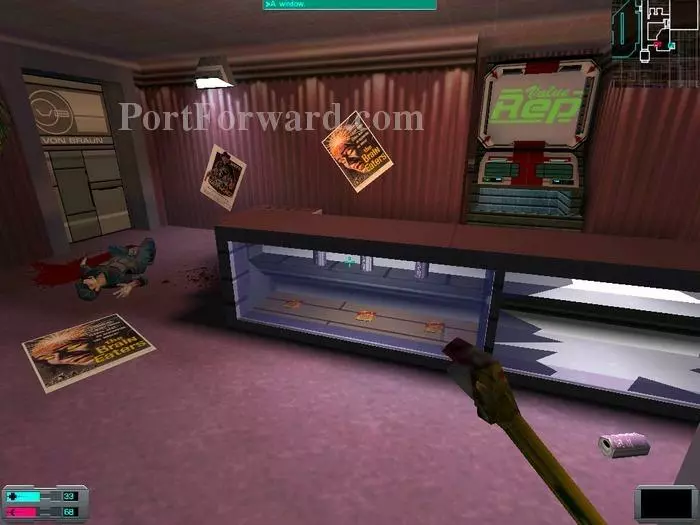
On the other side of the counter I find a log from Yang and a psi hypo. The safe contains a surgical bed key as well as 10 prisms. In the art terminal I get part of a code, 10 (inset). As I continue down the corridor, I find 6 standard bullets in a trashcan.
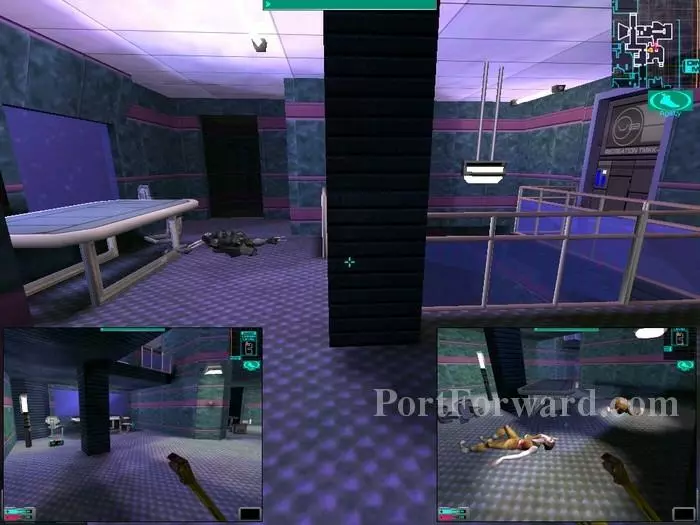
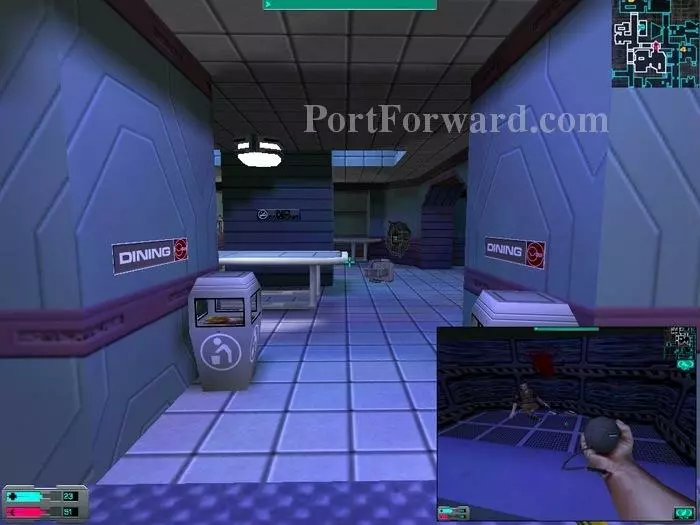
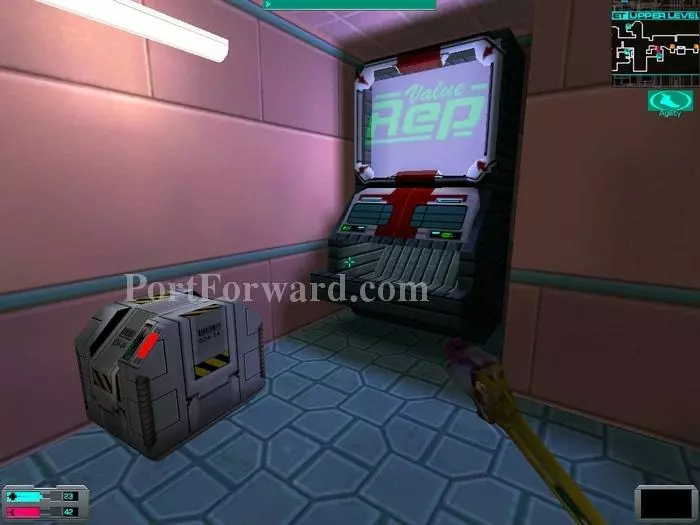
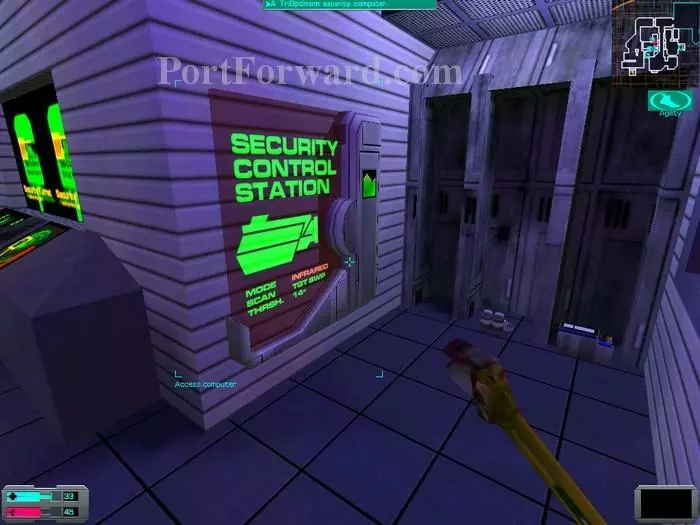
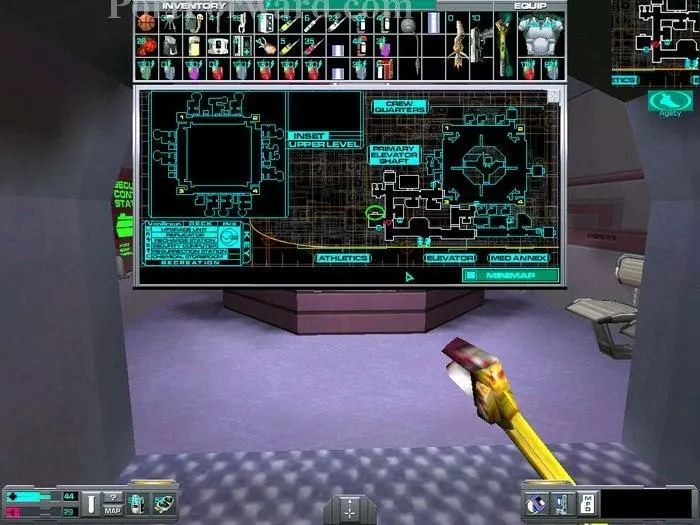
In the next room to my left I find a security console and another log from Yang. Remember this location as we'll need to enter Athletics later on. The room just in front of this one (inset) has a security crate with 52 nanites, a log from Murdoch and a replicator.
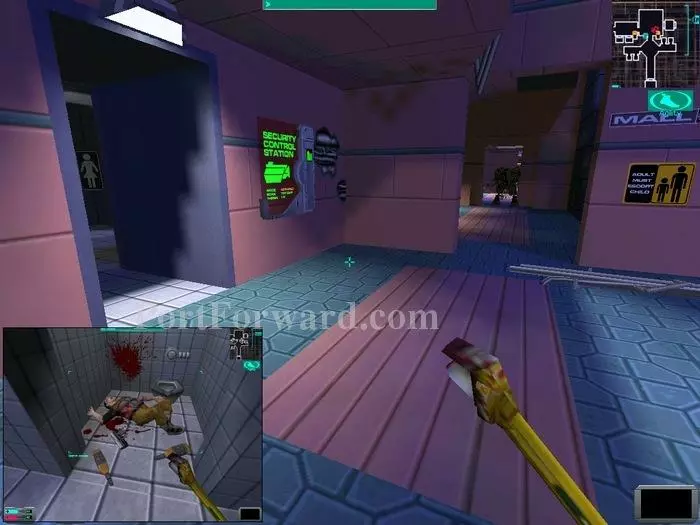
Next on our tour are the bathrooms. Unisex and spacious, they make an ideal place to store dead bodies full of annelid worms and you can even cram up to 17 nanites on the dead body. The doorless design allows your superiors to make sure you are not wasting time reading on the john.

Turning back and going down the corridor there's a camera and two rooms. The one on the left is flooded with radiation (inset) but had 21 and 19 nanites on the floor and 6 armor piercing bullets on the dead body. After throwing up from all that radiation I entered the room to my right (inset) where I found a log from Delacroix. Both rooms had surgical beds.
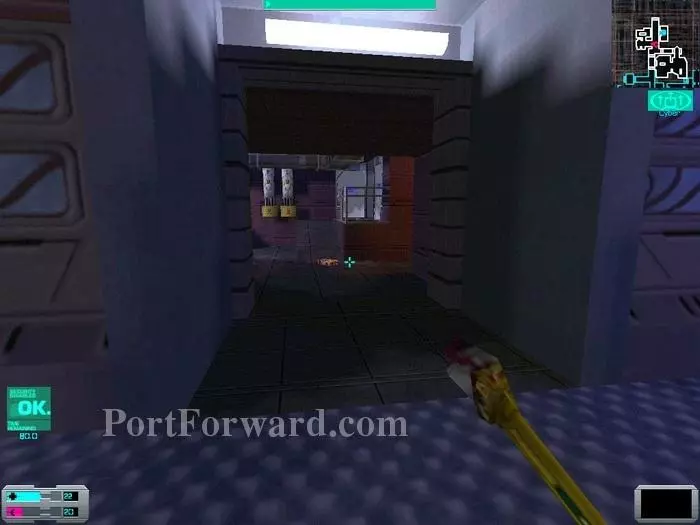
Continuing down the corridor I come to a room where two explosions occur as I enter. Worms drop from the ceiling and I notice a security crate on the floor. Once the worms are baked to perfection I hack the crate for a med kit and 6 standard bullets. The other office in this corridor has a security station and a log from our pal Cortez is in the desk.
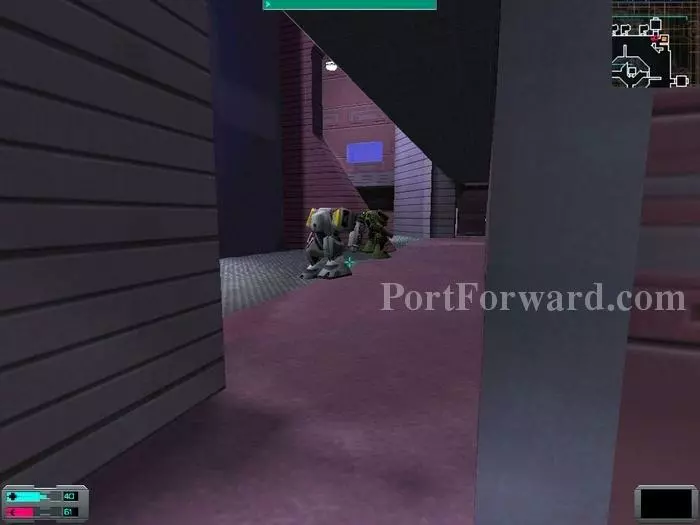
We backtrack to the dead guy near the entrance and continue forward to the unexplored section. Beware, monkeys ahead! I took care to disable security so the camera won't pose a problem.
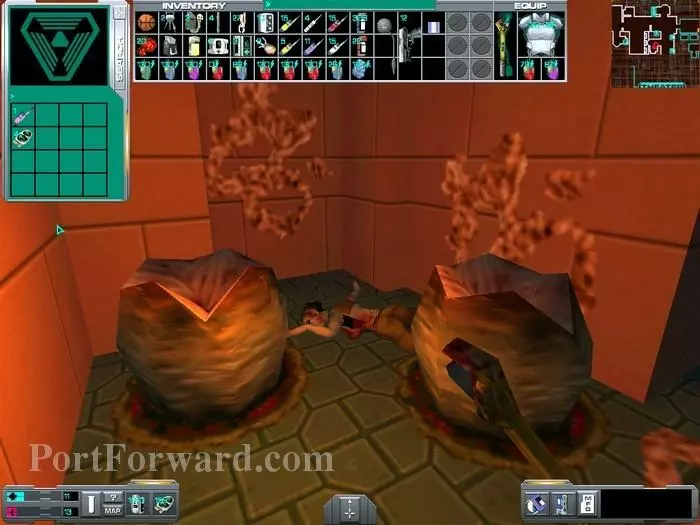
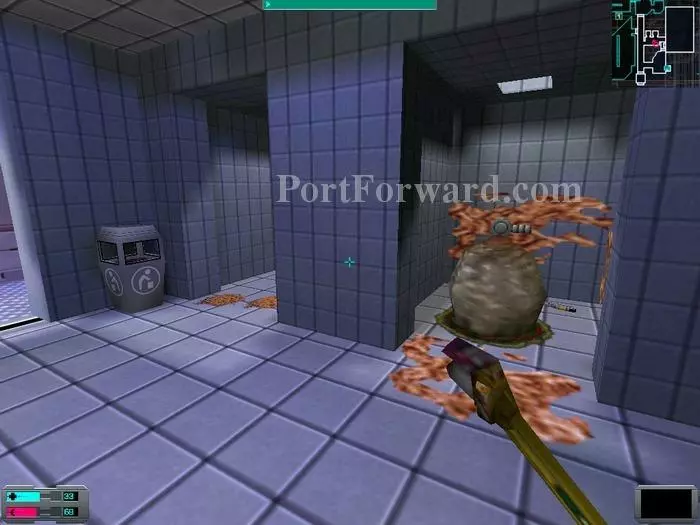
First door on the left we have two bodies, two eggs and some pretty disgusting worms. One of the eggs spits out flies and toxic waste comes out of the other. Some grenades, 12 anti-personnel bullets and 46 nanites are on the bodies. I also found a healing gland and an unresearched item in one of the eggs.
Next, a monkey. It was weird as it didn't attack me right away when I entered the room. Instead he stood there for close to a minute and then attacked. Anyway, the body bag is empty and there's another log from Cortez on one of the surgical units. The dead body contains worms, an EMP rifle and 6 armor piercing bullets.
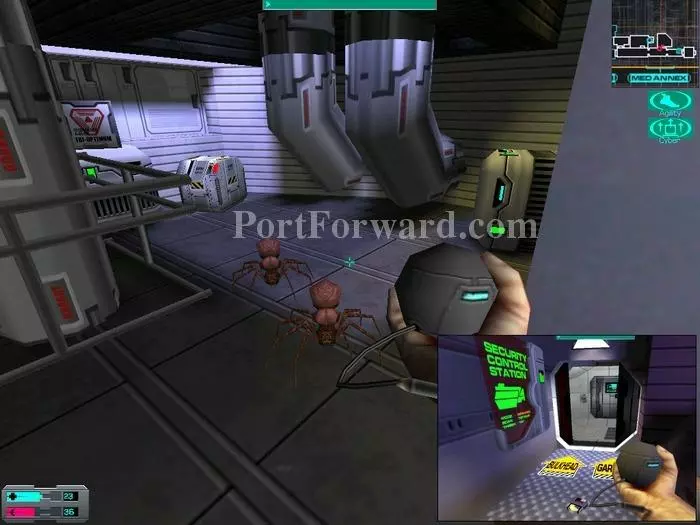
I spot some crates in the last room in this corridor and as I enter two spiders appear. Again, they just stood there for a few seconds doing nothing! Wham! Wham! In the security crate I only get 6 armor piercing bullets. In the regular crates I get 6 rifled slugs and anti-toxin and psi hypos. I leave the room and turn left to exit through the bulkhead and pick up a log from Murdoch (inset) on my way. I also hit the security station; for luck, you know!

I head straight ahead when entering the new section and search this body. It has a log from Murdoch, some grenades and 43 nanites. On the other side of this door is a maintenance droid, so I'll backtrack to avoid it.
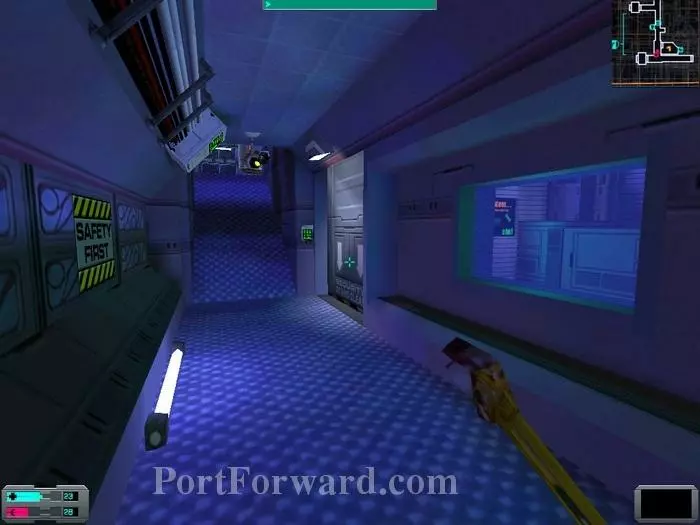
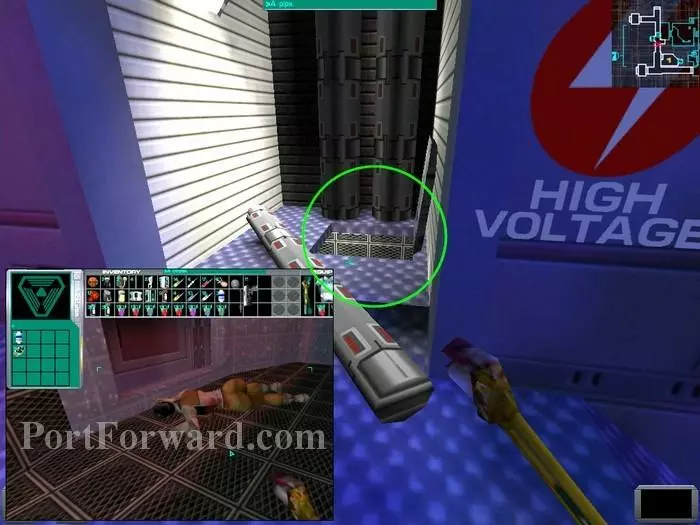
A camera spots me as I turn right and enter the only other corridor available. I see a locked room that opens up to a recharge station and some exploring. The lock on the door is broken so I repair it using an auto-repair unit and hack it. Boy, that door was really hard to hack but I'm rewarded with 5 cyber modules I find in a desk. There are some grenades and an EMP rifle in here too. After a quick recharge I hit the switch on the wall and climb down the ladder.
On this first body I find an ICE pick. Turning right, in a small room, I encounter two eggs and find a body with a hazard suit, an anti-toxin hypo and grenades. I move on and get rid of several eggs on my way.
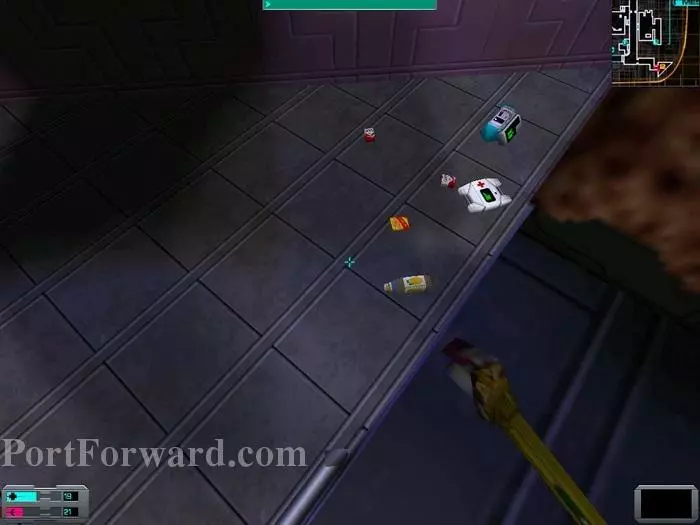
There are no intersections and I eventually end up here. I go down as The Many makes a collect call. I should have refused but you know me, all heart. I pick 23 nanites, the med kit, some food and head back up and outside the room.
Remember that hatch switch near the desk? Here's that hatch in question, now open. Going down reveals a dead body (inset) with 3 cyber modules and more grenades. Neat-O! Back up I hack the security station and proceed down the corridor.
I walk past two doorways and forward at the intersection and enter this room. Inside I search the crates for a psi and med hypos. In a corner, a dead body provides me with 3 cyber modules and in another I harvest some eggs for two healing glands plus a psi organ.

In this corridor is the chemical storeroom. While I don't need anything in here at the moment, these two security crates sure look inviting! In the far crate is a maintenance tool and a cool hacking level 3 software. The other crate has 50 nanites and 4 worm clusters. Yuck!
After listening to the logs I had, I learned the code to the armory in the Sci/Med crew area. I decided to go for a walk and check it out. Grenades, two batteries, two medkits, 12 anti-personnel bullets, a standard armor, an assault and EMP rifles, a stasis field generator and some booze. Not much I can use here, but if you are using or intend to use the assault rifle, this one is unbreakable! That's right, you can use it until the very end of the game without having to maintain or repair it even once! Now that you tied this loose end, back to work... Irritant!
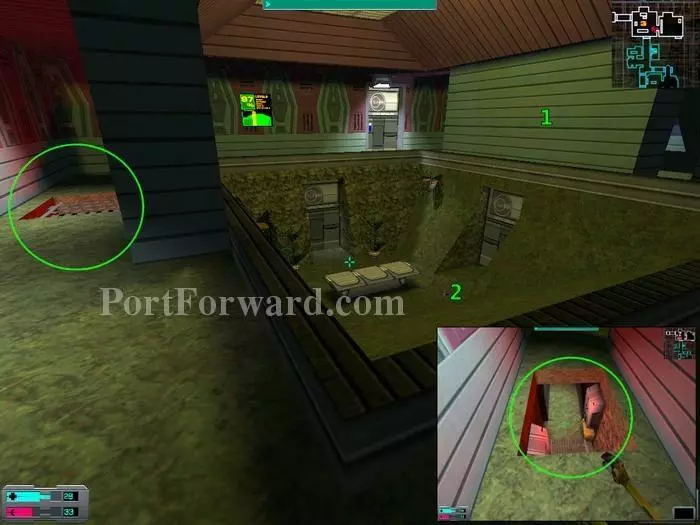
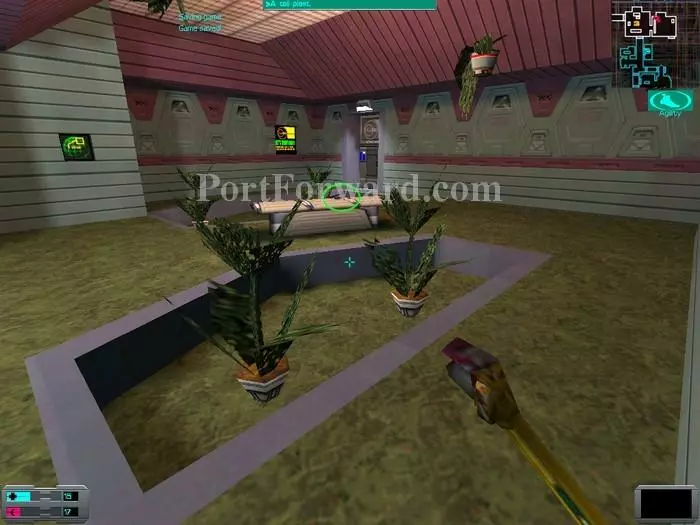
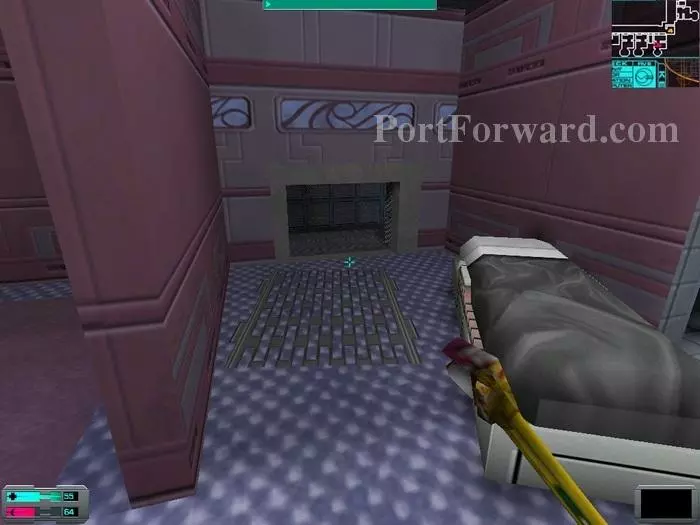
Back at the chemical storeroom I continue down the corridor and enter the garden. If this section reminds you of Constantine's mansion, well, you're not alone! The grate will fall down when you get close to it (inset) so be careful or you'll go down... so to speak. As for me, I'll stick with using the doors. There's a body with 10 prisms beyond the wall (1) and a log from Cortez near the bench (2).
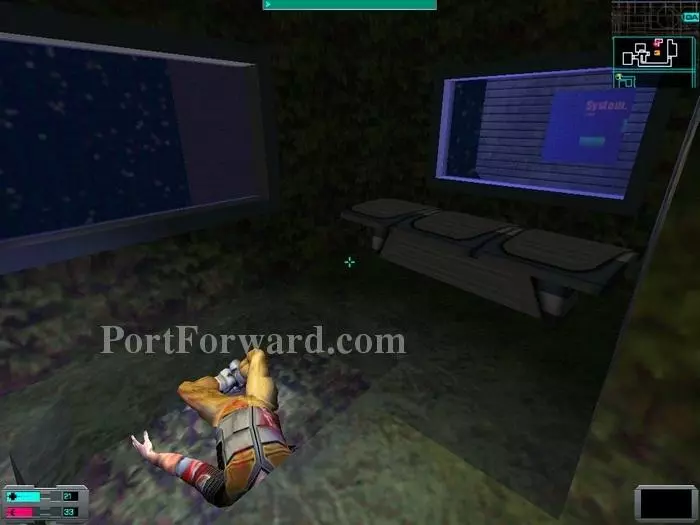
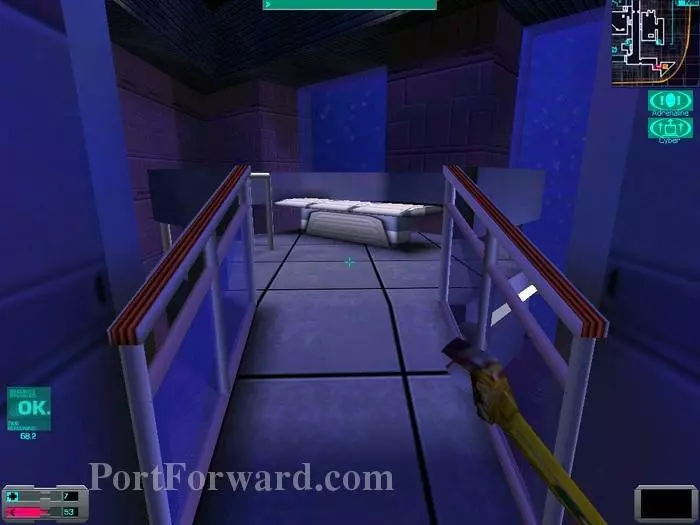
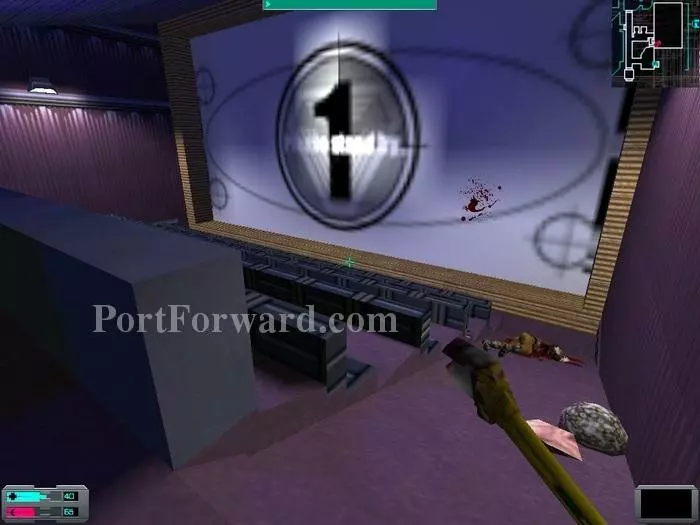
As I go down in the garden I open the door to the right and find a body with anti-personnel shells. Hmmm, that "System" display on the other side of the window sure got my attention...
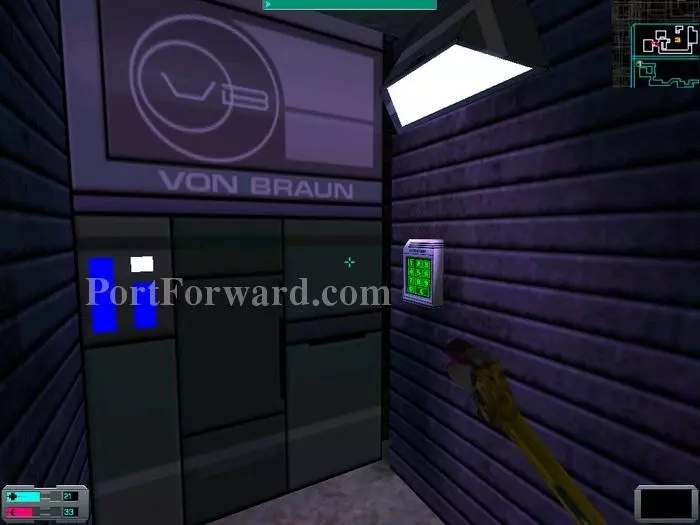
I exit and take the next door to my right. There are two bodies in a small room to my right, one with a grenade launcher. Ahead is a room with a locked keypad. Warning: proceed with caution, major trap! As I open the door, I hear two midwives run toward me and a grenade hybrid approaches too. In the room are two eggs. I decide to run and hide in the room, hoping the cyborgs won't find me as I try to get rid of the worms coming out of the eggs. In the room are several bodies and I find 4 cyber modules, 56 nanites, a psi-hypo and 6 shells.
When I finally decide to leave the room, the midwives have moved outside to the garden area and I am a bit more free to move about. When I get near this room however, two small spiders come at me. In this room I find 10 nanites, an anti-toxin hypo and a keycard to the crew section for which Shodan rewards me with 20 cyber modules. Must be important! Note the window in the far room. Time to face those two she-borgs...
The Garden, part deux. I grab a log from Suarez from the bench and since there's nothing else here I leave through the door.
To my right is a conference room with a log from Siddons. To the left is the kitchen which opens to a mess hall and another nasty ninja-type trap. At the end of the corridor is a camera. I decide to enter the kitchen and face the ninja cyborg.
As I enter the mess hall from the kitchen, a cyborg comes out of a small closet and attacks! I thought Doom 3 invented the scary closet monsters... Whaddayaknow! Downstairs I find 20 nanites and the switch to re-open the lights (left) and two dead bodies. One has 8 cyber modules and the other has an EnduroBoost implant and a speed booster hypo (right).
I take the elevator back up and leave the mess hall using the door to my right. I pass an empty bathroom and come near these two doors. To the right is one of the most memorable traps you'll face in the game. I'll take the left room first.
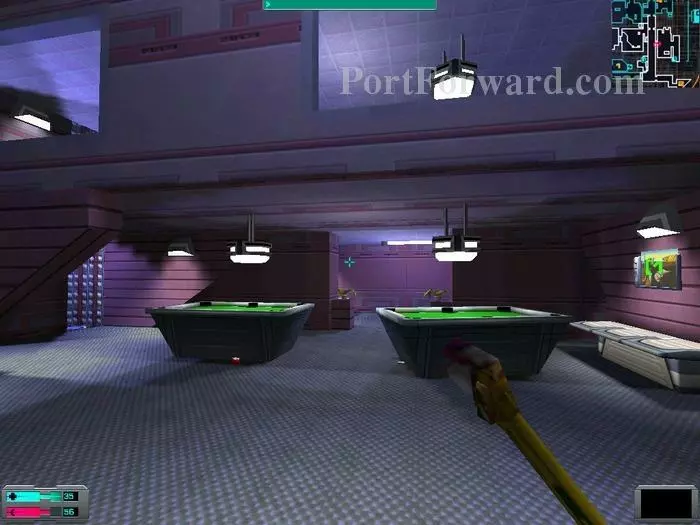
In this part of the lounge are a couple of hybrids and part of the code we're looking for (to the right, in the picture). It's "[1" meaning this is the first number. On this level of the room is a body with a maintenance tool, a log from good ol' Cortez and a broken replicator. Upstairs the hybrid is easily dealt with and a dead body has a Psi Amp and a crystal shard.
Time to enter the Bonne Chance lounge and face the trap. Two ninja cyborgs will attack once this fantomatic cutscene ends. Ready? Set... Go!
Damn... they were pretty tough! Looking to the left of the room downstairs is a bar with a log from Delacroix. Don't forget to look behind the bar for a body with 10 nanites and 6 armor piercing bullets. The door to the right opens to the dance floor and two bodies, one of which has another 12 armor piercing bullets. Upstairs is a body with two cyber modules and a level 2 research software. I leave the lounge and turn right.

Remember the maintenance droid behind a door I wanted to avoid earlier? We've come full circle and there it is. As well as a turret and a camera, making one nasty situation. We'll play sneaky on this one. I enter the room in from of me and hack the security console (inset). This gives me plenty of time to search the room. I find some grenades in a desk, an EMP pistol, 5 cyber modules and a med hypo on the dead guy and 6 rifled slugs plus 20 nanites in the security crate. Since the droid is facing away from me, I'll try and walk past it.
I walk behind the droid and make a left. Hmmm, this place looks familiar, doesn't it? As I look around, and find nothing, I hear a midwife run toward me. I deal with her silently and backtrack near the chemical storeroom again. I turn toward the dining hall area this time (see map). This is pretty much another trap, so be careful.
In the right area of the dining hall is a camera. As soon as you enter, the wall explodes and a droid comes out of it! No, I'm not making this up! Looking around I find a body with 6 cyber modules. I lured the droid away and take a peek inside the wall where he was hiding and see this guy. I psi pull the ammo and silently leave.
We'll exit through the bulkhead in the garden (highlighted) and continue our exploration in the mall area.
The garden wasn't the best place to enter the mall from and I now have to deal with a droid, a camera over my head and a hybrid throwing grenades at me.
I take quite a beating getting rid of all the nuisance around me and looking down the main corridor I spot another droid coming this way. I turn left in the bathroom area. In the men's area I find a dead body with 4 cyber modules (inset) and 6 rifled slugs in the trashcan of the women's area. After powdering my nose some I exit and take the gravshaft to the second floor of the mall.
Once upstairs I turn left and decide to make a quick stop at Narco Stims. Since nobody's around, I hack both the crate and the replicator. I get 36 prisms from the crate and the replicator has med kits, med and psi hypos.
Continuing my shopping spree, I turn the corner ahead and spot a camera. I also realize that there isn't one but two more droids patrolling downstairs. I also see a C3P0 look-alike in the "Clone Maid" shop.
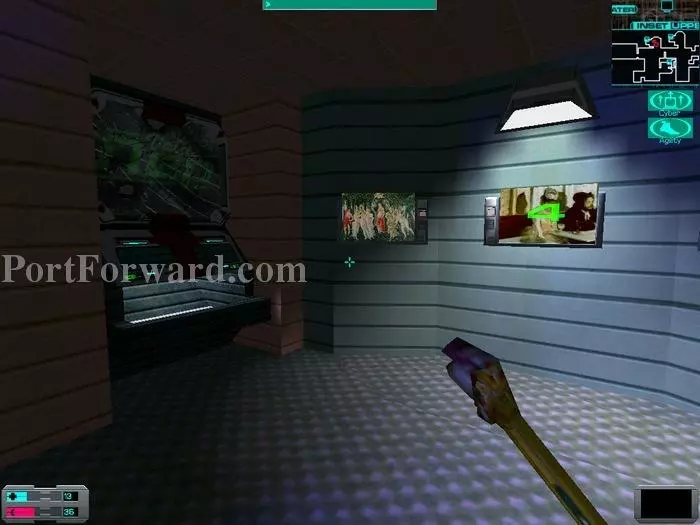
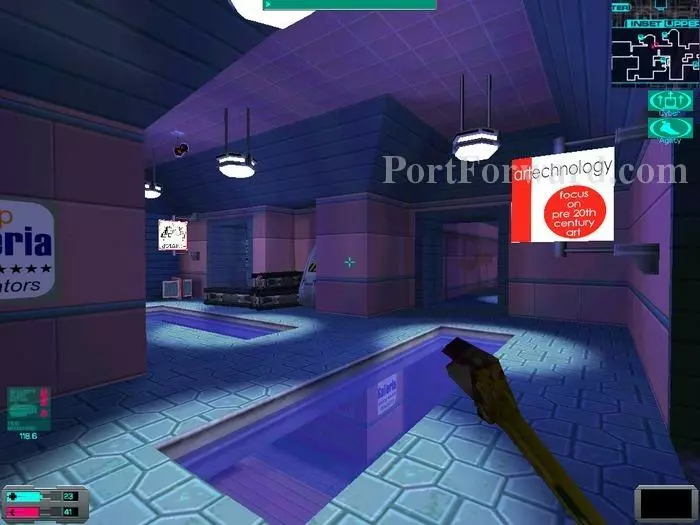
Turning right at the "Artechnology" shop we find another piece of the code we need, 4. The replicator here is unusable so I left after giving the manager an earful. I decide to check out the shop in front of Clone Maid next.
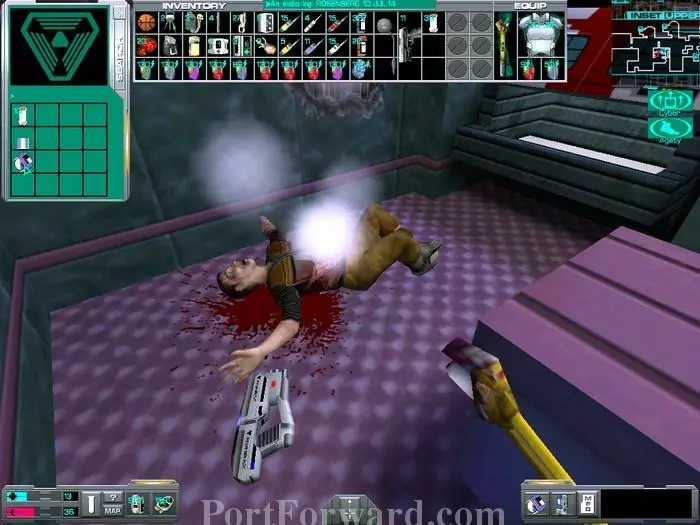
The dead body contains a log from Rosenberg, 10 prisms and a small beaker. The replicator is pretty boring. The Close Maid shop is empty, so I go to the far end of this floor.
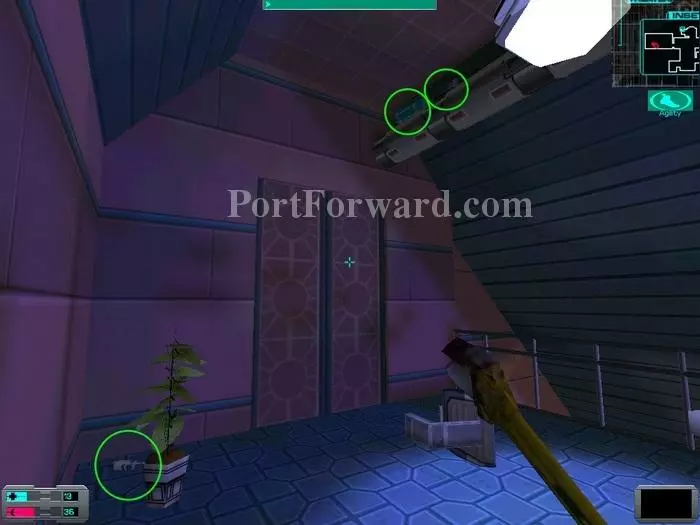
Behind a plant I find a psi hypo and 6 bullets plus nanites are up on a pipe. I psi pull the bullets and leave. Did I forget the nanites? Of course not! They're meant as a tourist trap and no matter what you do you won't be able to get them. Don't believe me? Go ahead, give it your best shot and see how you too will fail miserably! Before going down I take the opportunity of my high vantage point to dispatch the droids downstairs and head back to the gravshaft.
How neat, an OS upgrade machine along with two upgrade stations and two more behind me. I'll spend some cyber modules once I explored the rest of this area, but for now I upgraded my OS with Pharmo-Friendly for an extra 20% from all hypos.
On the other side of the two upgrade stations in this picture is a small room with three eggs and a dead body containing 4 cyber modules and a strength booster. Going forward I found another log from Rosenberg at Quickfoods.
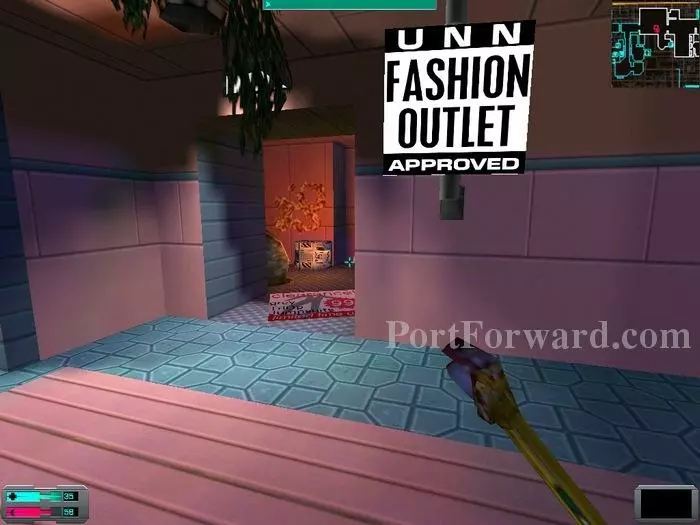
How can I not stop at the UNN Approved Fashion Outlet? Damn right, I can't! In there I get a healing gland from one of the eggs as well as 6 anti personnel bullets plus a psi booster hypo from the security crate.

Moving along I decide to head straight for the sensual stim area where Rosenberg lost his nanites. Here I hacked the replicator, got a card for the Nikki suite and found the jackpot! 503 nanites and 10 cyber modules! Thanks Rosenberg! All this business with the "pleasure suites" makes me realize that these space travelers are not masters of their domain at all!
I leave this palace of sin and turn right. The camera spotted me, so I got rid of it. To the right is a security office, but I'll start by doing left first. In the room, probably some kind of jail, I find a dead body with 12 anti-personnel bullets and a surgical unit activation key. In one of the cell there's a dead body behind an egg that has 6 cyber modules and 12 standard bullets.
I exit the jail and quickly run in the security office to hack the station there. I take the 6 rifled slugs as well as the grenades. There's a recharge station here and a dead body with 6 more slugs plus an unresearched implant. At the far end of the corridor, next to the turret, is a medical room with a log from Siddons.
I tried my best to get past the patrolling droid, but it spotted me so I had to get rid of it. It was self-defense, I swear! Past the large door I come to the casino area and enter. I got rid of a shotgun hybrid and a protocol droid and went to the back.
In the small room I hack the security crate for 6 standard bullets and 47 nanites. I exit the room, turn left to get into the lower casino area. Mind the camera as you pass the doorway.
This dead body has a SwiftBoost implant and I take the 8 nanites you see below. I head down toward the bar, where I find a log from Korenchkin and a dead body with 4 cyber modules and a med kit.
I head back and leave the casino to continue down the corridor. In the bathroom I search the trashcan for 17 nanites. In the egg I find a healing gland and behind it is a maintenance tool.
Next in the corridor is the entrance to the theater. Somebody in this game was seriously crazy about the movie West World! The dead body has 6 anti-personnel shells and behind the counter is a psi hypo. I know the cost of running a theater on a starship must be pretty high, but I'm sure they don't warrant the prices this replicator demands! Check it out and when you're ready enter the theater proper. Be careful of the flies and worms!
Damn, we missed the previews! The dead body has an EMP rifle and 5 cyber modules. Ok, we're now done with this area. Time for some cool backtracking!

We'll head to the crew quarters using the bulkhead shown above. I decided to juice up my character a bit before going, so I increased my strength by two, got level 5 psi and the psionic wall ability which should be handy for making a quick escape or trapping foes. What the heck, I'll take that hypnotize too...
This large area is filled with hybrids, droids and cameras so I'll use the walls and lifts near each corner to move freely and avoid the droids altogether. Down here I find a dead body with 6 anti-personnel bullets near lift 4, another body with 20 nanites and a log from Delacroix near lift 3, there's 6 anti-personnel bullets up near the plants in front of lift 3 (inset, 1) and another 12 armor piercing bullets next to the plants in front of lift 1.
As for the rooms, the one in the map above had a dead body with an ExpertTech implant and a log from Yang in the desk in a room on the left side of the area (inset).

The second floor is more interesting and I head to lift 1 to begin my search. I'll visit each room in a clockwise order. In the first room is a dead body with two small beakers. Room 2 had a dead body with 20 prisms and the card to the athletic sector which Shodan rewards me for finding with 10 cyber modules.

Room 3 had the last digit for the code we're looking for, 6, as well as 47 nanites and 2 healing glands in some eggs. Room 4, next to lift 2, had a ninja cyborg, one healing gland and a dead body with a maintenance tool.

Room 5 was locked and I had to hack it. I found an unresearched weapon, 20 nanites, some grenades, 10 cyber modules on the dead body, 20 more nanites in the desk, a crystal shard on a shelf and a suit of heavy armor. Near the bed some poor guy decided to end it (inset) and had a psi hypo on him. Room 6 is empty.
Room 7 was interesting. There's a broken vent you can crawl into and find a hidden room! I found 6 anti-personnel bullets, a psi organ and a healing gland in the eggs, a dead body with 3 cyber modules and some standard armor and 13 and 17 nanites. Room 8 had a dead body with an auto-repair unit and version 2 modification software.
As I was heading toward room 9, two shotgun hybrids came out running and attacked! A dead body had 6 anti-personnel shells and a large beaker and in the desk I got a psi booster. The last room contained 10 nanites and one desperate, sad ghost...
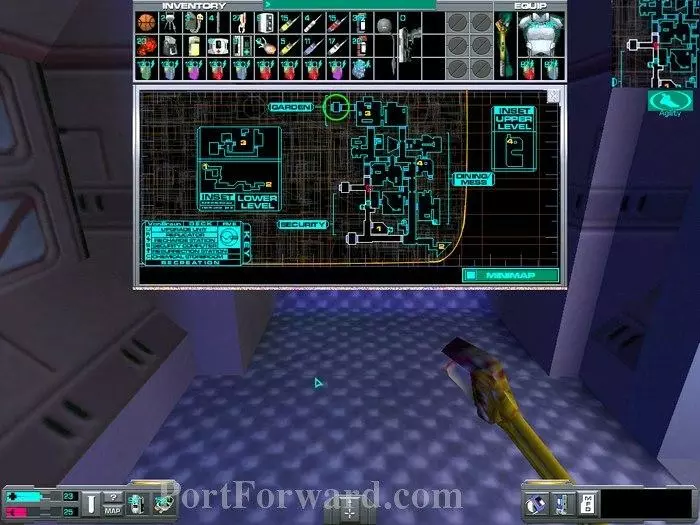
Now that we have all the parts of the code we need for the transmitter, [1, 4, 10, 6], we'll head for the door to the athletic sector. Opening the door will score you 10 cyber modules.
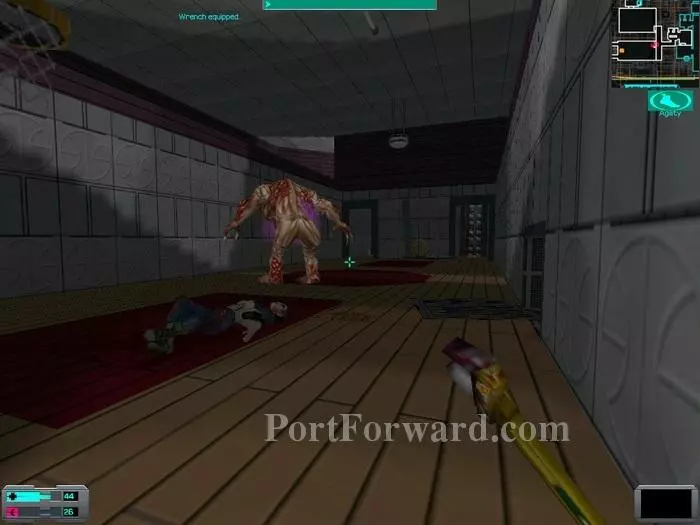
As I open the door the lights go out and a rumbler is smack in the middle of the room. I hypnotize him and enter the broken vent to my right as I grab an anti-toxin hypo from the dead body.
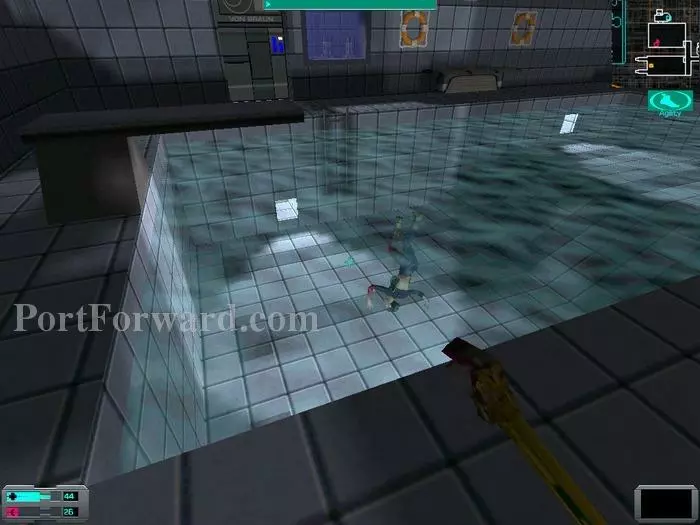
After dealing with some worms I come out to the pool. I fish out 34 nanites from the floater and go in the far room to plug back the power cell into the breaker. This turns the lights of the basketball court back on. There's also a crystal shard and a recharge station in that room. Ok, back to the transmitter.
The rumbler is still dreaming of rumblettes so I walk by him and head for the grav shaft. Once upstairs, I find the transmitter guarded by two black belt cyborgs. Boy, that hypnotize psi ability is great! The dead body next to the transmitter has a broken fusion cannon and another body has a golf game cartridge. I enter the code, 14106, and get 20 cyber modules. I get back down as Shodan tells me what's what.
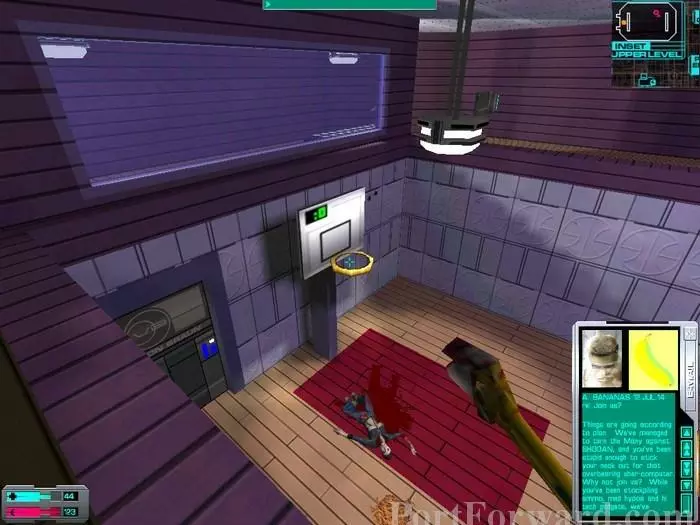
It's time! Take the basketball and throw it into the basket and finally learn what is really going on aboard this ship! Don't miss out and also read the log, as it's quite different from what you'll hear!

Shodan instructed me to go to the main elevator. It's in the center of the crew quarters section. Take the elevator and you're done with this level!
More System Shock 2 Walkthroughs
This System Shock 2 walkthrough is divided into 15 total pages.


