
This System Shock 2 walkthrough is divided into 15 total pages.
You can jump to nearby pages of the game using the links above.
Rickenbacker - Pod 1
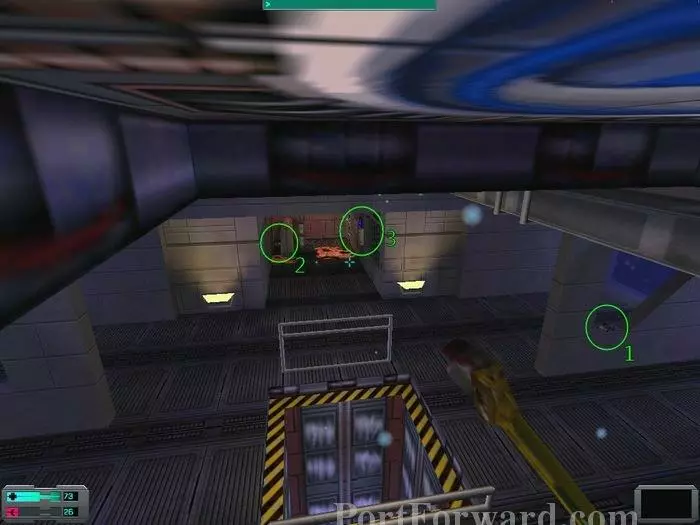
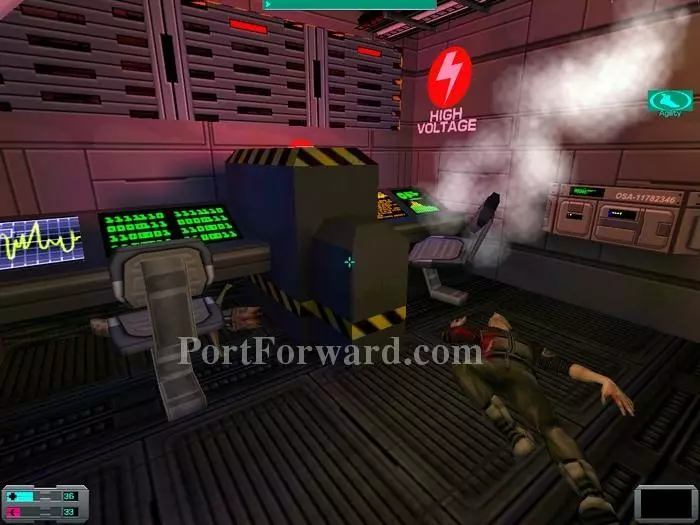
Okay, we're now on the Rickenbacker so let's explore this ship, shall we? And if you're really nice we might even go for a nice walk outside! As I arrive I spot a log from Bayliss (1), 6 standard bullets (2) and a psi upgrade unit (3). There's also a dead body to my left with 12 standard bullets and 50 nanites.
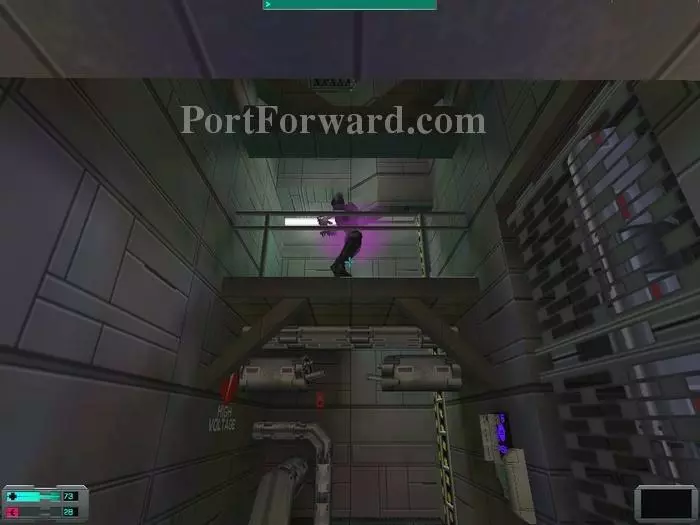
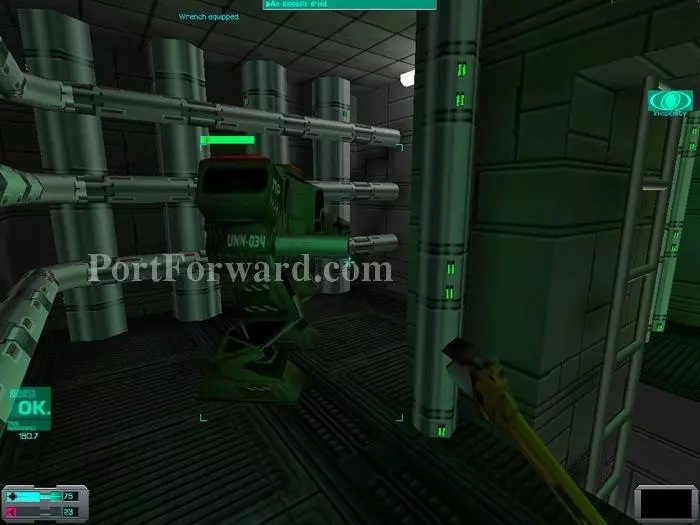
As I get closer to the psi upgrade unit, I spot a cyborg on the ledge. I hypnotize it and use the unit. I get invisibility, which will help me quite a bit on this level.
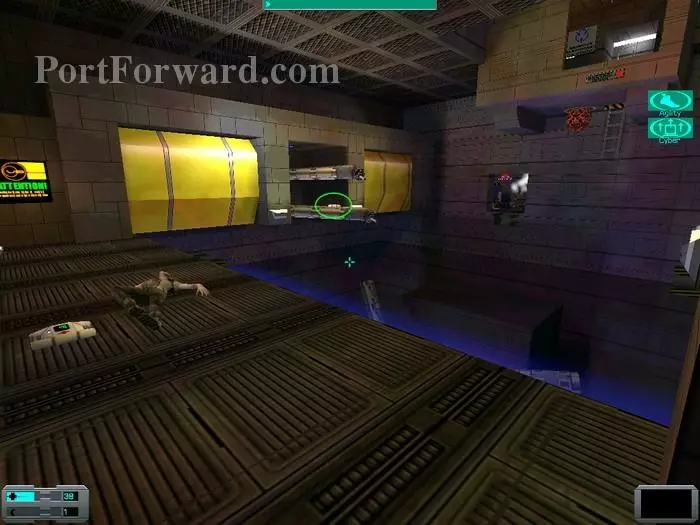
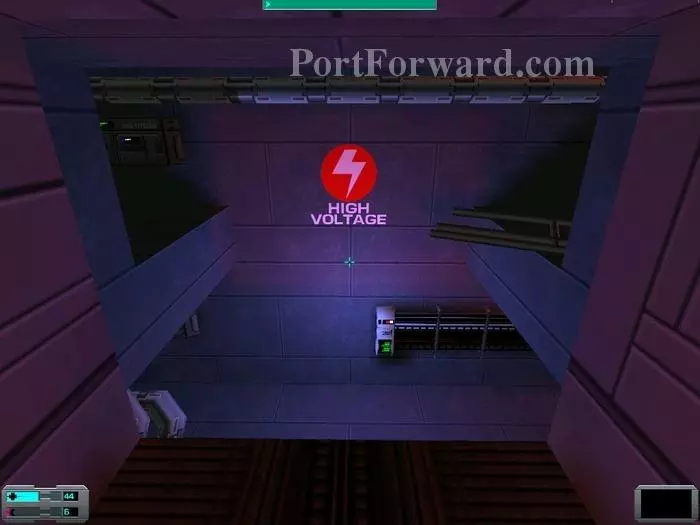
Enabling invisibility I race up the ladder, right in front of 3 turrets, and arrive on this level. I pick up the 6 armor piercing bullets and find yet another crystal shard on the dead body. I hit the security station to my left and head for the black egg at the back of the room. I destroy it for 2 cyber modules and climb up the ladder.
The dead body here has 6 rifled slugs, a version 3 repair software and 33 nanites. I pick up another log from Bayliss and spy with my little eye a container with 65 nanites behind the black egg in the distance. I destroy the egg and psi-pull the nanites. Pressing the button will raise the weird door downstairs, which I booby trapped with a few force fields.
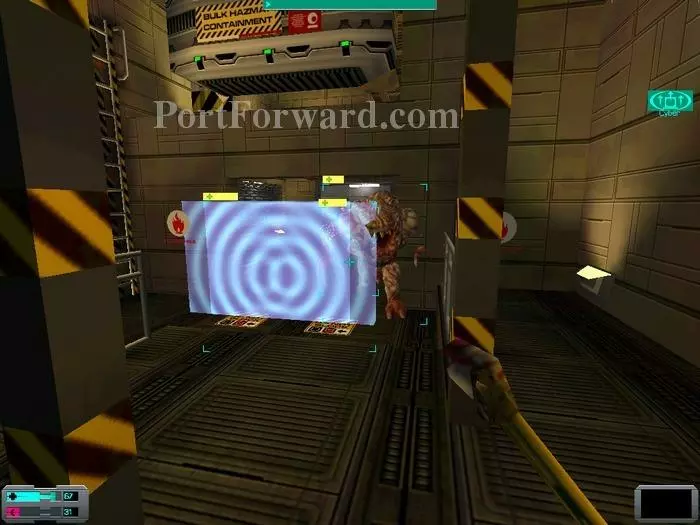
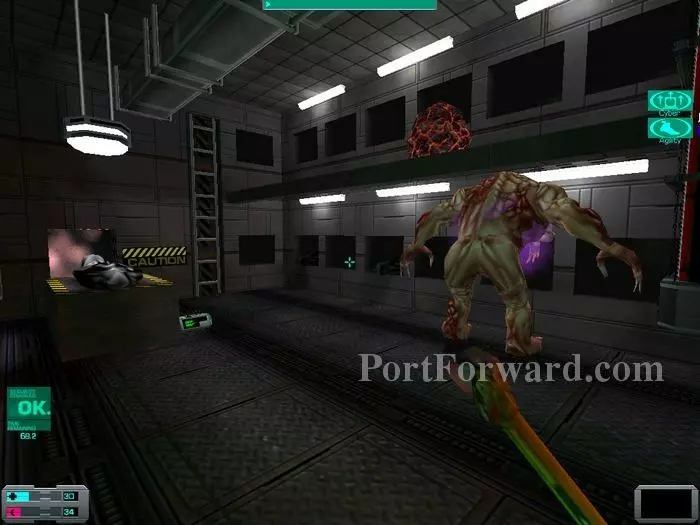
Good thing I did too, as two rumblers and a droid decide to pay me a visit. The droid keeps firing at me and only succeeds at killing one of the rumblers and blowing itself up. Nice going dudes! The last rumbler is so weak from the damage it sustained that a single bullet puts it out of its misery.
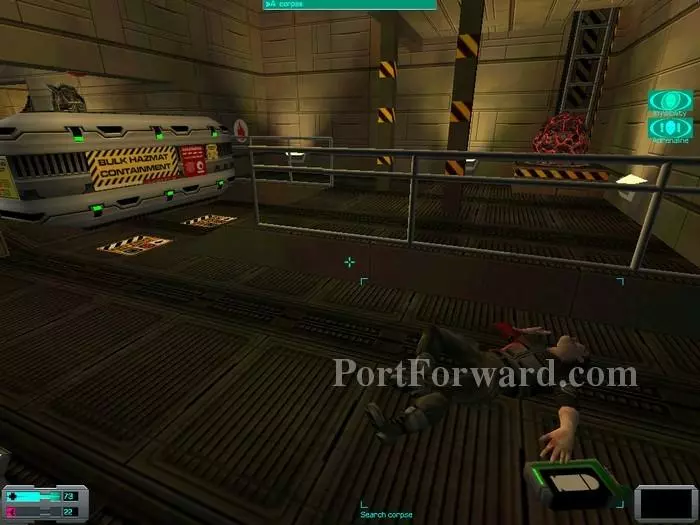
As I head on I spot a cyborg on a far ledge and an egg on the ceiling. There's also a weapon upgrade unit here. Just behind me is a dead body with 52 nanites and grenades on the floor. You'll also find a surgical unit activation key under the pipes ahead (1).
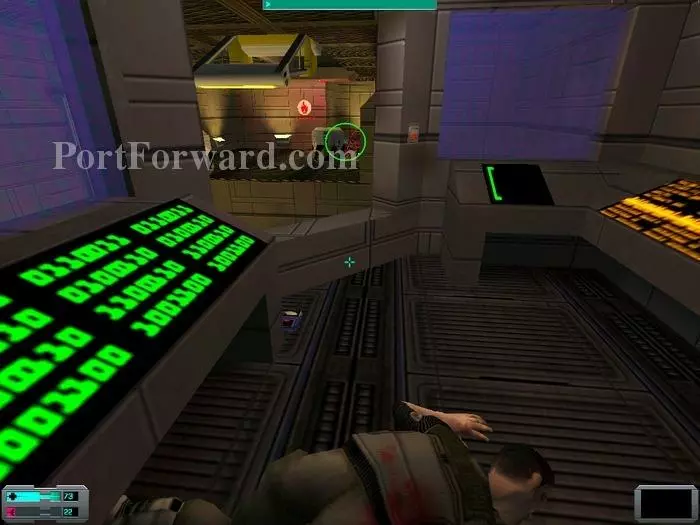
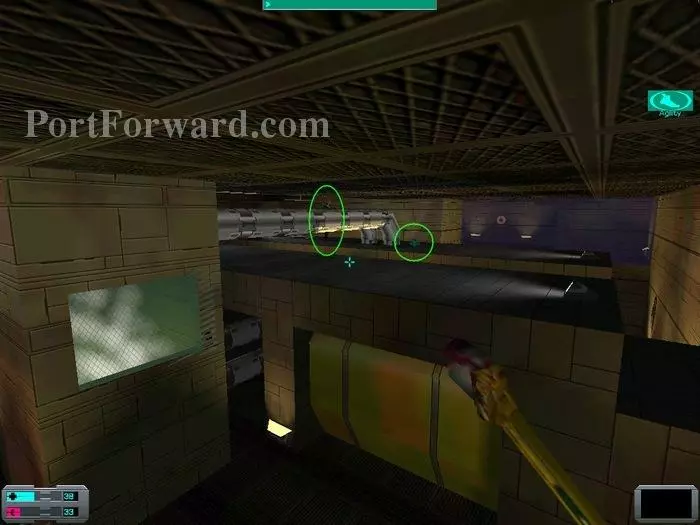
I turn left and follow the pipes. I defeat both cyborgs and spiders as I come near this security crate. There's also a ramp going down here, but I won't go there right away. In the crate I find 3 grenades and 47 nanites. I head for the arrow, where I expect to duke it out with a cyborg and at least one spider.
Hypnotizing my prey makes it easy to dispatch or go around them. Note the grenades in the distance.
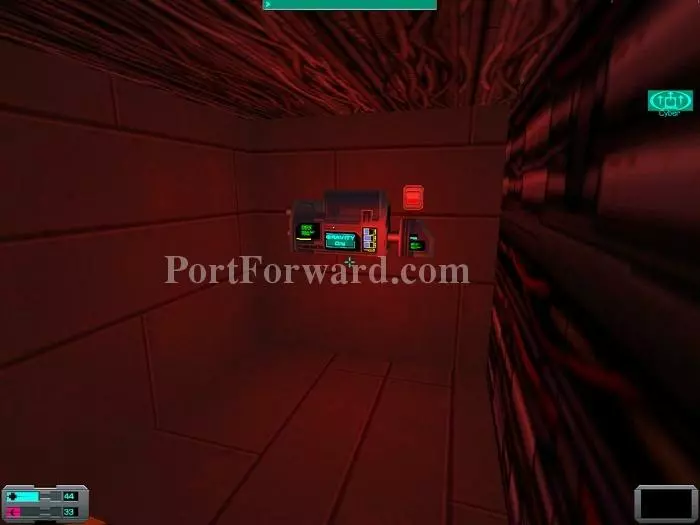
Once I'm done with the bloodshed, I come to this area. The dead body has a whooping 24 anti-personnel bullets and an anti-toxin hypo. I pick the medkit from the floor and notice another one on the broken pipes. I shoot the black egg and head through the door to my left. Inside I find a crate with a psi hypo and 48 nanites plus a log from Croker. I press the button and head back out.

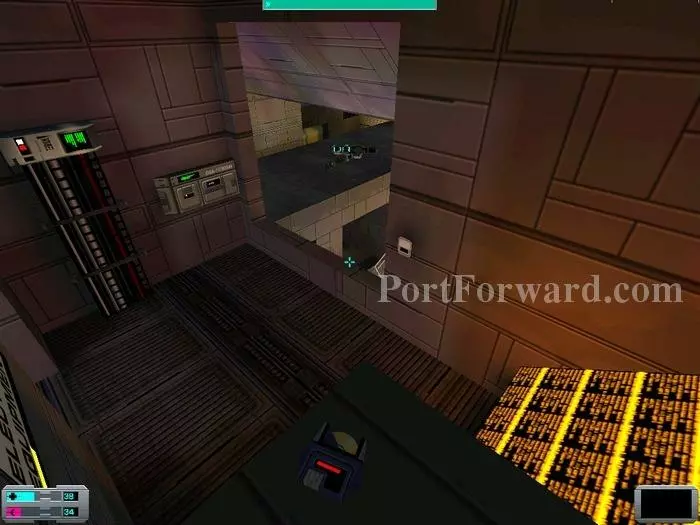
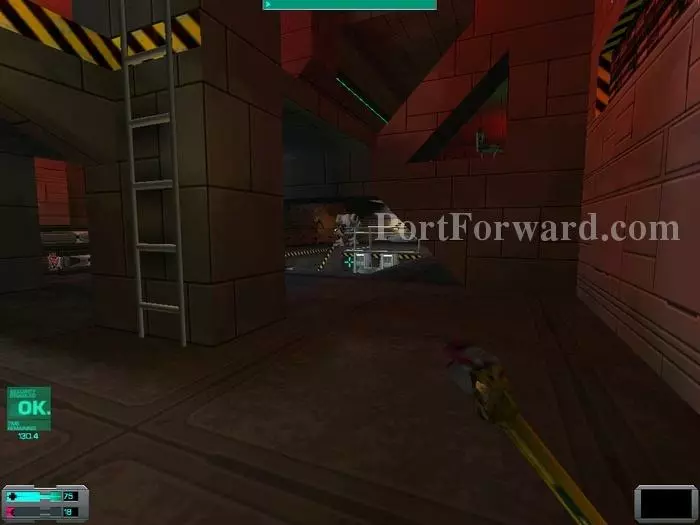
I go back a few steps to the security crate and head down this time. I destroy the black egg and head through the narrow corridor. I turn right at the first intersection, as shown in the inset picture.
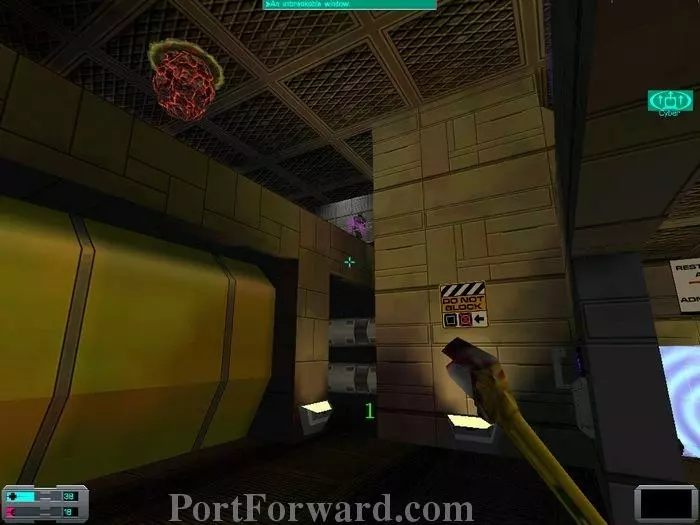
I pick up the log from Bayliss and press the button. Here I decide to risk my life and jump out the window to investigate that corpse I see in the distance. The body has a suit of heavy armor and a fusion canon is next to it.
Looking around from the high vantage point I psi-pull those 48 nanites I see and note the cyborg behind the pipes.
Turning left I head back to the body and jump down on the strut in order to reach the far room. Jump carefully and you'll have no problem at all.
Note the unresearched object behind the chair. The body here contains the access card we need as well as two anti radiation hypos and some grenades.
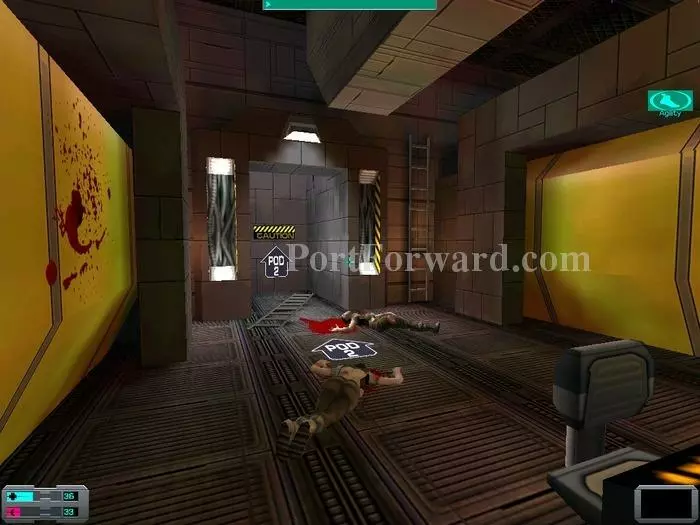
I head back, jumping carefully again, and find these two bodies. I find 40 nanites and a psi hypo in one of them. I climb the ladders, heading toward pod 2.
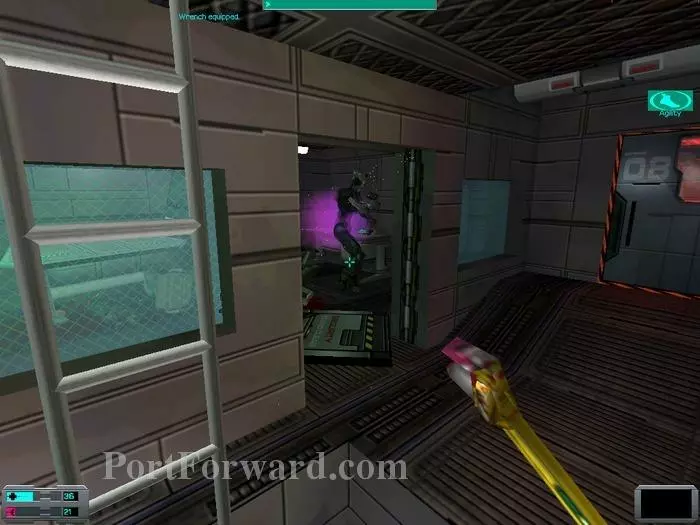
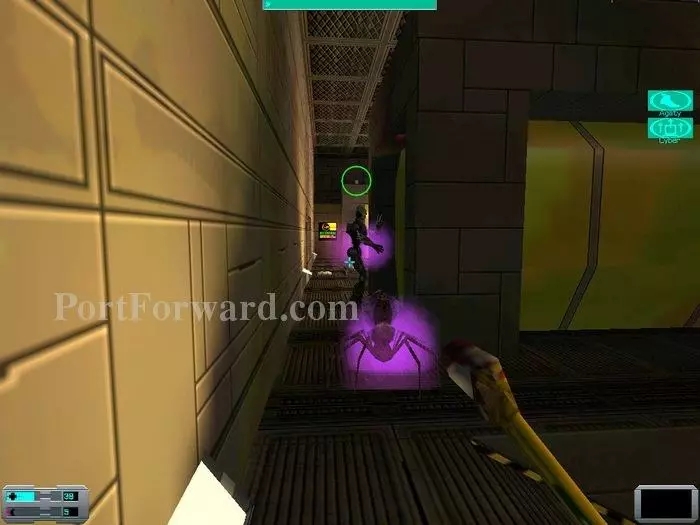
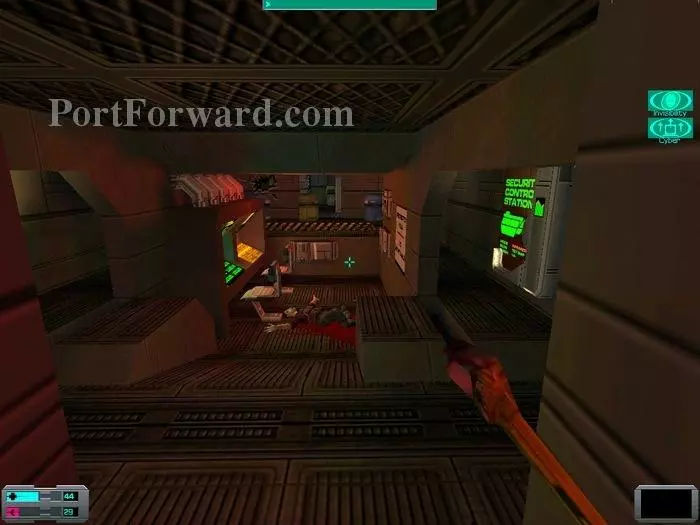
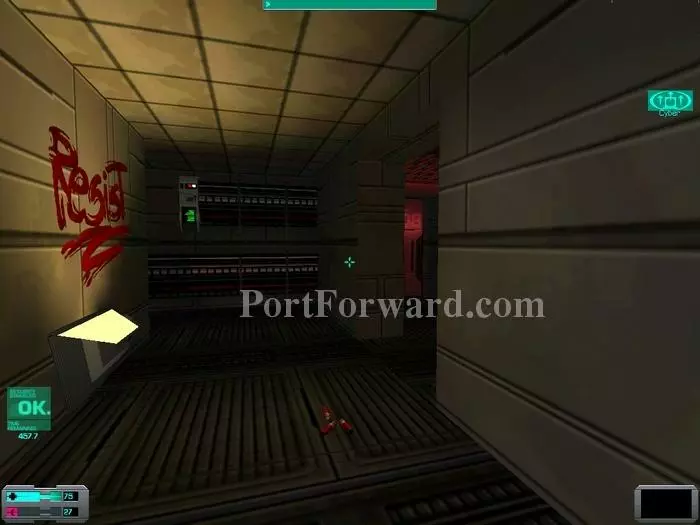
I hear both cyborg's and midwife's noises as I head up. I hypnotize the cyborg here and loot the body next to it for 34 nanites. I peruse the security computer and exit this small office. On the opposite side of the room I find a black egg I destroy for 6 cyber modules as well as 6 anti-personnel bullets on the floor. On the dead body is another log from Bayliss and some grenades.
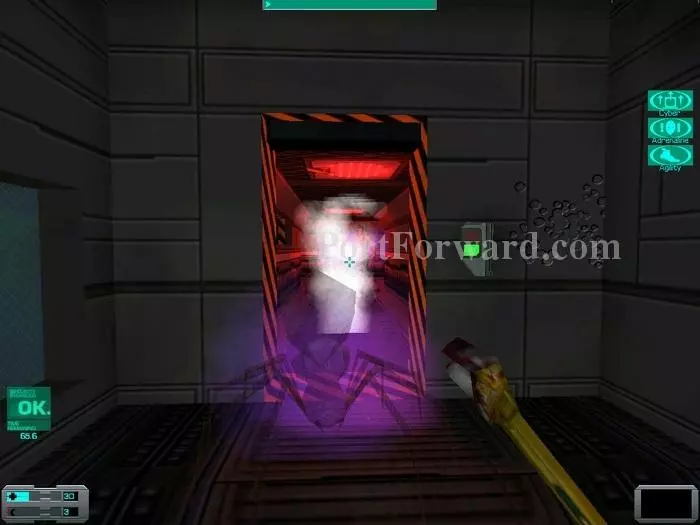
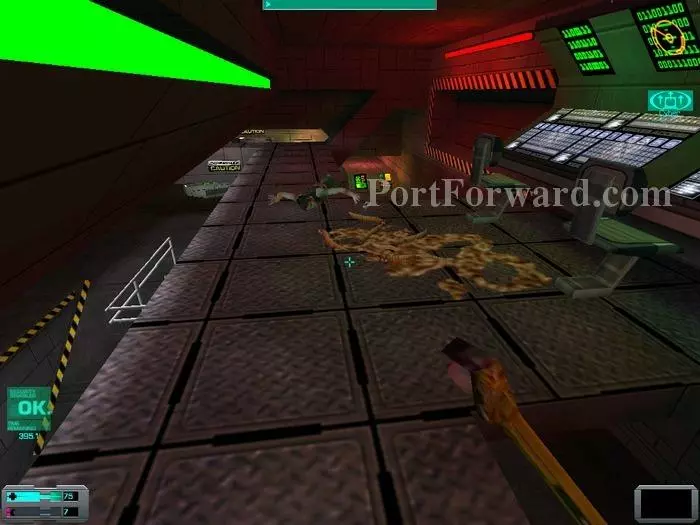
As I open the door to move forward two midwives and a stealth spider rush at me! A stealth spider? Where the hell did that came from? It's not totally invisible, but hard to see from a distance. And the steam in this corridor doesn't help. Once I dispatch all of these nasties I turn left.

I turn left again and head into the chemical storeroom. I grab the 24 nanites on the floor and move right. At the end of the corridor is a morgue where a rumbler is crashing.
Looks like the rumbler is guarding this egg. I go around quickly and pick up the 50 nanites from the floor, and 36 more in one of the body bags. I climb up and destroy the egg.
As I turn around I spot this egg through sheer luck and I learn that audio logs cannot be psi-pulled! I quickly go down, grab the log and destroy the egg. Surprise, surprise! Under the egg was a psi hypo!
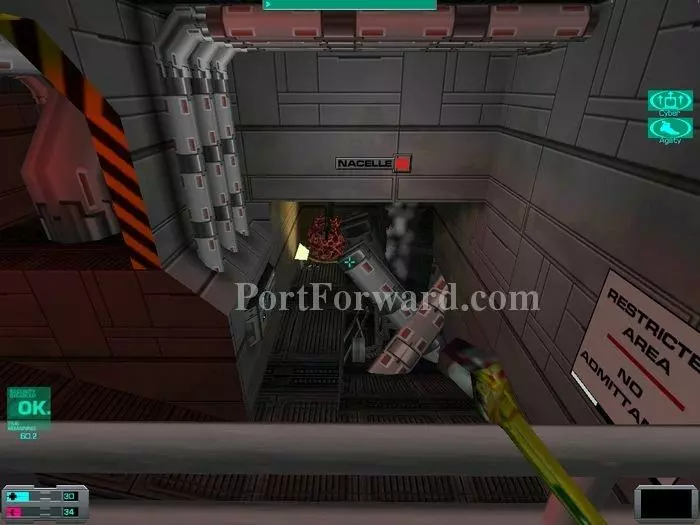
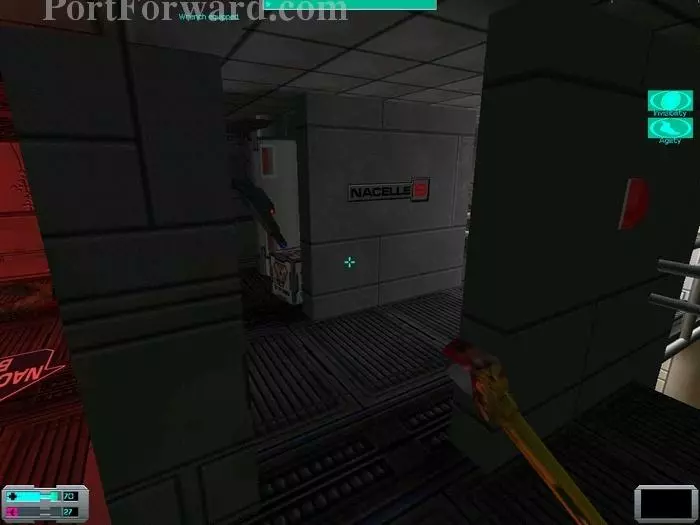
I head back and exit the chemical storeroom. I turn left toward Nacelle B. Be careful here as an annelid egg is on the other side of the wall and will release flies when you get too close. There's also a missile turret so you might want to head back and disable security if it isn't already. I carefully extract a healing gland from the egg and pick up the 45 nanites from the floor. The body has 12 anti-personnel ammos on it.
I destroy the egg and head into the corridor to my left. With the turret now dormant I can explore the only room. On the floor to my right are 12 armor piercing bullets and a maintenance tool. To my left, out of view here, is a French-Epstein device. I destroy the egg and quickly head back before the security systems come back online.
Back at the intersection I head toward nacelle B. Careful here, a laser turret is guarding this ladder and I head a cyborg on the lower floor! I use invisibility, pick up the 12 armor piercing bullets from the crate and head down.
As I make my way down the ladder I spot the cyborg which I immediately hypnotize. I also find another egg and spot a large security crate in the distance.
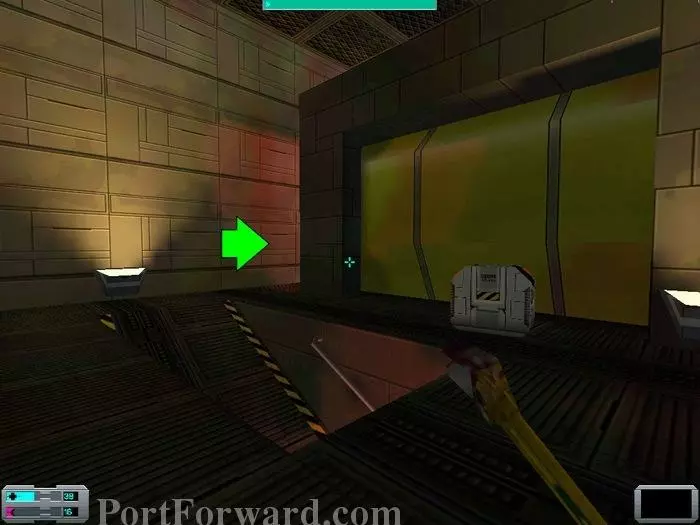
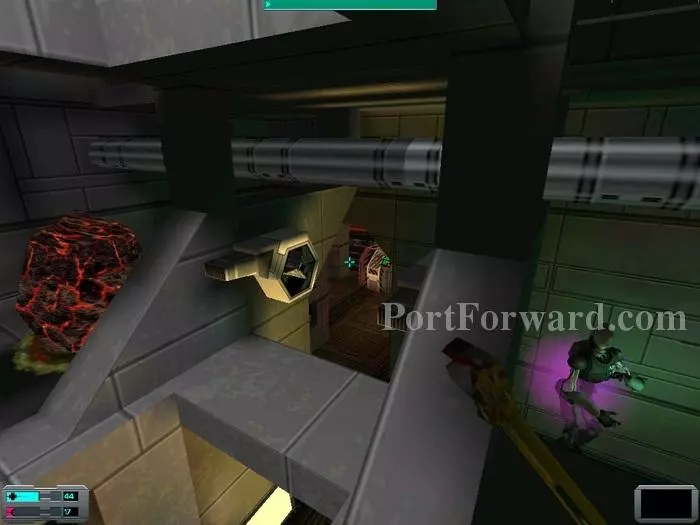
The large crate contains a fusion cannon, 20 prisms and an unresearched implant. The replicator here isn't too impressive, but the pipes to the right hide 52 nanites (inset). Be careful when going near the replicator, a laser turret in the next room stands guard and will microwave you to perfection in no time.
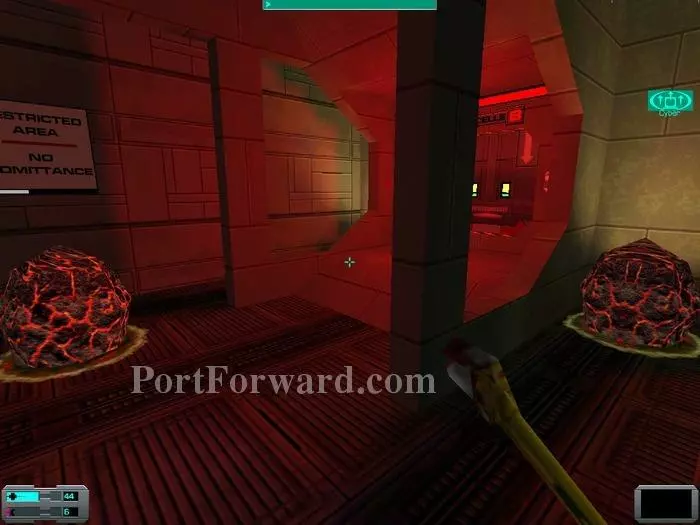
Past the small room with the turret we finally find the way to nacelle B. There are two eggs here and destroying one gets me 8 cyber modules. As I destroy the second one The Many tries to brainwash me some more. No amount of yelling "I ACCEPT" seems to do anything, so I instead open the door and move on.
While pretty straightforward, this area has lots of turrets so care must be exercised. There's a first laser turret as soon as I go down here. I could either disable security or become invisible. I choose the latter and proceed. I go down and right. Then take the first left and turn right to climb the ladder. Up the ladder to my right is a turret. I rush up and head right, past the steam up another ladder.
Behind the steam to my right are a turret and a black egg. I destroy it, head back and turn right. I then turn left and take the ladder down. There's another turret down there.
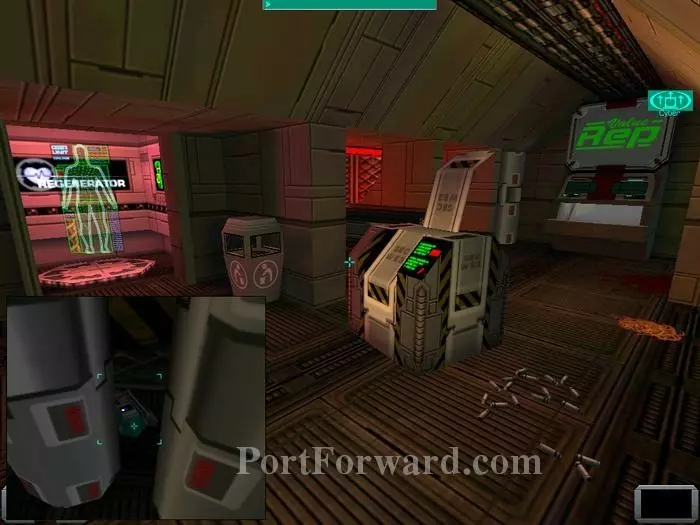
Once down I turn right and head for this console while Shodan briefs me about it in her usual tactful way. I turn it on for 20 cyber modules and head back. We're now done with nacelle B. Backtrack up past the chemical storeroom to head toward Pod 2.
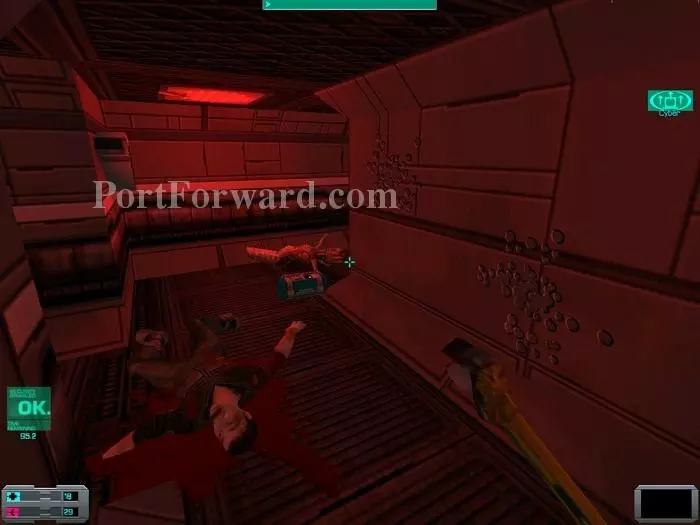
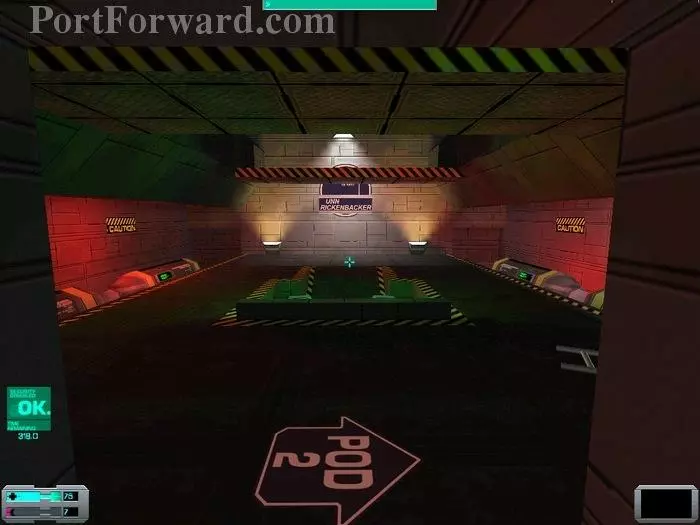
There's a real welcoming party past this first door toward Pod 2! I hack the security station under the cover of invisibility. The dead body has a version 3 hacking software and a log from Croker. An Ice-pick is on the floor too. I pick all this up and move forward past the turrets and left.
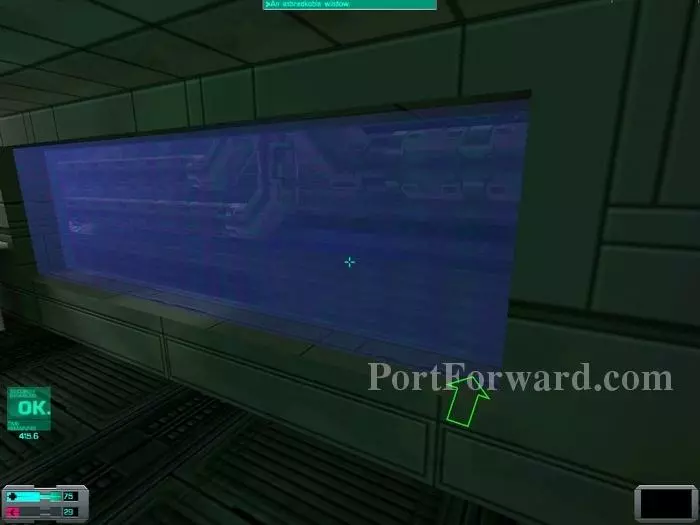
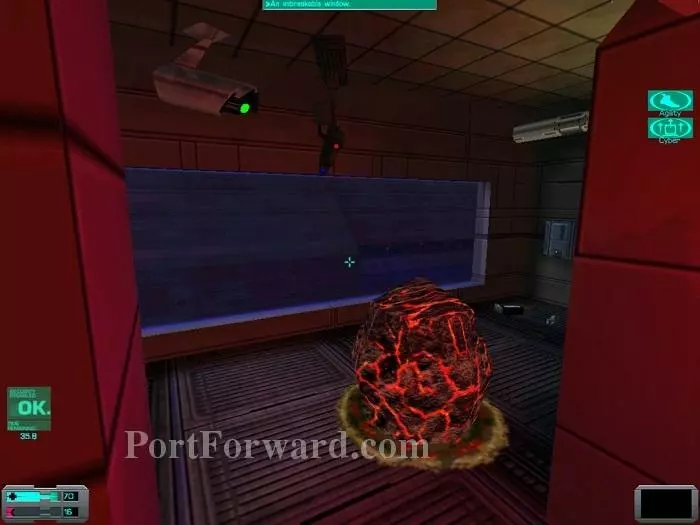
Since you've all been pretty patient and didn't complain (too much), let's take that walk outside the ship I promised! Don't bother with a spacesuit, you don't need it. Now, all you have to do is walk through this window on its right side. Simply head straight for it and keep moving forward and you'll eventually walk right outside! Getting back in is problematic at best, so save before you go outside! You can even jump off the ship and the lack of gravity will make sure that you... fall down, of course!
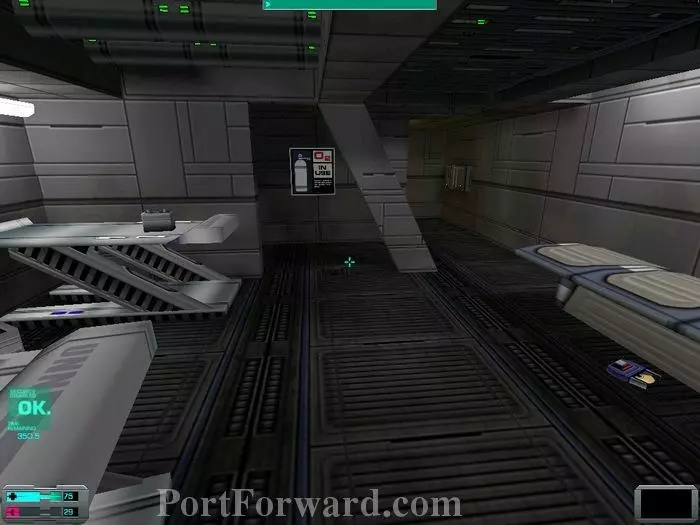
Moving on, there's a log form Croker on the floor and a battery on the gurney.
Taking a right I turn right again and follow the corridor to find a medkit behind some pipes. I then move on through the door toward Pod 2.
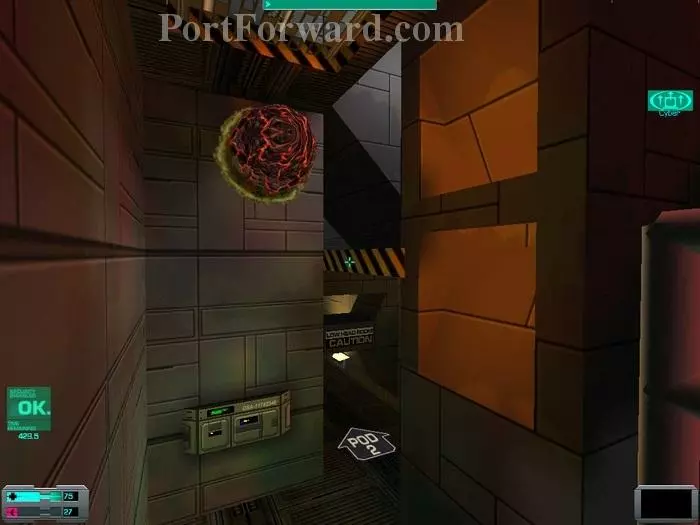
I immediately turn left and destroy this egg and hear a droid patrolling. I follow the arrow to Pod 2 and find a body with an anti-radiation hypo and a log from Croker next to it. I climb the ladder and make my way to another ladder. I'm getting closer to the droid, so I use invisibility and climb up.
Yep, that taffer of a droid was really waiting for me. No matter, it can't see me so I move past it and head through the door.
This area is a bit more active with two droids. To my left is a replicator and next to it are some grenades. There's an egg down in the center area. I destroy it for 8 cyber modules and Shodan tells me only one egg remains. I climb up to avoid the droids.
As I get close to this body, some worms drop from above. It's been a while since I saw worms, so I kill them extra hard! I pick up the psi hypo and move past the empty body.
I jump down and rush into the next room. Good thing security was disabled, there's a turret on each side of this doorway. I block the door with an energy wall and move to the control console in the center of the room.

The puzzle here is to move the missiles in position so you can get past the broken ladder. From left to right, press each button once, then press a second time on button 1, 2 and 4. All missiles should be at their highest position except one on your right which should be lower.
More System Shock 2 Walkthroughs
This System Shock 2 walkthrough is divided into 15 total pages.


