
This The Amazing Spider Man 2 walkthrough is divided into 12 total pages.
You can jump to nearby pages of the game using the links above.
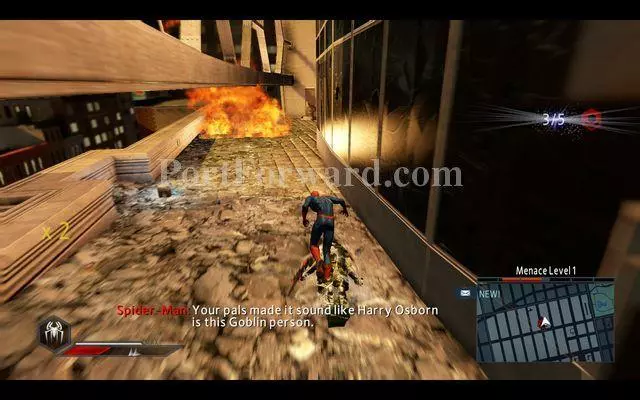
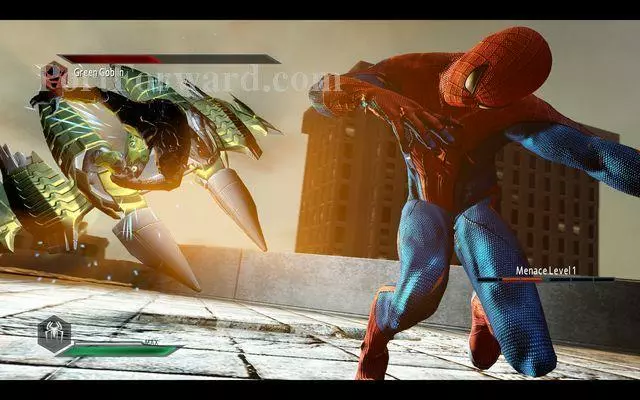
The Green Goblin!
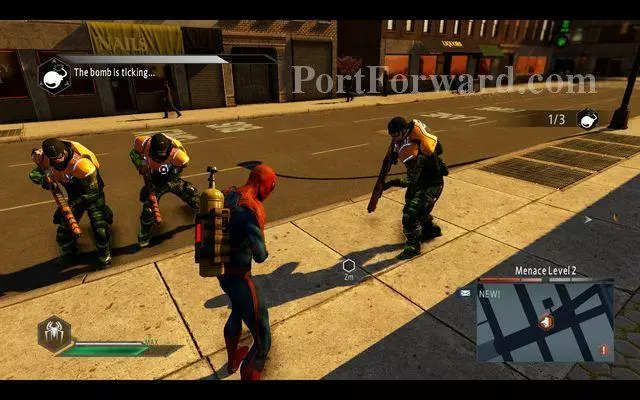
At the beginning of the mission, deactivate 3 bombs all around the city. After you approach one, pick it up, with the action key and carry it over to the specified point, before time elapses. On of them is on the rooftop of a building.
Another bomb is at the Times Square. You do not need to deal with the opponents, if you approach the bomb by surprise, or lure the opponents away from the bomb.
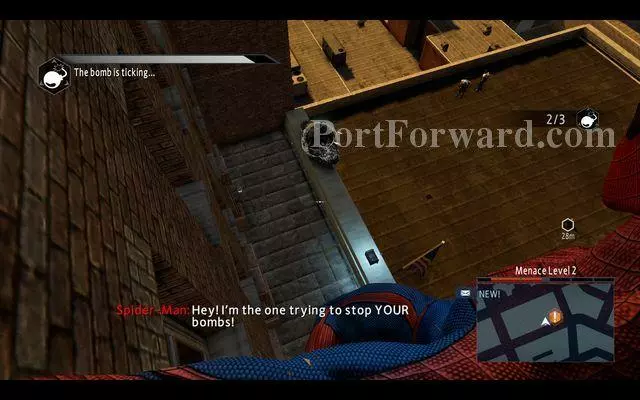
The last bomb is on the rooftop and it is being watched by several guards. Above the flag, among the mines, you will find an upgrade crate.
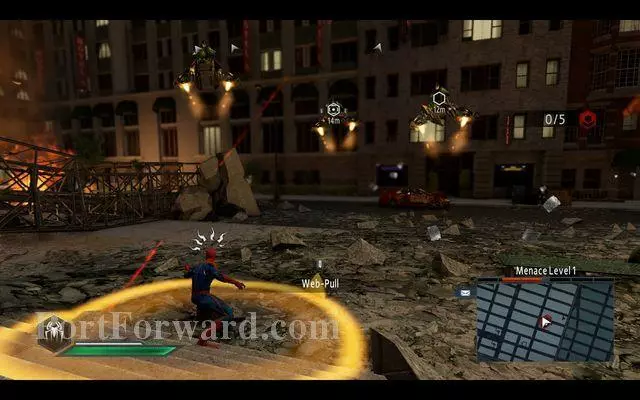
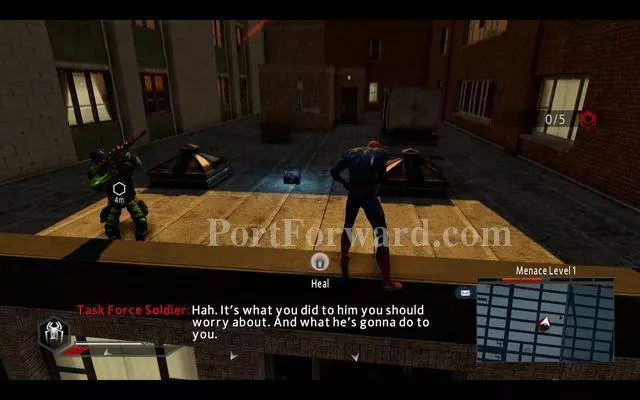
Go towards OSCORP. IN front of the entrance, there are five guards in flying vehicles. To defeat them, you need to throw, each one, off his vehicle, using the Web-Pull. Before that, however, deal with the snipers on the rooftop.
In front of the building's main entrance, you will find upgrade crate #1.
Opposite the skyscraper, on the rooftop, you will find the first sniper. After you eliminate him, collect upgrade crate #2.
The third crate and the sniper are on the upper floor of the OSCORP HQ. Then, deal with the flying Task Force soldiers.
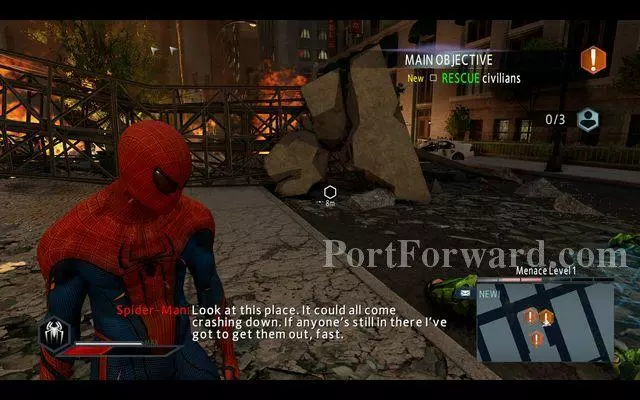
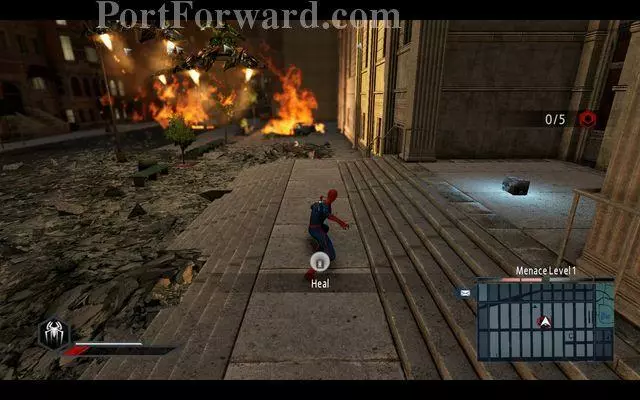
After you deal with the enemy, you still need to escort three civilians into safety. The first one is at the street level, under the heap of rubble. Two others are at both sides of the OSCORP tower.
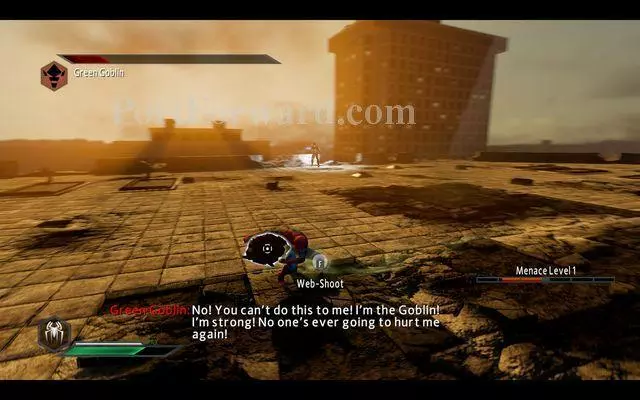
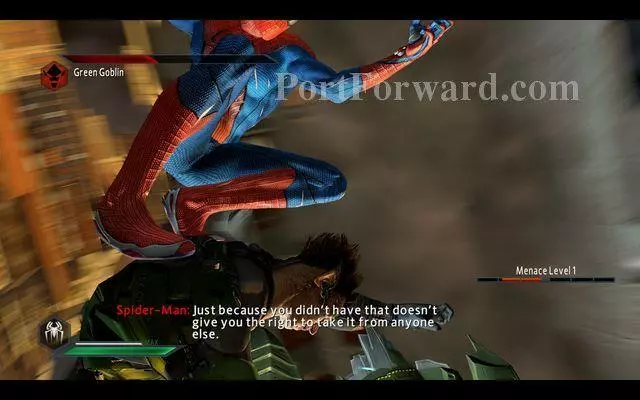
The battle with Green Goblin is a bit different than the previous ones. First of all, keep shooting at the opponent and dodge from the bombs that he throws. The ones that you manage to shoot off, will be lying on the ground unexploded, temporarily inactive. Use the Web-Pull then, to grab them and send them back at the enemy. Whenever he falls down, approach and attack him. After a while, you need to perform a dodge, because his glider will be approaching from behind your back.
After his health drops to a half, he will start an attack, during which you need to tap the keys displayed on the screen. It you do that properly, you will manage to hop onto the glider.
Once you get on the Goblin's back, he will fly across the city. At this moment, you need to start banging his head against the buildings that you pass by, to the left and to the right, depending on the side at which they appear.
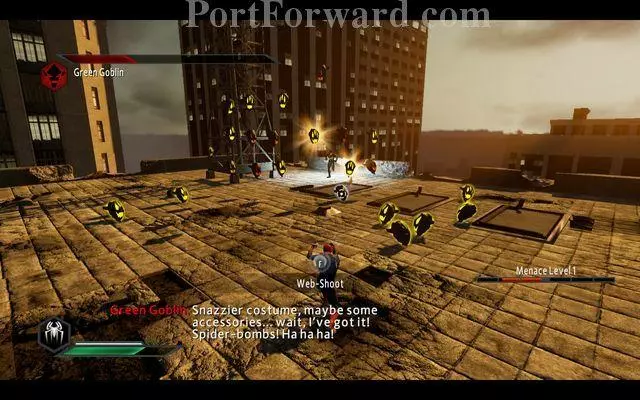
After you end the flight, you return to the rooftop. The Goblin will be surrounded by bombs that protect him. Just like earlier, shoot the web at them and throw the deactivated bombs at the opponent.
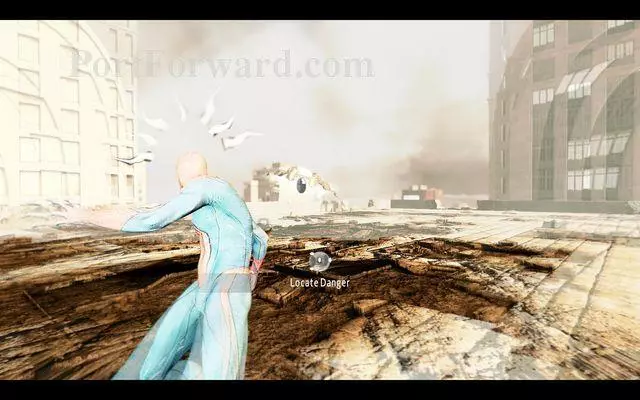
As soon as the opponent's health drops to zero, the danger detection mode will activate. Behind your back, as you look towards the bigger fragment of the wall, the glider will approach so, press the action button to dodge from it. This is where the battle ends.
More The Amazing Spider Man 2 Walkthroughs
This The Amazing Spider Man 2 walkthrough is divided into 12 total pages.


