The Amazing Spider Man 2 Walkthrough No one is Safe!

September 12, 2016 (Last Updated: ) | Reading Time: 7 minutes

This The Amazing Spider Man 2 walkthrough is divided into 12 total pages.

You can jump to nearby pages of the game using the links above.

No one is Safe!

The Amazing Spider Man 2 Walkthrough - The Amazing-Spider-Man-2 76

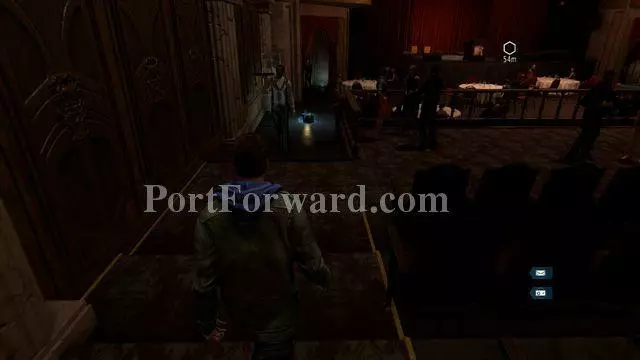
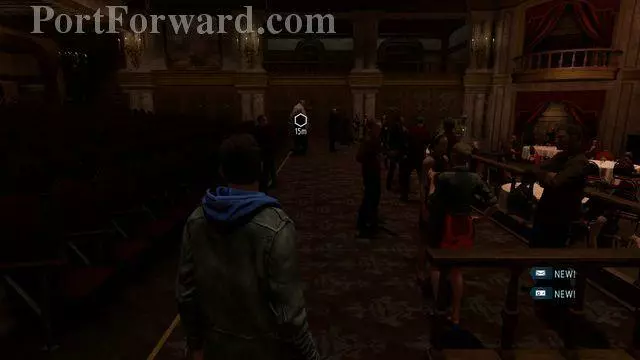
Go to the theater. Once there, after you end the conversation, go left, where there is audiolog #6 behind the armchairs.

The Amazing Spider Man 2 Walkthrough - The Amazing-Spider-Man-2 77

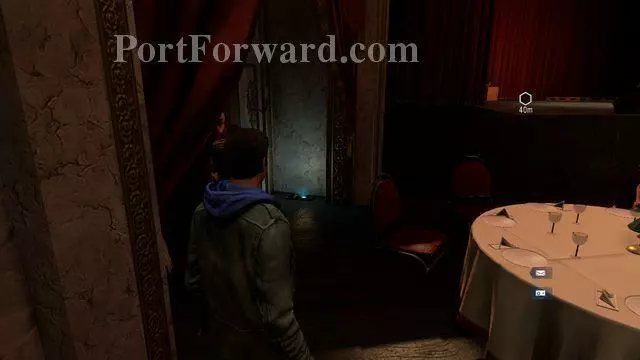
TO the left of the stage, behind the table, there is audiolog #7.

The Amazing Spider Man 2 Walkthrough - The Amazing-Spider-Man-2 78

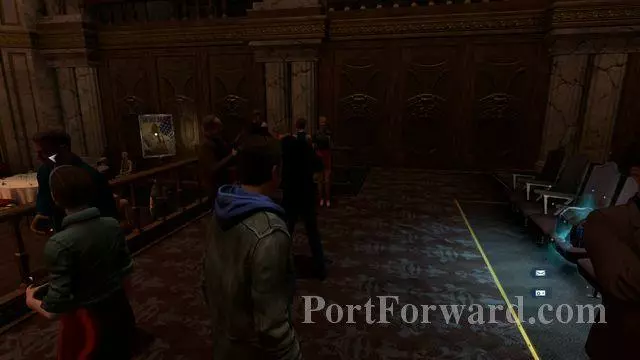
In one of the armchairs, in the front row, there is an upgrade crate.

The Amazing Spider Man 2 Walkthrough - The Amazing-Spider-Man-2 79

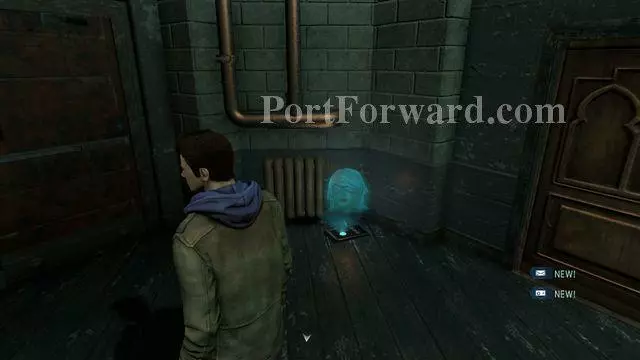
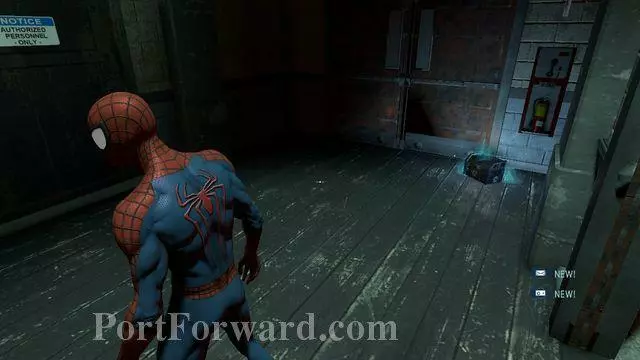
Walk through the door, into the corridor. Across the door, there is audiolog #8.

The Amazing Spider Man 2 Walkthrough - The Amazing-Spider-Man-2 80

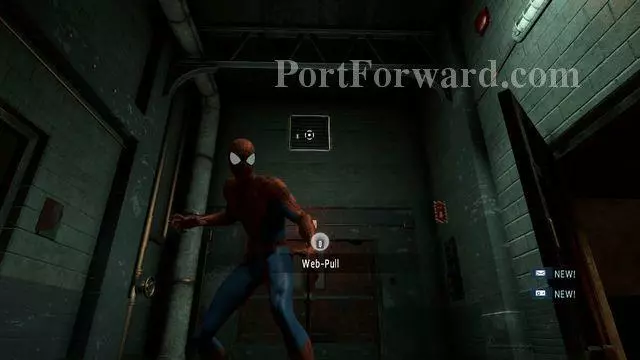
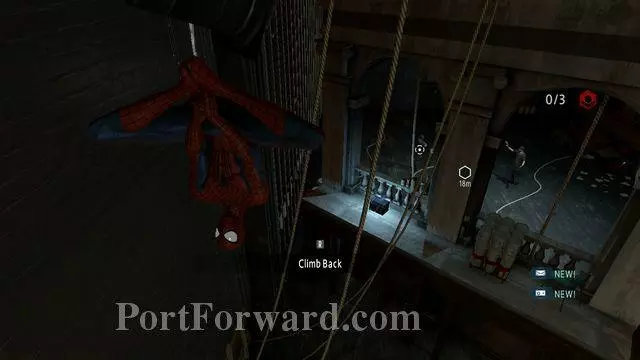
Approach the door opened ajar, to put on the outfit. Use the web to remove the grate and enter the venting shaft.

The Amazing Spider Man 2 Walkthrough - The Amazing-Spider-Man-2 81

After you walk out, you will notice three hostages and the Russians guarding them. Eliminate them.

The Amazing Spider Man 2 Walkthrough - The Amazing-Spider-Man-2 82

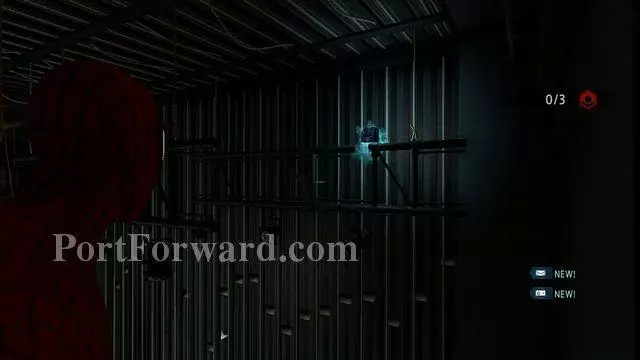
To the left of the venting shaft exit, there is an upgrade crate.

The Amazing Spider Man 2 Walkthrough - The Amazing-Spider-Man-2 83

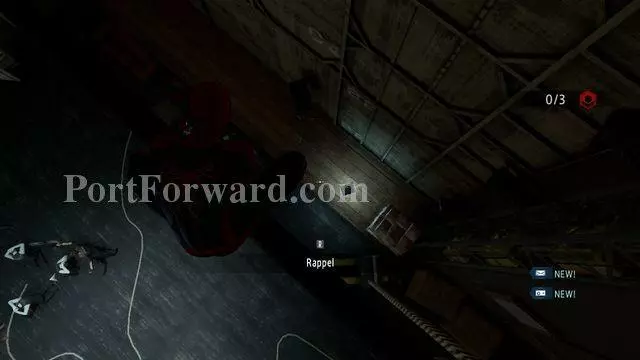
On the left side of the room, there is another crate, on the boards at the wall.

The Amazing Spider Man 2 Walkthrough - The Amazing-Spider-Man-2 84

Approach the models at the end of the room. On the wooden scaffolding, there is audiolog #9.

The Amazing Spider Man 2 Walkthrough - The Amazing-Spider-Man-2 85

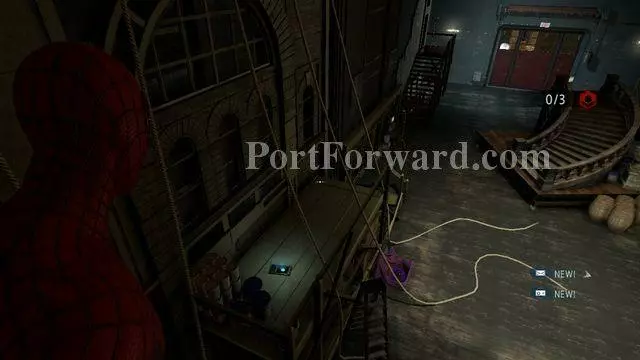
You can find one more crate at the other side of the balustrade of the model with white columns.

The Amazing Spider Man 2 Walkthrough - The Amazing-Spider-Man-2 86

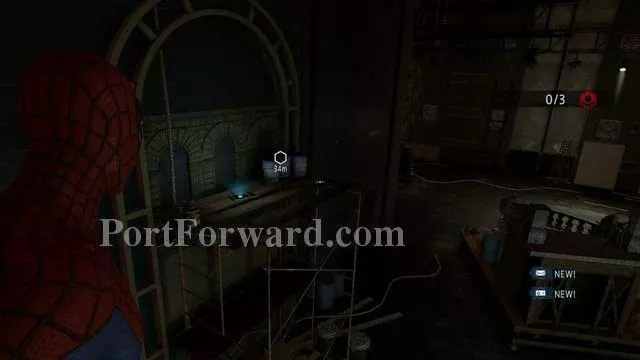
Audiolog #10 is at the exit gate, on the scaffolding at the wall.

The Amazing Spider Man 2 Walkthrough - The Amazing-Spider-Man-2 87

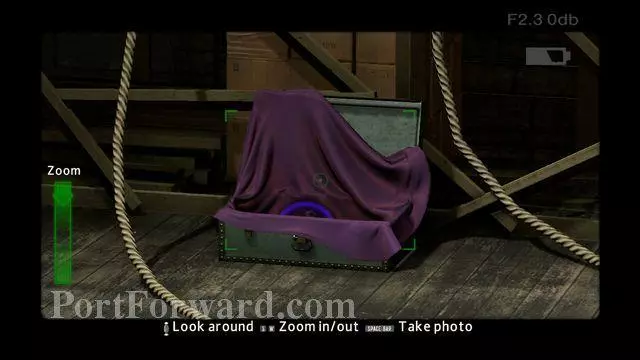
Take a photo of the chest with violet cloth, to obtain Jameson's Photo #3. It is on the floor, at the wall with the model.

The Amazing Spider Man 2 Walkthrough - The Amazing-Spider-Man-2 88

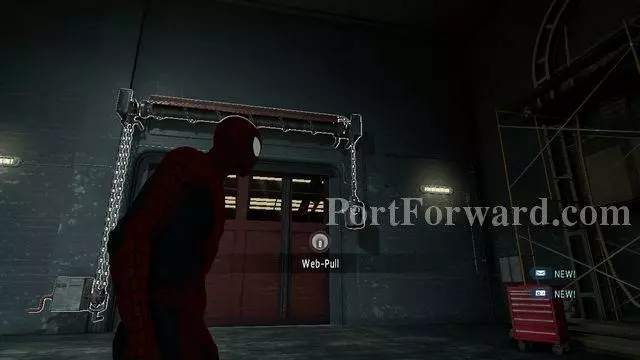
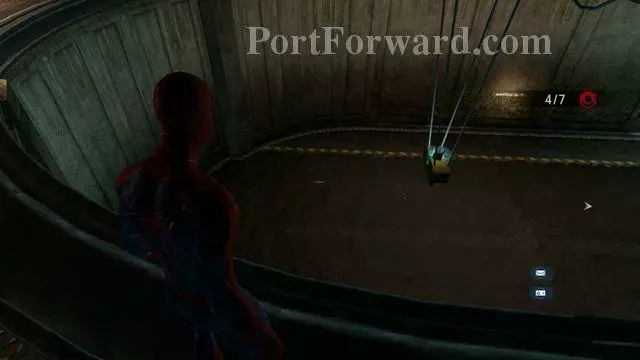
Once you deal with the opponents and free the hostages, you can open the gate. Use the web to pull the weight and hop to the other side, quickly, because the gate will soon slam shut.

The Amazing Spider Man 2 Walkthrough - The Amazing-Spider-Man-2 89

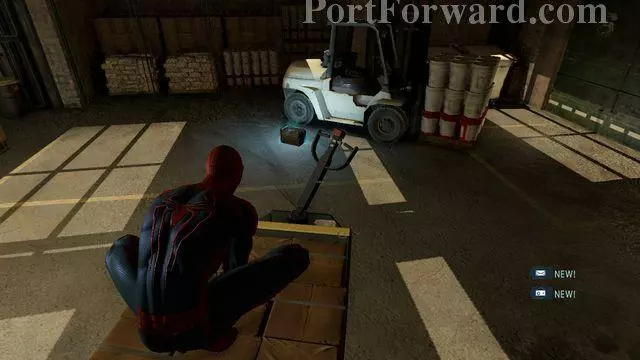
Another upgrade crate is next to the forklift.

The Amazing Spider Man 2 Walkthrough - The Amazing-Spider-Man-2 90

The final crate at the theater is on the left side, across the door to the corridor.

The Amazing Spider Man 2 Walkthrough - The Amazing-Spider-Man-2 91

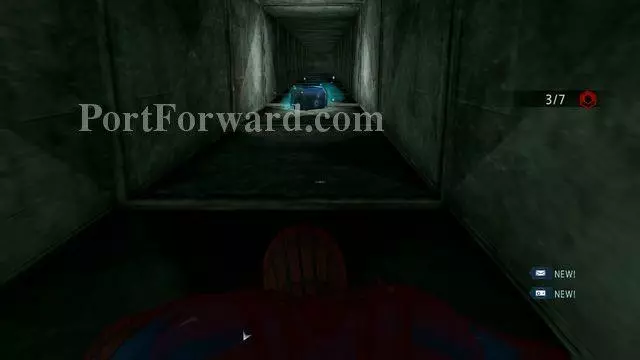
Behind the curve of the corridor, time slows down - you need to look right, where the opponent is attacking from. Press the action key to dodge.

The Amazing Spider Man 2 Walkthrough - The Amazing-Spider-Man-2 92

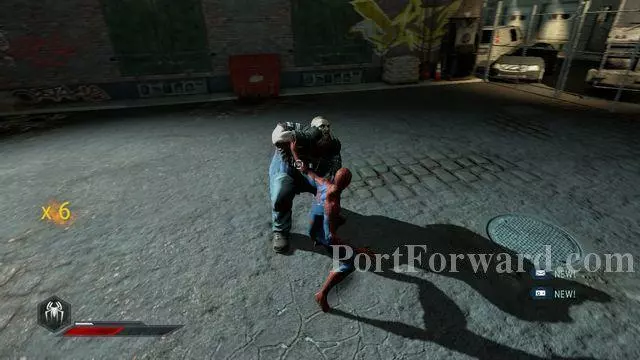
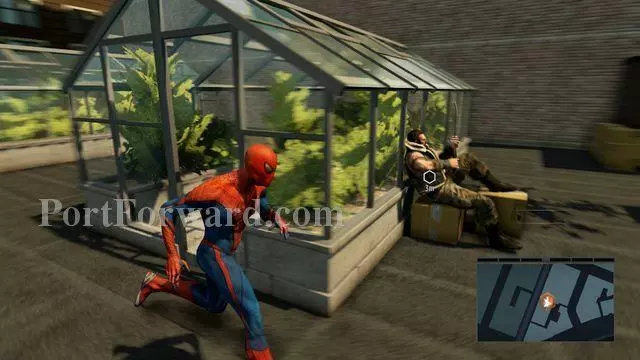
Outside, deal with the Brute and the three goons. Remember that, to deal a blow to the larger opponent, you need to use the Seismic-Blast before that.

The Amazing Spider Man 2 Walkthrough - The Amazing-Spider-Man-2 93

After the battle, you will return to the theater. Approach the counter, first, and talk to Fisk. Now, you can leave the theater.

The Amazing Spider Man 2 Walkthrough - The Amazing-Spider-Man-2 94

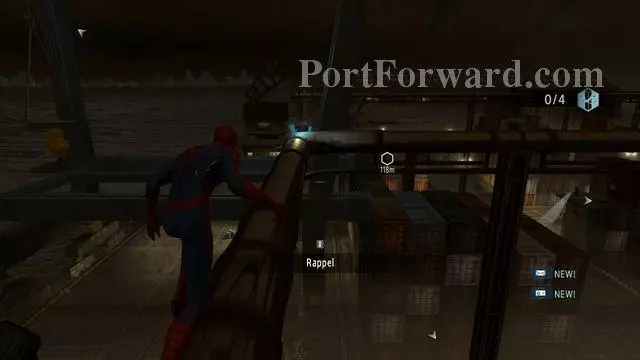
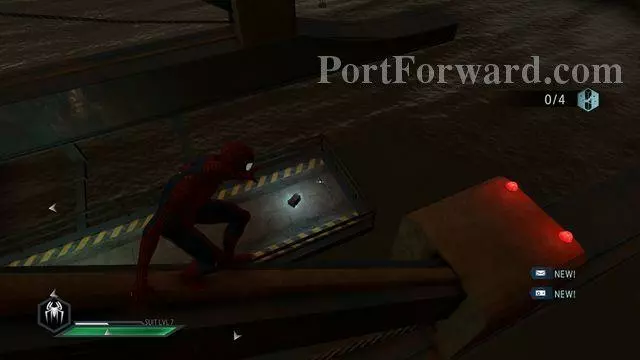
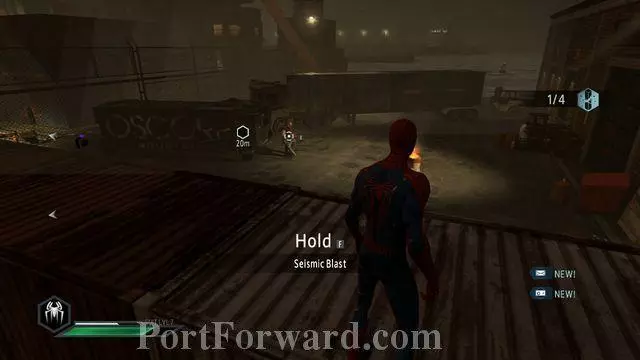
After you reach the docks, walk over pipes. In the spot where the pipes curve, you will notice an upgrade crate.

The Amazing Spider Man 2 Walkthrough - The Amazing-Spider-Man-2 95

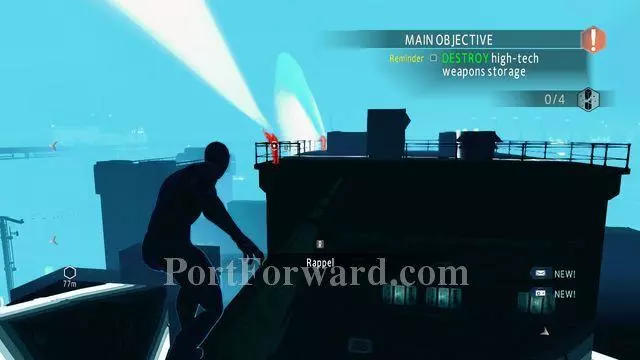
First of all, deal with the snipers from the building on the right. You can take them both out silently, by approaching them from behind.

The Amazing Spider Man 2 Walkthrough - The Amazing-Spider-Man-2 96

On the lower roof of the same building (to the right of the entrance) there is the second crate.

The Amazing Spider Man 2 Walkthrough - The Amazing-Spider-Man-2 97

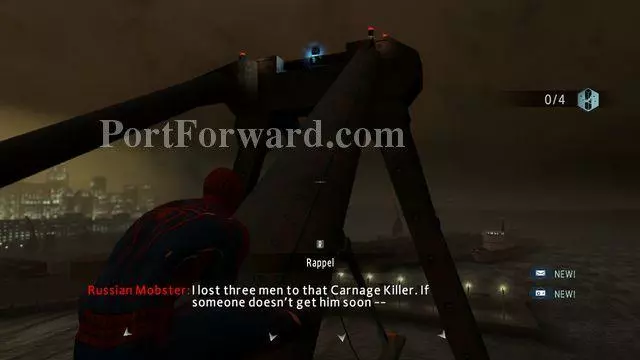
Get now to the tall crane on the left. Atop the crane, there is a crate.

The Amazing Spider Man 2 Walkthrough - The Amazing-Spider-Man-2 98

At the other end of the crane, there is another upgrade crate.

The Amazing Spider Man 2 Walkthrough - The Amazing-Spider-Man-2 99

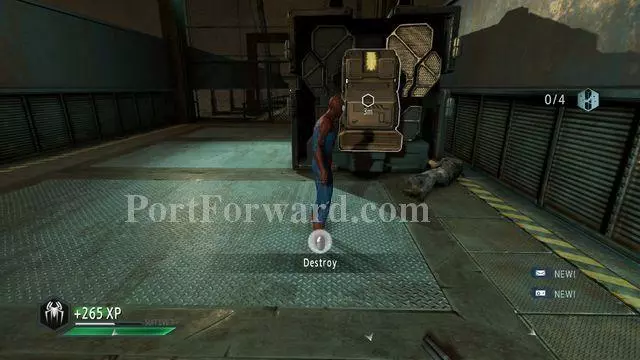
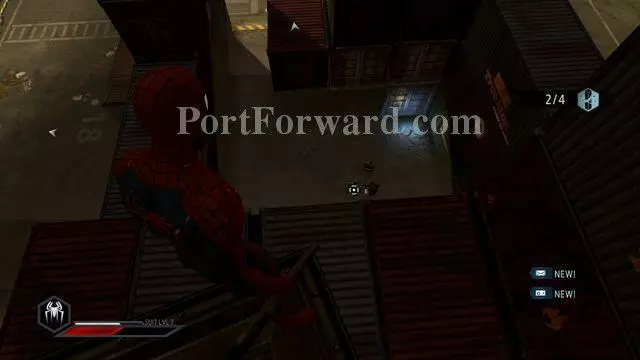
Get rid of the criminals guarding the device and destroy it.

The Amazing Spider Man 2 Walkthrough - The Amazing-Spider-Man-2 100

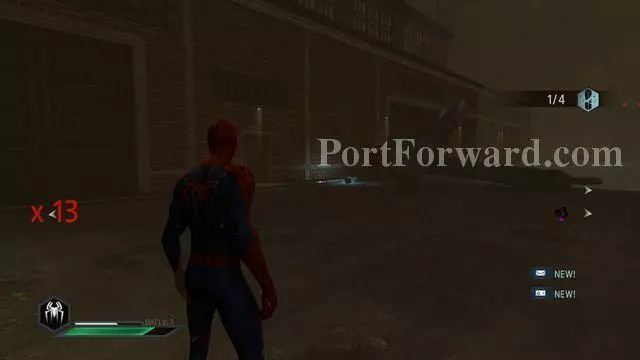
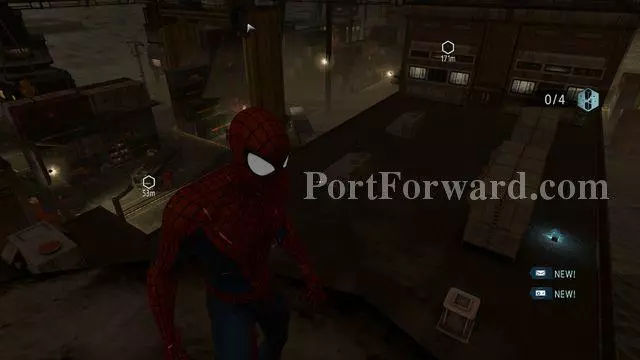
Make it over to the building opposite the entrance. In front of it, closer to the bay, there is a crate.

The Amazing Spider Man 2 Walkthrough - The Amazing-Spider-Man-2 101

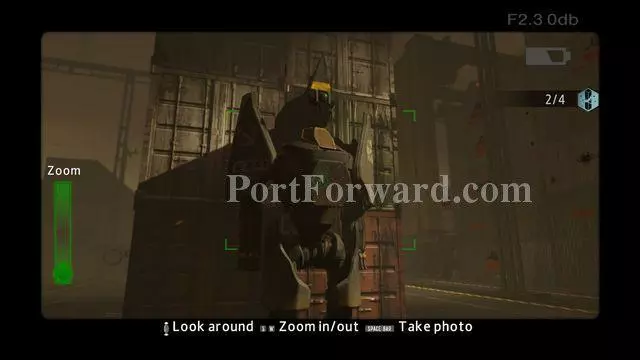
Turn back and opposite the building next to containers, you will notice a robot. Approach it and take a photo for the collection Jameson's Photo #4.

The Amazing Spider Man 2 Walkthrough - The Amazing-Spider-Man-2 102

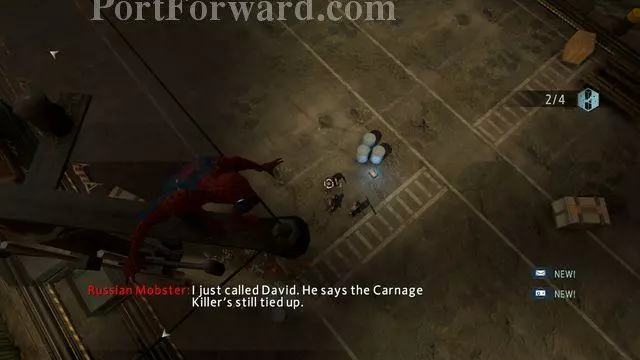
"The next device is being guarded by a Brute. Defeat it with the Seismic-Blast and combos. Then, destroy the device.

The Amazing Spider Man 2 Walkthrough - The Amazing-Spider-Man-2 103

Among the containers, there is an upgrade crate. The three enemies can be eliminated by throwing the crate, suspended from the crane, onto them. However, you then need to use the spider web, quickly, to tie them to the ground.

The Amazing Spider Man 2 Walkthrough - The Amazing-Spider-Man-2 104

The next upgrade crate is among the containers, towards the entrance.

The Amazing Spider Man 2 Walkthrough - The Amazing-Spider-Man-2 105

The ninth upgrade crate is at the barrels, at the docks entrance.

The Amazing Spider Man 2 Walkthrough - The Amazing-Spider-Man-2 106

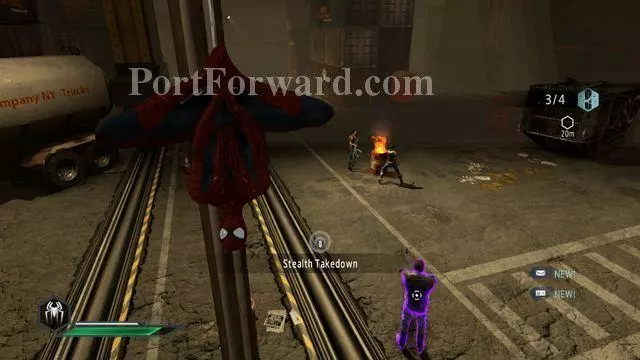
Go towards the hangar on the right. At the flaming barrel, there are two Speeds. First of all, eliminate the guard from above, to prevent being spotted, and throw a gas barrel at the women, which is located to the right of them (requires Throw skill).

The Amazing Spider Man 2 Walkthrough - The Amazing-Spider-Man-2 107

Do not forget to tie them to the ground, before they get back up.

The Amazing Spider Man 2 Walkthrough - The Amazing-Spider-Man-2 108

In front of the hangar entrance, there is tall wall of containers - inside, there is an upgrade crate.

The Amazing Spider Man 2 Walkthrough - The Amazing-Spider-Man-2 109

The last upgrade crate is on the hangar's rooftop.

The Amazing Spider Man 2 Walkthrough - The Amazing-Spider-Man-2 110

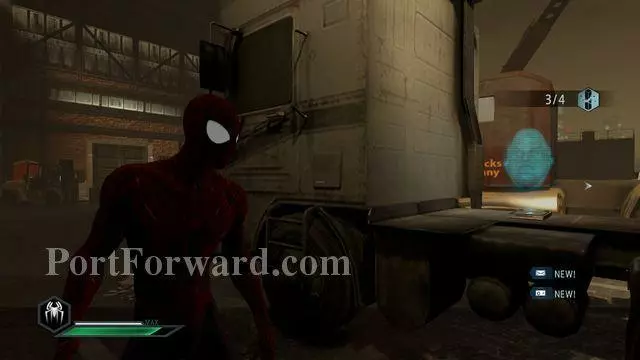
Audiolog #11 can be found at the hangar on the right, on the whit truck in front of the entrance.

The Amazing Spider Man 2 Walkthrough - The Amazing-Spider-Man-2 111

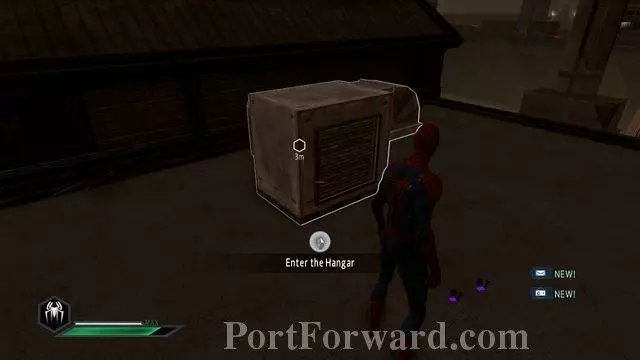
The warehouse is the last building on the right. On the rooftop, there is a venting shaft, which you can take to get inside.

The Amazing Spider Man 2 Walkthrough - The Amazing-Spider-Man-2 112

After you enter, you will notice a hostile sniper - take him out quietly.

The Amazing Spider Man 2 Walkthrough - The Amazing-Spider-Man-2 113

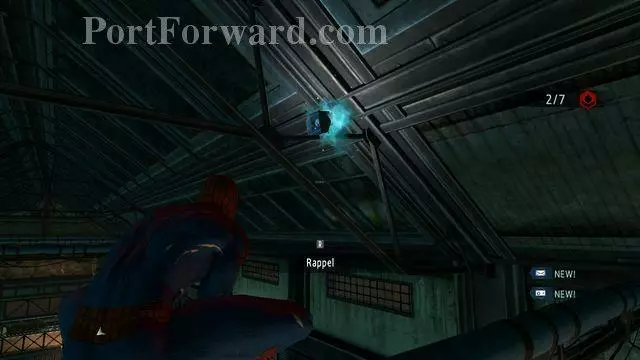
Jump onto the pipes under the ceiling. On the right, you will notice a crate.

The Amazing Spider Man 2 Walkthrough - The Amazing-Spider-Man-2 114

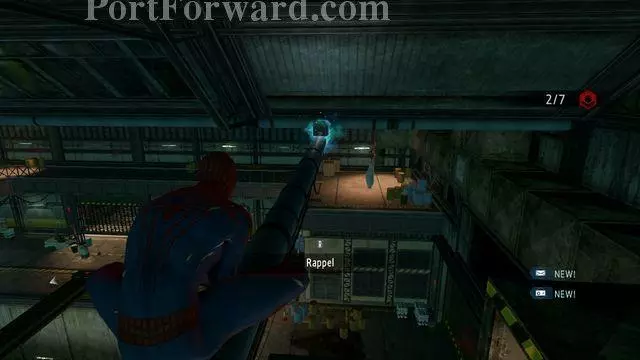
The second upgrade crate is on the same pipe, at the other side.
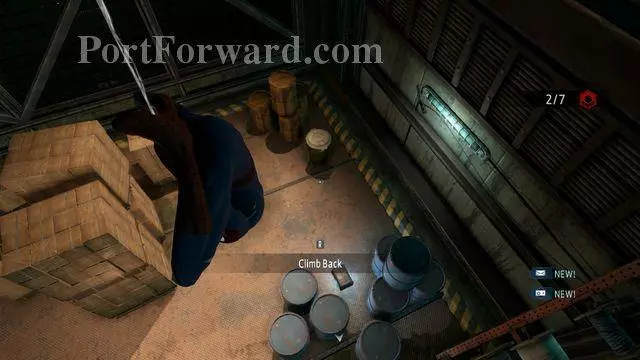
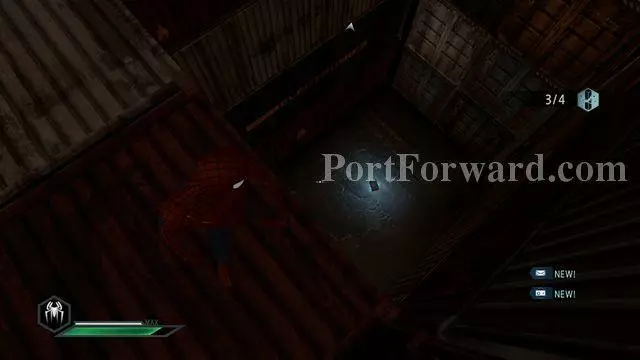
The Amazing Spider Man 2 Walkthrough - The Amazing-Spider-Man-2 115

"Upgrade crate #3

The Amazing Spider Man 2 Walkthrough - The Amazing-Spider-Man-2 116

Climb into the venting shaft, where you will find the fourth upgrade crate.

The Amazing Spider Man 2 Walkthrough - The Amazing-Spider-Man-2 117

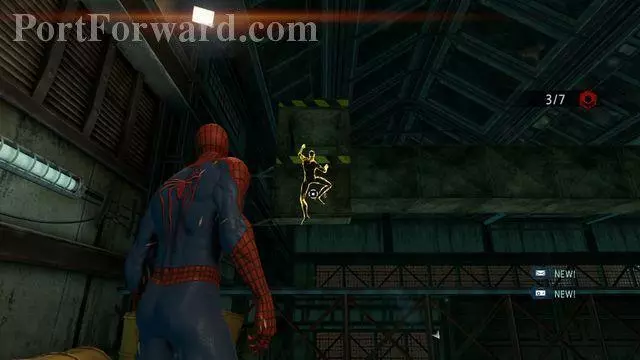
In the venting shaft, you will find the last-but-one upgrade crate.

The Amazing Spider Man 2 Walkthrough - The Amazing-Spider-Man-2 118

The fifth crate is on the catch of the crane, at the end of the shaft.

The Amazing Spider Man 2 Walkthrough - The Amazing-Spider-Man-2 119

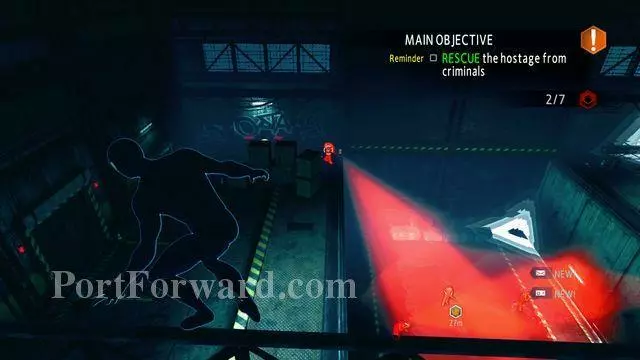
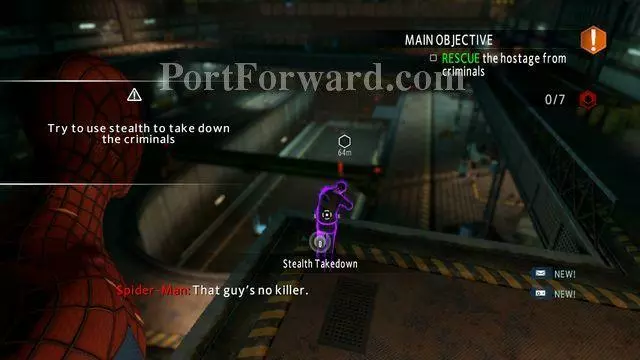
The hostage is being watched by snipers, from both sides. First of all, take out the one on the left. Then, the other one.

The Amazing Spider Man 2 Walkthrough - The Amazing-Spider-Man-2 120

Get rid of the last three opponents. Then, free the hostage.

The Amazing Spider Man 2 Walkthrough - The Amazing-Spider-Man-2 121

The next mission consists of two activities only: first, meet up with Kraven.

The Amazing Spider Man 2 Walkthrough - The Amazing-Spider-Man-2 122

After the cutscene, you will start the fight with Cletus Kasady. The fight is a piece of cake, because the opponent is neither tough, nor does he have any superpowers. You can use all of the techniques that you know, on him. After the battle, walk over to the destination point of the next mission.

More The Amazing Spider Man 2 Walkthroughs

This The Amazing Spider Man 2 walkthrough is divided into 12 total pages.

More From Portforward