
This The Amazing Spider Man 2 walkthrough is divided into 12 total pages.
You can jump to nearby pages of the game using the links above.
The Kingpin of Crime!
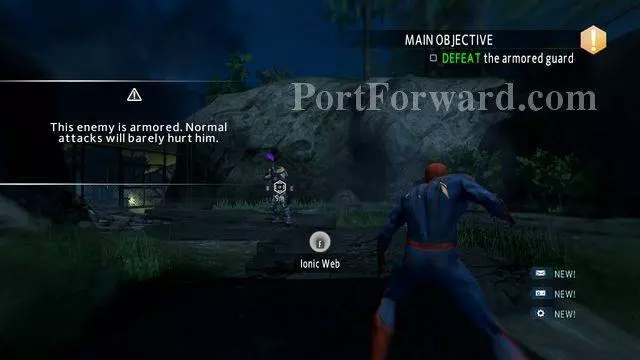
Reach the destination point and hide inside the truck's trailer, in front of the entrance. To climb the trailer, shoot the door with the web. Now you have the Ion-Web power, which will allow you to destroy the OSCORP crates and the yellow armors of the enemies from Task Forces.
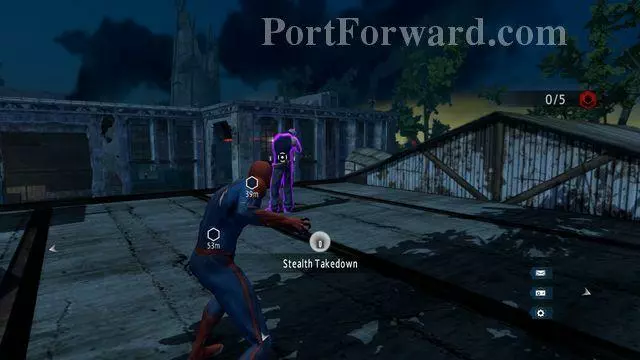
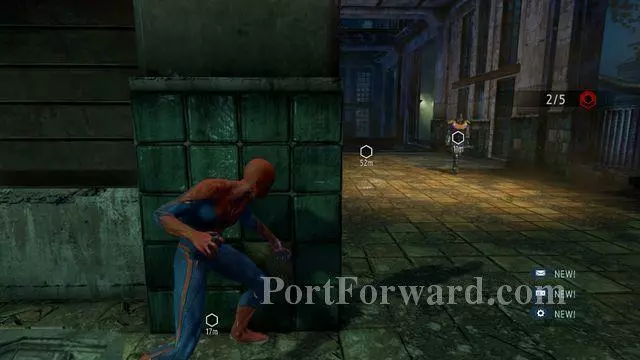
First of all, climb onto the building on the right. On the rooftop, locate the sniper and attack him by surprise. Now jump over to the rooftop of the next building.

Another two opponents are also looking down and they do not suspect anything - eliminate them by surprise.

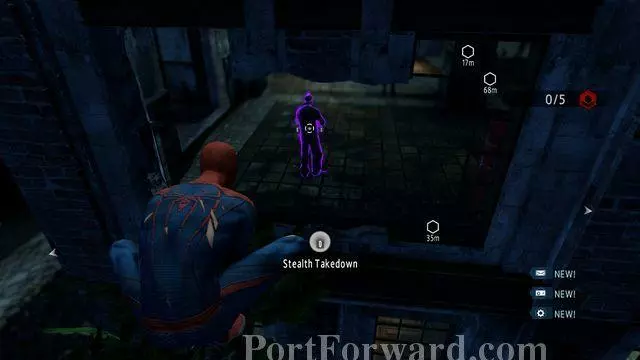
Through the hole in the roof, you will notice a guard patrolling below. Slide down the rod to eliminate him. Then, return to the rooftop.
While sitting on the tree, next to the building, you can grab one of the opponents, who is standing with his back turned at you. Then, gain access into the building and get to the ceiling.
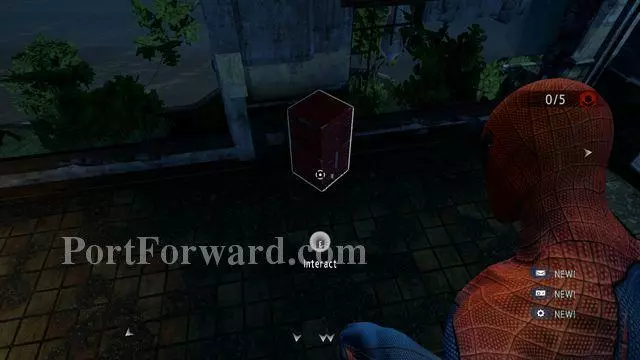
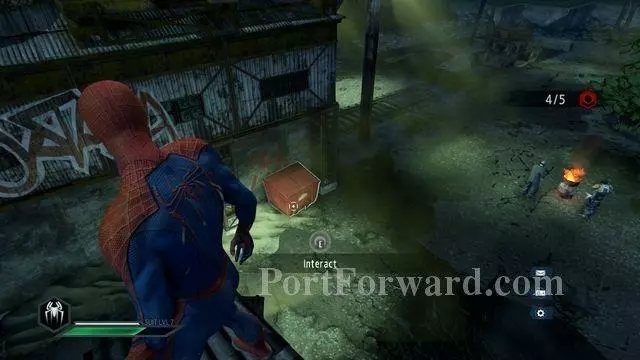
From the side of the window, through which you entered, you will notice a red cabinet. Use the web to throw it at the opponents, next to the fire. Then, jump down and pin them to the ground, before they wake up. Now, deal with the opponent on the bridge, between the buildings, above the sewer leading outside.
Return onto the first building. Behind the building, on the side of the rocks, there is a lonely guard. Eliminate him silently, from the tree or the wall. Return to the rooftop.
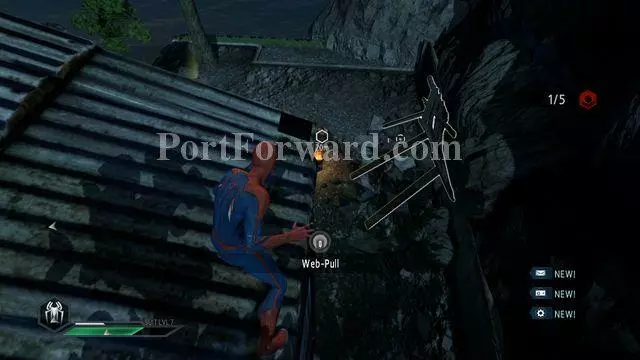
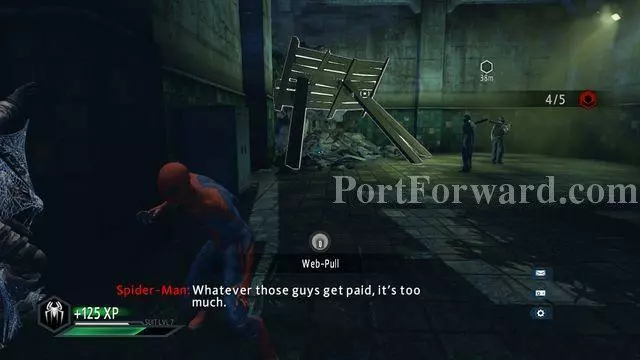
Approach the edge, where you will notice two opponents at the fire. Use Web-Pull on the beams to the right, which will fall onto the enemies and knock them down. Entangle them with the web.
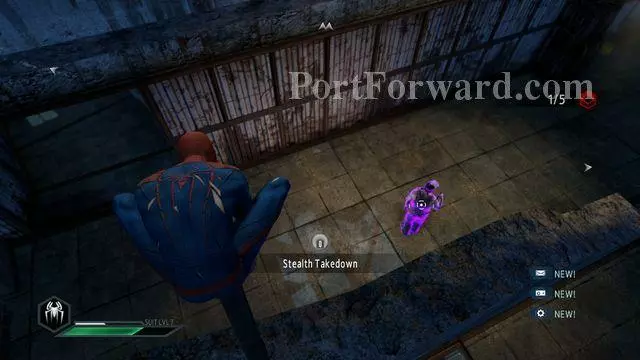
You can now enter the first building. Inside, you will find two guards - you can eliminate both of them from above, without being spotted.
From the side of the tree at the second building, on the ground floor, you will find a crumbling wall. Enter and wait at the edge of the wall. Eliminate the opponent in the yellow armor silently and return to the sewer between the buildings.

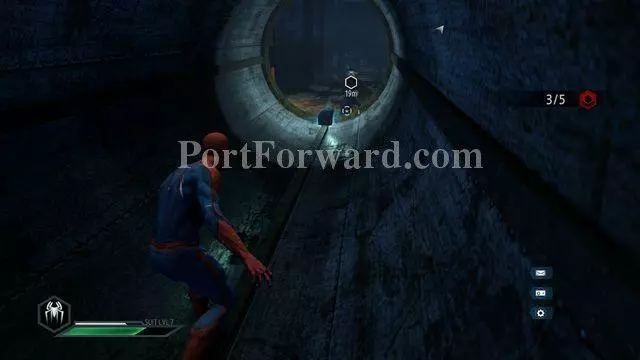
Enter the pipe, from the side of the water, where you will find a sniper at the end, facing away. After you have dealt with him, climb into a height (the ceiling or a pillar) and eliminate the other, patrolling, guard.
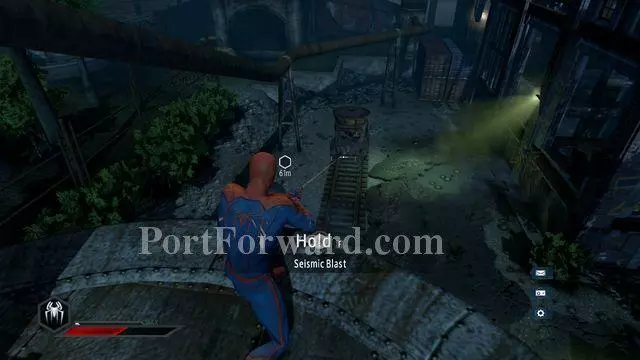
In the corner of the room, you will notice beams holding up a landslide. Destroy them to distract the opponents in front of it, and entangle them with the web.
Finally, get over to the rooftop of the third building, in the corner of the map. There, you will notice two snipers. Deal with them.
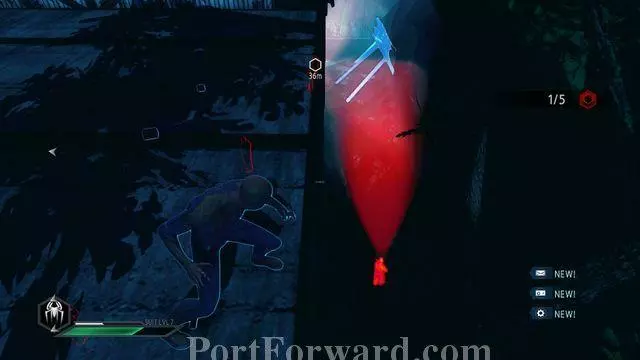
From the rooftop below, you will notice a red container - grab it and throw it at the guards next to the fire. Then, immobilize them.
Return onto the rooftop, so that you overlook rails. Use Web-Pull, to pull the cart (twice) and knock off the enemy inside the building (Brute).
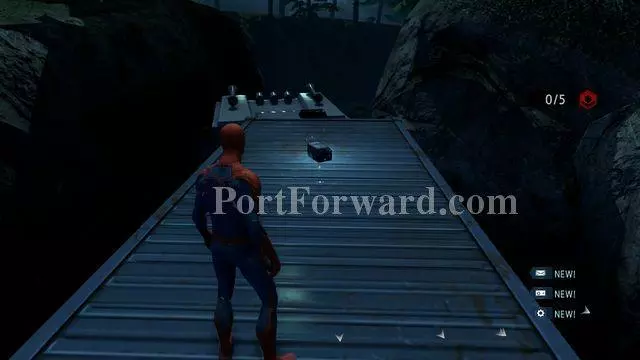
The first crate is on the roof of the trailer, over which you climb at the beginning of the mission.
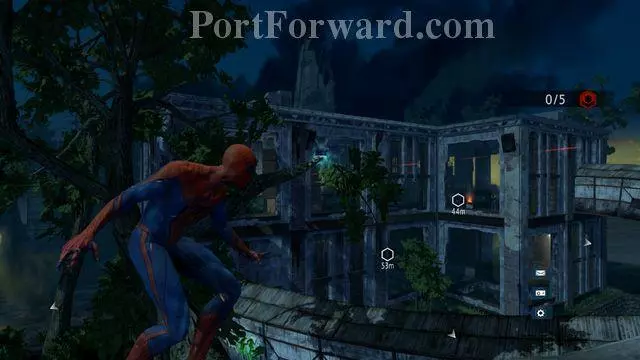
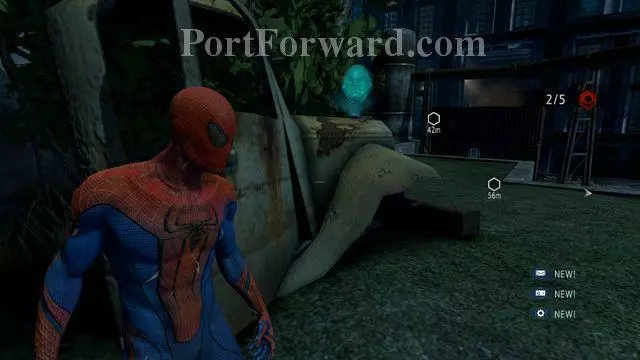
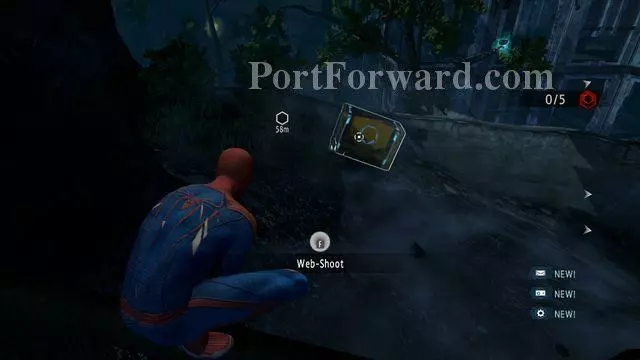
The second crate is on the tree, in front of the middle building.
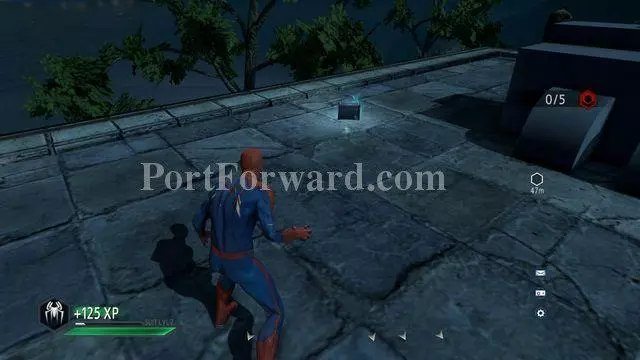
The third crate is on the rooftop of the building in the middle of the location.
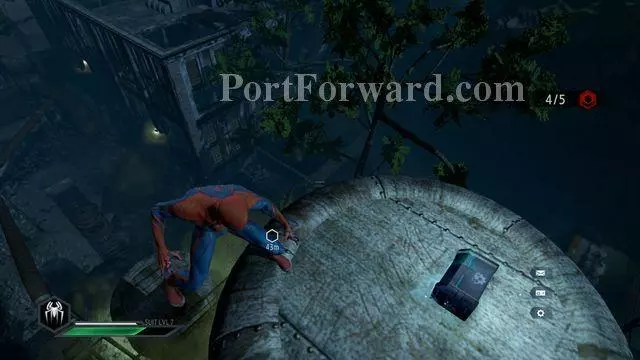
Another crate is in the middle of the map inside of the damaged tower.
Inside the building on the left of the map, at the end of the rails, you will find the fifth upgrade crate.
The sixth crate is in the highest point of the building in the left corner of the location (the one with the rails).
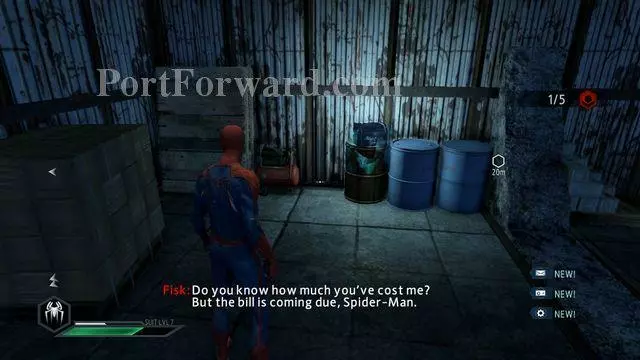
The seventh crate is on the barrel inside the first building, to the right of the entrance to the location.
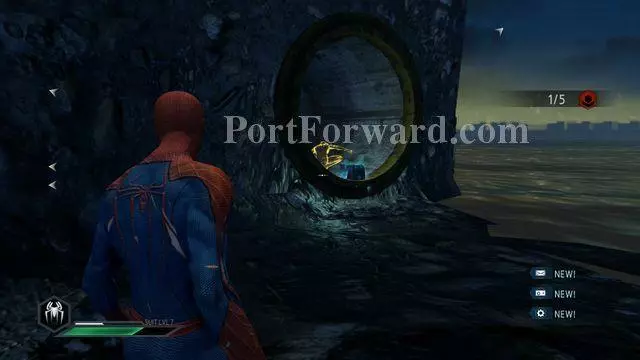
Crate #8 is atop the entrance to the pipe, from the side of the water.
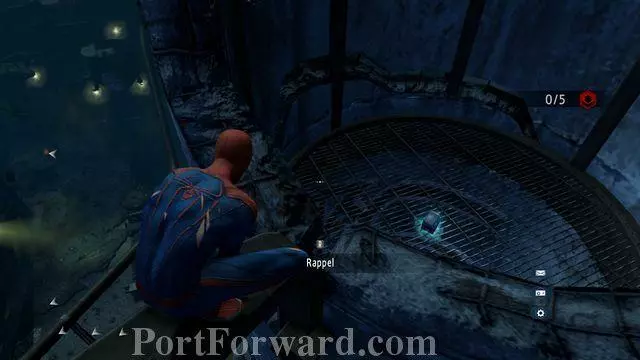
The ninth crate is at the end of the sewer pipe towards level -1 of the building in the middle.
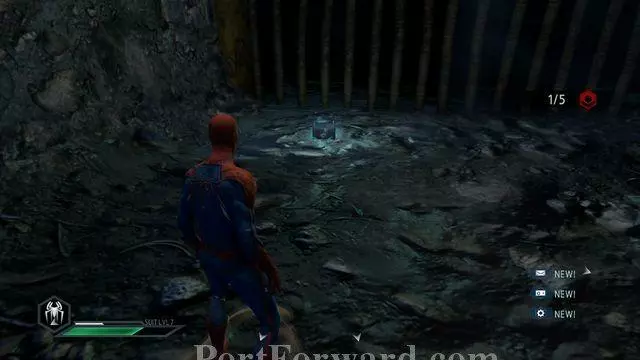
Upgrade crate #10 is located at the end of the tunnel, in the middle of the map.

You can find the last-but-one crate under the first building, to the right of the entrance.

The last crate is on the pile of rubble, at the building on the left side of the map.
The sixteenth audiolog is on the hood of the car, next to the destroyed tower.
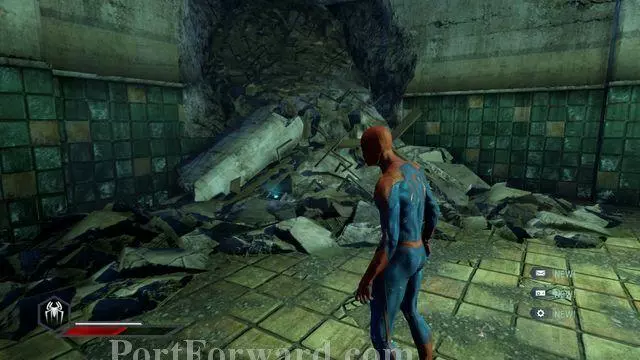
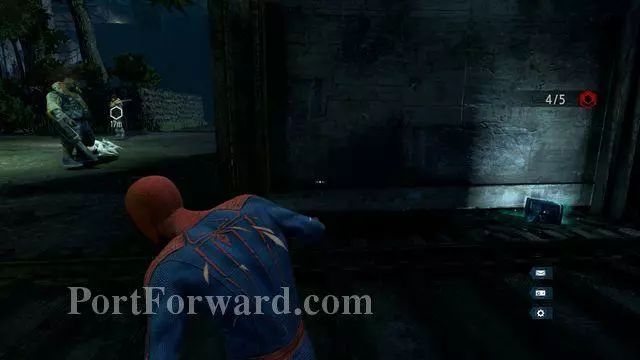
Audiolog #17 is in the underground of the building in the middle. It is on the heap of rubble, in the corner of the room.
Another audiolog is in the corner of the building in the middle, on the side of the entrance to the location, next to the tree.
Audiolog #19 can be found under the first building, to the right of the entrance. It is on the ground.
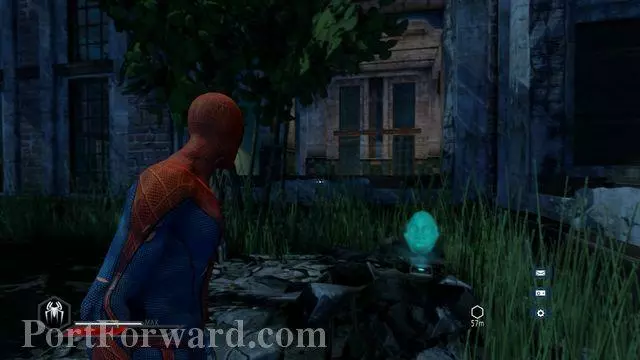
The photo, which you need to take as the seventh one, is the green shirt located under the building, on the left side of the location, next to the spot illuminated by the lamp.
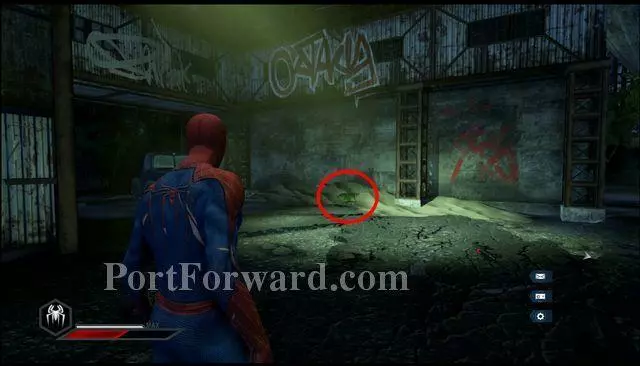
Past the entrance to the location, you will notice an orange OSCORP crate, the only one located in the missions. Smash it, using the Web-Shoot, after you gain the Ion-Web in the previous mission.
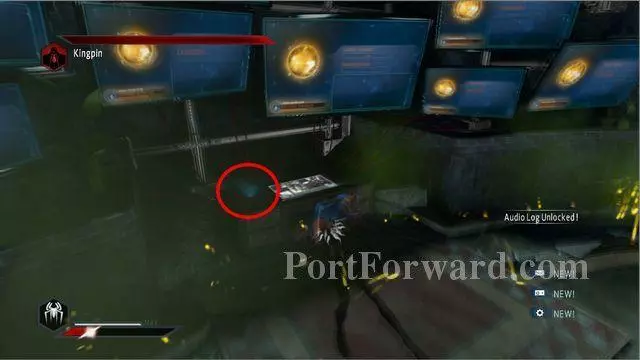
Unusually, as for a boss battle, before you begin, approach the desk and collect audiolog #20.
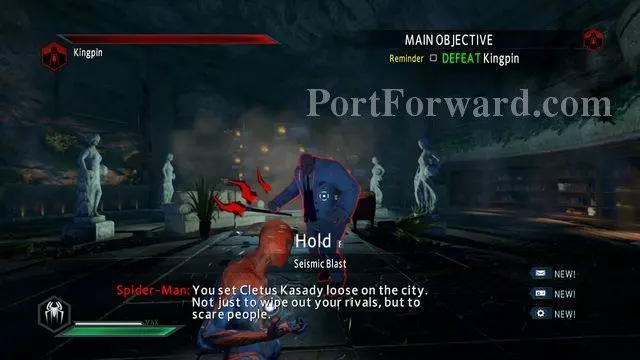
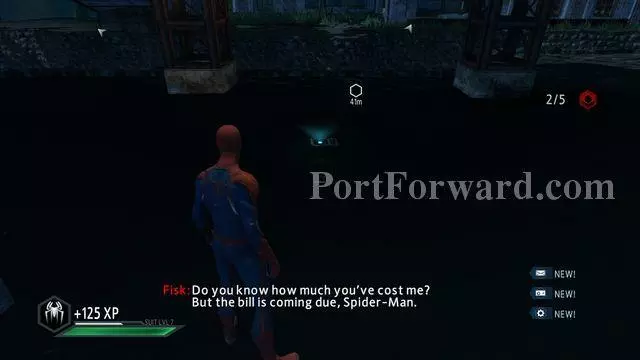
Finally, you are going to fight a boss. Kingpin performs four types of attacks: charge, attack in the position, beam attack and AoE attack. As for the AoE attack, he hits his cane against the ground, at which point you need to stay within a long distance. When it comes to the attack in the position, you need to dodge, just like in the case of the beam attack, also with the cane. Using the Stun-Blast will allow you to break the boss's attack.
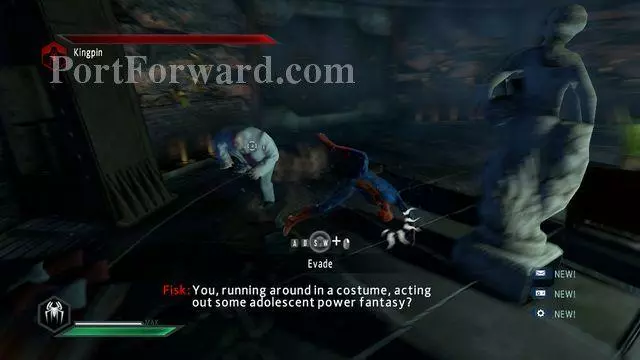
The key to success is to let the opponent perform his charge, dodge and allow him to slam against the wall. Once he is stunned, you can land 4-5 quick blows. For as long as he is stunned, you can get away from him and regenerate health.
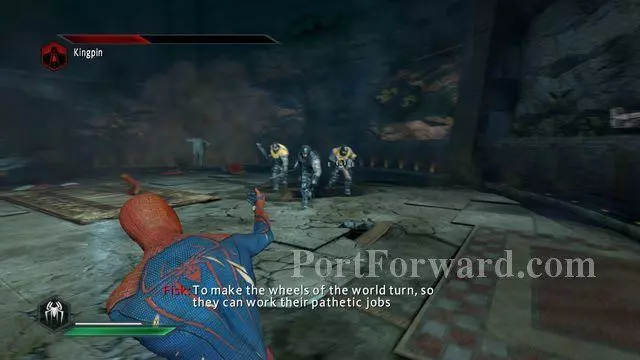
As soon as the boss's health falls to 2/3 of the initial level, he will summon reinforcements. The first time he does that, two armored opponents will arrive. The second time around (1/3 of health), it is going to be three opponents. To destroy their armors, you need to shoot web and, when there are more than one next to you, use Stun-Blast, to toss them away. Also Kingpin will be trying to hit you, for the whole time but, as long as you do not incapacitate the guards, dodge from his attacks.
More The Amazing Spider Man 2 Walkthroughs
This The Amazing Spider Man 2 walkthrough is divided into 12 total pages.


