The Amazing Spider-Man Walkthrough Spidey to the Rescue

September 12, 2016 (Last Updated: ) | Reading Time: 6 minutes

This The Amazing Spider-Man walkthrough is divided into 16 total pages.

You can jump to nearby pages of the game using the links above.

Spidey to the Rescue

The Amazing Spider-Man Walkthrough - The Amazing-Spider-Man 235

Start off by eliminating the higher guard with stealth attacks. First the ones on the left, finishing off the others normally if they notice you.

With the guards above taken care of, their companions below should pose too much of a threat.

The Amazing Spider-Man Walkthrough - The Amazing-Spider-Man 236

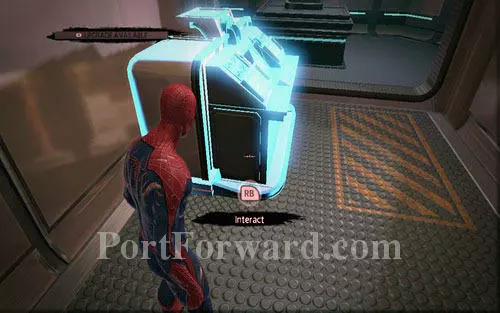
Defeat them and afterwards use the computer inside the small room on the left.

The Amazing Spider-Man Walkthrough - The Amazing-Spider-Man 237

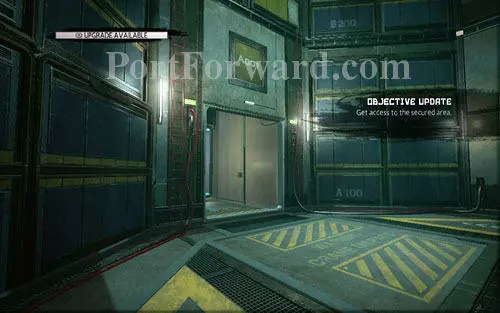
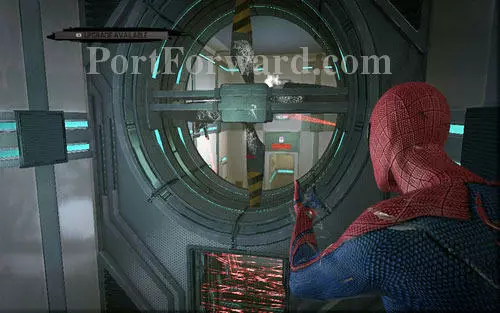
That way you will unlock the door leading to the bigger room, in which the decontamination process will begin.

The Amazing Spider-Man Walkthrough - The Amazing-Spider-Man 238

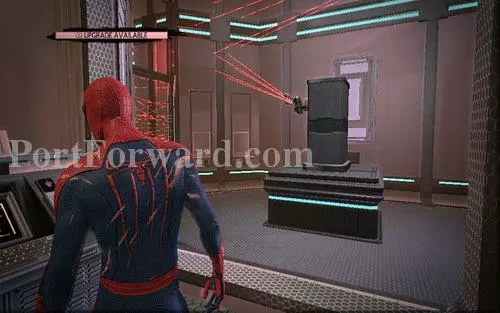
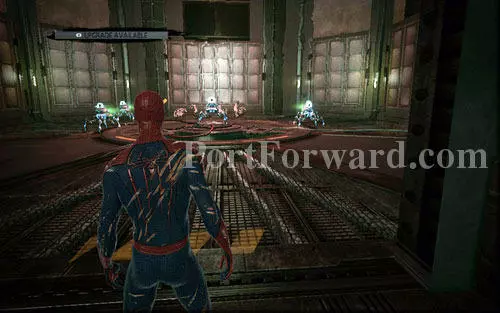
Firstly you need to use the computer on the other side and destroy all the turrets.

The Amazing Spider-Man Walkthrough - The Amazing-Spider-Man 239

That way you will unlock access to four rooms. Unfortunately barriers will regenerate each time an enemy sees you.

The Amazing Spider-Man Walkthrough - The Amazing-Spider-Man 240

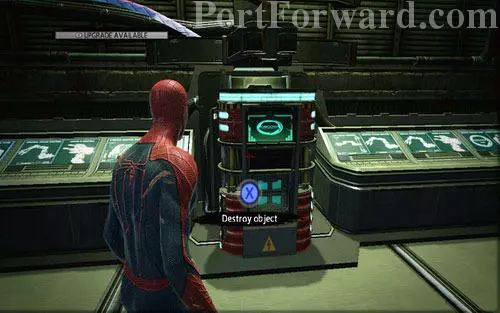
Your objective is defeating the enemies found in each wing and afterwards destroying the generator they're protecting. The machines are always found on the highest floor of a room.

The Amazing Spider-Man Walkthrough - The Amazing-Spider-Man 241

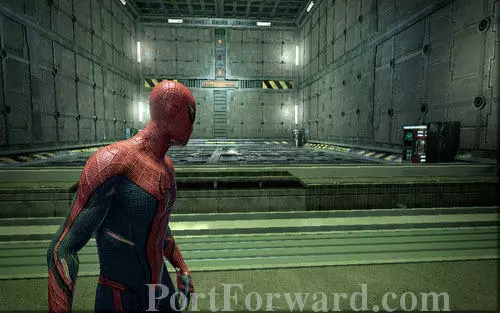
When the last one is destroyed, a big platform will appear in the middle.

The Amazing Spider-Man Walkthrough - The Amazing-Spider-Man 242

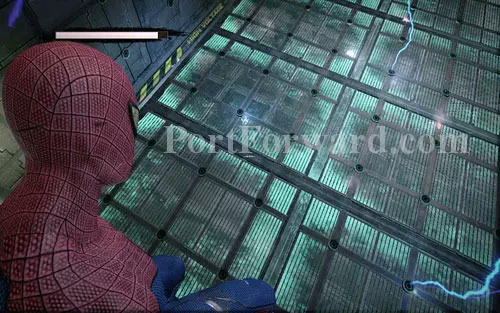
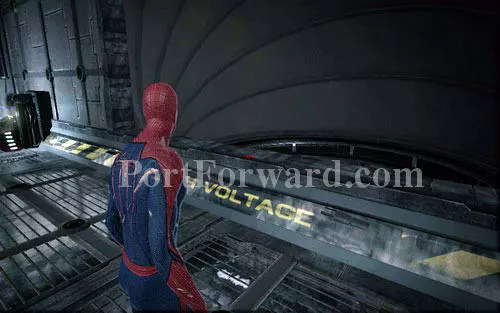
Head inside and quickly grab a wall. Each time you land on the ground, the floor and ceiling will be electrified.

The Amazing Spider-Man Walkthrough - The Amazing-Spider-Man 243

Your mission is destroying the four generators standing near each other. Right after you land by one of them, mash X and afterwards run to a safe spot by pressing LB.

The Amazing Spider-Man Walkthrough - The Amazing-Spider-Man 244

Keep repeating this until all the machines are destroyed and a passage leading to the lower level will be created.

The Amazing Spider-Man Walkthrough - The Amazing-Spider-Man 245

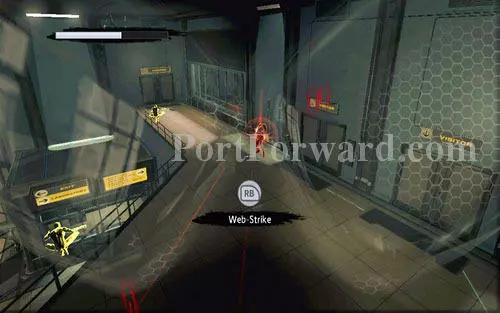
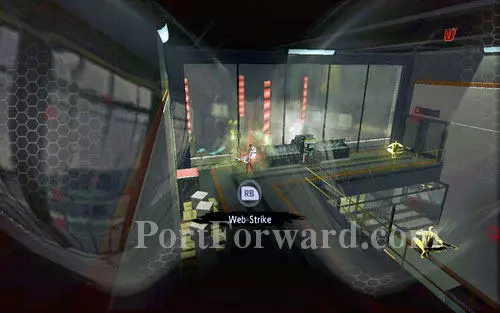
A group of guards awaits you there, you can eliminate them silently or by using spider web.

The Amazing Spider-Man Walkthrough - The Amazing-Spider-Man 246

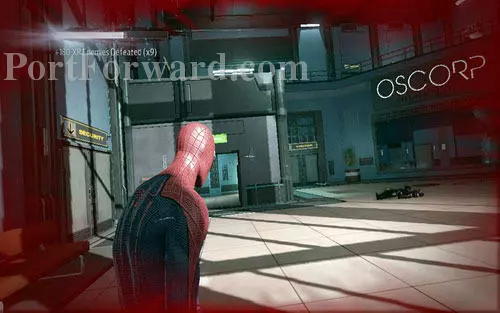
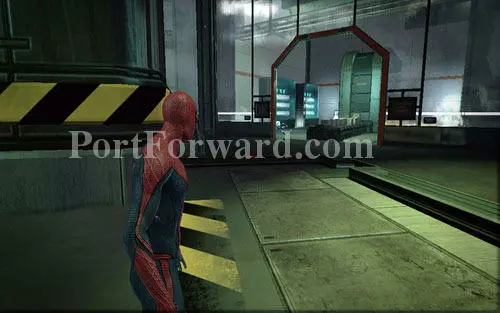
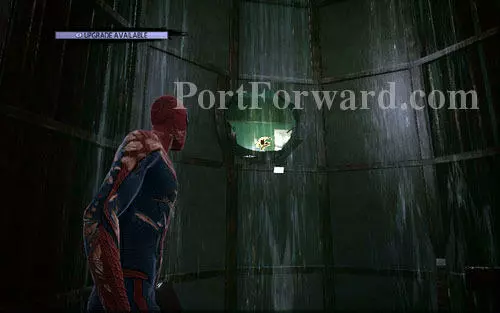
With the last enemy taken care of, head inside the first room on the left. The broken window will let you go even lower.

The Amazing Spider-Man Walkthrough - The Amazing-Spider-Man 247

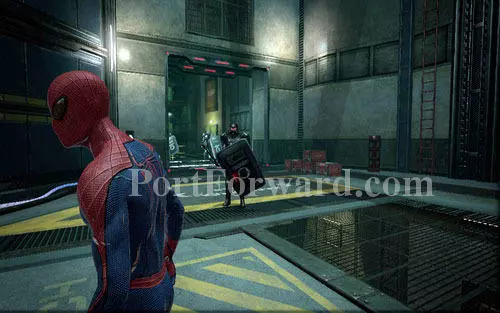
Below, you will have to fight a big group of enemies with shields.

The Amazing Spider-Man Walkthrough - The Amazing-Spider-Man 248

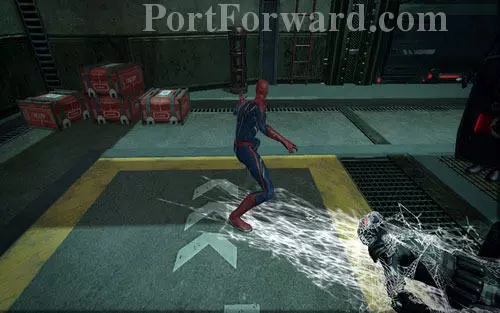
It's easiest to eliminate them by using the tanks by the walls (RB). When the enemies are stunned, stick them to the ground with web (B).

The Amazing Spider-Man Walkthrough - The Amazing-Spider-Man 249

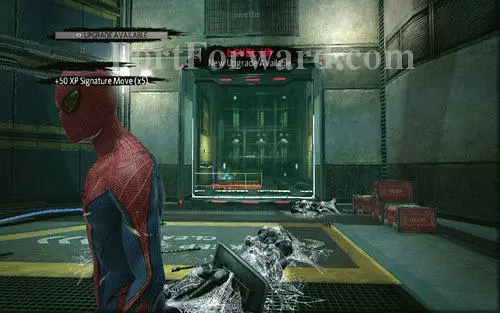
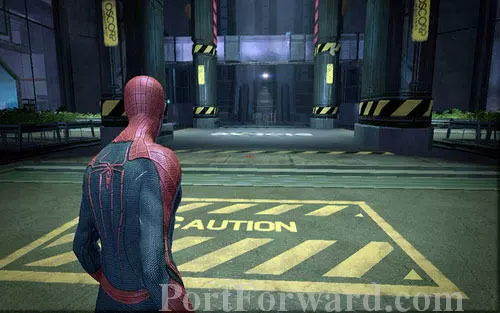
After eliminating the last guard, the door to a new room will open.

The Amazing Spider-Man Walkthrough - The Amazing-Spider-Man 250

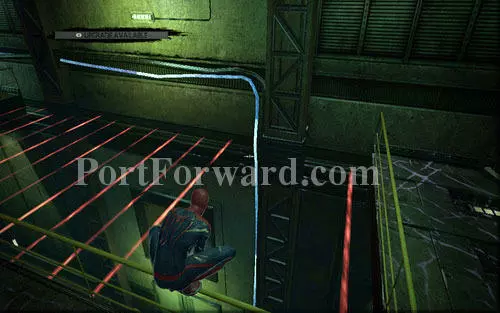
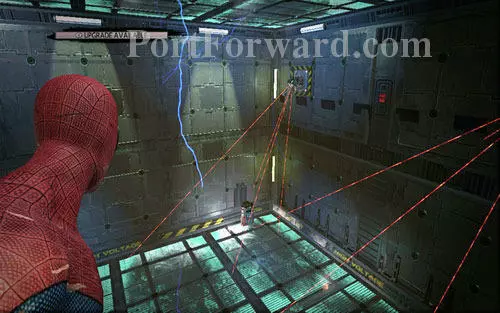
Head inside, go through the hole between the red lasers and grab the wall below.

The Amazing Spider-Man Walkthrough - The Amazing-Spider-Man 251

You will then have to turn around and very quickly get rid of the two towers behind your back.

The Amazing Spider-Man Walkthrough - The Amazing-Spider-Man 252

With both of them destroyed, follow the blue cable to the end of the tunnel while avoiding any fights. There you will find a generator protected by two guards. Eliminate them silently and afterwards destroy the device.

The Amazing Spider-Man Walkthrough - The Amazing-Spider-Man 253

In order to find the second generator, you need to head to the opposite end of the tunnel and get onto the upper floor of the lab.

The Amazing Spider-Man Walkthrough - The Amazing-Spider-Man 254

After you destroy the machine, the nearby door will open.

The Amazing Spider-Man Walkthrough - The Amazing-Spider-Man 255

Go through it and use the computer.

The Amazing Spider-Man Walkthrough - The Amazing-Spider-Man 256

Turrets will appear and you will have to destroy them. Start with the one further to the right.

The Amazing Spider-Man Walkthrough - The Amazing-Spider-Man 257

The further road leads through a hole in the laser wall.

The Amazing Spider-Man Walkthrough - The Amazing-Spider-Man 258

From there jump to the second one, while being sure not to get hit.

The Amazing Spider-Man Walkthrough - The Amazing-Spider-Man 259

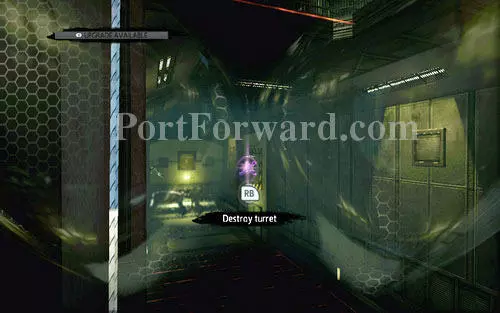
A bit further your road will be blocked by a large turbine. Stop it with web and destroy the two turrets on the other side.

The Amazing Spider-Man Walkthrough - The Amazing-Spider-Man 260

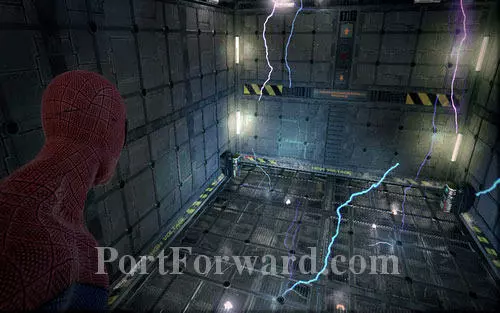
The narrow corridor will lead you to another big platform with four generators. This time, apart from an electrified floor, turrets will also appear on the walls.

The Amazing Spider-Man Walkthrough - The Amazing-Spider-Man 261

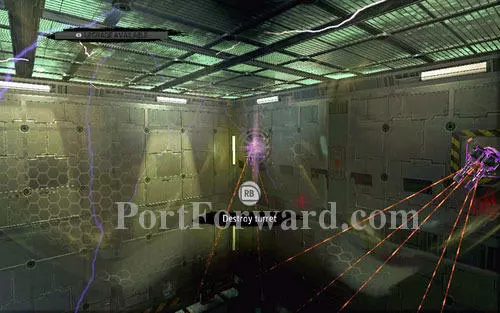
After you destroy another generator, quickly return onto the wall and destroy the shooting machines.

The Amazing Spider-Man Walkthrough - The Amazing-Spider-Man 262

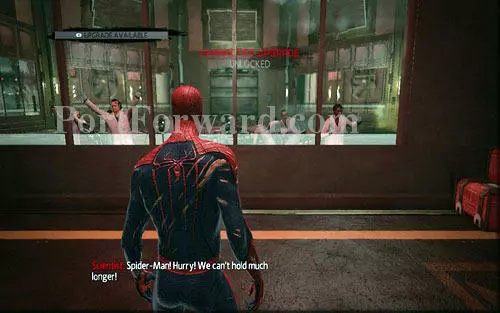
With the last machine destroyed, you will be moved to the location with the imprisoned scientists.

The Amazing Spider-Man Walkthrough - The Amazing-Spider-Man 263

The corridor around the room is full of enemies. Pass above their heads and find the computer which opens the door. When you see it, stun the guards beside and use it.

The Amazing Spider-Man Walkthrough - The Amazing-Spider-Man 264

On the other side you will have to fight some robots. Destroy their shields with web and throw into a wall by holding down B. If you run low on life, use LB and afterwards quickly jump between walls. That way you will lose them and regenerate a part of your life.

The Amazing Spider-Man Walkthrough - The Amazing-Spider-Man 265

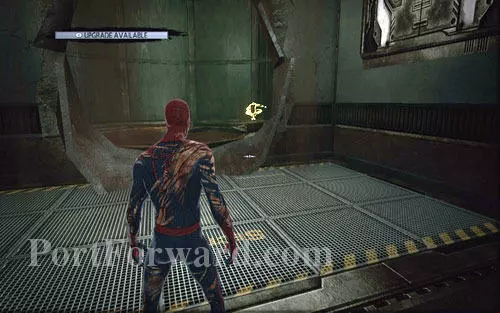
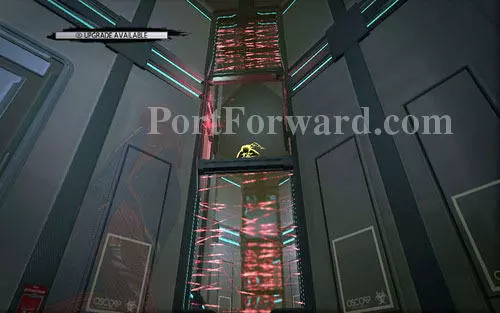
When the fight is over, leave the room and enter the high shaft.

The Amazing Spider-Man Walkthrough - The Amazing-Spider-Man 266

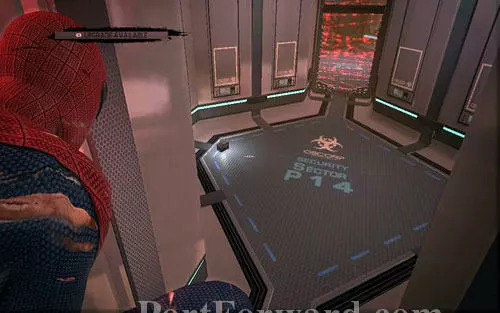
t will lead you to a small room from which you will be able to head into another tunnel.

The Amazing Spider-Man Walkthrough - The Amazing-Spider-Man 267

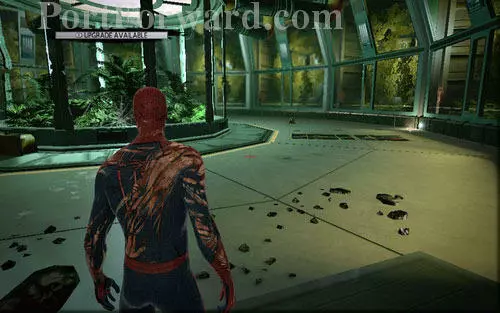
Climbing up, you will reach a corridor with lots of plants.

The Amazing Spider-Man Walkthrough - The Amazing-Spider-Man 268

Gwen can be found a bit further.

The Amazing Spider-Man Walkthrough - The Amazing-Spider-Man 269

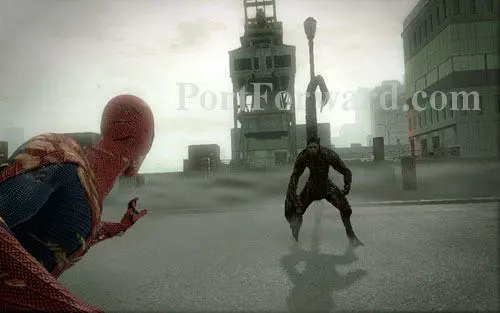
After a short cinematic, head to the spot marked on the map. The fight with the Scorpion will begin.

The Amazing Spider-Man Walkthrough - The Amazing-Spider-Man 270

In order to defeat him, perform quick Web Rushes at the enemy, punch 2-3 times and then return onto one of the lamp posts.

The Amazing Spider-Man Walkthrough - The Amazing-Spider-Man 271

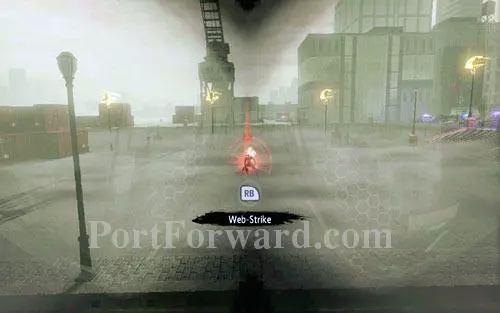
Repeat this process until the enemy jumps to the side and starts shooting acid projectiles. Once again use Web Rush to dodge them, flying above or below them. When Scorpion stops spitting acid, press RB and aim at the enemy.

The Amazing Spider-Man Walkthrough - The Amazing-Spider-Man 272

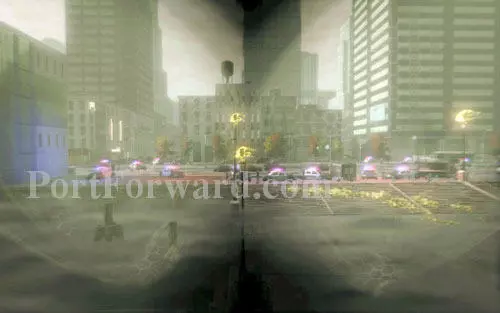
That's how the whole fight should look like. After a dozen or so hits, the enemy will finally fall.

The Amazing Spider-Man Walkthrough - The Amazing-Spider-Man 273

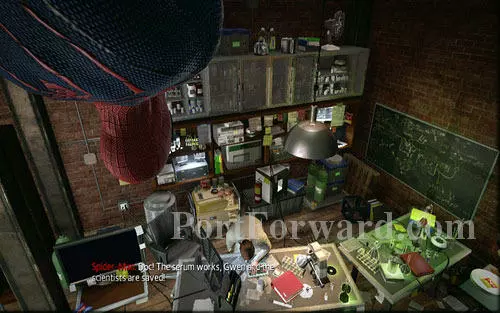
In order to finish the mission, return to the apartment and speak with the professor.

More The Amazing Spider-Man Walkthroughs

This The Amazing Spider-Man walkthrough is divided into 16 total pages.

More From Portforward