
This The Amazing Spider-Man walkthrough is divided into 16 total pages.
You can jump to nearby pages of the game using the links above.
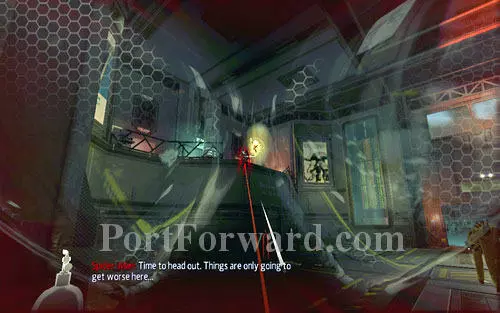
Smythe Strikes Back - p. 1
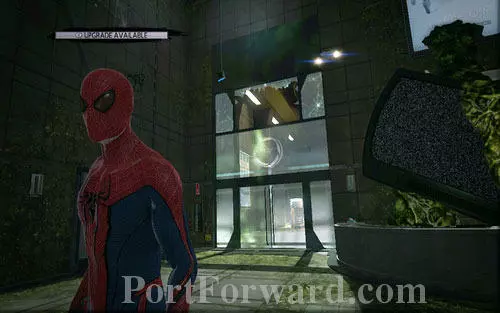
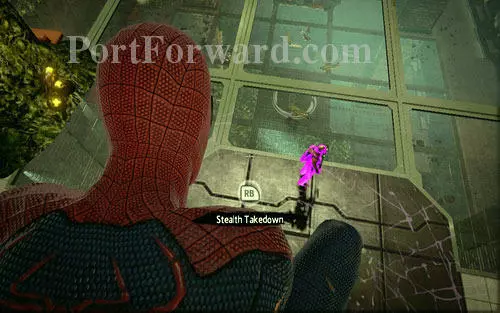
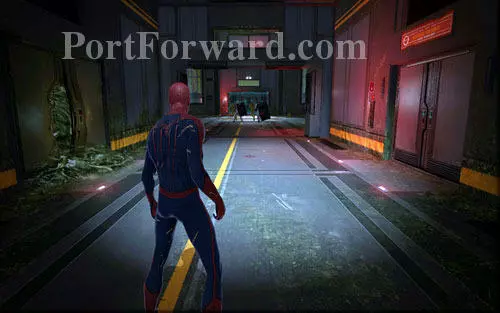
After getting inside the building, get rid of the first group of enemies with stealth attacks. After each successful takedown, head back onto the wall (LB) and make some additional jumps to lose the others.
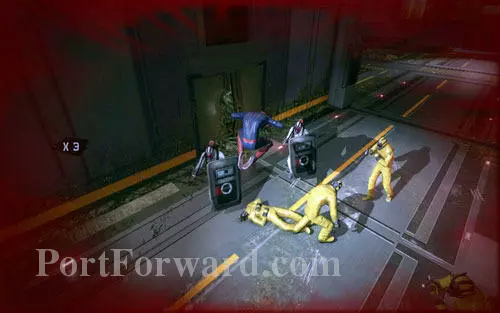
You will have to fight three enemies, including one with a shield. In order to defeat him, jump behind his back (A) and perform a quick attack in the air (X).

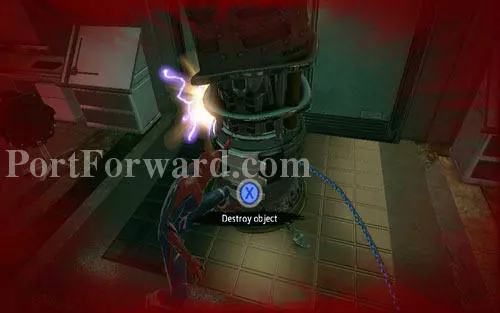
After dealing with all the enemies, destroy the nearby electric barriers generator by quickly pressing X.
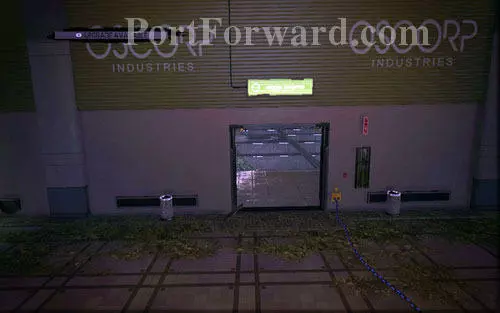
That way you will unlock passage to the next location.
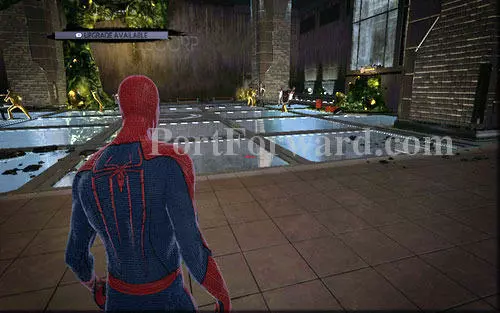
Inside the room with the glass floor you will have to defeat more groups of enemies.
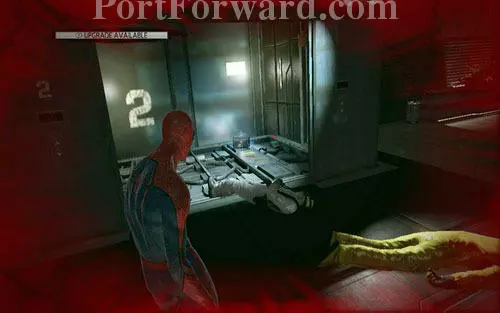
After clearing the area, enter the shaft of the broken elevator and climb to the top floor.
Here you will have to take down the enemies silently. Start off by eliminating the guard in front of you and afterwards get rid of the ones on the right and left sides of the room. In the end, take care of the two enemies talking with each other. At some point one of them should see a stunned companion and go to the side. Eliminate him quickly when he does and afterwards deal with his friend.
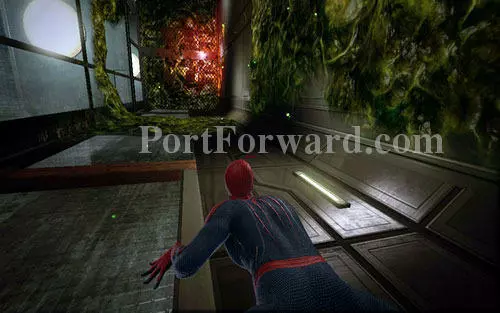
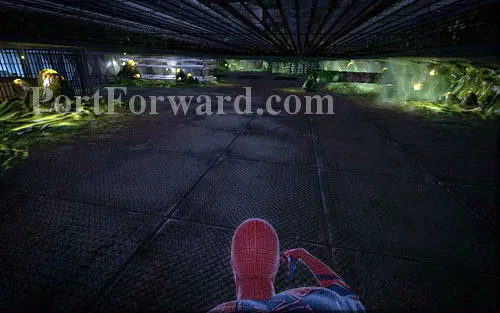
With all of them lying unconsciousness on the ground, climb up the next elevator shaft, avoiding the green substance stains on your way.
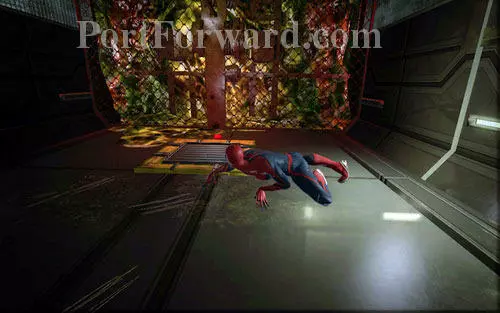
At the end you will find a ventilation shaft which will lead you to a low tunnel.
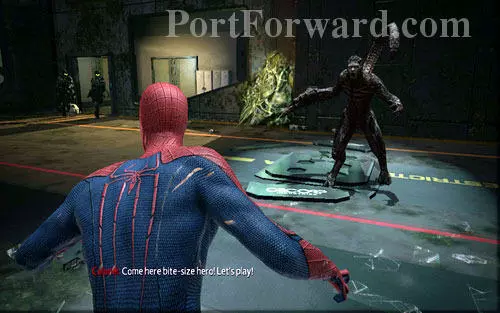
Head along it, quickly pressing Y when prompted. That way will avoid the mutant's attacks.

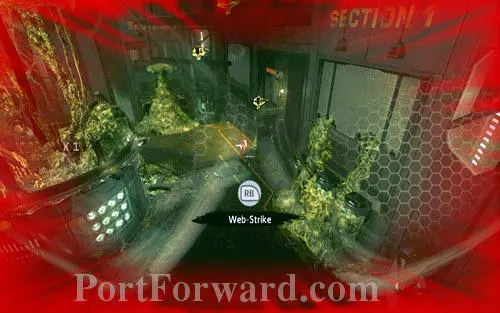
On the other side of the tunnel there's a big room with two electric barrier. You need to deactivate them by destroying the generators found on the other side.
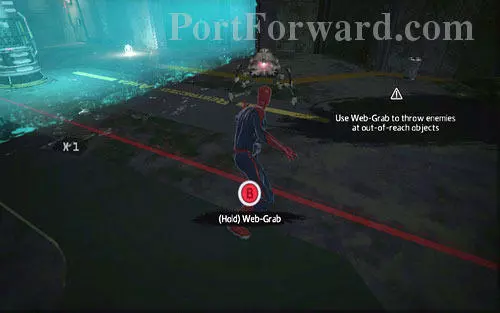
In order to do that, use Web Rush on the robot walking nearby and afterwards hold down B.
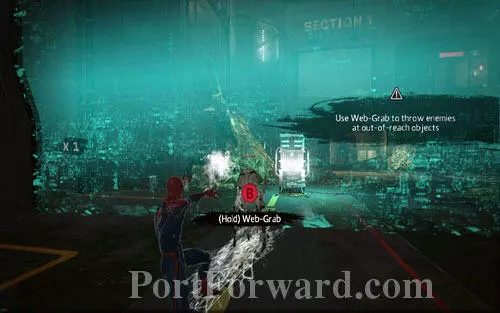
Spider-Man will throw the machine, destroying the indicated target. Wait for the second drone to appear and do the same with it.
After getting to the other side of the room, you will be attacked two guards in green helmets.
Attack them both with Web Rush and then, after a few punches, return onto the wall (LB). That way you will avoid their powerful attacks.
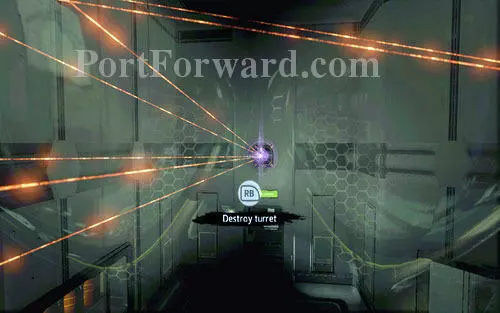
After the fight, you will be able to move to the next location, where you will come across a turret. Destroy it quickly with Web Rush and move onwards.
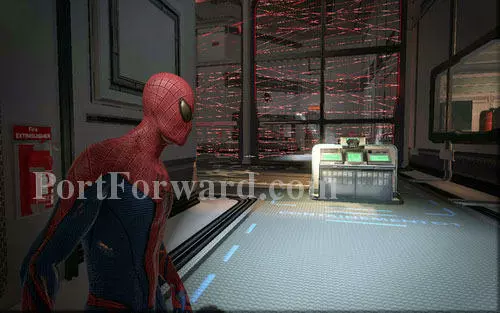
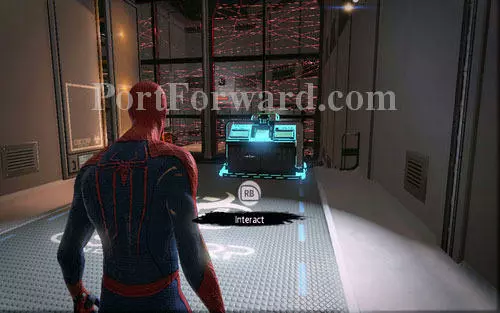
Behind the corridor with a big window you should see a wall of red laser.

Go to the other side through the hole on the left, using the nearby computer beforehand and destroying three turrets on your way.
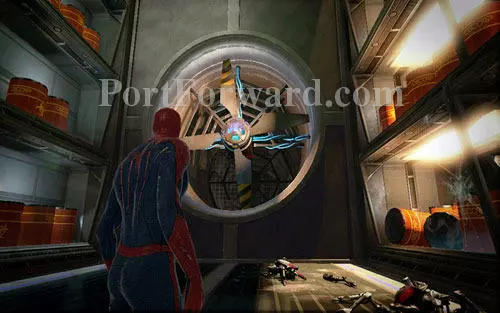
The further road leads behind two big turbines. Stop them for a moment by mashing B and afterwards jump to the other side.
A bit further you will once again come across a wall of lasers. Wait for the opposite turret to aim its beams down and quickly destroy it from the hole on the left. Take care of the one on the right in a similar way.
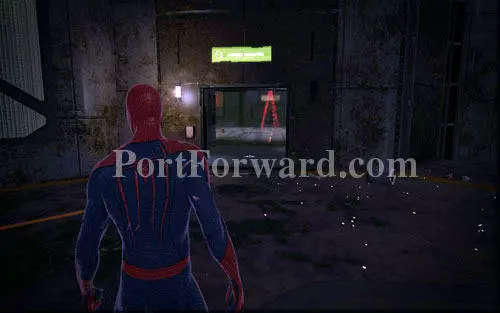
With the area clear, head back a bit and use the computer to open the door.
On the other side, head inside the ventilation shaft and you will reach the room where Gwen is held.
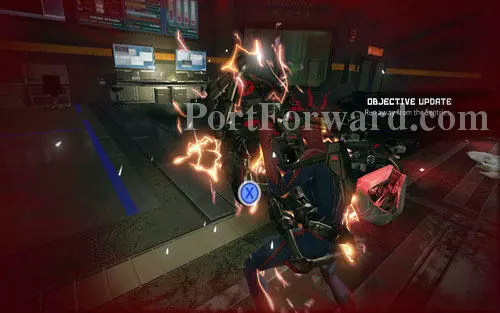
You will have to fight a few strong robots. In order to defeat them, use Web Rush and then throw out the machines by holding down B. With one of them destroyed, quickly return onto the wall (LB) and repeat the whole process until the area is clear.
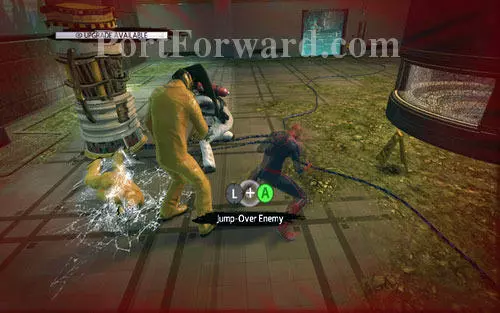
Inside the corridor a bit further you will be attacked by a group of guards.
Quickly approach them and eliminate the rifleman on the left. It's the only armed one, so you can easily hide from the others on the ceiling.
Defeat them one at a time using Web Rush and your fists. The ones with shields have to be jumped over and attacked from behind.
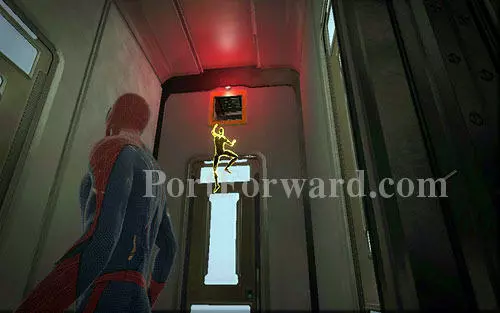
After the fight, destroy the barrier generator on the left and move onwards.
More The Amazing Spider-Man Walkthroughs
This The Amazing Spider-Man walkthrough is divided into 16 total pages.


