The Amazing Spider-Man Walkthrough In the Shadow of Evils Past - p. 2

September 12, 2016 (Last Updated: ) | Reading Time: 5 minutes

This The Amazing Spider-Man walkthrough is divided into 16 total pages.

You can jump to nearby pages of the game using the links above.

In the Shadow of Evils Past - p. 2

The Amazing Spider-Man Walkthrough - The Amazing-Spider-Man 88

"Jump over him (A) and afterwards quickly attack from the air (X).

The Amazing Spider-Man Walkthrough - The Amazing-Spider-Man 89

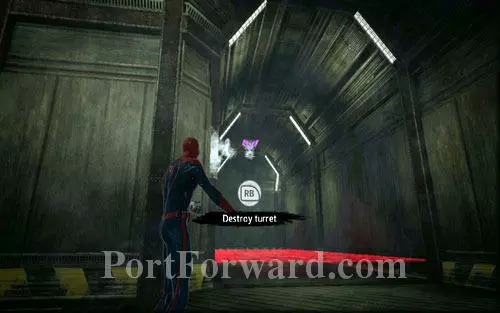
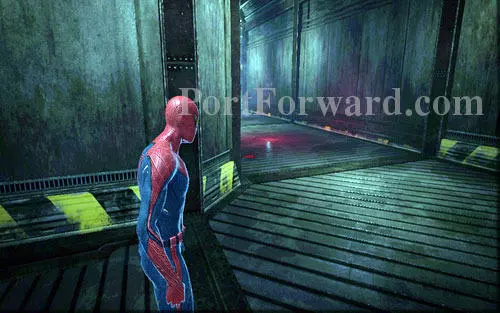
Inside the corridor you will come across a turret. Block it with spider web (B) and afterwards jump over the laser (RT).

The Amazing Spider-Man Walkthrough - The Amazing-Spider-Man 90

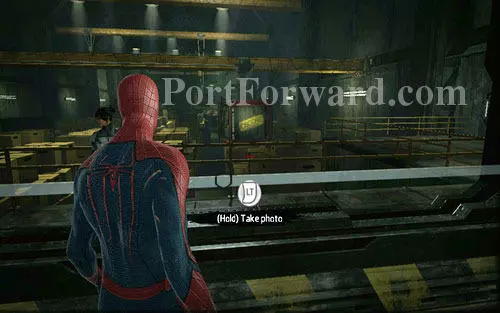
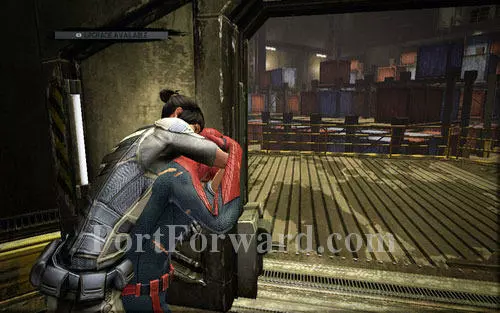
The reporter is waiting for you on the other side. She will give you a mission of taking a photo of a crate with the OSCORP sign. To do that, hold down LT, zoom in with the left analog stick and take the photo (RB/RT).

The Amazing Spider-Man Walkthrough - The Amazing-Spider-Man 91

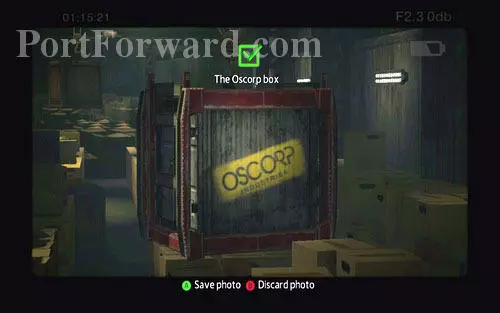
If you take a correct photo, a green sign will appear. Save the photo by pressing A. similar photos of the OSCORP crates can be also taken in the further parts of the game. Their locations can be found in the dedicated chapter of the guide.

The Amazing Spider-Man Walkthrough - The Amazing-Spider-Man 92

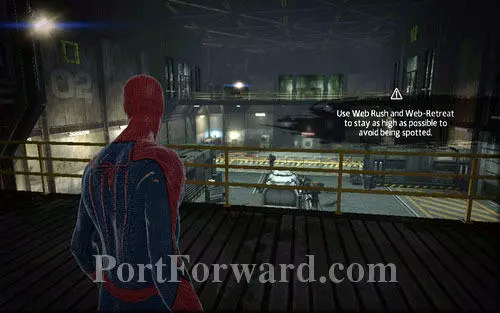
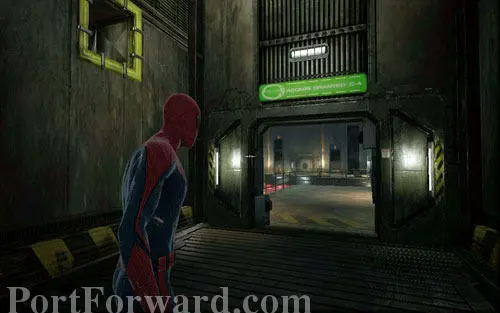
After you're done, the reporter will open the door in front of you. Behind it there's a big room full of enemies.

The Amazing Spider-Man Walkthrough - The Amazing-Spider-Man 93

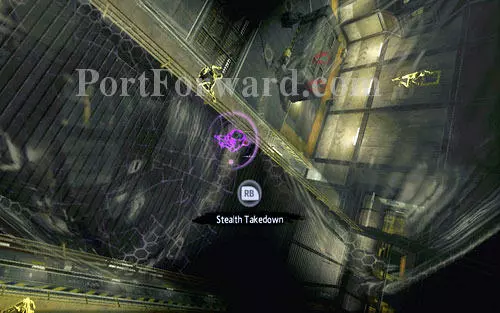
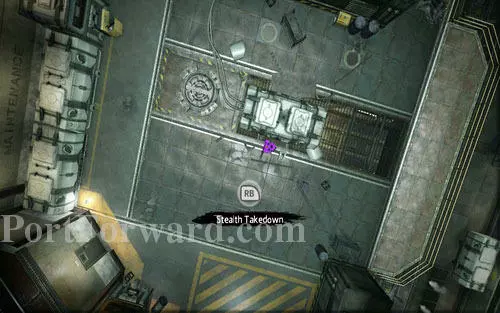
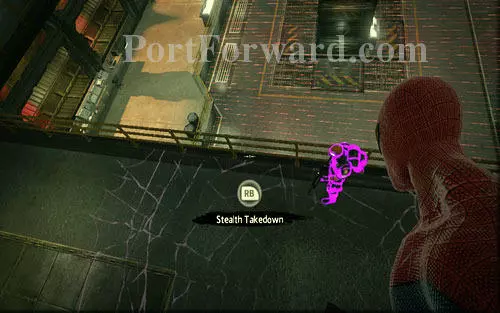
Start off by silently eliminating the enemy on the bridge and the one on the opposite side of the room.

The Amazing Spider-Man Walkthrough - The Amazing-Spider-Man 94

Get rid of the further three from the ventilation shaft in the wall. Wait for them to leave their groups and stick them with web.

The Amazing Spider-Man Walkthrough - The Amazing-Spider-Man 95

However remember about hiding back into the shaft after they see a stunned companion. You have to wait there until they stop searching with flashlights.

The Amazing Spider-Man Walkthrough - The Amazing-Spider-Man 96

Eliminate the last enemy while hanging from the ceiling.

The Amazing Spider-Man Walkthrough - The Amazing-Spider-Man 97

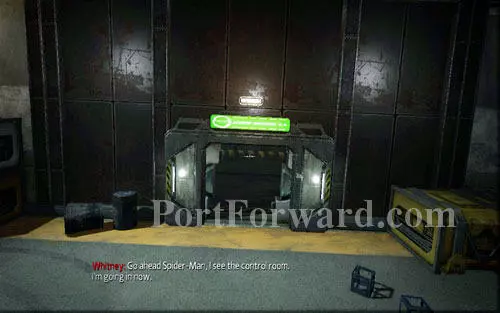
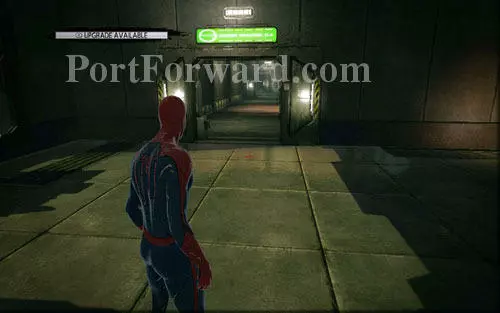
When you're done, the door on the other side will open.

The Amazing Spider-Man Walkthrough - The Amazing-Spider-Man 98

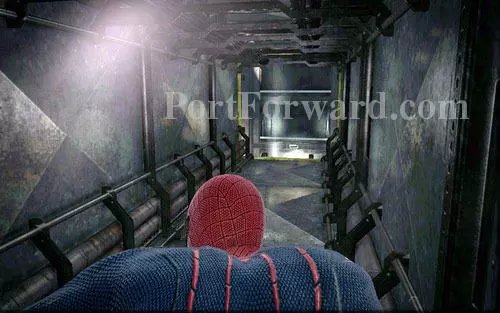
Go further along the corridor and into the ventilation shaft on the left.

The Amazing Spider-Man Walkthrough - The Amazing-Spider-Man 99

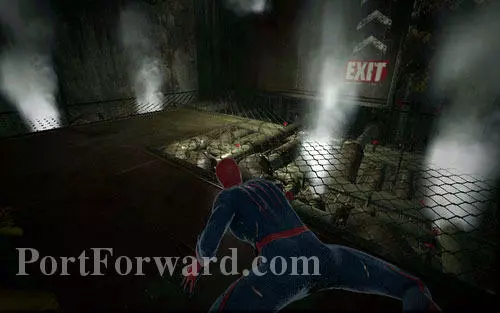
Avoid the hot steam and you will reach a room with more enemies.

The Amazing Spider-Man Walkthrough - The Amazing-Spider-Man 100

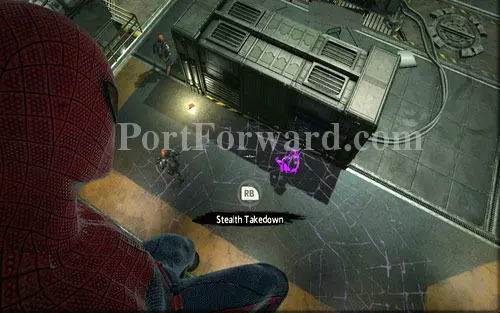
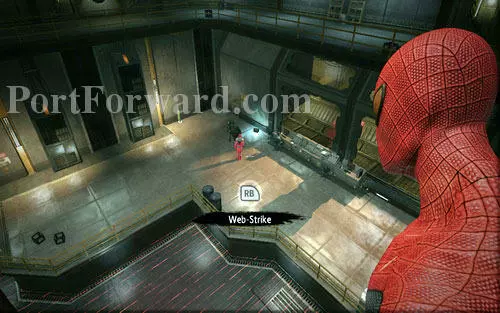
Start off by quickly getting rid of the enemy below and afterwards stun the ones on the left and right.

The Amazing Spider-Man Walkthrough - The Amazing-Spider-Man 101

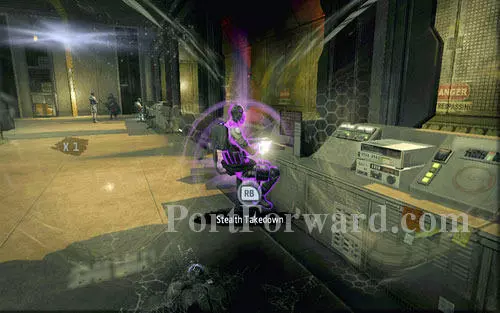
Your next target should be the man standing below on the left. Stun him from the barrier above in order to be able to quickly eliminate his buddy sitting by the computer.

The Amazing Spider-Man Walkthrough - The Amazing-Spider-Man 102

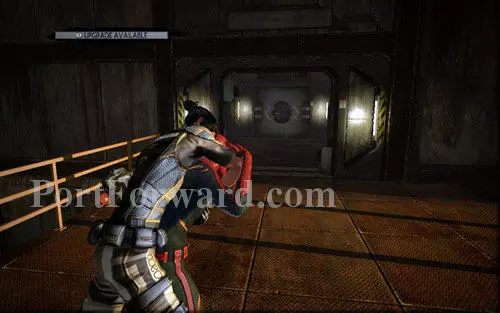
A bit further there's the last trio of enemies. Kill the one with the shield stealthy and get rid of the other two in a more conventional manner.

The Amazing Spider-Man Walkthrough - The Amazing-Spider-Man 103

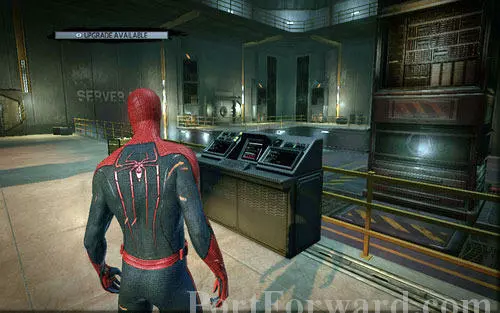
After you're done, destroy the nearby computer.

The Amazing Spider-Man Walkthrough - The Amazing-Spider-Man 104

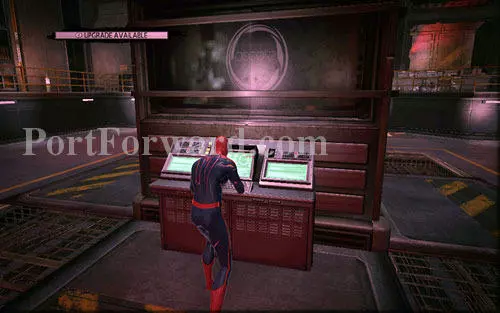
That way you will switch off the alarm system and will be able to use the panel inside the room.

The Amazing Spider-Man Walkthrough - The Amazing-Spider-Man 105

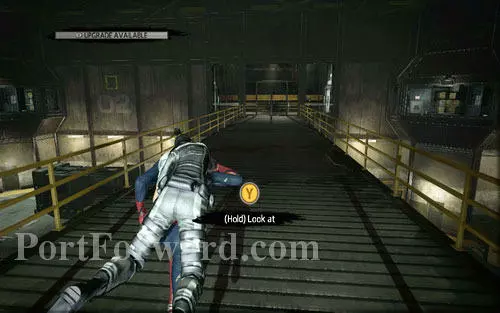
Thanks to it you will be able to open the door on the left, behind which the reporter is waiting.

The Amazing Spider-Man Walkthrough - The Amazing-Spider-Man 106

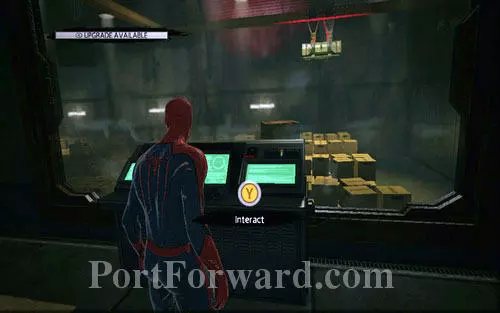
Help her by using the nearby computer (Y) and head further to the right.

The Amazing Spider-Man Walkthrough - The Amazing-Spider-Man 107

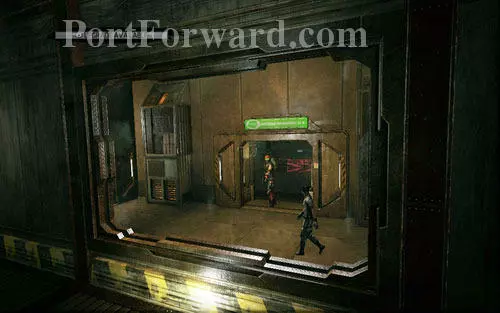
Defeat two guards and you will reach a room where the woman will be interrogated.

The Amazing Spider-Man Walkthrough - The Amazing-Spider-Man 108

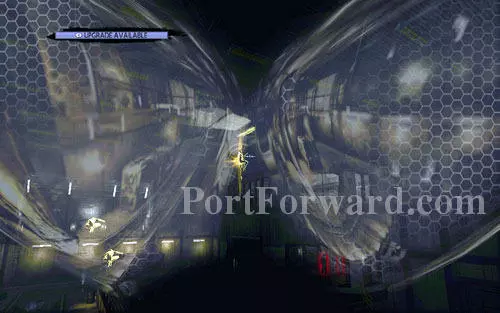
In order to save her, use Web Rush to jump to the big hole on the right.

The Amazing Spider-Man Walkthrough - The Amazing-Spider-Man 109

On the other side you will have to fight with three guards.

The Amazing Spider-Man Walkthrough - The Amazing-Spider-Man 110

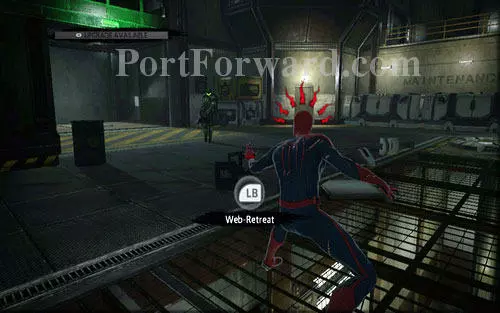
When they're down, the journalist will start searching for the materials. Your task is protecting her from the incoming guards.

The Amazing Spider-Man Walkthrough - The Amazing-Spider-Man 111

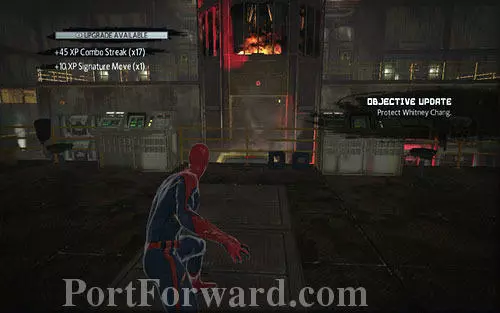
The men will appear on four balconies, two on the right and two on the left side. Red lasers will make locating them easier. Quickly jump between them using the Web Rush.

The Amazing Spider-Man Walkthrough - The Amazing-Spider-Man 112

After your companion finds the right tablet, approach her and take her to the corridor from which you came.

The Amazing Spider-Man Walkthrough - The Amazing-Spider-Man 113

There you will find an open door leading to the warehouse.

The Amazing Spider-Man Walkthrough - The Amazing-Spider-Man 114

Jumping above the crates, head to the balcony on the right and afterwards to the elevator on the left.

The Amazing Spider-Man Walkthrough - The Amazing-Spider-Man 115

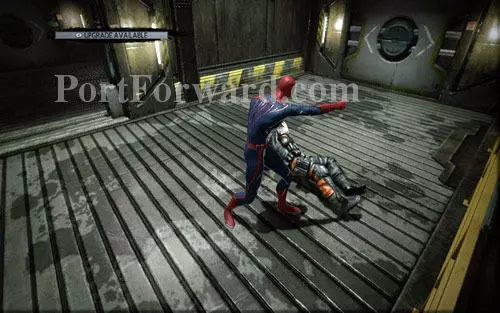
Soon afterwards you will have to face a slightly stronger enemy. In order to defeat him, start off with a Web Rush and afterwards quickly attack a few times.

The Amazing Spider-Man Walkthrough - The Amazing-Spider-Man 116

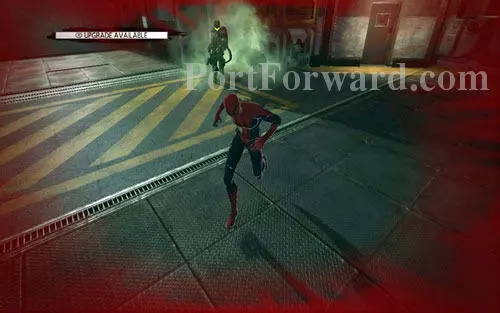
When you note that the enemy starts shining green, jump off. You need to wait for the enemy to perform his powerful hit and afterwards attack him one more time in the same way as before.

The Amazing Spider-Man Walkthrough - The Amazing-Spider-Man 117

After the fight, return to your apartment and give Connors his tablet, avoiding a couple riflemen and helicopters on your way. You will also receive a mission form the journalist, who will ask you to take a few photos. Her missions will be marked on the c

More The Amazing Spider-Man Walkthroughs

This The Amazing Spider-Man walkthrough is divided into 16 total pages.

More From Portforward