This The Darkness II walkthrough is divided into 8 total pages.
You can jump to nearby pages of the game using the links above.
Eating Out
Welcome to our The Darkness II walkthrough. This game will feature a lot of customization in your ways of play so I will try my best to give universally useful advice in aiding you with surviving to the end of every level.
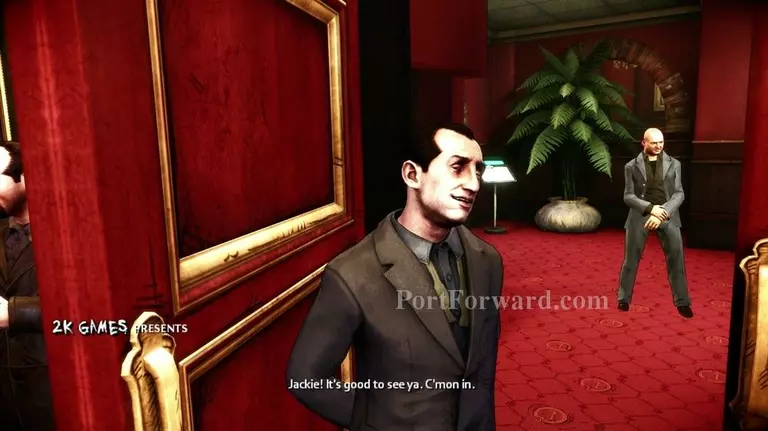
You will arrive at a resturant. No control will be given to you just yet. Look around and get accustomed with the graphics.
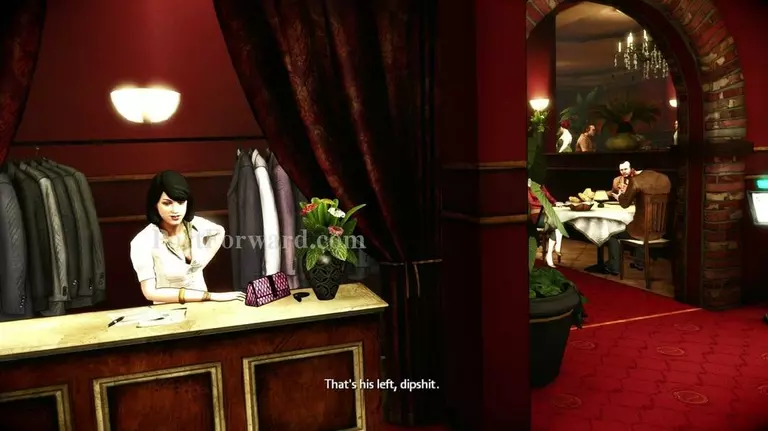
When prompted, look to your left to "Witness" the lady with the "rack" by your minions.
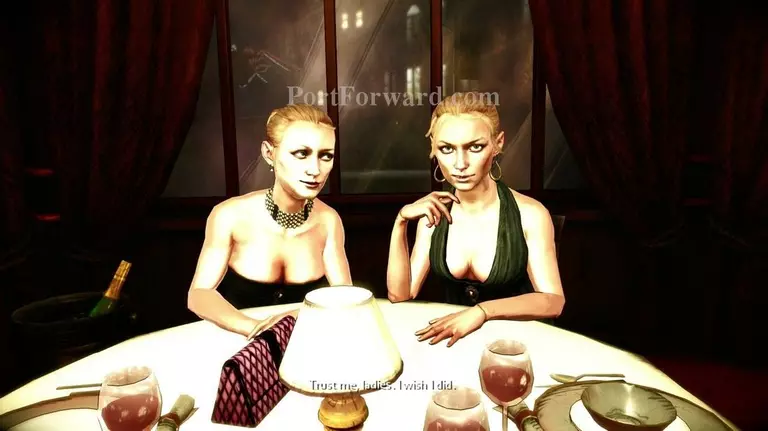
Sit down by the two nice ladies and enjoy your last seconds of peace.
A car has recently rammed through the wall, severely wounding you.
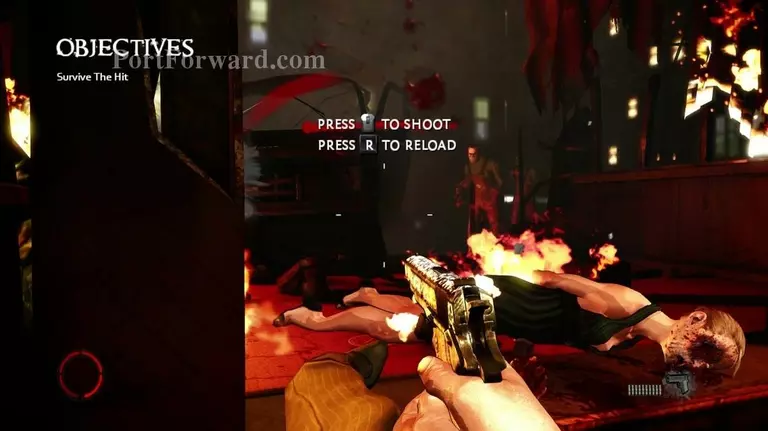
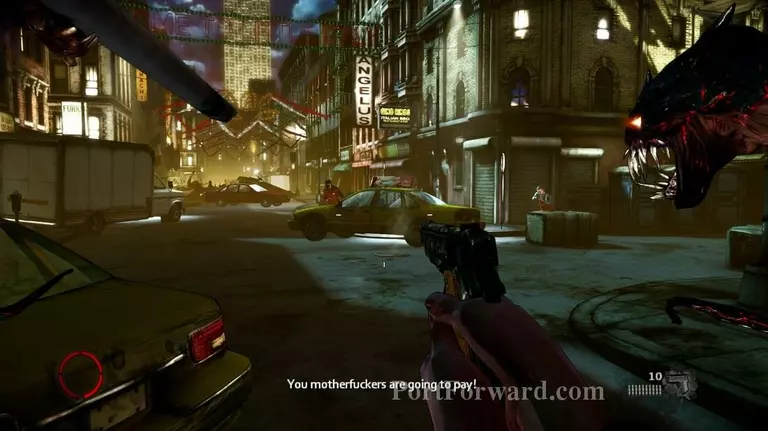
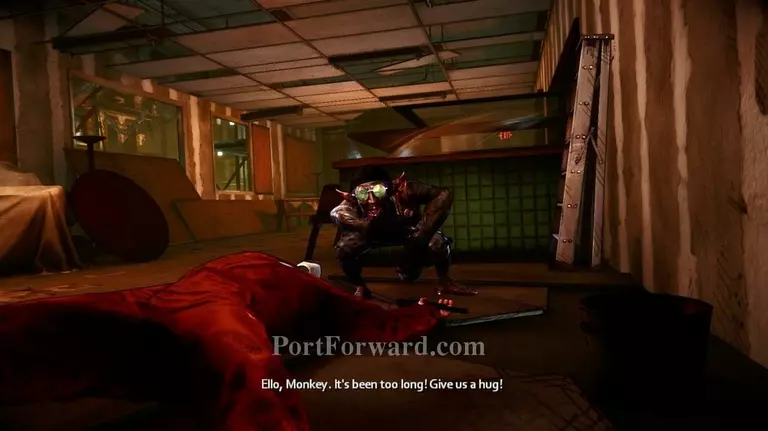
You will be given a hug while being slowly hauled to safety in the resturant while dozens of enemies flood you from every direction.
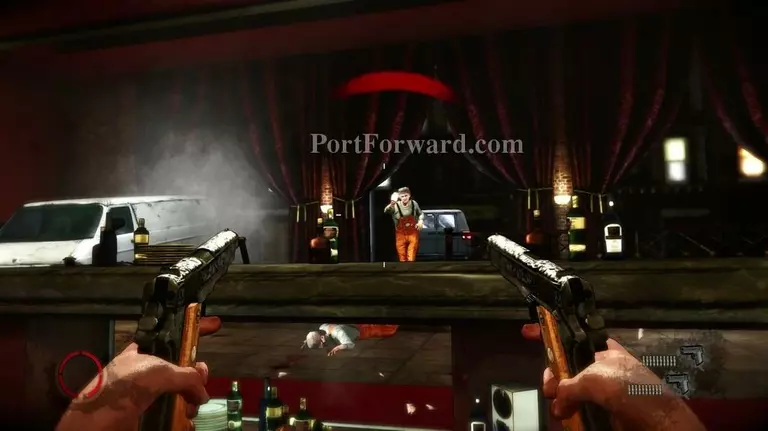
The bad guys will easily be recognizeable due to their orange work-wear. Take them out with 1-2 shots each.
Don't forget to reload. They come in waves.
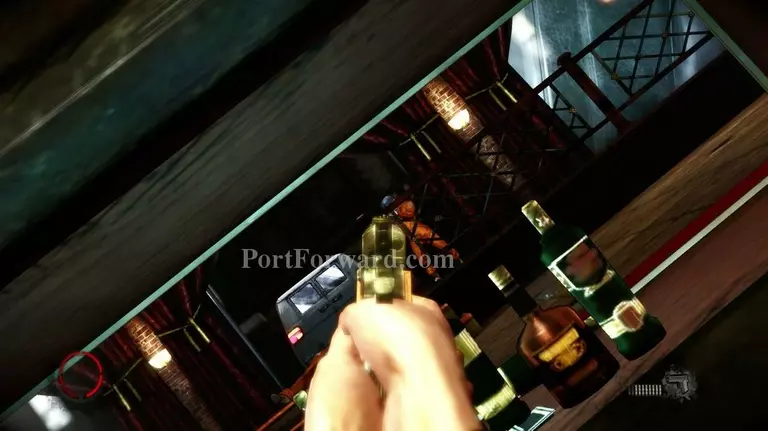
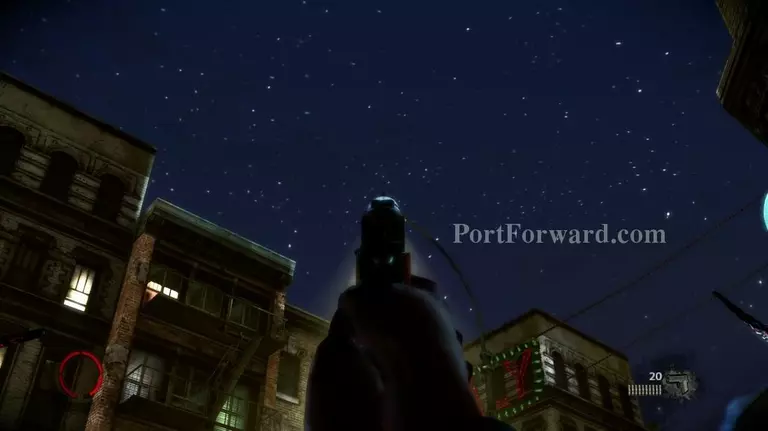
After having the resturant be thrased some more,you'll be prompted to shoot at some pretty weird angles. Just keep your vertical/horizontal sense in tact.
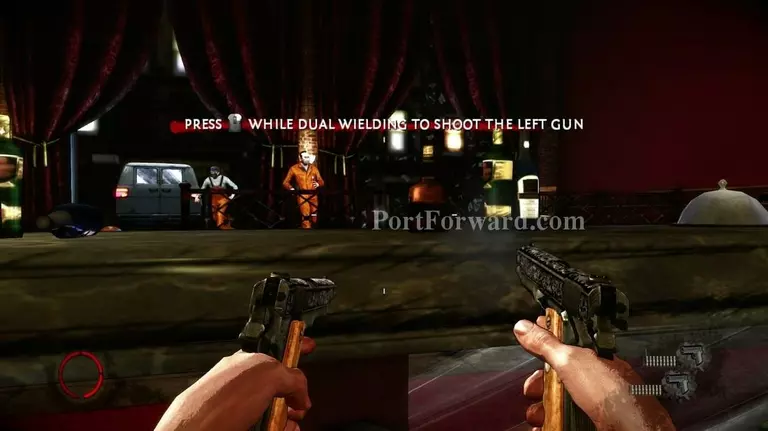
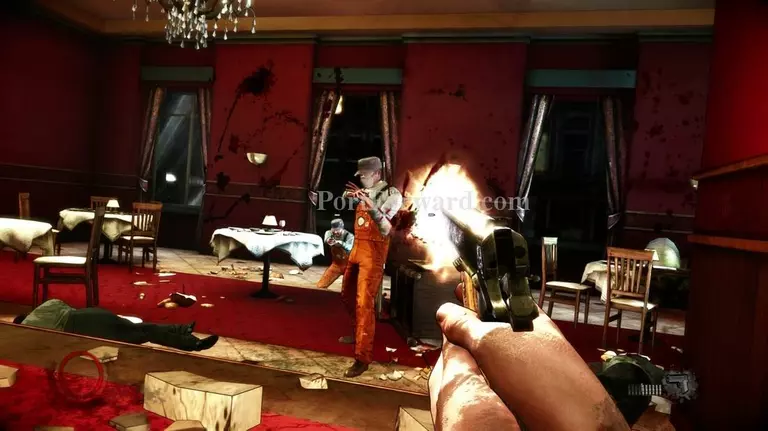
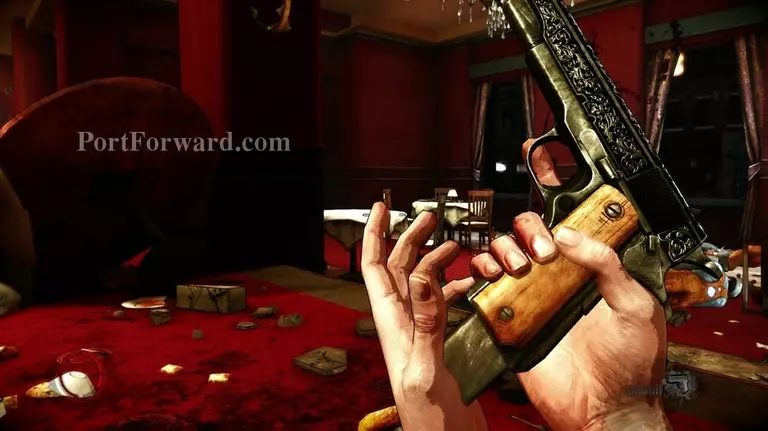
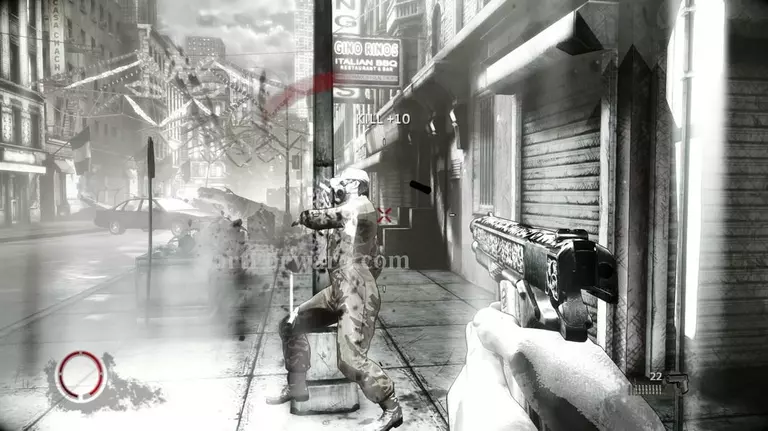
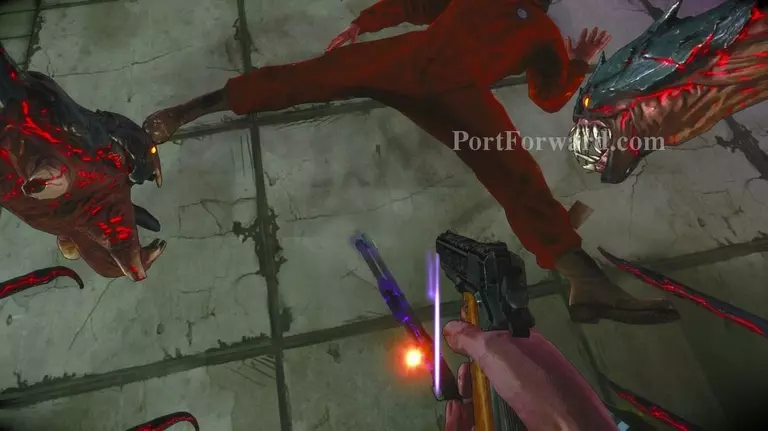
You'll be given another handgun at this point. This is the first time you'll be introduced to the game's dual-wielding system.
Firing them individually is horribly inaccurate since you can't use the iron-sights--
But if you fire rapidly with both weapons, Jackie (you) will gradually get used to the recoil and use the guns more efficiently. This will be shown as the guns lining up in the center of the screen.
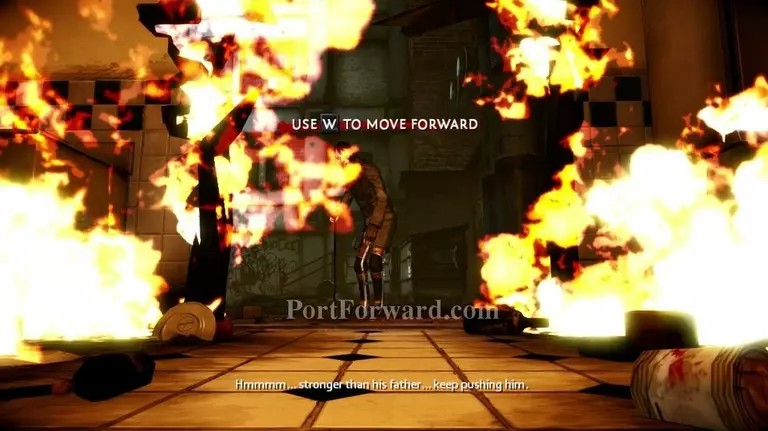
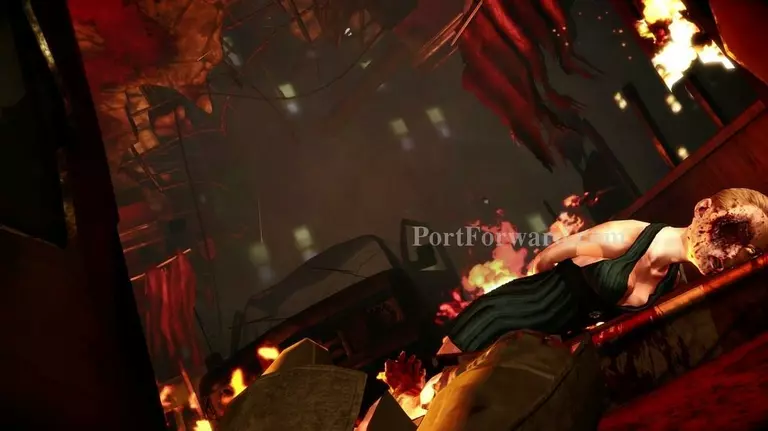
Your supposed safe-spot in the resturant, AKA the kitchen will turn out to have been leaking gas and one of your enemies will throw a molotov in, causing a massive explosion. You will be left even more wounded. Crawl forward when prompted to escape the flames.
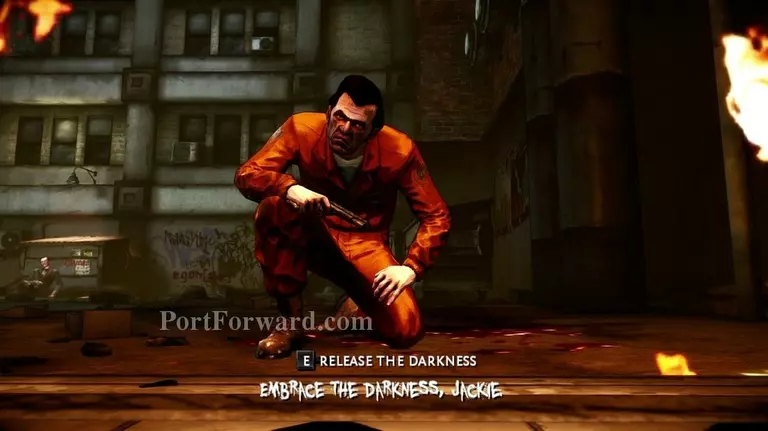
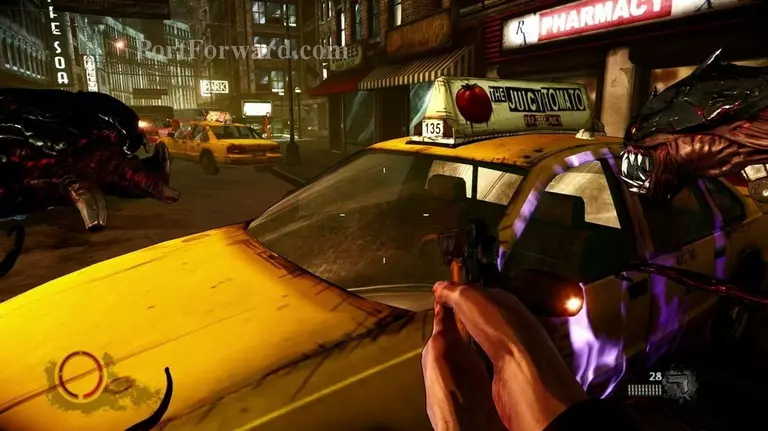
"The darkness" will be talking to you to "let it out" in order to kill the enemy infront of you while also not succumbing to your wounds.
It will heal your leg and give you some very basic teaching on how to use it.
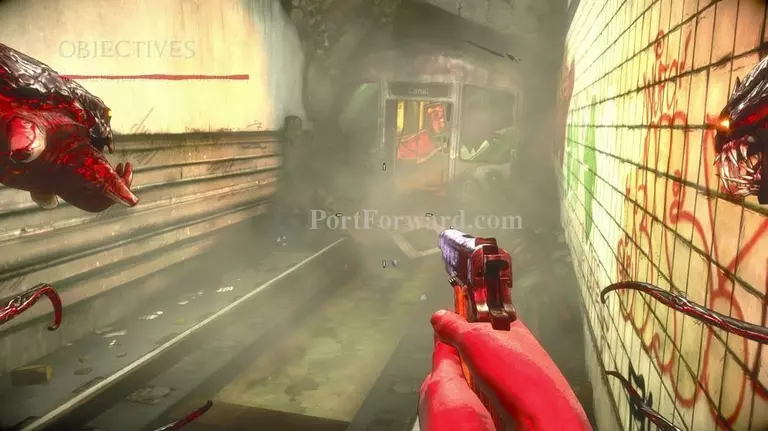
To start with, you will learn how to grab and throw the large variety of objects that you will come across when playing The Darkness II.
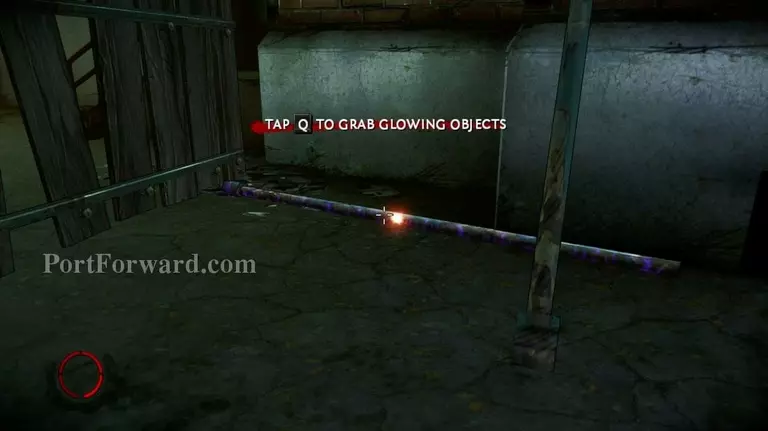
Grab them by using your (Q) key.
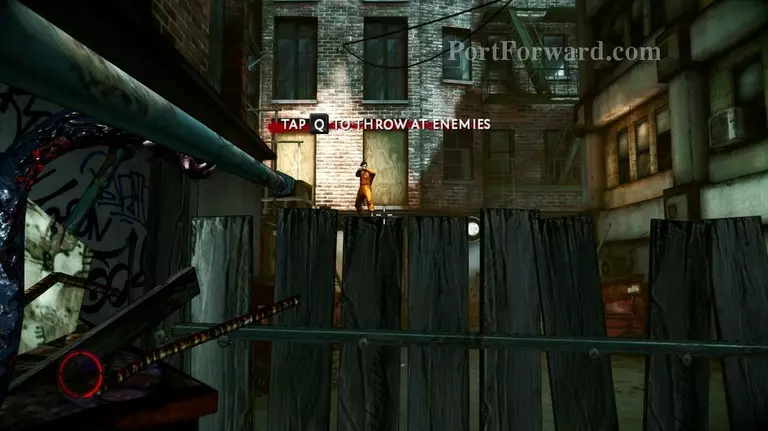
When holding an object, press (Q) again to throw it. Depending on what you're holding (Human body, pipe, door) and the distance to the target, severely careful aim and timing may be required.
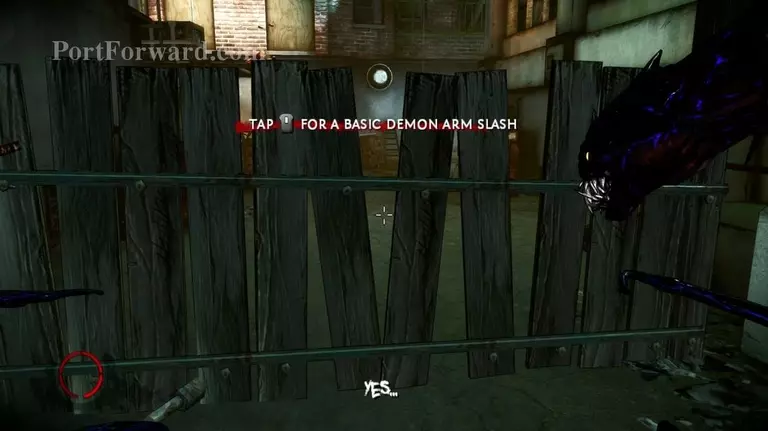
After killing the prompted enemies by throwing objectives, break through the fence by clicking on your scroller.
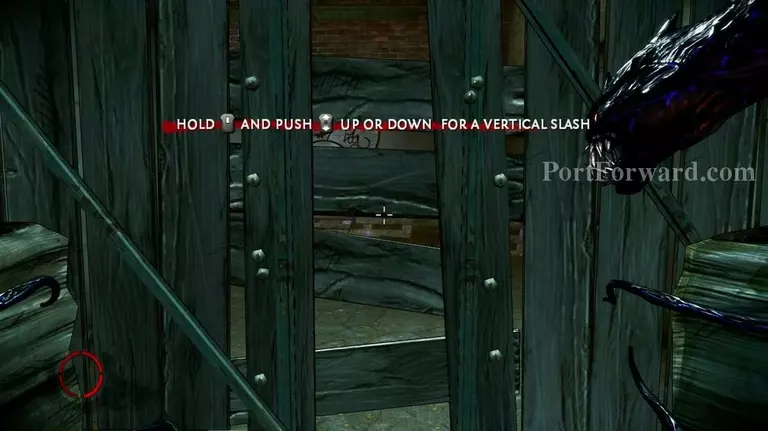
Further up, you'll meet another fence, this one with a different construct requiring you to vertically slash it. Accomplish this by holding down your scroller and rolling it either up or down.
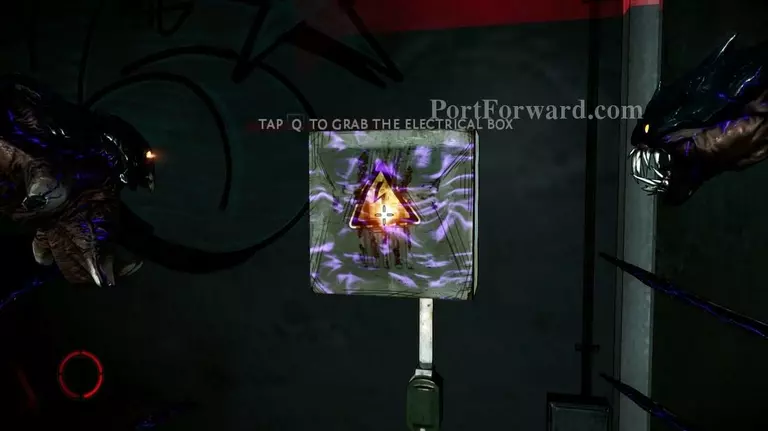
You'll come across a lot of these boxes later in-game. Press (Q) to hook your Darkness onto it and repeatedly tap (E).
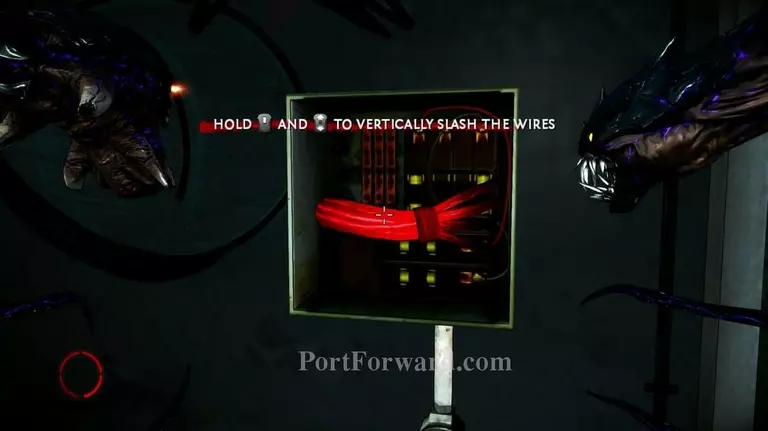
This will reveal the electrical wiring. Vertically slash it to open up the door.

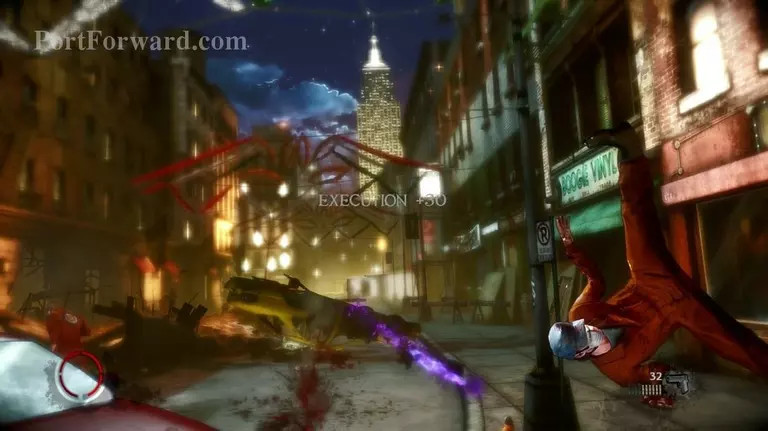
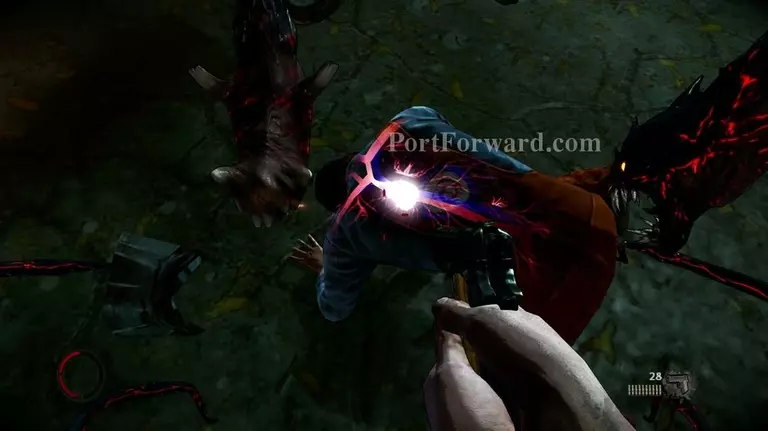
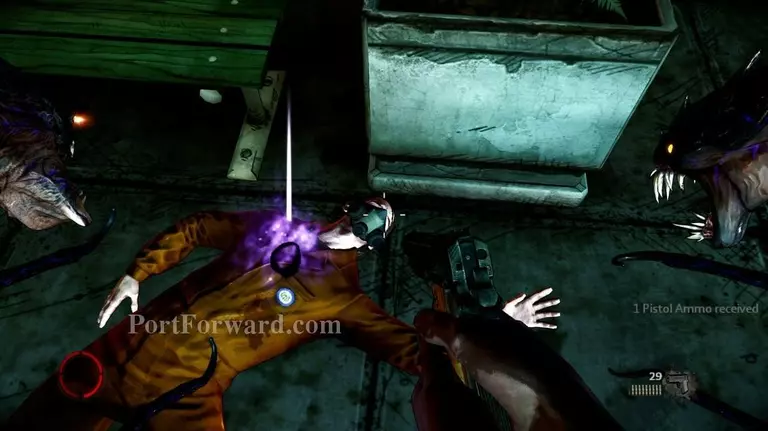
After stepping inside, you will meet some more enemies, including one that has his back turned towards you. Grab him using Q..
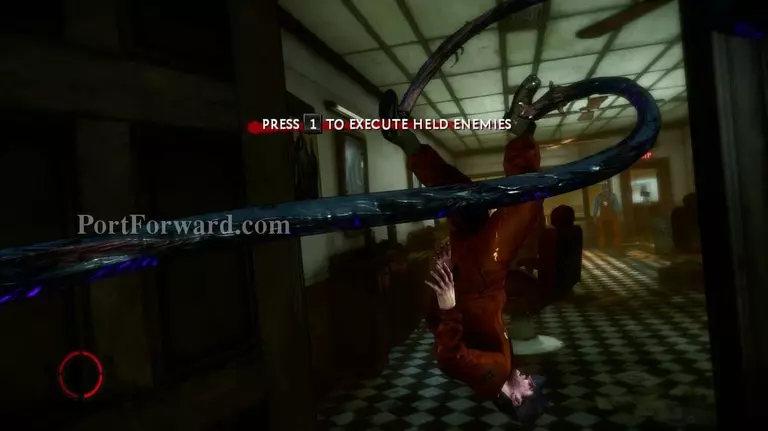
And then execute him using (1). This will gain you a massive amount of in-game "Essence" which are skillpoints and they become very vital for you to be able to survive as you progress through the game. Execute as much as possible, whenever possible since it gives you a massive amount of health along with other bonuses such as ammo or a shield later on.
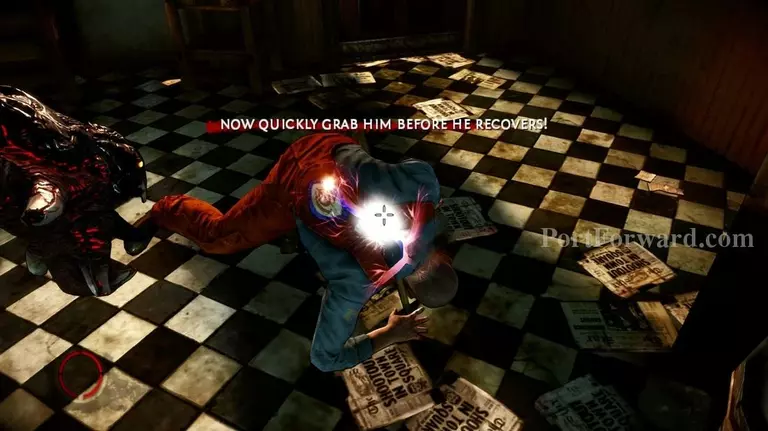
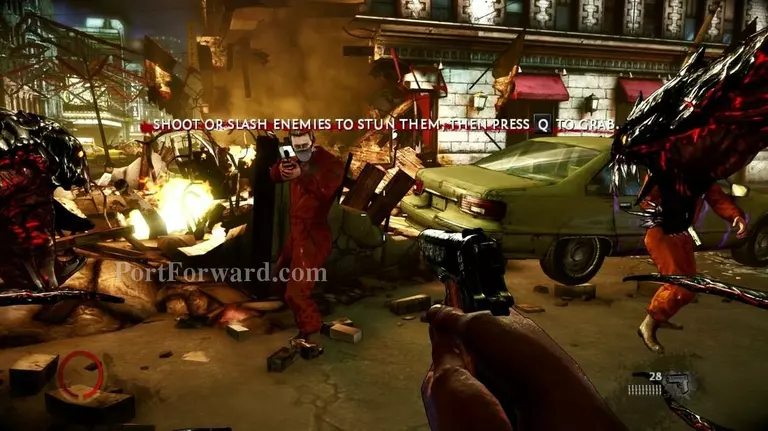
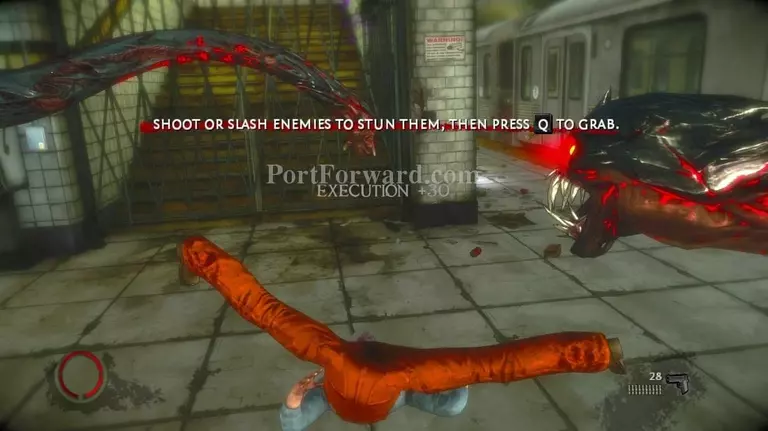
Some enemies may be "resistant" to being grabbed, In this case, simply shoot them once (or throw objects/slash with your demon arm) to break this resistance and then grab them while they are stunned.
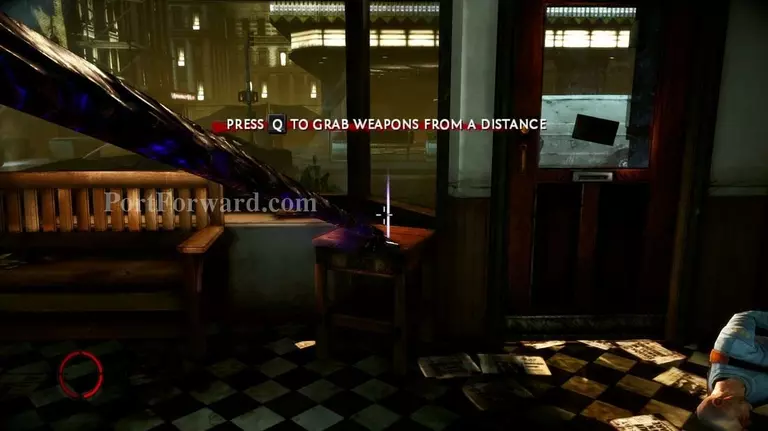
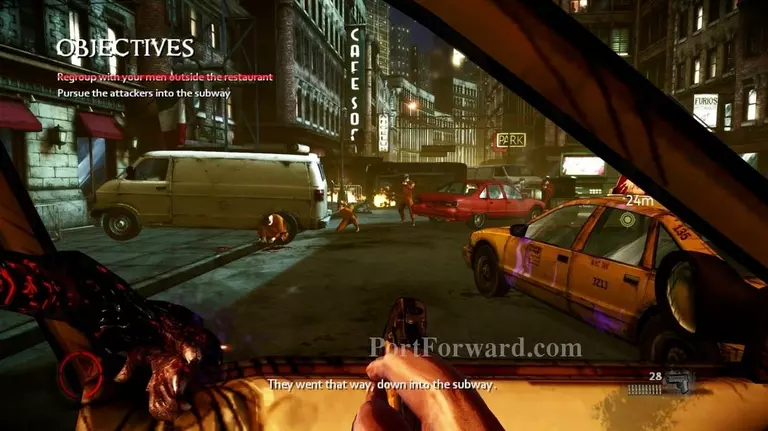
Grab the nearby gun from the drawer and head outside.
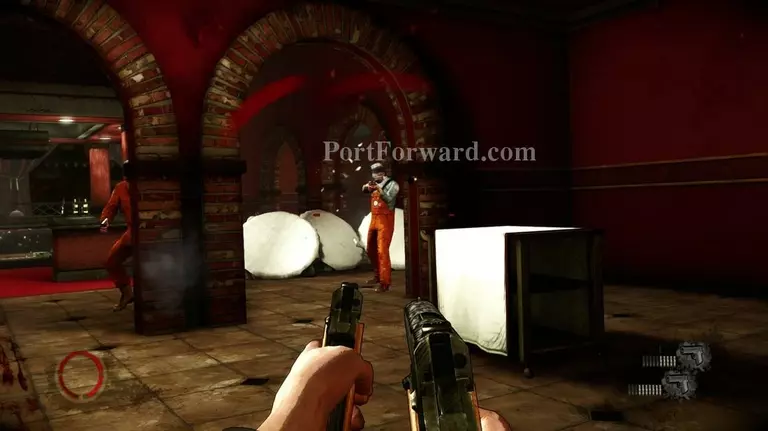
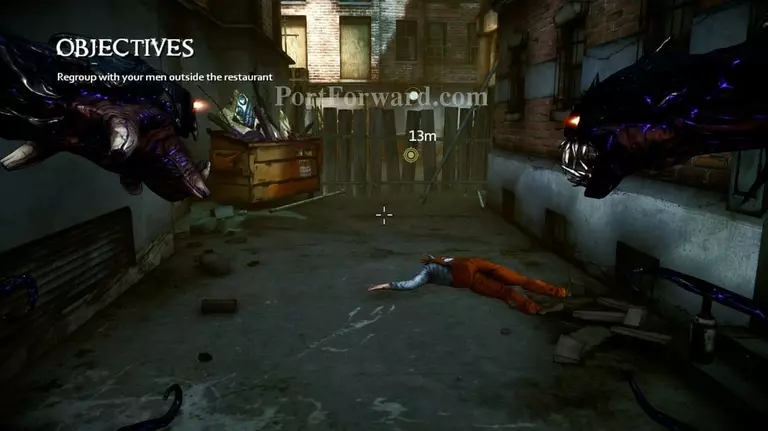
You'll be greeted with a large, open-spaced street with multiple enemies behind cover. Not the best enviroment for you.
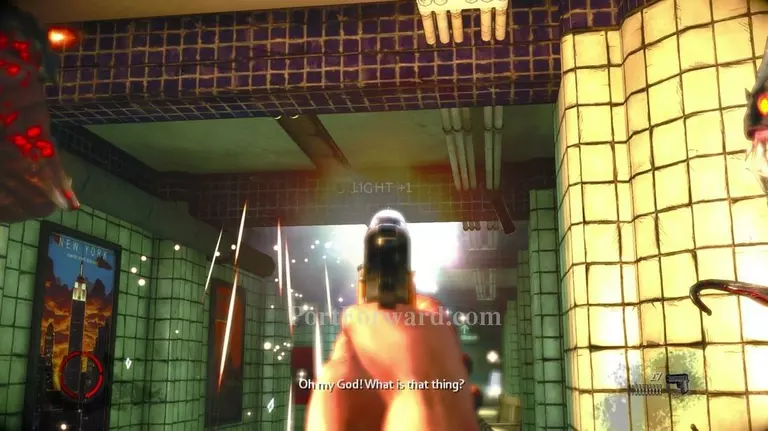
Here, you will be expose to the first "Light sources" in this game. If you are exposed to any significantly strong light, your ability to control The Darkness will be disabled and you'll be both blinded severely and deafened, although not affecting your ability to use firearms.
To deal with this problem, simply shoot any lightsource you see.
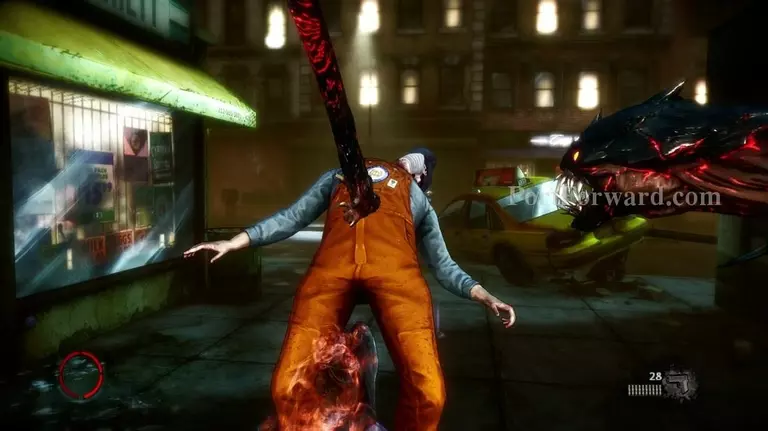
While moving up, don't forget to repeatedly execute every enemy you come across. And if you fail to execute, eat their hearts by pressing Q on their corpses.
After being blasted into a building under construction, you'll meet your first and only companion. He will help you out in combat and show you where to go although he can be knocked out (killed temporarly) by light and guns alike.
Grab hold of the door and repeatedly tap (E)
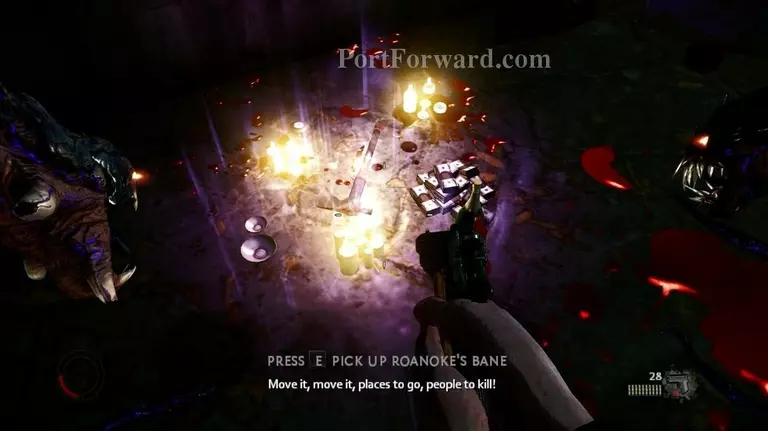
You'll come across your first "Artifact". They are special objects that can be picked up for massive amounts of skill-points and they can easily be spotted due to being surrounded in candles, money, casino chips and other vanities. Get close and press (E) to pick up the items, converting them to skill points instantly.
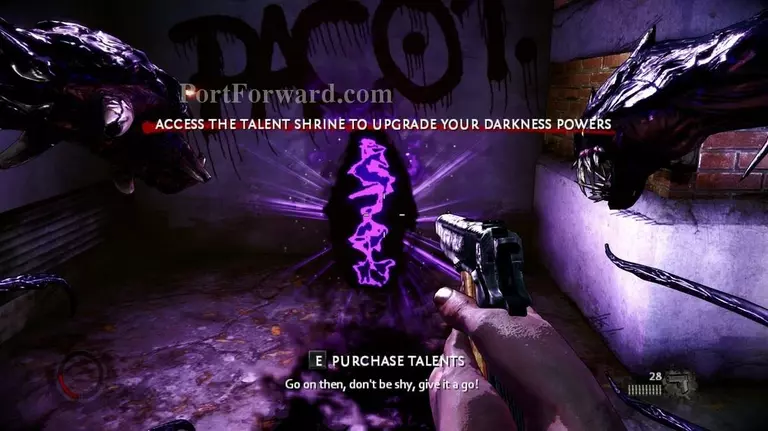
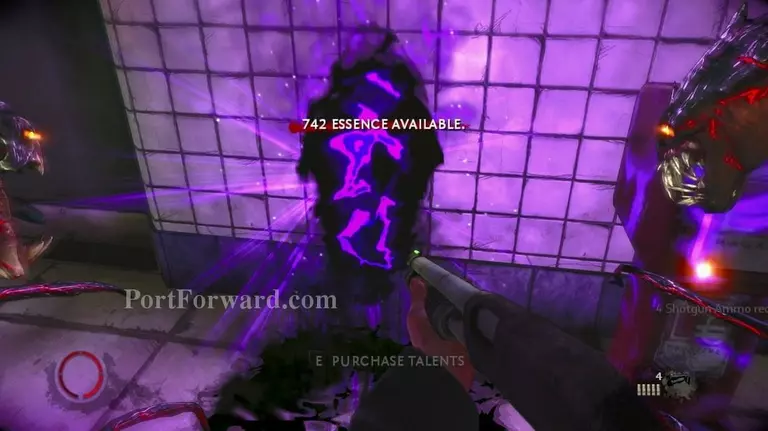
After taking the first artifact, you'll also come across a "Talent Shrine". These are stores where you can spend your skill points to unlock new powers and abilities.
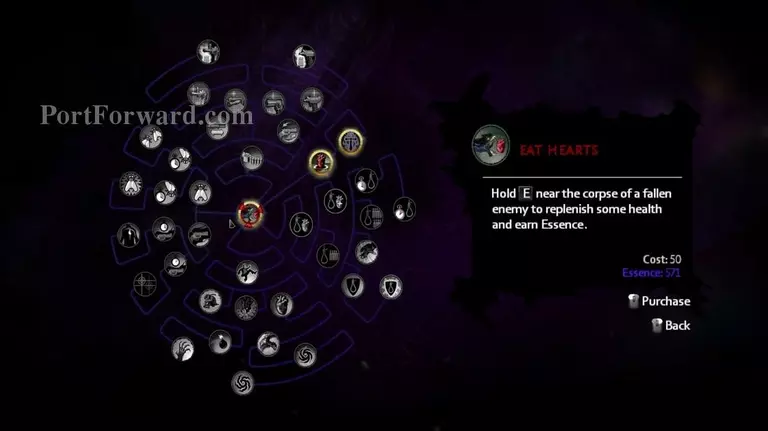
The stores look like this with 4 different "branches" of expertise you can progress through.
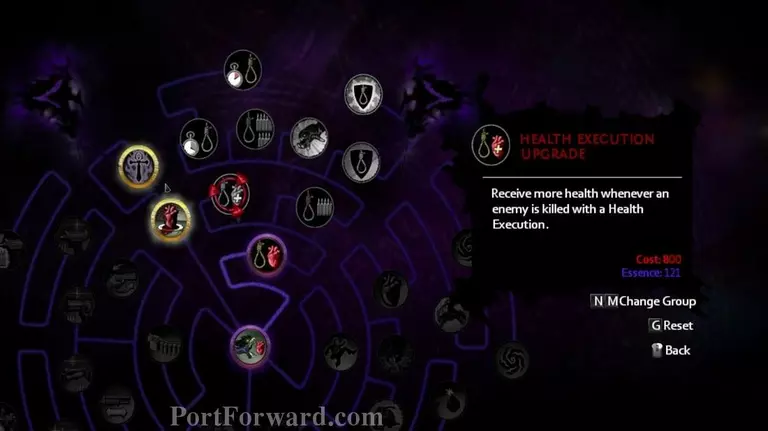
The "Branches" of expertise you can progress through will be 1. Guns. 2. Executions. 3. Dark Magic. and 4. Bugs/Guns.
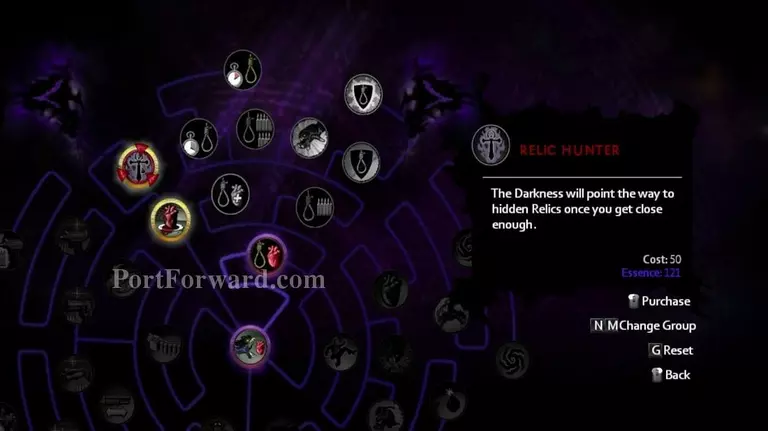
This most likely being your first playthrough, I recommend growing into the Execution tree first, getting the Relic Hunter upgrade which will display nearby artifacts on your HUD. (Heads-Up Display)
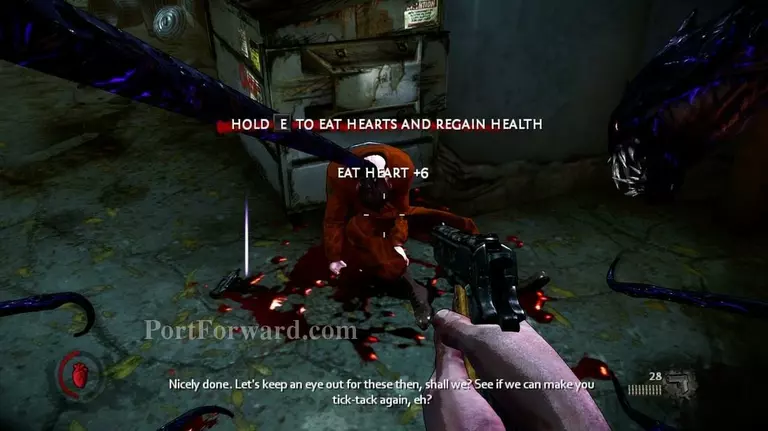
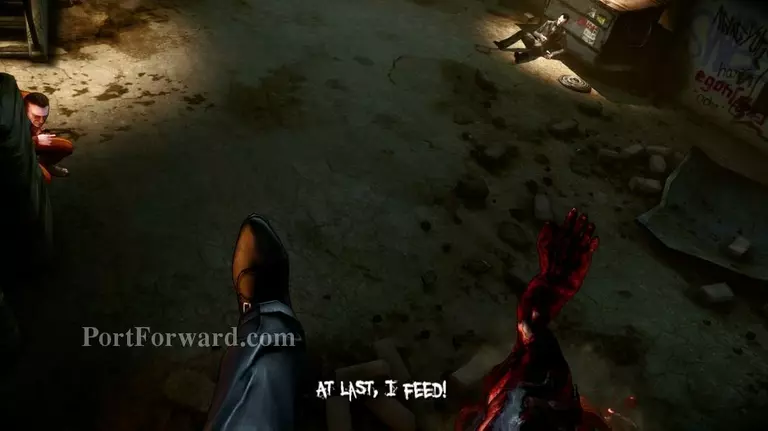
You'll also be introduced to the concept of eating hearts from your enemies. This will not only be very important to your skill-points gathering but it also gives you a massive health-boost.
You'll know when you can grab enemies when a bright light can seen from the torso of their bodies.
The only exception to eating hearts from enemies will be to the ones you execute., you'll (theoretically) already eat their hearts in the progress.
Move up the street and continue taking enemies out. If you are receiving too much damage..
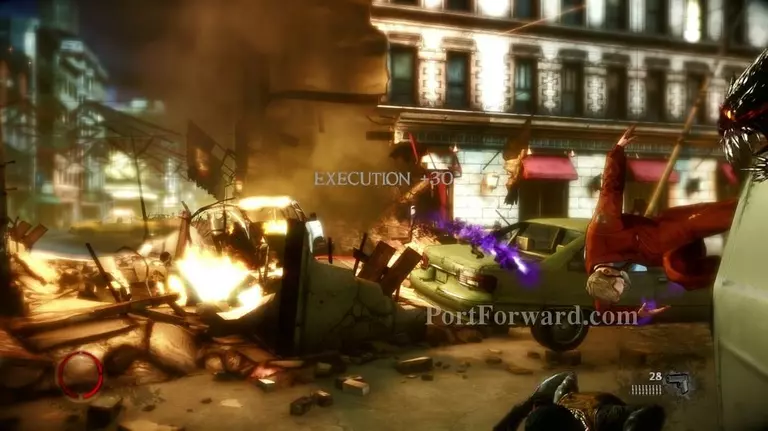
Keep on executing and don't hestitate to remove a nearby car-door to use as a shield or a throwing object.
Doors and other grab-able objects in the enviroment will be indicated with a large purple shine.
After grabbing hold of a shield, The Darkness will keep it infront of you, blocking enemy fire while still allowing you to shoot.
The indication when hearts can be taken from corpses will be indicated by a solid, purple-smoking light. Keep in mind that you'll have to eat any hearts you'll see fairly quickly due to the tendency of disappearing ragdolls (for game performance reasons)
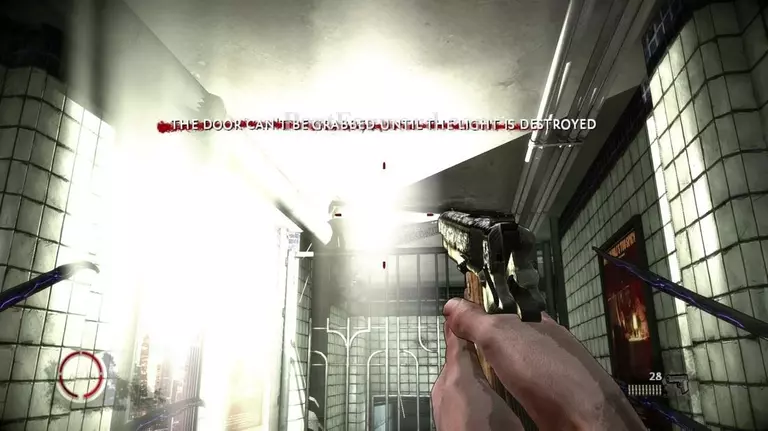
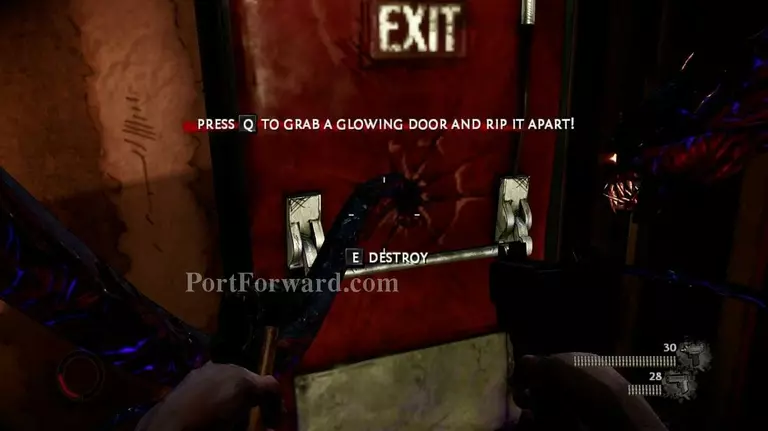
You'll meet your first "Light" puzzle. A gate needs to be destroyed for you to progress but you cannot grab it due to the light-tube above it. Shoot the light..
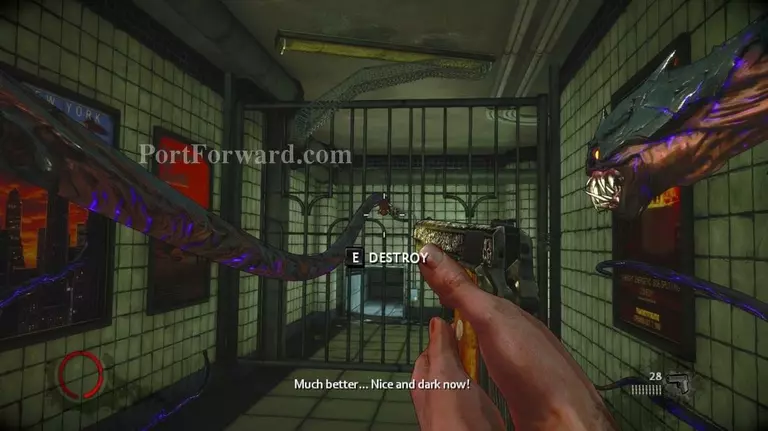
And then destroy the gate.
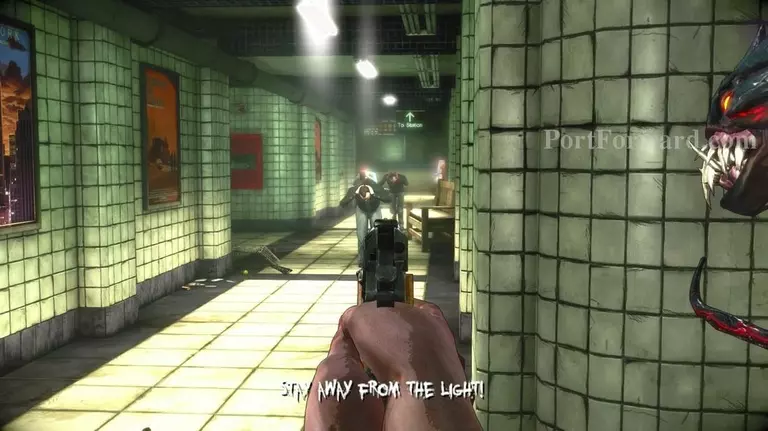
Continue down the railway station, killing any enemies you come across..
And don't forget to take out any lights you'll see. It will avoid you being blinded while also giving you a minor skill-point bonus.
Continue further down the station. There will be rather large pauses of light sources. Take this to your advantage and keep executing every enemy you see.
Enemies will start dropping some guns that you still haven't been introduced to, including a pump-action shotgun. Keep an eye out for them and pick them up incase you run out of ammo with your other weapons.
There will be a Shrine ahead. Spend your points on what you please.
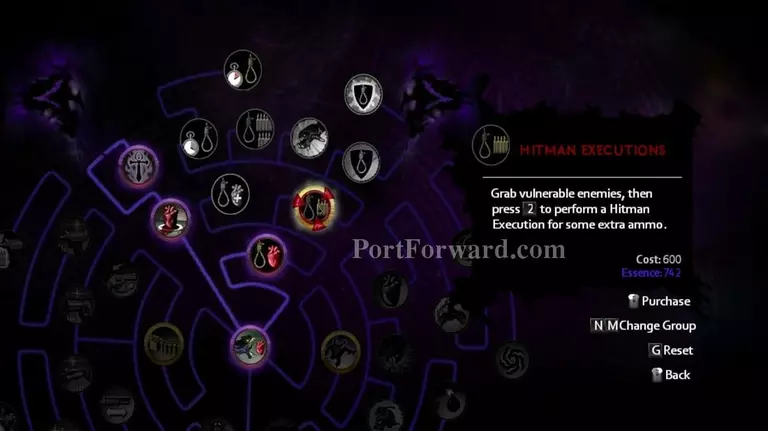
I recommend the Hitman Executions upgrade. It will allow you to gain close to hundreds of bullets when executing enemies which can be very helpful in the more unforgiving zones of the game.
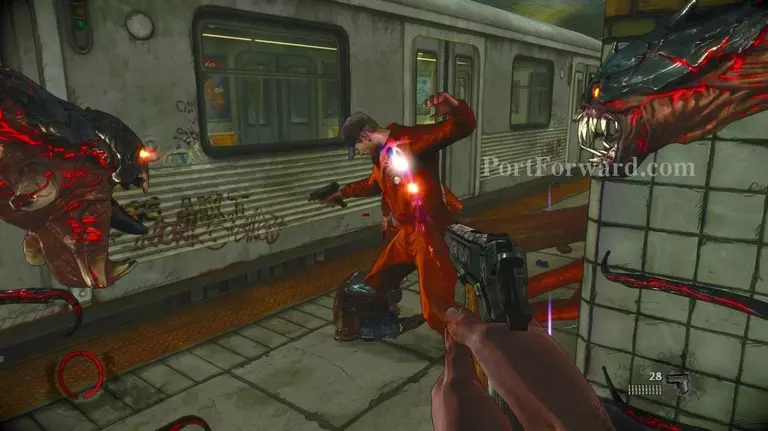
By this point, you'll probably have noticed your companion, grappling onto enemies, effectively stunning them. While he is doing this, take the opportunity and grab the foes with no resistance and execute/throw them.
After watching a nearby sub-train crash, being inches away from hitting you, progress through the wreckage.
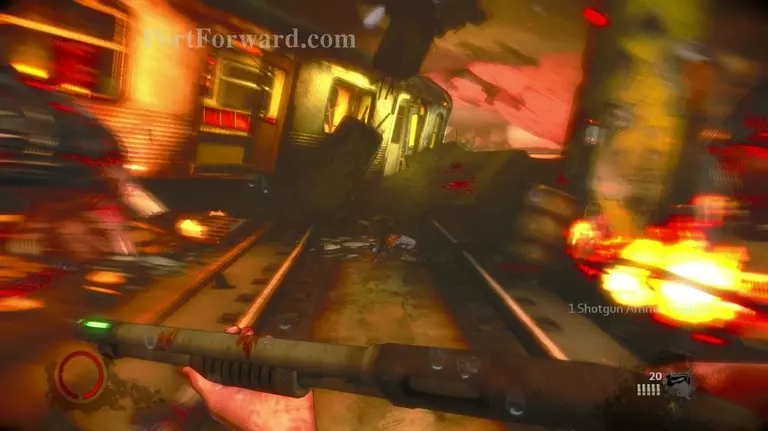
Wipe out every enemy you'll see, executing most if not all to them to get enough skill-points for the upcoming tougher portions of the game and continue proceeding through the wreckage. If you are lost, press (Backspace) to ask The Darkness where to go next, indicated by a long black smoke appearing on your HUD.
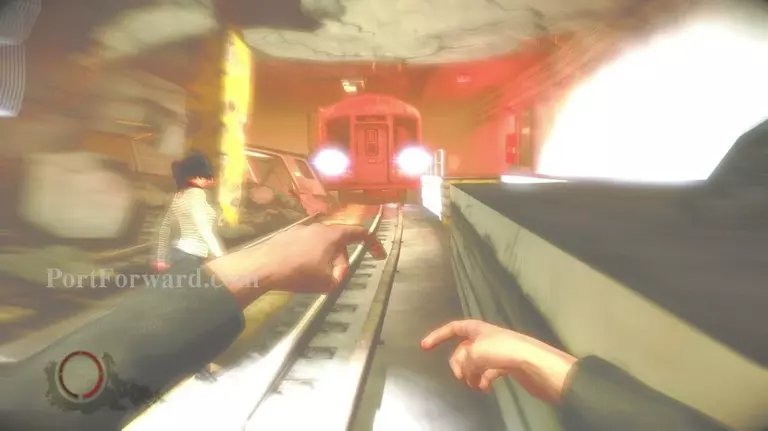
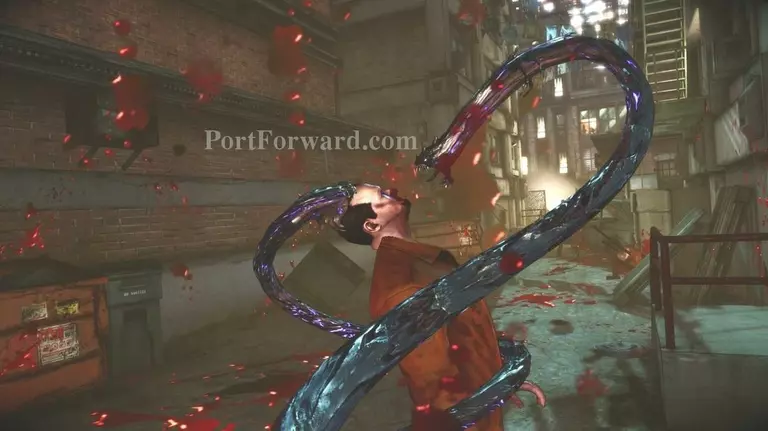
You'll eventually be paralyzed from the lights of an incoming train and be hit head-on by it.
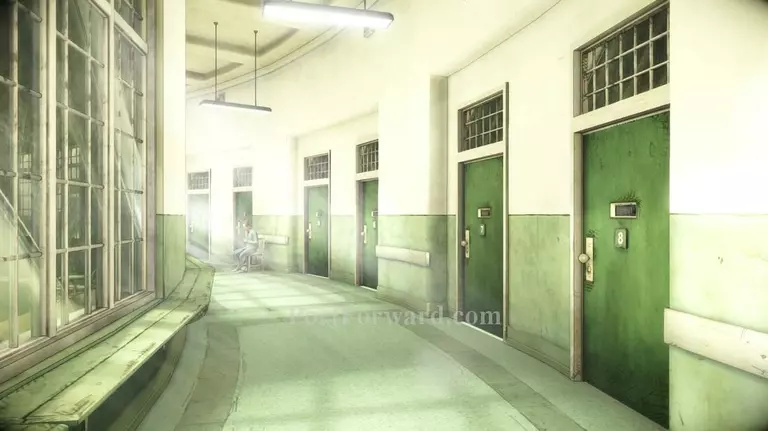
During any serious recovery-progress of your body, The Darkness will send you into a fictional asylum.
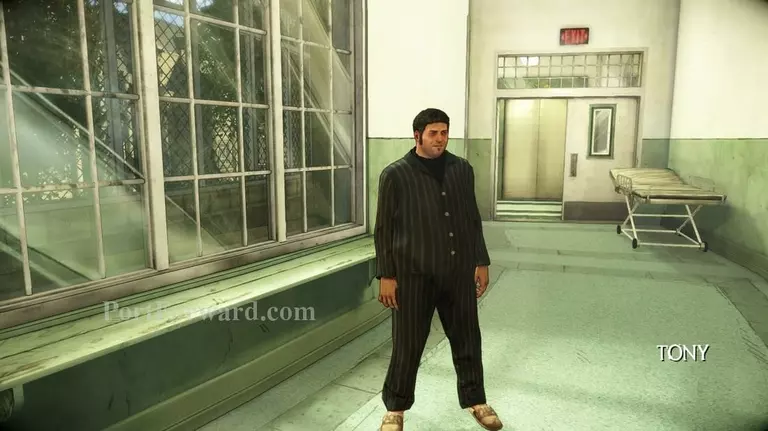
Go up ahead and make small-talk with any NPC's you please.
Eventually, you'll come to in a nearby alley.
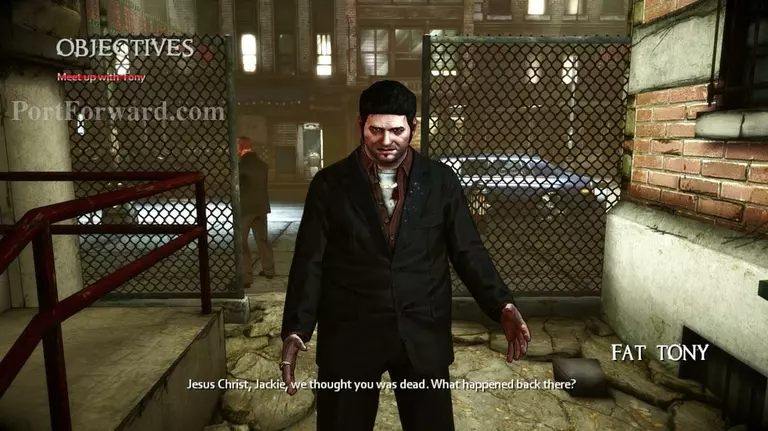
Meet up with one of your minions, Tony.
You'll be taken to your personal "Mansion" by an elevator. Here you can talk with many NPC's to get hints and some insight on the world of The Darkness II.
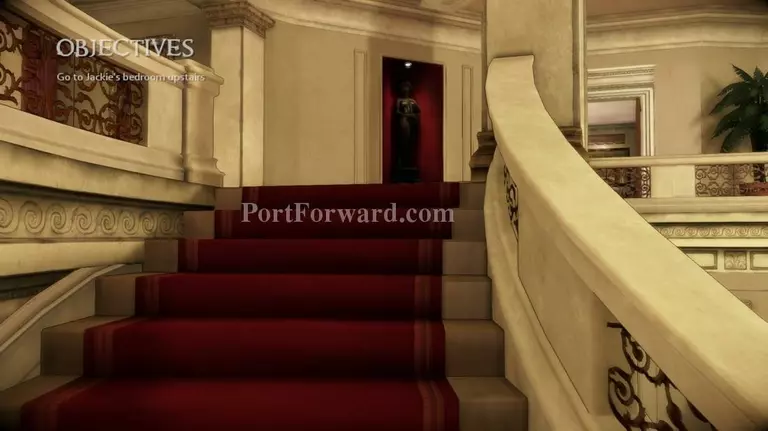
For now, head upstairs
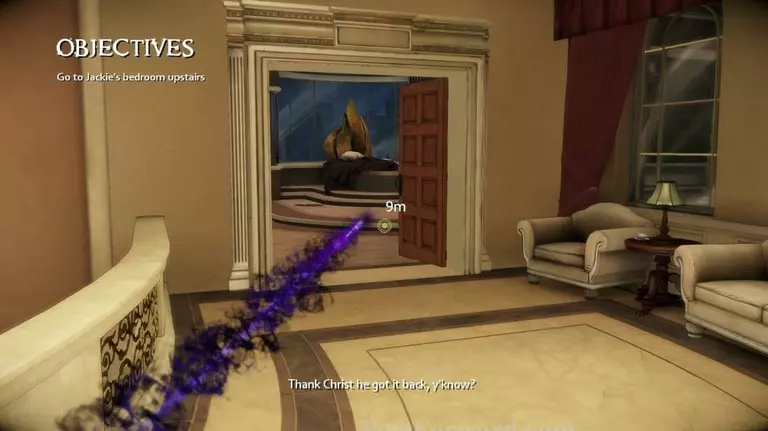
It should be easy to find the objective but if you get lost, don't hesitate to use (Backspace).
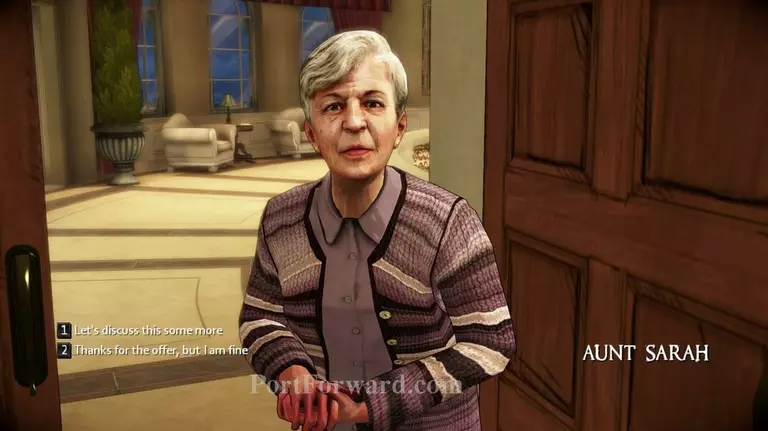
After lighting an avatar to pay your respect to your dead girlfriend, the game will introduce Aunt Sarah to you. She will give you a few choices of whether to talk or prompt her to "Stop busting your balls".
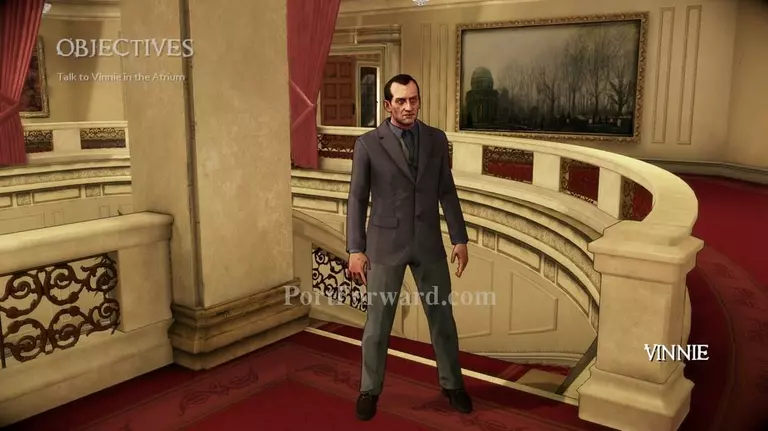
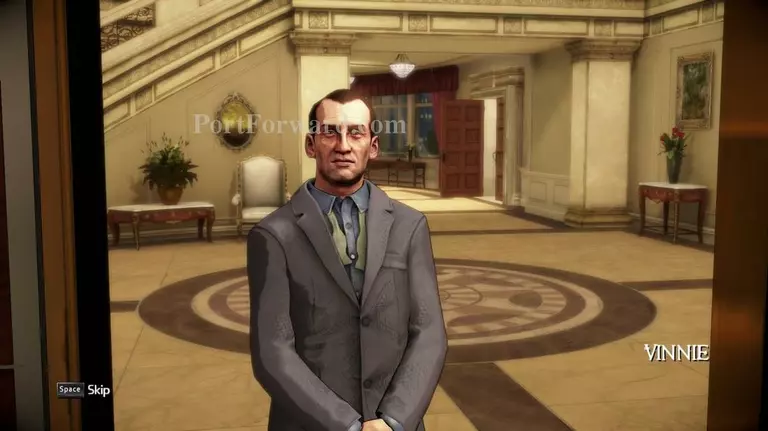
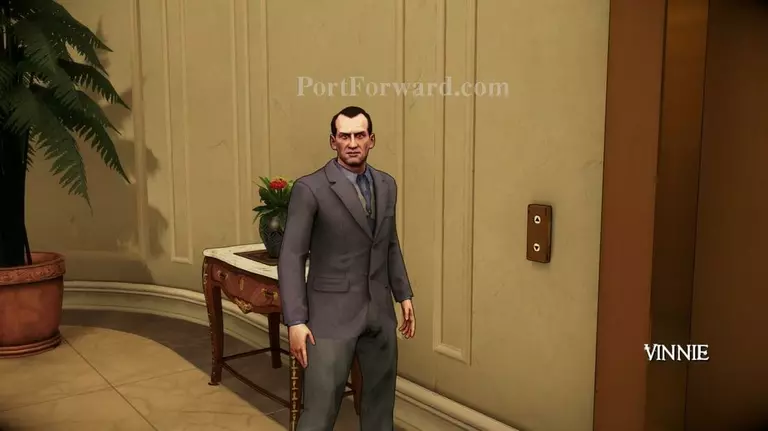
Meet Vinnie back at the stairs.

Go down the stairs and go to the right.
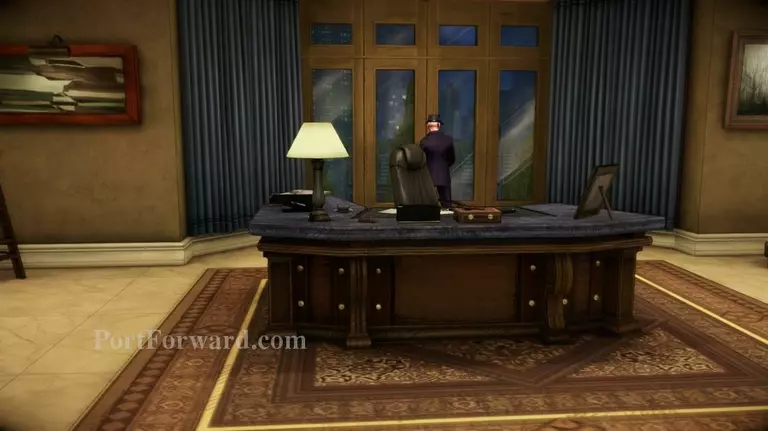
This is your office. Remember it. You'll be needing to visit it many times in the future. Talk to Jimmy, standing at the window.
When you are done talking to Jimmy, explore your house and make small-talk with the staff/friends or head back to Vinne, standing next to the elevator to progress to the next mission.
More The Darkness II Walkthroughs
This The Darkness II walkthrough is divided into 8 total pages.