This The Elder Scrolls V: Skyrim walkthrough is divided into 16 total pages.
You can jump to nearby pages of the game using the links above.
Alftand
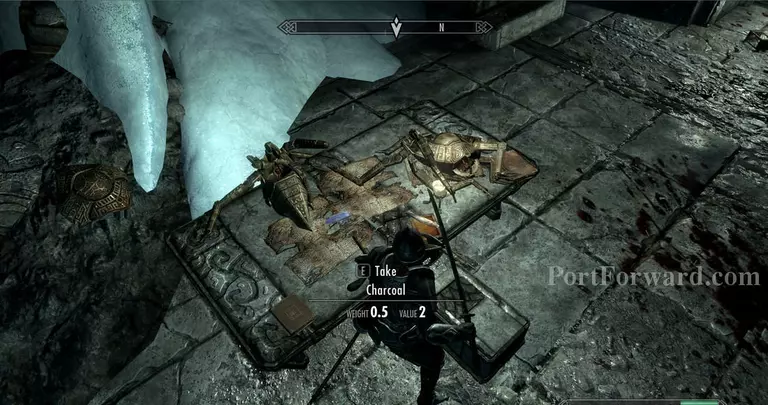
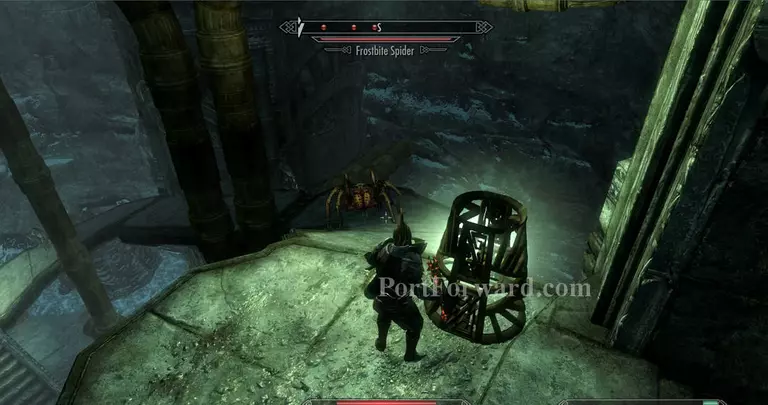
Keep moving till you see this research table, loot the spiders for some soul gems and then get prepared to face some live ones.
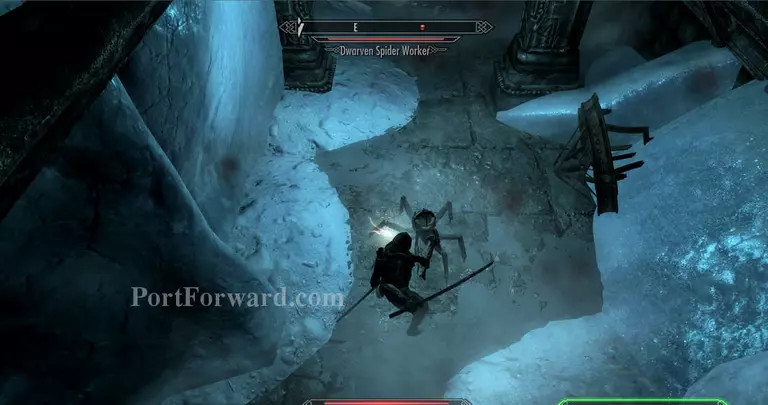
The Spider Workers are very weak, but if they catch you off guard then they can probably maim you. Keep going.
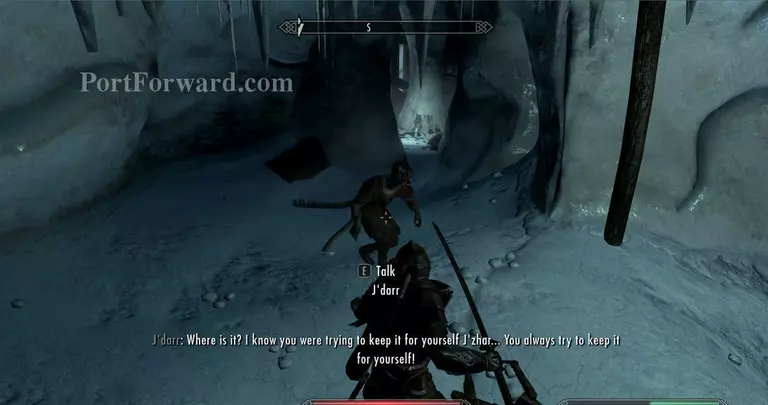
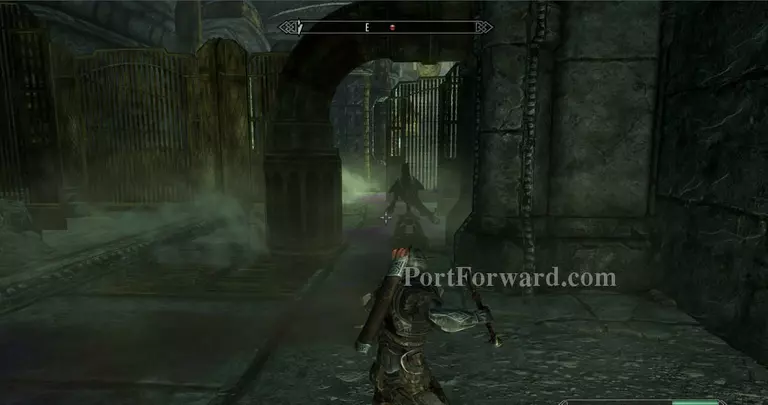
Through an ocean of spider workers you'll find a babbling cat person that will attack you if he gets out of his stupor. It's best to attack first.
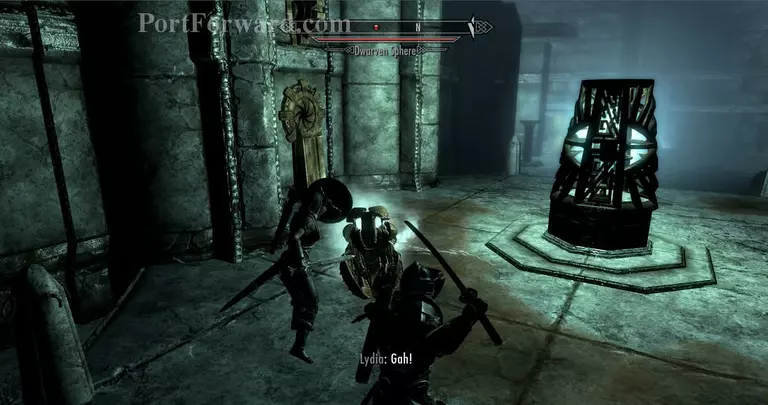
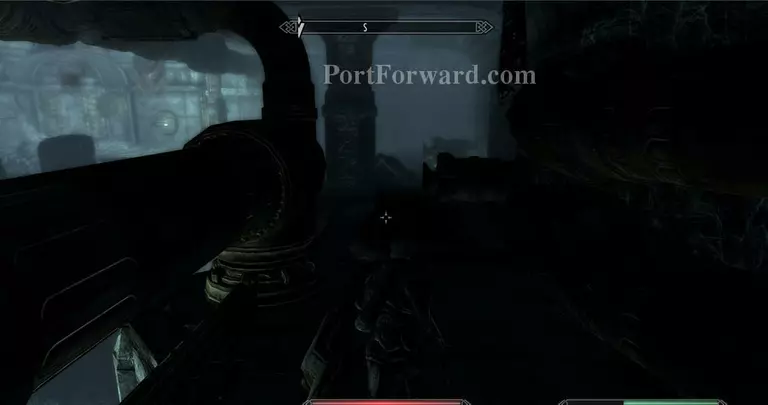
Head forward into the linear hallways, until you find this Dwarven Sphere dispenser that will spit out a very nasty enemy that can 3-shot you.
More spider workers later, you'll find this room with a stupid little piston puzzle, just jump over them or you'll pop a blood vessel in your head.
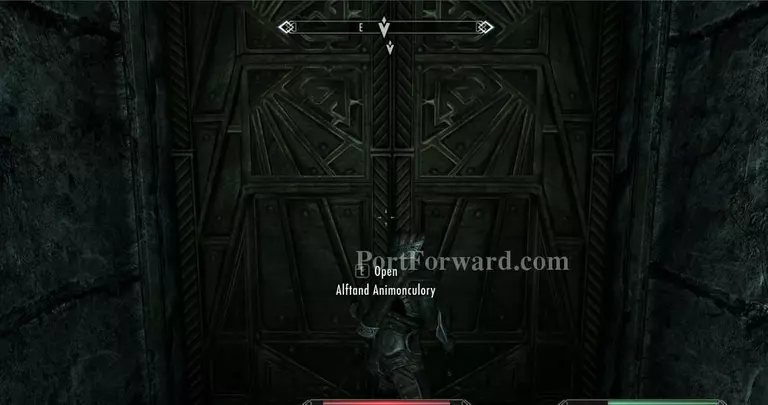
Then you'll have made it to the Animonimoncularyilarylarysharydairy.
In the room immediately before you, another Sphere will attack coupled with spider workers and boiling oil.
Once you hit this staircase, use Whirlwind Sprint or some blades will pop out and kill you.
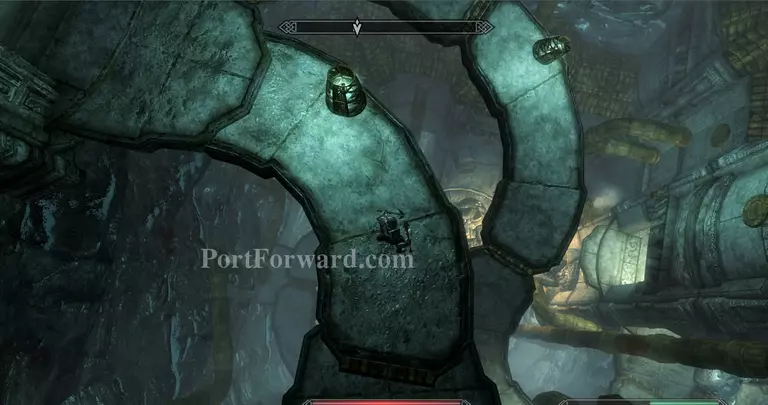
Once in the giant cylindrical stairway, please resist the urge to jump off to your death. Keep following the bridges, VERY CAREFULLY jumping on some convenient bronze pipes to break your fall if the hallway is blocked. A new enemy, the Falmer, will be revealed.

However, there's a little side-door blocked with an Apprentice lock that holds a gate that has an Expert lock. Then that gate has a chest that has a Master Lock. The loot is definitely worth it, if you open it all or waste all your lockpicks, head back and start moving down the stairs.
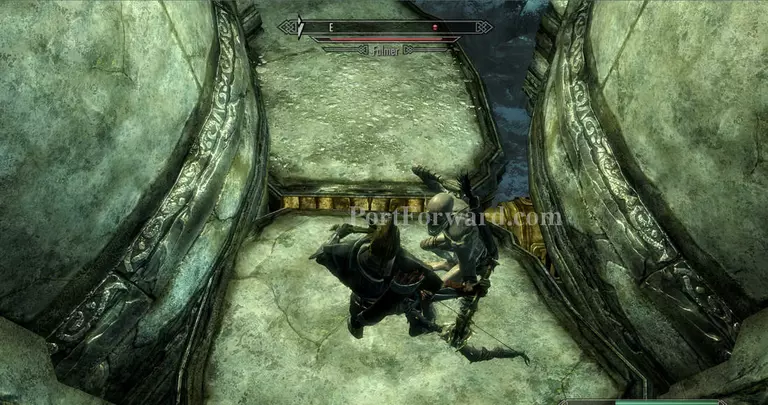
Some distance down, the Falmer will attack. They're basically Smeagols that are really bad at detecting stealth and have poisoned weapons.
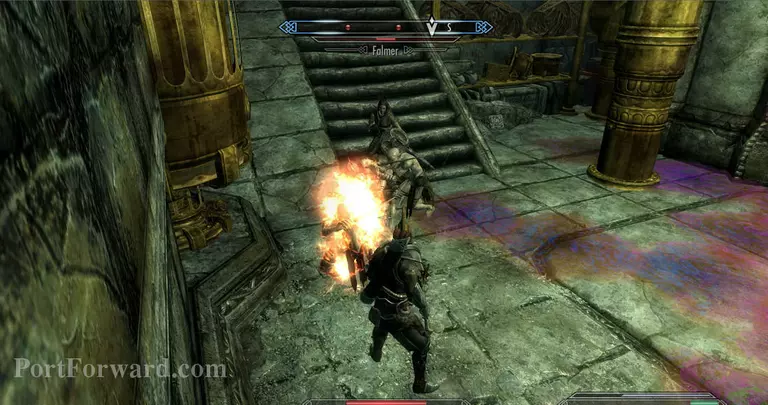
Before you can hit the lowest level of the staircase you'll have to progress through these Falmer camps which have fiery floorings and deadly poisons.
It's best to lure back the higher-level falmer at the bottom to their death with Unrelenting Force.

Then you can progress to quite possibly the hardest part, and if you walk into that obvious claw-trap then I have no words for you.
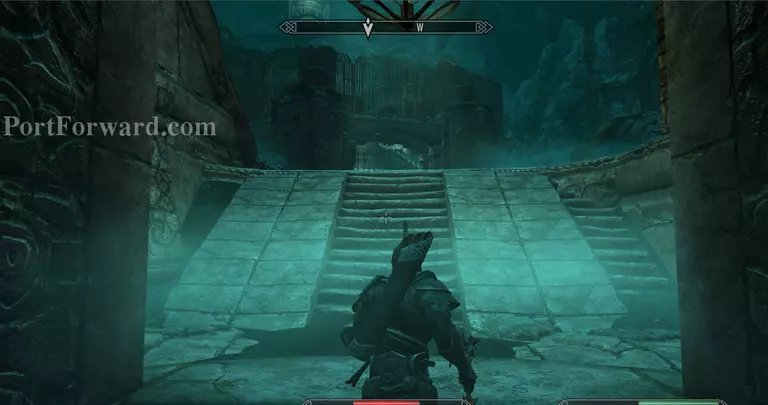
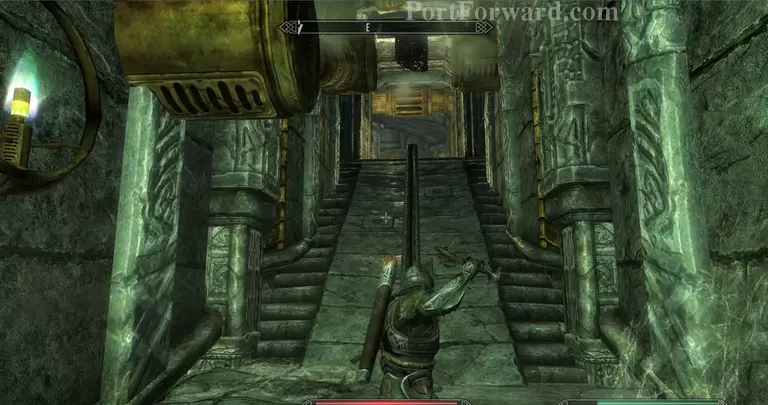
You'll enter a gigantic room, first take the ramp up then push the lever, kill the Falmer in their huts and prepare for one hell of a fight.
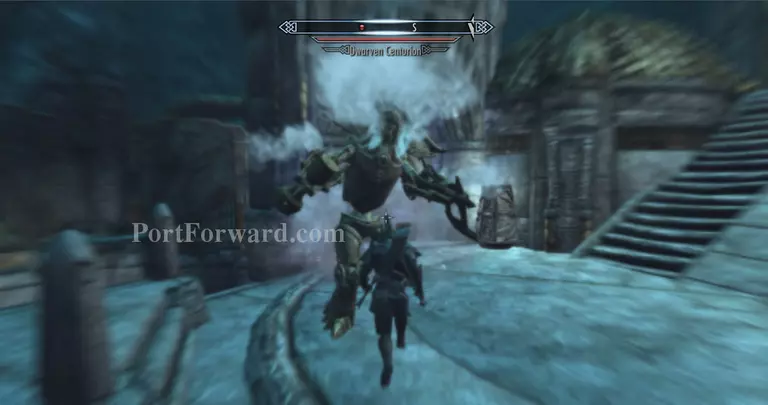
As you walk into the opened gate, a motherf*cking Centurion will activate, it'll completely obliterate you in close combat unless you're extremely high level. I recommend using Fire Breath and hiding from his steam attacks. You're suicidal if you come up to fight him in melee.
Once the Centurion is dead, take the key from his corpse and continue.
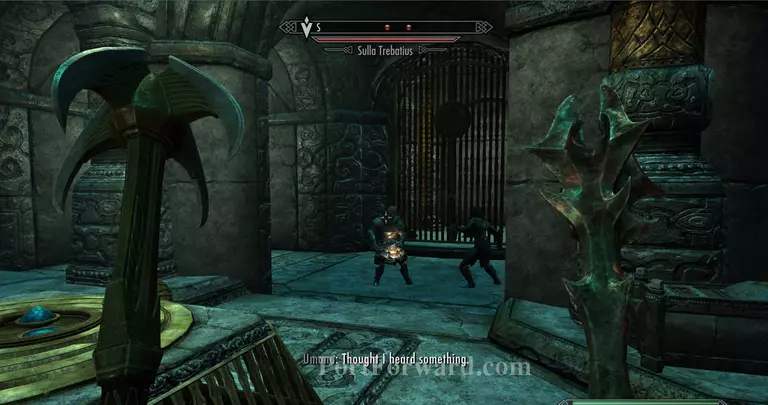
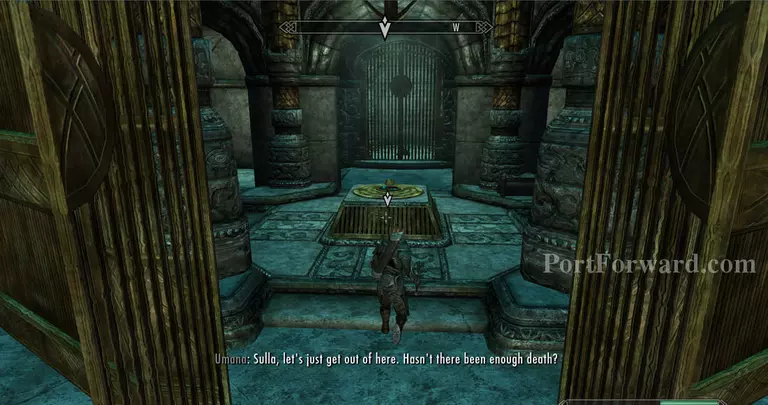
A lovely couple will have a bad breakup and start to get abusive. They're carrying enchanted armor so kill them.
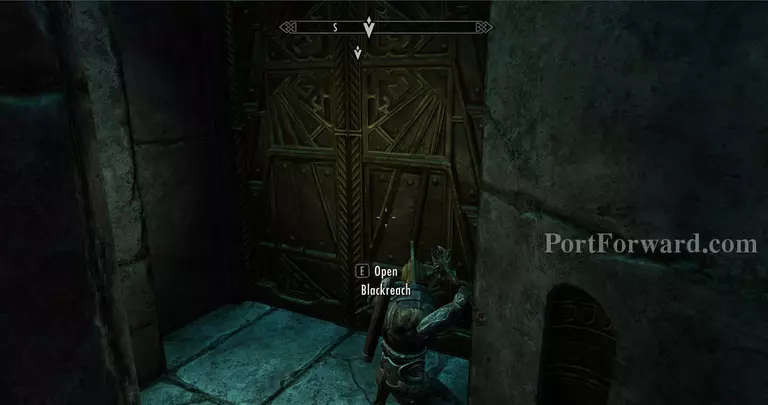
Then, start the Dwarven Mechanism, then head down the stairs to Blackreach.
More The Elder Scrolls V: Skyrim Walkthroughs
This The Elder Scrolls V: Skyrim walkthrough is divided into 16 total pages.