
This The Room (2012) - Steam Version walkthrough is divided into 8 total pages.
You can jump to nearby pages of the game using the links above.
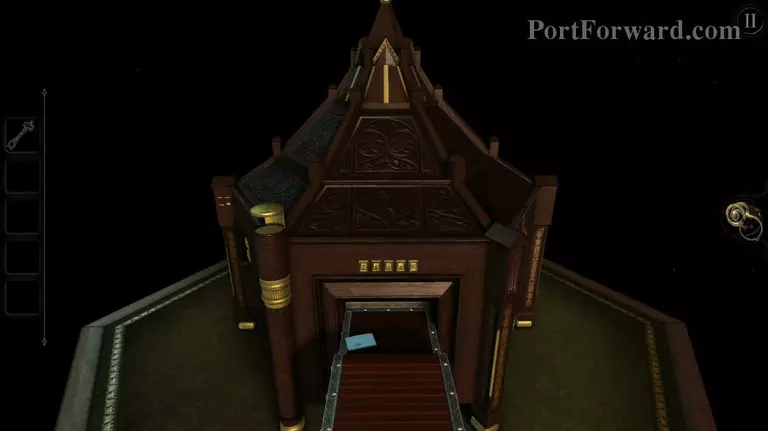
The Room (2012) - Steam Version Walkthrough Chapter 2.2 - Keyhole Seal
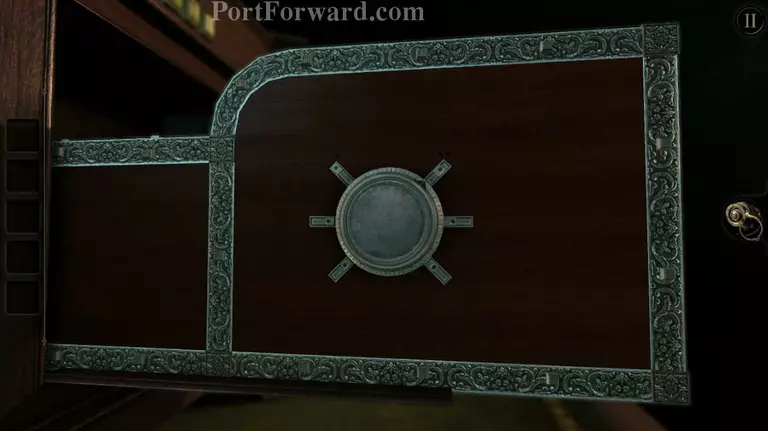
Now a safe has popped-up from within the box. Zoom out and check the top for another letter from the mysterious owner of this box.
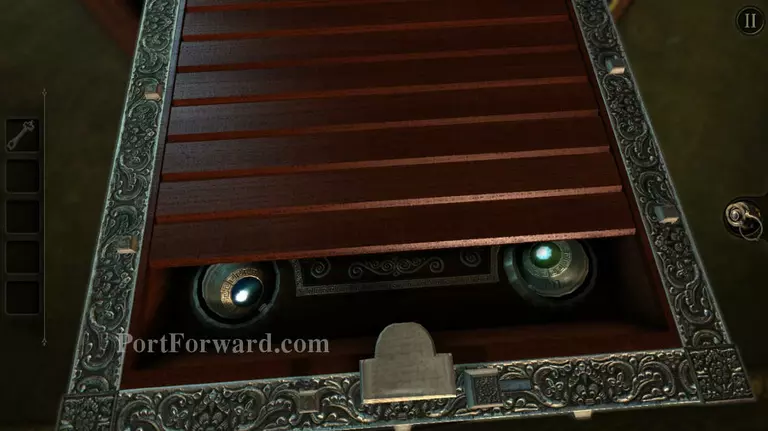
Zoom into the front top end of the safe and drag the small square notch towards the middle. A new puzzle will be revealed from the top.
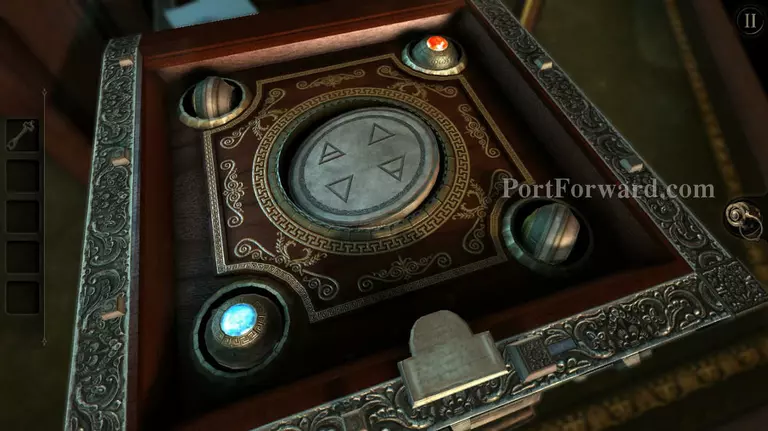
This is an odd puzzle, basically you need to get the circles to show their gem side up. To do this you'll need to spin your camera view around in the appropriate direction, unfortunately there's no sure way to it other than test it out yourself.

Once you get all 4 gems up, a slide will come out from the right side of the safe. Equip your eyepiece and look at it.
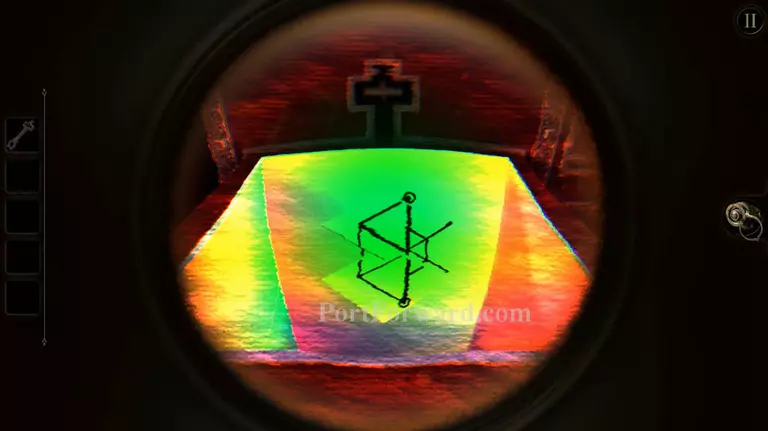
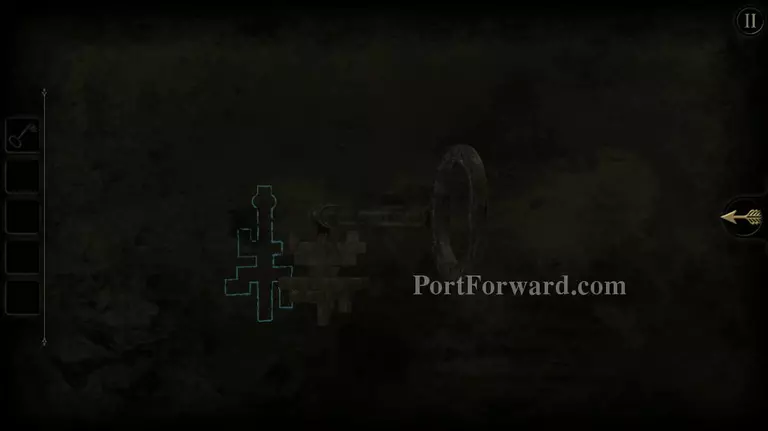
You need to create the same design as is on the paper that was on the slide. To do that, move your camera to the center of the slide then move it up a little. Your view should be a little above the cross shaped hole at the back.

Now you have a hole. Place that key that's still in your inventory inside the hole and turn it so it matches the design of the keyhole behind it.
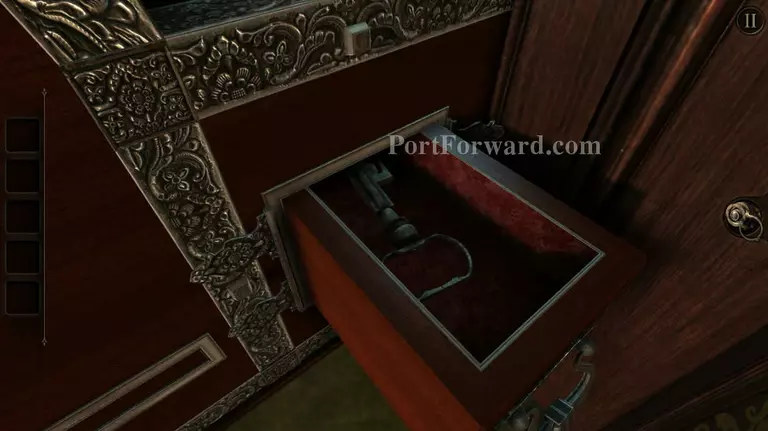
Pull out the small drawer that got unlocked at the right side and take the small cabinet key that's hidden inside it.
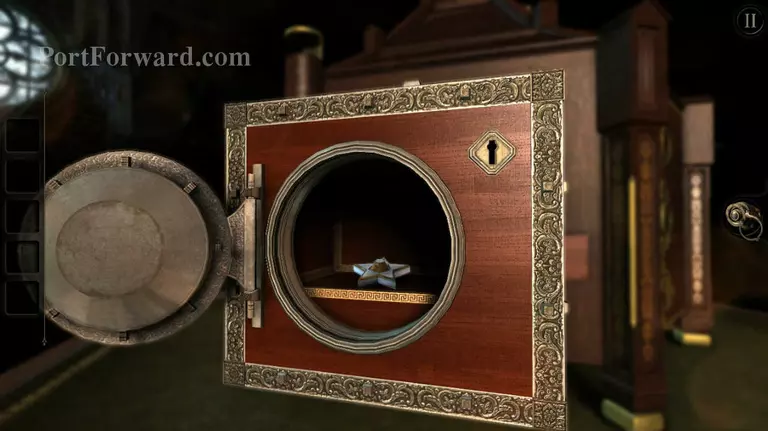
Move over to the front of the safe and pop the key inside the keyhole at the upper right corner. Turn the key to open the safe and take the star shaped object inside.
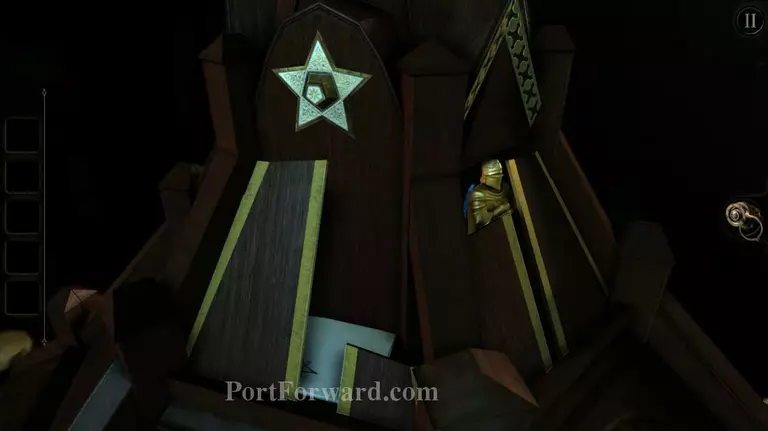
Zoom out of the safe and up to the top of the box. Turn the box until you find the bronze star shaped hole at the top and place that key that you found.
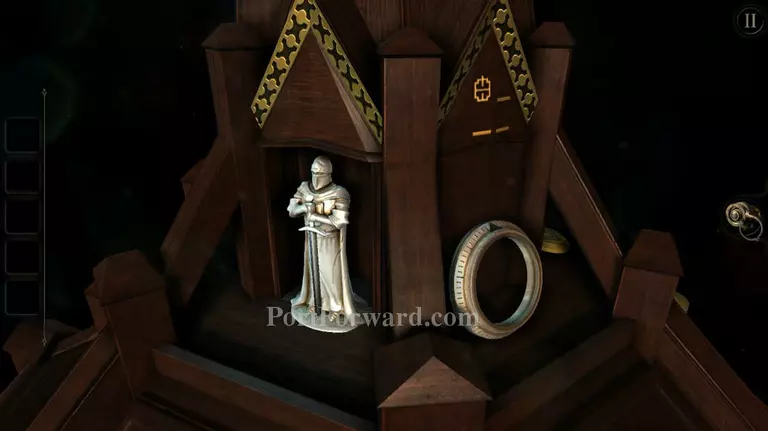
Read the letter, then turn right and you'll find a small metal ring just beside the knight with a sword. Take the metal ring and go back to the safe.
Place the metal ring on the safe then do the following: Move to the first lock on the left, move to the first lock on the right, move to the second lock on the right, move to the second lock on the left, move to the third lock on the right, move to the third lock on the left. Make sure to always go back to the top when moving from left side to right side and vise versa.
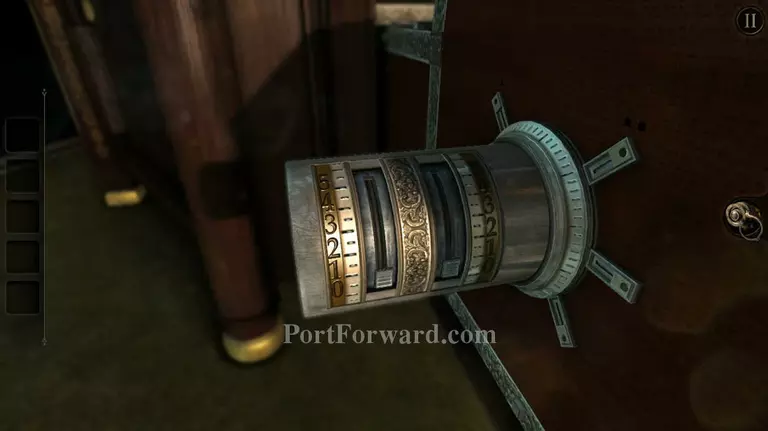
A sliding mechanism will pop-up from the dial. Place the slider on the left at 2 and the one on the right at the very top (5). Make sure that the left one is at 2 and not 1. The view can be a little bit confusing. Take the key that will be revealed afterwards.
Now go back to the front of the safe and click on the key that you just acquired. Start turning the key to match the keyhole and place it in.
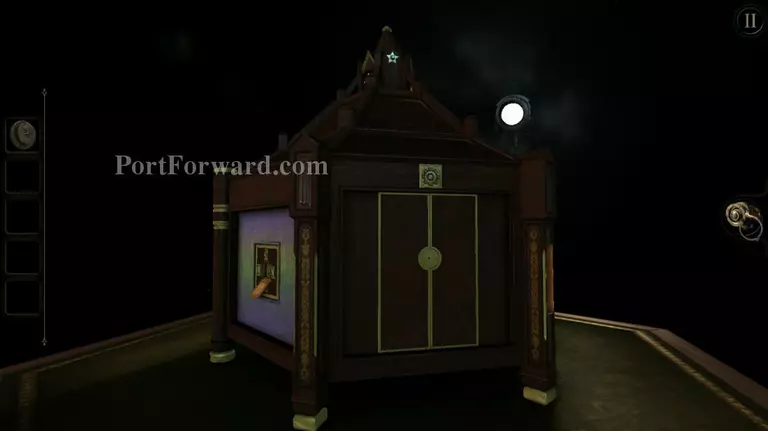
Turn the key and take the circular plate from inside the safe, then zoom out and take it to the small door with a cogwheel design on top of it.
More The Room (2012) - Steam Version Walkthroughs
This The Room (2012) - Steam Version walkthrough is divided into 8 total pages.


