This The Room (2012) - Steam Version walkthrough is divided into 8 total pages.
You can jump to nearby pages of the game using the links above.
The Room (2012) - Steam Version Walkthrough Chapter 5
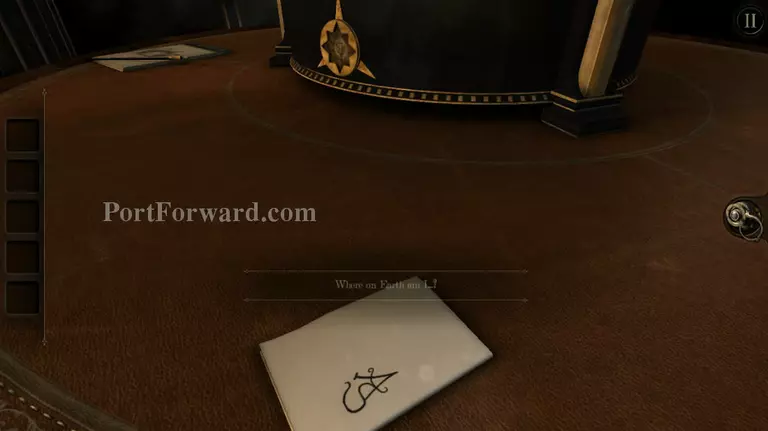
It's not important, but first off all examine the letter on top of the table.
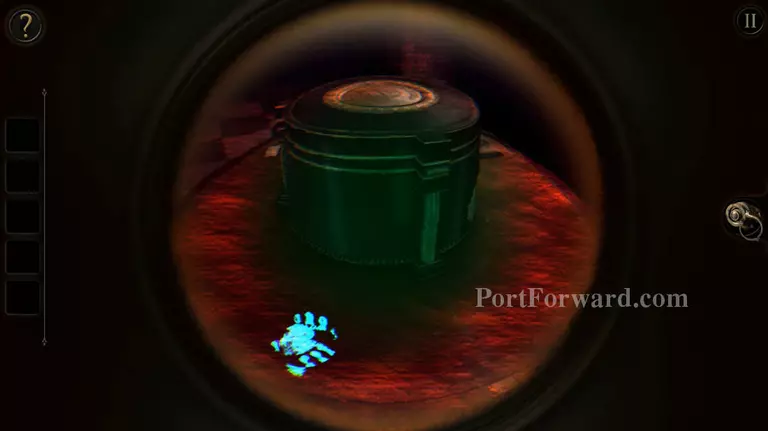
Equip your eyepiece and go around the table. Look for the cyan handprint and move the rotating wheel so that it forms a proper hand print.
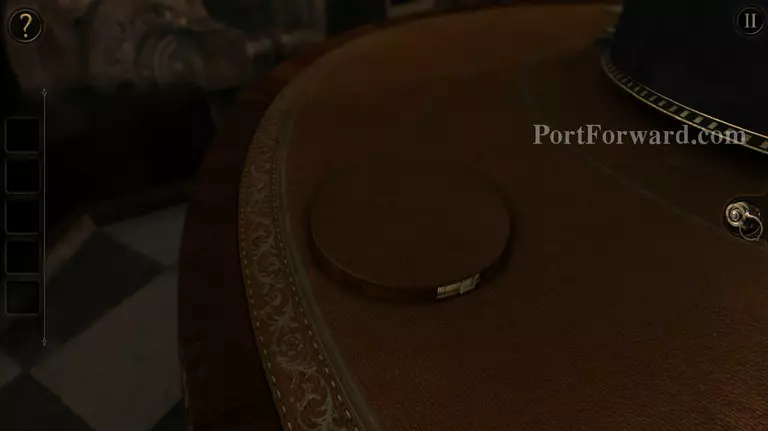
On the side of the circle that rose up is a switch. Move the camera to the right and slide the switch, then take the small gear.
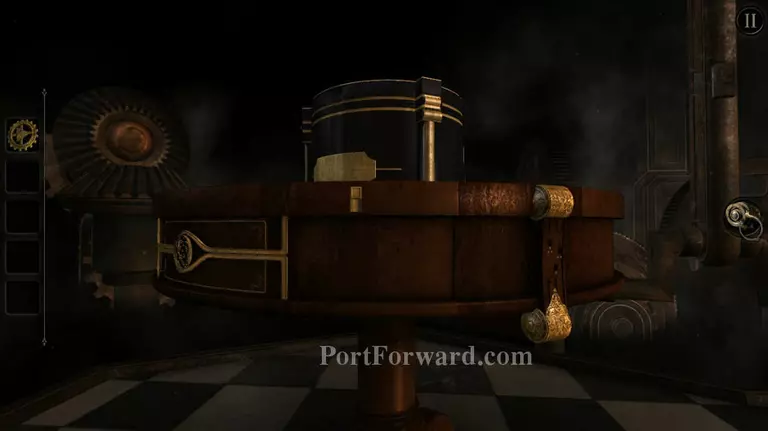
Turn around the table to the right and you'll find another small switch near the eye-shaped bronze lines.
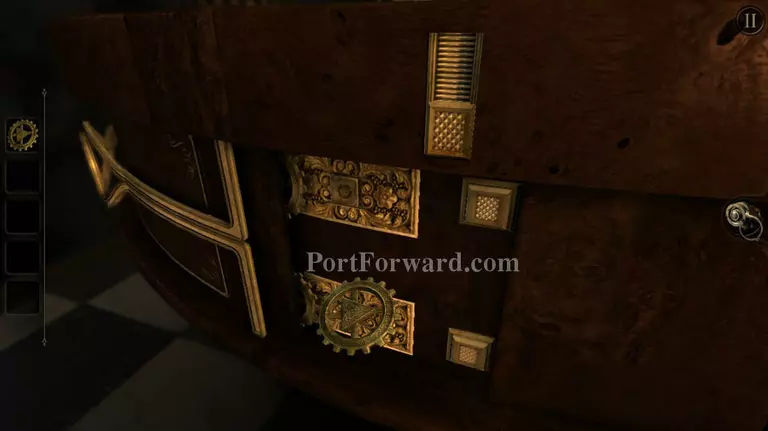
Flip the switch and place the gear that you found at the bottom mechanism. Now press the switch right beside it.
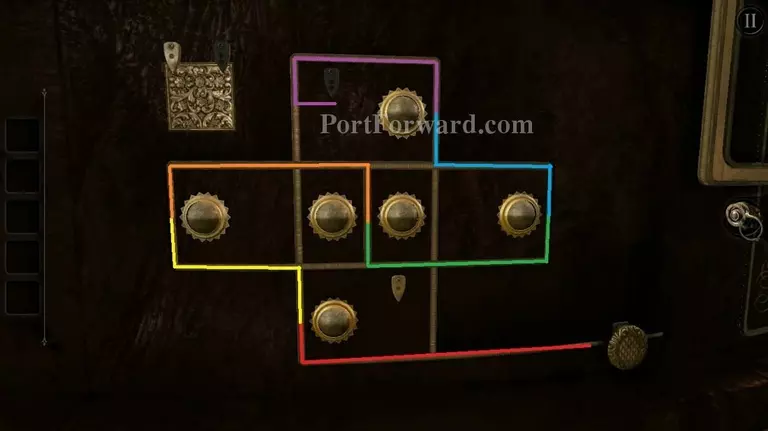
The idea is to flip the place holders on the path and the corresponding place holder will move from the bronze plate. but the only way to get to the place holders is to first flip each circle. Click on the pin and drag it around in this pattern (picture) for the black piece.
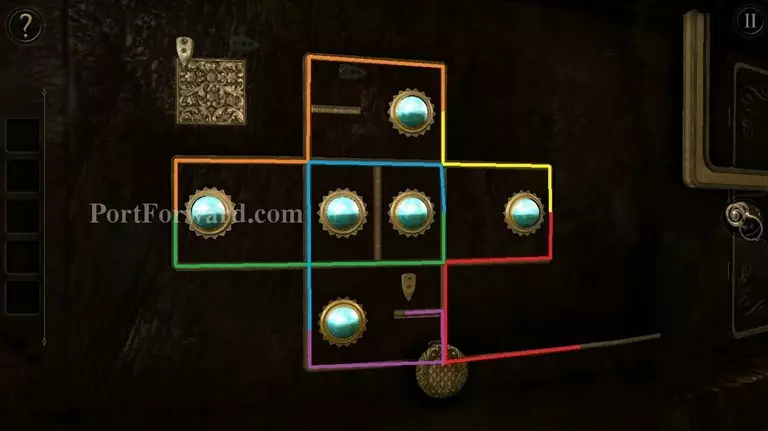
And follow this photo for the white one. It's a bit chaotic, but follow the line in this order: red, yellow, orange, green, blue, purple and you should be fine. Also don't let go of the pin cause you'll be sent back to the start if you do. Color arrangement is the same for the black and white key pattern.
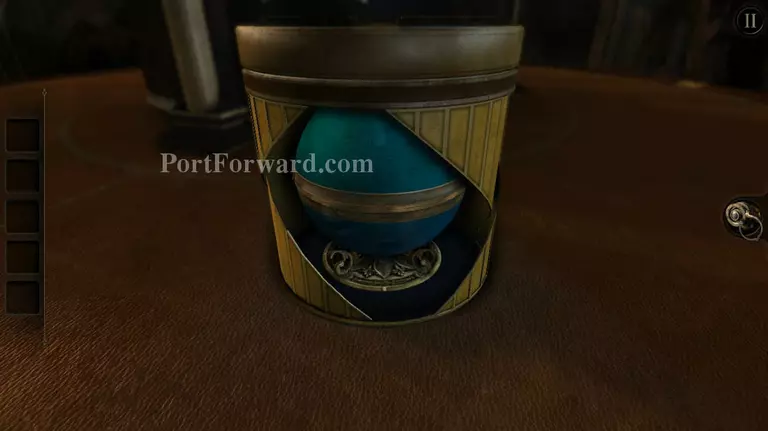
Flip the switch and take the circular object that was hidden inside the tube that popped out of the table.
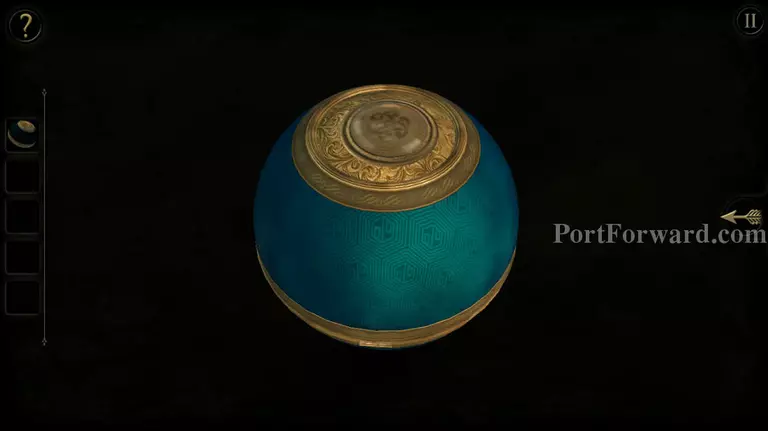
Click on the globe and spin the top part down until you see the emblem on it, then open it and take the small gear.
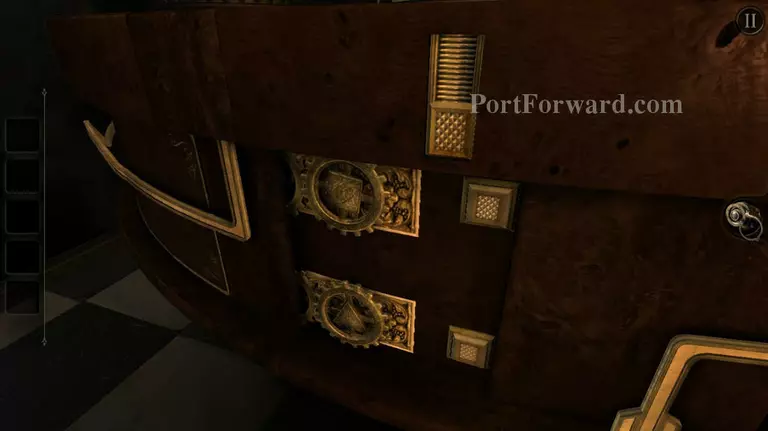
Now go back to the side of the table and place that gear on the top part of the mechanism along with the first gear you place, then press the button beside it.
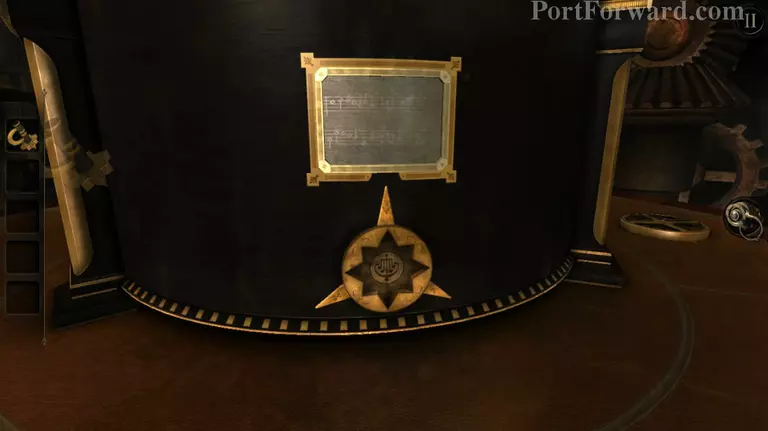
Take the star shaped winding key and place it on the indentation of the same shape that's on top of the table, now wind it to the left once.
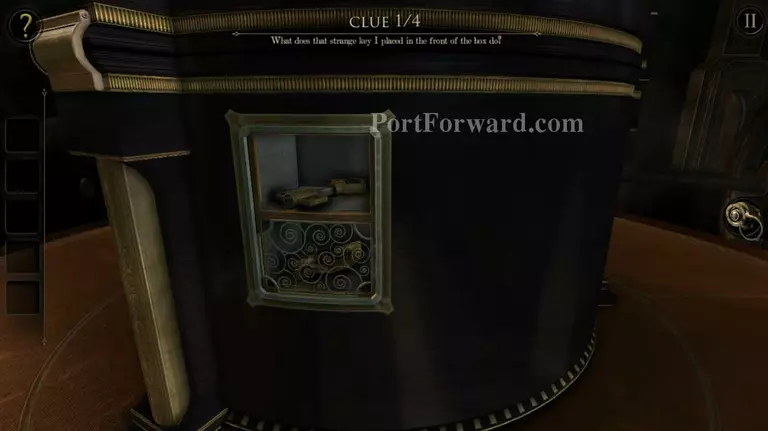
Leave the mechanisma and move to the right, you'll notice that the key that there's a key on the side of the box now. Take it then go back to the mechanism.
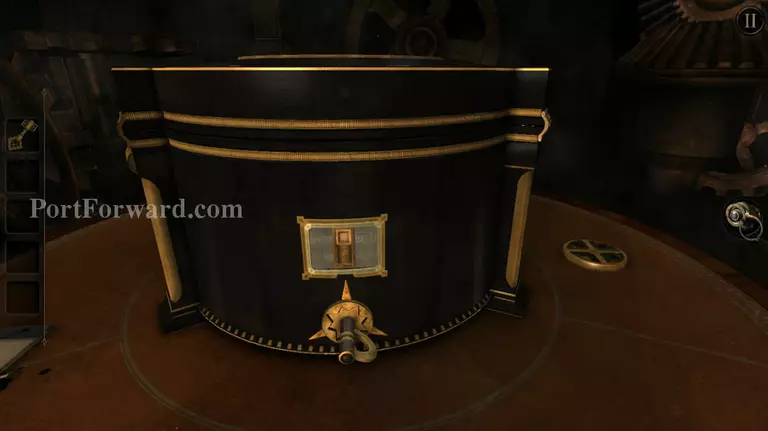
Place the winder on the lower right and the metal grate should shift down the side of the box. Turn the handle to the lower left again and check on the side that opened.
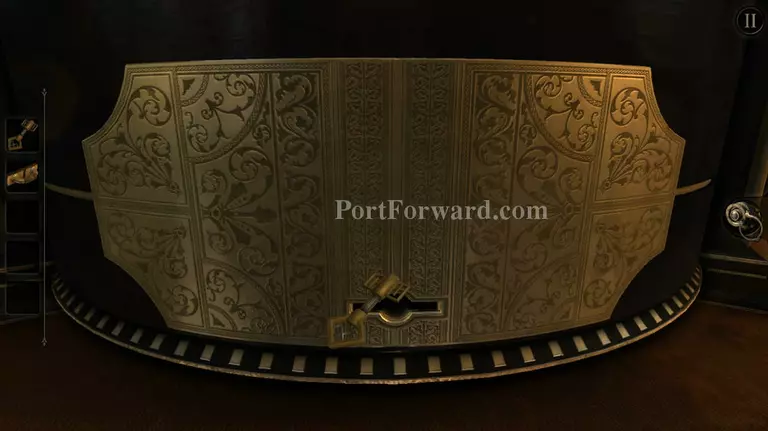
Take the handle then head around the back of the table and place the key in the backplate. Turn it to reveal the mechanism behind the plate.
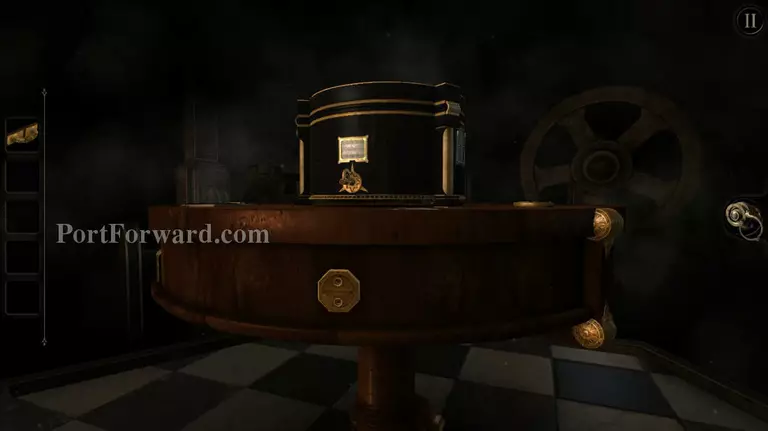
Ignore that for now and go back to the winding key, zoom out and you'll see a hexagon plate with two holes in it. Place the handle here and turn it to reveal a piano.
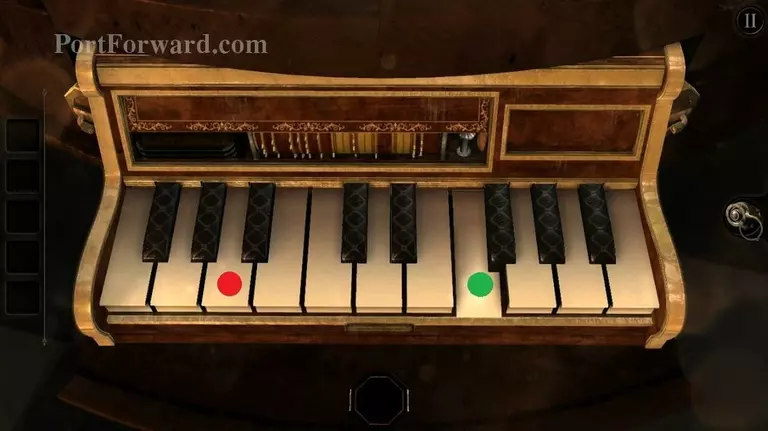
Press the notes A (Red dot) and F (Green dot) on mini piano, twice and a coin slot will be revealed.
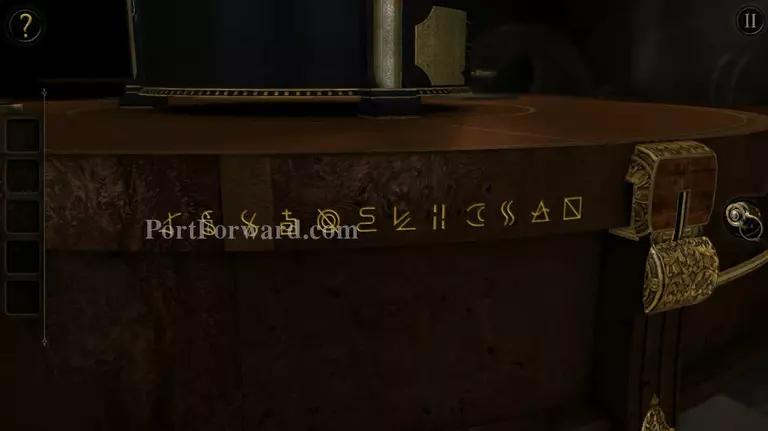
Leave the piano and go around the side of the table until you find small symbols written in gold. Zoom in on them and drag he decorative gold piece at the right, down.
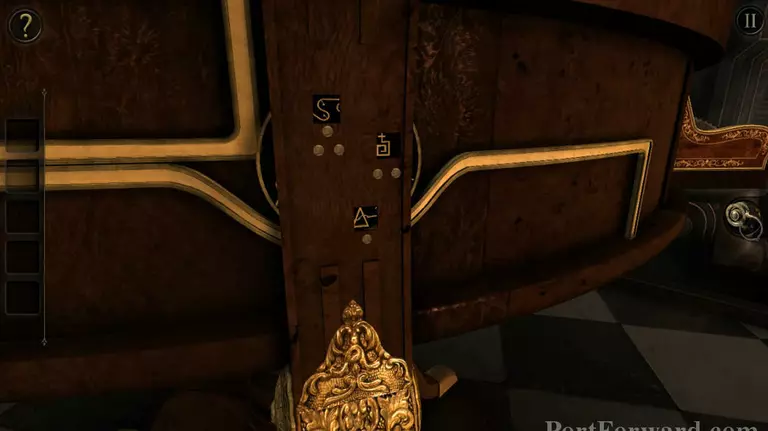
Leave the symbols and head further right to find a similar decorative bronze piece. Zoom in and you'll find three gold symbols with corresponding numbers of dots. Place these into the sliding mechanism take the coins and place it into the piano.
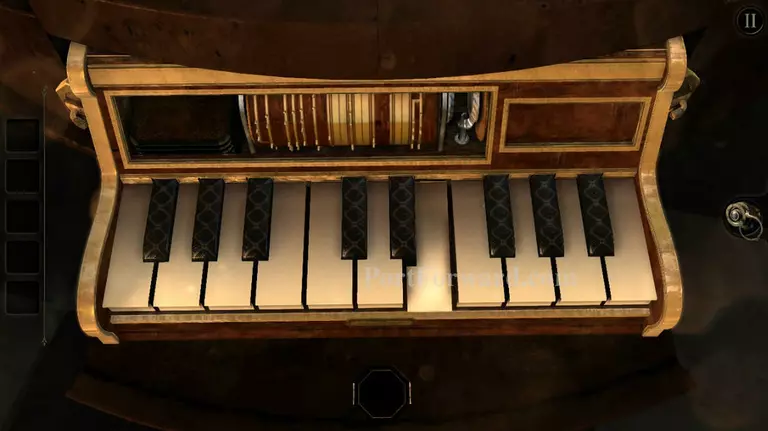
Now this is easy, the piano will start playing notes for you. All you have to do is to copy the tune that it played after it finishes playing.
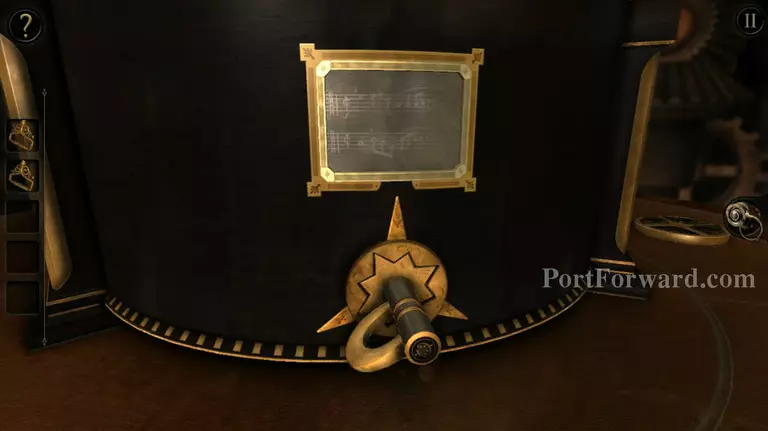
Take the handles from the piano and head back to the winding key, place the key on the lower left dial then go behind the table, to where the brass plate is.
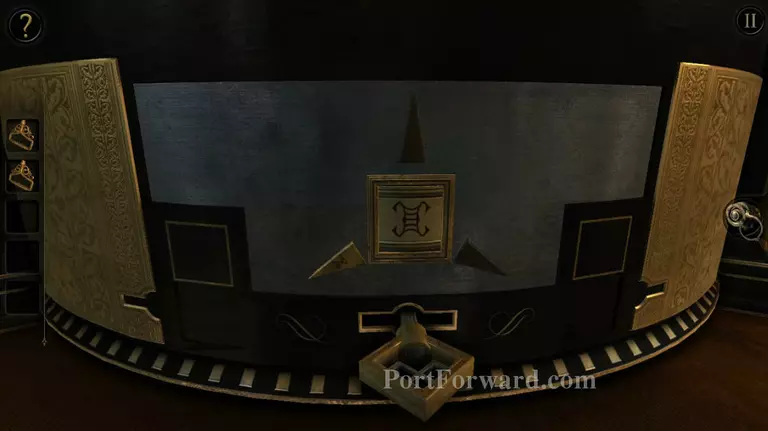
You'll notice that the dial has moved to the lower left, now click on the symbol at the center and drag it to the right until the symbol is the two Cs facing each other (picture)
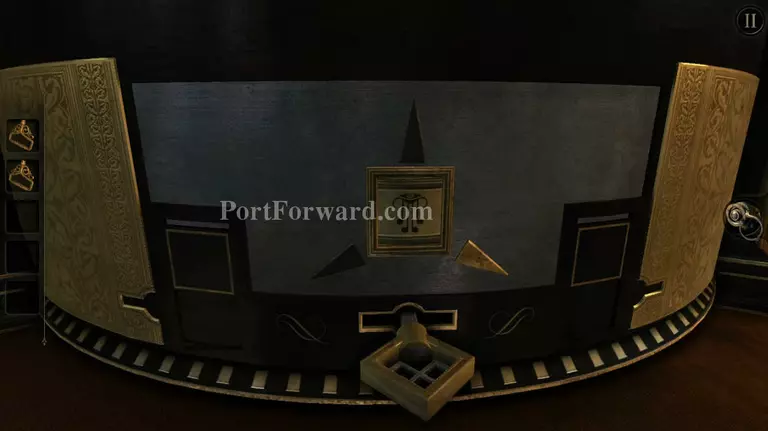
Then go back to the handle and turn it to the lower right, change the symbol to the one that looks like a crying eye (picture).
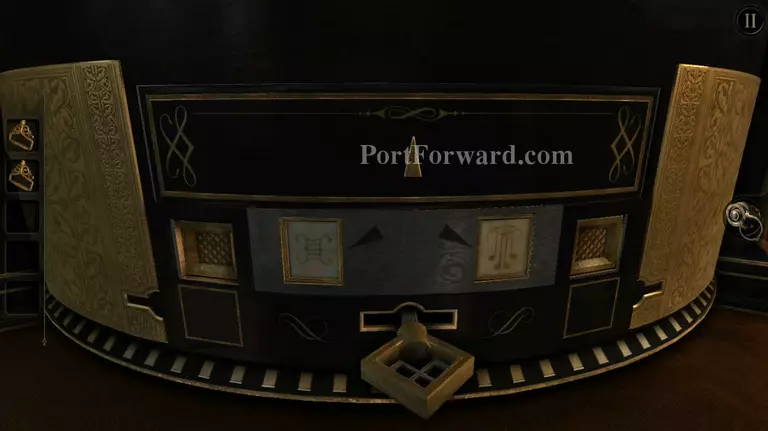
Finally turn the winding key back to the top again and go back to the brass plate. Press on the two buttons that are now visible and another dial will appear.
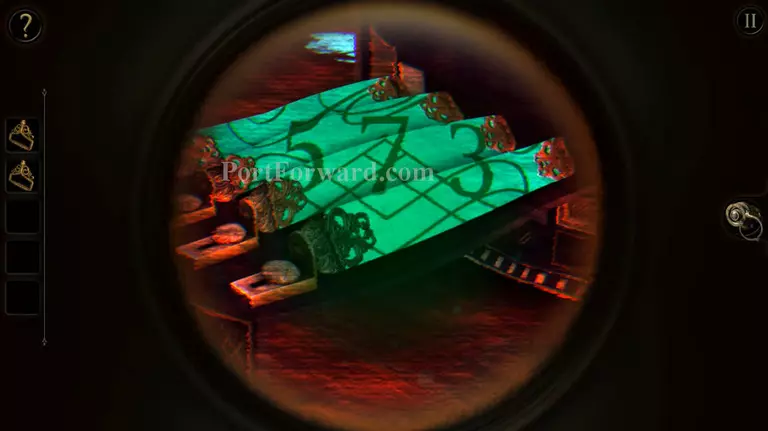
Some crystals will also be revealed along side it, equip your eyepiece and move your view to the left while zoomed in on the crystals, pull on the switches below to turn these crystals until they form a number.
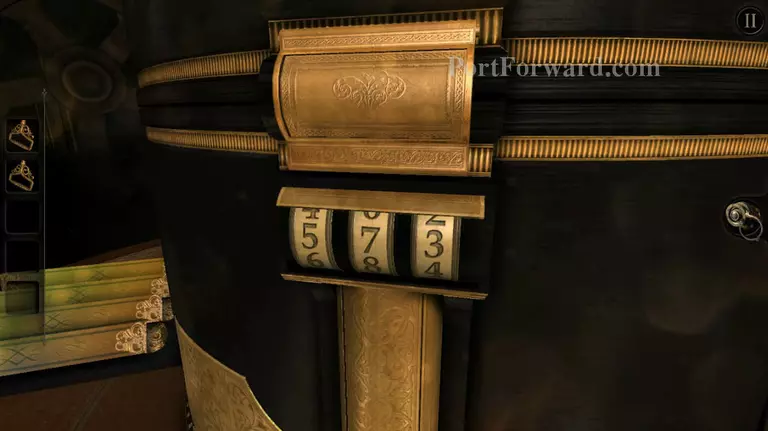
Punch in the numbers 5, 7 and 3 on the mechanism to activate it. Then place the handles on the plate that will be revealed and turn them.
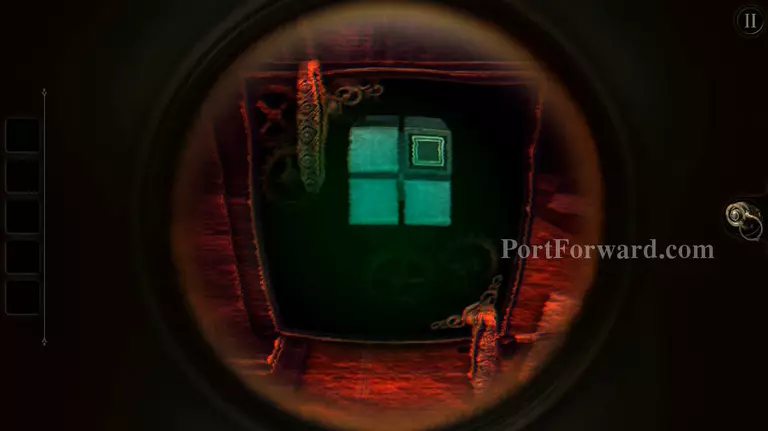
Equip the eyepiece and you'll see a 4x4 rubic's cube. The idea is not the front, but the back of the plate.
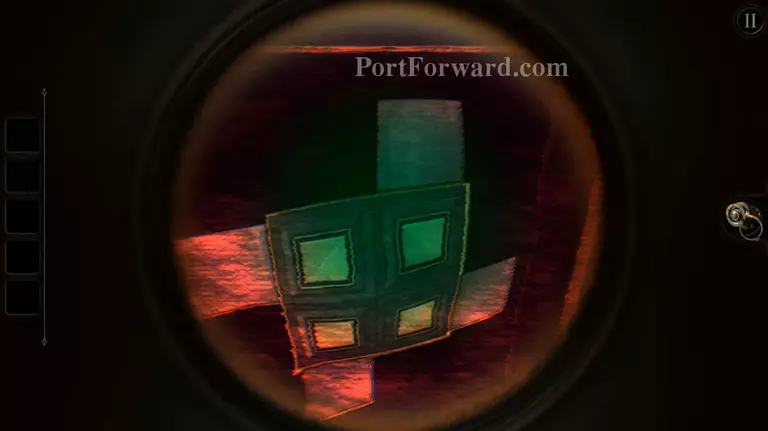
Check behind the plate and put each square into an empty part of the cube to open it and receive a gem piece.
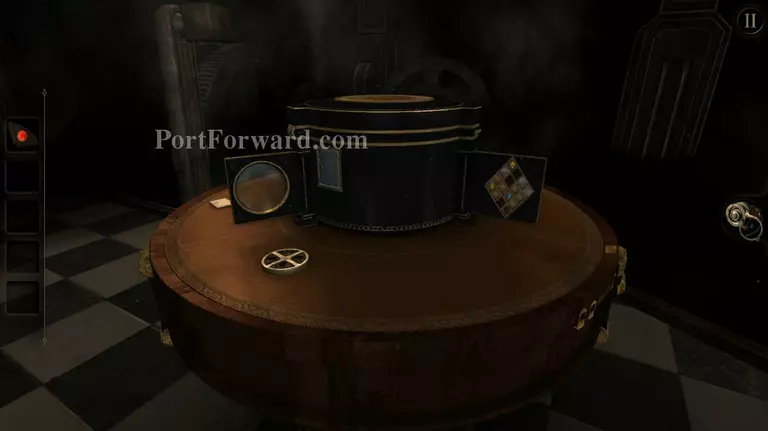
More stuff will be revealed now. First focus on the gems at the right.
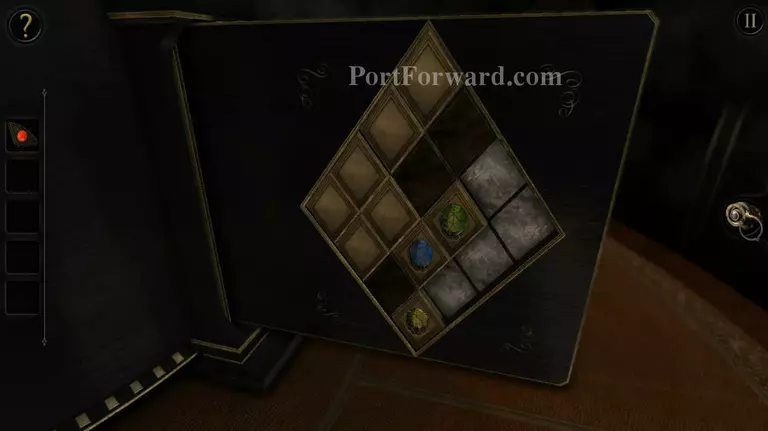
Shift the cubes around so that the gems are at the bottom. Now you need to get these gems out of that box.
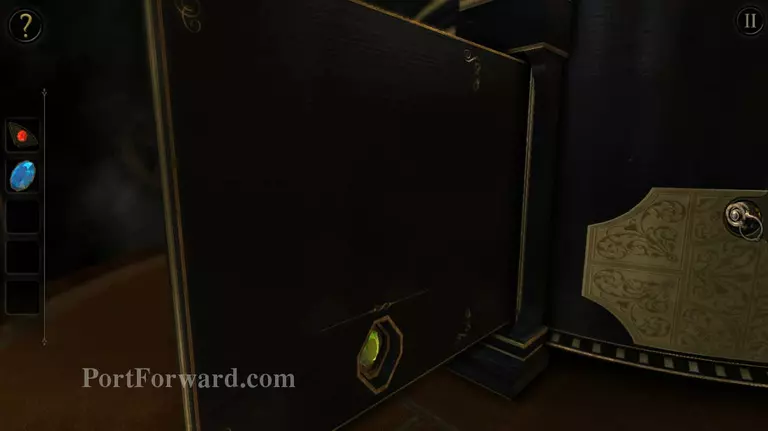
Place a gem on the bottom most of the diamond, then go behind it and you'll find that the gems are exposed and may be taken from the back.
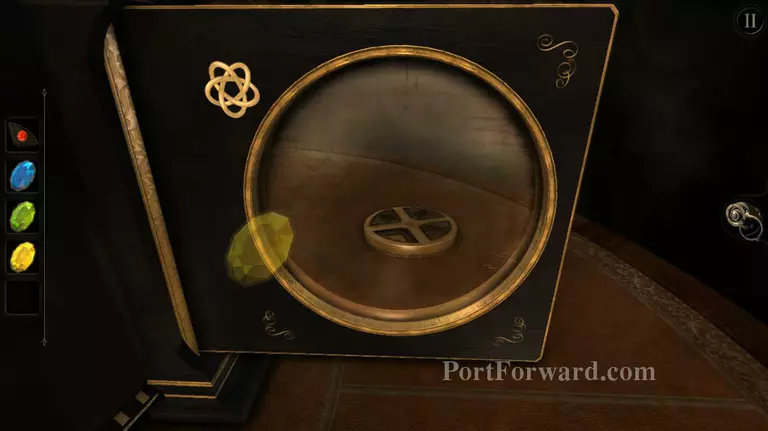
Take all of the gems and go to the mirror on the left. You'll see that it's viewing a small circle on the other side. You need to place the gems there.
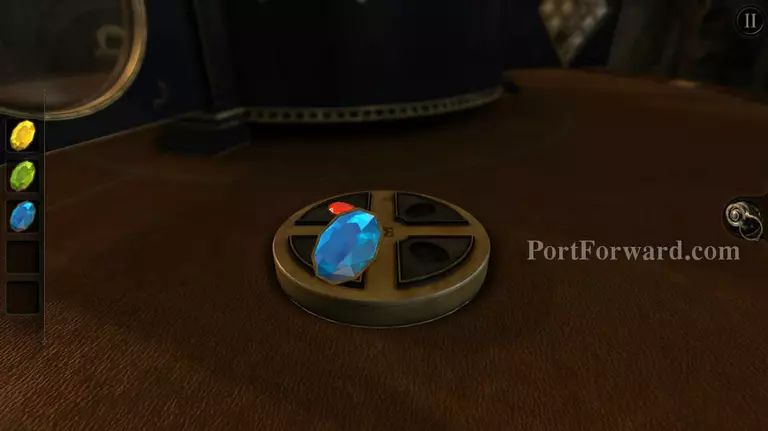
So first place the red gem in place, cause it's the place holder and can only go on the top left corner of the circle.
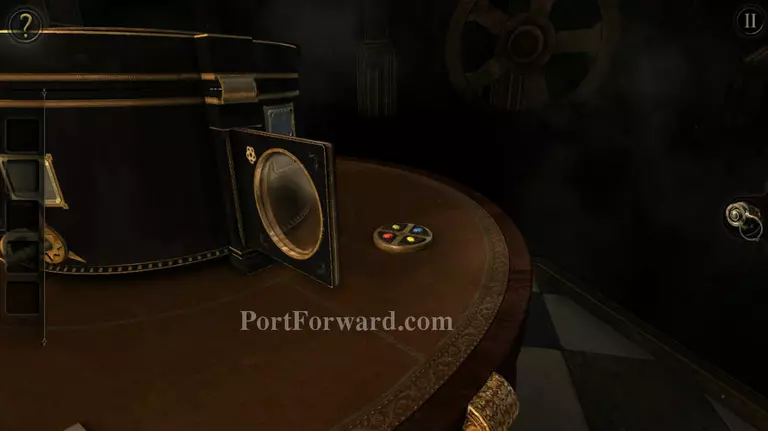
Put the blue gem on the opposite side of the red one, place the green gem on the upper right side of the circle and finally the yellow one on the last remaining slot.

View the circle from the mirror and equip the eyepiece. Now shift your view a little to the right until the pattern connects together and forms atom looking symbol.
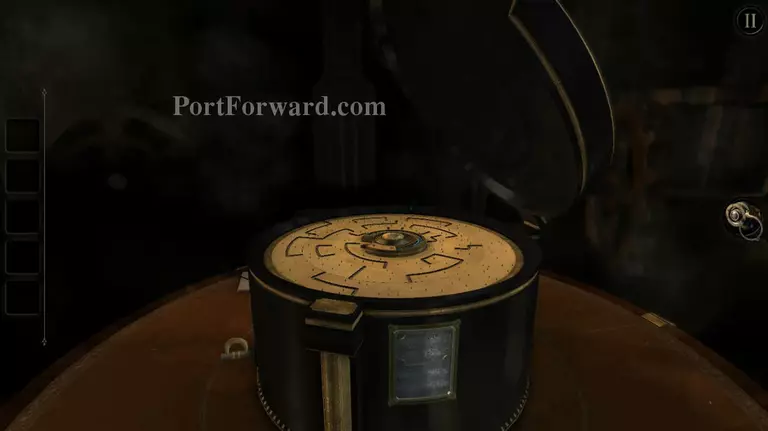
Lift the lid and another path puzzle will appear before you, but this one is really easy.
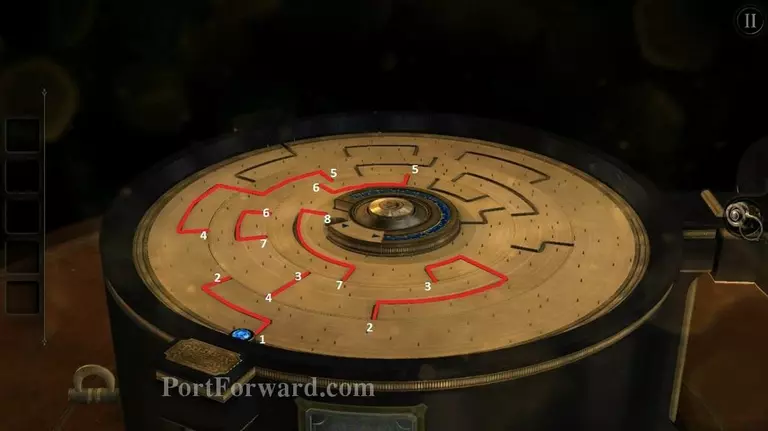
You need to press the center of the mechanism to shift the circles. Please refer to the numbers on the photo. Similar numbers mean that they are supposed to connect once you've shifted the plates. For example 2 and 2, they aren't connected in the photo, but once you press the button those two will connect.
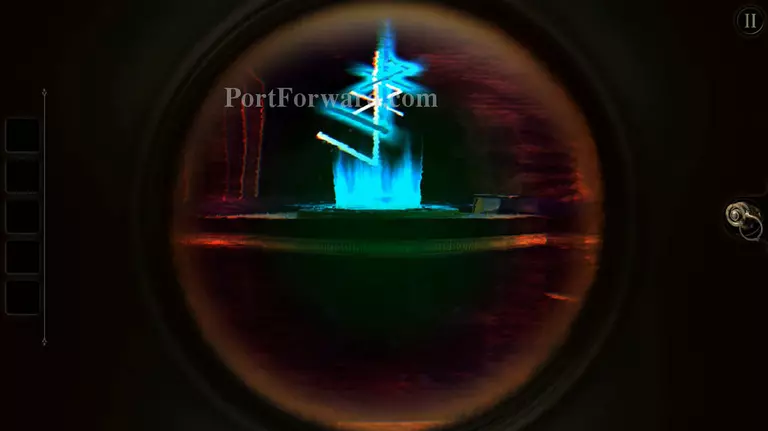
Drop the gem on the hole and equip your eyepiece, now look around the room and you'll find a white pattern. Line up the cyan lines with the white one to reveal the second gem.
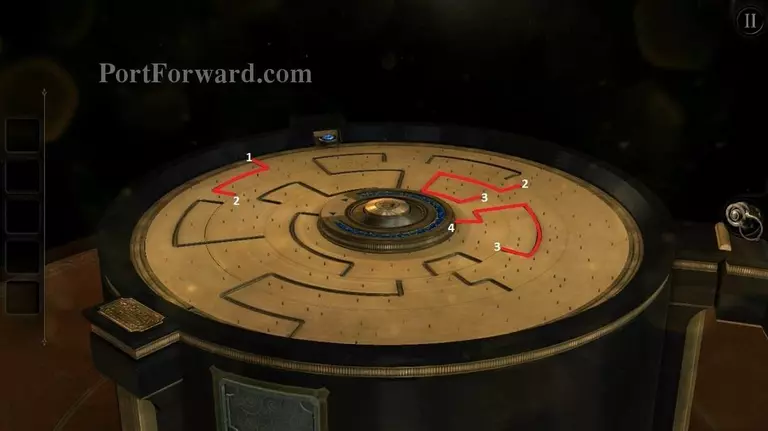
Once again follow the pattern on the photo and drop the gem in place.
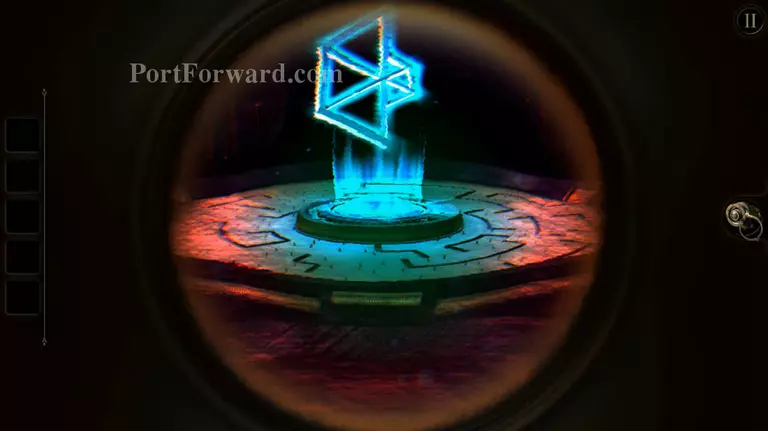
This time you can spin the circular plate around. Turn the plate and match it up with the Null symbol that's drawn on white. The will then end here, on a huge cliffhanger. Leaving you as baffled as you were when you started.
More The Room (2012) - Steam Version Walkthroughs
This The Room (2012) - Steam Version walkthrough is divided into 8 total pages.


