This Thomas Was Alone walkthrough is divided into 10 total pages.
You can jump to nearby pages of the game using the links above.
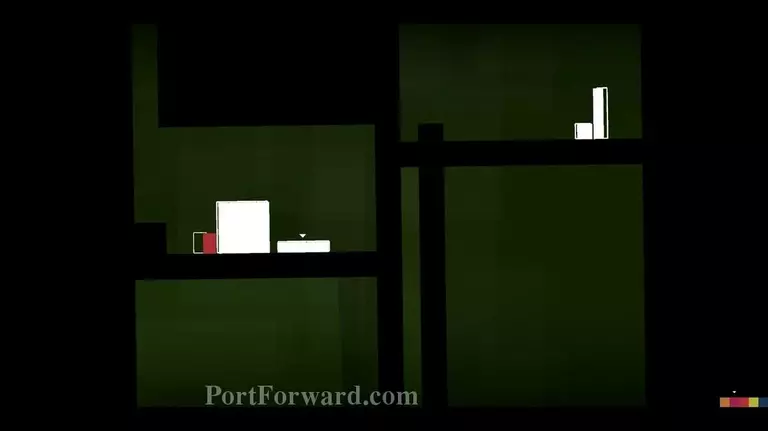
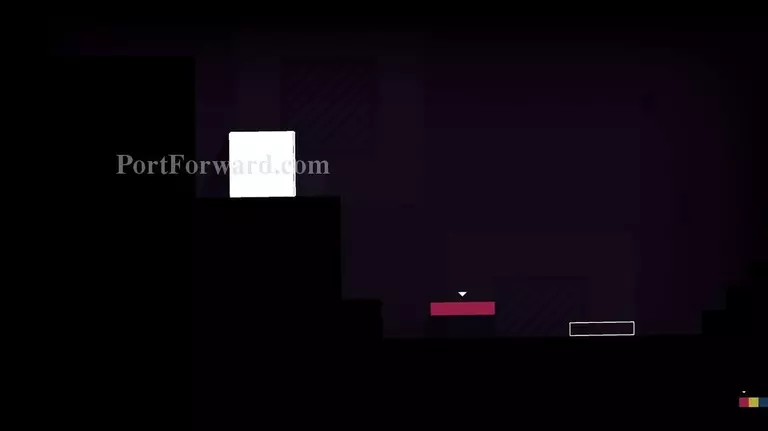
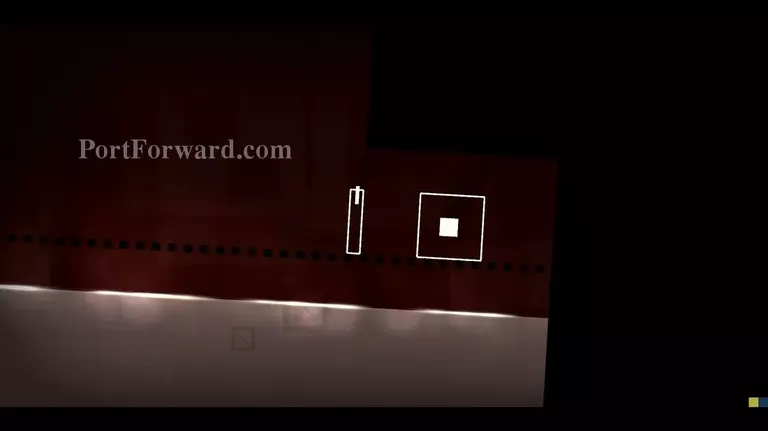
Purge
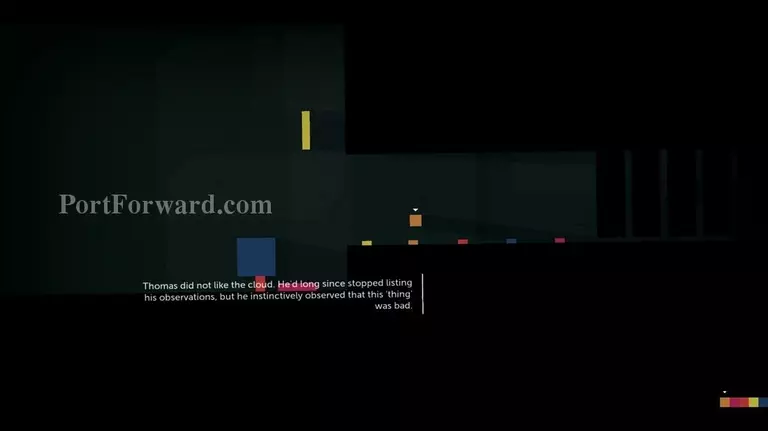
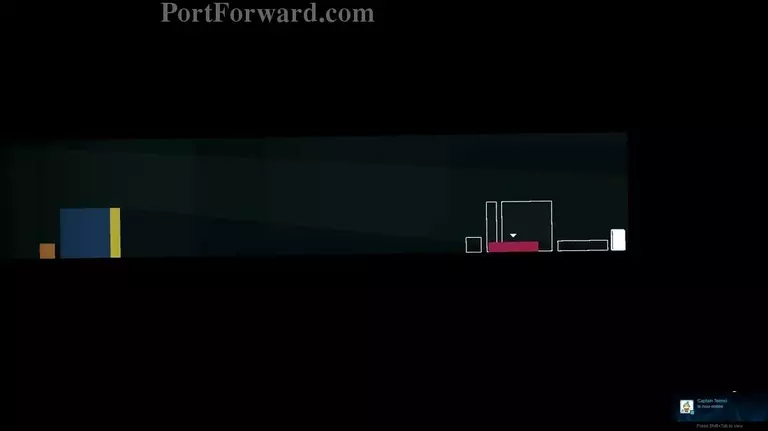
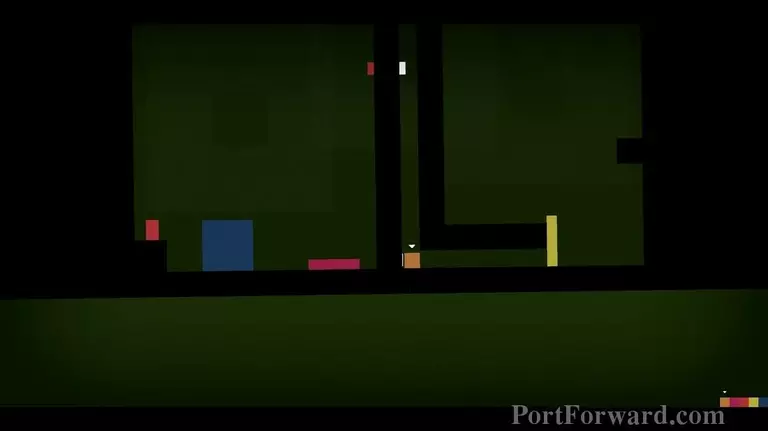
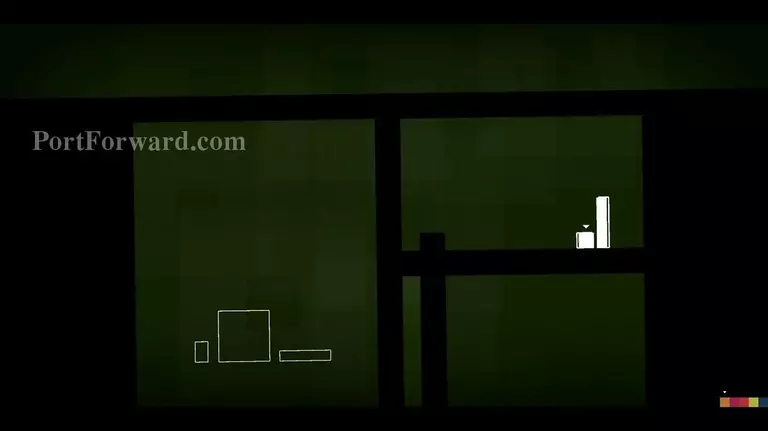
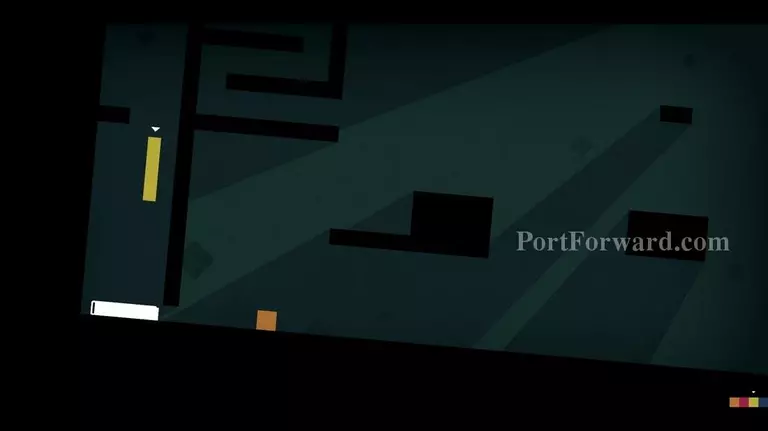
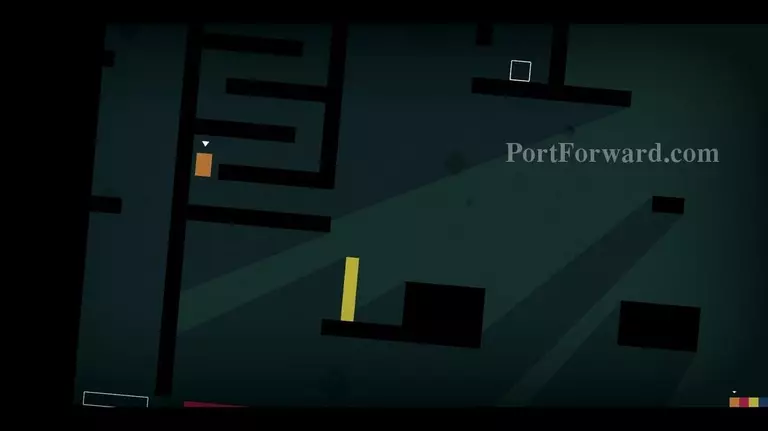
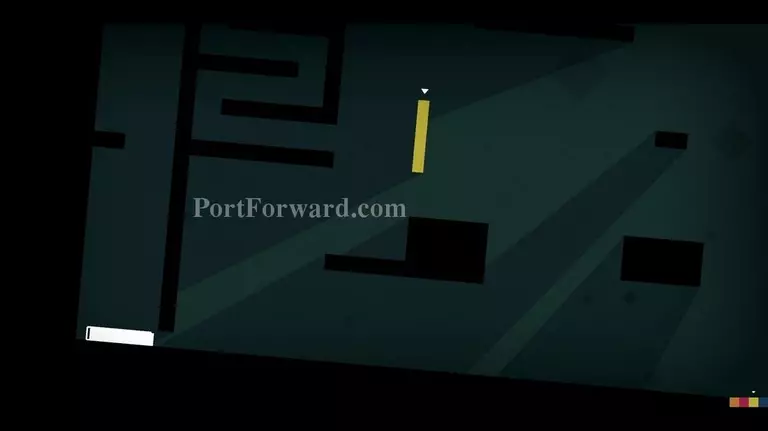
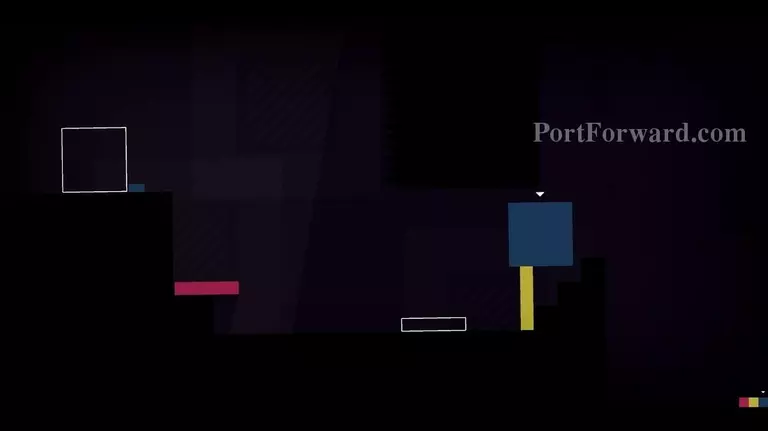
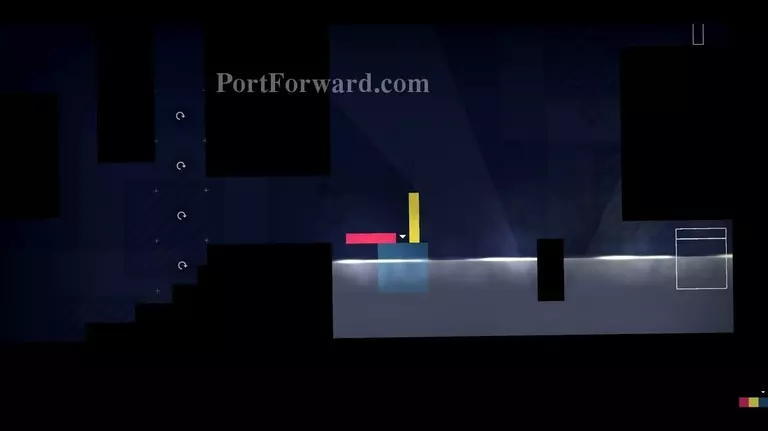
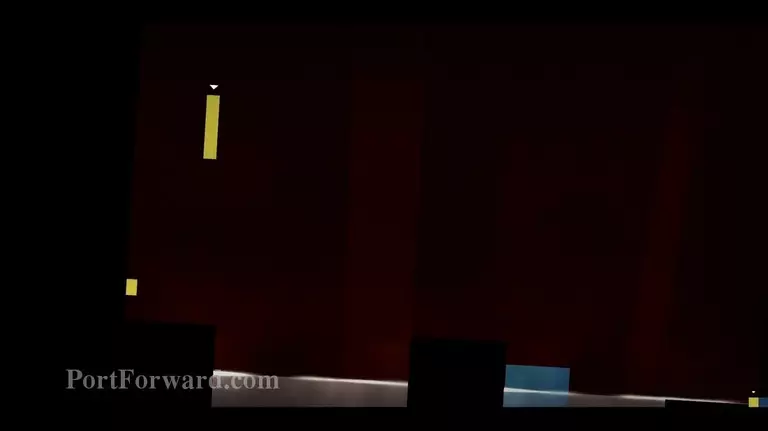
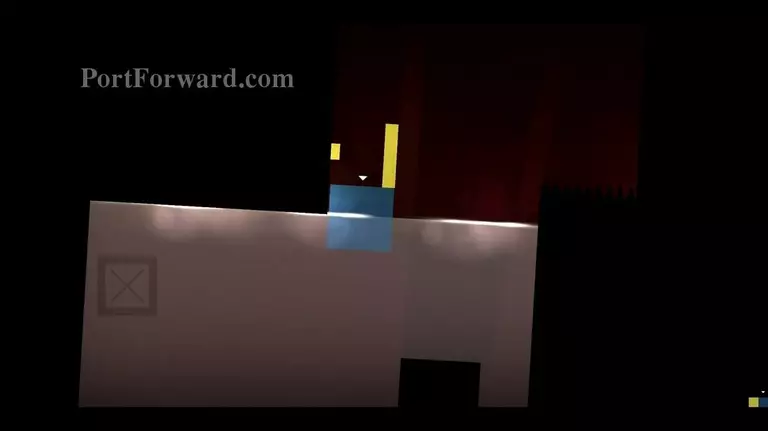
4.1 Activate the orange button using Chris on Laura.
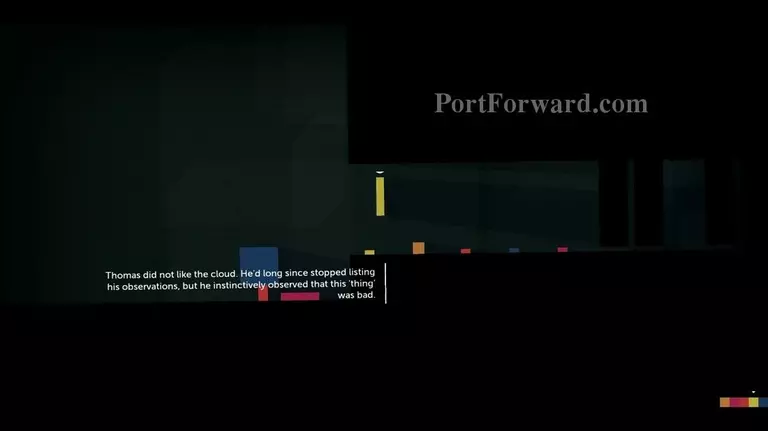
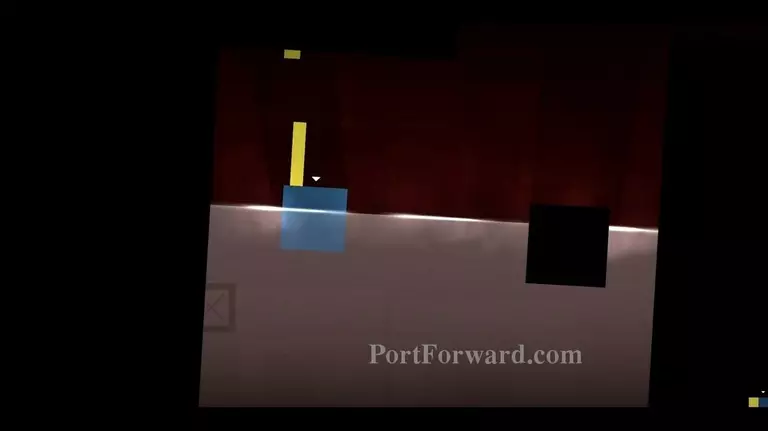
Activate the yellow button by jumping with John on it.
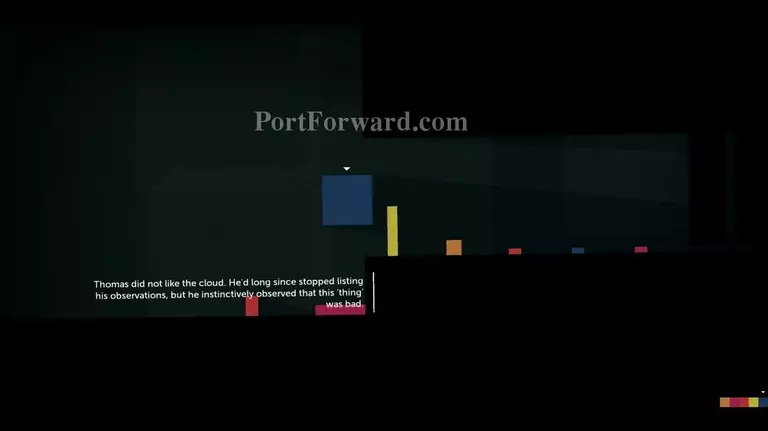
Use Laura to get Claire up
and activate the blue button.
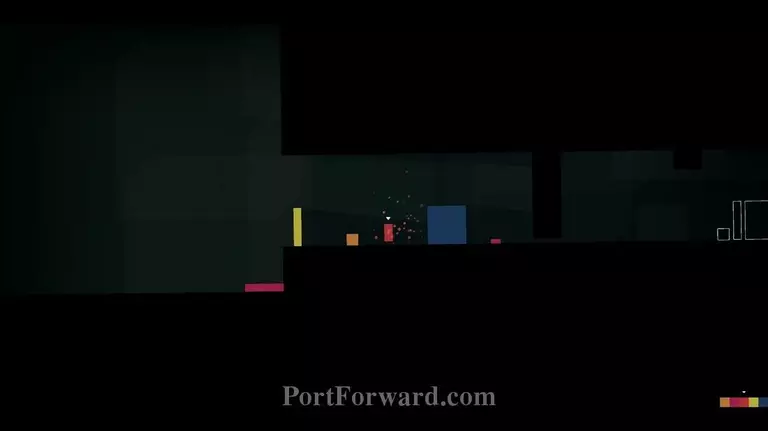
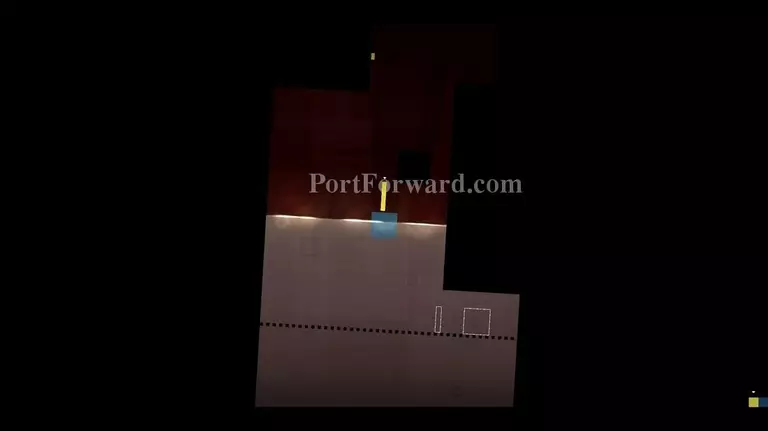
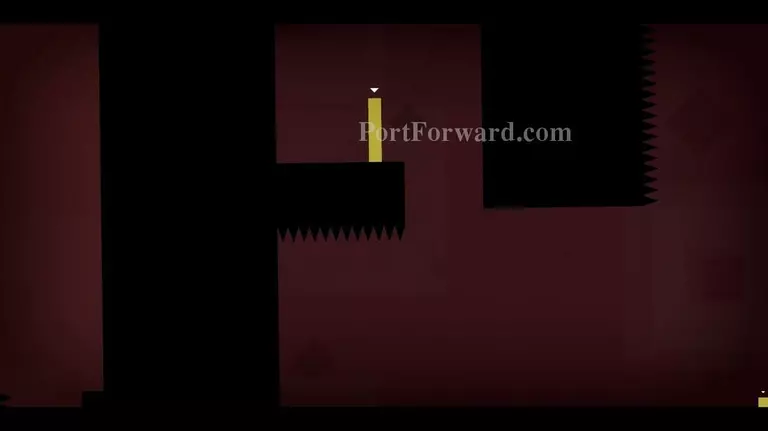
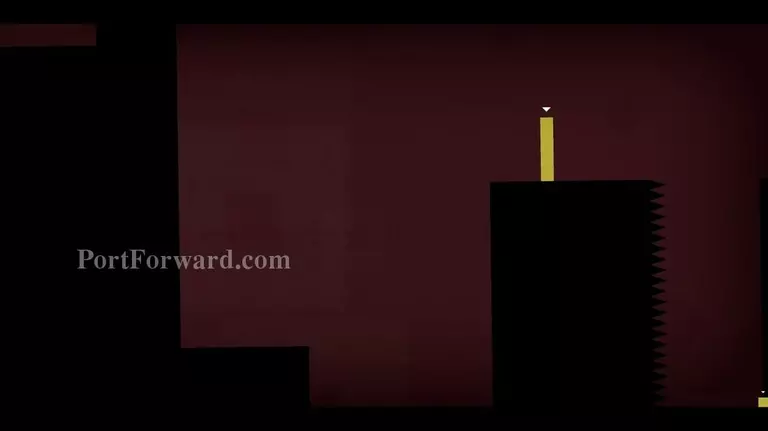
Move Thomas up to activate the red button.
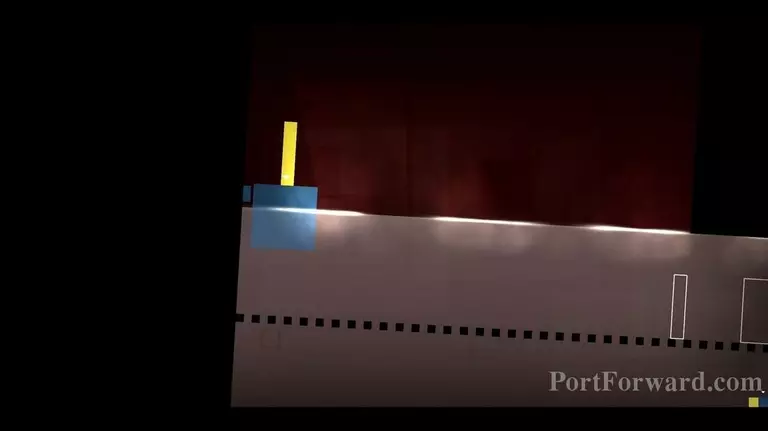
Build a staircase to get Laura up
And activate the pink button.
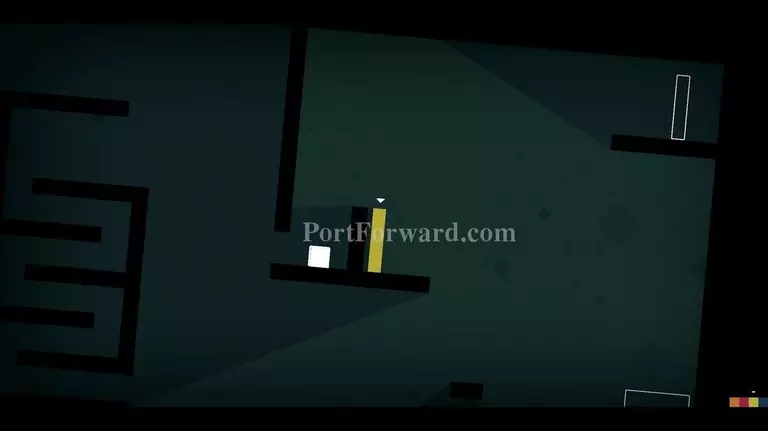
Start with Thomas
follow up with Laura
continue with Claire,
then John and last but not least, Chris.
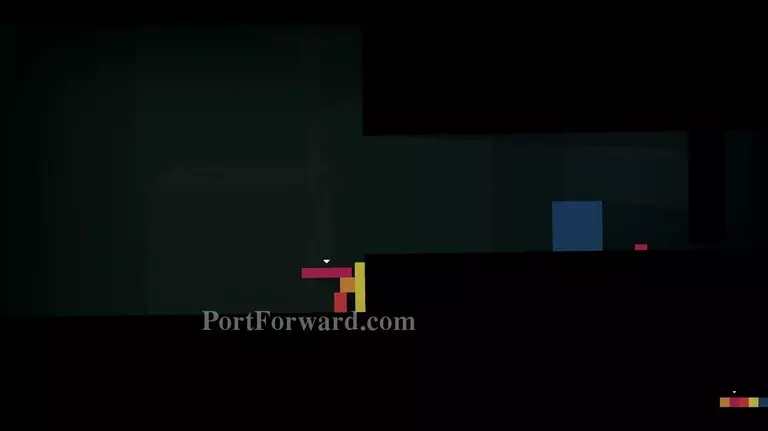
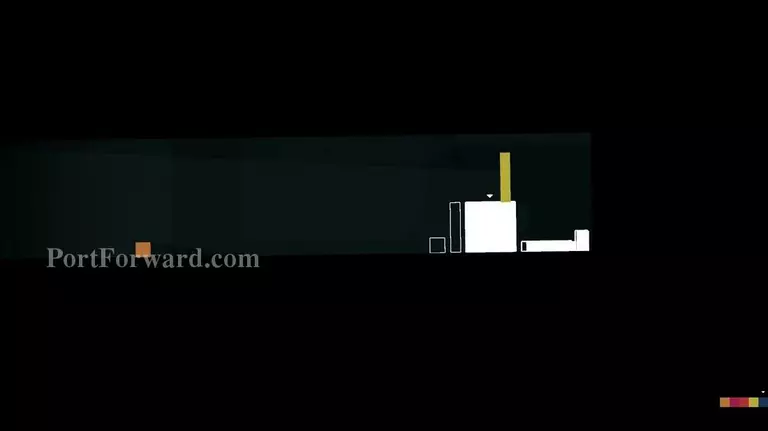
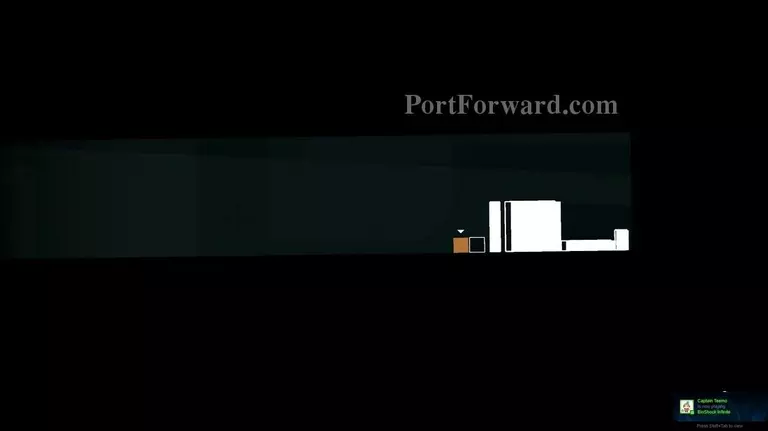
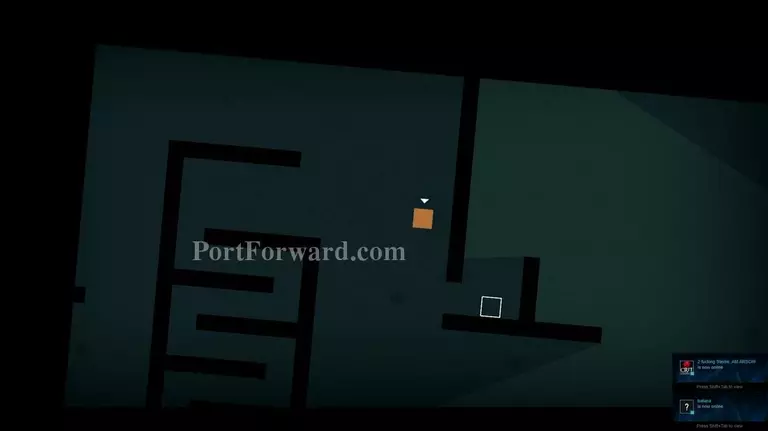
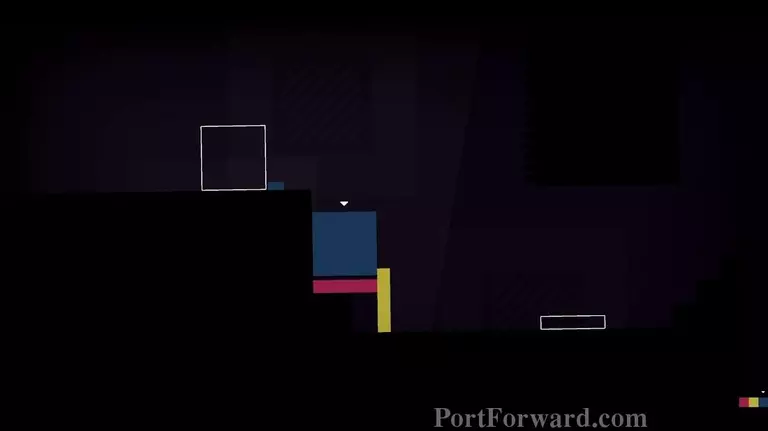
4.2 You have Chris, Laura, Thomas, John and Claire.
Activate the buttin with Chris.
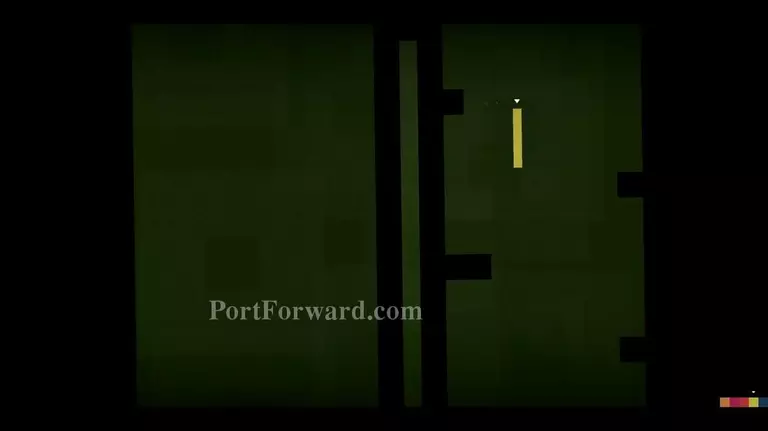
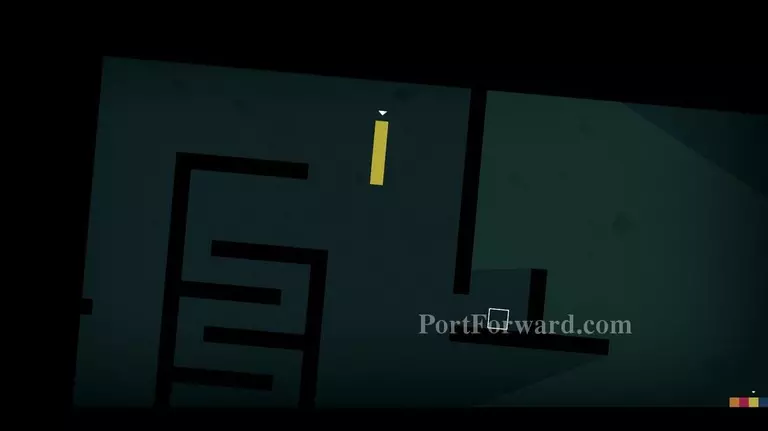
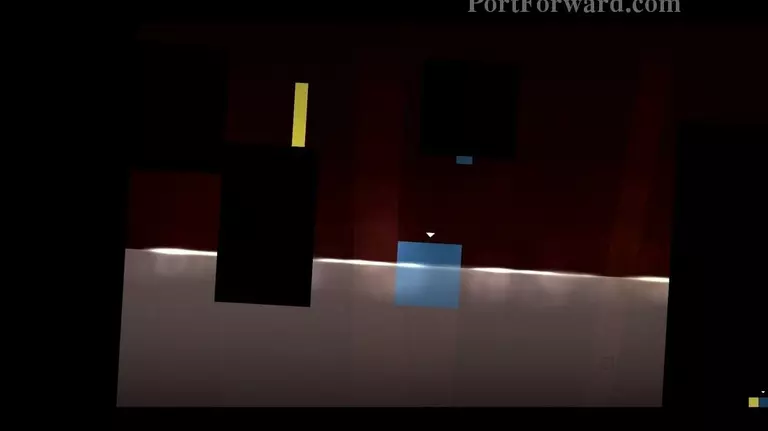
Platforms will now appear on the left side, jump those up with John.
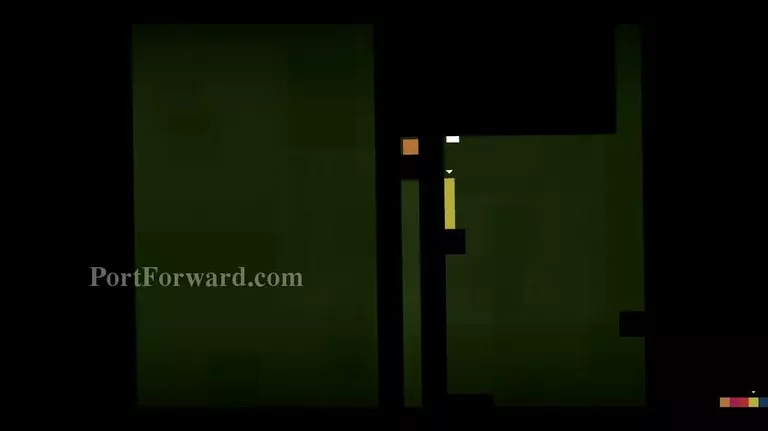
Activate the button
Get Chris out of the hole and put John into it. Now jump with Chris on top of john to activate the button
and align them to their exit.
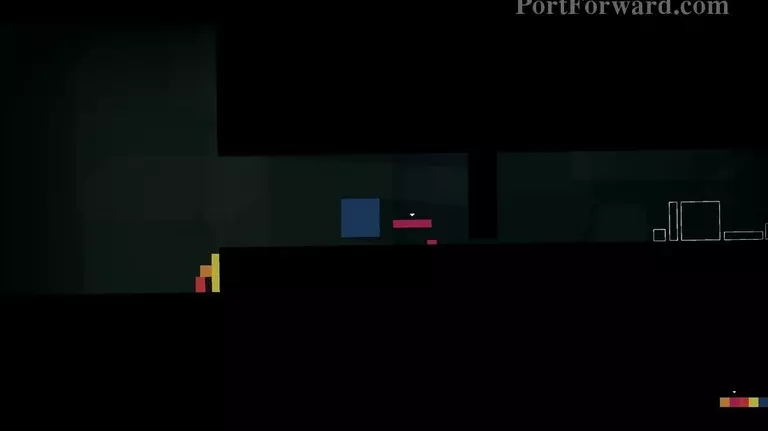
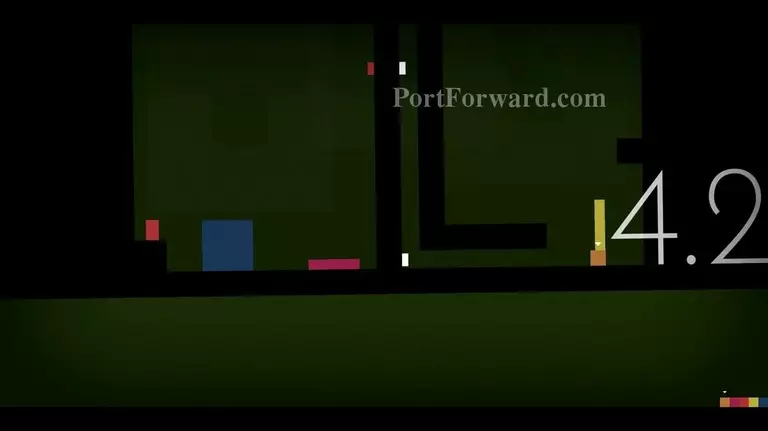
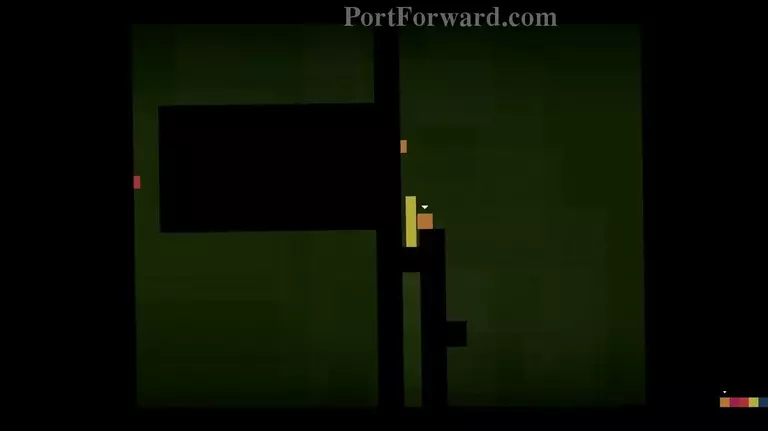
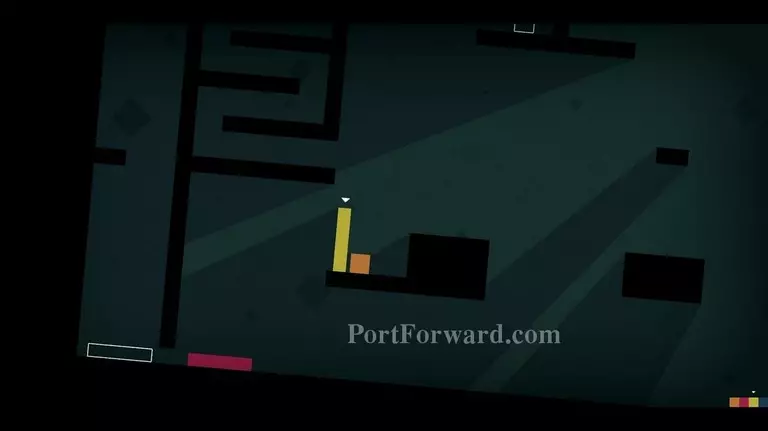
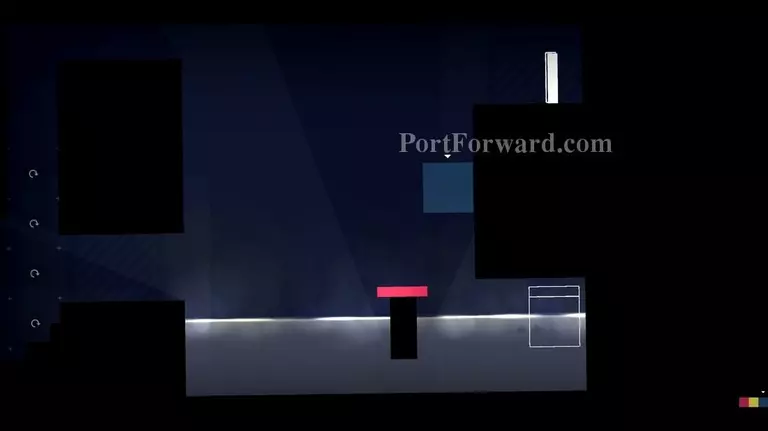
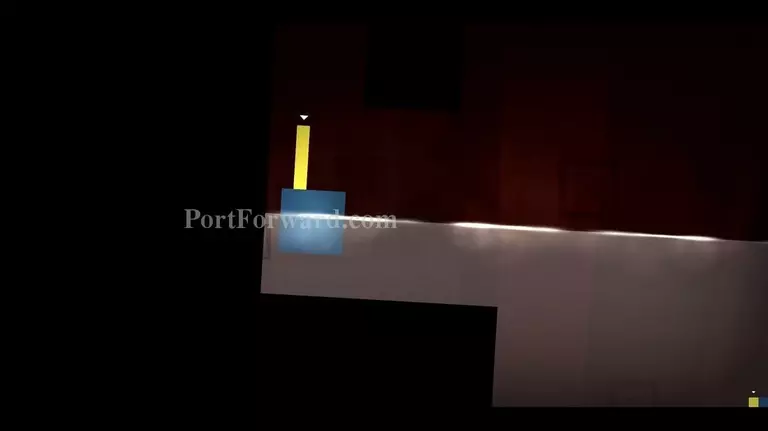
Boost Laura to the right with the help of Thomas, then move Claire close to Laura.
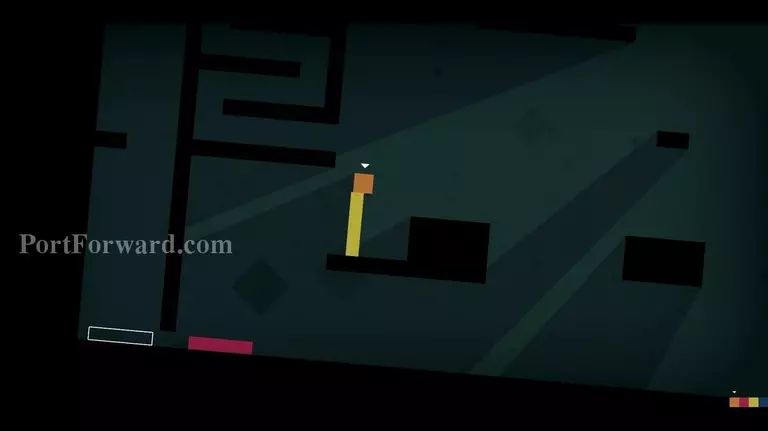
Jump with Laura onto Claire and jump with Thomas on Laura to reach the red button.
Move Claire to the left, then move Laura next to the wall. Let Thomas activate the button once again
and finish the level.
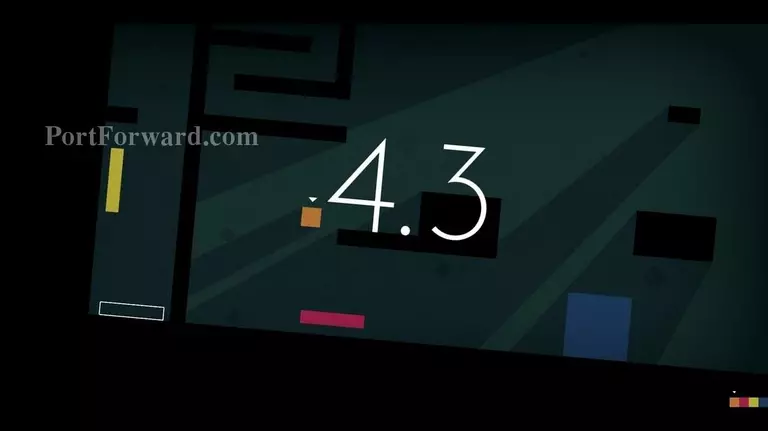
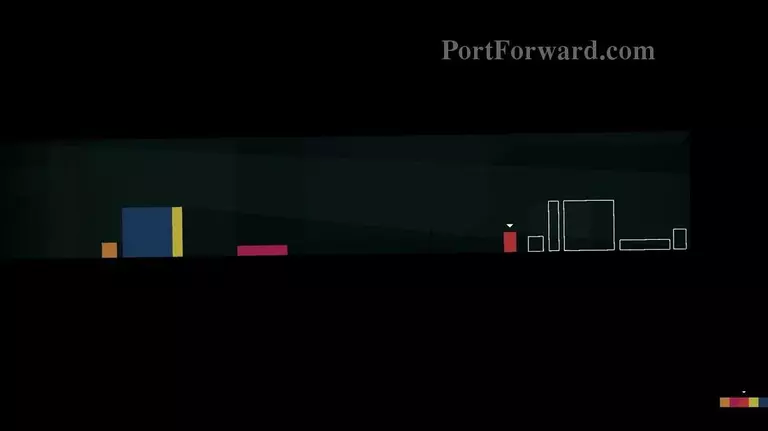
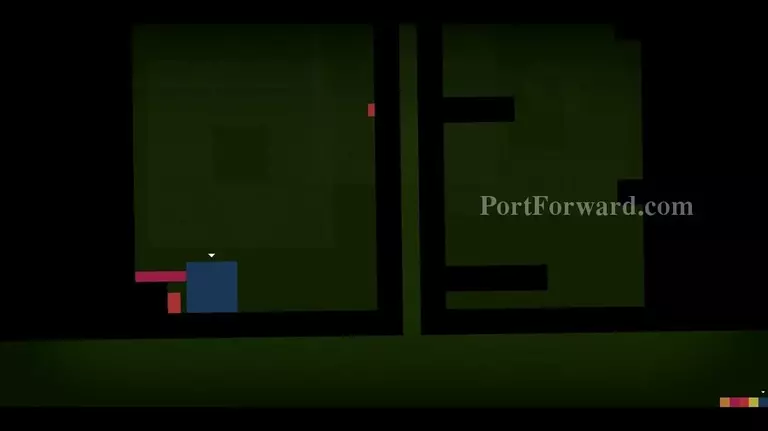
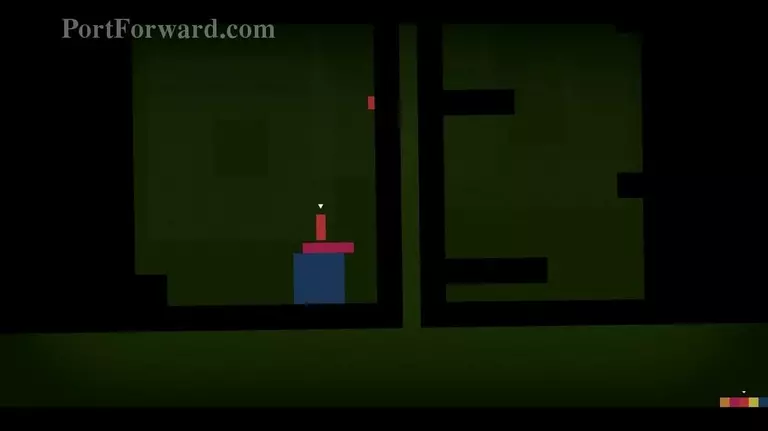
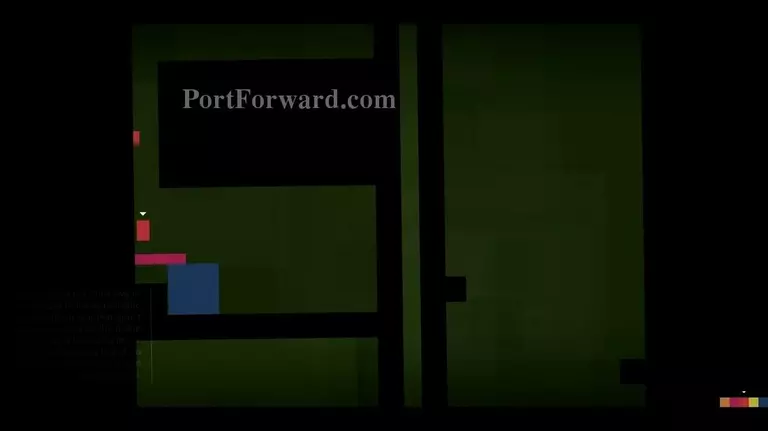
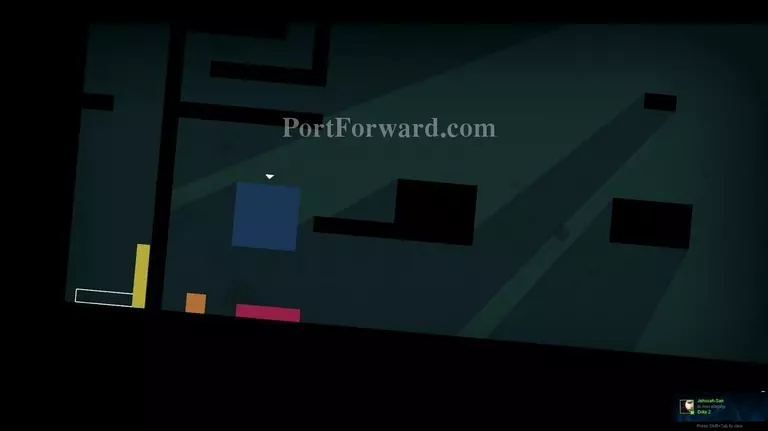
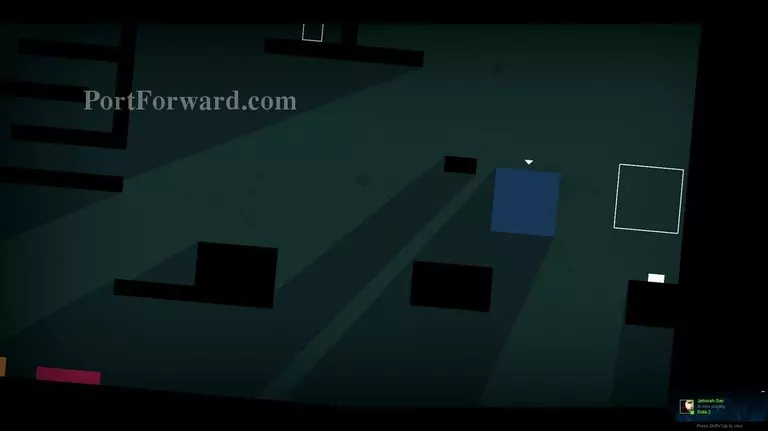
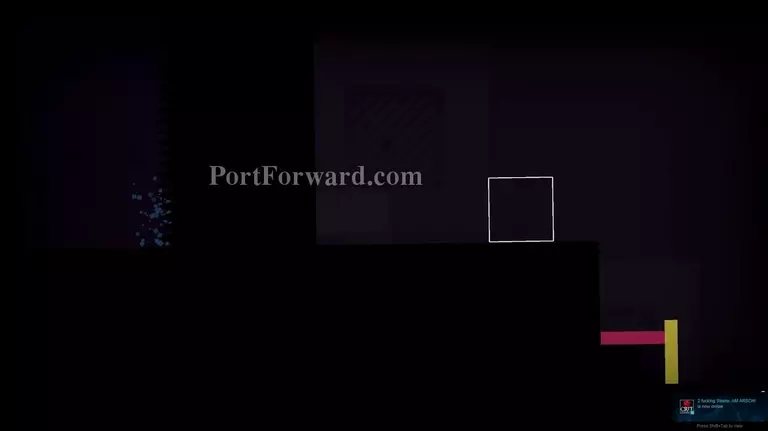
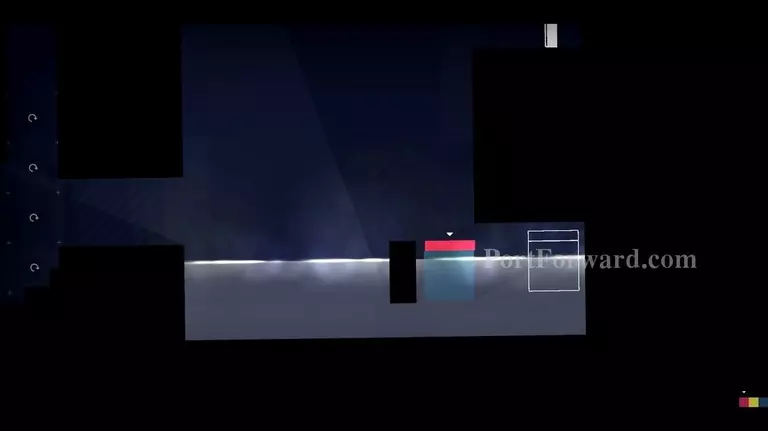
4.3 Thomas is gone, leaving you Chris, Laura, John and Claire.
Jump with Claire on Laura to get up
and leap over to the button on the right.
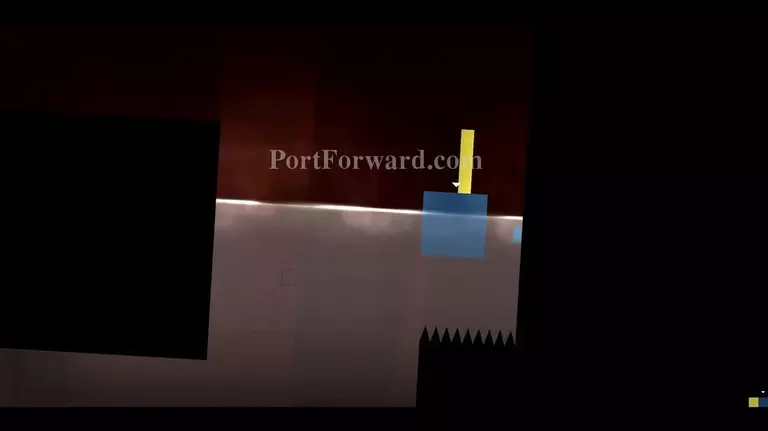
After activating the button, you can now move Laura to the left to help John get up to the platform.
Let John fall down.

Use Laura to jump with Chris up.
Switch places with John.
Now jump from the higher position on top of John
and jump with Chris into the maze-like structure.
At the top, jump into the gap to the exit.
Align Laura to her exit
and jump up with John to the top right to get to his exit.
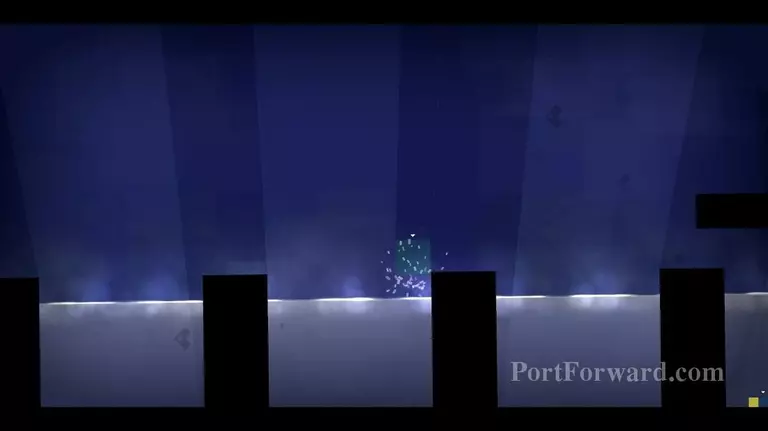
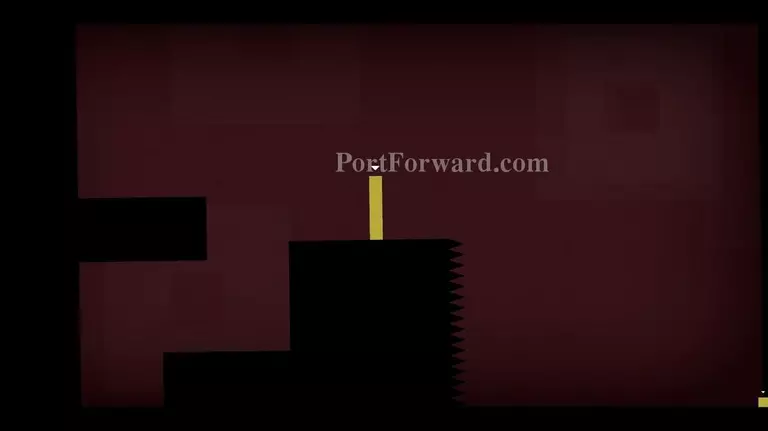
4.4 You play Chris and you will continue to fall down.
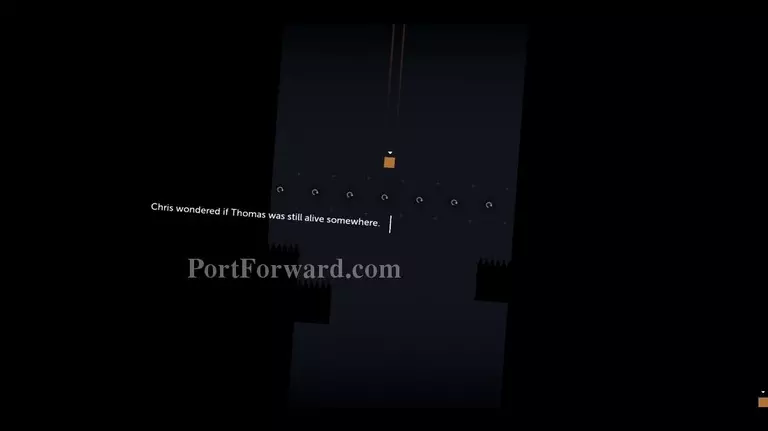
Press left and right to avoid spikes. There are plenty of respawn zones and Chris doesn't fall down fast.
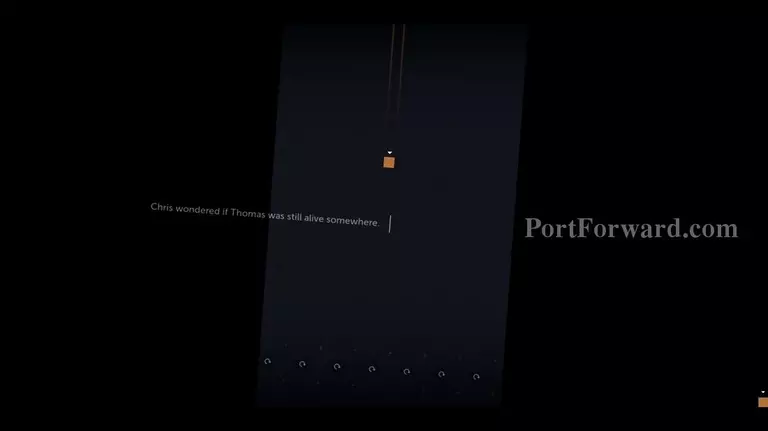
Stay around the middle and move slightly to the left and to the right side.
Finish the level.
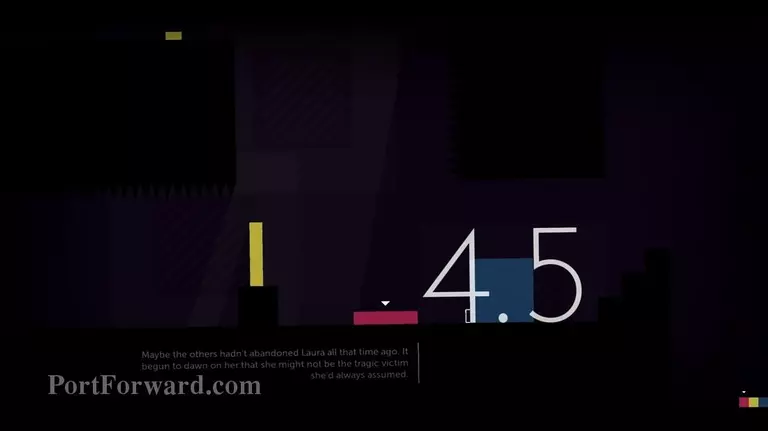
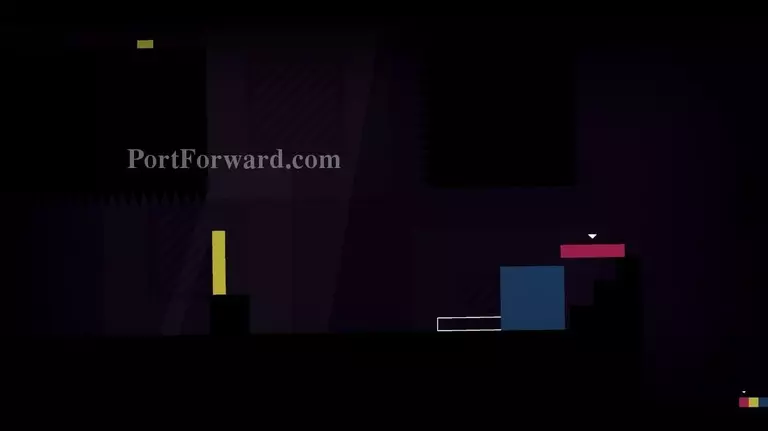
4.5 There is Laura, John and Claire.
Get Laura on the staircase on the right side.

Jump with her on Claire, then move Claire to the left and jump with John on Laura
to activate the button.
Leap with Laura to the left edge
Move Claire on top of John
and jump with Claire on Laura to reach the button.
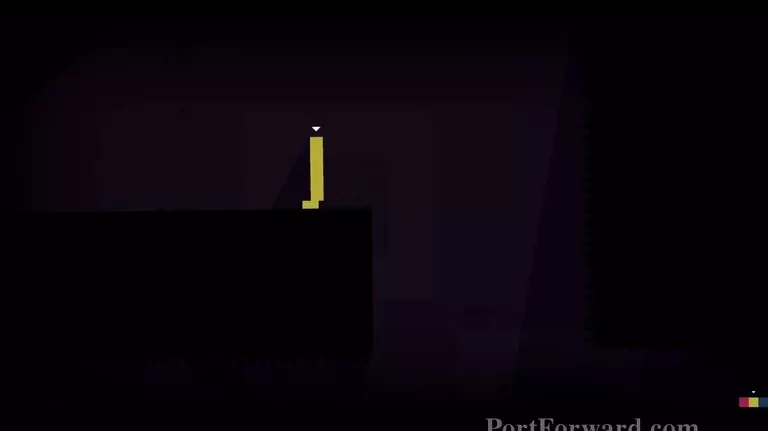
Claire will probably die because of the spike wall moving from right to left, but she will respawn.

Get Claire up there again and activate the next button.
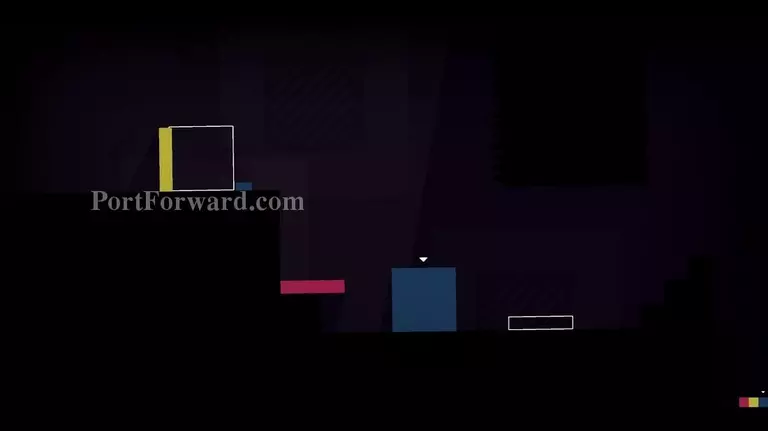
Now a spike wall will fall down, on top of it should be a button in John's reach.

Climb the stairs with John's enourmous jump height
And finish the level by moving Laura to the right.
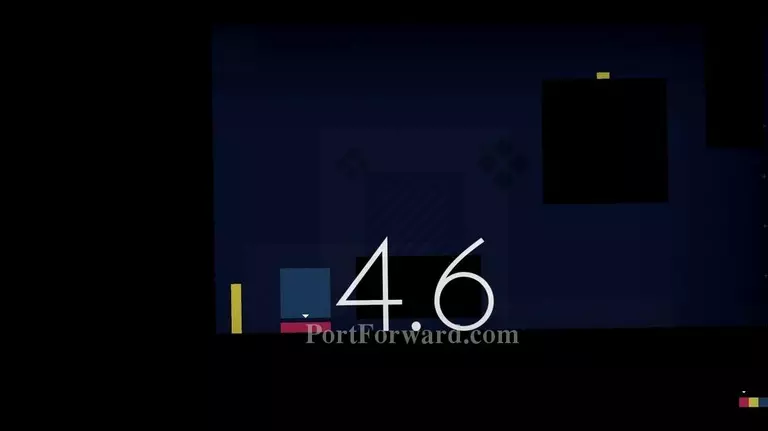
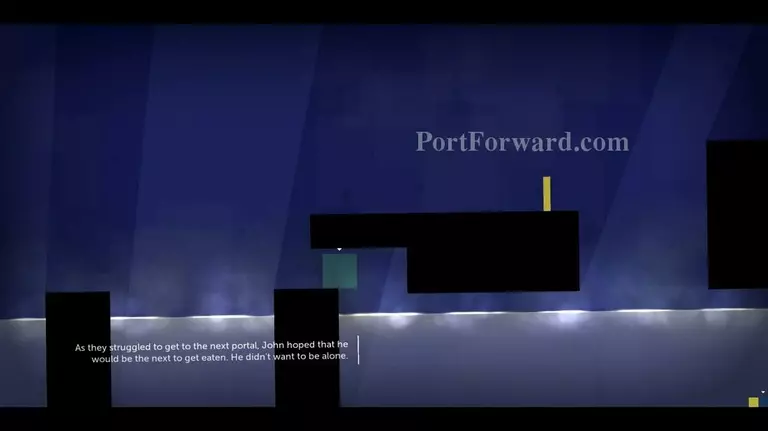
4.6 You have Laura, John and Claire.
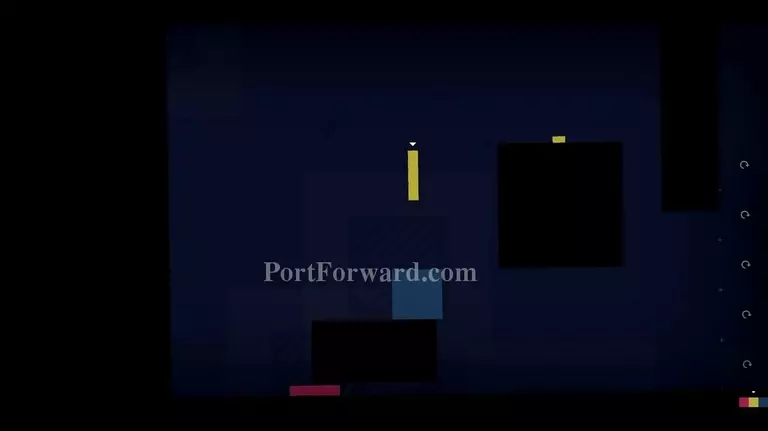
Activate the button using John.
Put claire in the gap, then boost John to the button.
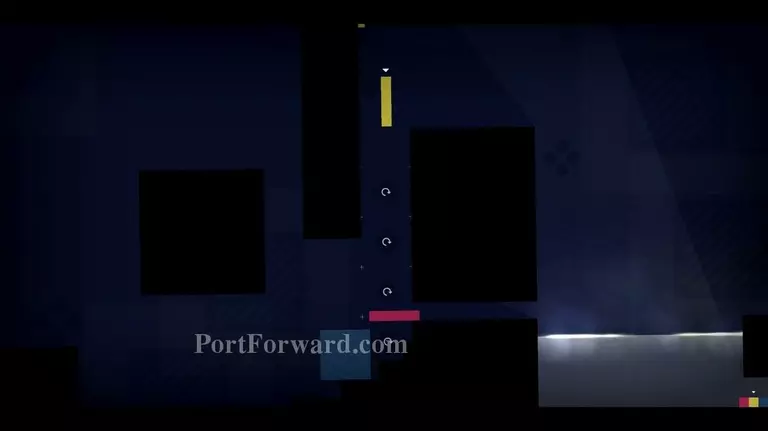
Get Claire into the water and place Laura and John on top of her.

Use Laura to get John to his exit.
Jump with Claire over Laura to the other side
and put Laura on top of Claire once again.

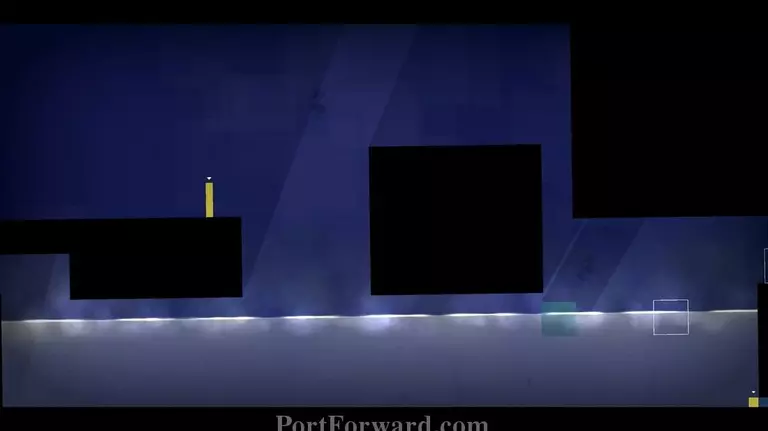
4.7 The characters are John and Claire.
Activate the blue button on the right.
Now jump to the left and activate that button.
Jump with Claire to activate the next one.
Jump with John to reach the next button.
Swim against the blue button on the right.
Now move Claire to the left so John can activate it.
Jump with John to activate this one.
Jump on the block in the air and jump to the left to get the next button.
Swim to the left with Claire
and finish the level.
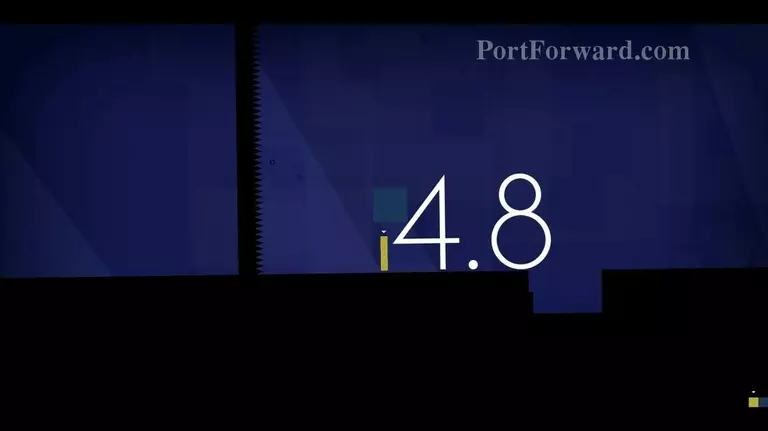
4.8 You have John and Claire. You have to be very fast to finish this level so don't switch to often because the spike wall on the left will start moving towards the right.
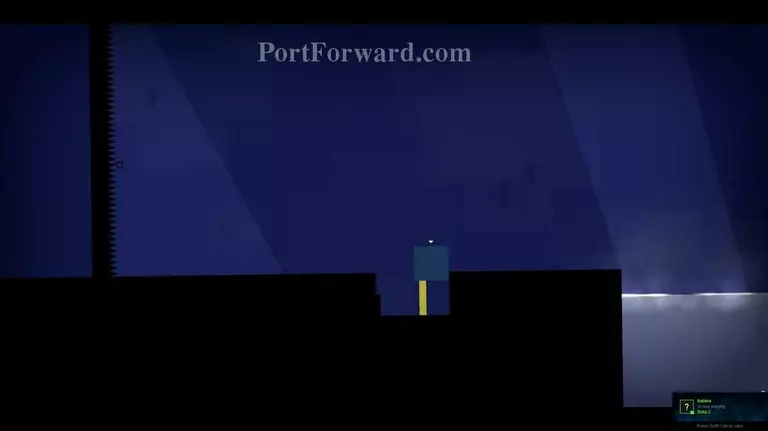
Start with getting Claire to the other side of the hole.
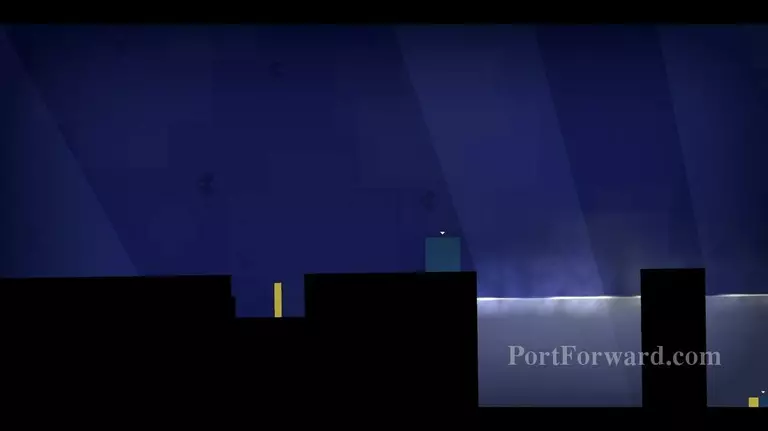
Go to the right with Claire
until you reach the 3rd block.
Switch to John and jump to the right.
Switch to Claire and
move her to the right.
After that jump with John to the higher block
and fall down on Claire.
The spike wall will stop at this point, get them both safely to the exit.
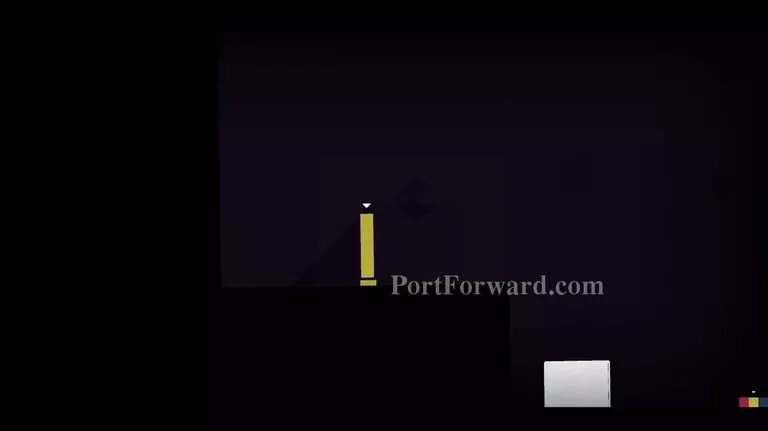
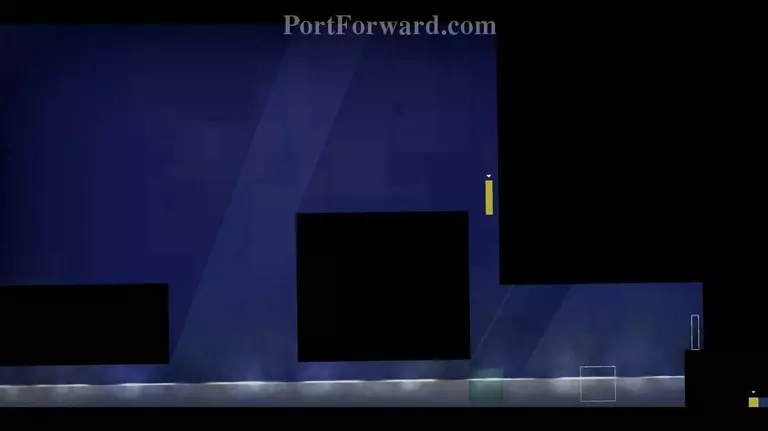
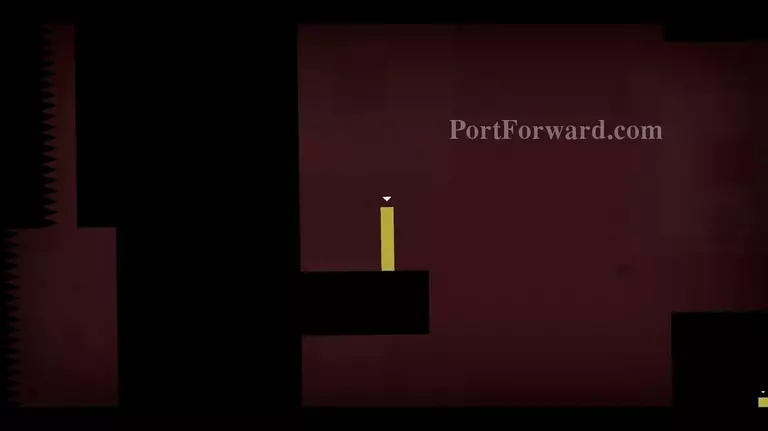
4.9 The only one left now is John. The water will rise so keep on going forward.
Move up to the right and then to the left.

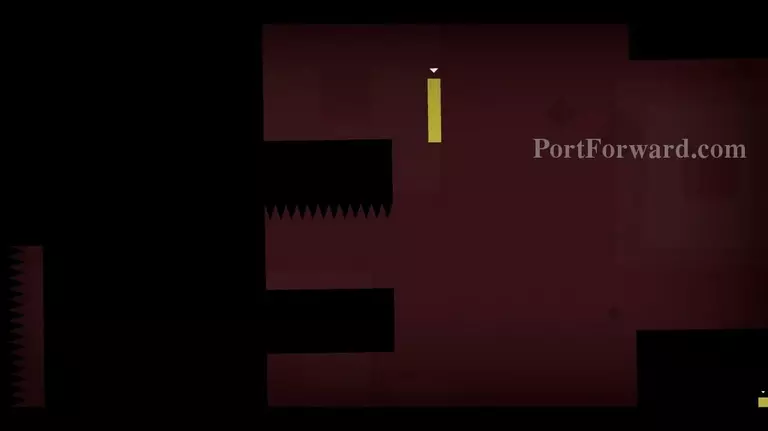
Now leap to the right side, use the smaller block in the air to get to the block at the very right.

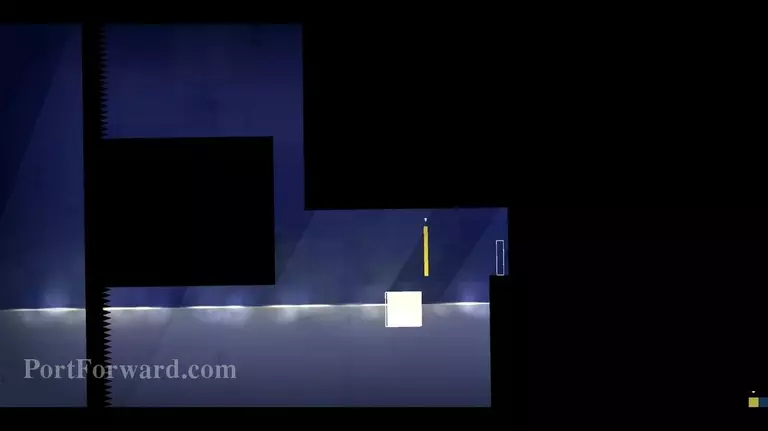
Now go up and leap to the left again, make sure to hold the JUMP key.
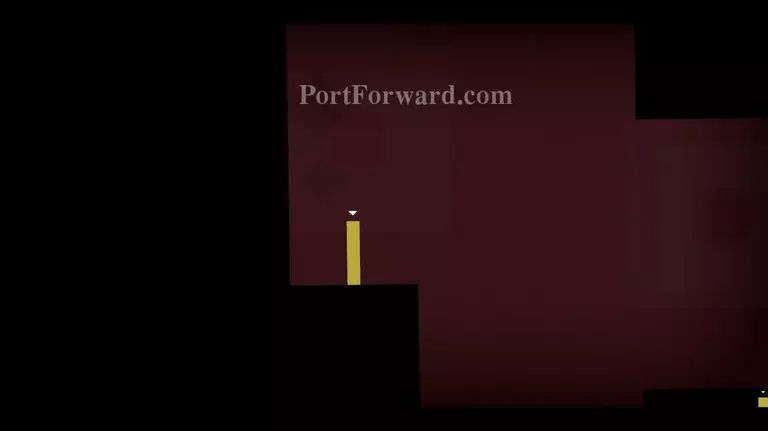
Go up the stairs and then move to the left
after that go up to the exit.

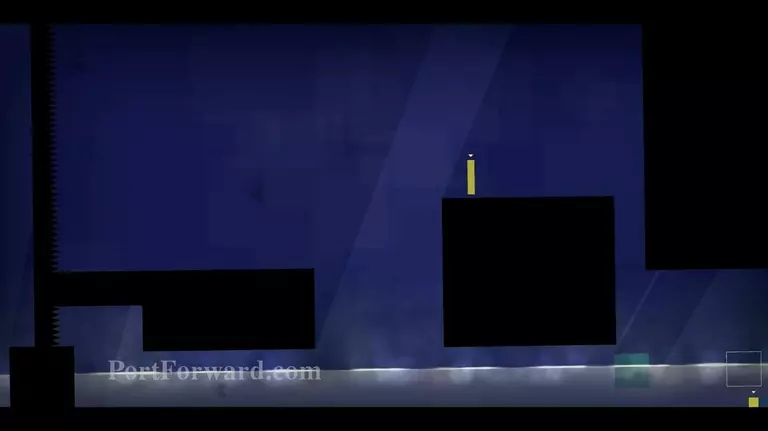
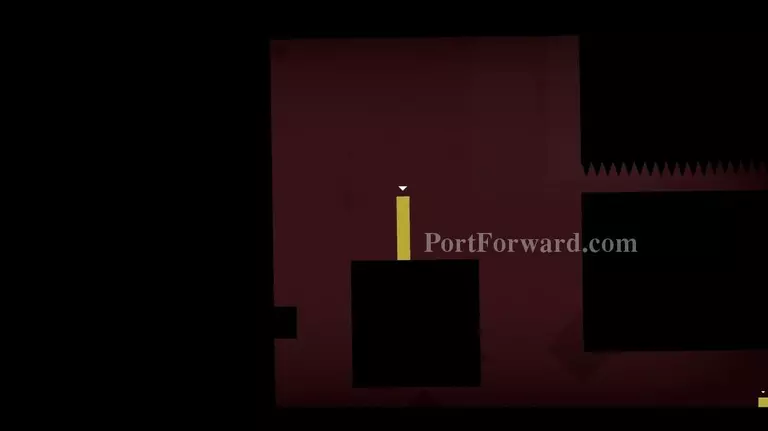
4.10 John is alone once again.
Jump up to the left block
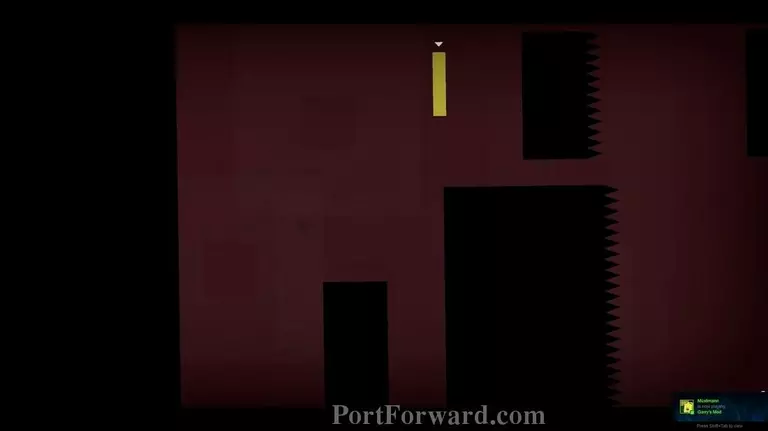
and after that on the right one when it's close.
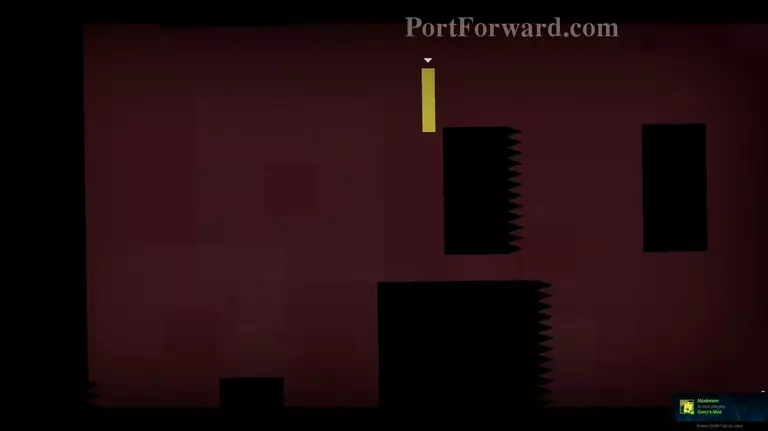
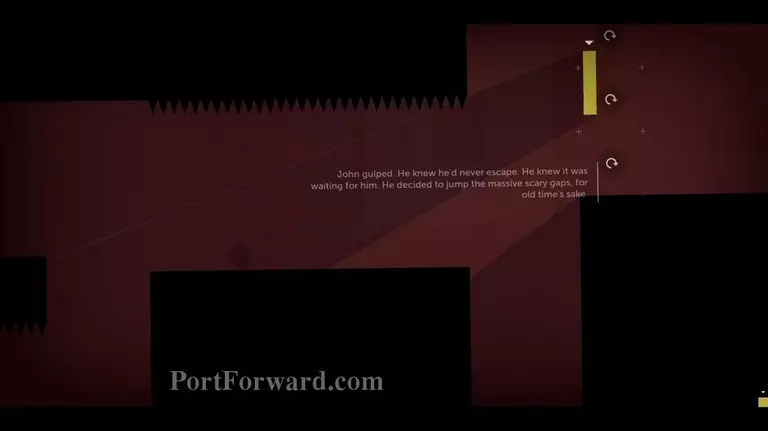
Now jump onto the higher located block with spikes on the right.
Get to the platform moving up and down on the left,
to the small block on the wall
and on top of the other platform moving up and down.
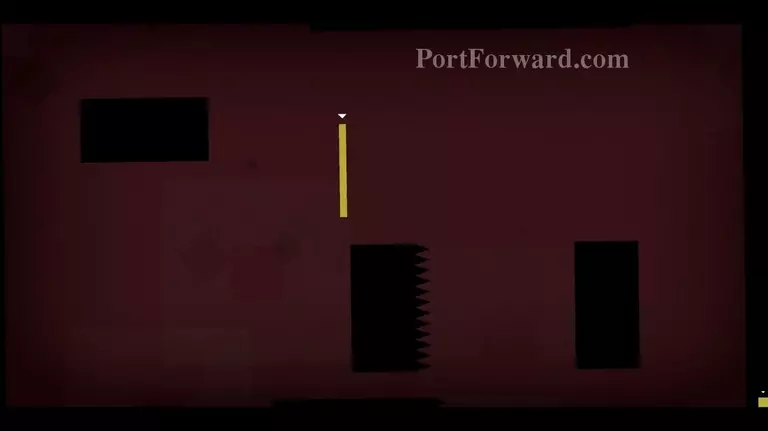
Wait for the spikes to go up, then run through it and reach the respawn zone.
Fall down when the spikes move away from the wall.
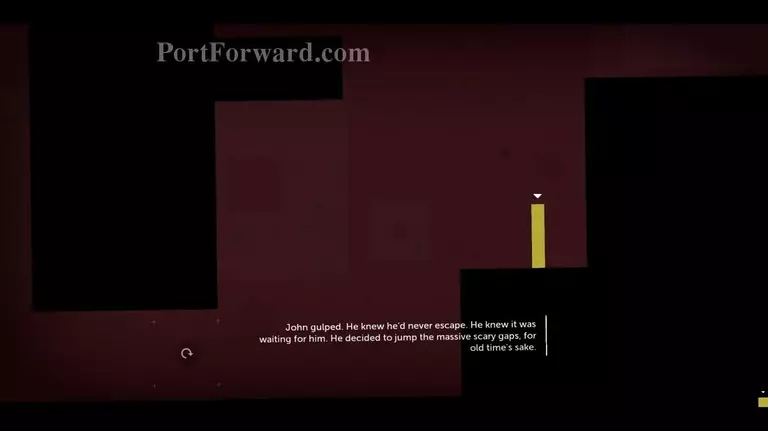
Jump on the block to the right when it's down.
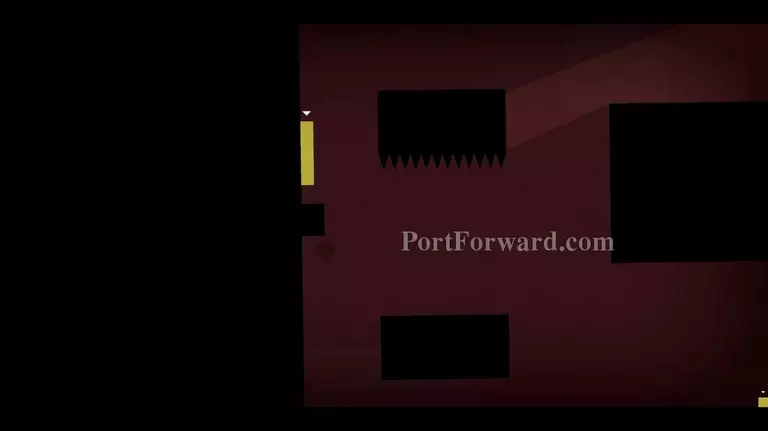
Jump again to the right
and leap to the left. Spikes will go down at this position so get close to the edge
and jump to the right and back to the left
so you are on top of the moving spike platform.
Wait til the platform reaches its max. height

And jump, don't be afraid that it will move away since this is a very difficult jump.
If you manage it, stay calm and don't fall down. img(198167); Get to the exit and finish the level.
More Thomas Was Alone Walkthroughs
This Thomas Was Alone walkthrough is divided into 10 total pages.