
This Thomas Was Alone walkthrough is divided into 10 total pages.
You can jump to nearby pages of the game using the links above.
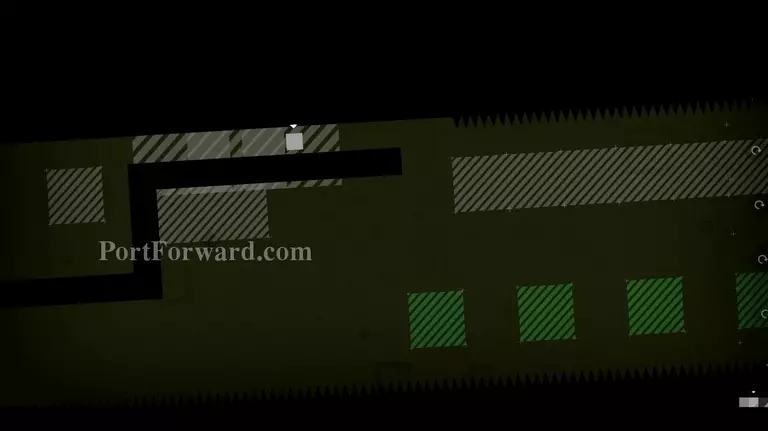
Y+1, X+1
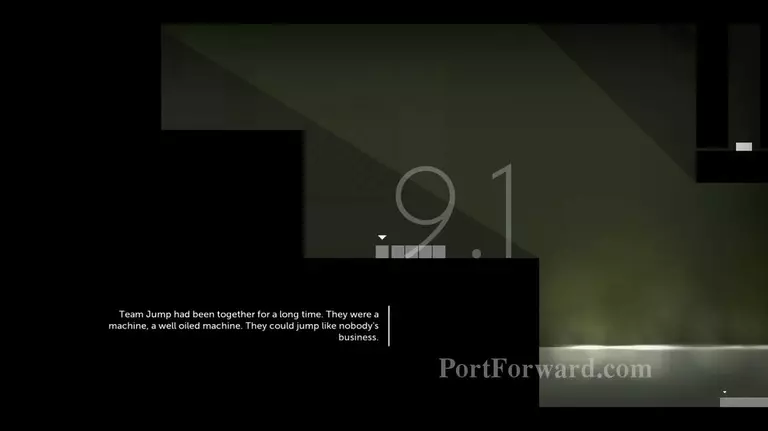
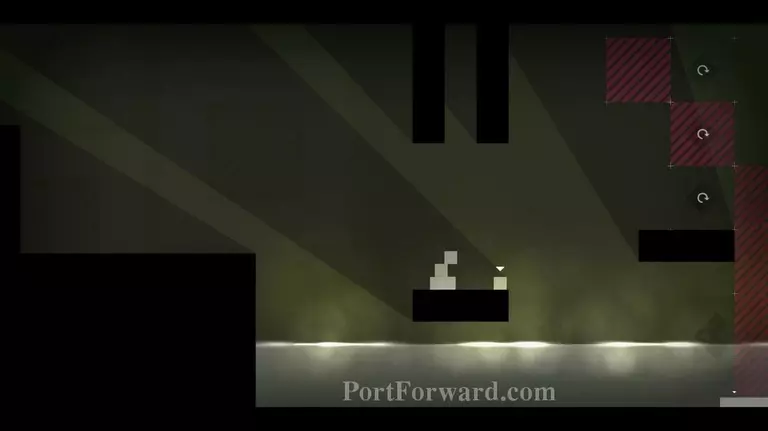
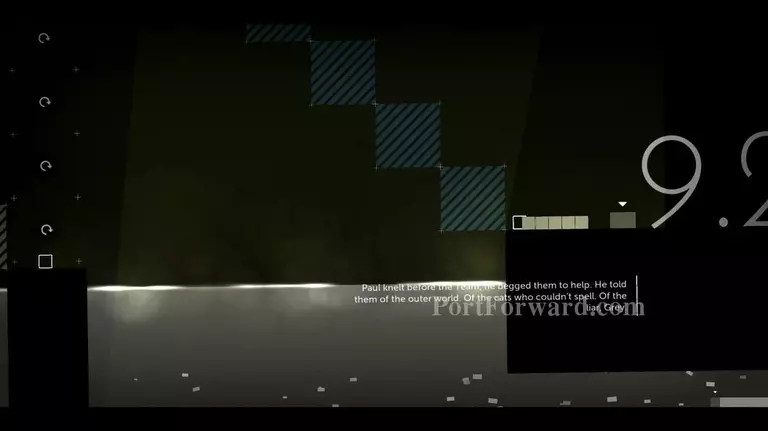
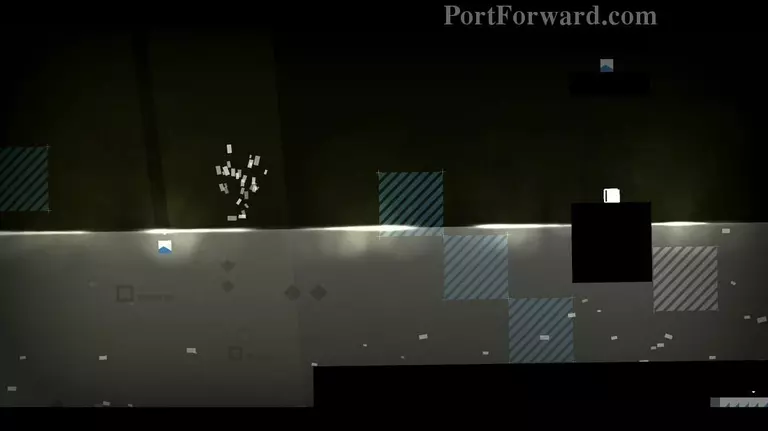
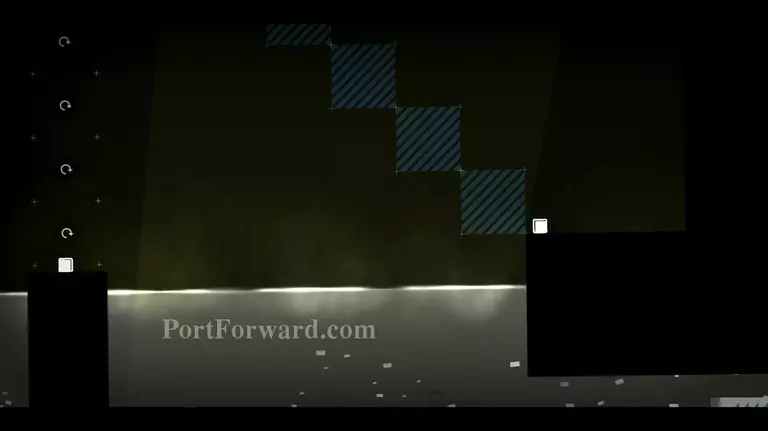
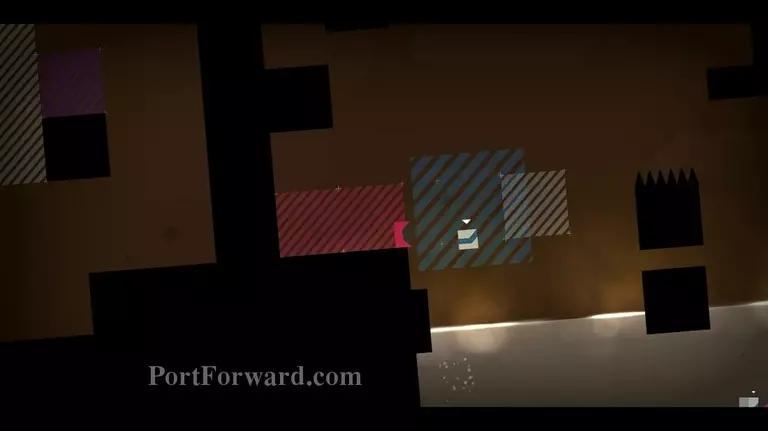
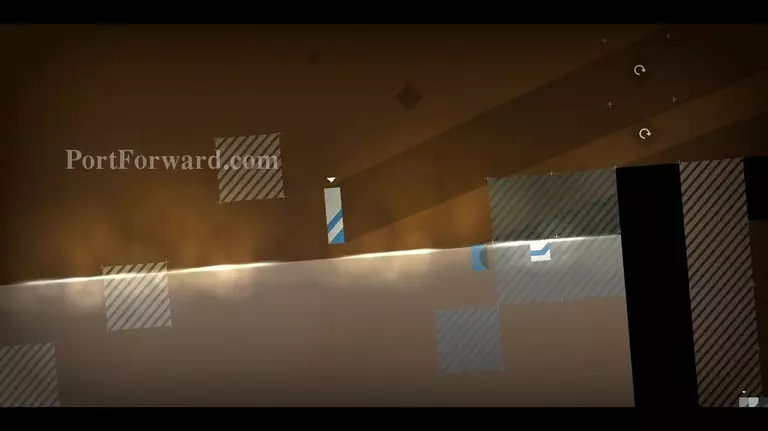
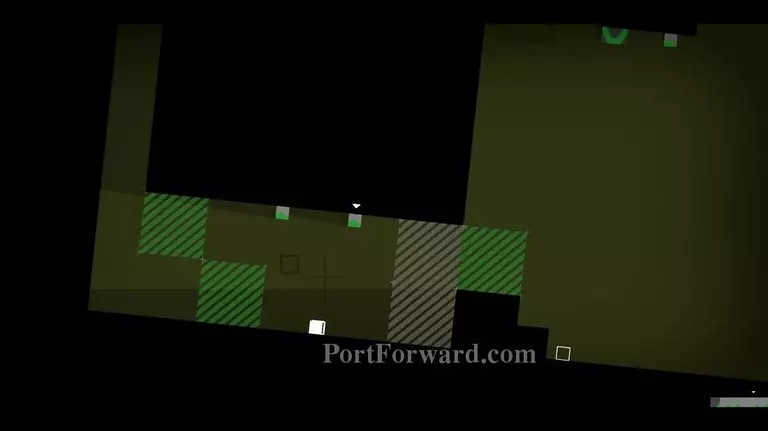
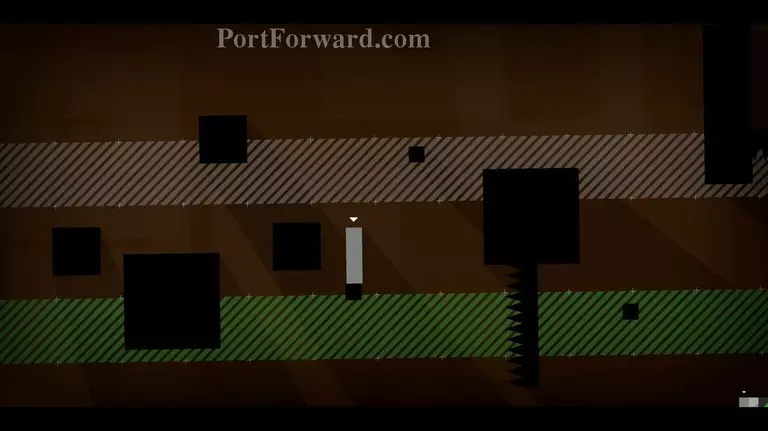
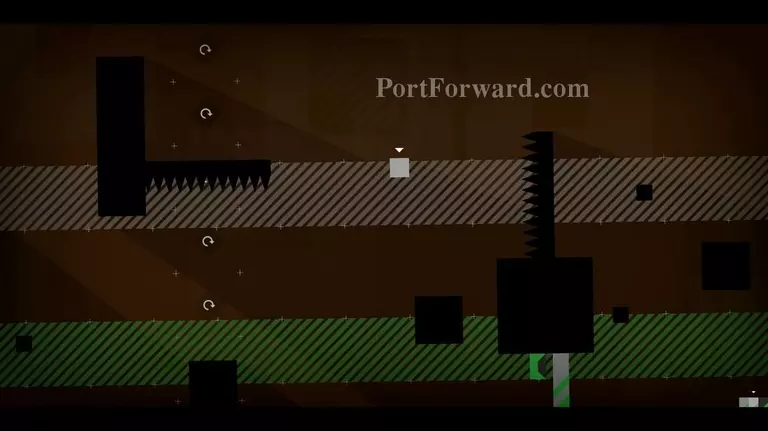
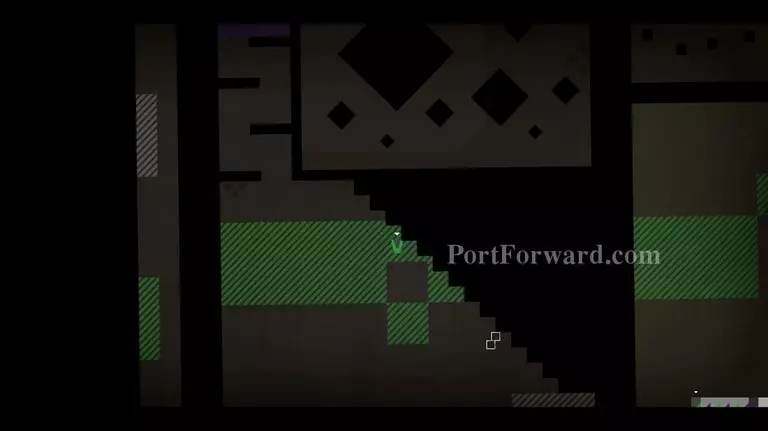
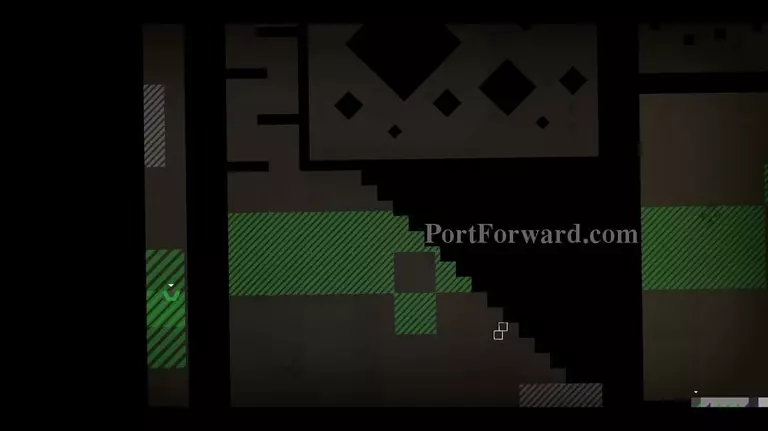
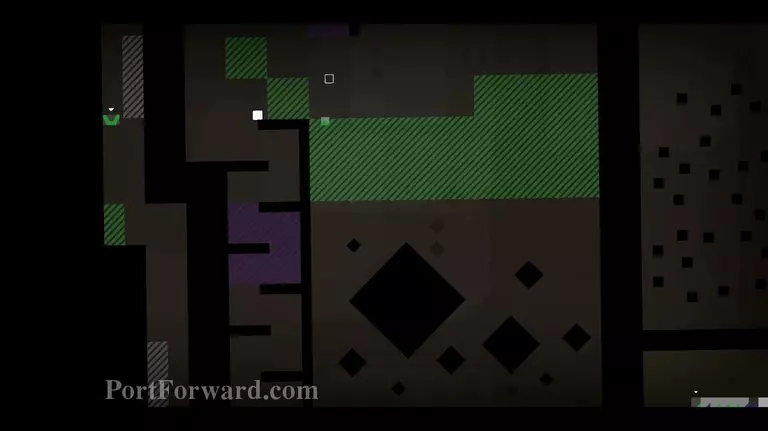
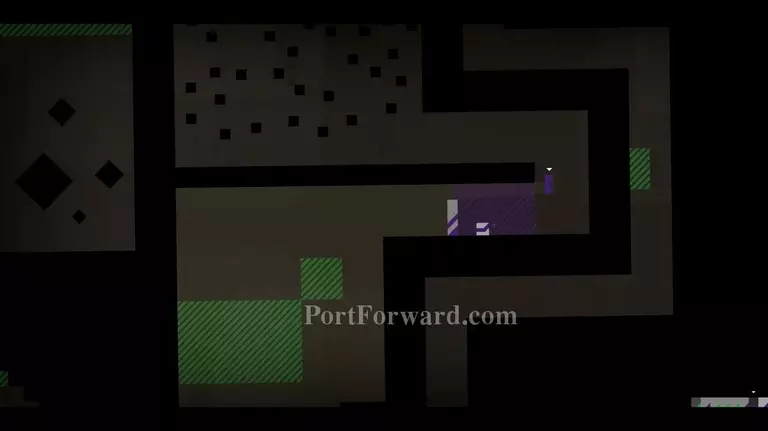
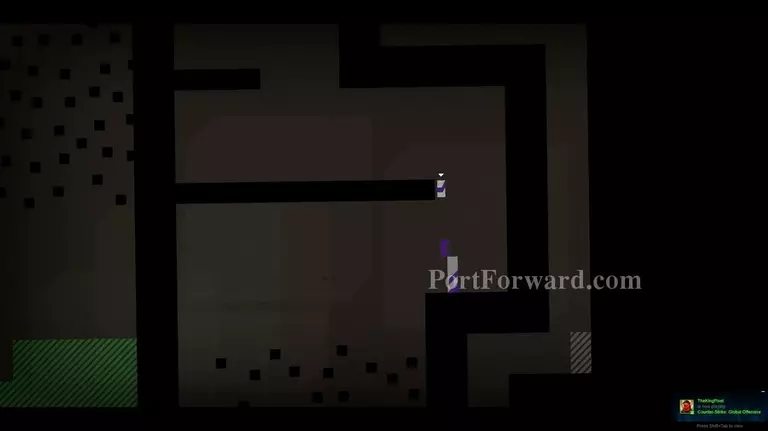
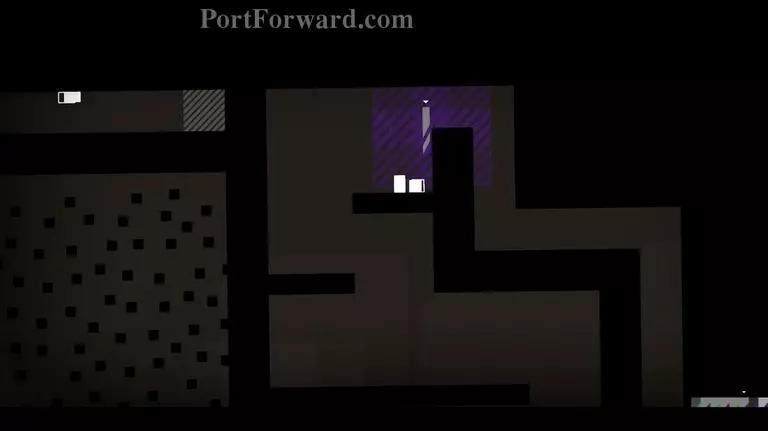
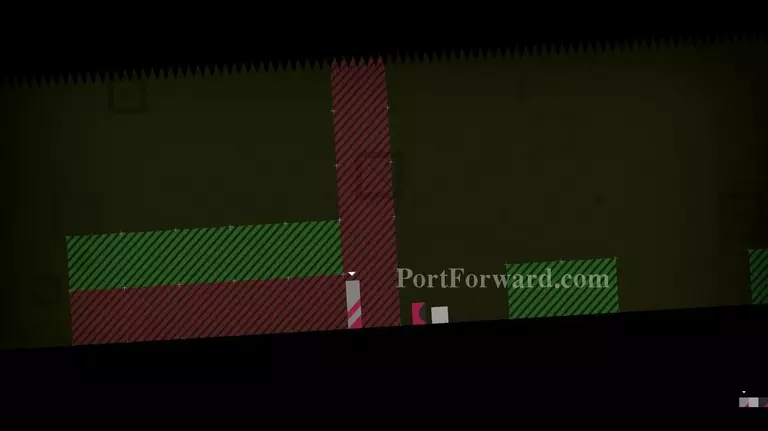
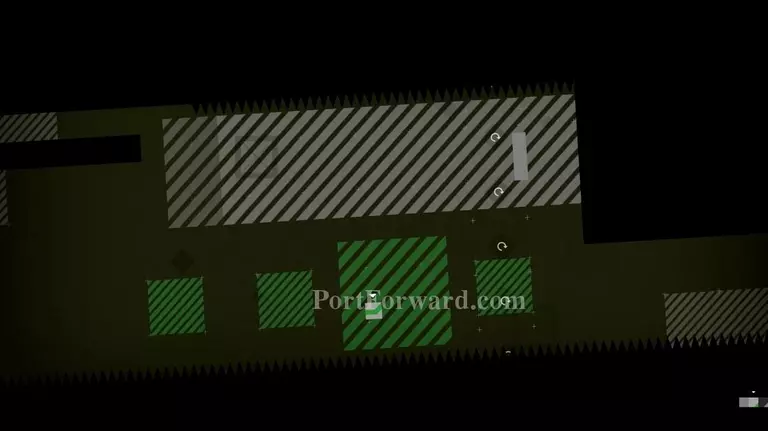
9.1 The "new" character, Team Jump. they're pretty much 5 small grey squares with a great jumping height.
Make a tower with all 5 of them,
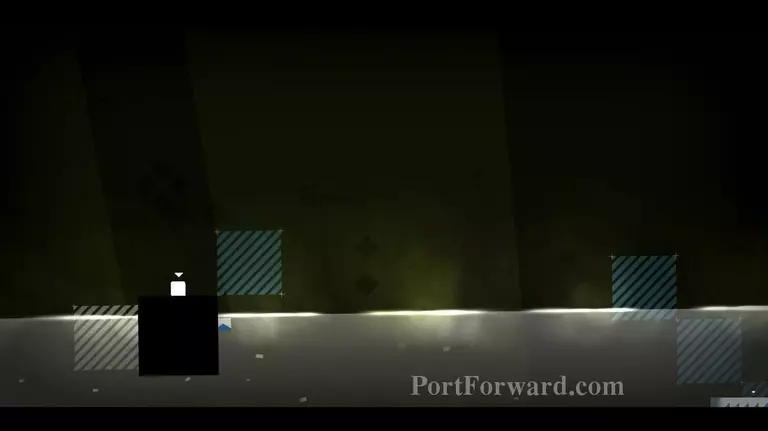
3 that tower can reach the next stage. Make a smaller tower
and get one of them up.

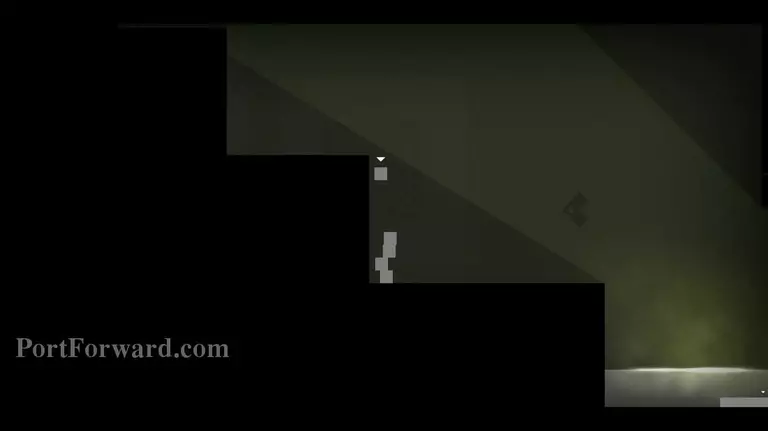
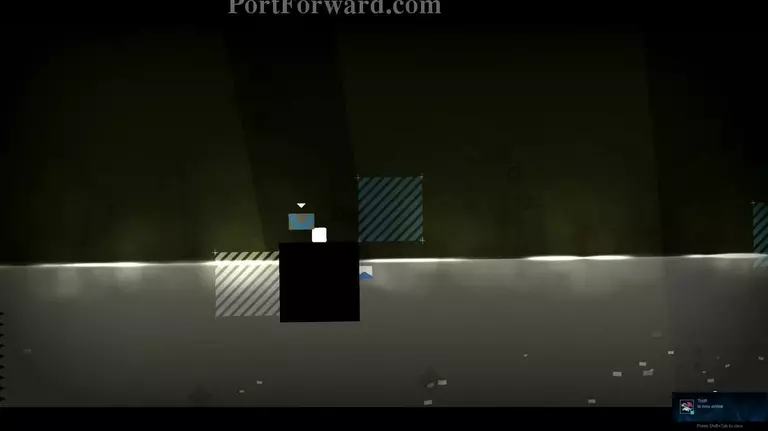
Jump with him to the right

and activate the button.
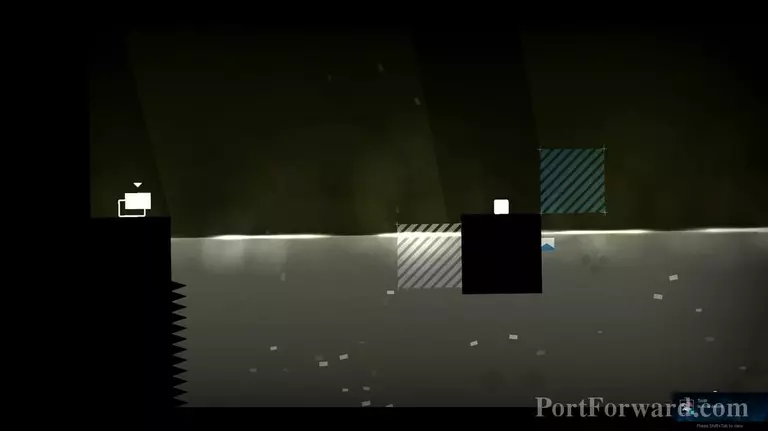
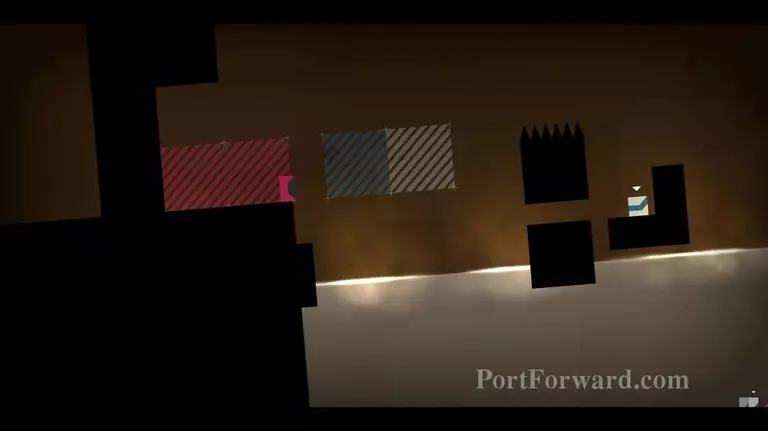
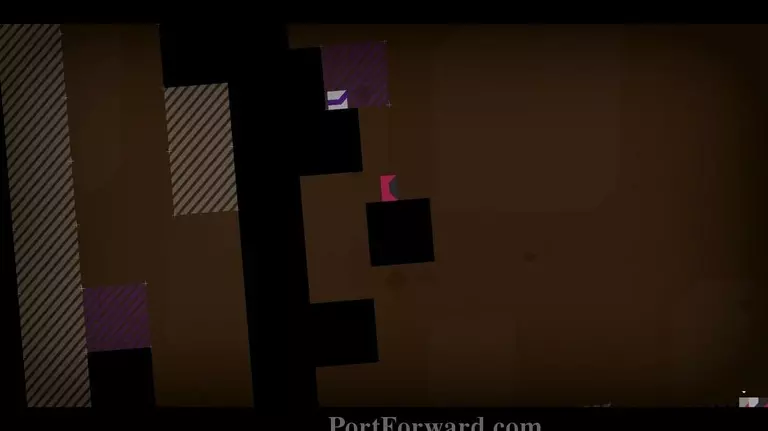
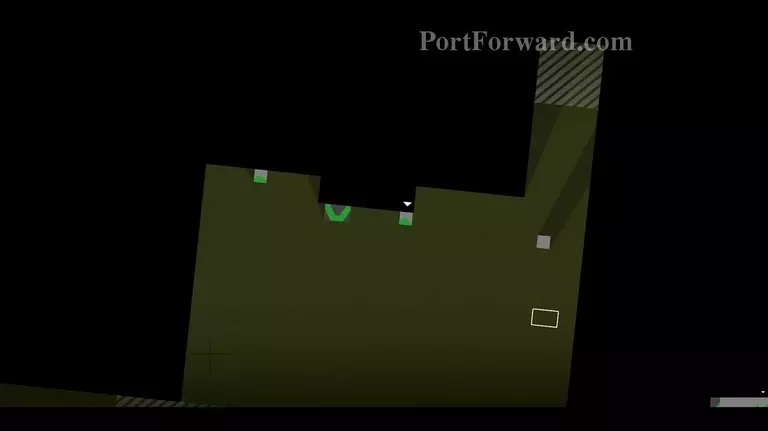
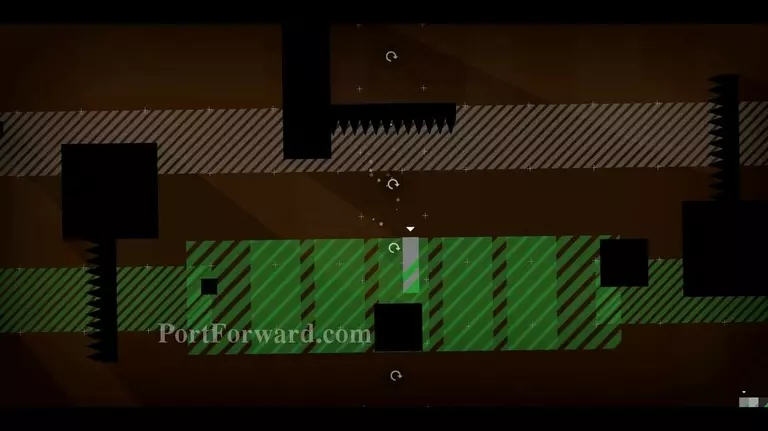
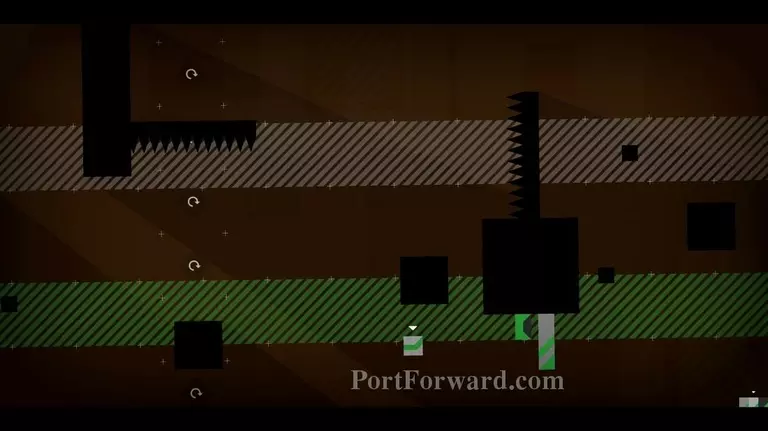
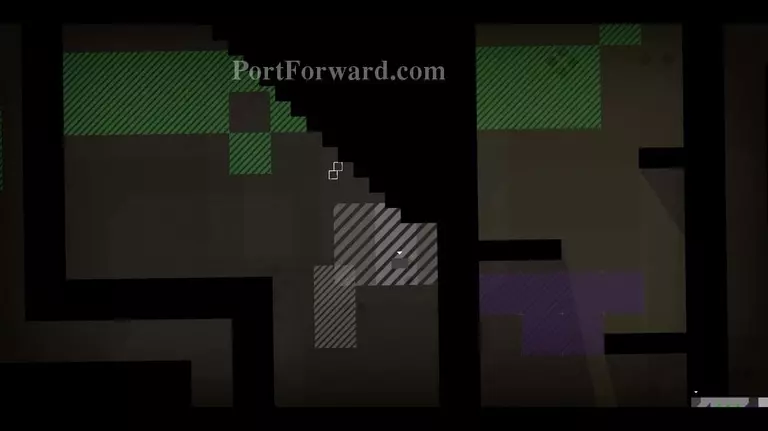
Get all 5 to the right platform.
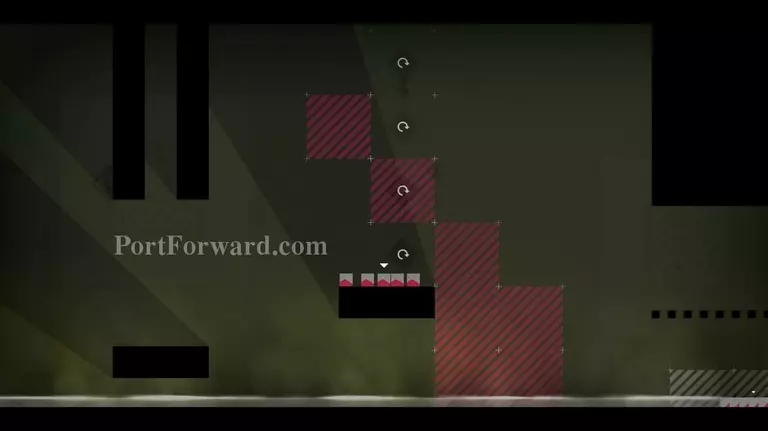
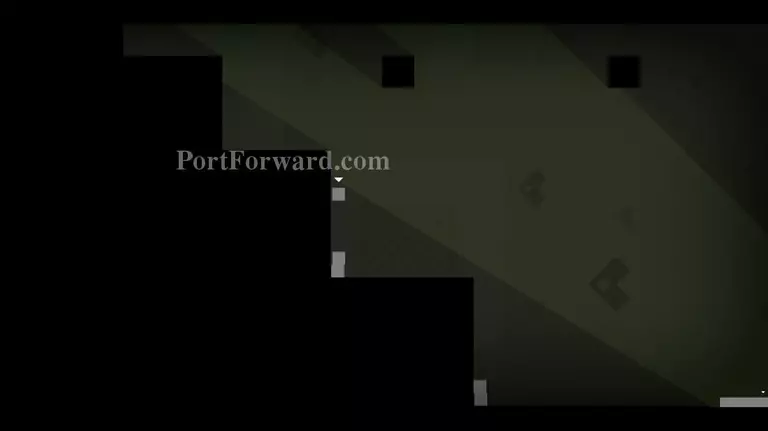
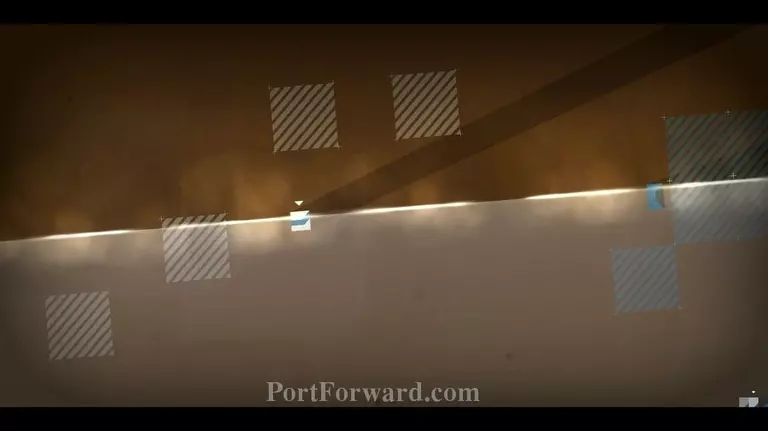
Move them to the next platform.
Jump to the right and use 2 of them to activate the button.
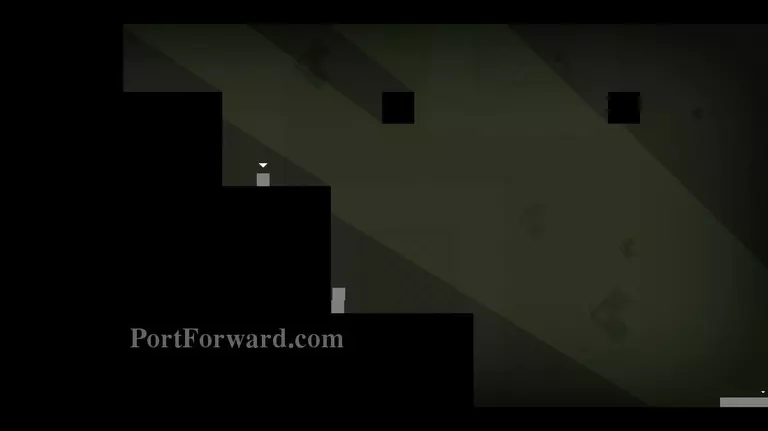
Move all of them to the right.
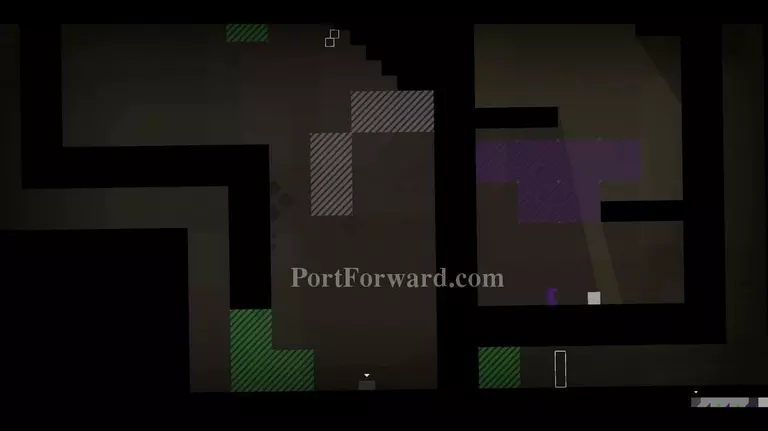
And align all of them to the exit.
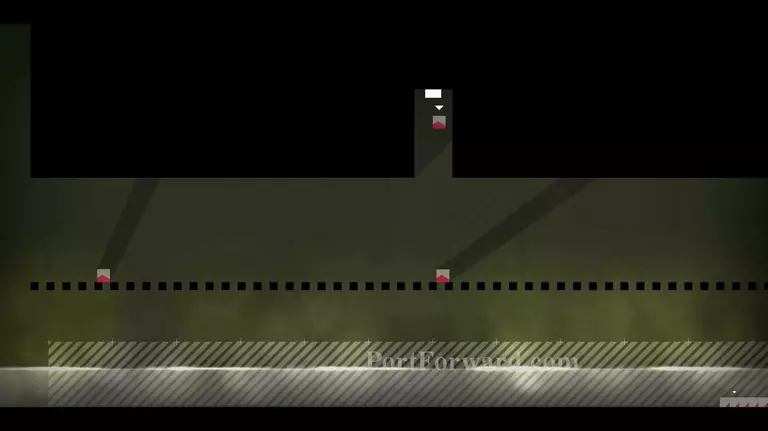
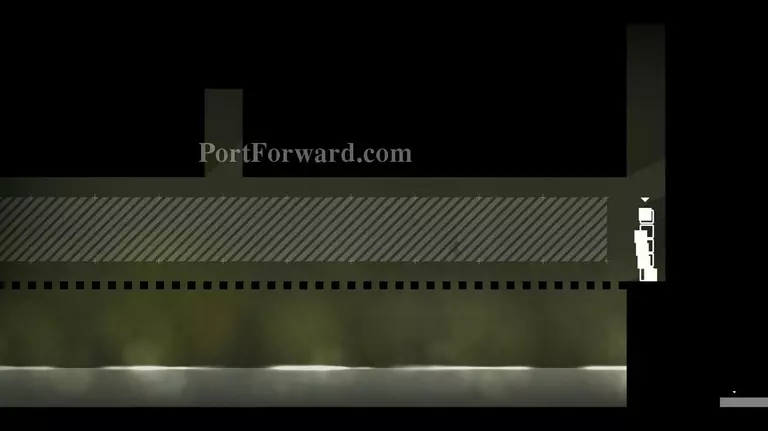
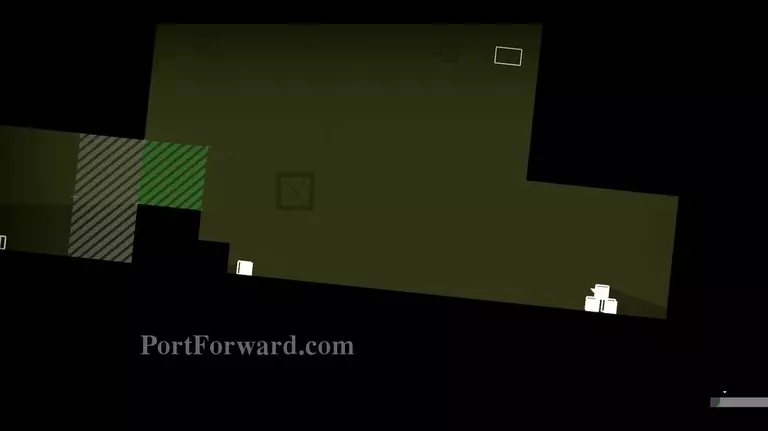
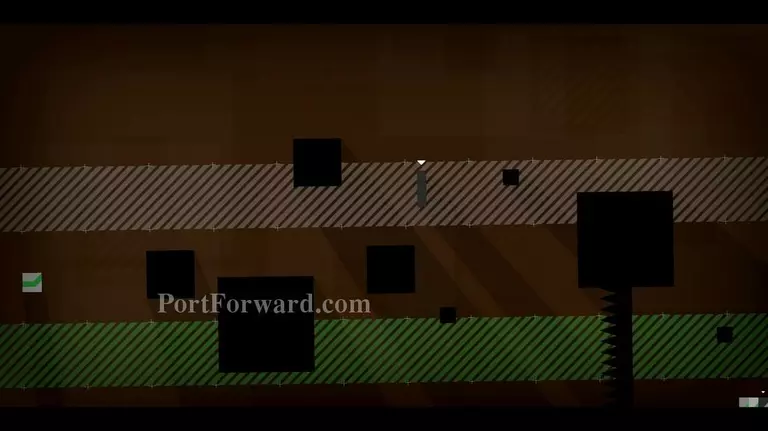
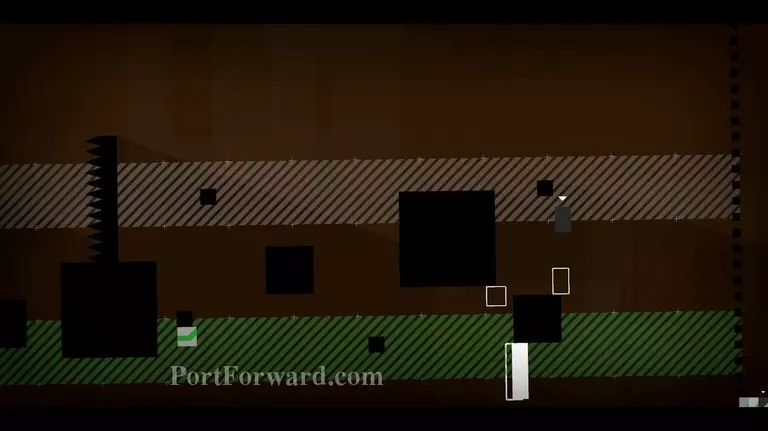
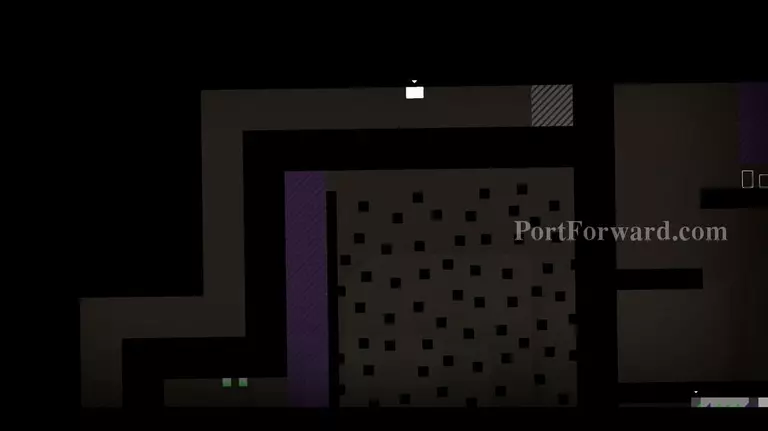
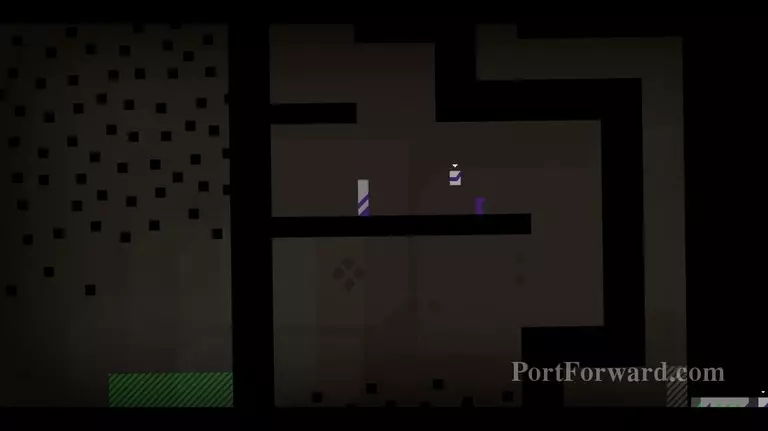
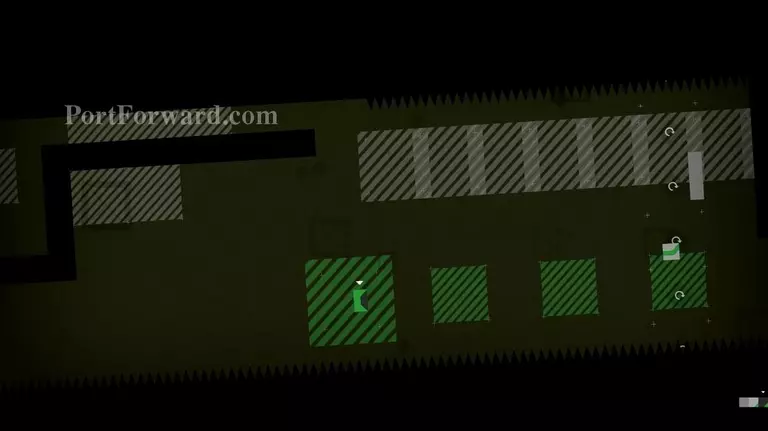
9.2 You have Paul and Team Jump.

Move them all to the left, you can leave from Team Jump on the exit.
Align one to the exit. Jump with one from Team Jump into the grey dashed field next to the block.
He will get launched up high enough to activate the button. Align him to the exit afterwards.
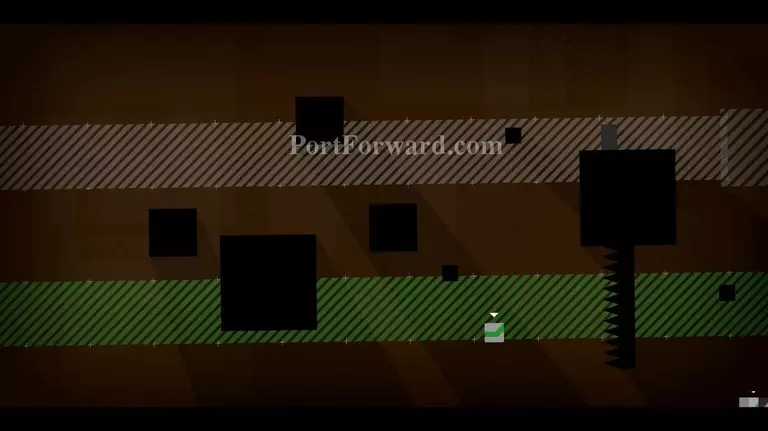
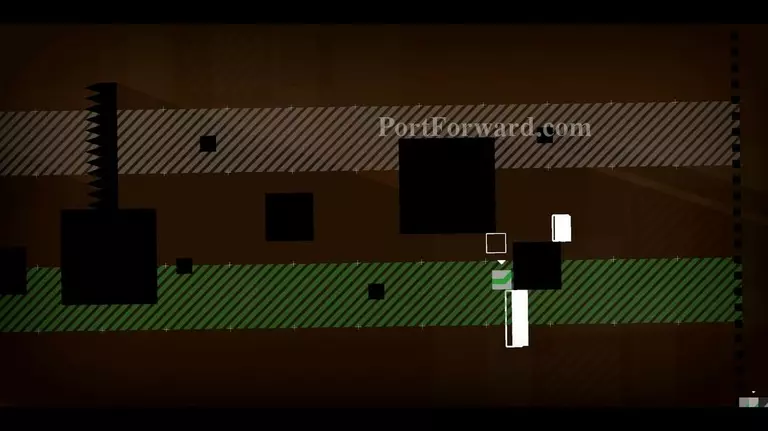
Get with the remaining members of Team Jump to the left.
Align one there to the exit.
Boost Paul on that one to jump over the grey dashed field
and align Paul to his exit.
Finally, the last exit is at the beginning of the level.
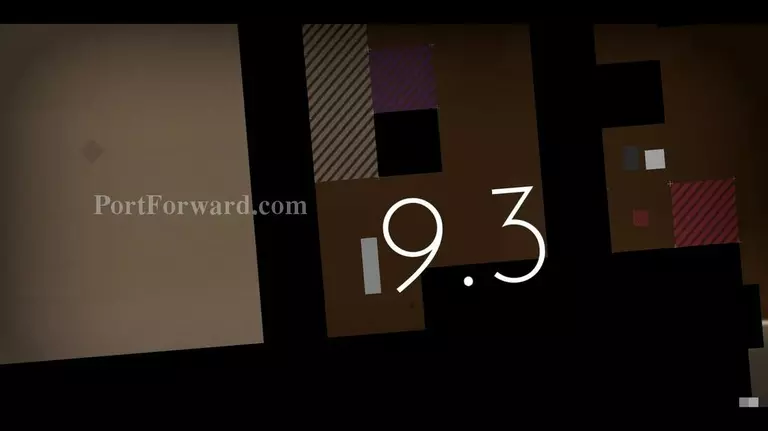
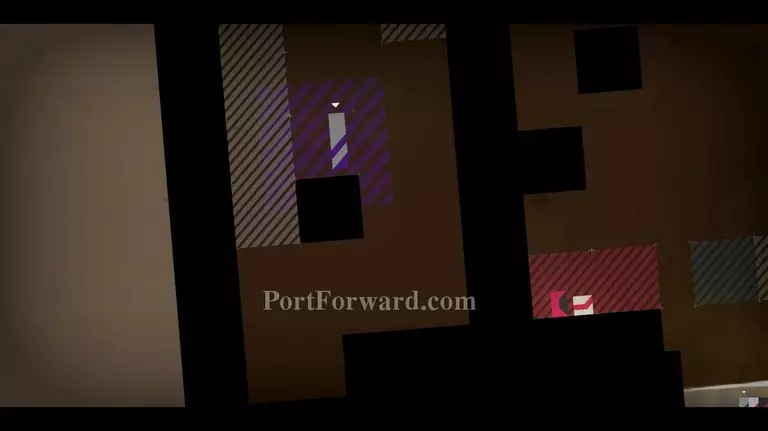
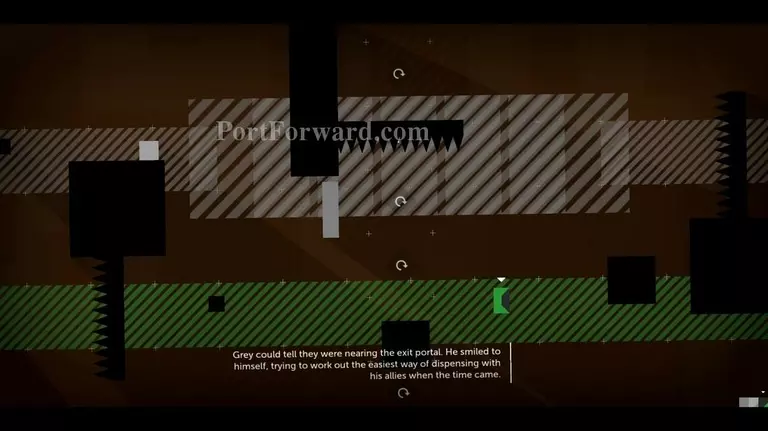
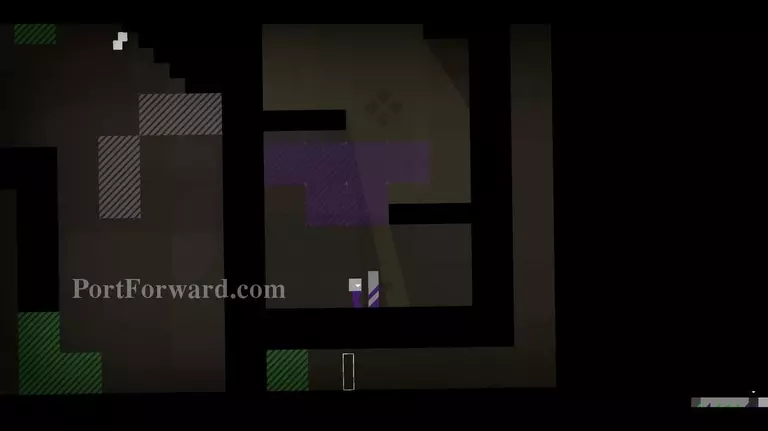
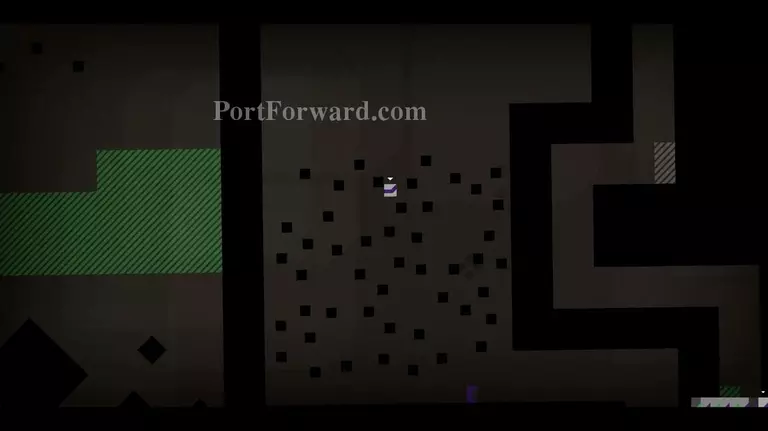
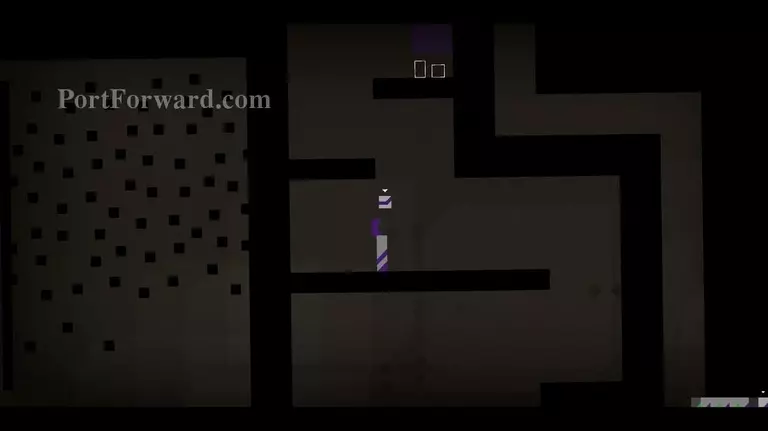
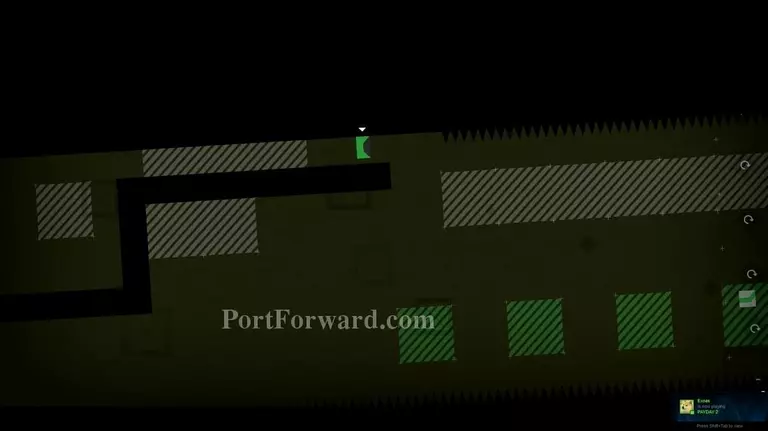
9.3 You play Grey, Jo and Sam.
Jump with Grey into the purple dashed area
Now switch to Jo.
and wait with Jo in the small gap.
Once the L-shaped platform comes down, move onto it with Jo.
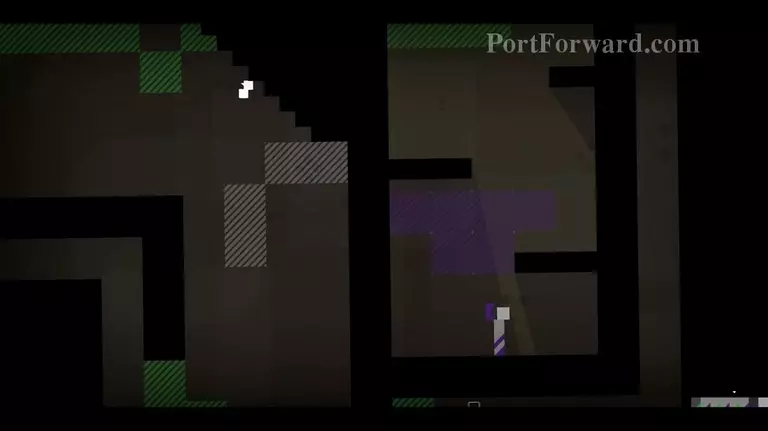
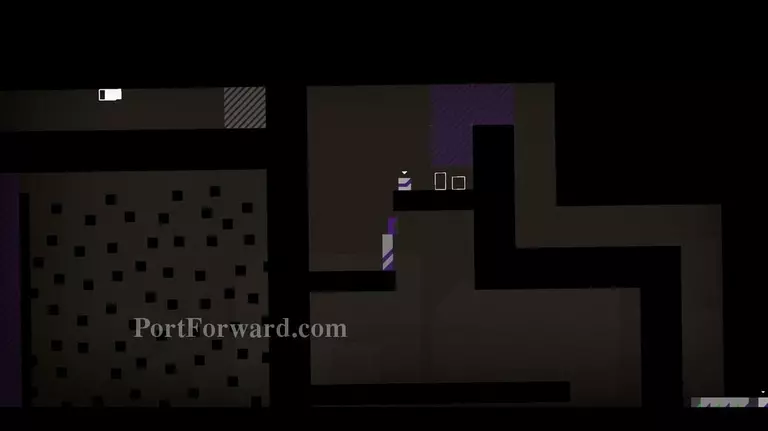
Move Grey down

and move Sam up.
Jump with Jo on Sam to get her
into the purple dashed field.
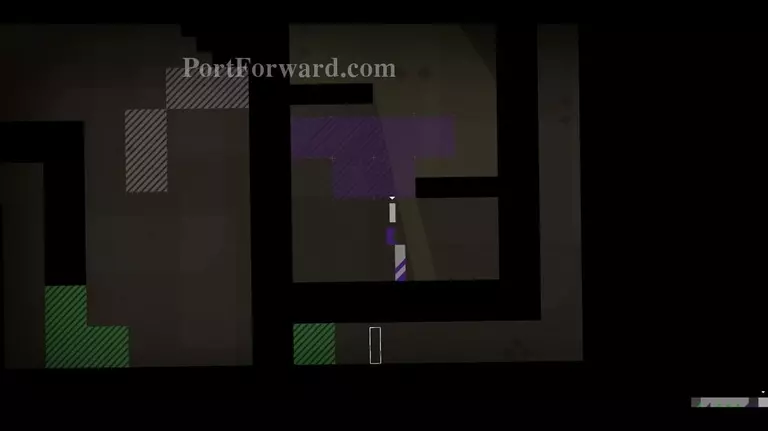
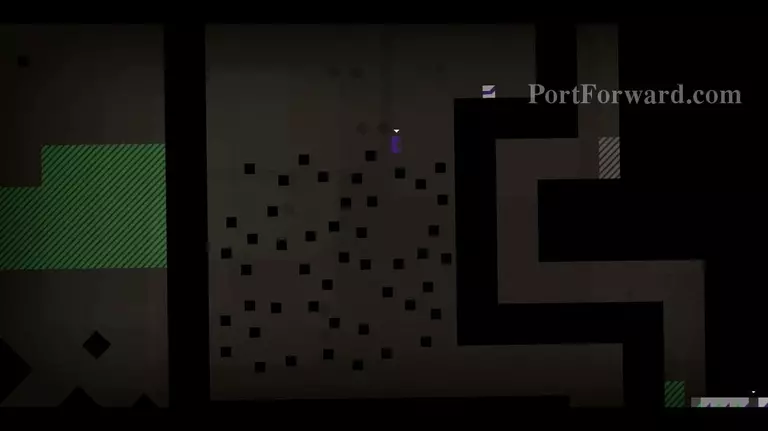
You can suicide Grey in the water so he can respawn at the top.

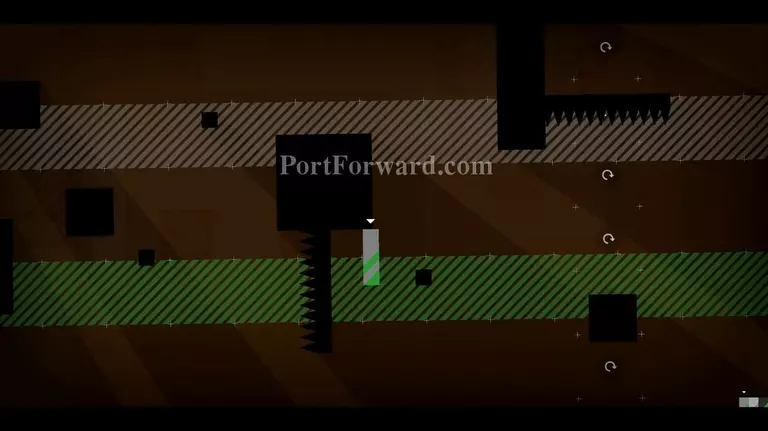
Jump with Sam and Jo up.
Arrange them like this so Jo can jump on Sam
and get to the top. Go with her into the respawn zone.
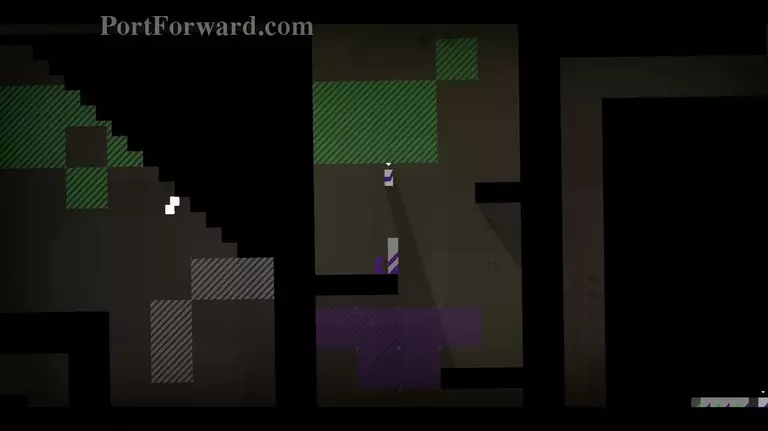
Do the same with Sam and Grey. Get into the blue field

and get past the grey dashed areas. These will move so just wait and get past them.
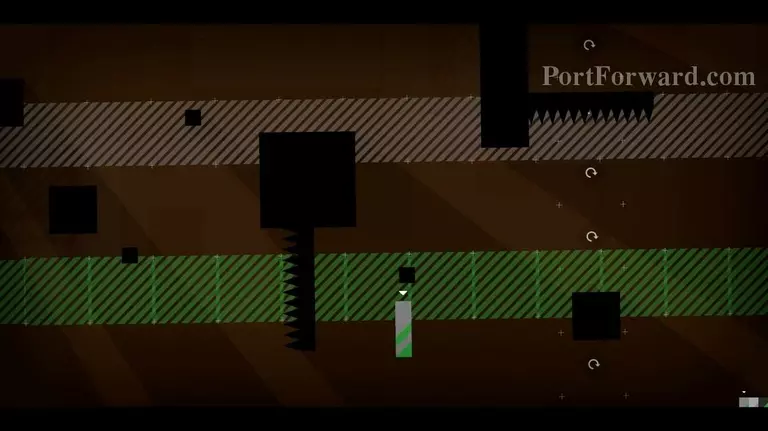
Repeat that for Jo
and Sam.
Finally, complete the level.
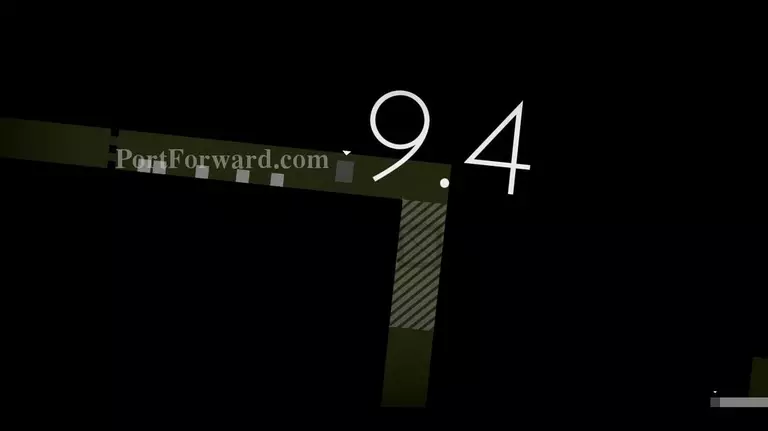
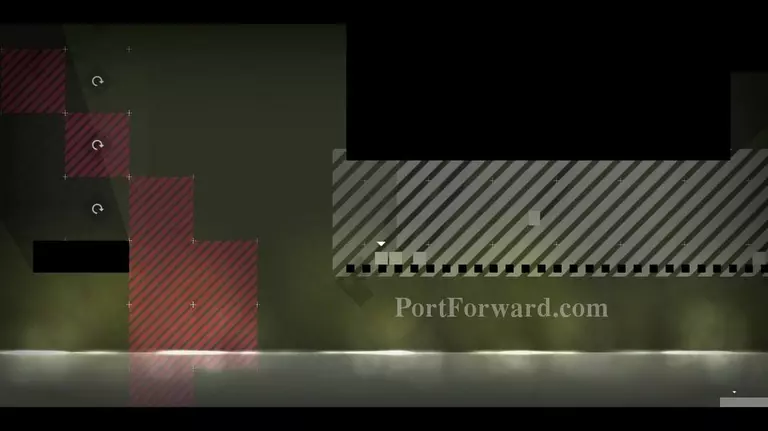
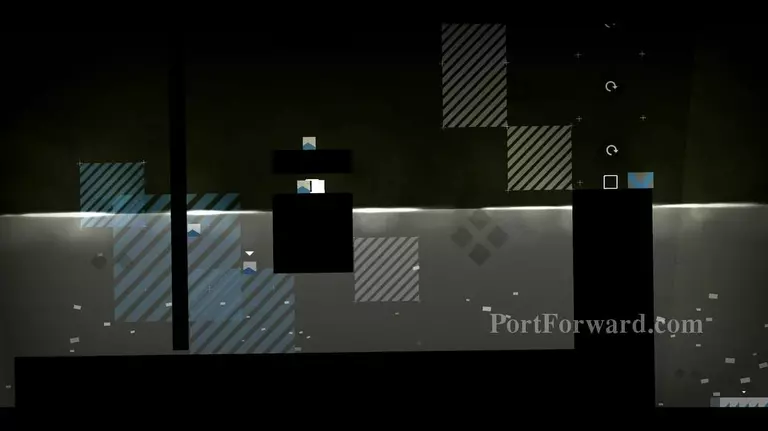
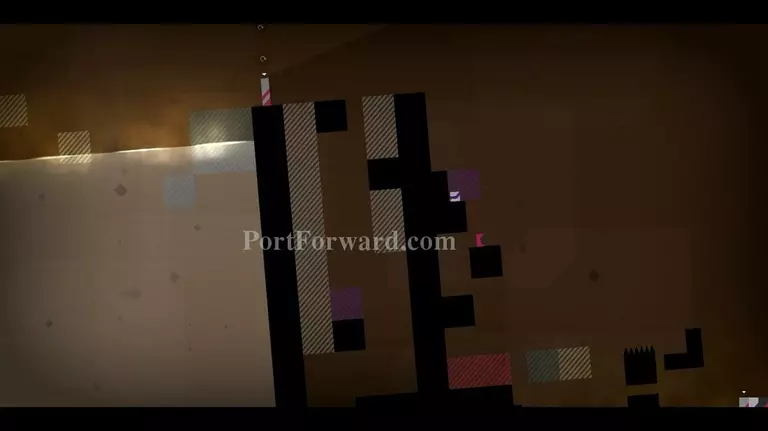
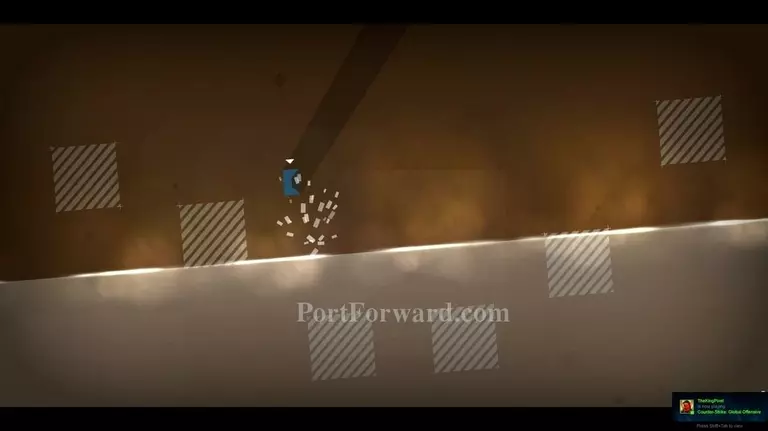
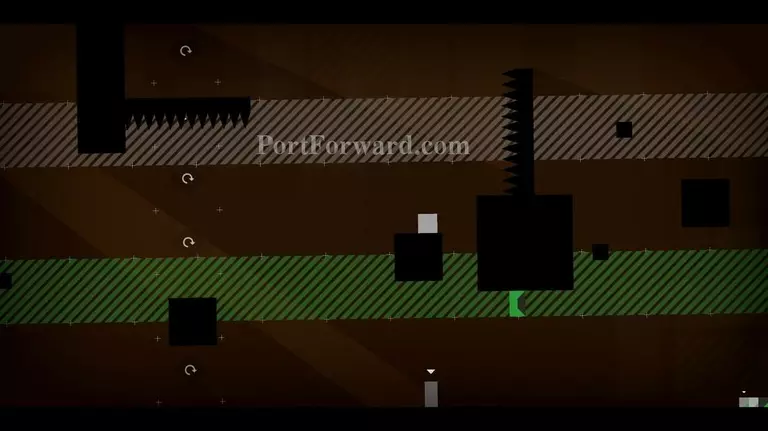
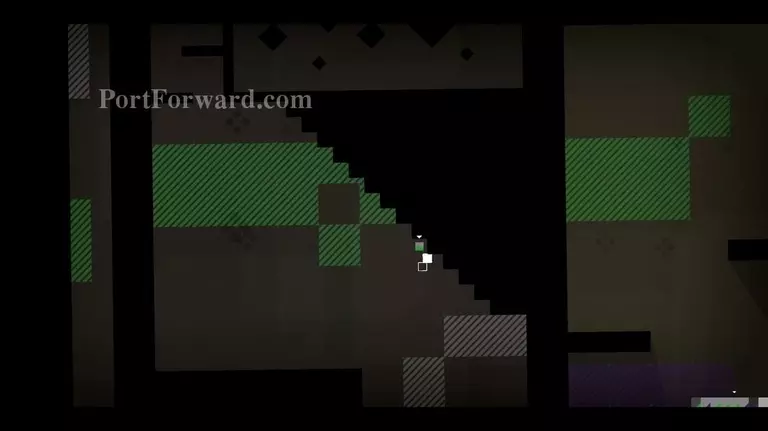
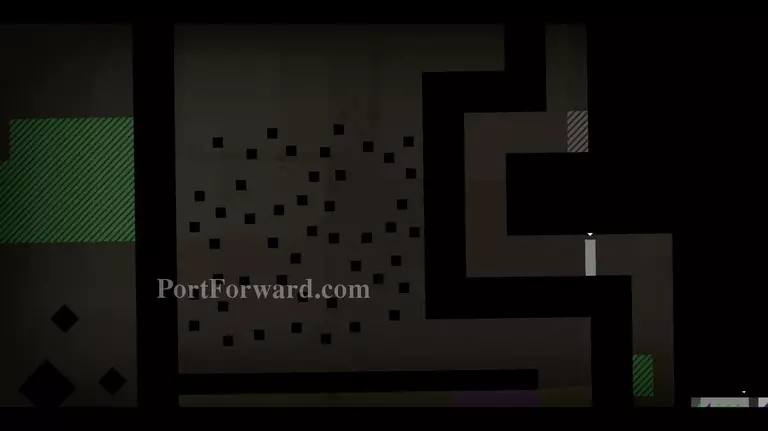
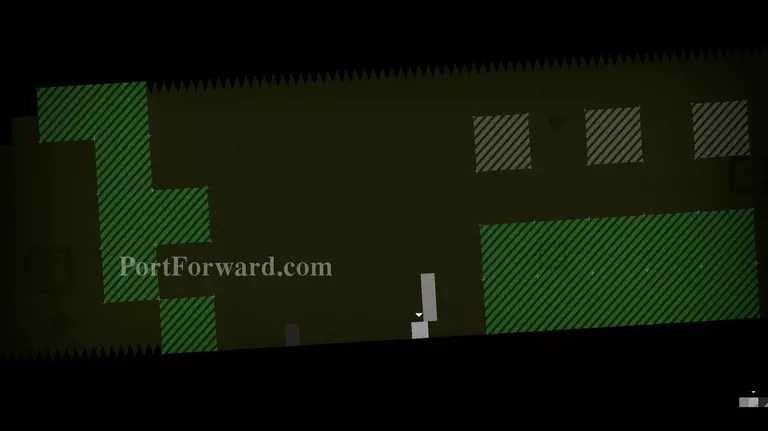
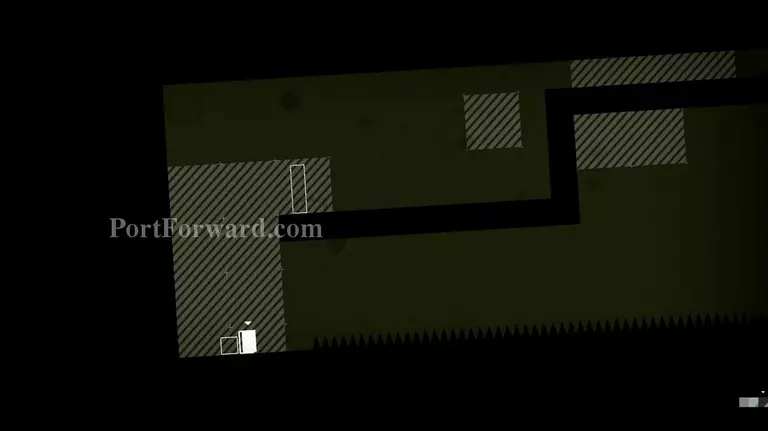
9.4 You play Team Jump and Paul.
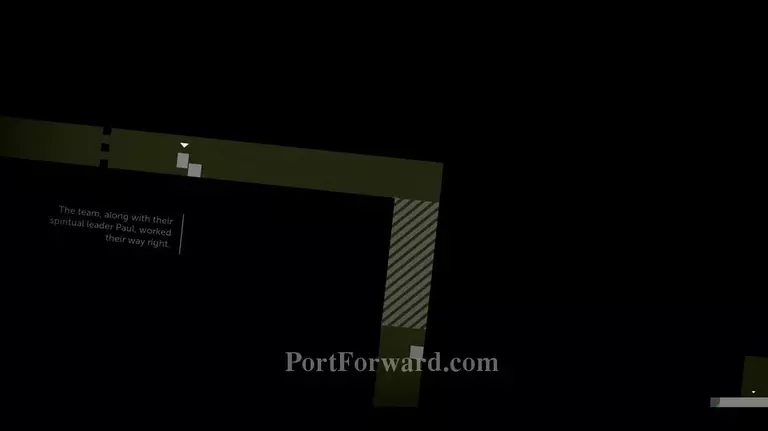
Get everyone down into the hole.
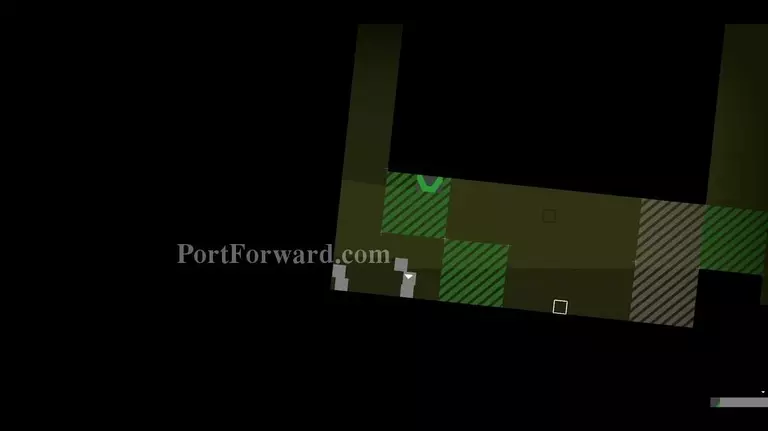
Once a block touches those green dashed lines, they'll be inverted like James.
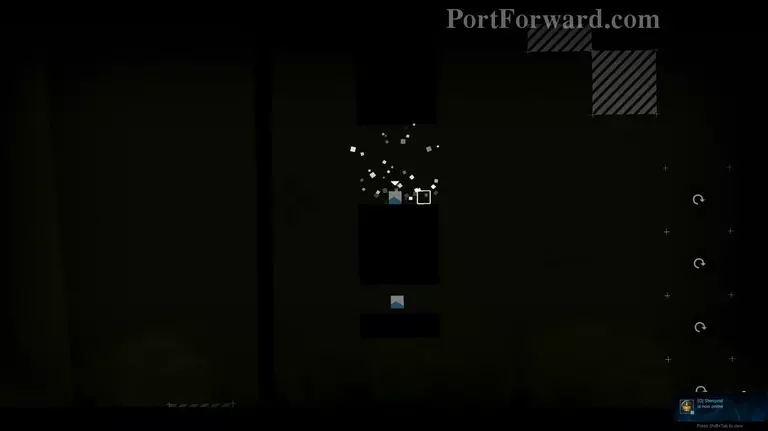
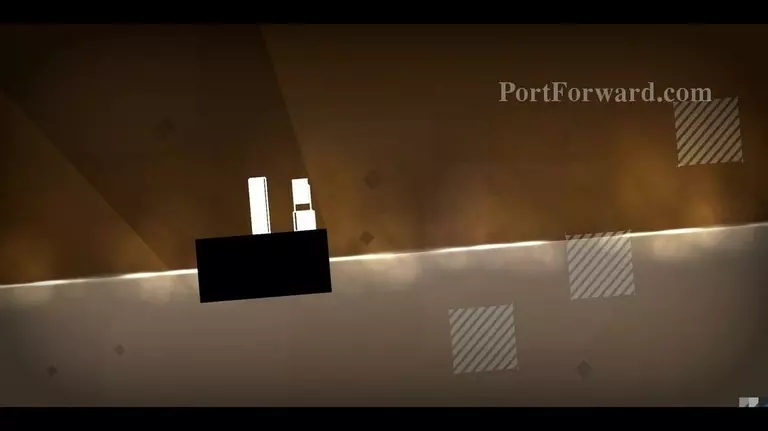
Clean one member of Team Jump in the grey dashed field and align him to the exit.
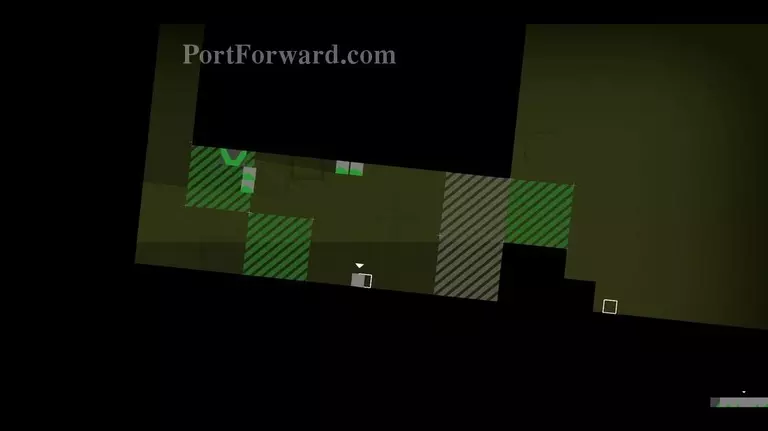
For the remaining characters, move them straight through the grey field, they'll get to the other side.
Clean the remaining 4 members of Team Jump in the grey dashed field on the top right
To complete the level, move Paul into the grey dashed field and all with him into his exit.
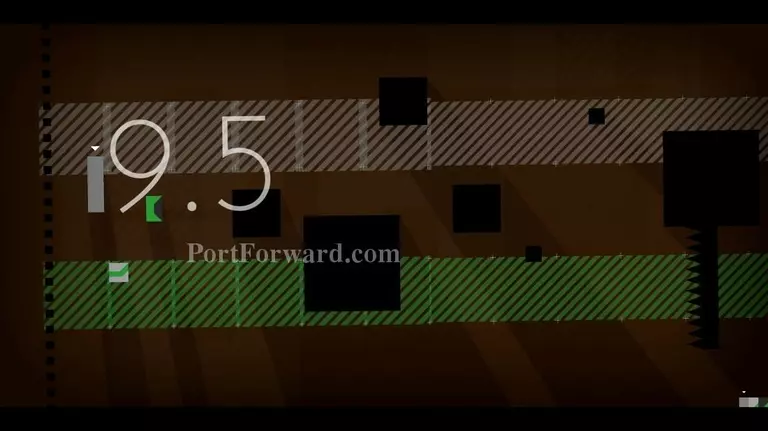
9.5 The characters of this level are Grey, Jo and Sam.
Jump on this block to get over the large one.
Then move into the respawn zone, leave him there.
Do the same with Sam.
Jo is different, she can just get on the block by the counterforce of falling up.
Move Sam to the right on the bottom of the large block.
Get Grey to the left,
use the small block to jump on the buttom of the slightly larger block
and jump from the slightly larger block to the right.
Make Jo fall from this position
and she can get on to the block. Leap to the larger block after that.
Now move all of them to the right, Sam has to be normal
while Sam and Grey have to be inverted to reach their exit.
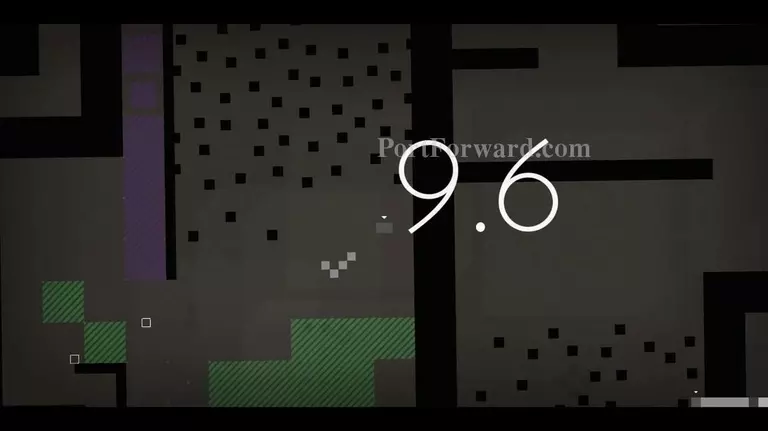
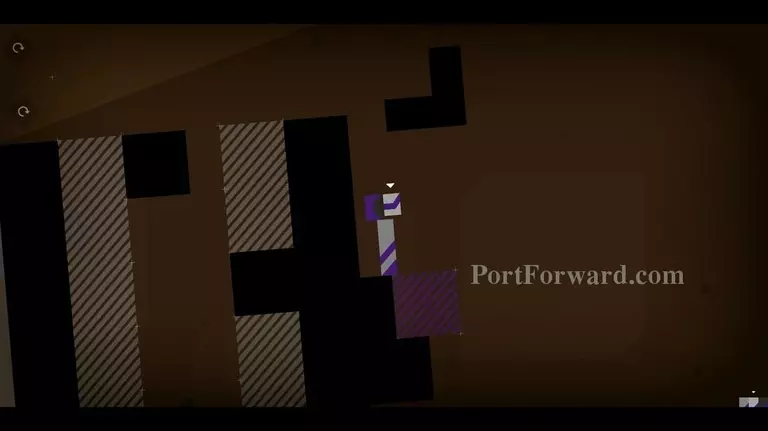
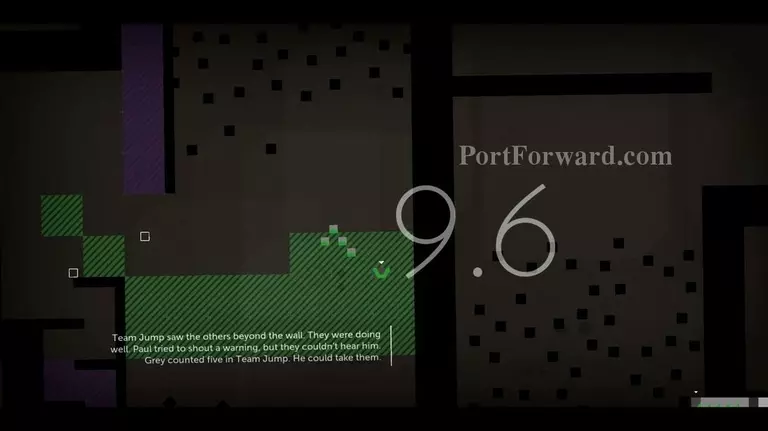
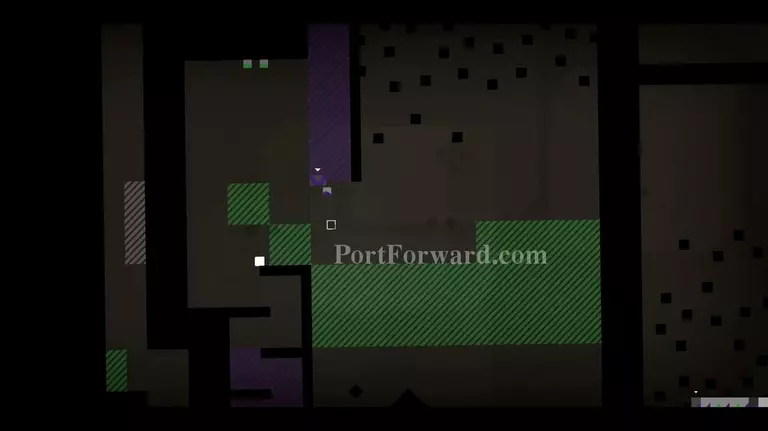
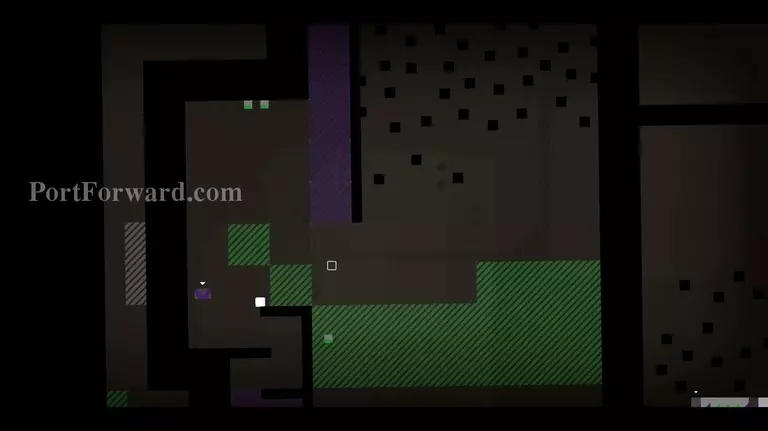
9.6 This level contains Paul, Team Jump, Sam and Jo.
Move the inverted 4 members of Team Jump and inverted Paul to the top left through the obstacles into the purple dashed fields.
Move them to the left, leave one between the purple and green dashed fields so he will fall up and down the whole time.
Get Paul over the green dashed fields by double jumping over them.
Now move Paul down and to the right
then into the grey dashed fields.
Invert Paul again
and fall up, stay on the right side with Paul
after that stay on the left side so Paul stays inverted.
Align him to his exit.
Move the 2 members of Team Jump over the green dashed area and go down.
Invert them and align them to their exit.
Boost Jo on Sam and keep Grey next to Sam.
Then get both, Sam and Jo, on Grey.
Jump with Jo on top of Sam and into the purple dashed field.

Get everyone up and build another staircase.
Jump with them into the green dashed field
Through the purple dashed ones

Boost Jo on Grey to get her up
and get her up through the room full of small blocks.
Do the same with Sam
and Grey.
Build a staircase, get Jo
Grey and Sam up.
Boost up Jo again
and once again to Jo up.
Align Sam and Jo to their exits
and move Grey down, avoid the green dashed fields

and complete the level.
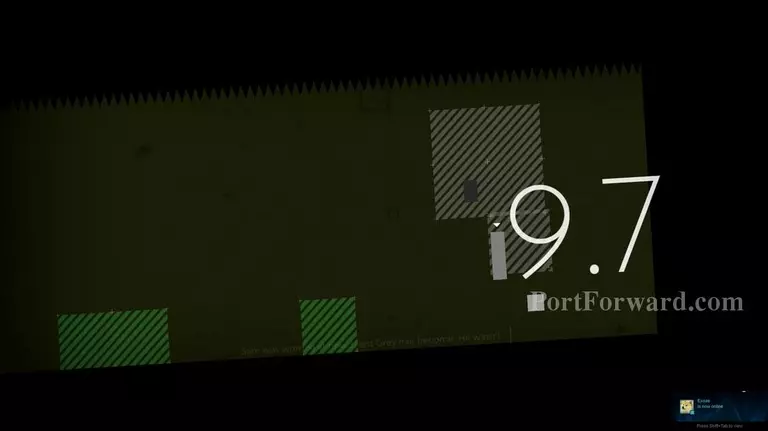
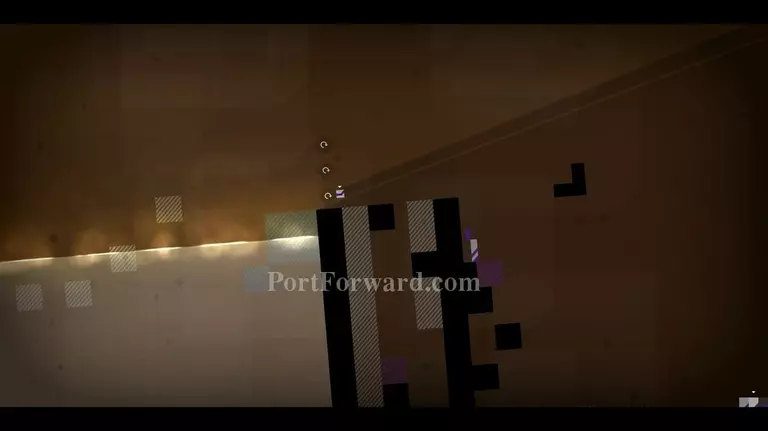
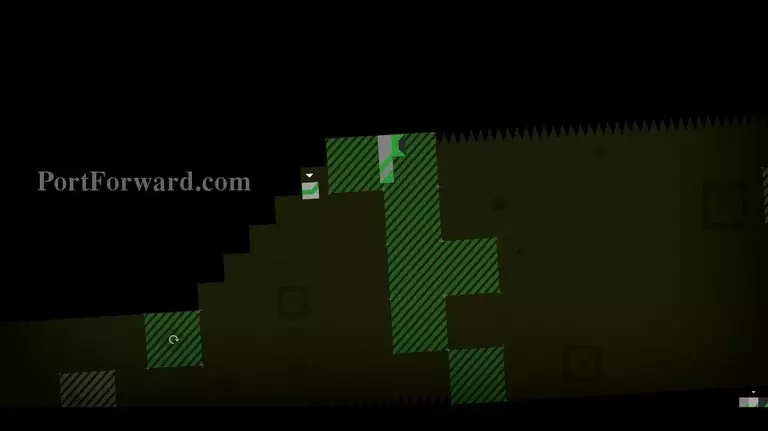
9.7 The characters in this level are Grey, Sam and Jo.

Build stairs so Jo can get over the 1st green dashed field. After that get Grey and Sam over the field.
Create another staircase, but this one has to be higher. Once you did that, jump in that order over the 2nd green dashed field: Jo, Sam, Grey.
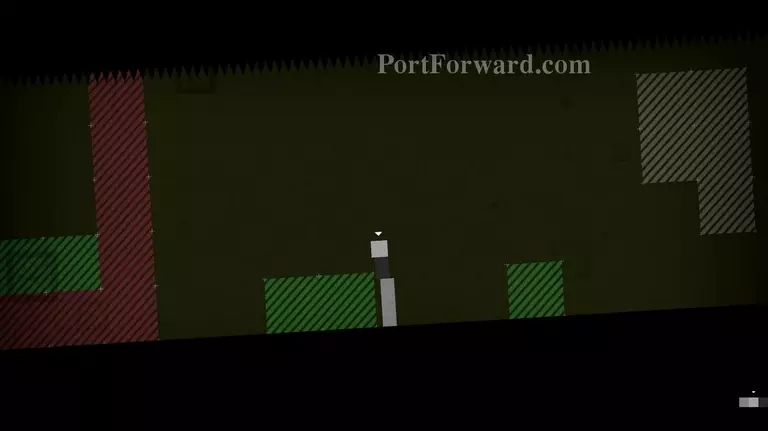
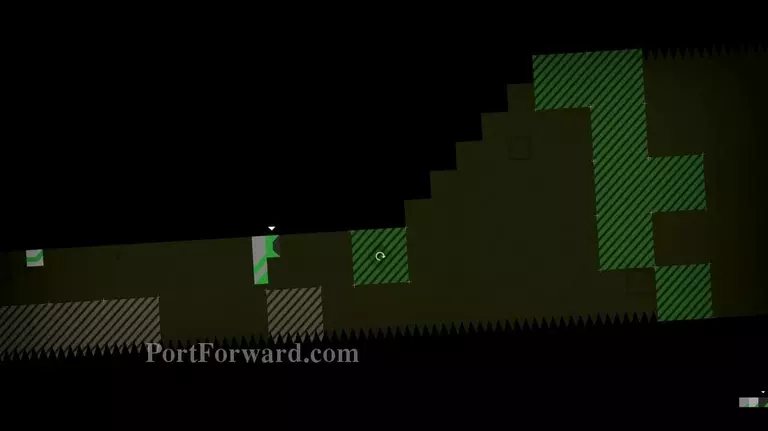
Now move all of them to the left.

Boost Jo on top of Grey, then pass through it. Fall up into the grey dashed ones, then fall down and move to the left slightly right under the next grey dashed field.
Do the same with Grey and Sam until all of them are on the other side.
Jump with them into the green dashed fields and move left at the same time.
Then climb up the upside down stairs and move to the left.
Get Jo to the left by falling up and down while moving left.
Move Sam into the gap
go left
and align him to the exit.
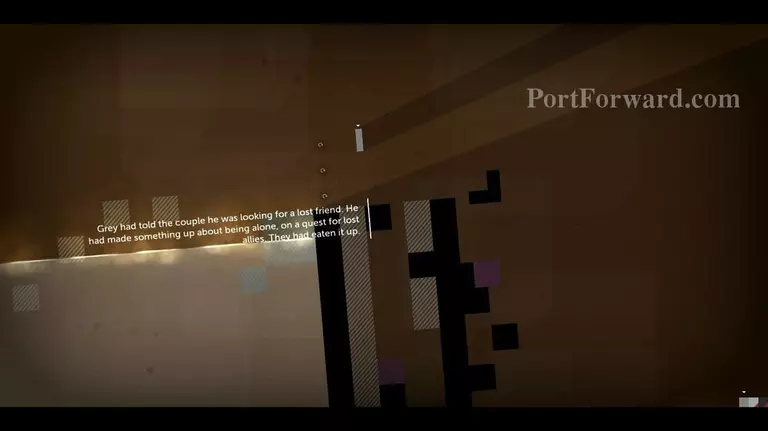
Do the same with Jo. img(198569); Switch to Grey and jump over the grey dashed fields while he's inverted. img(198570); Align him onto the exit and finish the level. img(198571); 9.8 You will play Team Jump and Paul. In this level the green and grey dashed fields will come from the bottom and move to the top. img(198572); Leave him when he's not. img(198573); Switch to Paul when he's inverted once again img(198574); and place him into the corner. img(198575); Team Jump doesn't need to be inverted, so just progress through the level img(198576); and jump with them up to the exit. img(198577); You might have to wait if it looks like this but once the wave of grey dashed fields passes by img(198578); You'll complete the level. img(198579); 9.9 The characters in this level are Grey, Jo, Sam and Paul. img(198580); The elevator like gaps allow you to colour the characters as you like. Paul should be coloured pink already, so coulour Sam pink. img(198581); Use Sam to boost Paul up the staircase. img(198582); Once he's at the top, leave him there. img(198583); Colour Grey pink, Sam blue and Jo purple. Once you've done that, img(198584); carry Jo over the water with Sam's help. img(198585); Go up the stairs, Jo's double jump is high enough to climb the stairs without boosting. img(198586); Go back with Sam and carry Grey over the water. img(198587); Double jump with Jo into the lower gap, use Grey's bouncing state to boost Sam img(198588); into the gap. img(198589); Jump over the platforms to the exit at the top right and img(198590); align Sam and Jo to them. img(198591); You can kill Grey in the water, the respawn zone is right next to it. img(198592); Colour him purple img(198593); and go up the left staircase. img(198594); Bounce on Paul and use the double jump to get over the wall. img(198595); Move them into their exits and complete the level. img(198596); 9.10 The final level. You'll play Sam and Jo. Sam has a double jump while Jo is inverted. img(198597); Get both up img(198598); and move to the right. Jo has to jump on those smaller blocks to get further. img(198599); Fall up with Jo, go towards the top right of the level. img(198600); You'll see an entrance. img(198601); Get Sam up to the top right to, just keep in mind you have to double jump img(198602); Keep on jumping towards the top right img(198603); and get into the small entrance. img(198604); On the bottom, boost Sam on Jo to activate the button img(198605); Both will fall up. img(198606); Once you see the exits, align Jo and Sam to them. Congratulations, you have completed the game!
More Thomas Was Alone Walkthroughs
This Thomas Was Alone walkthrough is divided into 10 total pages.


